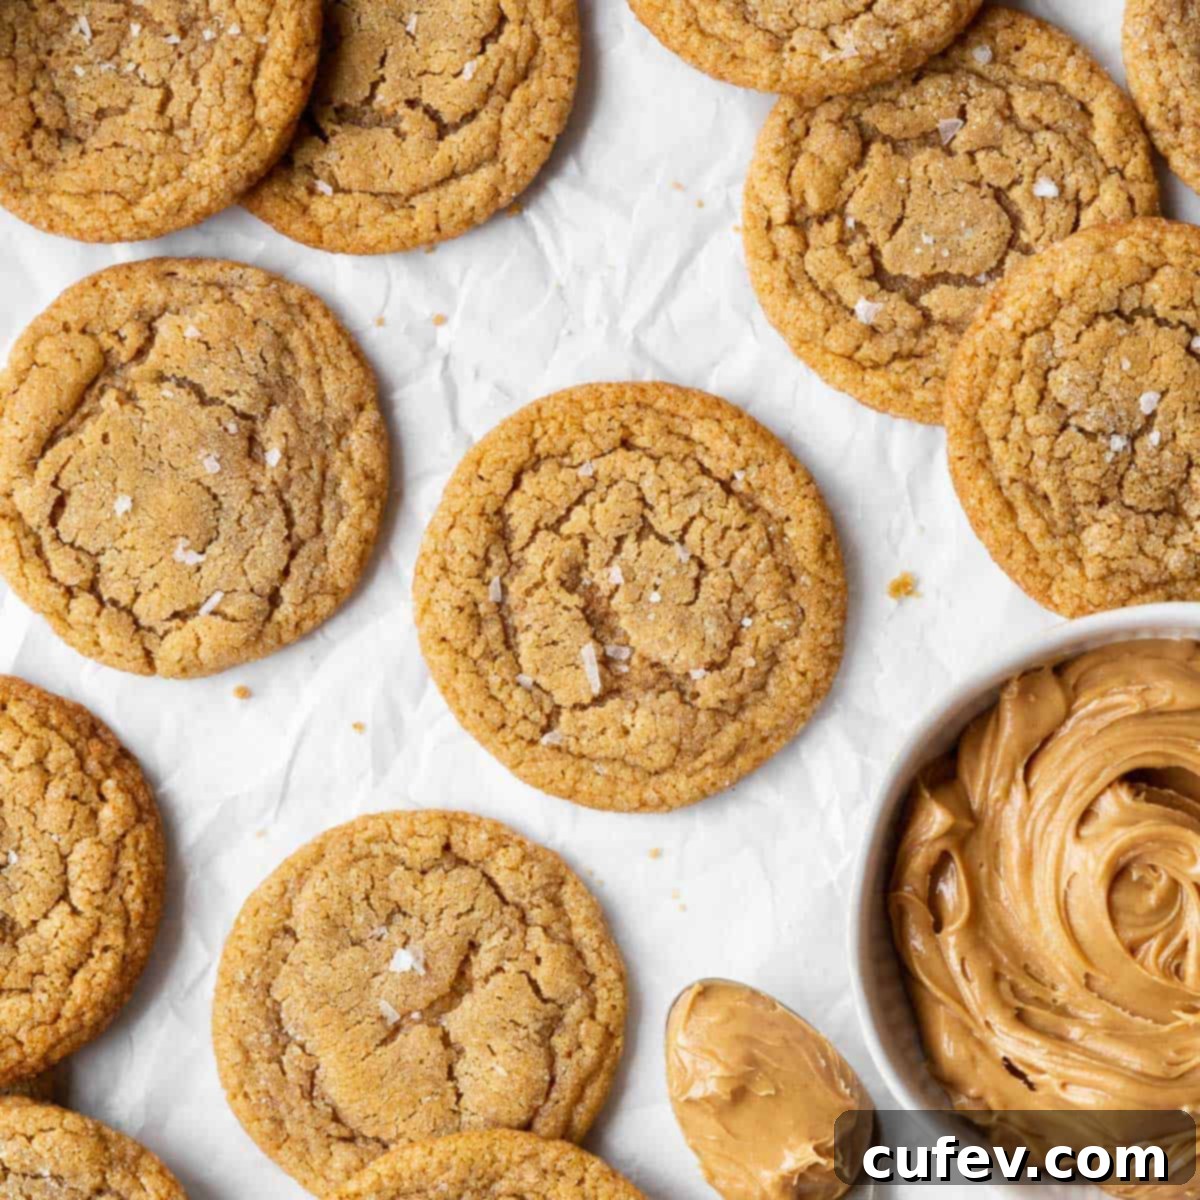
The Best Soft & Chewy Dairy-Free Peanut Butter Cookies: An Easy Vegan-Friendly Recipe
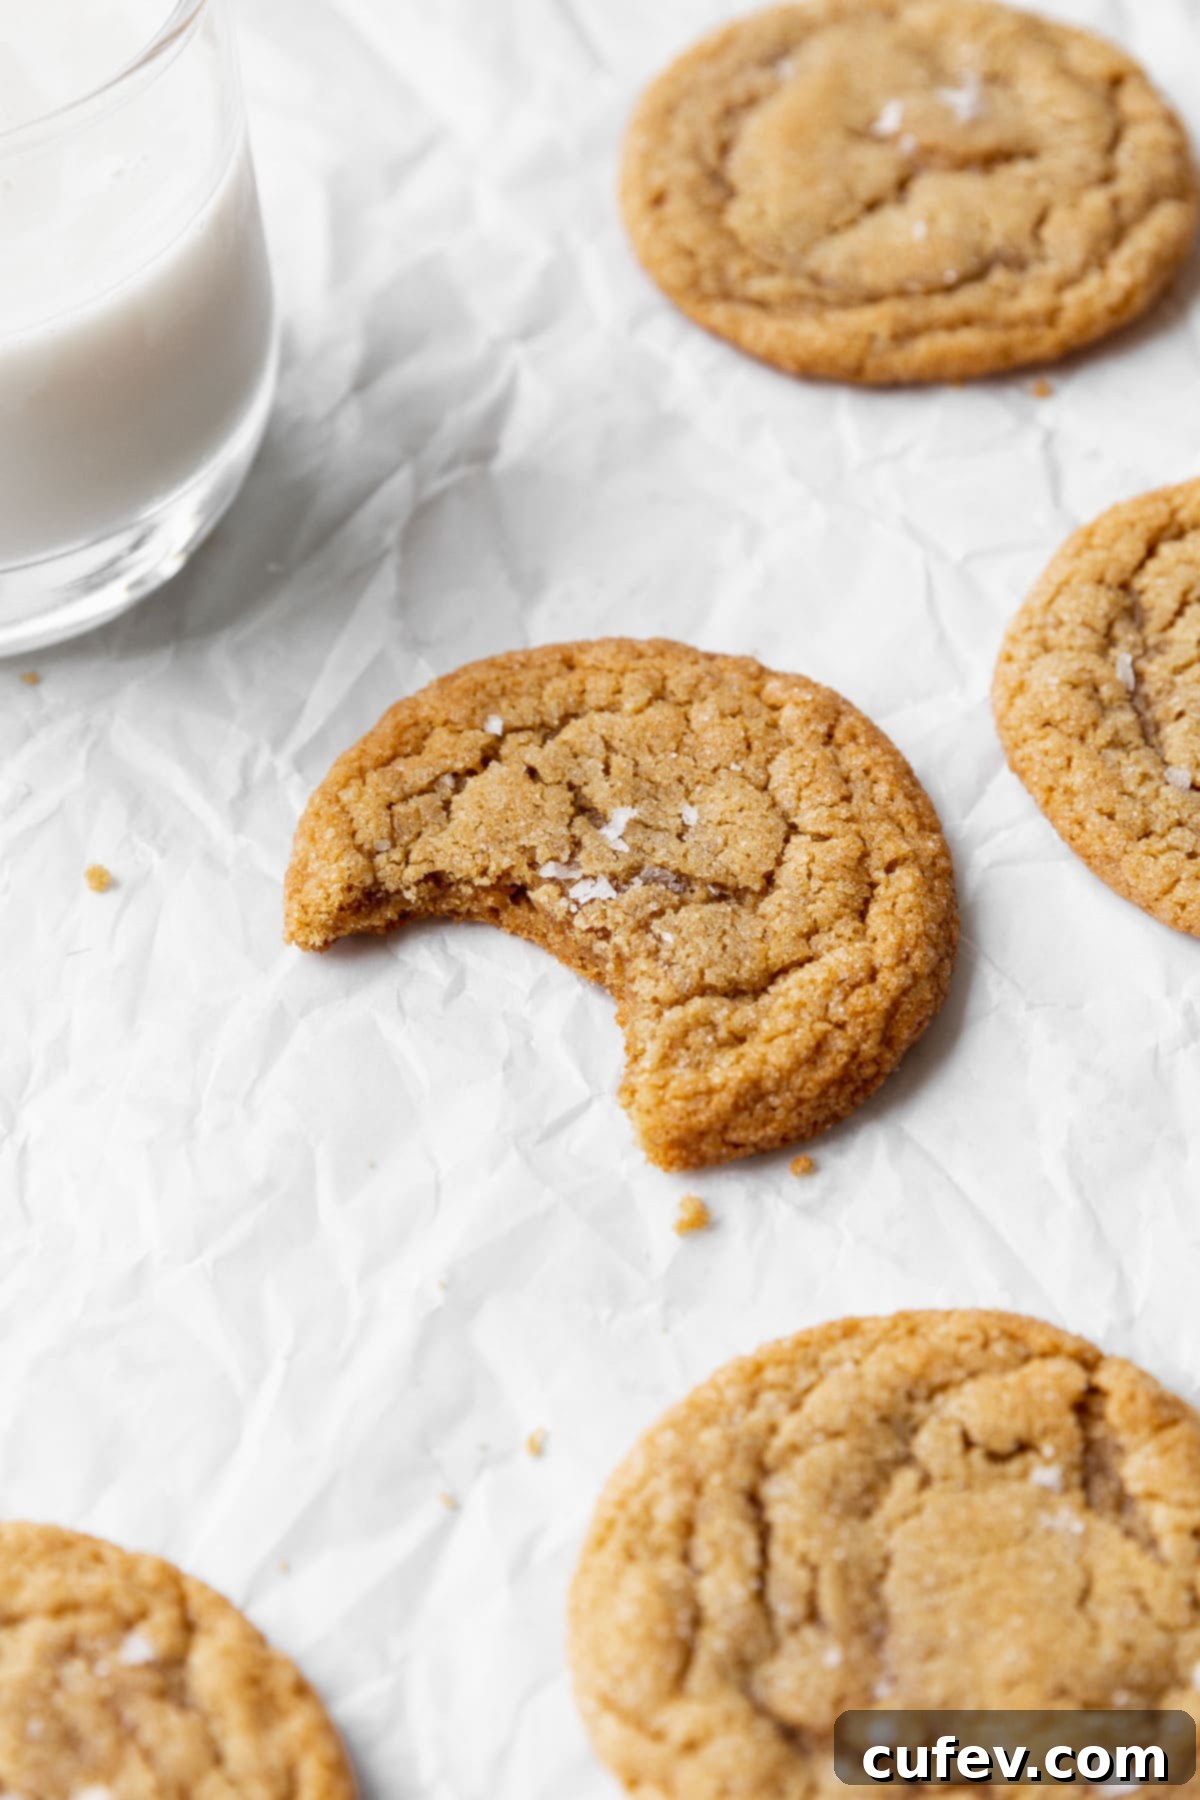
Prepare yourself for a truly delightful experience with our **Dairy-Free Peanut Butter Cookies**. These aren’t just any cookies; they are exceptionally soft, wonderfully chewy, and packed with an incredibly smooth, rich peanut butter flavor, all crowned with a glistening, delightful sugar coating. This recipe is a game-changer for anyone seeking a delicious treat without milk products, whether due to allergies, dietary choices, or simply a preference for plant-based baking. You’ll be thrilled to discover how simple this cookie recipe is to make, requiring no special tools, and baking to golden perfection in under 10 minutes. Get ready to bake a batch of cookies that everyone can enjoy, without compromising on taste or texture!
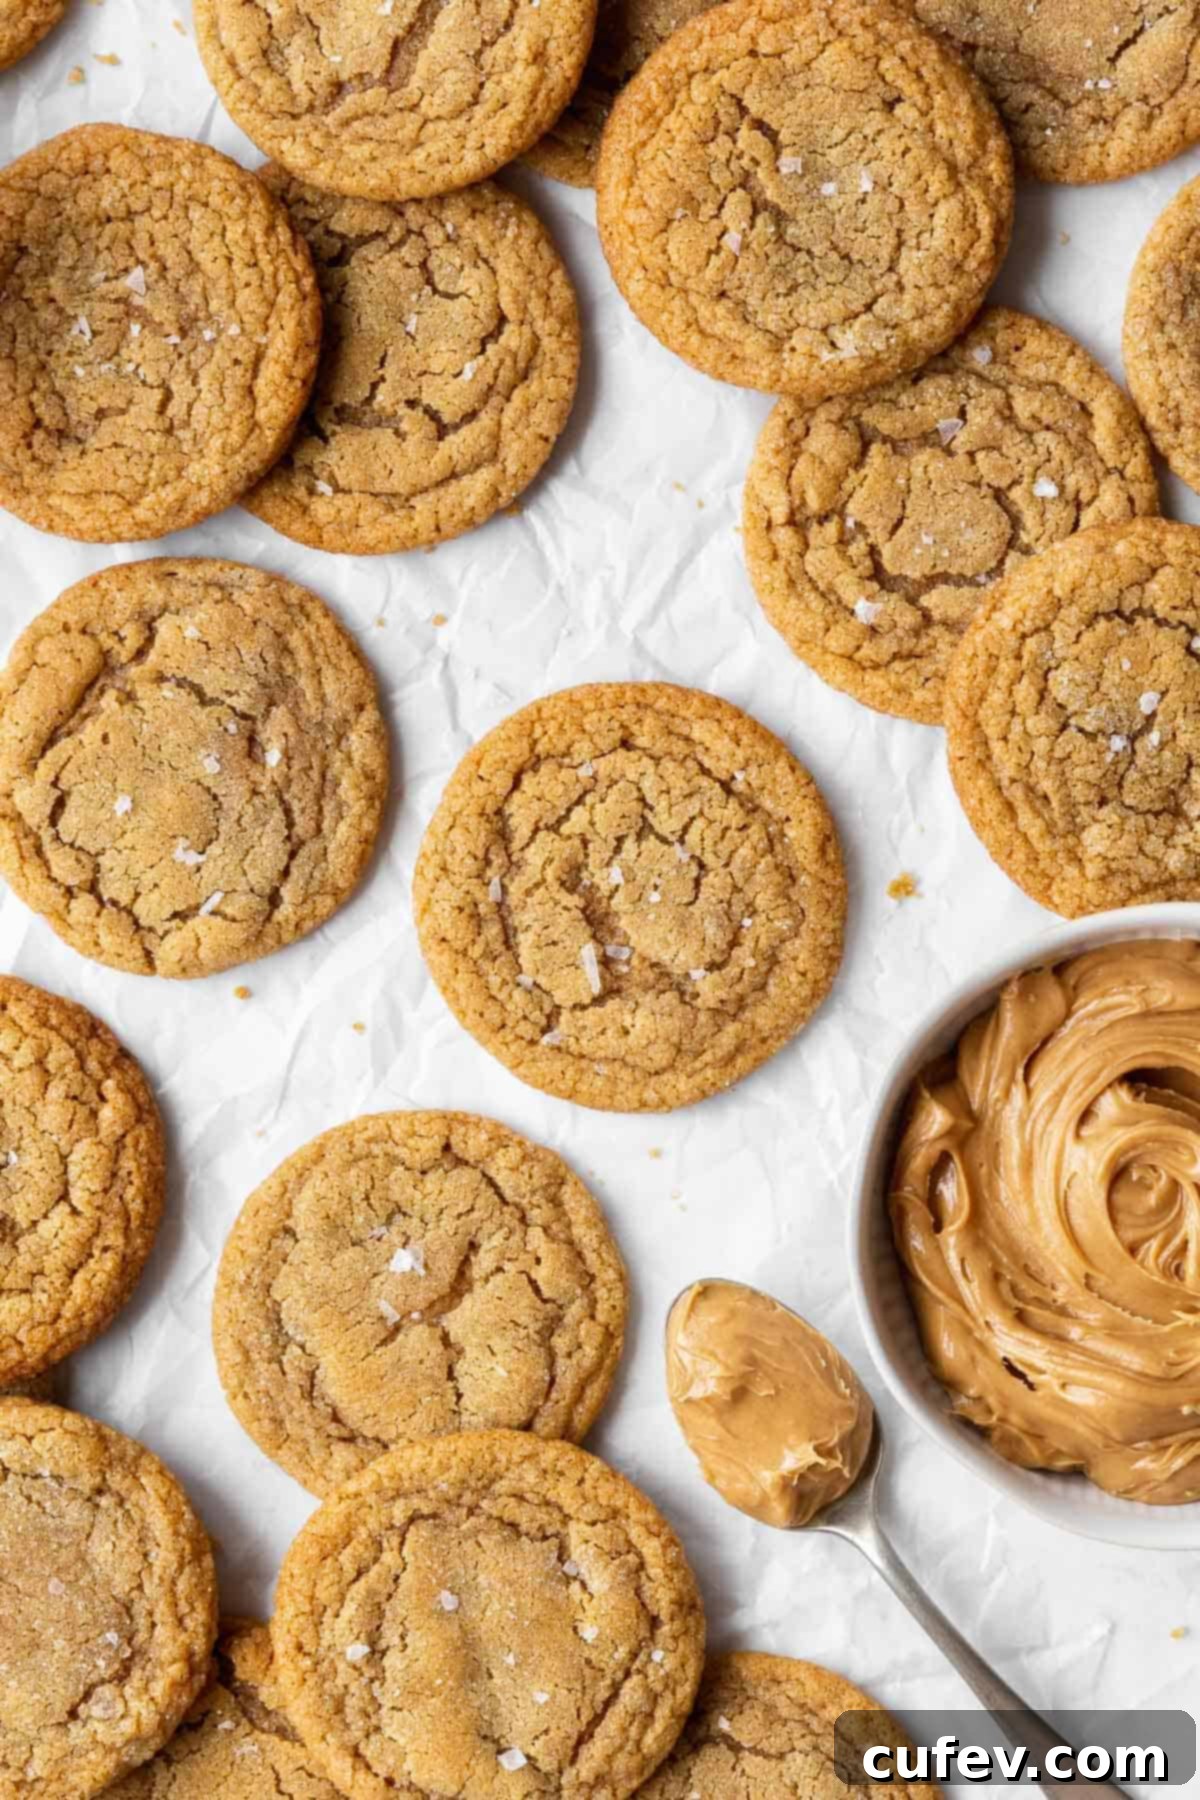
Why You’ll Absolutely Love These Dairy-Free Peanut Butter Cookies
These dairy-free peanut butter cookies aren’t just an alternative; they are a superior delight that everyone, regardless of dietary needs, will crave. Here’s why this recipe will quickly become a favorite in your household:
- Effortlessly Simple to Make: Forget about needing a culinary degree or an arsenal of specialized kitchen gadgets. This easy dairy-free cookie recipe requires only basic tools you likely already own. With straightforward steps and common ingredients, even beginner bakers will achieve fantastic results. A simple cookie scoop or even just a tablespoon will help you create perfectly sized dough balls, ensuring even baking and eliminating any fuss. It’s a fantastic, stress-free recipe for anyone craving homemade goodness without the complication.
- Incredibly Soft, Chewy, and Perfectly Sugary: Prepare for a truly satisfying sensory experience! These cookies boast a slightly crisp outer layer, glistening with sugary goodness, which gives way to an irresistibly soft and chewy, melt-in-your-mouth interior. If you’ve ever doubted that desserts made without traditional butter or milk can be moist and tender, these cookies will completely change your mind. The secret lies in the harmonious blend of smooth vegan butter and creamy peanut butter, which effectively locks in moisture and richness. This results in lactose-free cookies that are deeply flavorful, wonderfully chewy, and never dry – a true pleasure for every palate.
- Conveniently Easy to Make Ahead: Life gets busy, but that shouldn’t stop you from enjoying fresh-baked cookies! This recipe is incredibly flexible for meal prepping and entertaining. The cookie batter stores beautifully overnight in the refrigerator, allowing you to mix your ingredients a day in advance and simply bake them up fresh at just the right moment. For an even more spontaneous cookie fix, you can portion and freeze sugar-coated dough balls for up to three months. This means warm, homemade cookies are always just minutes away, perfect for unexpected guests, school lunchboxes, or sudden cravings.
Essential Ingredients for Dairy-Free Peanut Butter Cookies
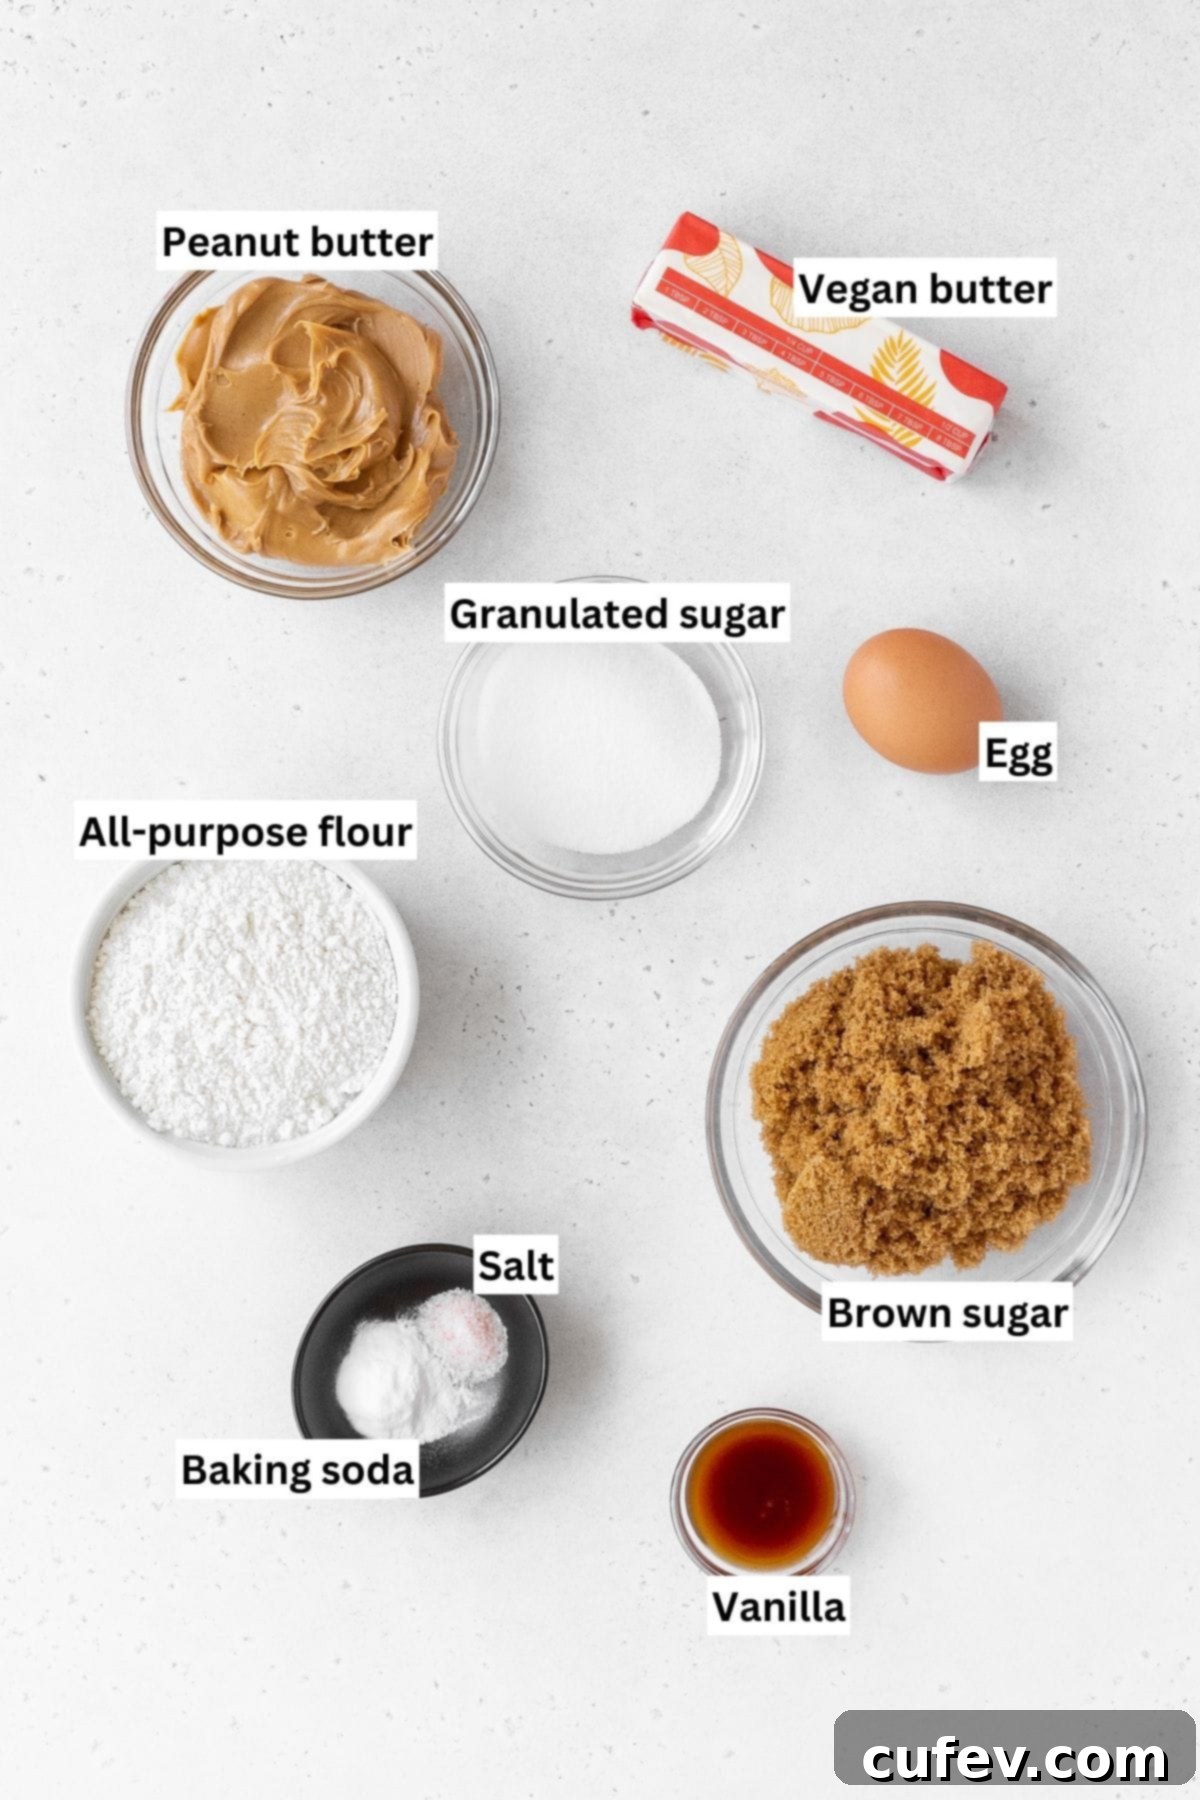
Crafting these delicious peanut butter cookies without dairy is surprisingly simple, requiring a handful of common, yet crucial, ingredients. The quality of these components truly shines through in the final product, so choosing wisely will elevate your baking results!
- Vegan Butter: This plant-based alternative is paramount for achieving that signature rich, creamy, buttery texture without any dairy. It’s vital that the vegan butter is softened to room temperature before use, as this aids in proper creaming with the sugars and peanut butter, leading to a smooth, uniform, and airy dough. Popular and reliable brands like Miyoko’s Kitchen, Earth Balance, or Country Crock Plant Butter sticks work wonderfully for baking.
- Creamy Peanut Butter: The undisputed star of the show! Creamy peanut butter is absolutely essential for keeping these cookies wonderfully smooth, moist, and infused with that irresistible nutty flavor. For the best results in terms of cookie structure and consistency, opt for a commercial, “no-stir” variety such as Jif, Skippy, or Peter Pan. These types have a more stable oil content compared to natural peanut butters, which can separate and alter the cookie texture. Choose a brand whose peanut flavor you genuinely enjoy, as it will be prominent in the finished cookies.
- Brown Sugar: This ingredient is key for contributing delightful molasses notes, a richer depth of flavor, and, most importantly, a wonderfully chewy texture to your cookies. Both light and dark brown sugars can be used effectively, but dark brown sugar will impart a more intense, caramel-like molasses flavor and a slightly deeper color to your cookies. Remember to pack it firmly into your measuring cup for accurate quantities.
- Granulated Sugar: Standard granulated sugar provides the classic sweetness within the cookie dough itself. Crucially, it’s also used for coating the dough balls before baking, creating that irresistible sugary crust that adds a pleasant crunch and sparkle to each cookie. This dual use ensures both internal sweetness and external textural appeal.
- Egg: One large egg serves as a vital binder in this recipe, helping to hold the batter together, contributing to the cookies’ overall structure, and adding essential moisture. For optimal emulsification and mixing with other ingredients, it’s best to use an egg that is at room temperature. If you forget to take it out in advance, a quick trick is to place the egg in a bowl of warm (not hot) water for 5-10 minutes.
- Vanilla Extract: A quintessential cookie ingredient, vanilla extract is included to enhance and round out all the other flavors, adding a comforting aromatic depth. For an even more intense and nuanced vanilla aroma and flavor profile, you can substitute with an equal amount of vanilla bean paste.
- All-Purpose Flour: This is the primary dry ingredient, providing the fundamental structure and body for your cookies. If gluten is a concern for you or your guests, this recipe is incredibly adaptable! You can easily swap standard all-purpose flour for a reliable gluten-free baking blend (please refer to the “Substitutions” section below for a specific, highly recommended gluten-free option).
- Salt: A small but significant amount of fine salt is essential for balancing the sweetness of the sugars and enhancing the deep, nutty flavors of the peanut butter. Fine salt mixes easily and evenly into the dough, ensuring every bite is perfectly seasoned.
- Baking Soda: This powerful leavening agent is critical for achieving that perfect chewy texture. It reacts with the acidic components in the brown sugar to create lift, helping the cookies spread slightly and develop a tender, pliable crumb rather than being flat or dense.
Smart Substitutions for Your Dairy-Free Peanut Butter Cookies
One of the great things about this dairy-free peanut butter cookie recipe is its versatility and adaptability. Here are some trusted substitutions to accommodate various dietary needs and preferences without sacrificing flavor or texture:
- Gluten-Free Flour: For those seeking truly delicious gluten-free dairy-free peanut butter cookies, a high-quality 1-to-1 gluten-free baking flour blend is an excellent and effective swap. I personally recommend **Bob’s Red Mill Gluten-Free 1-to-1 Baking Flour** for its consistent results and ease of use in most baking applications. This blend is specifically designed to replace regular all-purpose flour cup-for-cup in recipes, making the transition seamless. For the most accurate and reliable results with gluten-free flour, always measure by weight using a kitchen scale if possible, as different brands can vary slightly in density.
- Nut Butter Alternatives: While this recipe is meticulously crafted to highlight the classic flavor of peanut butter, you *can* experiment with other creamy nut butters if you have a peanut allergy or simply desire a different flavor profile. Smooth almond butter or cashew butter can be substituted, but be aware that the fat content and consistency of other nut butters can vary. You might need to make slight adjustments to the chilling time or, if the dough appears too dry, add a tiny splash (1-2 teaspoons) of your favorite non-dairy milk (like almond or oat milk) to achieve the right consistency. Always ensure whichever nut butter you choose is a “no-stir” variety for the best cookie texture.
- Sugar Alternatives: While not directly covered in the original, if you’re looking to reduce sugar, you might experiment with sugar substitutes, keeping in mind they can alter texture. For truly specific sugar-free peanut butter cookies, we recommend a dedicated keto recipe.
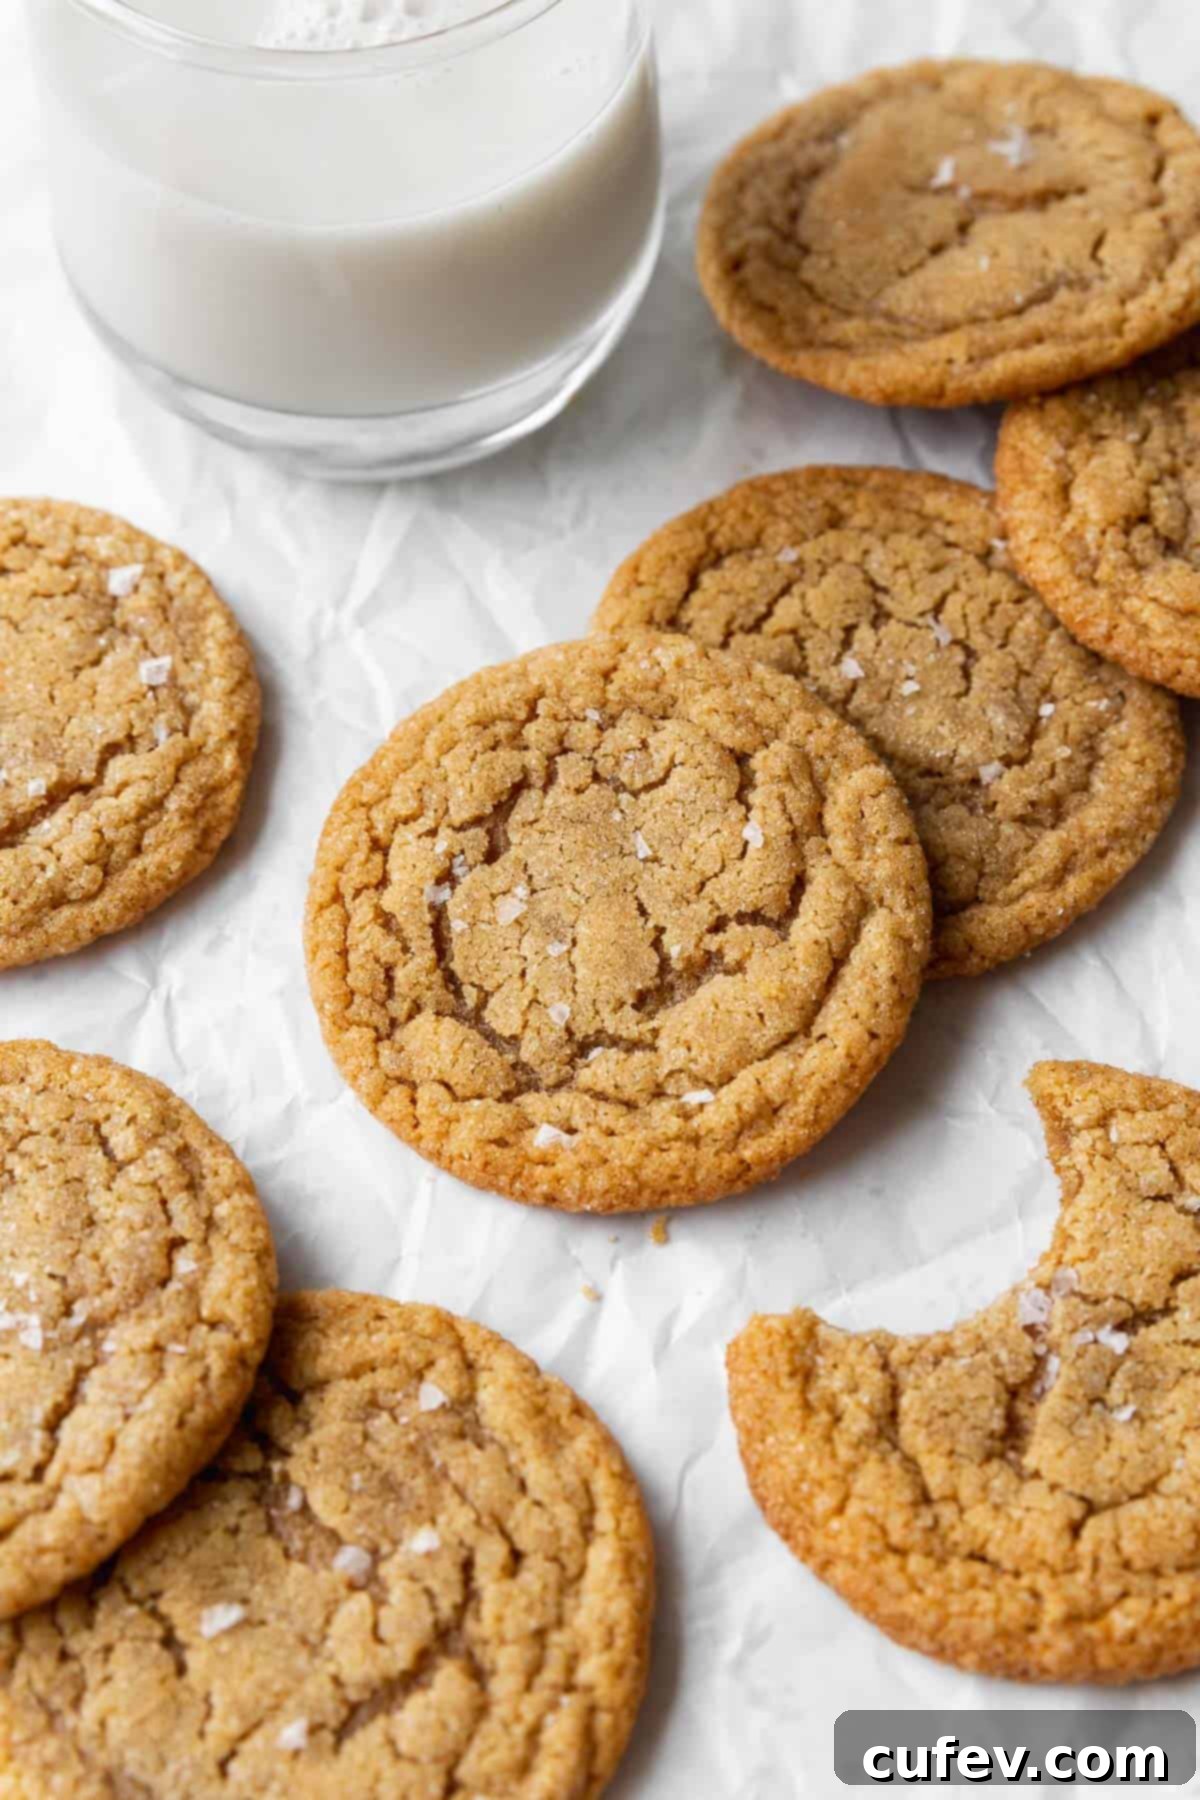
Step-by-Step Guide: How to Make Irresistible Dairy-Free Peanut Butter Cookies
Creating these delightful peanut butter cookies without milk is a wonderfully straightforward process. Follow these detailed steps for a perfect batch of soft, chewy, and flavorful cookies every single time:
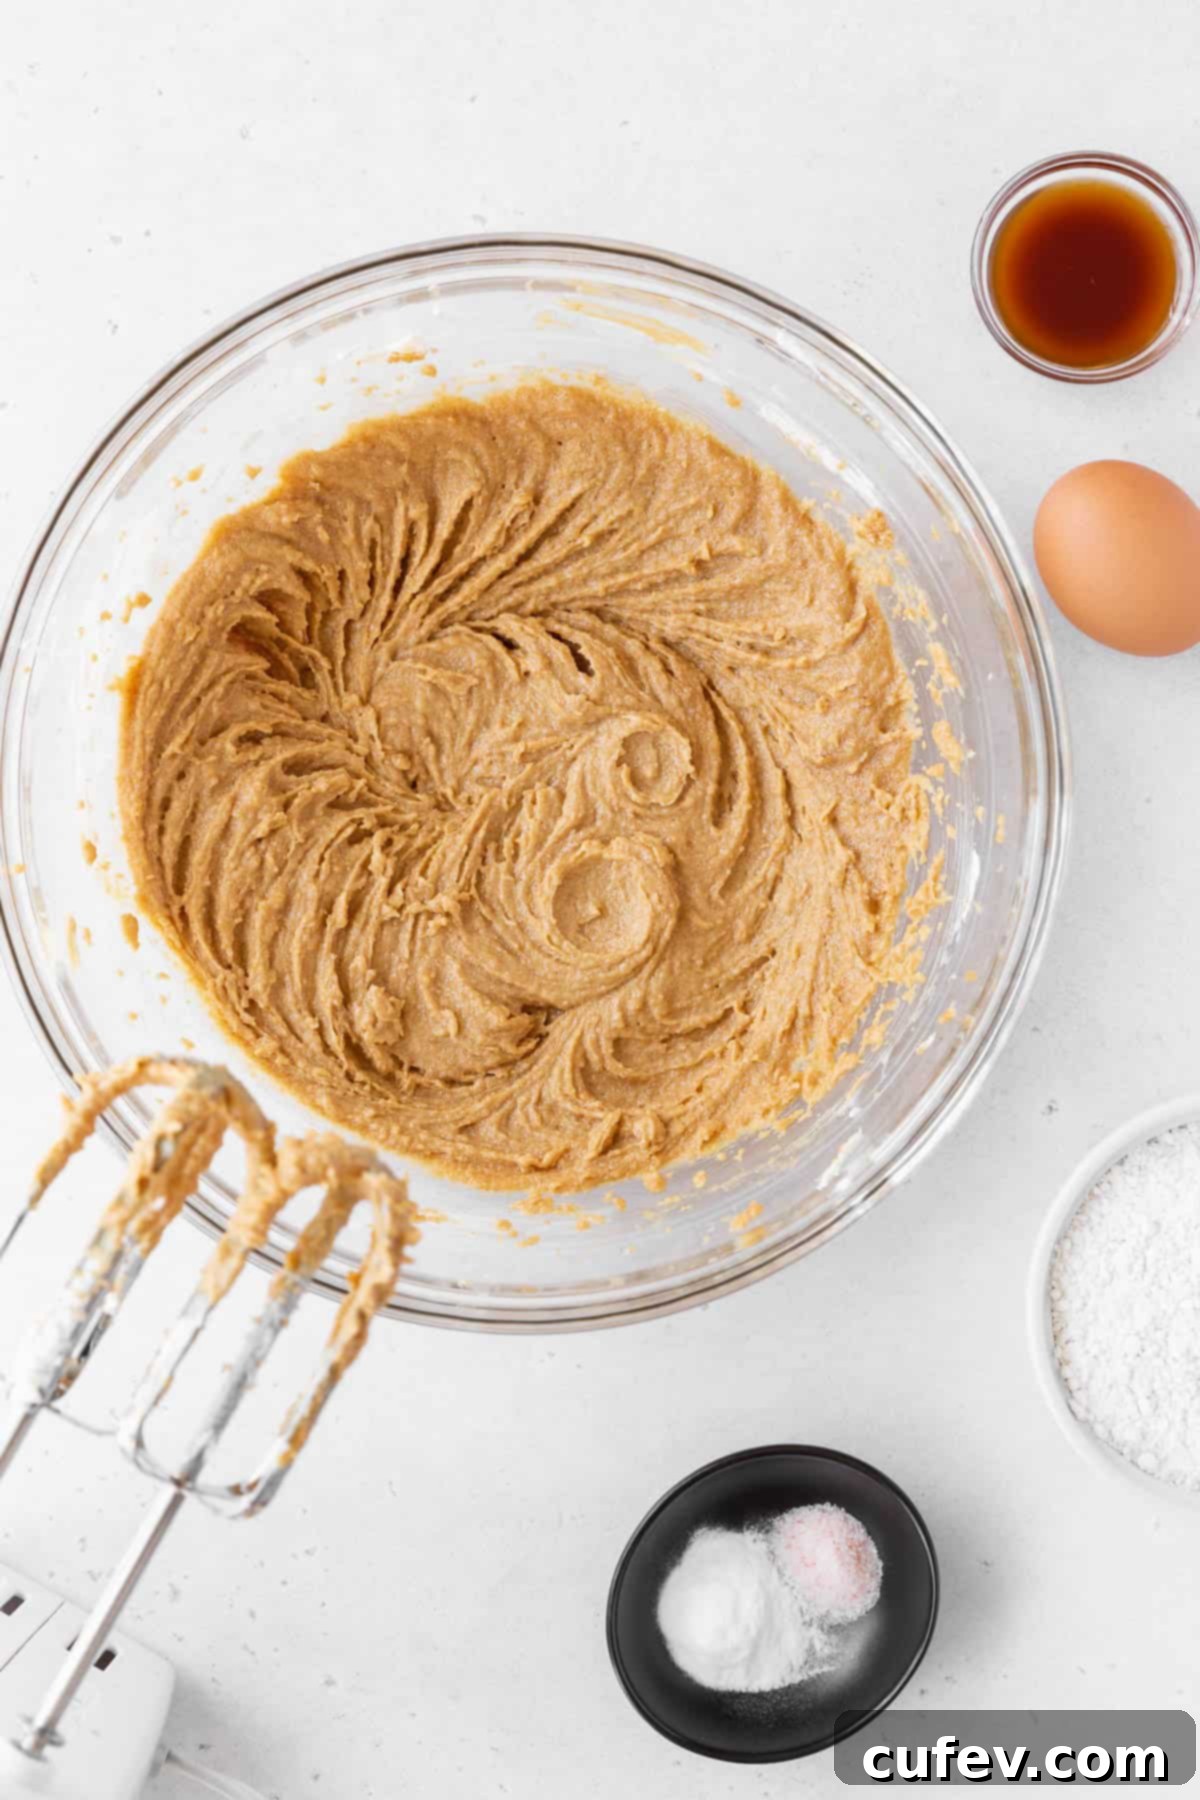
Step 1: Cream the Wet Ingredients. In the spacious bowl of a stand mixer fitted with the paddle attachment, or a large mixing bowl with a reliable hand mixer, add your softened vegan butter, creamy peanut butter, the rich brown sugar, and the granulated sugar. Beat these ingredients together on medium speed until the mixture transforms into a wonderfully light, fluffy, and visibly lighter-in-color consistency. This initial creaming process, typically lasting about 3 minutes, is crucial for incorporating air into the fats and sugars, which ultimately contributes to a tender and airy cookie texture.
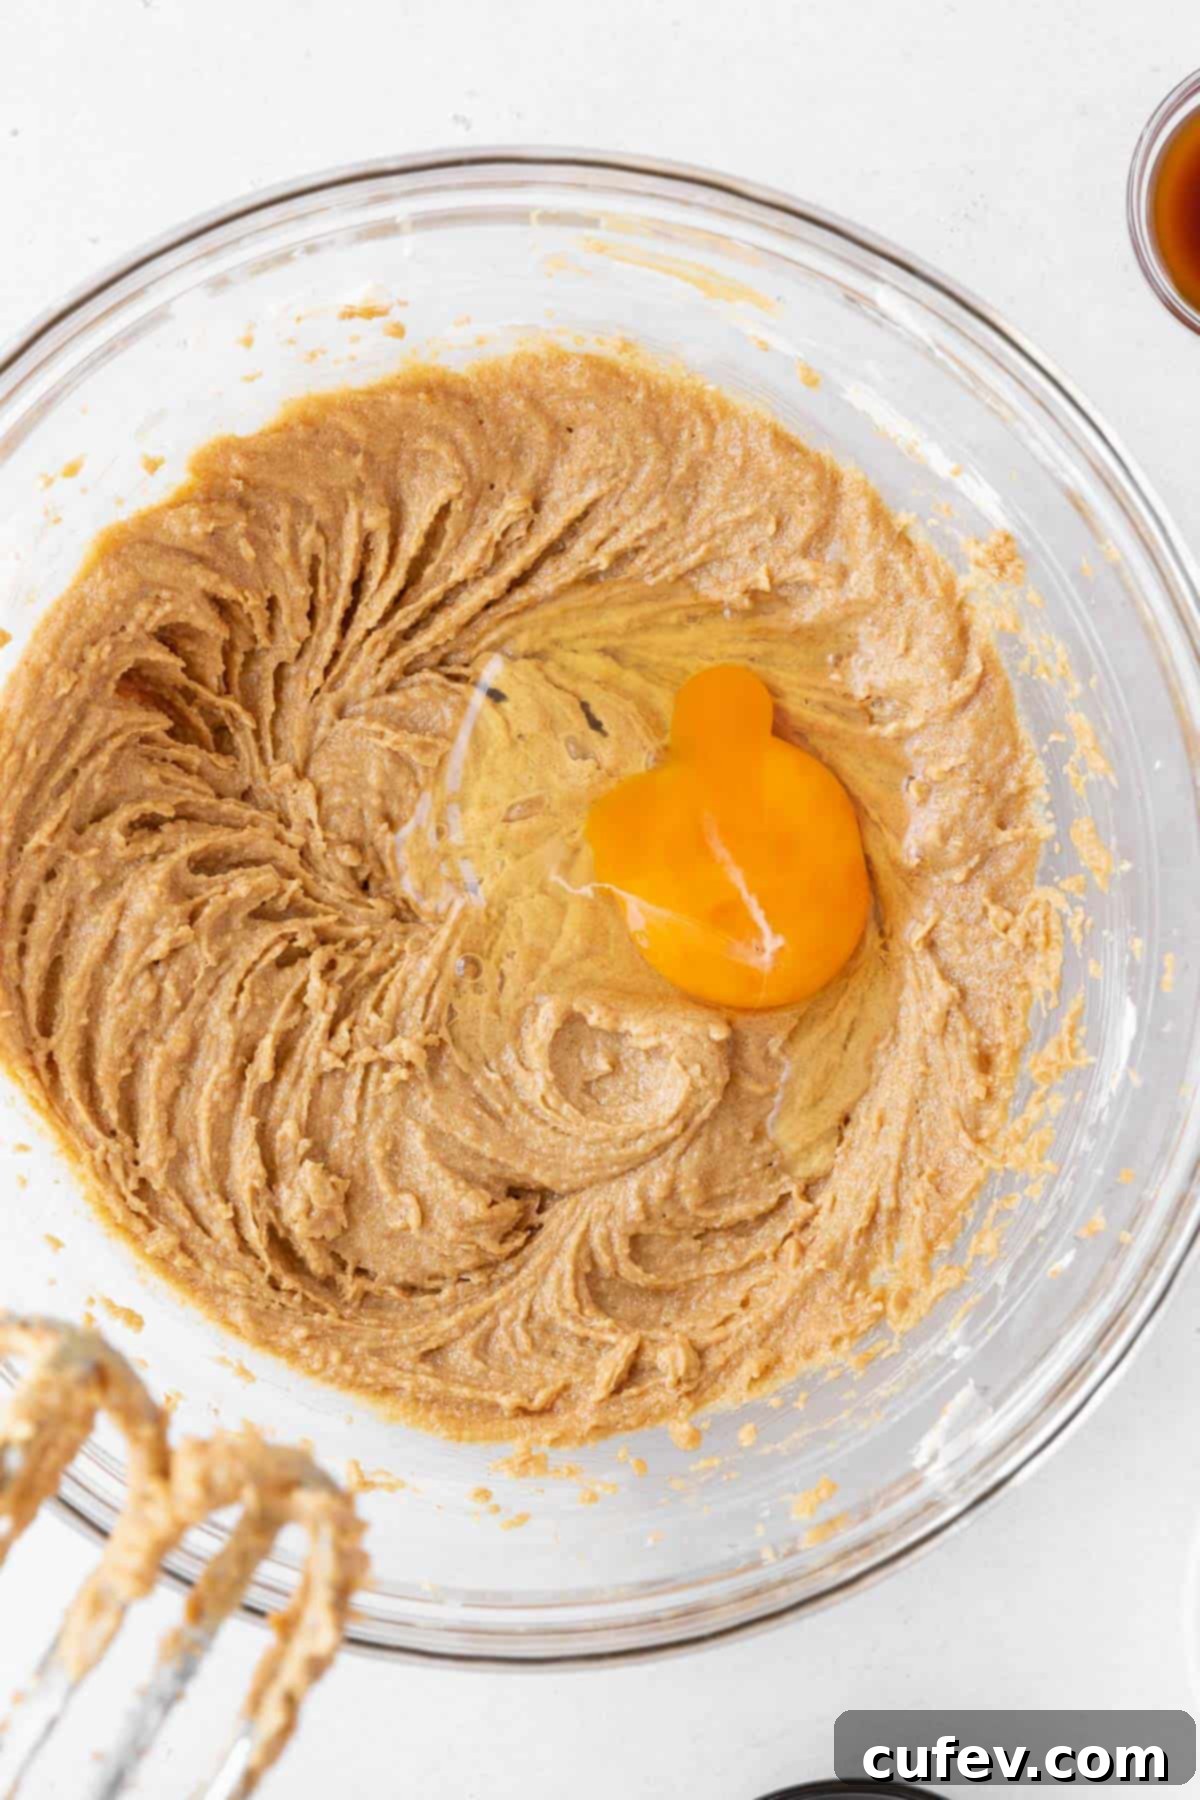
Step 2: Incorporate Egg and Vanilla. Next, add the single room-temperature egg and the fragrant vanilla extract to your creamed mixture. Continue to beat on medium speed until all these components are thoroughly combined and smooth. Remember to pause and scrape down the sides of the bowl as needed to ensure no ingredient is left unincorporated. If your kitchen is particularly warm, or you want to be extra cautious about dough consistency, you can place the bowl in the refrigerator for 5-10 minutes at this stage to keep the fats cool while you prepare the dry ingredients.
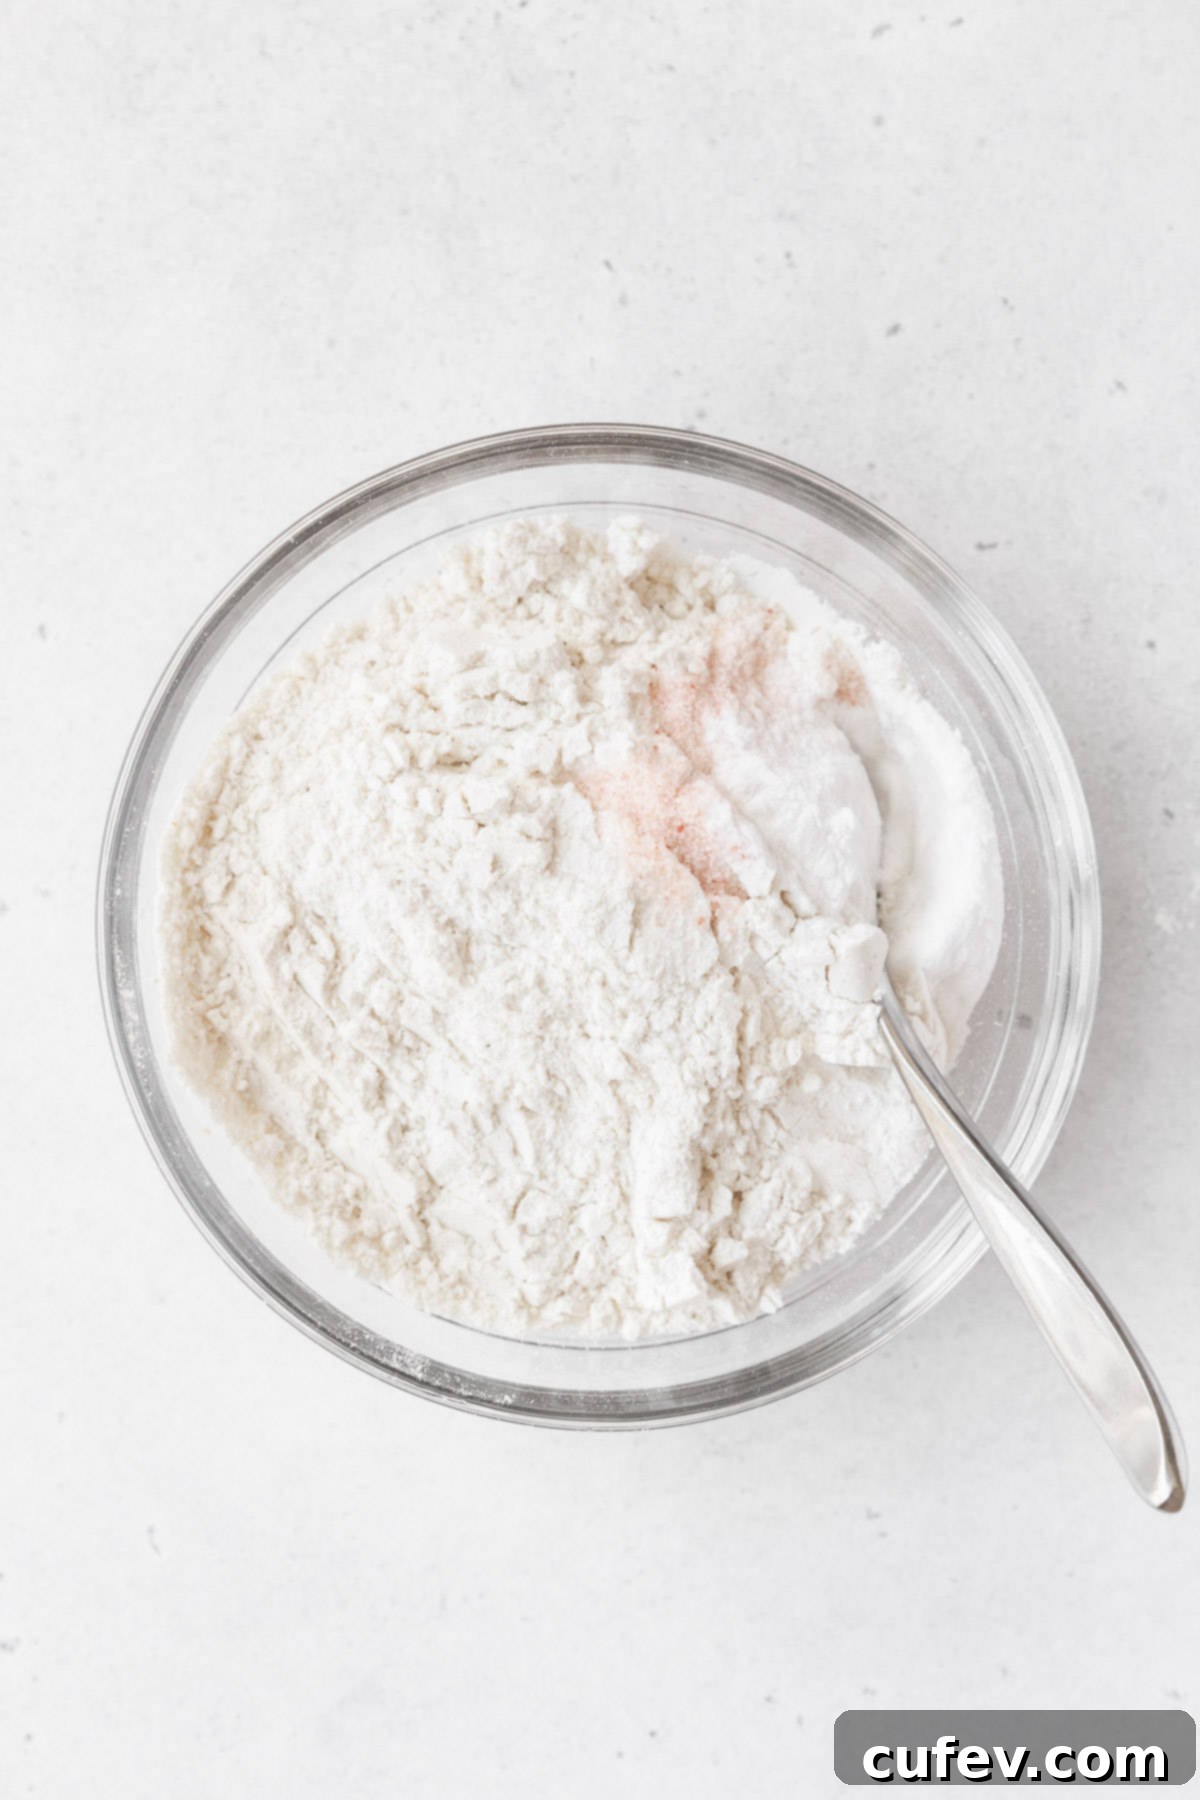
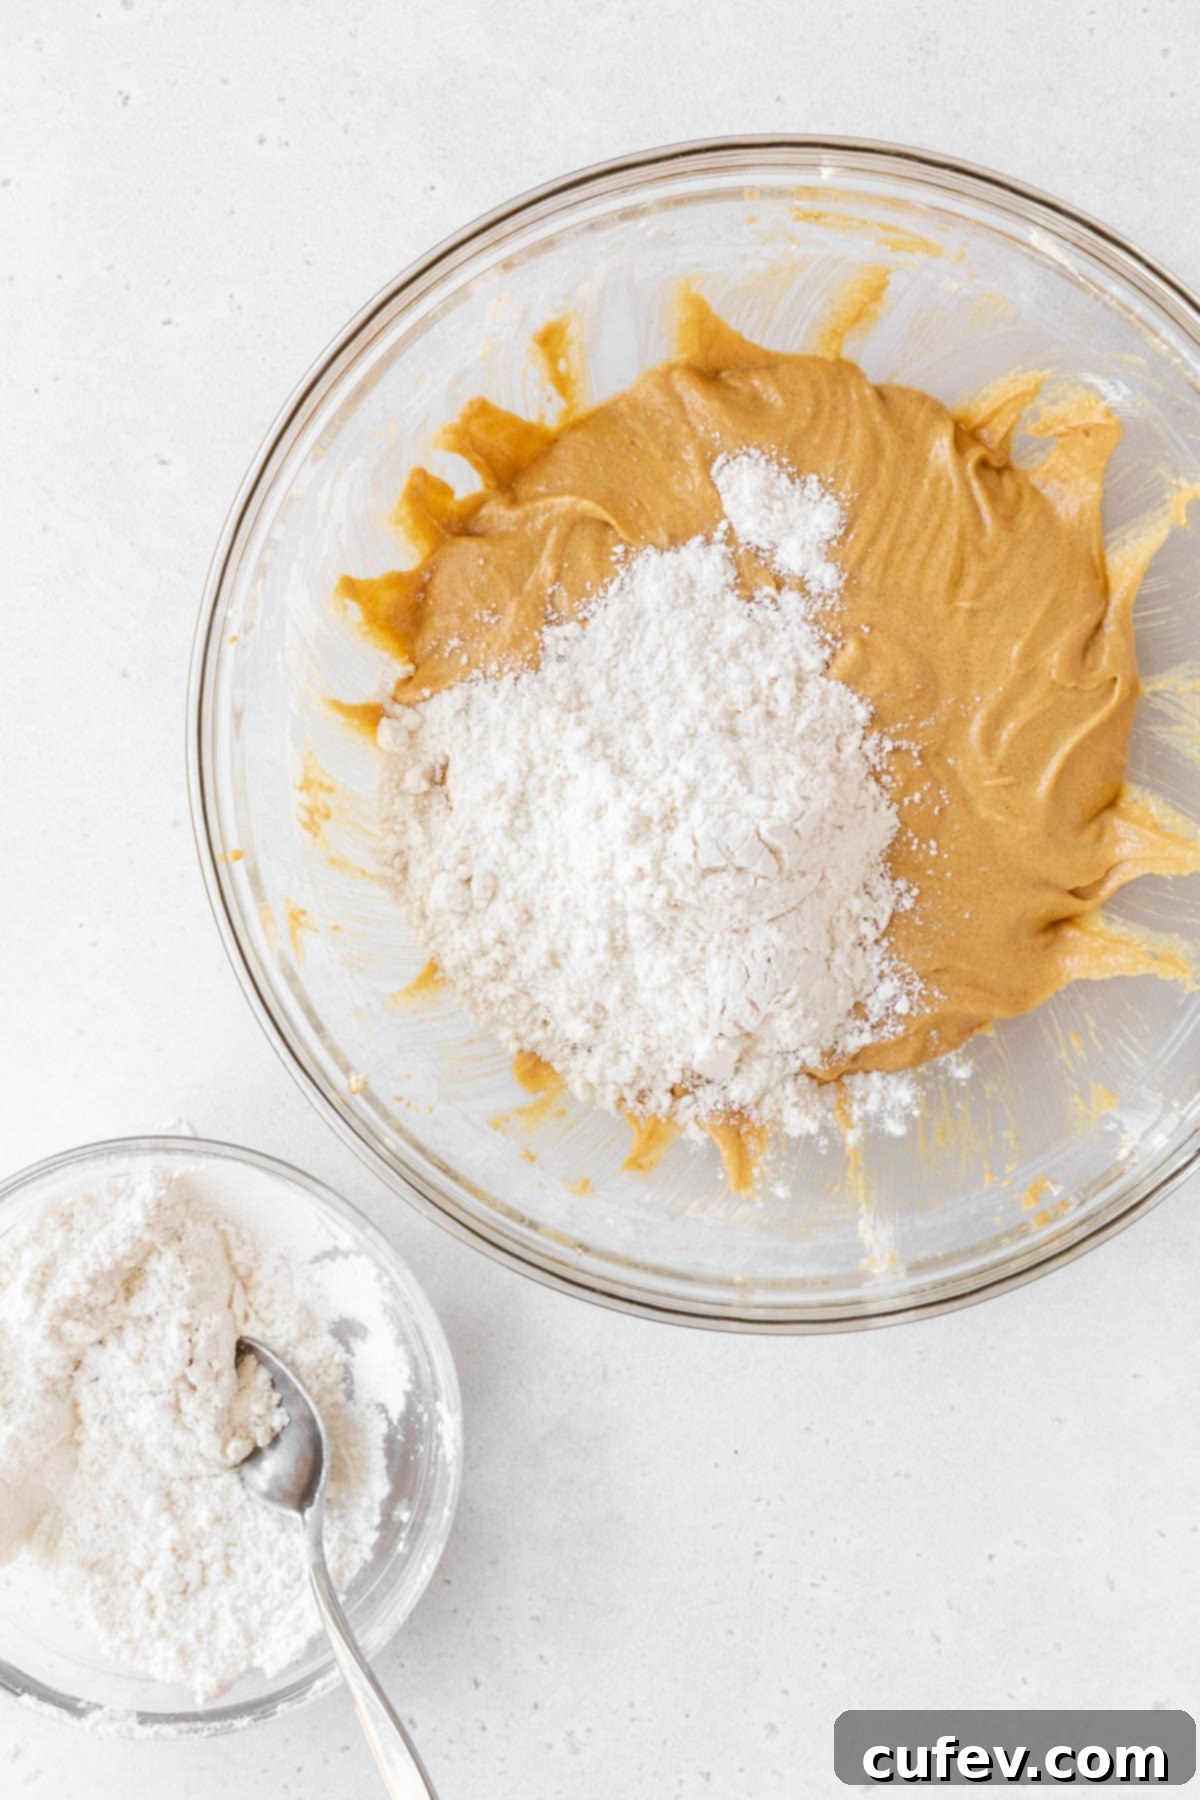
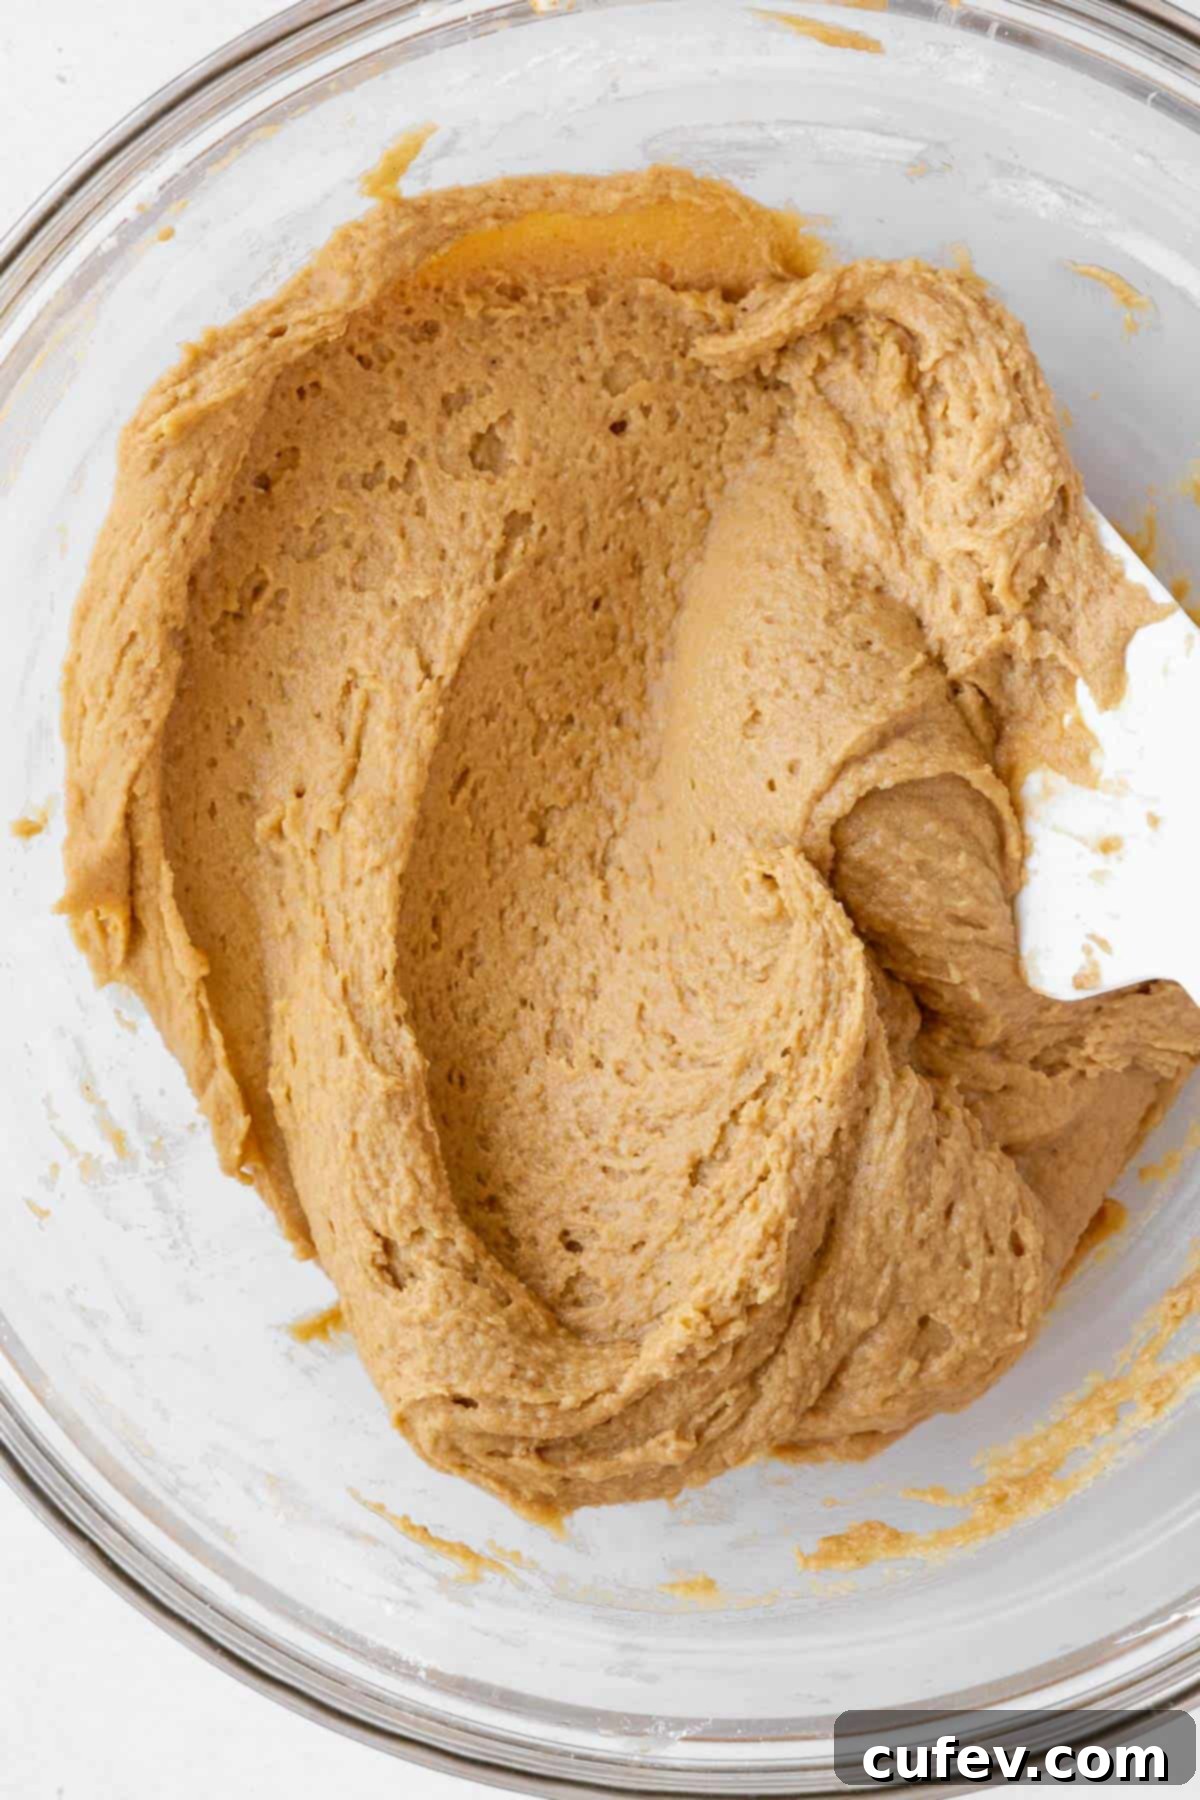
Step 3: Combine Dry with Wet Ingredients. In a separate medium-sized bowl, whisk together the all-purpose flour, fine salt, and baking soda until they are thoroughly combined. This step ensures that the leavening agent (baking soda) is evenly distributed throughout the dry mixture, which is critical for uniform lift and texture. Gradually add this prepared dry mixture to your wet ingredients in the stand mixer. Using a spatula, or mixing on the lowest speed of your mixer, mix until the dry ingredients are *just* combined with the wet. It’s crucial not to overmix at this stage, as excessive gluten development can lead to tough, rather than chewy, cookies.
Step 4: Chill the Cookie Dough. Once your dough is mixed, cover the bowl tightly with plastic wrap and transfer it to the refrigerator. Allow the dough to chill for a minimum of 2 hours, or for optimal results, chill it overnight. This crucial step is multi-faceted: it solidifies the fats in the dough, which significantly prevents the cookies from spreading too much during baking, deepens and melds the flavors, and ultimately results in a chewier, more delightful, and perfectly shaped cookie.
Step 5: Prepare for Baking. Once your cookie dough is thoroughly chilled and you’re ready to bake, preheat your oven to 375°F (190°C). Prepare a large baking sheet by lining it with parchment paper. Parchment paper is highly recommended as it not only prevents the cookies from sticking to the pan but also aids in even baking and ensures an incredibly easy cleanup afterward.
Step 6: Scoop and Roll in Sugar. Using a cookie scoop (a 4-teaspoon scoop works perfectly, holding about a heaped tablespoon of dough for ideal cookie size), scoop out uniform portions of the chilled dough. Gently roll each portion between your palms to form a smooth, neat ball. Then, roll each dough ball generously in a shallow bowl of granulated sugar, ensuring it’s evenly coated on all sides. This sugar coating adds a beautiful sparkle and a delightful textural crunch. Place the sugar-coated dough balls on your prepared baking sheet, making sure to leave at least 2 inches of space between each one to allow for proper spreading during baking without them merging.

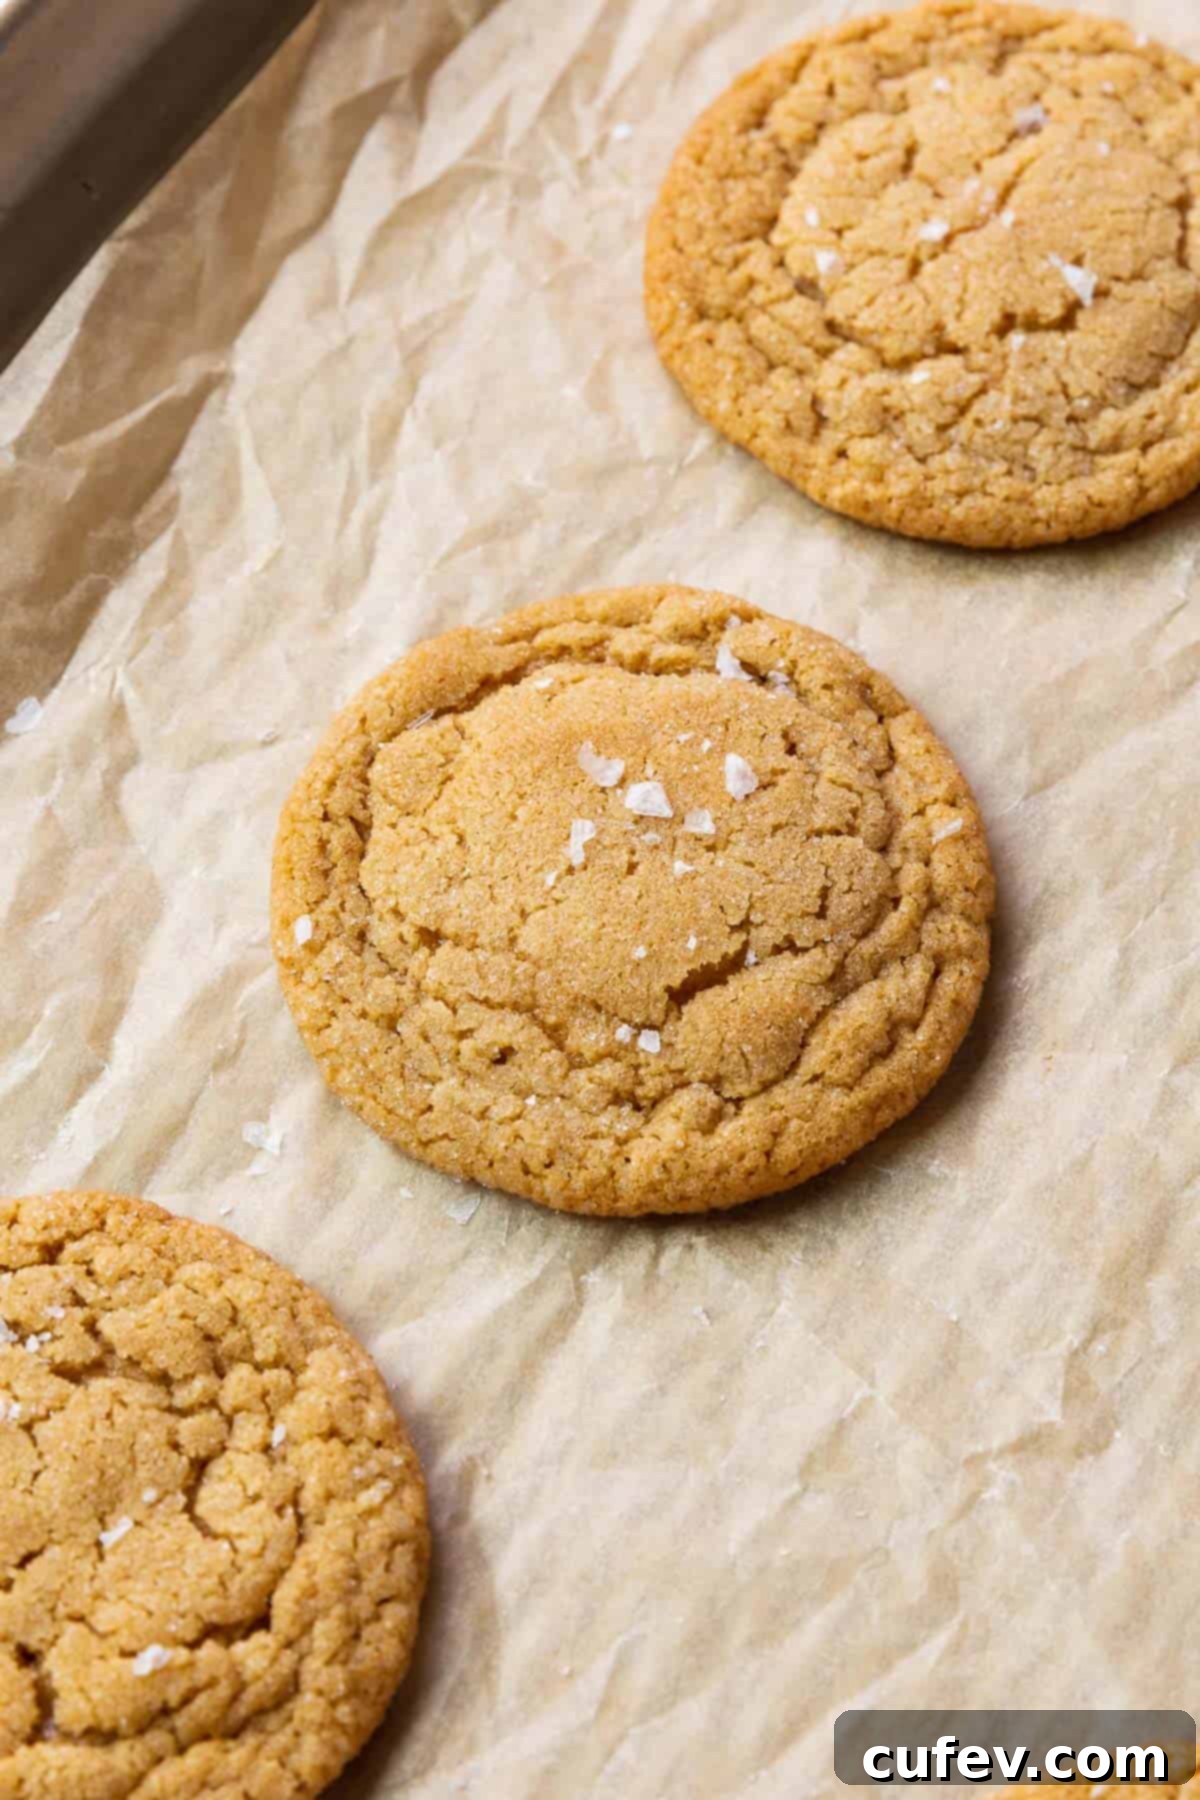
Step 7: Bake to Perfection and Cool. Carefully transfer the baking sheet to your preheated oven and bake the cookies for approximately 8 to 9 minutes. When you first remove them from the oven, they will appear very soft and perhaps even slightly underbaked in the center – this is completely normal and desirable, as it contributes to their wonderfully chewy texture. Resist the urge to overbake, as this can lead to dry cookies! Allow the cookies to cool directly on the baking pan for about 10 minutes. This cooling period on the warm pan is absolutely essential as it allows the cookies to fully set and firm up, preventing them from falling apart when transferred. After 10 minutes, carefully transfer them to a wire rack to cool completely, which will help keep their bottoms perfectly crisp and prevent sogginess.

Pro Tips for Perfect Dairy-Free Peanut Butter Cookies Every Time
Achieving bakery-quality dairy-free peanut butter cookies is easy and achievable with these expert tips and tricks. Pay attention to these small details for consistently amazing results:
- Always Use Non-Natural, Creamy Peanut Butter: This is arguably the most crucial detail for this recipe’s success. Natural peanut butter, with its tendency to separate oils and varying consistencies, can significantly alter the texture of these cookies, making them either excessively oily, crumbly, or spread too thin. For consistent, smooth, and perfectly textured cookies that hold their shape, it’s highly recommended to use a commercial “no-stir” creamy peanut butter like SKIPPY® or Jif. These brands offer the stable emulsion and consistent fat content needed for optimal cookie structure and chewiness.
- Start with Room-Temperature Vegan Butter: Just like with traditional baking, ensuring your vegan butter is at room temperature is essential. Vegan butter, in particular, can have a lower melting point than dairy butter, so “softened” (pliable but not melted) is key. Room-temperature ingredients emulsify and blend together much more effectively, creating a smooth, homogenous dough that incorporates air properly. This ensures your cookies have a wonderfully consistent texture without becoming greasy or having pockets of unmixed ingredients.
- Utilize a Cookie Scoop for Uniformity: For professional-looking cookies that bake evenly every single time, a cookie scoop is an indispensable tool. It ensures that each cookie dough portion is precisely the same size, promoting uniform spreading and baking across the entire batch. I personally find a 4-teaspoon scoop (which holds about a heaped tablespoon of dough) ideal for achieving perfectly sized cookies, allowing me to fit about 8 evenly spaced cookies per standard baking tray, giving them ample room to spread without merging.
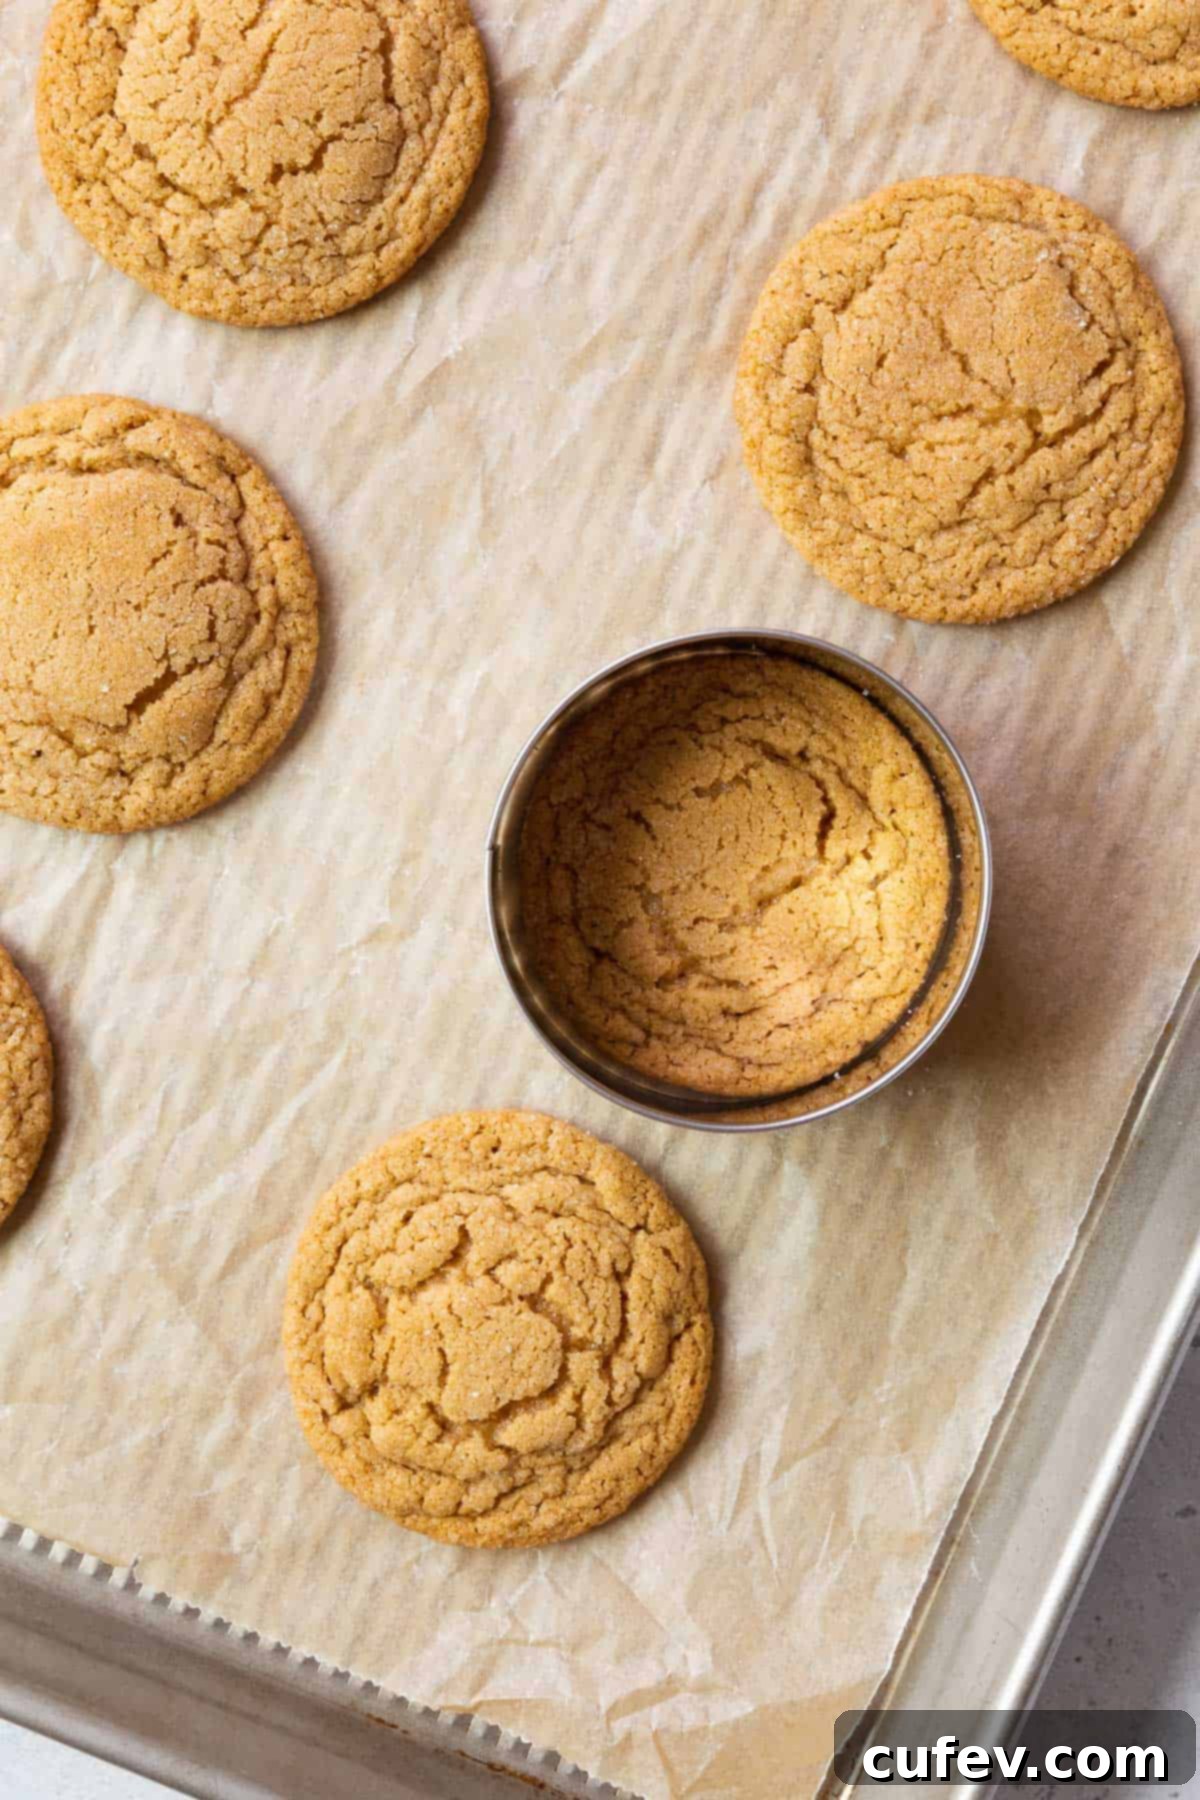
- Shape Cookies into Perfect Circles After Baking: For those who appreciate symmetry and a picture-perfect presentation, there’s a clever bakery trick to achieve beautifully round cookies. Bake your cookies for the recommended time but consider underbaking them by just 30 seconds to 1 minute. Immediately after removing them from the oven, while they are still soft and pliable on the hot baking sheet, take a large round cookie cutter (one that is slightly larger than your baked cookies) and gently place it around each warm cookie. Carefully swirl the cutter around the soft cookie, gently pushing and evening out any slight imperfections, creating perfectly round, bakery-worthy treats.
- Don’t Overmix the Dough: Once you add the flour, mix the dough only until the ingredients are just combined. Overmixing can develop the gluten in the flour too much, leading to tougher, drier cookies instead of the desired soft and chewy texture.
- Accurate Measurement of Flour: Especially important if you’re not using a kitchen scale. Always spoon your flour into the measuring cup and then level it off with a straight edge, rather than scooping directly from the bag. This prevents compacting the flour and adding too much, which can make cookies dry and crumbly.
Exciting Recipe Variations for Your Dairy-Free Peanut Butter Cookies
This classic dairy-free peanut butter cookie recipe serves as a fantastic base for creativity. Feel free to experiment with these delicious variations to customize your batch and discover new favorites:
- Decadent Chocolate Peanut Butter Cookies: For the ultimate flavor combination that perfectly balances sweet and savory, mix in or gently press a few dairy-free chocolate chips into the peanut butter dough balls before baking. To maintain the non-dairy status of this recipe, be sure to use certified dairy-free chocolate chips, such as those from the popular Enjoy Life brand, or other high-quality vegan chocolate varieties. Alternatively, for a gourmet touch, use a vegetable peeler to shave delicate curls of your favorite dairy-free dark chocolate bar over the warm, freshly baked cookies, allowing them to slightly melt and create a beautiful sheen.
- Elegant Drizzles for Extra Flair: Elevate both the presentation and the flavor of your baked cookies with a simple yet effective drizzle. Melt a small amount of extra creamy peanut butter or a high-quality dairy-free dark chocolate (or even dairy-free white chocolate!) and lightly drizzle it decoratively over the cooled cookies. For an even more indulgent and visually striking look, you can do a beautiful double drizzle of both melted peanut butter and chocolate.
- Almond Infusion for Double Nutty Delight: To double down on a delightful nutty flavor profile that complements the peanut butter beautifully, swap out the vanilla extract for an equal amount of almond extract in the dough. Once you remove the cookies from the oven, while they are still soft, gently press one whole blanched almond into the center of each cookie for a beautiful, elegant garnish and an extra layer of almond essence.
- Warm Seasonal Spices: Introduce a cozy warmth to your peanut butter cookies by mixing in a pinch (about ¼ to ½ teaspoon) of ground cinnamon, nutmeg, or even a touch of pumpkin pie spice into the dry ingredients. This addition is especially delightful during the cooler autumn and winter months, or simply for a unique and aromatic flavor twist.
- Keto-Friendly Option: If you’re specifically seeking a keto-friendly alternative that aligns with a low-carb diet, these traditional dairy-free cookies, while delicious, aren’t designed for that. For a fantastic sugar-free peanut butter cookie recipe that caters to a low-carb lifestyle, we highly recommend checking out our dedicated recipe link.
Delightful Serving Suggestions for Your Dairy-Free Cookies
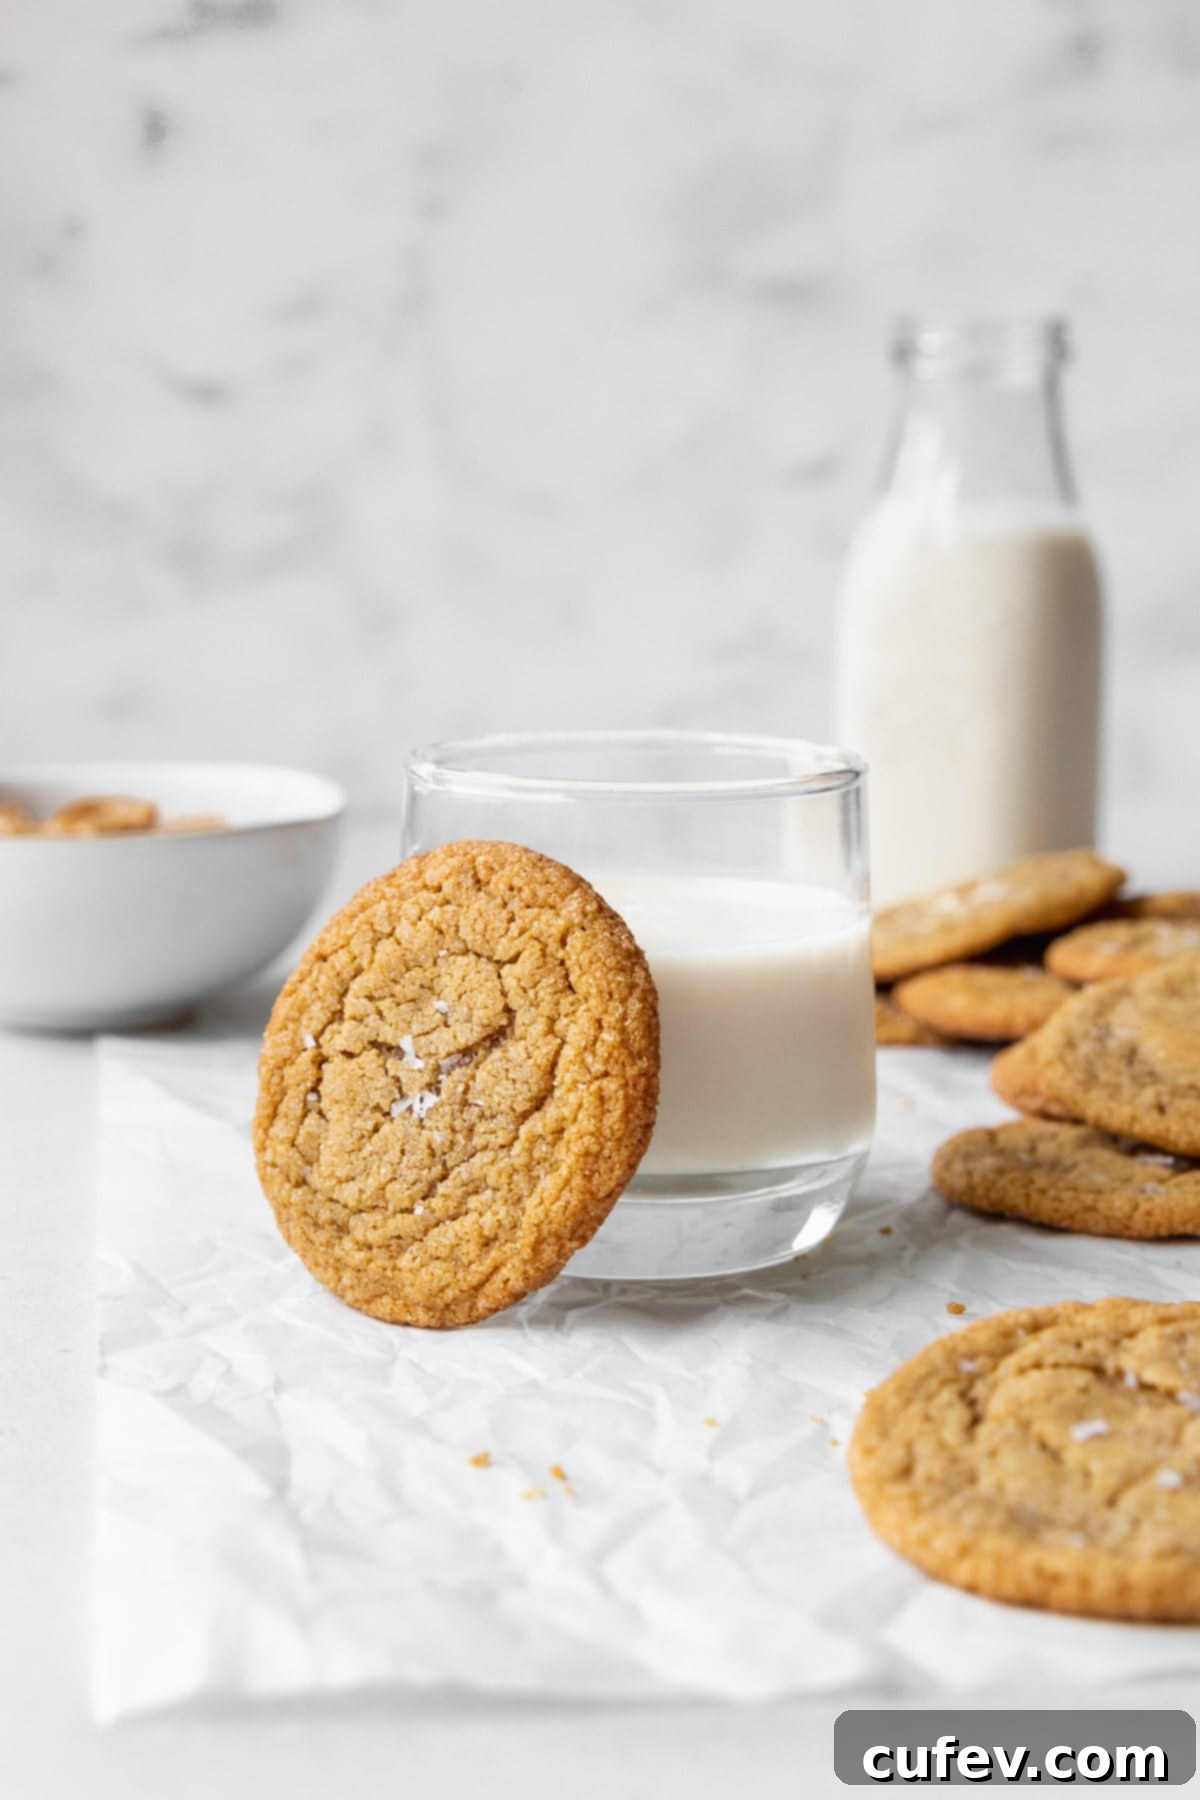
These versatile and utterly delicious dairy-free cookies are perfect for a multitude of occasions, from a simple, satisfying weeknight dessert to a thoughtful and much-appreciated addition to lunchboxes. And while they are proudly made without milk, that certainly doesn’t mean they don’t pair beautifully with a beverage! Enjoy them classically with a tall, frosty glass of your favorite non-dairy milk – almond, oat, soy, or cashew milk are all excellent choices that complement the rich peanut butter flavor, making them ideal for dunking. They also make a surprisingly delicious and comforting companion to a warm cup of coffee or tea, offering a perfect sweet counterpoint to your morning or afternoon brew. For a more elaborate dessert presentation, serve these cookies warm alongside a scoop of your favorite dairy-free vanilla or chocolate ice cream, or even a dollop of coconut whipped cream.
Storage Directions for Maximum Freshness of Your Dairy-Free Cookies
Proper storage is key to ensuring your dairy-free peanut butter cookies remain wonderfully soft, delightfully chewy, and delicious for as long as possible. Here’s how to effectively store both baked cookies and unbaked dough:
- Storing Baked Cookies: Once your delicious dairy-free peanut butter cookies have cooled completely to room temperature, transfer them to an airtight container. They will maintain their excellent quality and freshness when stored at room temperature for up to 3-4 days. For an extended shelf life and to keep them incredibly moist, you can also store them in the refrigerator for up to a week. For an extra touch of softness, a classic baker’s trick is to place a half slice of plain bread in the container with the cookies; the bread will absorb any excess moisture, helping to keep the cookies tender.
- Freezing Baked Cookies: For longer-term storage, these cookies freeze exceptionally well, allowing you to enjoy them for weeks to come. Ensure they are completely cooled before transferring them to a freezer-safe airtight container or a heavy-duty freezer bag. To prevent sticking, you can layer the cookies with small pieces of parchment paper between each layer. They can be kept in the freezer for up to 3 months without losing their quality.
- Freezing Cookie Dough Balls: If you crave the convenience of fresh-baked cookies on demand, portion out the sugar-coated cookie dough balls as instructed in the recipe. Place these individual dough balls on a parchment-lined baking sheet, ensuring they don’t touch, and freeze them until they are completely solid (this usually takes about 1-2 hours). Once frozen, transfer the solid dough balls to a freezer-safe bag or container. They can be stored in the freezer for up to 3 months. When you’re ready to bake, simply place the frozen dough balls on a prepared baking sheet and bake them directly from frozen, adding an extra 2-4 minutes to the original baking time.
- Defrosting & Reheating: To enjoy frozen baked cookies, simply remove them from the freezer and allow them to thaw at room temperature for approximately 30 minutes to 1 hour, or until they are thawed through and soft. If you prefer a warm, gooey cookie experience, you can gently reheat them in a microwave for 10-15 seconds (be careful not to overheat) or place them in a preheated oven (around 275°F/135°C) for 5-7 minutes until warmed through.
Frequently Asked Questions About Dairy-Free Peanut Butter Cookies
Got questions about dairy-free baking, peanut butter, or how to master these irresistible cookies? We’ve got comprehensive answers to help you out!
It’s a common and completely understandable question, especially given that the word “butter” is right there in the name! However, the vast majority of commercial peanut butter brands are naturally both gluten-free and dairy-free. Traditional peanut butter is typically made from a simple combination of roasted peanuts, salt, and sometimes added sweeteners or stabilizing oils. None of these core ingredients are derived from dairy. That being said, if you are strictly vegan, have severe dairy allergies, or are concerned about cross-contamination, it is always wise and highly recommended to meticulously check the ingredient label on any jar of peanut butter. Some specialty brands, flavored varieties, or less common formulations might contain unexpected dairy ingredients or be processed on shared equipment. Reputable brands like SKIPPY® offer several options that are explicitly certified vegan, including their classic creamy variety, making them an excellent and safe choice for this recipe and all your dairy-free baking endeavors.
Several factors can contribute to peanut butter cookies crumbling or falling apart, which can be incredibly frustrating after all your hard work! The most common culprits include an imbalance in ingredients, especially using too much flour or not having enough moisture in the dough. Over-measuring flour (which often happens when scooping directly from the bag without properly weighing or spooning and leveling) can make cookies excessively dry and crumbly, lacking the necessary binding moisture. Another very frequent issue is transferring the cookies from the baking sheet too soon before they’ve had adequate time to cool and fully set. This dairy-free cookie recipe is carefully formulated with an egg and ample vegan butter to ensure moist, tender cookies that hold together beautifully. To prevent crumbling, always measure or weigh all your ingredients, particularly flour, with precision. Most importantly, practice patience: allow the baked cookies to cool completely on the baking pan for the recommended 10 minutes before attempting to move them to a wire rack. This crucial cooling period allows the internal structure of the cookie to stabilize.
Peanut butter cookies are inherently rich in fat due to the significant amounts of both peanut butter and butter (whether dairy or vegan) in the recipe. If your cookie dough becomes too warm during the mixing process or while sitting out, the fats can soften excessively or even separate, resulting in a noticeably greasy or oily texture. This can sometimes be more prevalent with vegan butters, as some varieties may have a slightly lower melting point compared to traditional dairy butter. To effectively combat greasiness and ensure a perfectly textured dough, I find it incredibly helpful to chill the dough in two stages: first, after creaming the butter and sugars for about 5-10 minutes, and then again after beating in the egg and vanilla. These short chilling periods help solidify the fats. Additionally, avoid overmixing the dough, especially after adding the flour, as excessive agitation can generate friction and heat, further contributing to a greasy consistency. Always ensure your vegan butter is genuinely softened at room temperature, not melted, when you begin the creaming process.
Essential Tools to Bake These Dairy-Free Peanut Butter Cookies
You don’t need a professional kitchen or fancy equipment to whip up these delicious dairy-free peanut butter cookies. However, having these basic and common tools readily available will make the entire baking process smooth, efficient, and enjoyable, leading to perfect results every time:
- Measuring cups & spoons: Essential for accurate ingredient proportions, which is critical for consistent baking results.
- Stand mixer or hand mixer: Highly recommended for efficiently creaming the vegan butter and sugars until they are light and fluffy, incorporating air for a tender cookie.
- Mixing bowls: You’ll need at least two – one large bowl for combining the wet ingredients and a separate medium-sized bowl for whisking together the dry ingredients.
- Rubber spatula: Perfect for scraping down the sides of the mixing bowl to ensure all ingredients are thoroughly incorporated, and for gently folding in dry ingredients.
- Large baking sheet: A sturdy, light-colored sheet pan is ideal for baking your cookies evenly.
- Parchment paper: An absolute must! It prevents the cookies from sticking to the pan, promotes even baking, and makes cleanup incredibly easy.
- Wire cooling rack: Crucial for allowing your baked cookies to cool completely and evenly, which helps to maintain their crisp bottoms and prevents them from becoming soggy.
- Kitchen scale (optional but highly recommended): For the most precise measurement of flour (and other dry ingredients), a kitchen scale ensures consistent texture and often leads to the best baking results.
- 4-teaspoon cookie scoop (optional but recommended): While a tablespoon works, a cookie scoop guarantees uniform cookie size across your entire batch, which is key for even baking and a professional, appealing presentation.
Explore More Delicious Peanut Butter Recipes You’ll Love!
If you’re a true peanut butter enthusiast like us, don’t let the deliciousness stop with these cookies! Discover even more incredible ways to enjoy this beloved ingredient with these other fantastic, tried-and-true recipes from our kitchen. From breakfast to dessert, there’s a peanut butter creation waiting for you:
- Peanut Butter Oatmeal Breakfast Bars (Gluten-Free!)
- Chocolate Peanut Butter Cupcakes
- Moose Tracks Muffins (Peanut Butter Cup Muffins)
- Peanut Butter and Jelly Stuffed French Toast
Thank you so much for stopping by and exploring this delightful **Dairy-Free Peanut Butter Cookie Recipe**! We truly hope you loved making and enjoying these soft, chewy, and flavorful cookies as much as we do. For even more mouth-watering dairy-free, gluten-free, and/or vegan dessert inspiration, fresh recipes, and exclusive baking tips, make sure to follow us on Pinterest, Facebook, and Instagram. You can also get all of our newest content and delicious creations delivered straight to your inbox by signing up for our exclusive email newsletter — we promise not to spam you, only to send deliciousness!
Dairy-Free Peanut Butter Cookies
Dessert, Snack
American
15 minutes
8 minutes
2 hours
2 hours 23 minutes
29 cookies
110kcal
Ai Willis
Print
Pin
Rate
Ingredients
- ½ cup vegan butter softened to room temperature
- ⅔ cup creamy peanut butter
- ¾ cup packed brown sugar
- ¼ cup granulated sugar plus extra for rolling
- 1 egg
- 2 teaspoon vanilla extract
- 1 cup all-purpose flour* See Notes for gluten-free options
- ½ teaspoon fine salt
- ¾ teaspoon baking soda
Instructions
-
In the bowl of a stand mixer or a large bowl with a hand mixer, add the vegan butter, peanut butter, brown sugar, and granulated sugar. Cream together until light and fluffy, about 3 minutes.
-
Add the egg and vanilla, and beat again. Keep the bowl in the fridge to keep it cool while preparing the dry ingredients.
-
In a separate bowl, combine the flour, salt, and baking soda. Add this to the wet ingredients and use a spatula to mix until just combined.
-
Cover the bowl and let it chill in the refrigerator for 2 hours, or up to overnight.
-
Preheat the oven to 375°F (190°C) and line a baking sheet with parchment paper.
-
Using a cookie scoop (mine holds 4 teaspoons or about a heaped tablespoon), scoop the chilled dough onto your hand and roll it into a ball. Roll the ball into some granulated sugar and place it on the baking sheet. Be sure to leave at least 2 inches in between the dough balls.
-
Bake the cookies for 8-9 minutes. When they come out they will be very soft. Let the cookies cool on the pan for about 10 minutes before moving them onto a wire rack to keep the bottoms crisp.
Notes
- I use Bob’s Red Mill Gluten-Free 1-to-1 Baking Flour for dairy-free gluten-free cookies. 1 cup is 148g.
- Have all ingredients at room temperature.
- Don’t use natural peanut butter – you CAN technically use it but the texture won’t be right.
- Shape cookies into circles after baking. If you love symmetry or want a uniform presentation, you can shape your cookies into a fleet of perfectly round treats. Underbake the cookies for 30 seconds to 1 minute and then, working one cookie at a time, place a large round cookie cutter around the cookie. Gently swirl the cutter around the soft cookie, evening out any imperfections and creating beautifully round cookies.
Love this recipe?Snap a photo and share tagging @aimadeitforyou or tag #aimadeitforyou!
Nutrition
