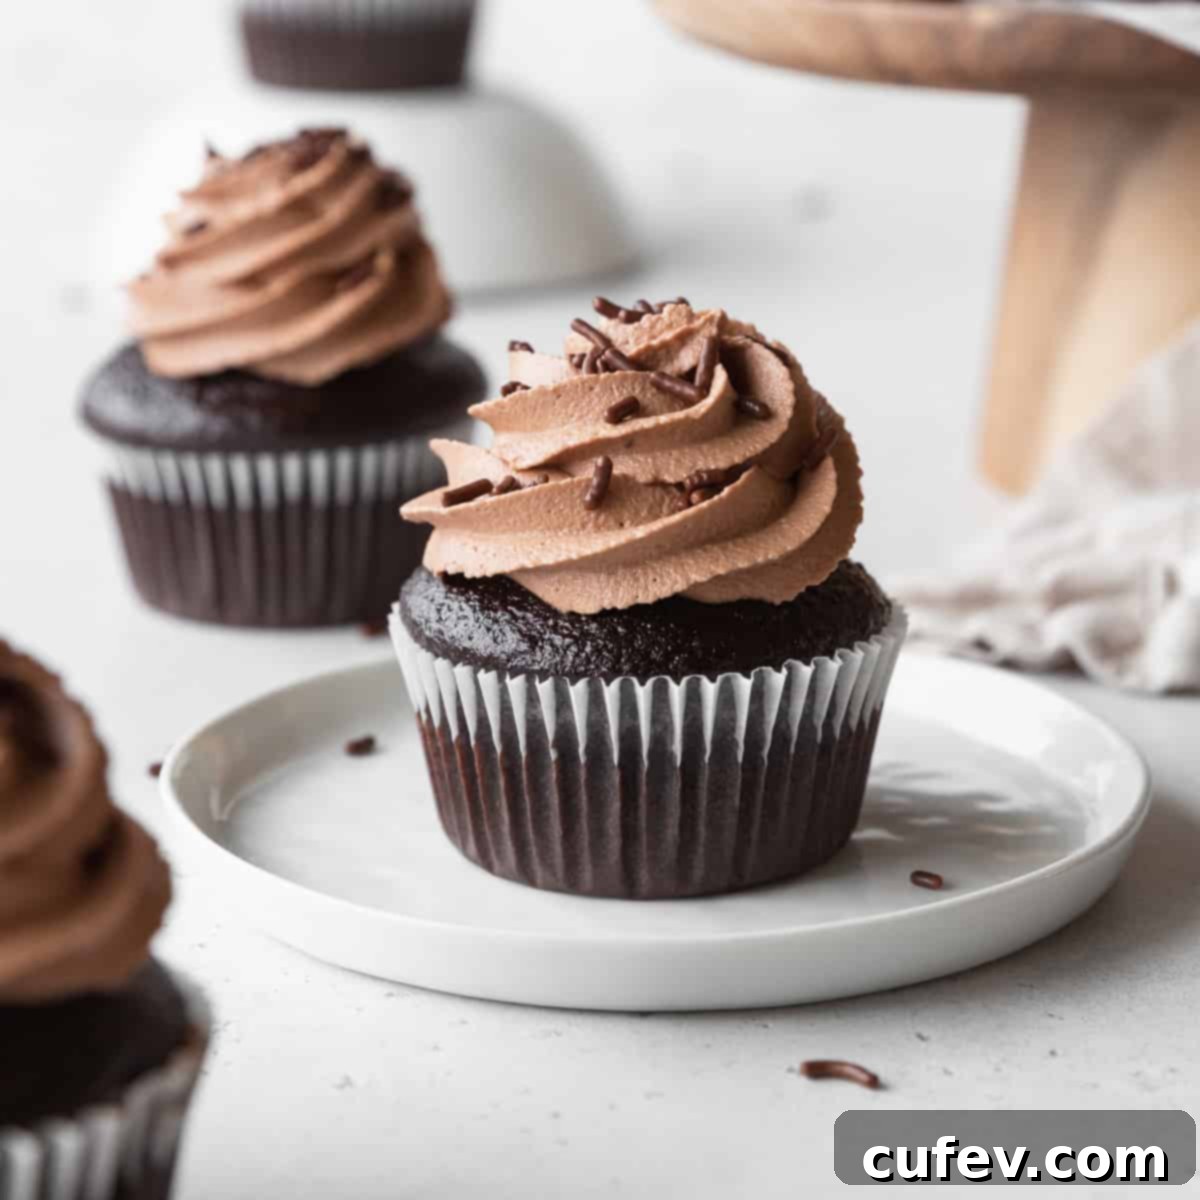
Decadent & Moist Chocolate Cupcakes with Rich Cream Cheese Frosting (GF & DF Options!)
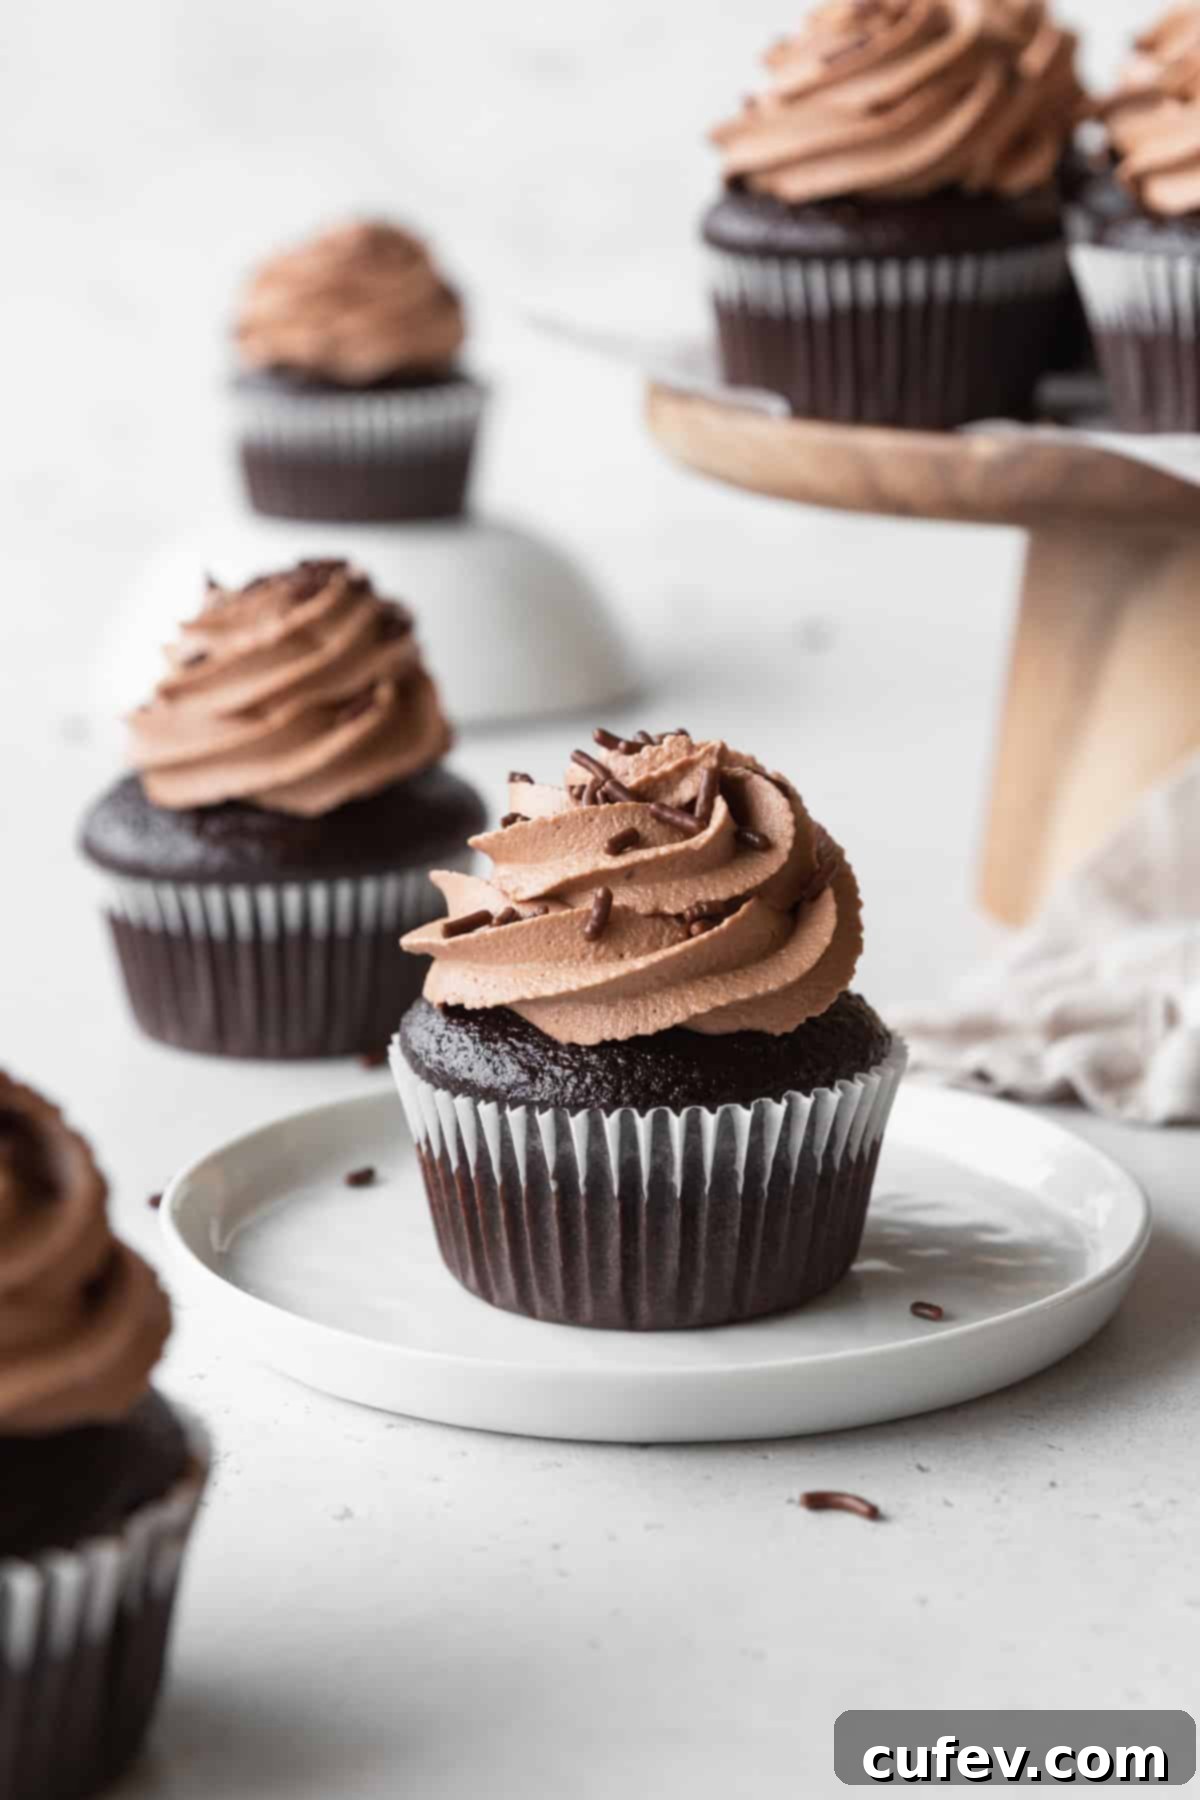
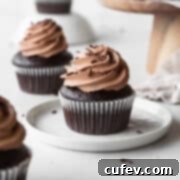
Prepare yourself for the ultimate chocolate indulgence! These Chocolate Cupcakes are an absolute dream come true for any cocoa lover. Each bite is packed with incredibly rich chocolate flavor, delivering a deep, satisfying taste that will have you reaching for another. What truly sets them apart is their unbelievably moist and fluffy texture – no dry, crumbly cupcakes here! To achieve this perfect balance of flavor and texture, we harness the power of Dutch-processed cocoa powder, which provides a smooth, non-bitter chocolate essence, and crown them with a luscious chocolate cream cheese frosting that’s simply irresistible. Beyond their classic appeal, this versatile recipe is also designed to be easily adaptable, allowing you to whip up equally delicious dairy-free and gluten-free versions without compromising on taste or quality. Get ready to bake a batch of the best chocolate cupcakes you’ve ever tasted!
Essential Ingredients for Perfect Chocolate Cupcakes
While the ingredient list for these incredibly moist chocolate cupcakes might seem extensive at first glance, you’ll find that most of what you need are common pantry staples. We’ll dive into each component, explaining its role in creating the perfect cupcake and offering tips for the best results. Here’s a comprehensive guide to what you’ll need to gather:
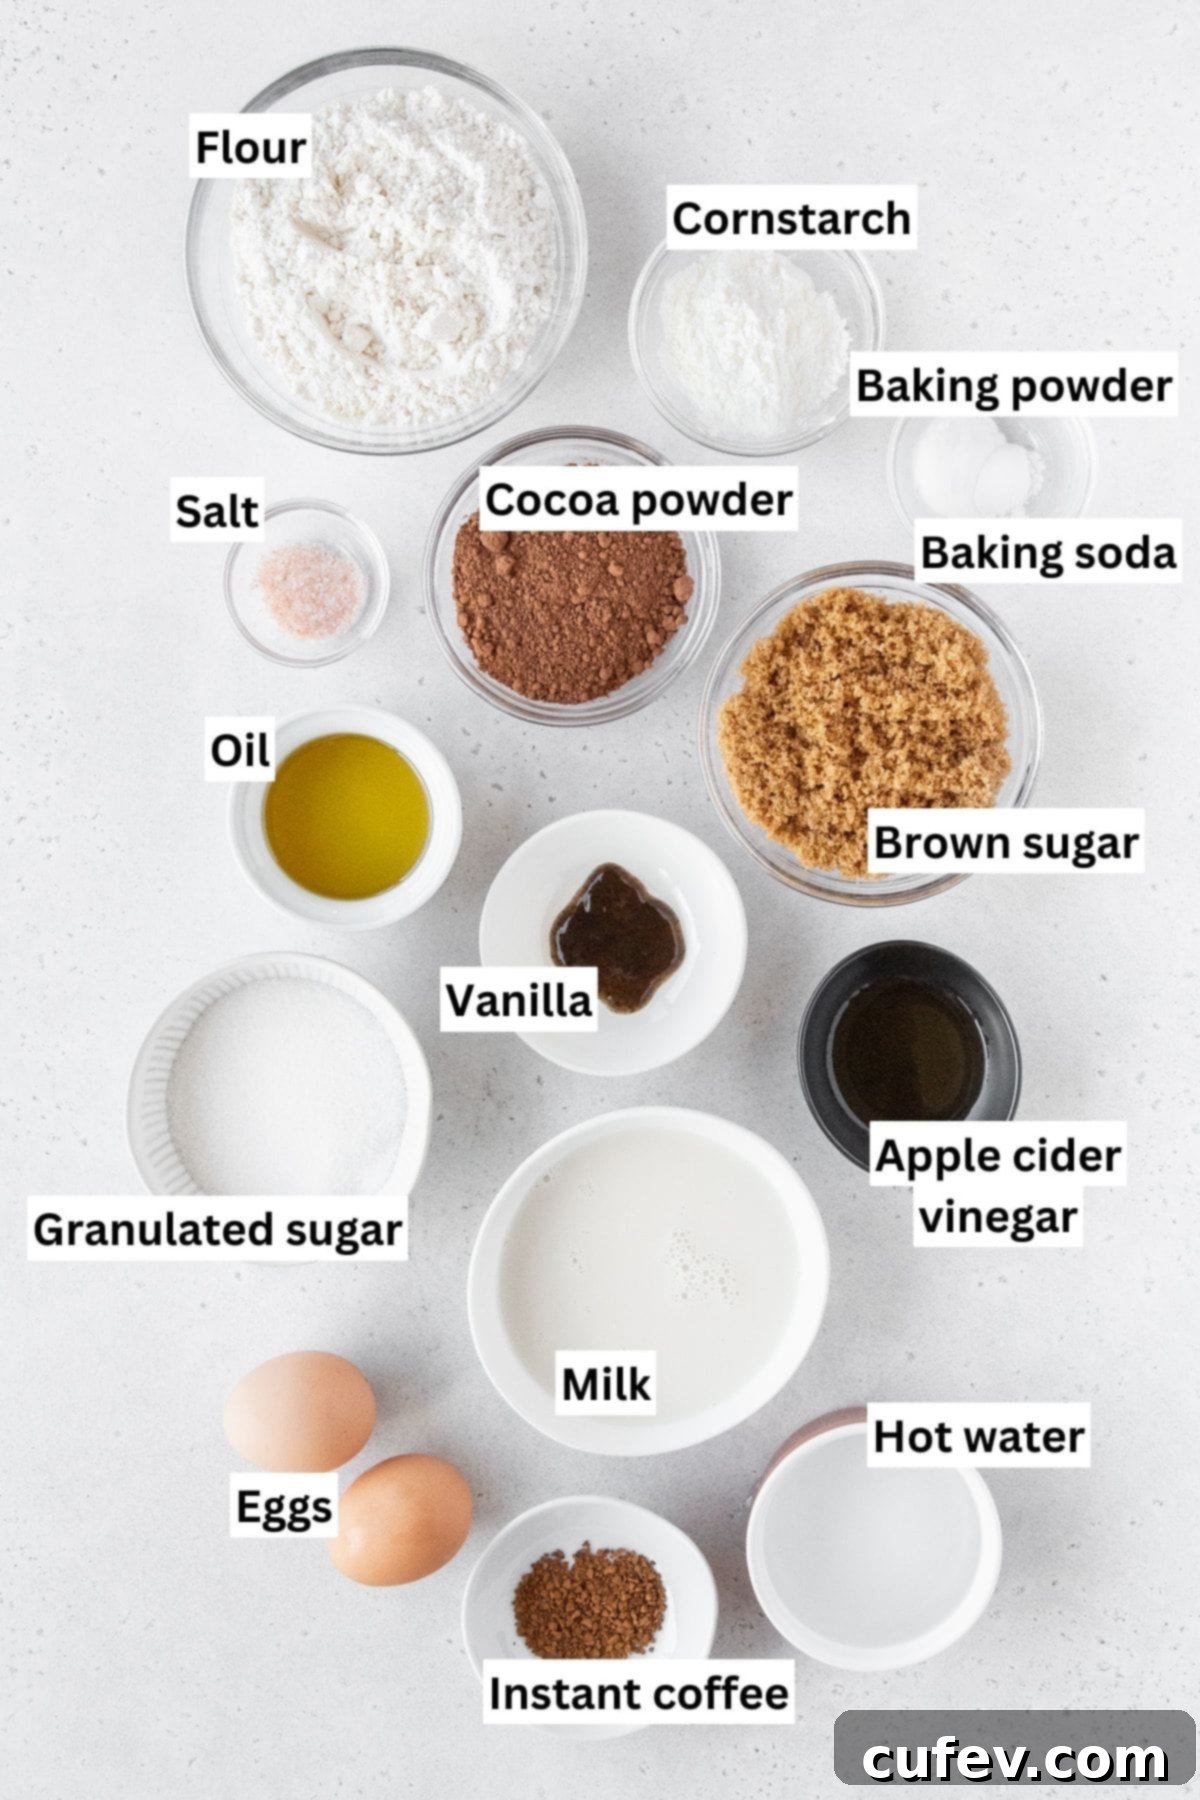
- Cocoa Powder: This is the star of our chocolate cupcakes. For the deepest, richest, and smoothest chocolate flavor without any bitterness, we highly recommend Dutch-processed cocoa powder. This type of cocoa has been treated with an alkali, which neutralizes its acidity, resulting in a darker color and a milder, less astringent chocolate taste. However, if you only have natural cocoa powder on hand, you can absolutely use it, though the flavor profile might be slightly different. For an even more intense, darker cupcake, black cocoa powder is an adventurous choice, and raw cacao powder offers a more unrefined, earthy chocolate note.
- Instant Coffee or Espresso Powder: Don’t worry, your cupcakes won’t taste like coffee! A small amount of instant coffee or espresso powder works wonders to enhance and deepen the natural chocolate flavor, making it taste even more profound and complex. It’s a secret baker’s trick to bring out the best in chocolate. Keep a jar of instant coffee or espresso powder specifically for these occasions. Both regular and decaf varieties work equally well.
- Hot Water: The hot water plays a crucial role in “blooming” the cocoa powder. When hot water is added to cocoa, it helps to release and intensify the cocoa’s flavor compounds, resulting in a significantly richer and more aromatic chocolate experience. Ensure the water is genuinely hot, not merely warm, to fully activate these delicious flavors.
- All-Purpose Flour: Also known as plain white flour, this forms the structural base of our cupcakes. It’s a versatile flour suitable for many baking projects. For those needing gluten-free options, a high-quality measure-for-measure gluten-free flour blend that includes xanthan gum is an excellent substitute, ensuring your gluten-free chocolate cupcakes remain soft and tender.
- Cornstarch: A small addition of cornstarch to the all-purpose flour mixture helps to slightly lower the overall protein content of the flour. This effectively mimics cake flour, which is known for its lower protein, contributing to a wonderfully soft, tender, and fluffy crumb in your cupcakes.
- Fine Salt: Just a touch of fine salt is essential in baking. It doesn’t make things taste salty, but rather magically enhances and balances the sweetness and chocolate flavors, making them pop.
- Baking Soda & Baking Powder: To achieve maximum fluffiness and rise, you’ll need both types of leavening agents. Baking soda reacts with acids (like our apple cider vinegar and brown sugar) to produce carbon dioxide, while baking powder is a double-acting leavener, providing lift both when wet and when exposed to heat in the oven. Together, they ensure light and airy chocolate cupcakes.
- Granulated Sugar: White sugar provides pure sweetness without adding moisture or altering the flavor profile, making it a reliable choice for consistent baking results. Its neutral flavor allows the chocolate to truly shine. If you need an alternative, organic cane sugar is a suitable swap.
- Brown Sugar: Whether you choose light or dark brown sugar, its molasses content adds a lovely depth of flavor and extra moisture to the cupcakes, contributing to their incredible moistness and a slightly richer, more complex taste. Dark brown sugar contains a bit more molasses, offering a deeper color and flavor, but both work beautifully. Muscovado sugar (light or dark) can also be used for an even more pronounced molasses note.
- Oil: Using a neutral-flavored oil, such as avocado oil, is recommended to ensure the purest chocolate flavor comes through without any interference. However, if you enjoy exploring unique flavor pairings, a high-quality olive oil with fruity or peppery undertones can create an intriguing contrast with the rich chocolate.
- Large Eggs: Eggs provide structure, richness, and moisture to the cupcakes. They also help bind the ingredients together. We always recommend using large eggs for consistent baking results. If using liquid eggs, approximately scant ½ cup will be needed.
- Apple Cider Vinegar: This is a fantastic trick for creating a tender crumb in these chocolate cupcakes, especially if you don’t have buttermilk on hand. The acidity from the apple cider vinegar reacts with the baking soda, contributing to a light and tender texture while also activating the leavening.
- Vanilla Extract: Vanilla extract is a vital flavor enhancer that complements and rounds out the rich chocolate. You can use vanilla paste or vanilla powder for an even more intense vanilla aroma, or half the amount of ground vanilla bean for a truly gourmet touch.
- Milk: You have flexibility here! Use whole milk for a classic rich flavor, or opt for an unsweetened and unflavored plant-based milk such as oat, soy, or almond milk if you’re making a dairy-free version.
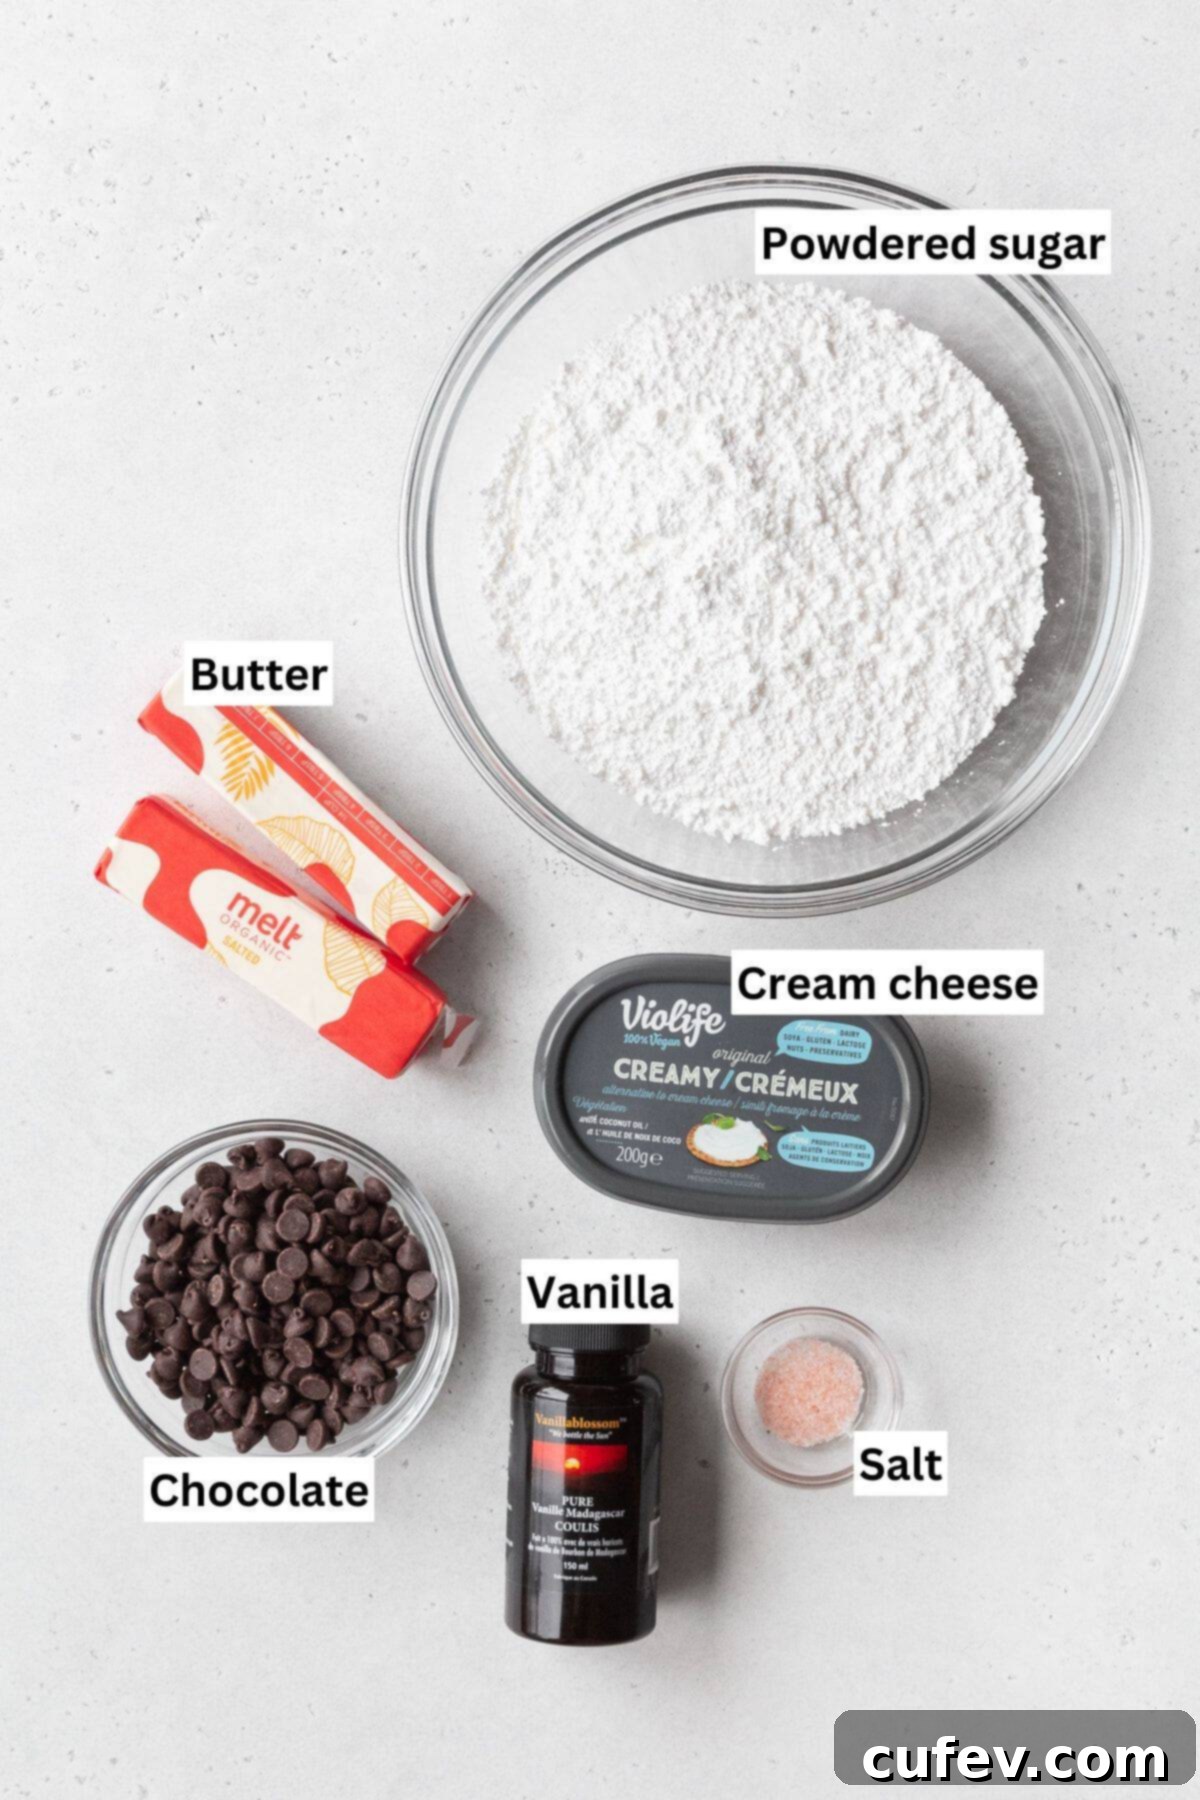
Decadent Chocolate Cream Cheese Frosting
While classic chocolate buttercream is delicious, elevate your cupcake experience with our velvety chocolate cream cheese frosting! This frosting is smooth, tangy, and perfectly balanced with the rich chocolate, offering a delightful contrast to the sweet cupcake. It’s also incredibly easy to make. Here’s what you’ll need to create this dreamy topping:
- Unsalted Butter: We opt for unsalted butter to have full control over the saltiness of the frosting, especially since cream cheese already contains some salt. Ensure your butter is softened to room temperature for optimal creaming. If salted butter is all you have, you can use it, but consider omitting the extra salt in the recipe. For a dairy-free alternative, high-quality vegan butter works wonderfully.
- Cream Cheese: For the best texture and consistency, make sure to grab block-style cream cheese. The cream cheese that comes in a tub often has a higher water content and won’t yield the same firm, pipeable frosting. Like the butter, ensure it’s softened to room temperature. Feel free to swap in your favorite block-style vegan cream cheese alternative for a dairy-free version.
- Powdered Sugar: Also known as icing sugar or confectioner’s sugar, this fine sugar dissolves easily to create a smooth, lump-free frosting. Sifting it before use is highly recommended to prevent any grittiness. If you find yourself fresh out of powdered sugar, you can easily make your own by blending granulated sugar with a touch of cornstarch or potato starch in a food processor until fine.
- Semi-Sweet Chocolate: Around 55% cocoa solids offers the perfect amount of sweetness and deep chocolate flavor for this frosting, balancing the tang of the cream cheese. For a bolder, less sweet frosting, you can use dark chocolate. If you prefer a sweeter, milder chocolate profile, milk chocolate can also be used. Ensure it’s melted and slightly cooled before incorporating.
How To Bake Unforgettable Chocolate Cupcakes
This recipe for moist chocolate cupcakes comes together quite easily, even for novice bakers. The key is to follow the steps carefully and pay attention to ingredient temperatures and mixing techniques. Here’s a detailed guide to creating these delightful treats:
Prep Work: Before you begin mixing, ensure your oven is preheated to 340°F (170°C). This allows the oven to reach a stable temperature, which is crucial for even baking. Line a 12-cup muffin pan with paper liners. This prevents sticking and makes for easy cleanup.
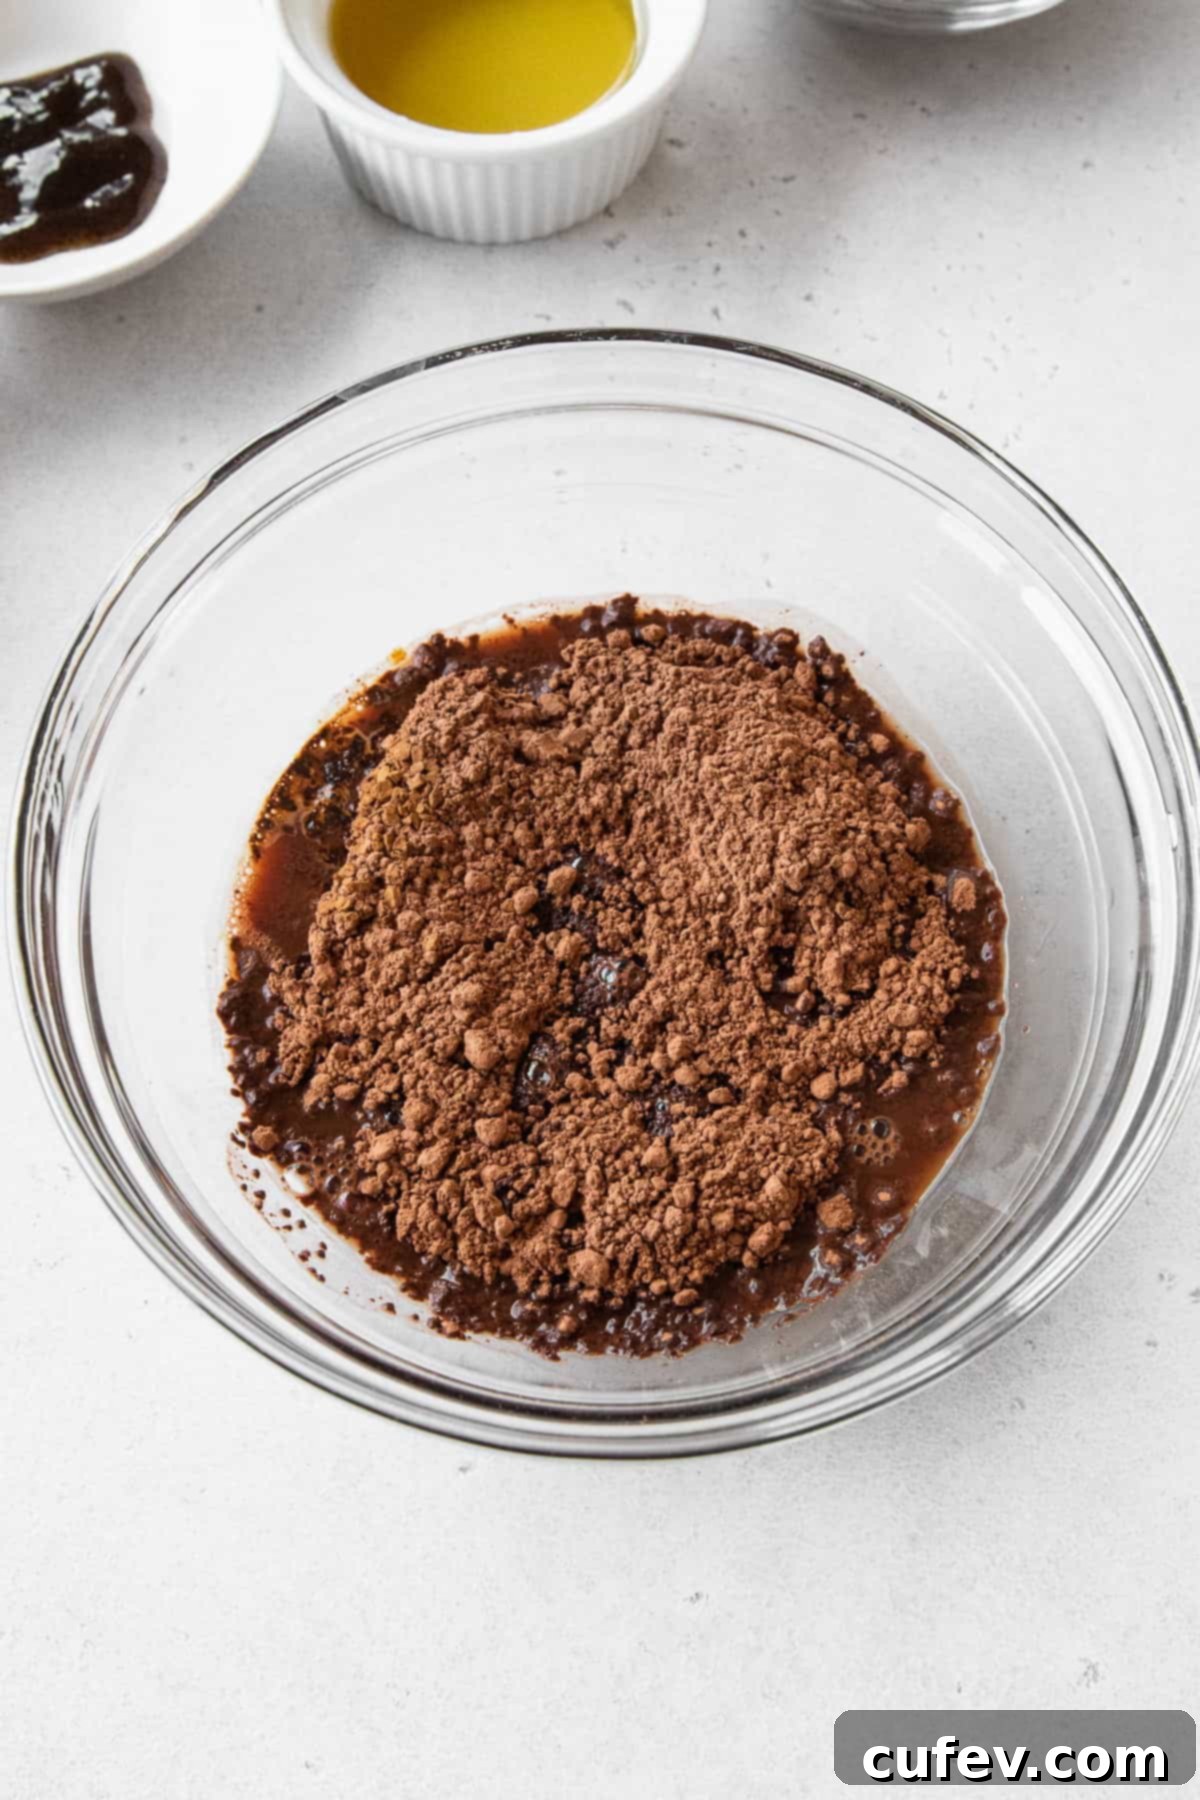
Step 1: Bloom the Cocoa for Intense Flavor. In a small, heatproof bowl, combine the cocoa powder and instant coffee. Pour the hot water over the mixture and stir well until a smooth paste forms. This process, known as “blooming” the cocoa, significantly intensifies its flavor, giving your cupcakes a deeper, richer chocolate taste. Allow this mixture to cool slightly before adding to the batter to prevent cooking the eggs.
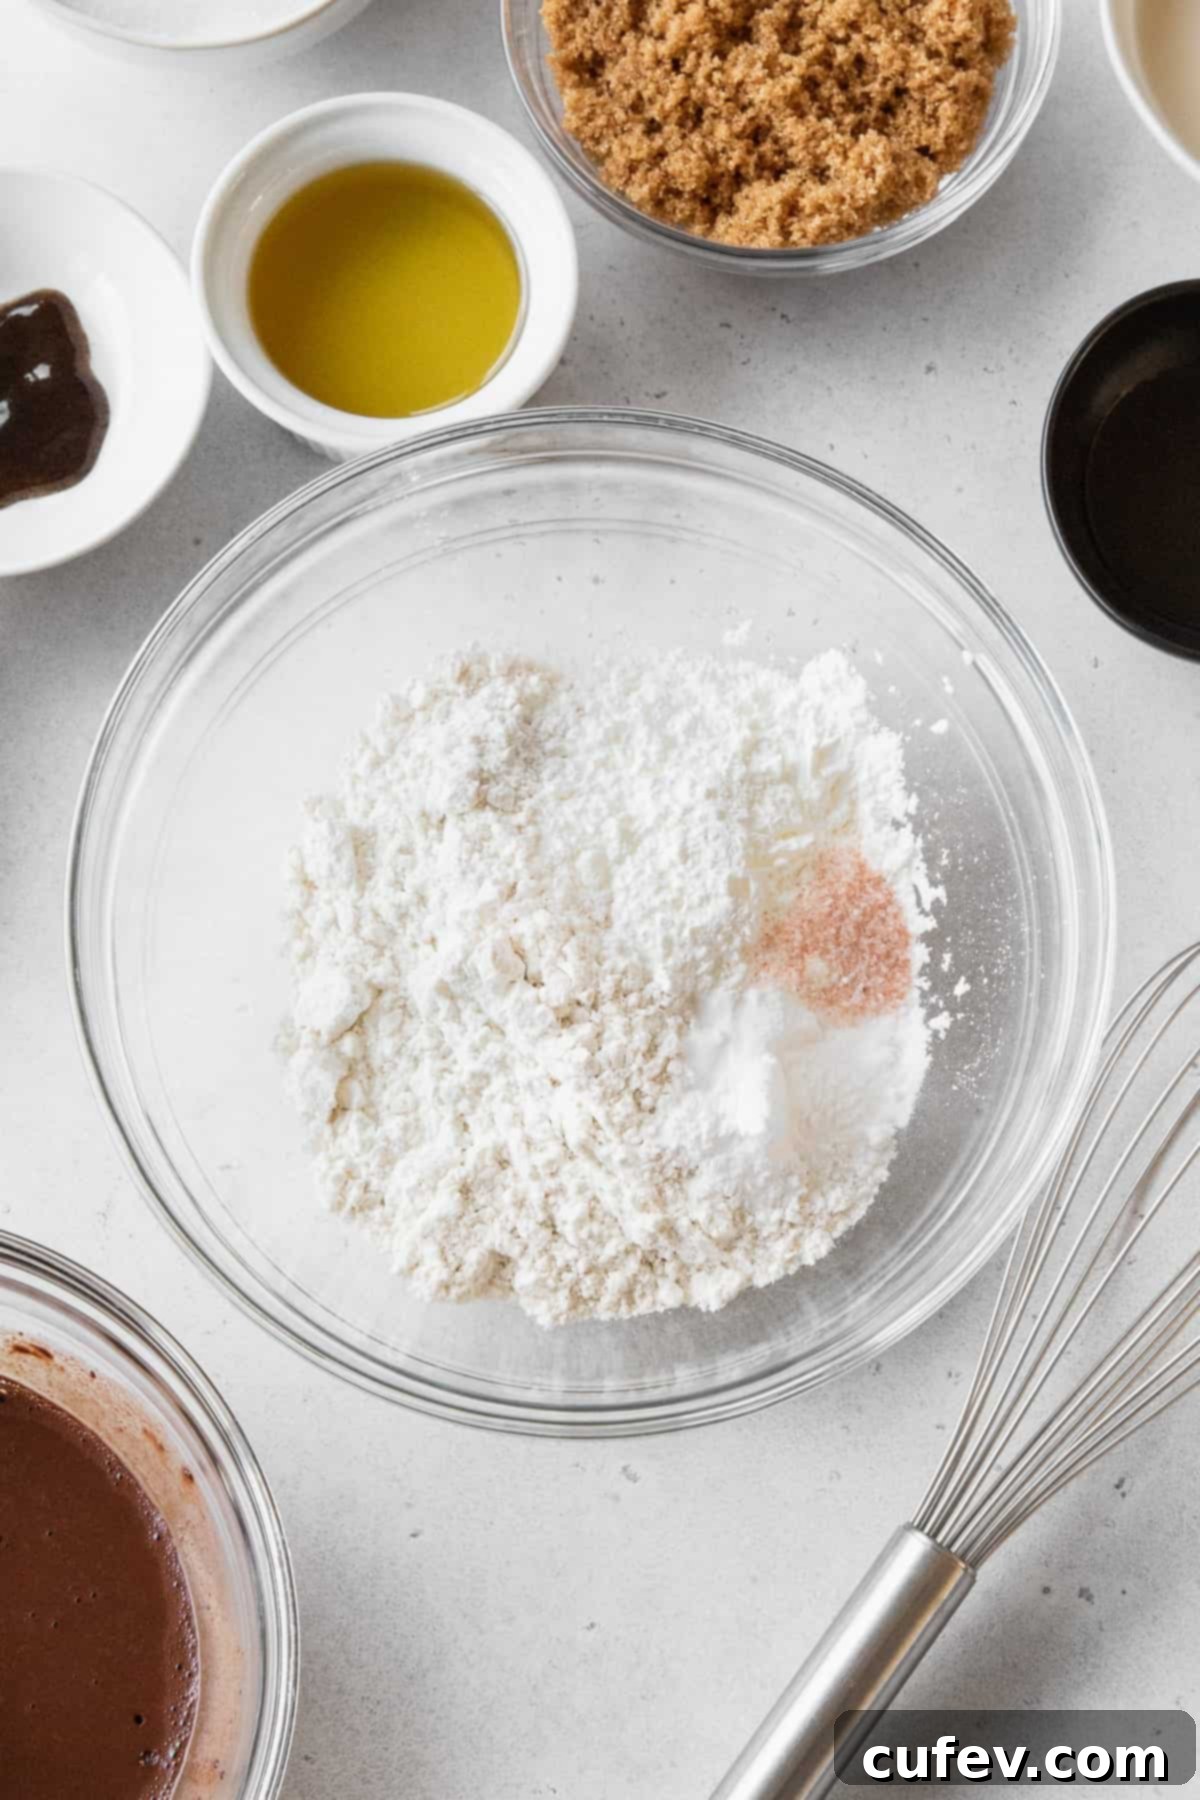
Step 2: Whisk Dry Ingredients. In a separate, medium-sized bowl, thoroughly whisk together the all-purpose flour, cornstarch, fine salt, baking soda, and baking powder. Whisking ensures that the leavening agents and salt are evenly distributed throughout the flour, which is essential for uniform rise and flavor in your cupcakes. Set this bowl aside for later.
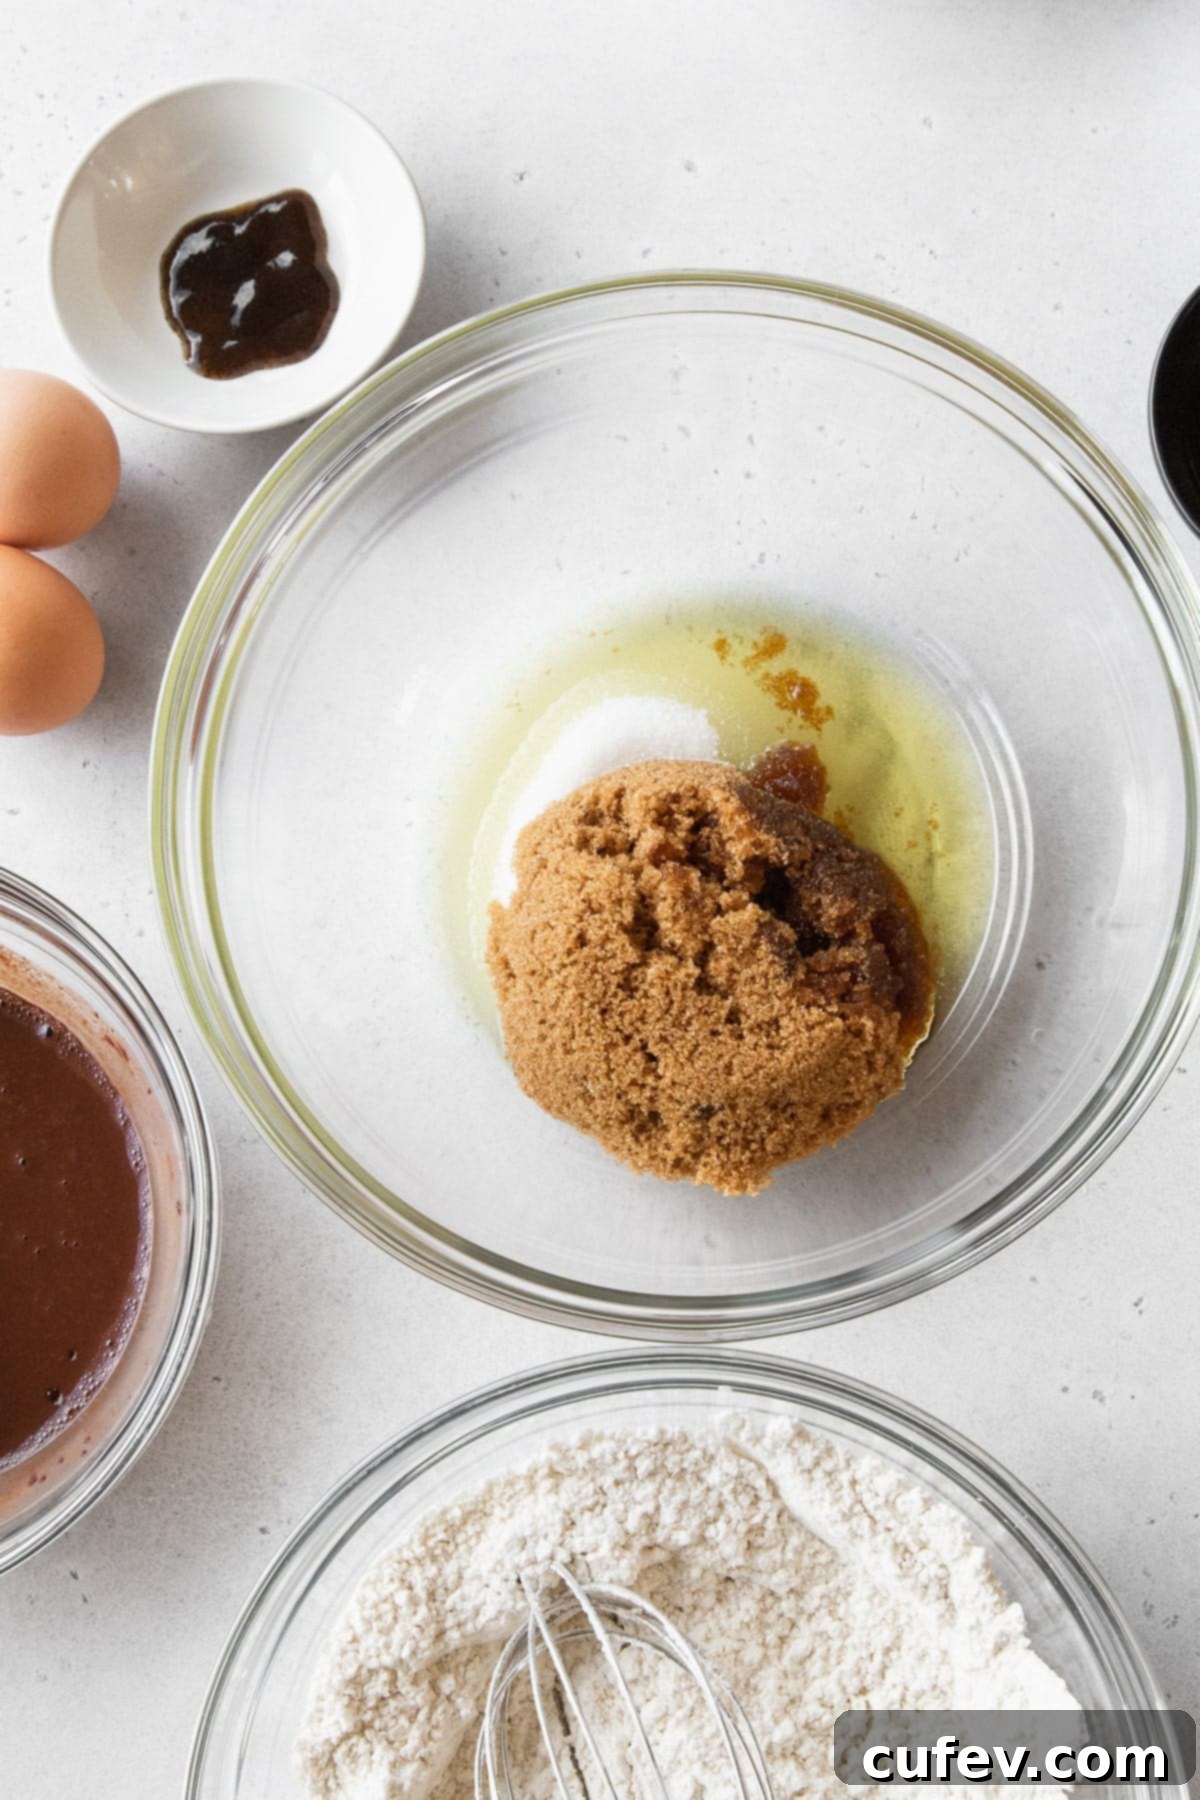
Step 3: Combine Sugars and Oil. In a large mixing bowl (the one you’ll use for the wet ingredients), combine the granulated sugar, brown sugar, and neutral oil. Stir these together until they are well integrated. The oil will contribute to the cupcake’s moistness, while the sugars provide sweetness and help create a tender crumb.
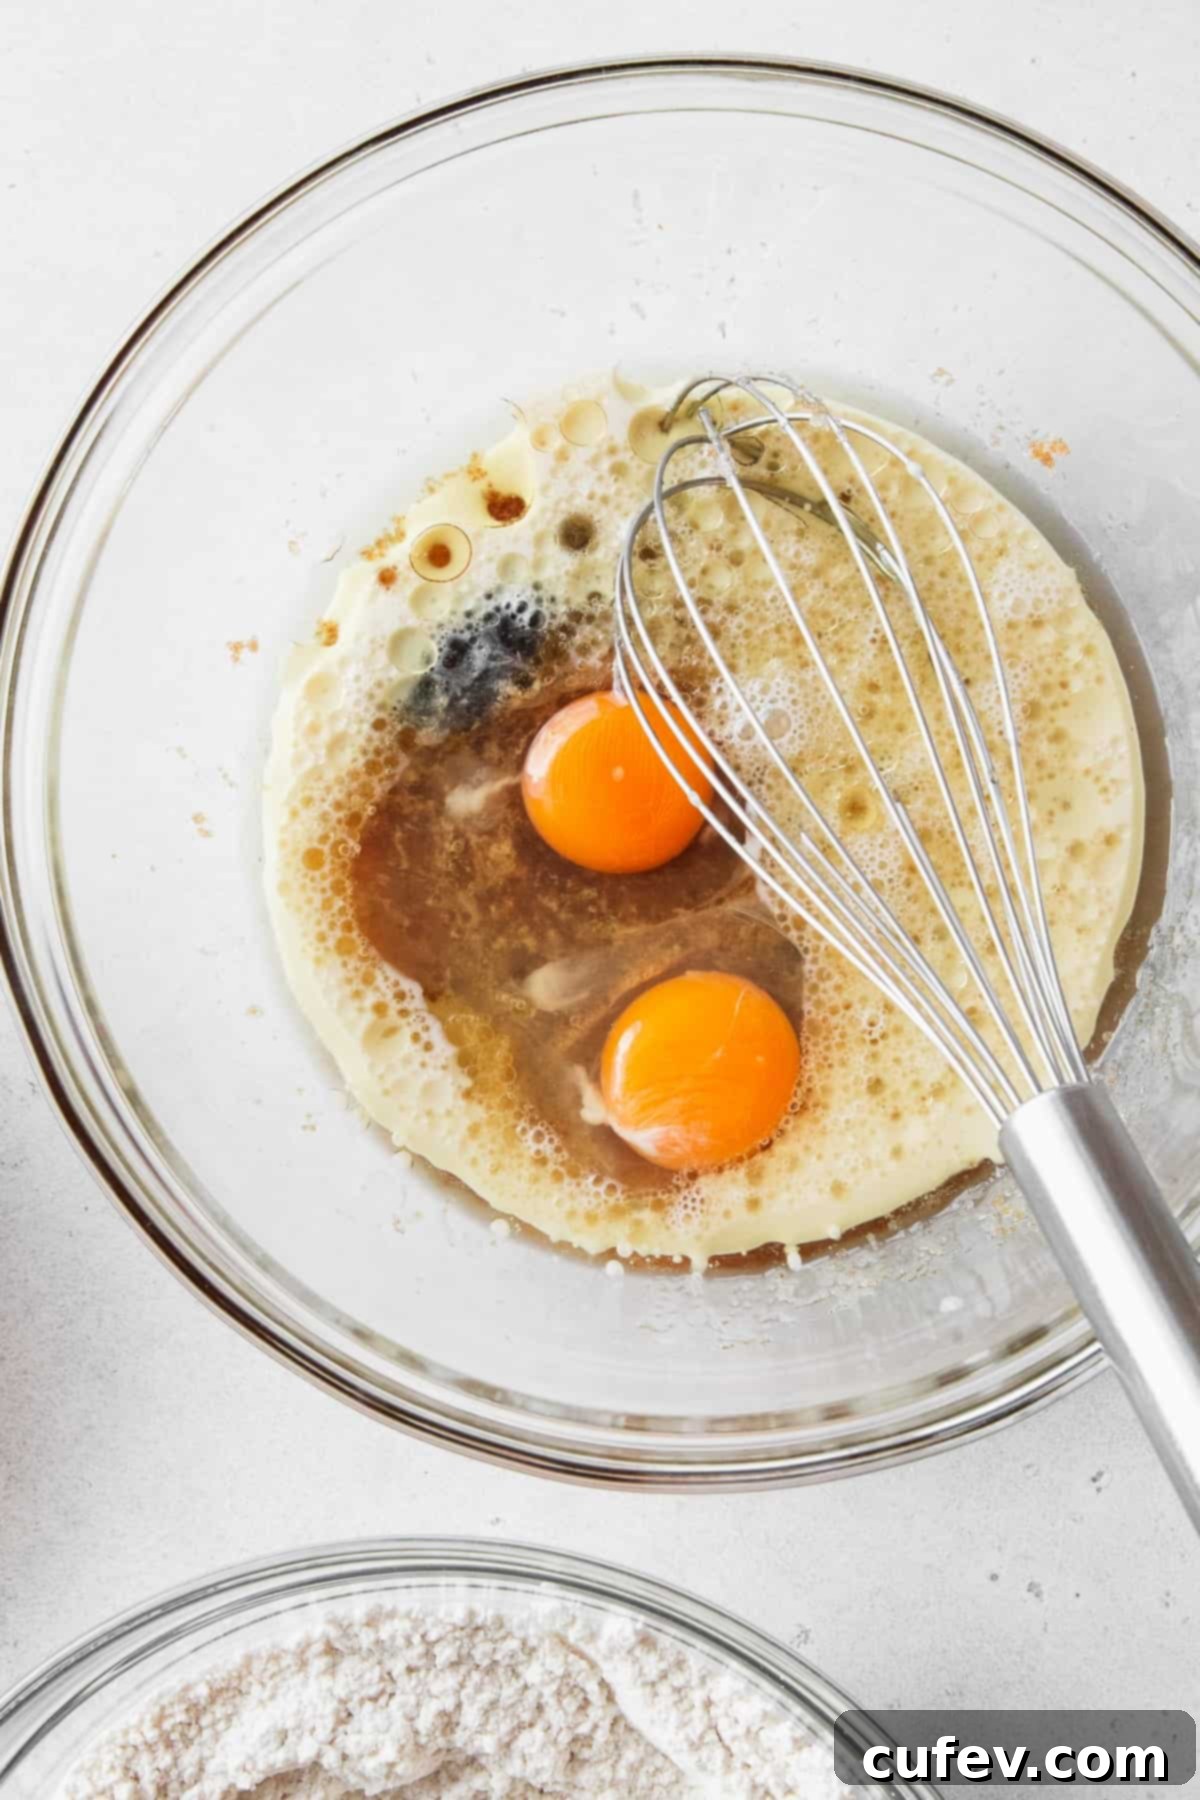
Step 4: Incorporate Wet Ingredients. Add the large eggs, milk, apple cider vinegar, and vanilla extract to the bowl with the sugar and oil mixture. Whisk everything together thoroughly until the mixture is smooth and evenly combined. The apple cider vinegar will react with the baking soda later, contributing to the lift and tender texture of the cupcakes.
Step 5: Gradually Add Dry to Wet. Pour the reserved dry ingredients into the wet mixture. Stir gently with a whisk or spatula just until everything is combined. Be careful not to overmix! Overmixing develops gluten too much, which can lead to dense, tough cupcakes instead of light and fluffy ones. A few small lumps are perfectly fine.
Step 6: Fold in Bloomed Cocoa. Once the dry ingredients are just combined, pour in the cooled cocoa powder mixture from Step 1. Gently fold it into the batter until it’s uniformly incorporated and you have a smooth, rich chocolate batter. Again, avoid overmixing to maintain that desirable tender texture.
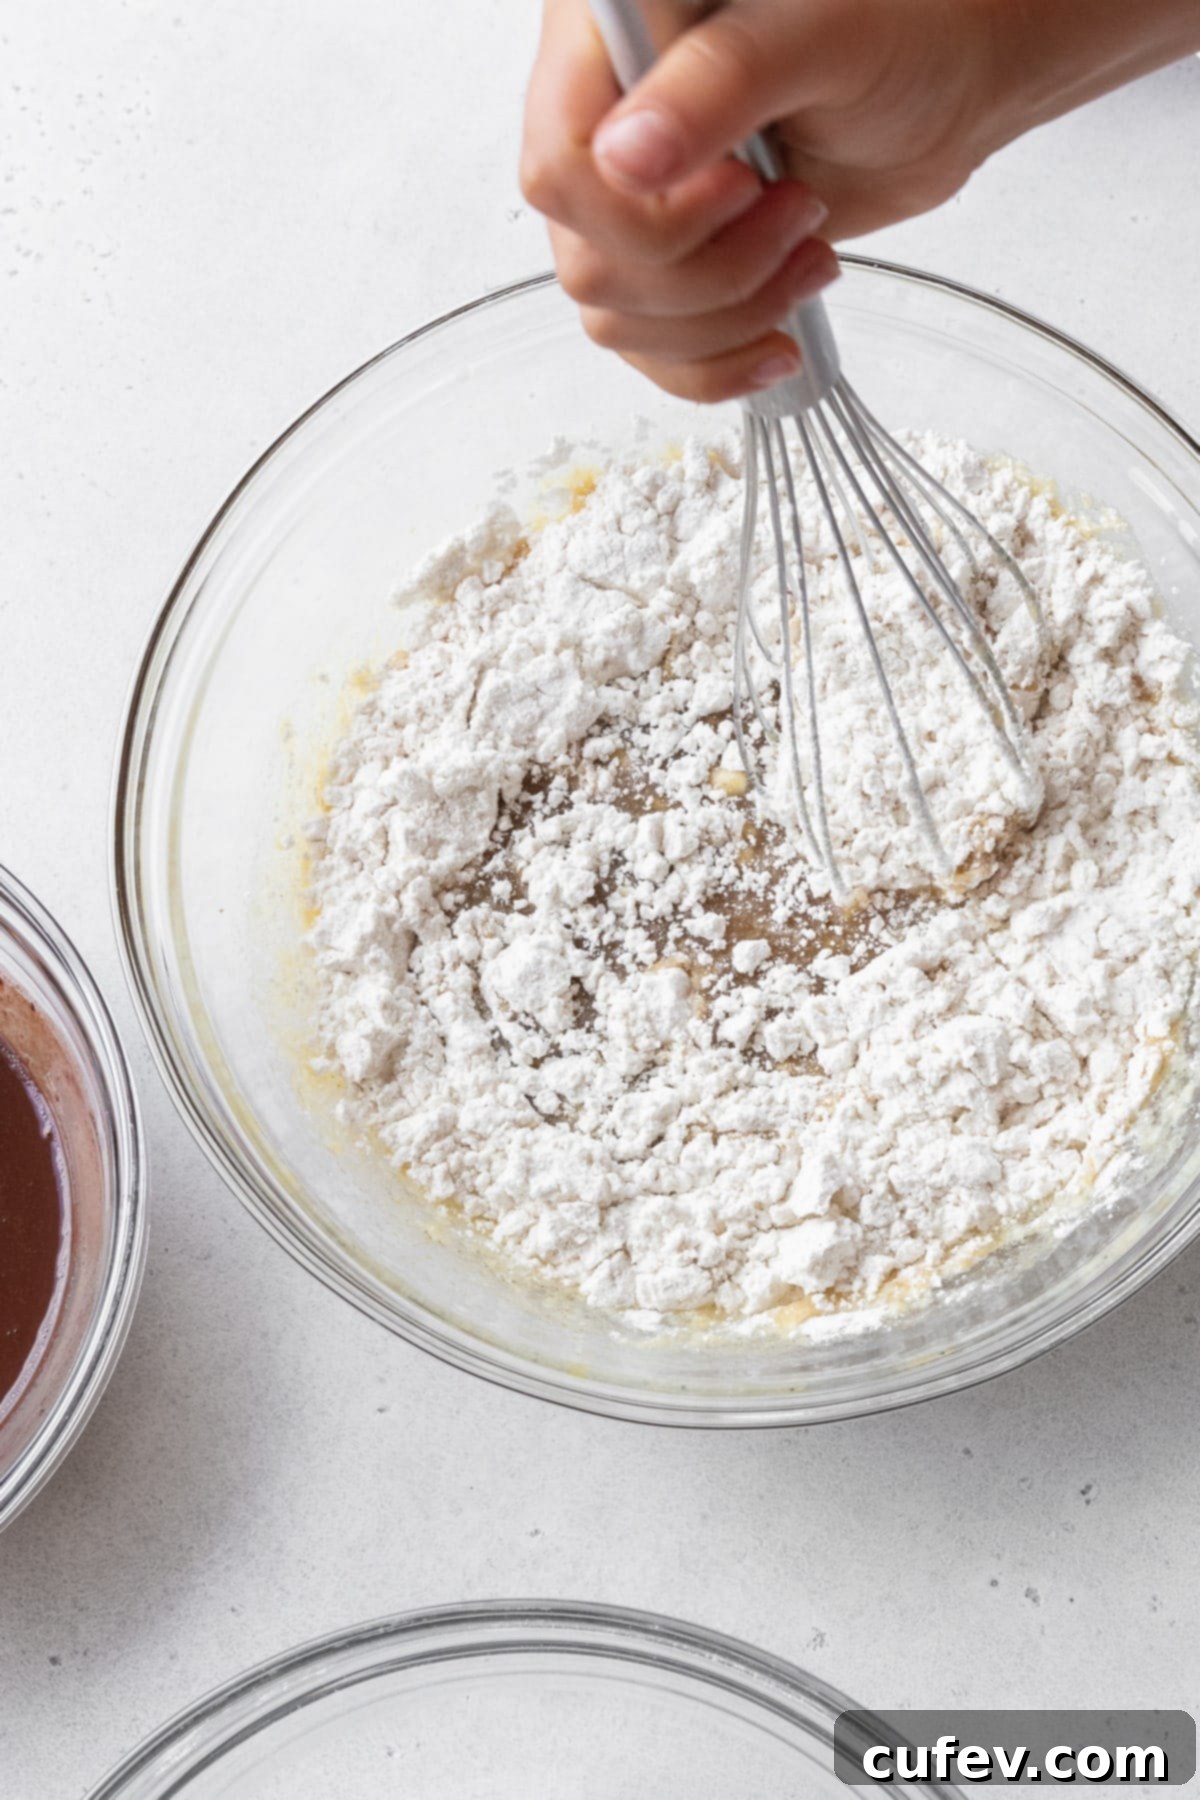
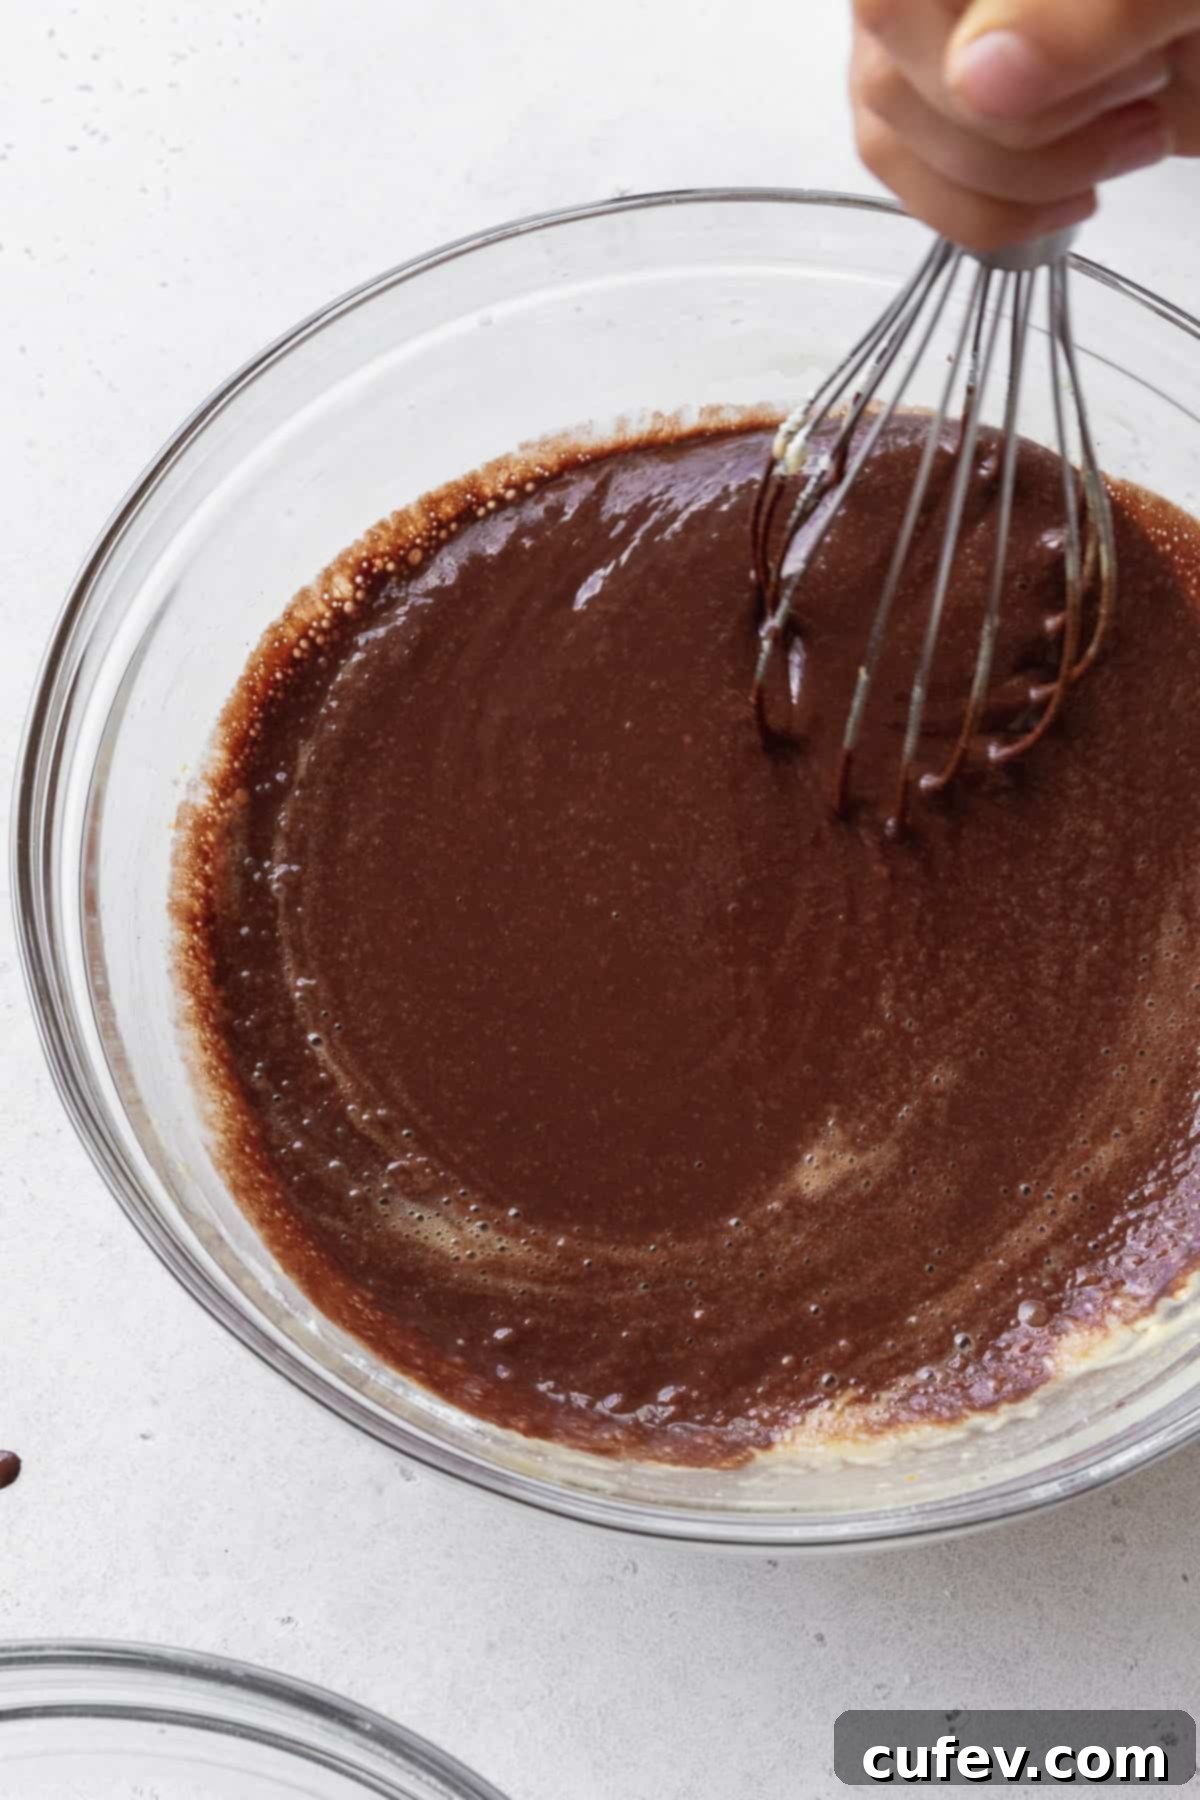
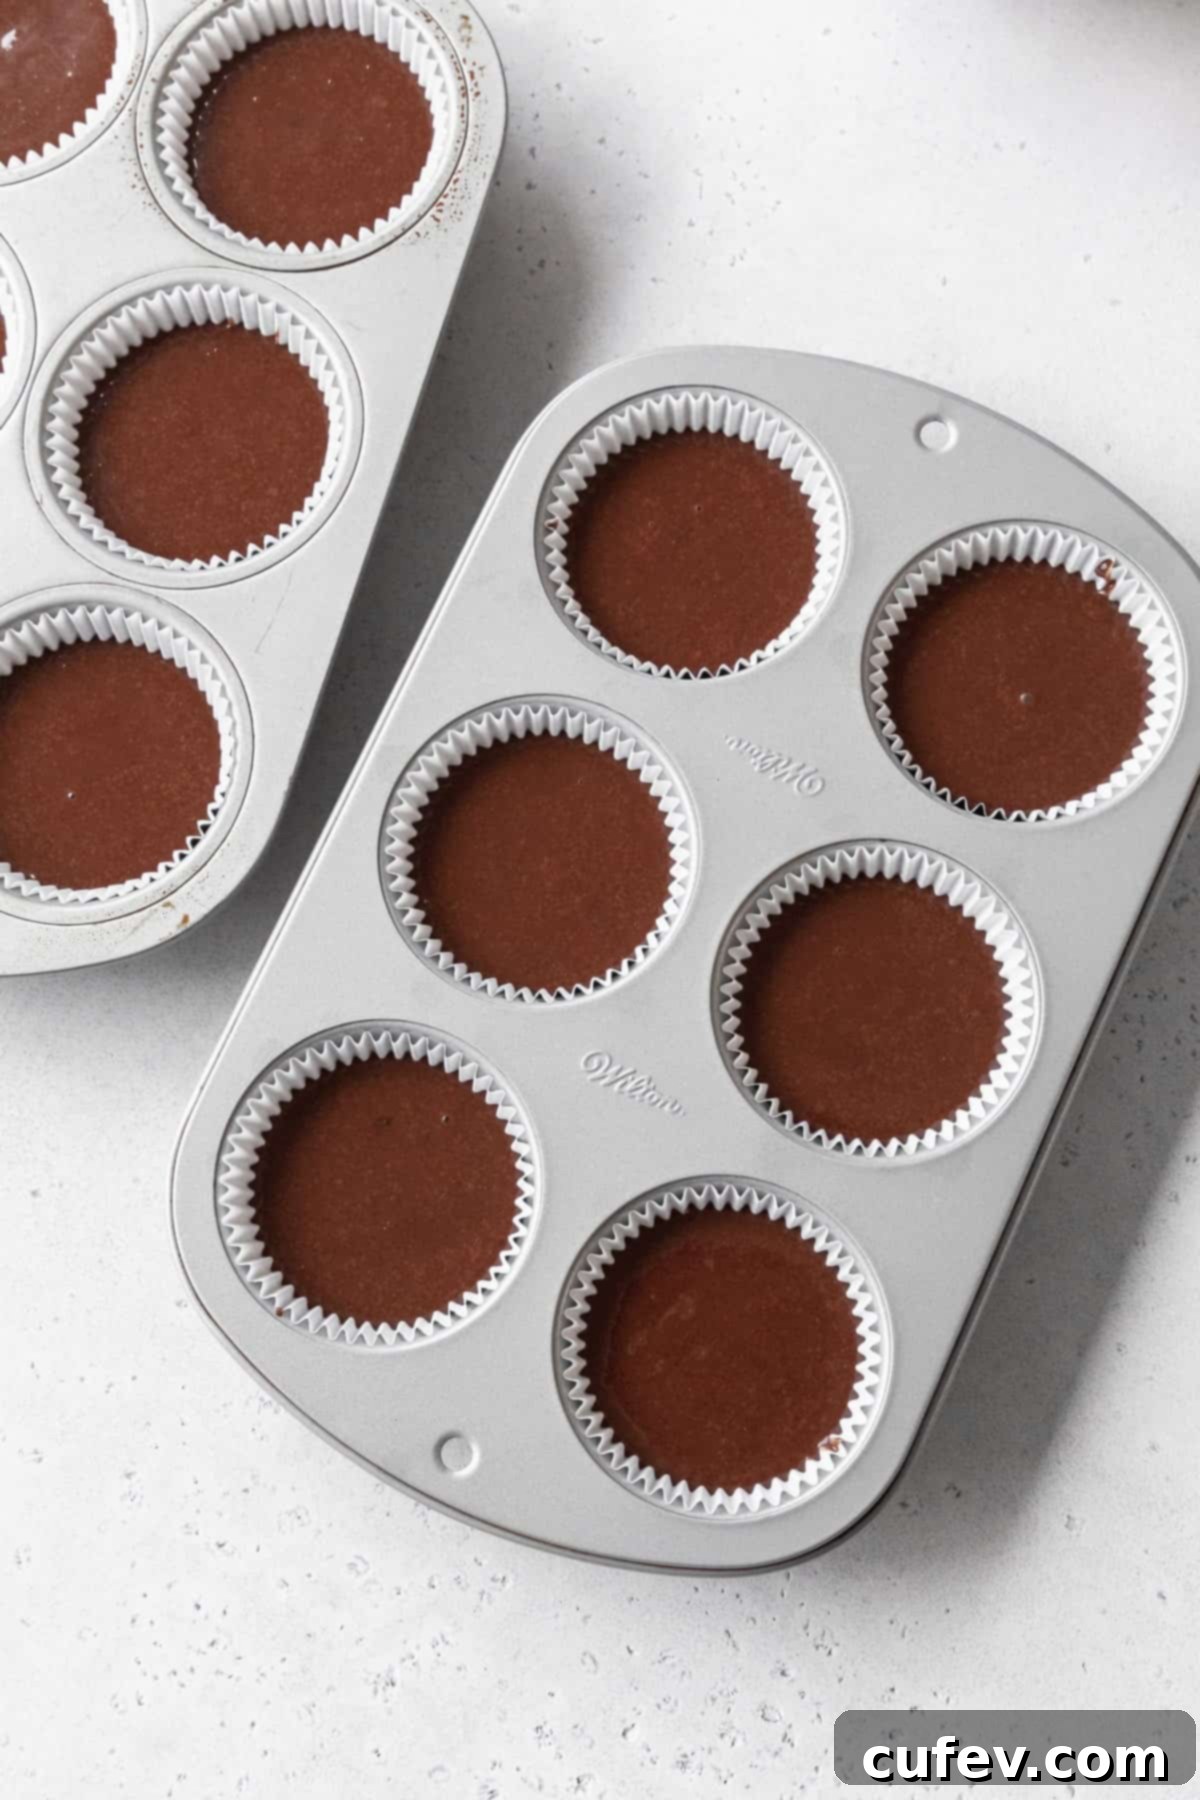
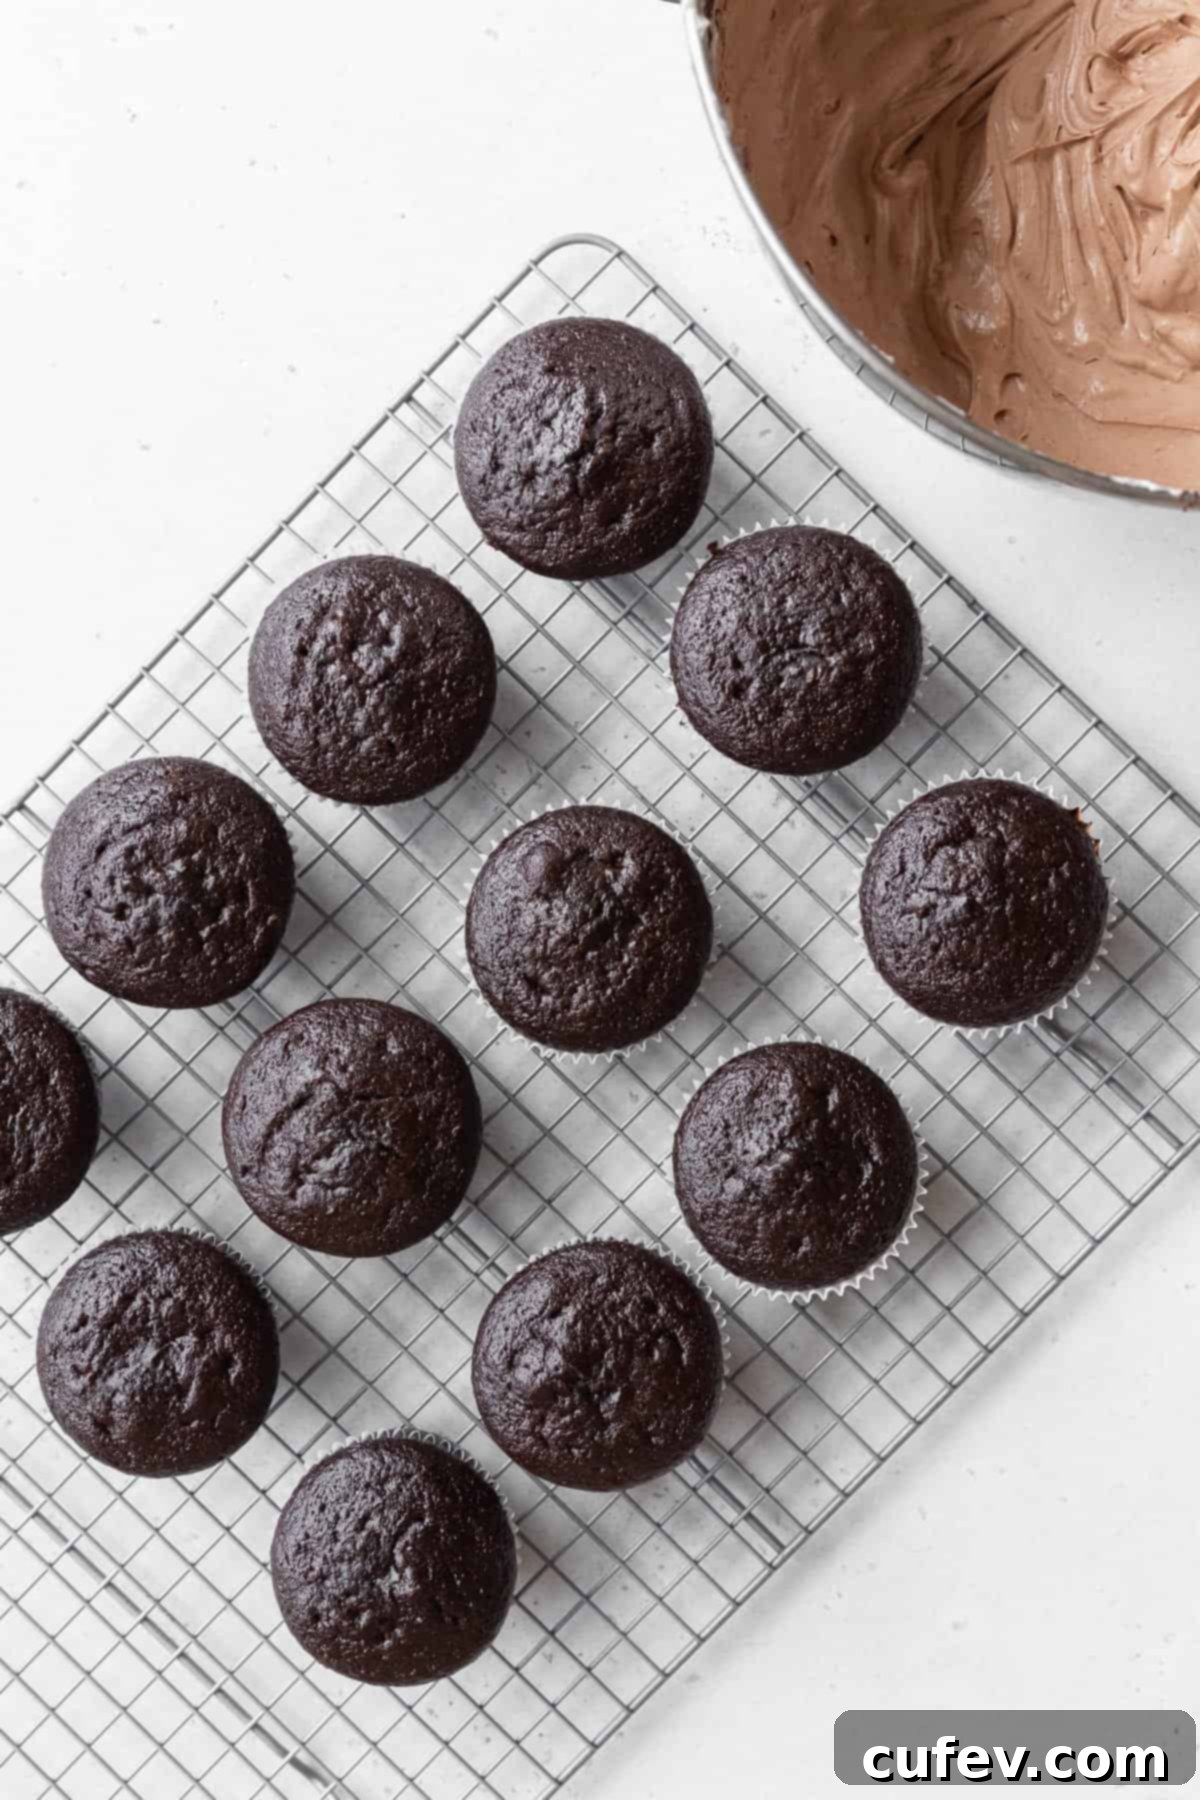
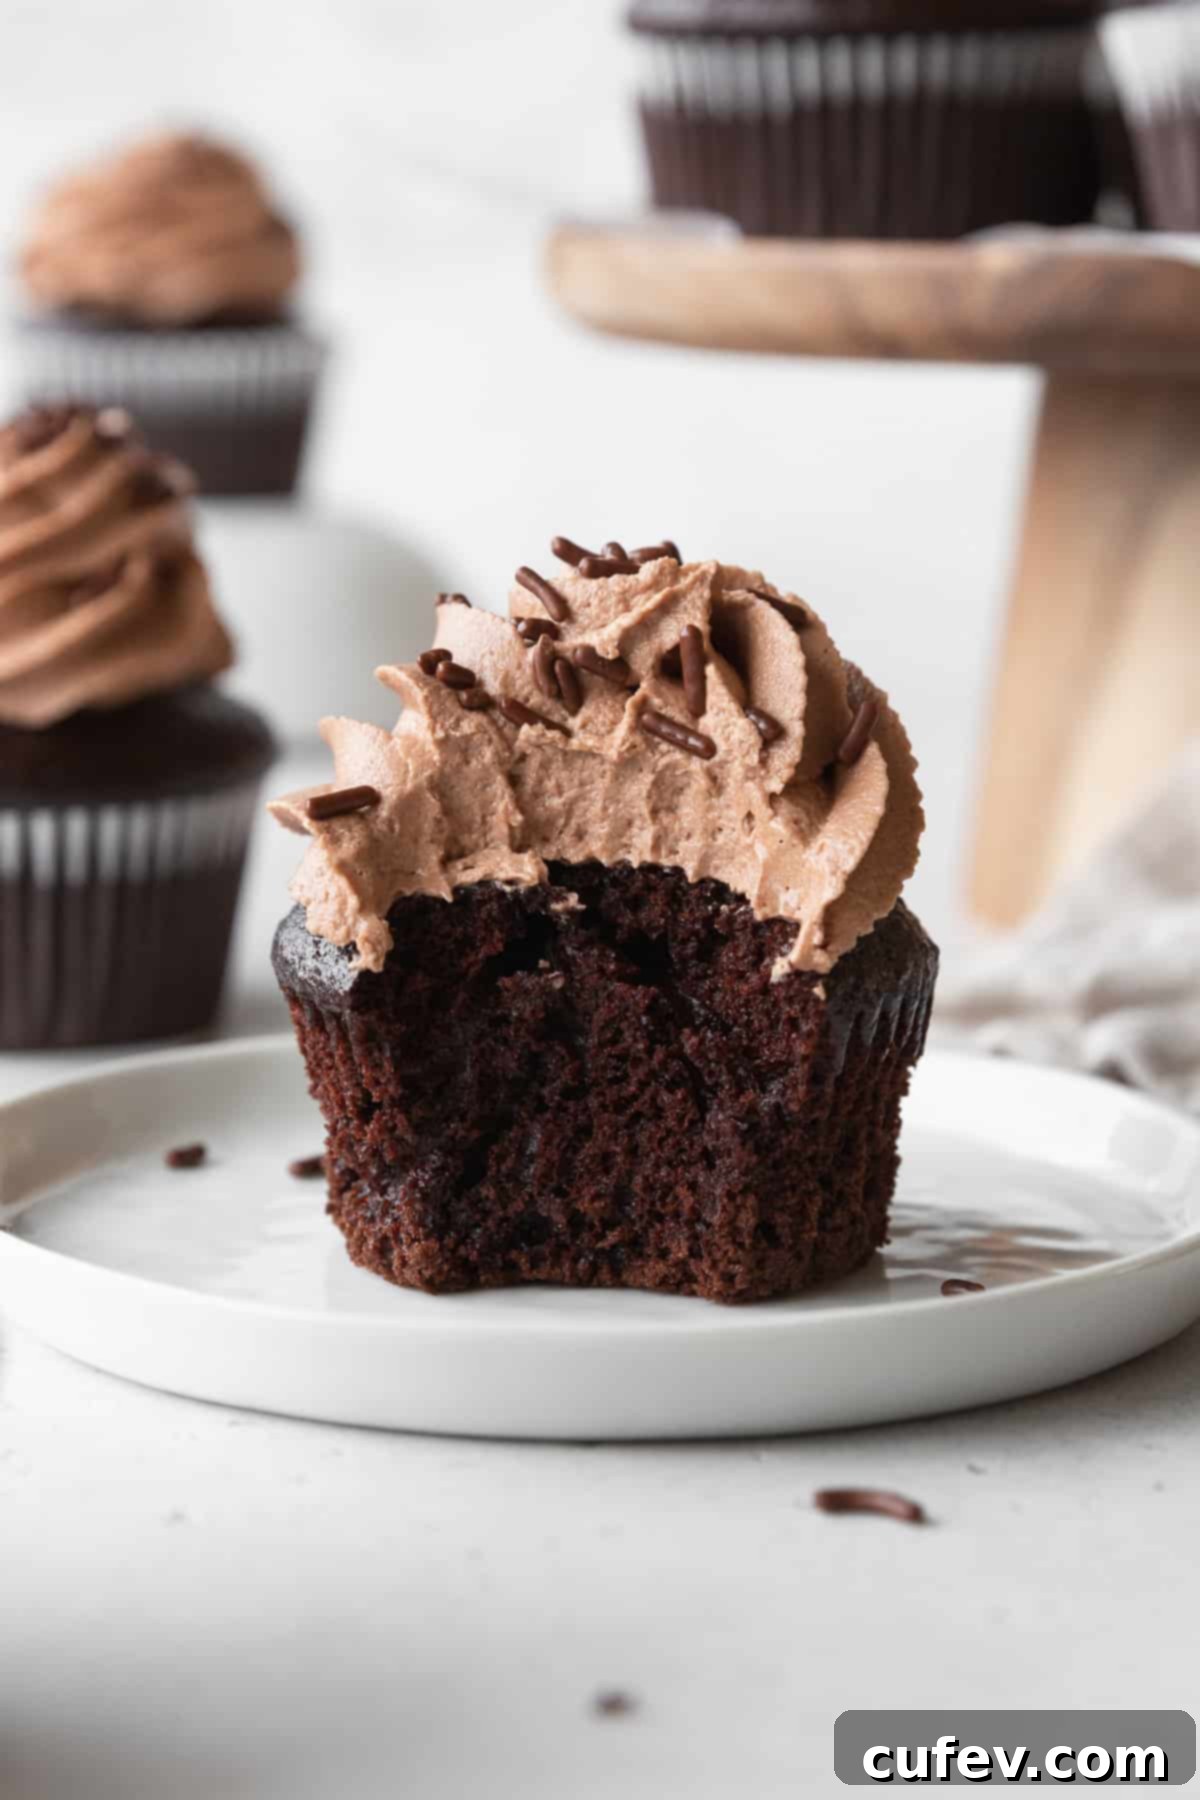
Step 7: Bake to Perfection. Divide the batter evenly among the 12 prepared muffin cups, filling each about two-thirds full. Place the pan into the preheated oven and bake for 16-18 minutes. Baking time can vary slightly depending on your oven, so keep an eye on them. The cupcakes are done when a toothpick inserted into the center comes out with a few moist crumbs, but no wet batter. Overbaking will lead to dry cupcakes! Allow them to cool in the pan for a couple of minutes after removing them from the oven, then transfer them onto a wire rack to cool completely. This prevents them from becoming soggy and allows them to firm up properly before frosting.
Crafting the Silky Chocolate Cream Cheese Frosting
The luscious chocolate cream cheese frosting for these cupcakes is surprisingly simple to whip up and adds an exquisite layer of flavor and texture. For those seeking a dairy-free option, creating a delicious dairy-free chocolate frosting is as easy as swapping in vegan butter and vegan cream cheese. Here’s how to make it:
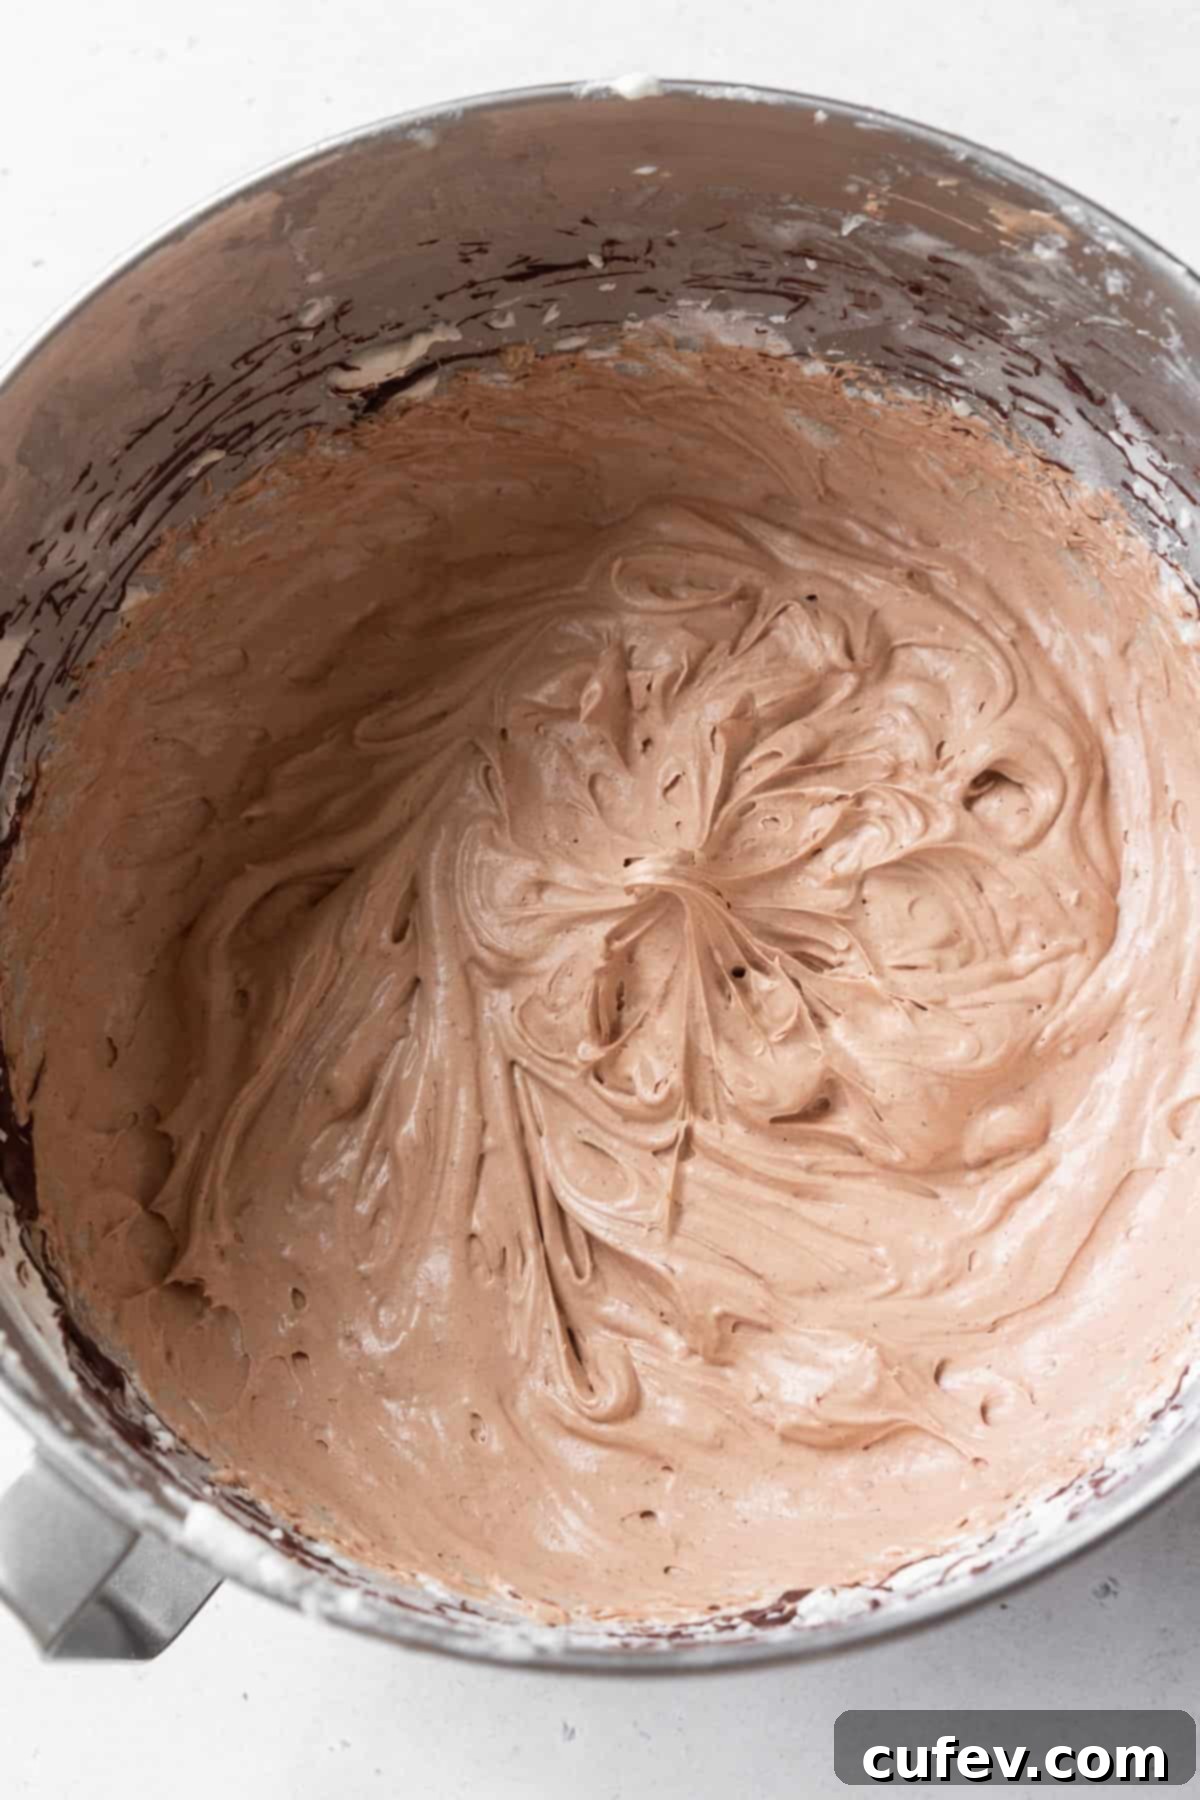
Step 1: Cream and Whip to Fluffy Perfection. In the bowl of a stand mixer fitted with the paddle attachment (or using a hand mixer), cream together the softened unsalted butter and room temperature block cream cheese on medium speed until the mixture is light, fluffy, and well combined. This can take a few minutes. Once adequately creamed, begin adding the powdered sugar, about ⅓ of the total amount at a time, mixing thoroughly on low speed after each addition until fully incorporated. This gradual addition prevents a powdery cloud from forming in your kitchen. Once all the sugar is added, mix in the vanilla extract, fine salt, and the slightly cooled melted semi-sweet chocolate. Increase the speed to medium-high and whip again until the frosting is incredibly fluffy, smooth, and spreadable. Scrape down the sides of the bowl as needed to ensure everything is evenly mixed.
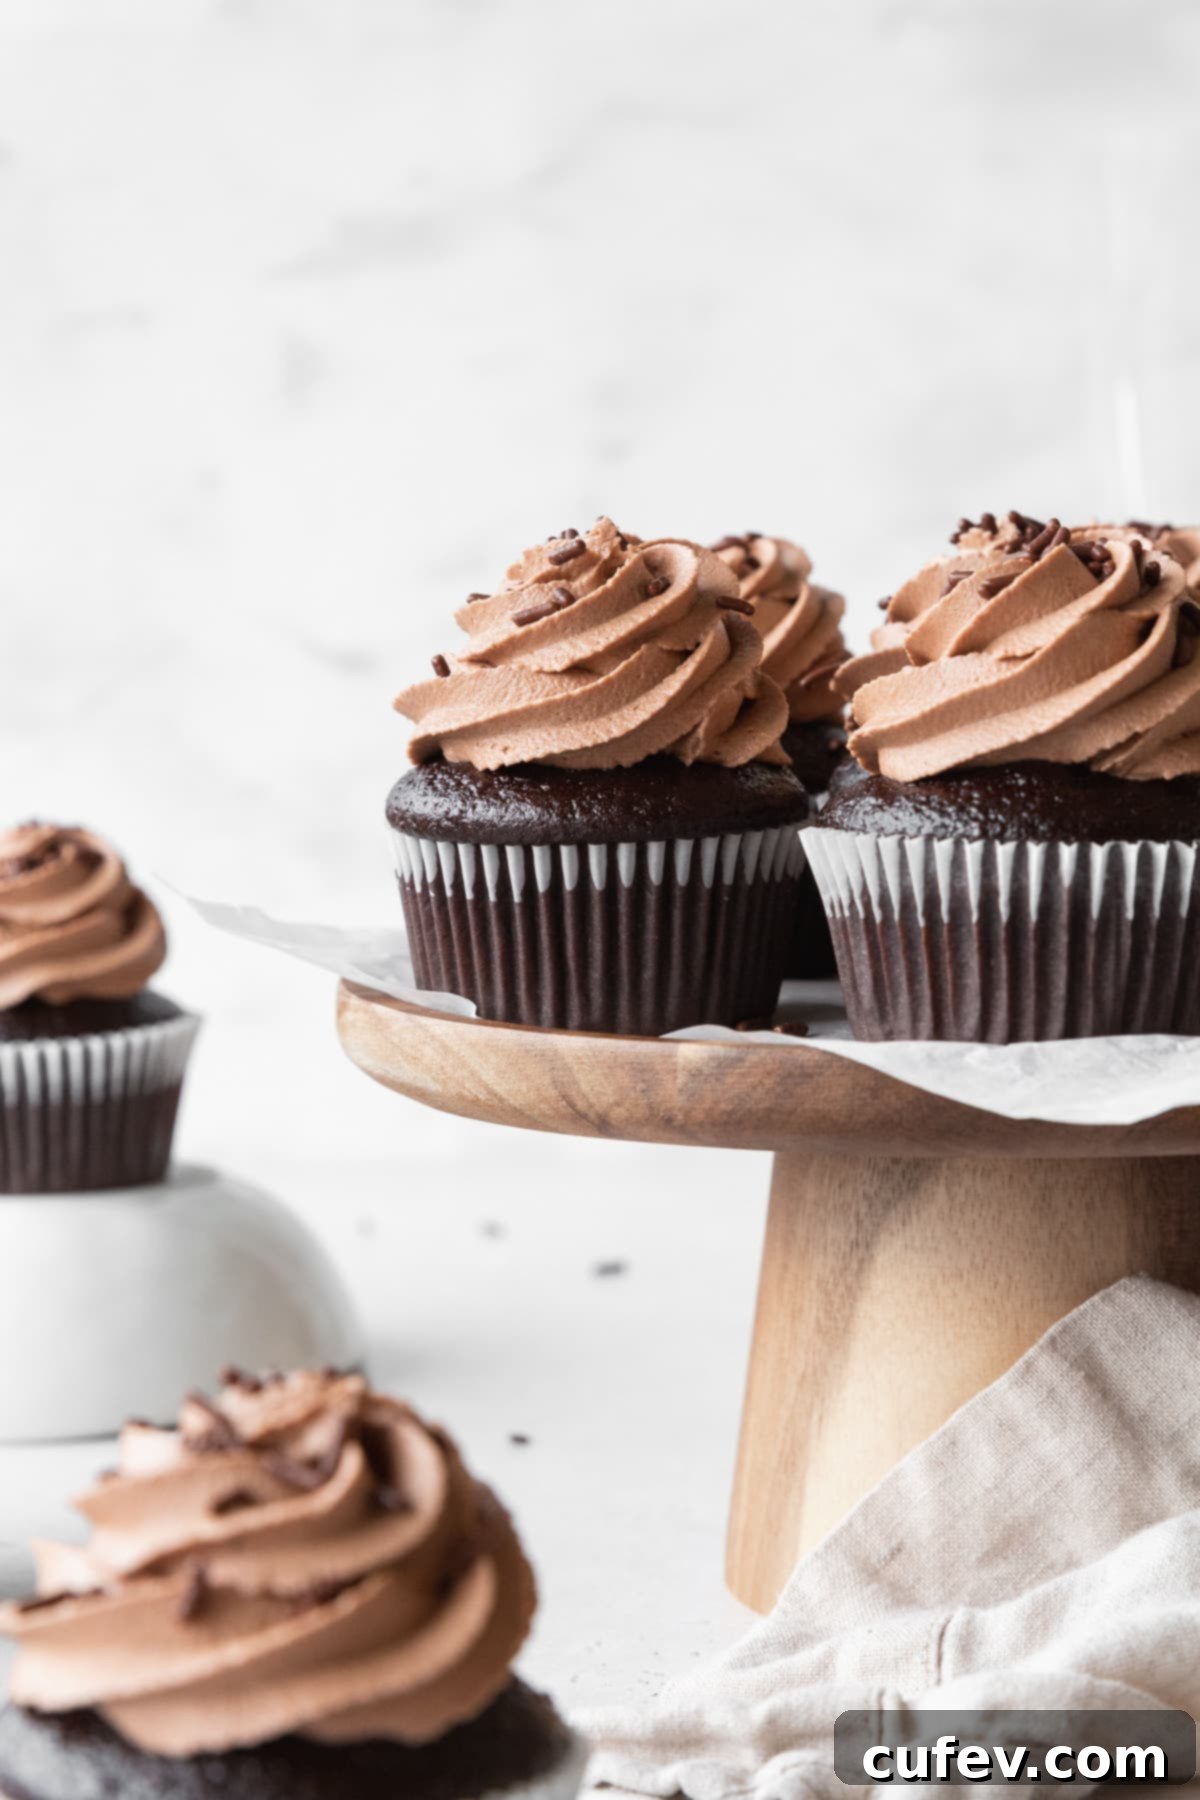
Step 2: Decorate Your Cooled Masterpieces. Once your chocolate cupcakes are completely cooled to room temperature (this is critical to prevent the frosting from melting!), transfer your prepared chocolate cream cheese frosting to a piping bag fitted with your favorite decorative tip. Pipe generous swirls of frosting onto each cupcake. If you don’t have a piping bag, simply use an offset spatula or a knife to spread the frosting artistically. Enjoy your beautifully frosted creations!
Dietary Adaptations: Enjoying Chocolate Cupcakes Your Way
One of the best features of this chocolate cupcake recipe is its adaptability. Whether you have specific dietary needs or preferences, you can easily modify this recipe to create equally delicious gluten-free and dairy-free versions. Here are some detailed ways you can adapt this recipe to fit your requirements:
Gluten-Free Chocolate Cupcakes
Creating delicious gluten-free chocolate cupcakes is simpler than you might think. The key lies in selecting the right flour and allowing the batter time to hydrate properly. Use your favorite high-quality measure-for-measure gluten-free flour blend that already contains xanthan gum. Xanthan gum acts as a binder, mimicking the elasticity that gluten provides, which is crucial for the structure of your cupcakes. After mixing the batter, it’s absolutely vital to rest it for at least 30 minutes before baking. This resting period allows the gluten-free flours to fully absorb the liquid, preventing the cupcakes from having a gritty or dry texture. Skipping this crucial step can result in a less pleasant eating experience. I’ve personally tested this recipe with Bob’s Red Mill 1-to-1 Baking Flour blend, and the results were consistently perfect – light, moist, and wonderfully fluffy!
Dairy-Free Chocolate Cupcakes
Making these chocolate cupcakes dairy-free is incredibly straightforward. Simply swap out the whole milk for an unsweetened and unflavored plant-based milk of your choice. Oat milk, soy milk, or almond milk are all excellent options that work well in baking. For the decadent chocolate cream cheese frosting, remember to use a high-quality vegan butter and a block-style vegan cream cheese. Ensure both are at room temperature for the best creaming and whipping results. With these simple substitutions, you’ll have wonderfully moist and rich dairy-free chocolate cupcakes that everyone can enjoy.
Dairy-Free Gluten-Free Chocolate Cupcakes
To make these cupcakes both gluten-free and dairy-free, simply combine the instructions from the two sections above. Use your preferred measure-for-measure gluten-free flour blend (remembering to rest the batter for 30 minutes) and substitute all dairy products with their vegan counterparts (plant-based milk, vegan butter, and vegan cream cheese). This dual adaptation ensures that those with both sensitivities can still enjoy these incredibly delicious chocolate treats!
Vegan Chocolate Cupcakes
While this recipe can be easily adapted for gluten-free and dairy-free needs, I haven’t personally tested it as a fully vegan cupcake recipe, which would require omitting the eggs. Eggs play a significant role in the structure and moisture of these cupcakes, and simply removing them without other adjustments can drastically change the outcome. Therefore, I cannot guarantee the same moist and fluffy results if you simply omit the eggs from this particular recipe. If you are specifically looking for a delicious and reliable vegan chocolate cupcake, I highly recommend trying my proven recipes like vegan chocolate banana cupcakes or my rich vegan salted caramel chocolate cupcakes instead! They are designed from the ground up to be perfectly vegan and incredibly tasty.
Expert Tips for Baking Perfect Chocolate Cupcakes
Achieving bakery-quality chocolate cupcakes at home is entirely within reach with a few key techniques. These tips will help ensure your cupcakes are consistently moist, fluffy, and utterly delicious every single time:
- Don’t Overmix the Cupcake Batter: This is arguably one of the most crucial tips for tender cupcakes. Overmixing develops the gluten in the flour excessively, leading to a tough, dense, and chewy texture rather than the desired soft and fluffy crumb. Once you add the dry ingredients to the wet, mix only until they are just combined and you no longer see any visible streaks of dry flour. A few small lumps are perfectly acceptable and often indicate you haven’t overmixed.
- Rest Gluten-Free Batter: If you’re opting for gluten-free chocolate cupcakes, do not skip the batter resting step. Resting your gluten-free batter for at least 30 minutes before baking is absolutely essential. This allows the various gluten-free flours in your blend sufficient time to fully hydrate and absorb the liquids. If you skip this crucial step, you’ll likely end up with cupcakes that have a gritty, unappealing texture, and nobody wants that!
- Cool Cupcakes Completely Before Frosting: I know, the aroma of freshly baked chocolate cupcakes is incredibly tempting, and the thought of immediately diving into a warm, frosted treat is hard to resist. However, patience is a virtue here! It is absolutely paramount that your cupcakes are completely cooled to room temperature before you even think about applying the frosting. If you try to frost them while they are still warm, the heat will cause your beautiful chocolate cream cheese frosting to melt, slide right off, and create a messy disaster. Plan ahead and allow ample cooling time.
- Use Room Temperature Ingredients (Especially for Frosting): For the best results, particularly when making the cream cheese frosting, ensure your butter, cream cheese, and eggs are at room temperature. Room temperature butter and cream cheese cream together much more smoothly, incorporating air more efficiently for a light and fluffy frosting. Cold ingredients will lead to a lumpy frosting texture.
- Measure Ingredients Accurately: Baking is a science, and precision matters. While cup measurements are provided, using a kitchen scale to measure your flour, sugar, and even cocoa powder by weight can significantly improve consistency and accuracy. If using cups, employ the “scoop and sweep” method for flour: gently spoon flour into your measuring cup until it overflows, then level it off with a straight edge. Do not pack it down.
- Don’t Overfill Muffin Liners: To achieve beautifully domed cupcakes without overflow, fill each paper liner about two-thirds full. Overfilling can cause the cupcakes to bake unevenly, spill over the sides of the liner, or create large, unstable tops that are difficult to frost.
- Know Your Oven: Every oven is a little different. Invest in an oven thermometer to ensure your oven is truly preheating to the correct temperature. If your oven tends to run hot or cold, adjust the baking time or temperature accordingly.
Frequently Asked Questions About Chocolate Cupcakes
The primary distinction, in my opinion, lies in the presentation and texture. A chocolate muffin is typically a more rustic, denser baked good often served unfrosted, or perhaps with a simple streusel topping. Its texture is usually heartier, and it might contain add-ins like chocolate chips or fruit throughout. A chocolate cupcake, on the other hand, is a lighter, fluffier, and more delicate cake-like treat, almost always adorned with a generous swirl of frosting, making it a celebratory dessert. Cupcakes aim for a tender, fine crumb, while muffins are generally denser and chunkier.
For the absolute best chocolate flavor in your cupcakes, I personally prefer using Dutch-processed cocoa powder. This type of cocoa has a reduced acidity, resulting in a darker color and a smoother, more intense, and less bitter chocolate taste that truly shines in baked goods. While natural cocoa powder can be used, Dutch-processed cocoa yields a deeper, more refined chocolate experience.
Achieving perfectly moist cupcakes involves several key factors. First, ensure you measure your ingredients properly; using a kitchen scale for flour is ideal. If measuring by volume, use the scoop-and-sweep method to avoid compacting the flour. Second, and crucially, do not overmix the batter – stop mixing as soon as the dry and wet ingredients are just combined. Third, avoid overbaking; pull the cupcakes from the oven when a toothpick inserted into the center comes out *mostly* clean with just a few moist crumbs clinging to it. Fourth, incorporating a touch of acidity, like the apple cider vinegar in this recipe, reacts with baking soda to create a tender crumb. Finally, cool them correctly: allow them to rest in the muffin tin for a few minutes before transferring them to a wire rack to cool completely, preventing them from getting soggy.
The baking time can vary depending on your specific recipe, the precise temperature of your oven (even if preheated, ovens can have hot spots), and the size of your cupcakes. For this particular recipe, using a standard 12-cup muffin tin and baking at 340°F (170°C), a duration of 16-18 minutes is typically perfect to achieve a moist and fully baked cupcake.
The most reliable way to check for doneness is the toothpick test. Insert a clean toothpick into the center of one of the cupcakes. If it comes out completely clean with no wet batter, the cupcakes are likely overbaked. For moist cupcakes, you want the toothpick to come out with a few moist crumbs attached, but no liquid batter or wet streaks. The tops should also spring back slightly when gently touched.
Yes, absolutely! The instant coffee is added not to impart a coffee flavor, but rather to significantly deepen and enhance the natural chocolate notes, making the chocolate taste “more chocolatey.” You’re welcome to swap in decaf instant coffee if you prefer to avoid caffeine, or use instant espresso powder for an even more potent chocolate boost. If neither of these is an option for you, or if you simply prefer not to use coffee, you can certainly omit it and just add the specified amount of hot water. The cupcakes will still be delicious, just with a slightly less intense chocolate profile.
Yes, you can easily adapt this recipe to make a delicious chocolate layer cake or sheet cake! Simply swap out the muffin pan for an 8-inch square pan or a 9-inch round cake pan. Ensure your chosen pan is well-greased and lined with parchment paper to prevent sticking. You’ll need to increase the baking time to approximately 20-25 minutes, or until a toothpick inserted into the center comes out with moist crumbs. Keep an eye on the cake as it bakes, as oven temperatures can vary. Voila! You’ll have a wonderfully moist chocolate cake from the same great batter.
Yes, you can absolutely freeze these chocolate cupcakes, but it’s best to freeze them unfrosted for optimal results. Once the baked cupcakes are completely cooled, place them in a single layer in an airtight container or wrap them individually in plastic wrap, then place them in a freezer-safe bag. They can be frozen for up to 3 months. When ready to enjoy, thaw them at room temperature for a few hours, then frost as desired. Frosted cupcakes can also be frozen, but the frosting might become slightly less smooth upon thawing.
Cupcakes sinking in the middle is a common baking frustration, usually due to one of a few reasons: 1) The oven door was opened too early during baking, causing a sudden temperature drop. 2) The cupcakes were underbaked, and the internal structure wasn’t fully set. 3) Too much leavening agent was used, causing them to rise too quickly and then collapse. 4) The batter was overmixed, leading to a weak gluten structure that can’t support the rise. Ensure your oven is properly preheated, don’t open the door until almost done, and measure your ingredients precisely!
Storage & Freshness: Keeping Your Chocolate Cupcakes Delicious
Proper storage is essential to maintain the freshness and deliciousness of your homemade chocolate cupcakes, especially because of the cream cheese frosting. Here are the best ways to store them:
- These particular cupcakes, thanks to their rich chocolate cream cheese frosting, absolutely need to be refrigerated. Store them in an airtight container in the refrigerator for up to 4 days. The airtight seal will help prevent them from drying out and absorbing other refrigerator odors.
- If you’ve made the gluten-free version of these cupcakes, it’s best to enjoy them within 2-3 days for the optimal texture and consistency. Gluten-free baked goods tend to dry out slightly faster than their gluten-containing counterparts.
- Should you decide to top your chocolate cupcakes with a traditional buttercream frosting instead of cream cheese frosting (which is butter-based and more stable), they can typically be kept at a cool room temperature for 2-3 days. However, if that buttercream is made with dairy-free butter, it will still need to be refrigerated to prevent the frosting from melting or becoming too soft, as vegan butters often have a lower melting point.
- Always allow refrigerated cupcakes to come closer to room temperature for about 15-30 minutes before serving. This allows the frosting to soften slightly and the flavors to fully develop, resulting in the best eating experience.
Explore More Delicious Cupcake Creations
If you’ve fallen in love with these chocolate cupcakes, you’ll be thrilled to discover other delectable cupcake recipes that are just as easy and satisfying to make. Expand your baking repertoire with these irresistible options:
- If you adore the classic combination of chocolate and peanut butter, you absolutely must try my Chocolate Peanut Butter Cupcakes! They’re a fan favorite for a reason.
- Looking for a fantastic vegan cupcake option that doesn’t compromise on flavor? My Vegan Salted Caramel Chocolate Cupcakes are incredibly delicious and surprisingly easy, especially if you use a convenient store-bought vegan caramel sauce.
- These Dairy-Free Vanilla Cupcakes are so incredibly fluffy and moist, you’ll honestly be amazed they’re made without traditional milk or butter! Don’t forget to pair them with my equally delightful Dairy-Free Vanilla Buttercream Frosting for the complete experience.
- For those who appreciate unique and sophisticated flavors, you have to try these Matcha Cupcakes! They capture the earthy notes of matcha perfectly and are topped with a heavenly white chocolate cream cheese frosting that creates a harmonious blend of tastes.
- Love the rich flavor of chocolate cake but prefer a show-stopping layer cake instead of individual cupcakes? Then make this indulgent Gluten-Free Chocolate Cake! It’s unbelievably moist and perfect for any celebration.
Best Chocolate Cupcake Recipe
Print
Pin
Rate
Ingredients
For the cupcakes
- 1 cup all-purpose flour
- 2 tablespoons cornstarch
- 6 tablespoons Dutch-processed cocoa powder
- ½ teaspoon fine salt
- 1 teaspoon baking soda
- ½ teaspoon baking powder
- ⅓ cup granulated sugar
- ½ cup brown sugar
- ¼ cup oil
- 2 large eggs
- 2 teaspoons apple cider vinegar
- 1 teaspoon vanilla extract
- ½ teaspoon instant coffee
- ½ cup hot water
- ½ cup whole milk
For the frosting
- 1 cup unsalted butter
- 8 oz cream cheese
- 3½ cups powdered sugar
- ½ teaspoon vanilla extract
- ¼ teaspoon fine salt
- ¾ cup semi-sweet chocolate
Instructions
For the cupcakes
-
Preheat the oven to 340°F (170°C) and line a 12 cup muffin pan with paper liners.
-
In a small bowl, combine the cocoa powder and instant coffee. Pour the hot water on top and stir to let the cocoa powder bloom to maximize the chocolate flavor.
-
In a separate bowl, combine the flour, cornstarch, salt, baking soda, and baking powder. Set it aside.
-
In a large bowl, combine granulated sugar, brown sugar, and oil.
-
Add the eggs, milk, vinegar, and vanilla to the bowl with the sugars and oil. Stir until smooth.
-
Add the dry ingredients and stir just until combined.
-
Pour in the cooled cocoa powder mixture and stir.
-
Pour evenly into the prepared muffin pan and bake for 16-18 minutes. Let them cool in the pan for a couple minutes before taking them out onto a wire rack to cool completely.
For the frosting
-
In the bowl of a stand mixer, cream together softened butter and cream cheese. Once it’s fluffy, add ⅓ of the powdered sugar at a time, mixing after each addition. Add the vanilla, salt, and melted chocolate and whip again until fluffy and smooth.
-
Add the frosting to a piping bag and decorate your cooled cupcakes.
Notes
Gluten-Free Cupcakes: Use your favorite measure-for-measure gluten-free flour blend, and rest the batter 30 minutes before baking to avoid a gritty texture. I’ve tested this recipe with Bob’s Red Mill 1-to-1 flour blend and it came out perfect!
Dairy-Free Cupcakes: Use dairy-free milk (e.g. oat, soy, almond) instead of whole milk. Don’t forget to use vegan butter and vegan cream cheese for the frosting.
Dairy-Free Gluten-Free Cupcakes: Follow the gluten-free instructions and dairy-free instructions above to make these cupcakes both gluten-free and dairy-free!
Storage: These cupcakes will last for up to 4 days in an airtight container in the refrigerator. If you make them gluten-free, eat them within 2-3 days for the best consistency.
