Effortless No-Bake Icebox Cake: Your Ultimate Guide to a Simple, Creamy, & Delicious Dessert
Icebox cake is a true dessert marvel – it offers the luxurious feel of an indulgent, decadent treat yet demands surprisingly little effort to create! This no-bake wonder is a fantastic solution for anyone seeking a show-stopping dessert without the fuss of turning on an oven. All it requires are a few simple ingredients like your favorite crispy cookies, rich whipped cream, creamy cream cheese, a touch of vanilla, and perhaps the most important ingredient: a bit of patience as it chills to perfection in the fridge overnight.
This recipe has become my absolute favorite for warm summer gatherings, casual potlucks, and even special birthday celebrations. When I need a dessert that looks impressive and sophisticated but can be quickly assembled, this icebox cake is my go-to. It consistently earns rave reviews from everyone who tastes it, and the best part is that no one ever suspects just how incredibly simple it was to put together! Its layered elegance and delightful texture make it a crowd-pleaser every single time.
Recipe Notes: Why This Icebox Cake is a Must-Try!
This delightful icebox cake isn’t just easy; it’s designed to impress with minimal effort. Here’s why it stands out:
- No Baking Required: This is undoubtedly my favorite aspect of this recipe, especially during hot weather or when I’m short on time. You can achieve a truly delicious, multi-layered cake without ever needing to switch on your oven. It’s perfect for keeping your kitchen cool and simplifying your dessert preparation. Just layer, chill, and enjoy the magical transformation!
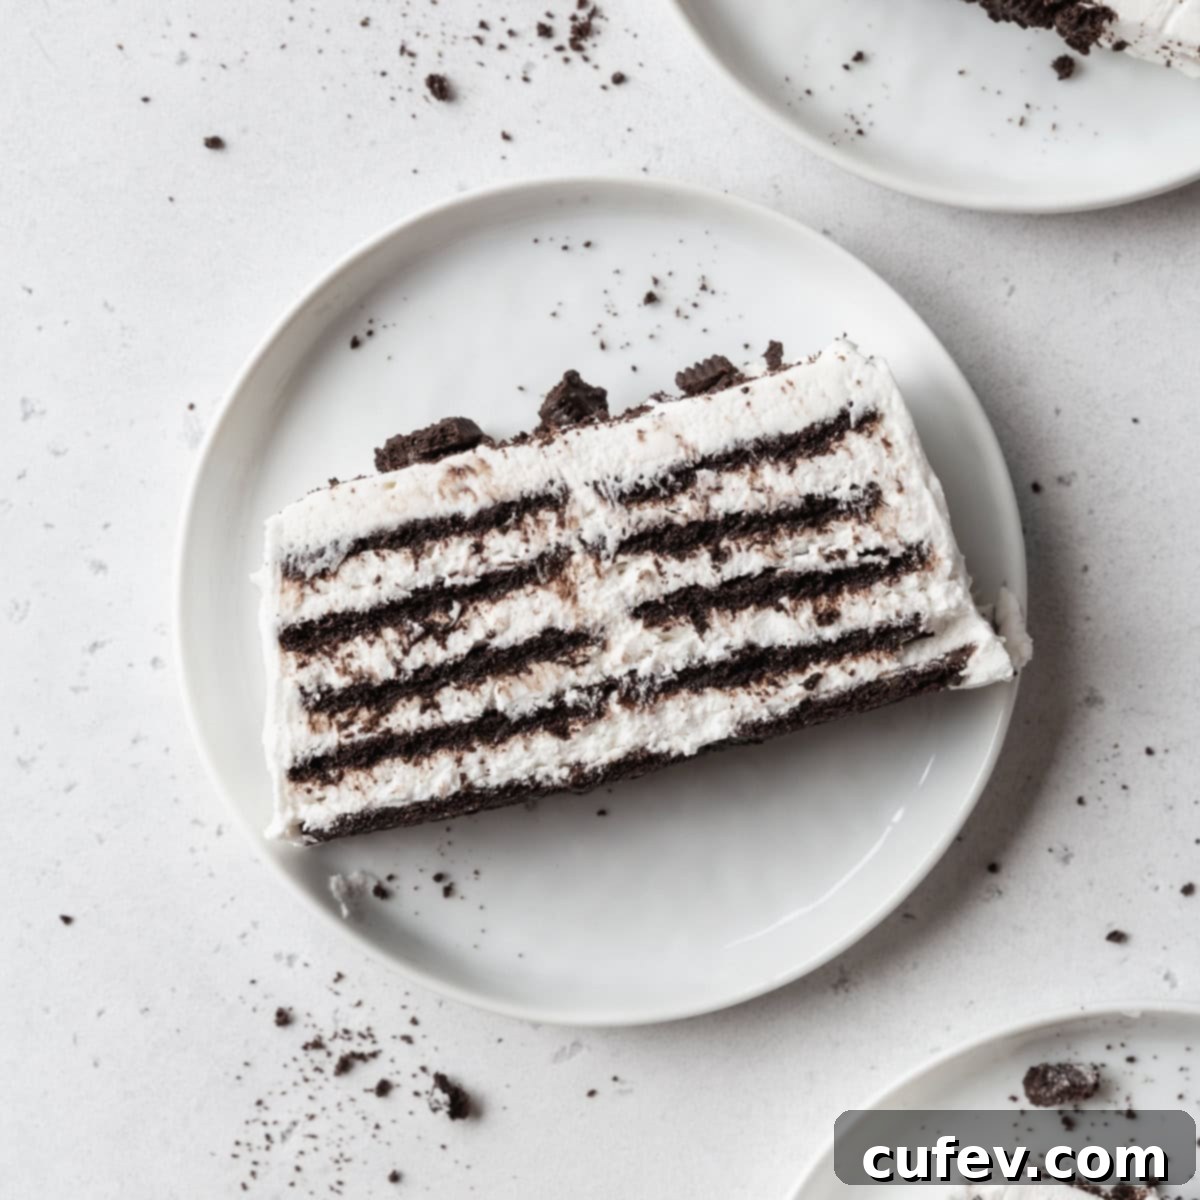
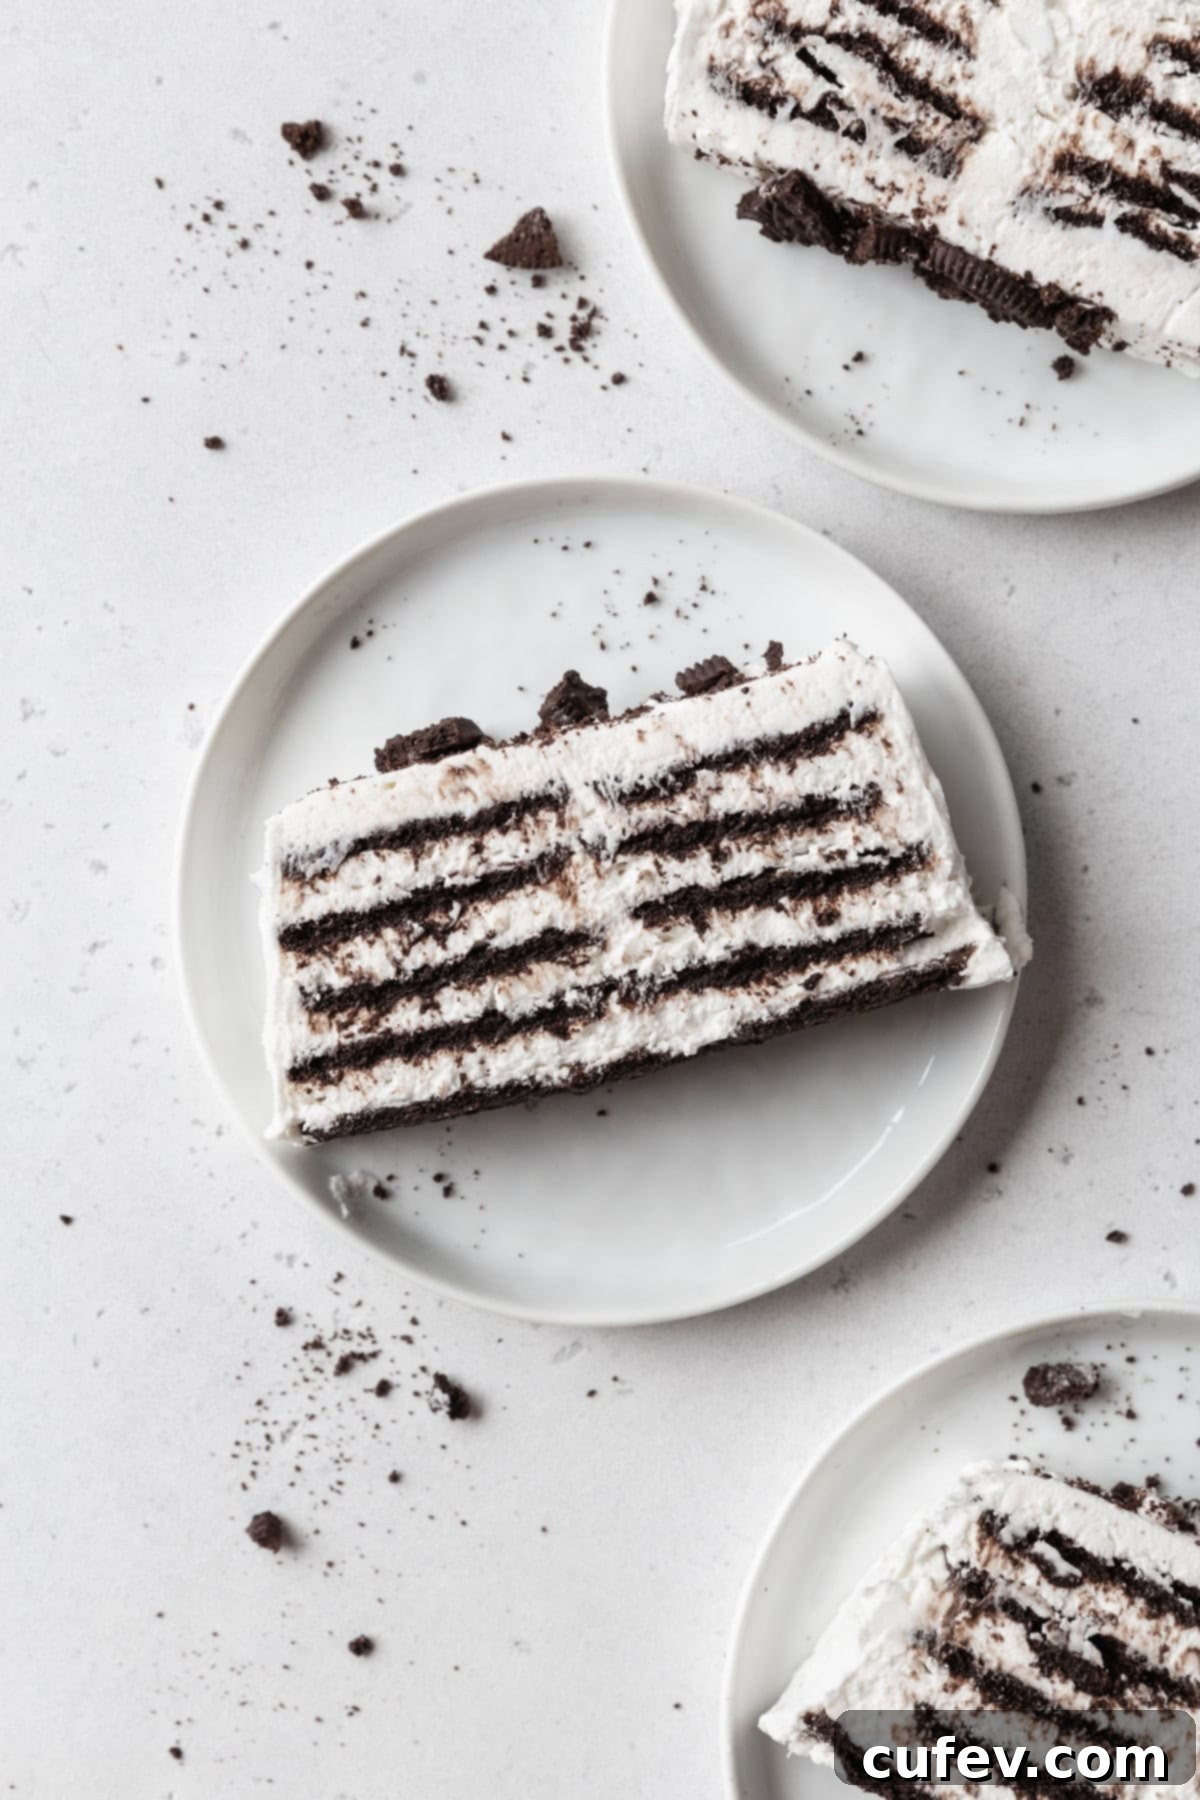
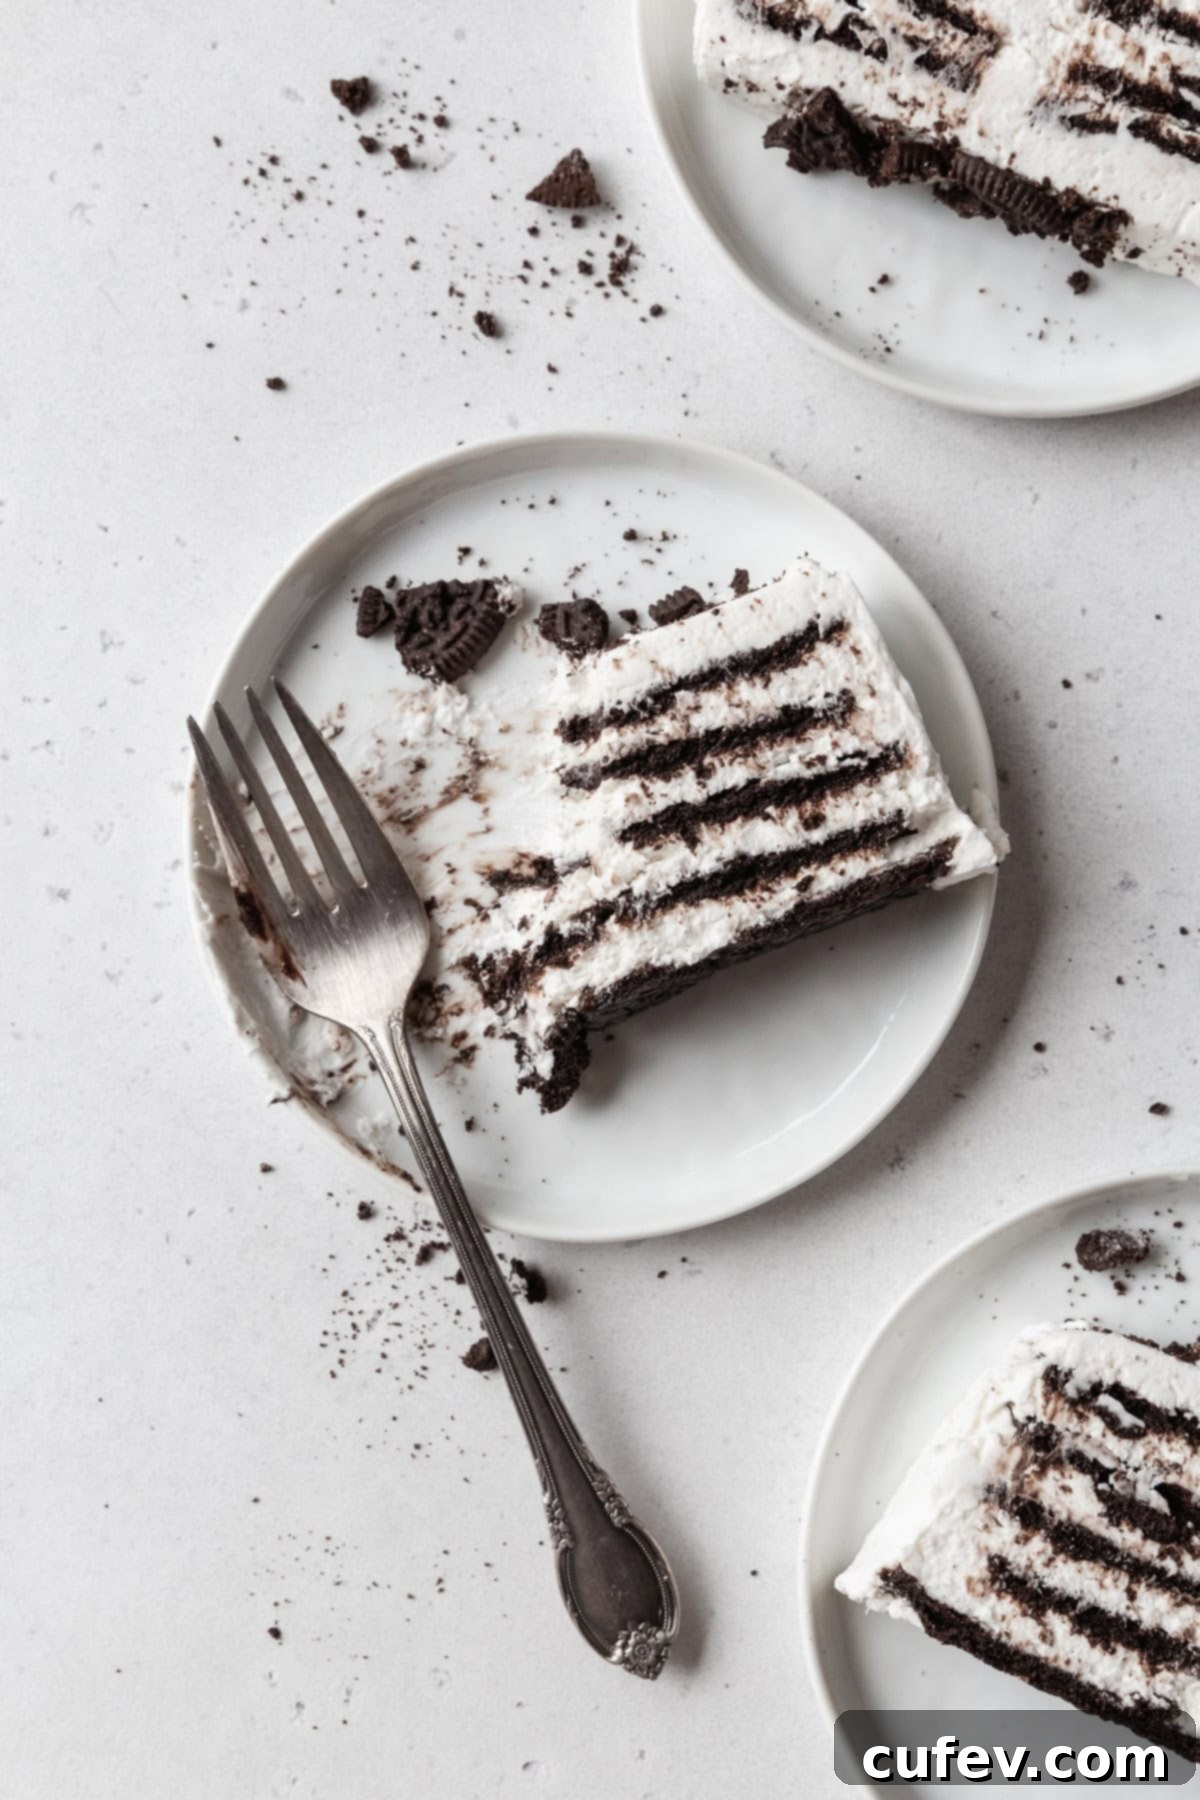
- Sensational Texture: The real magic happens during the chilling process. As the cake rests, the crispy cookies gradually soak up the moisture from the luscious whipped cream and cream cheese mixture. This transforms them from crunchy biscuits into soft, tender, cake-like layers that beautifully meld with the creamy filling, creating an irresistible melt-in-your-mouth experience.
- Incredibly Easy to Make: Seriously, anyone can make this cake! If you can whip heavy cream into fluffy peaks, you possess all the necessary skills to create this impressive dessert. The process involves simple layering, making it a fantastic recipe for beginners or for getting kids involved in the kitchen. There are no complicated techniques or extensive culinary experience needed.
- Endlessly Customizable: One of the greatest joys of an icebox cake is its versatility. You can effortlessly adapt this recipe to suit your personal taste or the dietary needs of your guests. Feel free to experiment with your favorite cookies, layer in fresh fruits like berries or sliced bananas, or even add different flavor extracts to the whipped cream for a unique twist. The possibilities are truly endless, ensuring you can create a fresh experience every time.
Essential Ingredients for Your Perfect Icebox Cake
This incredible no-bake icebox cake relies on just a handful of staple ingredients, but paying attention to a few details about each one can elevate your dessert from good to absolutely spectacular. Here’s a closer look at what you’ll need and some helpful tips:
Cookies: The foundation of your icebox cake! The key is to use crispy cookies that will soften beautifully over time. While I often opt for gluten-free Oreos (with the cream filling gently scraped off for a less sweet, pure chocolate biscuit flavor), the choice is largely yours. You can use any crisp chocolate biscuits, classic graham crackers, vanilla wafers, gingersnaps, or even thin homemade cookies that hold their shape well. The important thing is that they are firm enough to withstand dipping and layering, yet porous enough to absorb moisture and transform into tender cake-like layers during chilling. Feel free to experiment with different flavors to find your favorite combination!
Whipped Cream: This forms the dreamy, cloud-like layers of your cake. You have two main options here: either whip your own heavy cream from scratch for the freshest taste and texture, or opt for a convenient pre-made whipped topping. If you’re looking for a dairy-free alternative, there are excellent plant-based options available such as Coco Whip (a coconut-based whipped topping) or Silk dairy-free heavy whipping cream alternative. When whipping heavy cream, ensure it’s very cold for the best results, as this helps it whip up faster and hold its peaks better.
Cream Cheese: A secret ingredient that brings both flavor and stability. Adding softened cream cheese to your whipped cream mixture doesn’t just impart a wonderful tangy richness that balances the sweetness; it also helps to stabilize the cream, preventing it from weeping and ensuring your cake holds its structure beautifully. For a smooth, lump-free filling, make sure your cream cheese is softened to room temperature before you begin. For those avoiding dairy, brands like Violife cream cheese offer fantastic dairy-free alternatives that perform wonderfully in this recipe.
Powdered Sugar: Also known as confectioners’ sugar, this fine sugar blends seamlessly into the cream mixture, ensuring a smooth and velvety texture without any grittiness that granulated sugar might leave behind. It adds the perfect touch of sweetness to complement the tang of the cream cheese.
Vanilla Extract: A classic flavor enhancer that adds warmth and depth to the creamy filling. You can use high-quality vanilla extract or, for a more pronounced flavor and elegant specks, vanilla bean paste.
Milk: A small amount of milk is used to briefly dip the cookies, helping them begin the softening process without making them soggy. This ensures a consistent texture throughout the cake after chilling. You can use any type of milk – dairy or a plant-based alternative – depending on your preference or dietary needs.
Expert Tips for the Best No-Bake Icebox Cake
While this recipe is wonderfully straightforward and incredibly easy to make, a few insider tips can guarantee your icebox cake turns out perfectly textured, stable, and absolutely delicious every single time. Follow these simple tricks for a truly professional result:
Chill Your Equipment: Before you even start whipping, place your mixing bowl and the whisk attachments (or the loaf pan you intend to use) in the freezer for about 15-20 minutes. A thoroughly chilled bowl significantly helps the heavy cream whip up faster and achieve firmer, more stable peaks. Similarly, a cold loaf pan will help the layered cream stay nice and firm as you work, preventing it from melting or losing its structure during assembly, especially in a warm kitchen.
Patience is Key: Allow Ample Chilling Time. This is by far the most crucial step for a successful icebox cake. The cookies absolutely need sufficient time to fully soak up the moisture from the cream and soften completely, transforming into those desirable cake-like layers. Simultaneously, the cream mixture needs adequate time to set and firm up, ensuring the cake holds its shape when sliced. While 12 hours is the minimum, allowing it to chill for a full 24 hours truly yields a superior texture and flavor, letting all the components meld together beautifully. Plan ahead for optimal results!
If you find yourself in a genuine rush and absolutely need to serve the cake sooner, you can chill it in the fridge for a minimum of 4 hours, then transfer it to the freezer for about an hour. This will help it harden enough to make slicing easier. However, be aware that the texture will be best when chilled solely in the refrigerator, allowing for a slower, more complete melding of flavors and softening of cookies.
Prepare Your Pan for Easy Release. A little trick for effortless cake removal: before lining your loaf pan with plastic wrap, wet the inside of the pan with a tiny bit of water. The damp surface will help the plastic wrap adhere smoothly to the pan’s contours, preventing it from shifting or wrinkling as you press in the cream and cookies. Make sure to use a long piece of plastic wrap, leaving a generous overhang on all sides so you can easily cover the top of the cake once assembled.
Don’t Waste Leftover Cream. It’s common to have a small amount of cream mixture remaining after you’ve filled your loaf pan. Don’t discard it! This extra cream is perfect for covering up any minor imperfections or gaps that might appear on the sides or top of your cake once you unmold it. It’s also great for a final flourish or extra dollops when serving, ensuring a picture-perfect presentation.
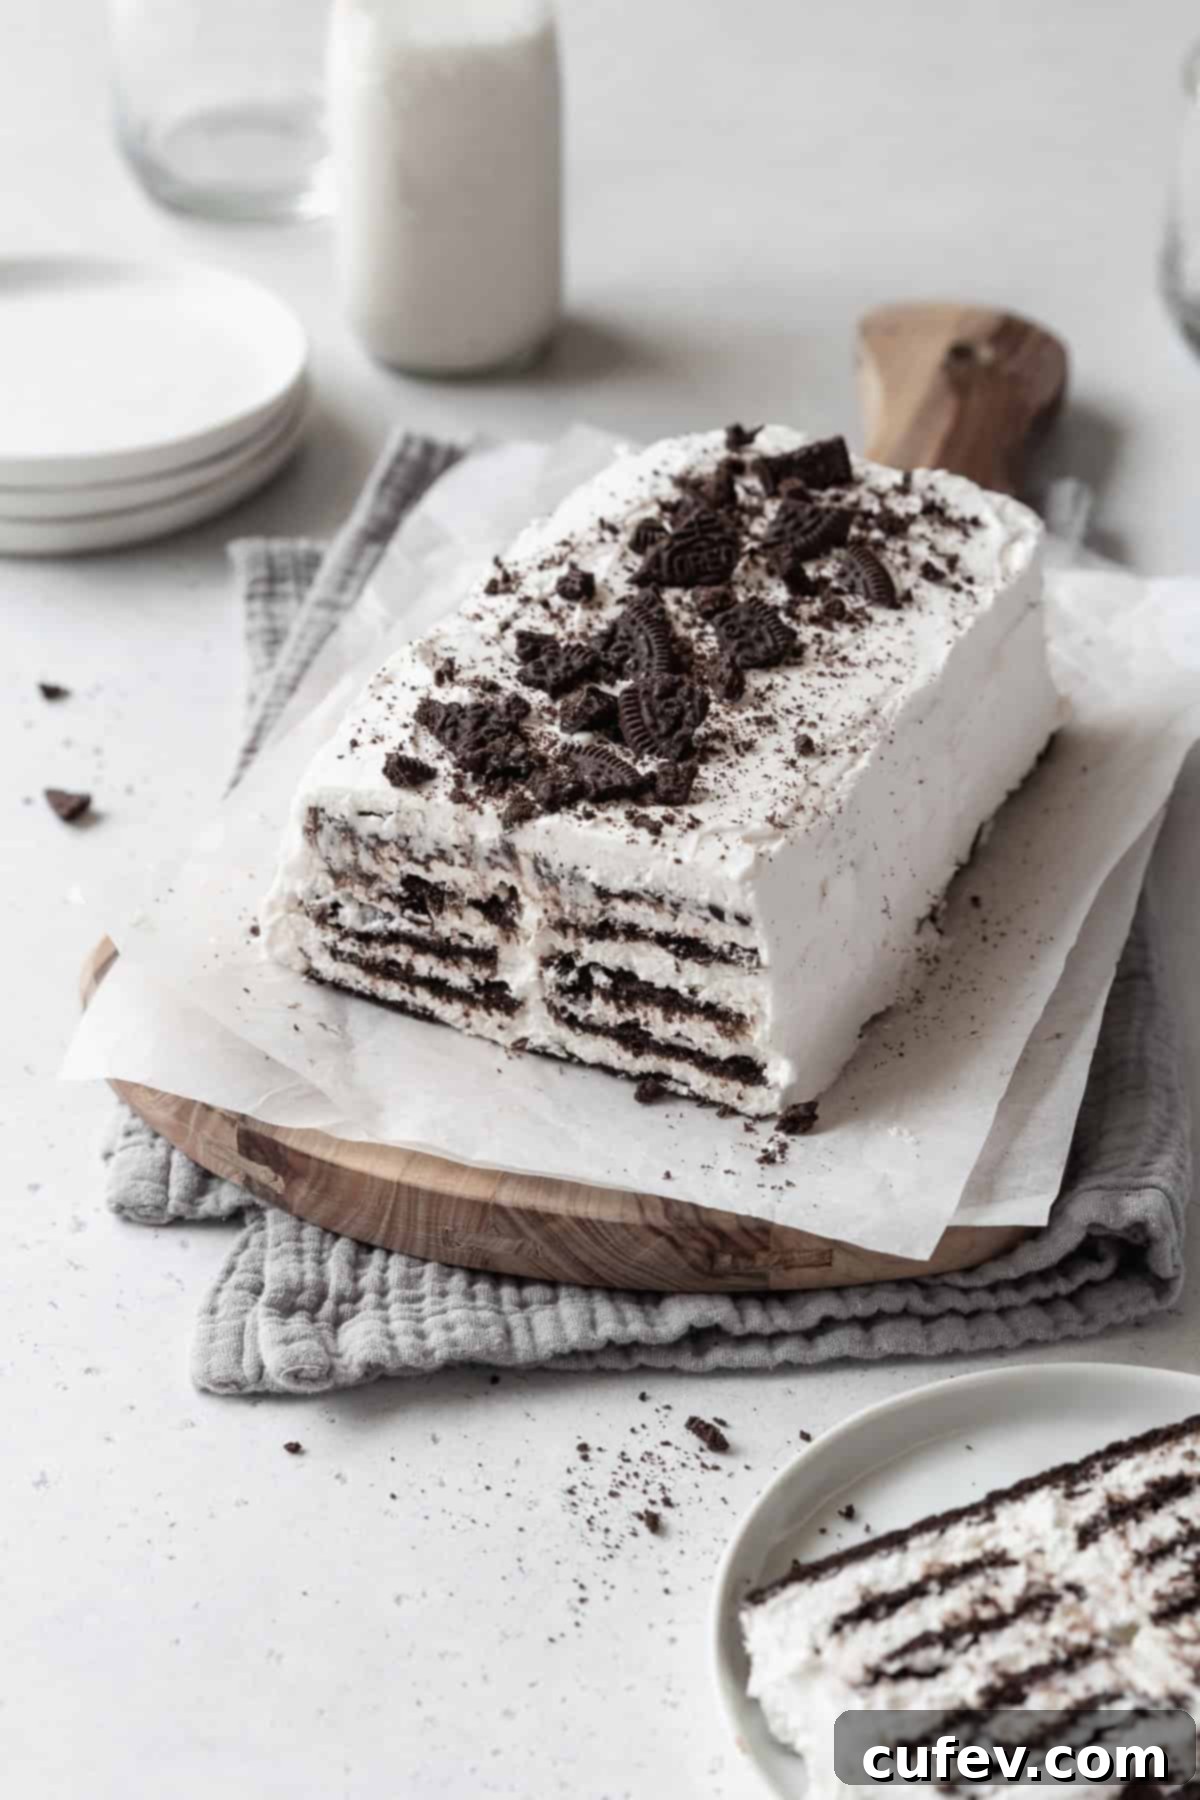
Garnish for a Grand Finale. On its own, a freshly unmolded icebox cake can look a bit understated. A simple garnish, however, can elevate its appearance dramatically and add another layer of flavor and texture. Consider topping your cake with crushed cookie crumbs (from the same cookies used in the cake for continuity), fresh seasonal fruit like berries or sliced kiwi, elegant chocolate curls, a dusting of cocoa powder, or a sprinkle of chopped nuts. These additions add visual appeal and an extra touch of deliciousness!
Easy No-Bake Icebox Cake Recipe
Print
Pin
Rate
Ingredients
- 40-50 cookies such as chocolate wafers, graham crackers, or gluten-free Oreos
- 2 cups heavy whipping cream very well chilled
- 8 oz cream cheese softened at room temperature for smooth blending
- ⅓ cup powdered sugar for sweetness and smooth texture
- 1 teaspoon vanilla extract or vanilla bean paste for rich flavor
- ¼ cup milk any kind, for dipping cookies
Instructions
-
In a pre-chilled large mixing bowl, pour in the very cold heavy whipping cream. Begin whipping it with an electric mixer on medium-high speed until it starts to thicken and become frothy. Once it reaches this stage, carefully add the powdered sugar and vanilla extract. Continue whipping until the mixture becomes fluffy and holds soft peaks.
-
While the mixer is still running on medium speed, gradually add the softened cream cheese, one spoonful at a time, to the whipped cream mixture. Continue whipping until the cream cheese is fully combined, and the entire mixture is smooth, creamy, and holds medium peaks (meaning the peaks hold their shape but the tips curl slightly).
-
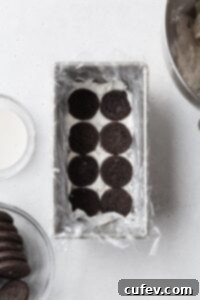
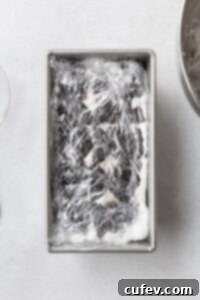
Prepare your chilled loaf pan by lining it completely with a long piece of plastic wrap, ensuring there’s a generous overhang on all sides for easy coverage later. Spread a uniform layer of approximately ½ cup of your creamy mixture at the bottom of the pan. Next, quickly dip each cookie into the milk for just a second or two (don’t let them get soggy!) and arrange them in a single layer over the cream.

-
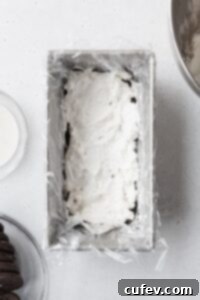
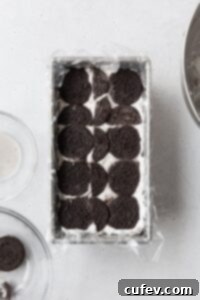
Repeat the layering process. Add another generous layer of the cream cheese whipped cream mixture over the cookies, spreading it evenly to cover them completely. Follow this with another layer of milk-dipped cookies. Continue this alternating pattern of cream and cookies until your loaf pan is almost full or you run out of ingredients, ensuring the final layer is cream.

-
For a more uniform and stable cake, if your chosen cookies are small or leave significant gaps between them, don’t hesitate to break some cookies into smaller pieces. Use these broken pieces to fill in any empty spaces within each cookie layer. This helps create a more cohesive cake structure and ensures every slice has a consistent cookie-to-cream ratio.

-
Once all your layers are complete and your loaf pan is full, use the overhanging plastic wrap to tightly cover the top of the cake, pressing it gently to remove any air bubbles. Place the wrapped cake in the refrigerator to chill for a minimum of 12 hours, and ideally for 24 hours. This extended chilling time is essential for the cookies to fully soften and the cream to set perfectly, resulting in that irresistible cake-like texture.

Nutrition
How to Store Your Delicious Icebox Cake
Ensuring your icebox cake stays fresh and delicious is key to enjoying it over several days. Here’s how to properly store it:
Storing in the Refrigerator: Once assembled and fully chilled, your icebox cake will keep beautifully in the refrigerator for up to 3 days. To maintain its fresh texture and prevent it from absorbing any unwanted fridge odors, make sure it is wrapped tightly. You can either keep it in the loaf pan, covered securely with the plastic wrap you used for lining, or transfer it to an airtight container. The tighter the seal, the fresher your cake will remain.
Freezing for Longer Enjoyment: Icebox cake also freezes wonderfully, making it an excellent make-ahead dessert! For best results, slice the cake into individual servings first. Wrap each slice tightly in plastic wrap, then place these wrapped slices into a freezer-safe bag or an airtight container. It can be stored in the freezer for up to one month. When you’re ready to enjoy a slice, simply transfer it from the freezer to the refrigerator and let it thaw overnight. This slow thawing process ensures the cookies regain their soft, cake-like texture and the cream remains perfectly smooth.
Explore More No-Bake Desserts and Sweet Treats!
If you’ve fallen in love with the ease and deliciousness of this no-bake icebox cake, you’re in for a treat! Our kitchen specializes in creating indulgent desserts that require minimal effort but deliver maximum flavor. Here are some other fantastic no-bake (or easy-bake) recipes you might enjoy:
For something truly rich and satisfying, our fudge recipe with condensed milk is a top contender. It’s incredibly easy to make, yielding perfectly smooth, intensely chocolatey fudge that will impress any chocolate lover. Another delightful option is our gluten-free edible cookie dough – safe to eat raw and dangerously delicious, perfect for satisfying those spontaneous cookie cravings!
If you’re seeking a comforting, nostalgic dessert, our vegan rice pudding is a wonderful choice. It’s creamy, sweet, and incredibly versatile. While I adore it with the classic cinnamon and raisin combination, it’s also fantastic with the vibrant orange compote included in the recipe, offering a refreshing citrus twist.
While technically breakfast items, our strawberry waffles and muffin mix pancakes can easily transform into decadent desserts. Simply top them with a generous scoop of vanilla ice cream or a dollop of whipped cream, a drizzle of chocolate sauce, and some fresh fruit or jam, and you have an instant sweet treat that’s perfect for any time of day!
And for those who appreciate the delicate artistry of Japanese desserts, especially mochi, we have several traditional no-bake recipes to explore. Try our beautiful sakura mochi, the charming kashiwa mochi, or the ever-popular strawberry mochi (Ichigo Daifuku). These recipes bring the subtle sweetness and unique texture of mochi right into your home, perfect for a delicate finish to any meal.
