The Ultimate Easy Gluten-Free Chocolate Cake: Rich, Moist, and Unforgettable
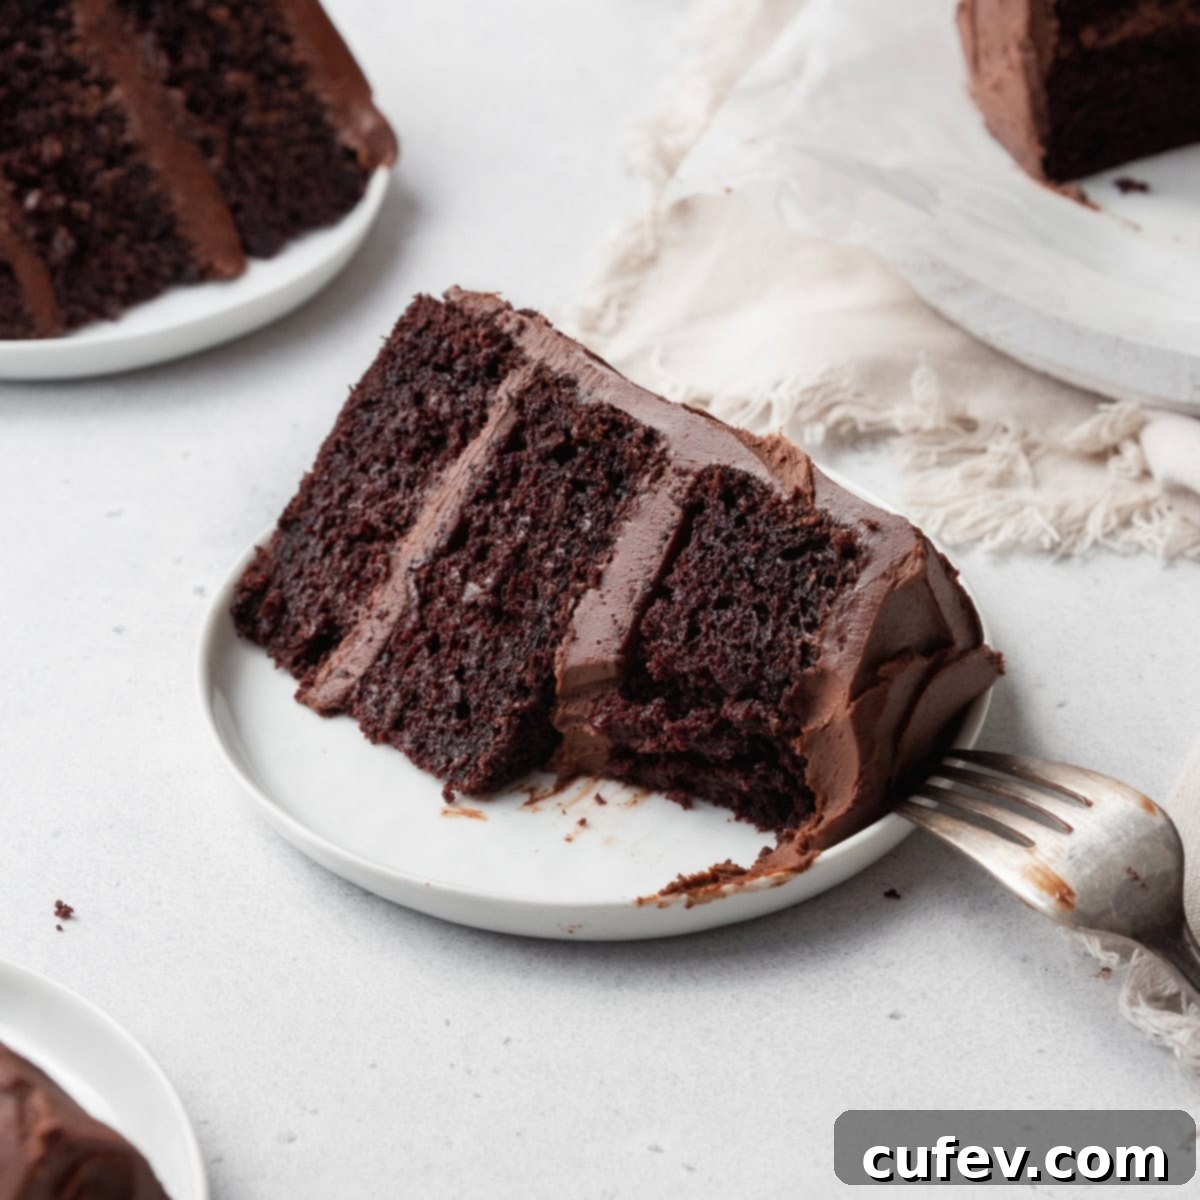
Prepare to be amazed by this incredibly rich, moist, and deeply chocolatey gluten-free chocolate cake! Don’t let the “gluten-free” label mislead you – this isn’t just a good gluten-free cake; it’s an exceptional chocolate cake, period. Crafted with everyday pantry staples like cocoa powder, eggs, and vanilla, it’s simpler to make than you might think and is crowned with a luscious, creamy chocolate frosting that will satisfy even the most discerning dessert lovers.
This has become my absolute go-to recipe, gracing tables at countless birthdays, holidays, bridal showers, and potlucks. Every single time, it earns rave reviews, and the honest truth is, no one ever suspects it’s gluten-free! It’s the perfect treat for any occasion, ensuring everyone can enjoy a truly decadent dessert without compromise.
Before you dive straight into the recipe card below, take a moment to explore some essential tips and detailed notes that will guarantee your gluten-free chocolate cake turns out perfectly every time.
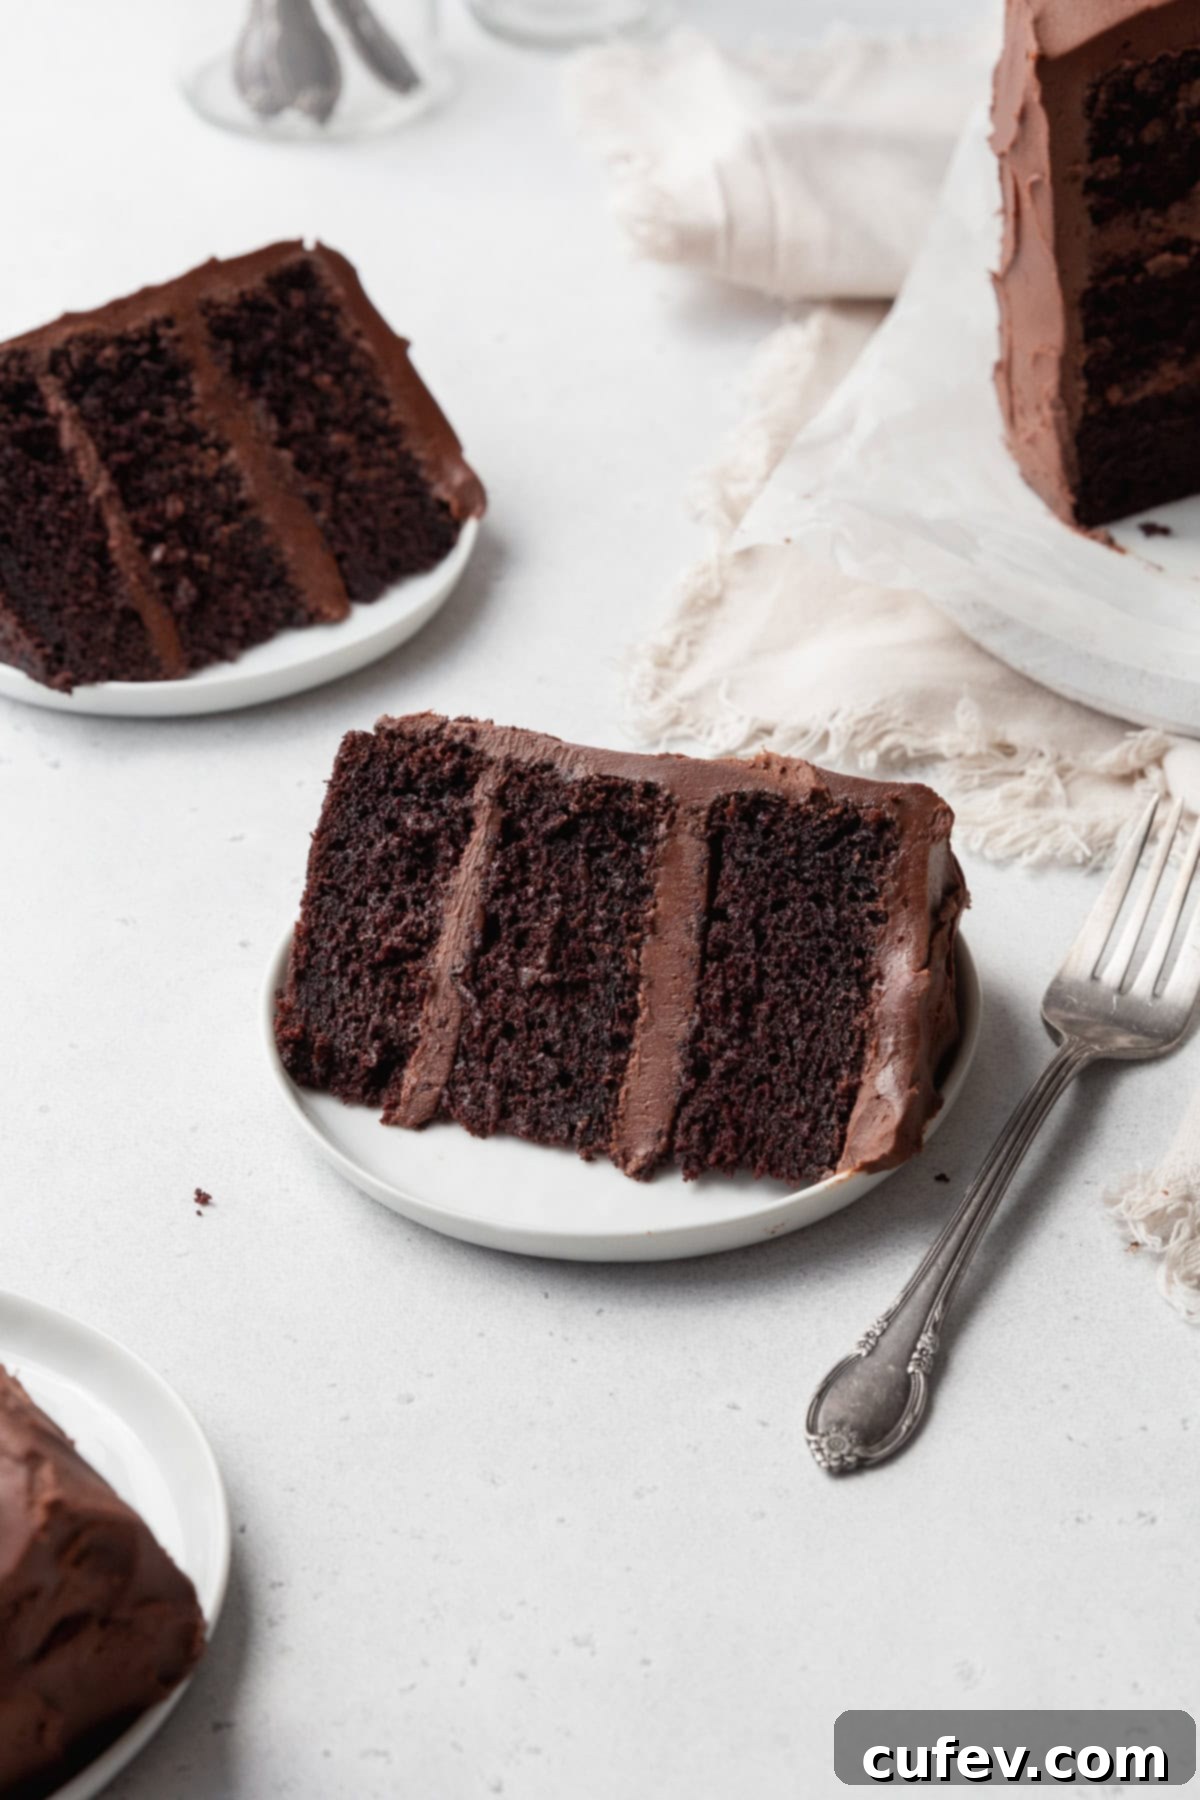
Essential Recipe Notes for Your Gluten-Free Chocolate Cake
This recipe isn’t just about baking a cake; it’s about creating a memorable dessert experience. Here are a few things that make this gluten-free chocolate cake truly special:
- Unbelievably Moist & Richly Chocolatey: The texture of this cake is absolutely divine – incredibly soft, tender, fluffy, and consistently moist. It boasts an intensely rich cocoa flavor that truly shines through, making it a dream for chocolate lovers. You won’t find any dry or crumbly gluten-free stereotypes here!
- Remarkably Easy to Make: Despite its gourmet taste, this is a very straightforward recipe utilizing simple ingredients. It’s designed to be foolproof, so easy in fact, that even my child can confidently make it! Perfect for beginner bakers or those looking for a hassle-free yet impressive dessert.
- Highly Versatile for Any Occasion: I’ve designed this recipe to be adaptable to various pan sizes and formats. While I often bake it as a beautiful three-layer 6-inch cake, you can easily adjust it to create a two-layer 8-inch cake, a convenient sheet cake for larger gatherings, or even delightful cupcakes. This flexibility makes it ideal for any event, big or small.
- A Guaranteed Crowd Favorite: This chocolate cake consistently receives enthusiastic compliments from everyone who tries it. Whether your guests follow a gluten-free diet or not, they will all adore this recipe. It’s a testament to its genuinely delicious flavor and perfect texture.
Key Ingredients for the Perfect Gluten-Free Chocolate Cake
While the ingredients for this gluten-free chocolate cake recipe are generally simple and accessible, understanding the nuances of a few key components can significantly impact the final result, ensuring you bake the best chocolate cake possible.
Cocoa powder: For that rich, deep chocolate flavor and dark color, ensure you use pure cocoa powder, not a sweetened hot cocoa mix. This is a crucial distinction – I speak from experience, having made this mistake myself, leading to a disappointingly bland and light-colored cake. This specific recipe thrives on Dutch-processed cocoa powder. Dutch-processed cocoa has been washed with an alkaline solution, which neutralizes its acidity. This results in a darker color, a milder, less bitter chocolate flavor, and it reacts differently with leavening agents (it requires baking soda, whereas natural cocoa powder reacts with baking soda). This helps achieve the signature moistness and rich taste of this cake.
Baking powder: A vital leavening agent, but beware! Not all baking powders are gluten-free. It’s imperative to always check the packaging for a “gluten-free” certification to avoid any cross-contamination or unwanted ingredients. Gluten-free baking requires extra vigilance with every ingredient, including common leaveners.
Oil: I prefer using neutral-flavored oils such as avocado oil or light olive oil in this recipe. The choice of oil over butter is deliberate: oil remains liquid at room temperature, contributing to a significantly moister cake texture that stays soft and tender for longer. Unlike butter, which can re-solidify and make a cake denser, oil ensures a consistently soft crumb.
Buttermilk: This ingredient is a secret weapon for achieving a supremely moist and tender crumb. Buttermilk’s acidity reacts with the baking soda, creating air pockets that result in a light and fluffy cake. If you don’t have store-bought buttermilk on hand, don’t fret! You can easily make a substitute by combining ¾ cup (180ml) whole milk with ¼ cup (60ml) sour cream or plain yogurt. Let it sit for 5-10 minutes until it slightly thickens. For a dairy-free version, you can mix ¾ cup non-dairy milk (like almond or soy milk) with ¼ cup mayonnaise, or for a more common vegan buttermilk, use 1 cup of non-dairy milk with 1 tablespoon of apple cider vinegar or lemon juice, letting it curdle for 5-10 minutes. The acidity is key!
Hot Coffee: This ingredient might seem unusual, but it’s essential for “blooming” the cocoa powder and dramatically enhancing the overall chocolate flavor in the cake, without imparting any coffee taste. The hot liquid helps to dissolve the cocoa solids, allowing them to release their full flavor potential. You can use freshly brewed coffee, reheated leftover coffee, or instant coffee granules dissolved in hot water. If coffee is absolutely not an option or preference, you can substitute it with an equal amount of hot water. While it will still help bloom the cocoa, it won’t add the same depth and richness to the chocolate flavor that coffee does.
Choosing the Best Gluten-Free Flour for a Tender Cake
When it comes to gluten-free baking, the type of flour blend you use is critical, especially for cakes. It’s absolutely essential that you use a 1-to-1 gluten-free baking flour blend that contains xanthan gum. This specific type of blend is formulated to mimic the properties of wheat flour, ensuring your cake has the right structure and texture.
My personal go-to, and a highly recommended option, is Bob’s Red Mill 1-to-1 Baking Flour. The presence of xanthan gum in the blend is key. Xanthan gum acts as a binder and thickener, replicating the elasticity and stickiness that gluten provides in traditional baked goods. Without it, gluten-free cakes can often turn out crumbly, dry, or gritty. Xanthan gum gives the cake structure, helps it hold together, and contributes to that classic tender crumb you expect from any delicious cake, not just a gluten-free one. Avoid using single-ingredient gluten-free flours like almond flour or coconut flour alone, as they have different absorption rates and protein structures that will drastically alter the cake’s texture and moisture. For more comprehensive information on various gluten-free flours and how to use them, check out my detailed guide!
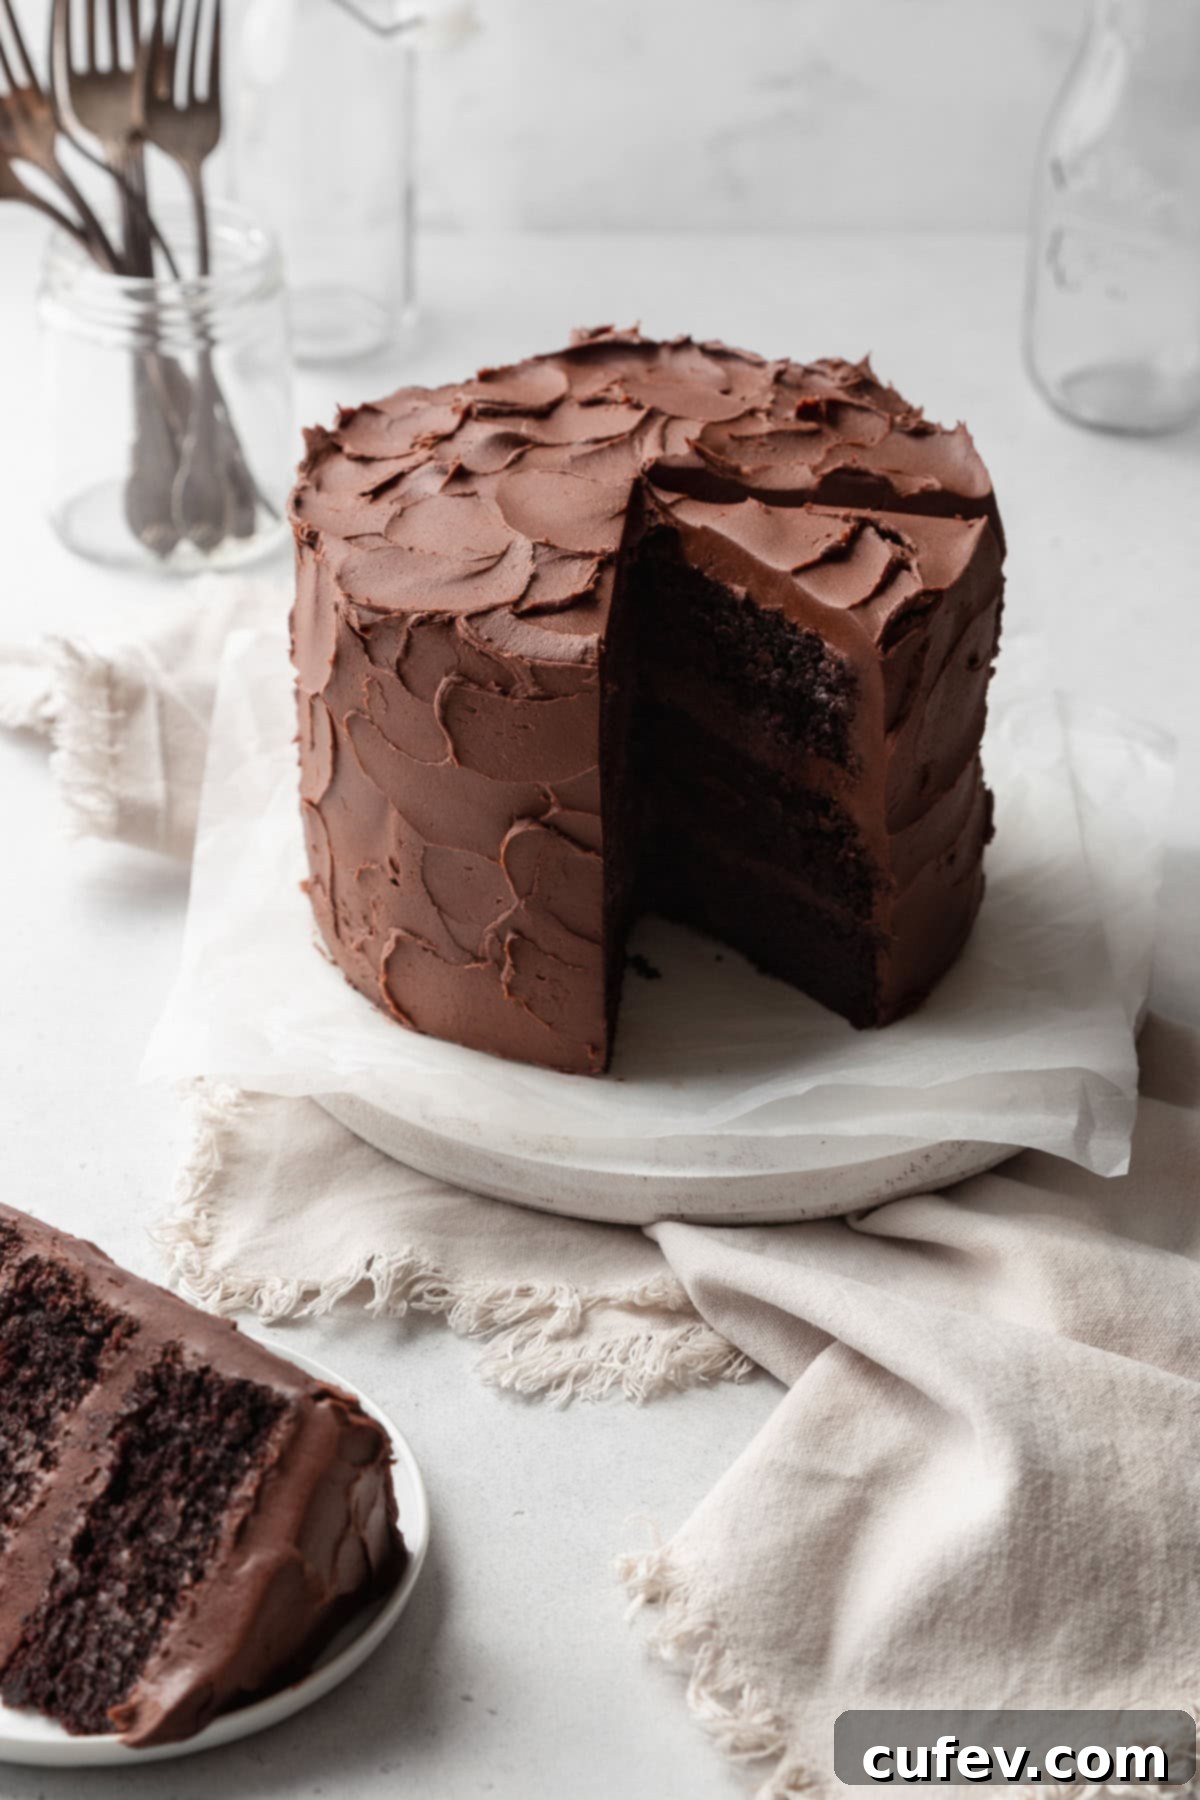
Expert Baking Tips for a Flawless Gluten-Free Chocolate Cake
Achieving a perfect gluten-free cake is all about paying attention to a few crucial details. These baking tips will help you create a cake that is moist, tender, and truly delicious every single time.
Use room temperature ingredients. This is not just a suggestion – it’s a golden rule for successful baking, especially for cakes. Allowing all your ingredients, particularly eggs and buttermilk, to come to room temperature ensures that they combine smoothly and evenly. Cold ingredients can cause the batter to curdle or become lumpy, preventing proper emulsification. Room temperature ingredients also create a more homogeneous batter, which traps air better during mixing, resulting in a lighter crumb and a more consistent rise in the oven.
Let the batter rest. This step is particularly important for gluten-free baking and often overlooked. After mixing, it’s vital to let your cake batter rest for approximately 20-30 minutes. This resting period allows the gluten-free flours (especially the starches) to fully hydrate. Proper hydration prevents the cake from developing that undesirable crumbly, gritty, or dry texture that can sometimes plague gluten-free baked goods. It helps the cake maintain its moisture and achieve a smoother, more cohesive crumb, similar to traditional wheat flour cakes.
Don’t overbake it. Overbaking is the quickest way to turn a potentially moist cake into a dry one. Begin checking for doneness at the 32-minute mark (or the lower end of your recipe’s suggested baking time). Insert a clean toothpick into the very center of the cake. You’re looking for a toothpick that comes out with only a few moist crumbs clinging to it – not wet batter, and certainly not completely dry. If the toothpick is completely clean, your cake is likely already overbaked. Adjust baking time in small increments (2-3 minutes) until you achieve the desired moist crumb result.
Frosting & Decorating Tips for a Beautiful Cake
While I chose a classic, rich chocolate buttercream for this particular cake, its versatile flavor profile means it would also be absolutely delicious with a tangy cream cheese frosting, a nutty peanut butter buttercream, a light and airy whipped ganache, or even a simple vanilla bean frosting. Here are some helpful tips to ensure your frosting and decorating process is smooth and results in a stunning gluten-free chocolate cake:
Level off the cakes. For a professional-looking, stable, and even cake, leveling your layers is key. Before you begin stacking and frosting, use a long serrated knife or a dedicated cake leveler to carefully trim any domed tops off your cooled cake layers. This creates perfectly flat surfaces that will stack neatly, ensuring your finished cake is level and aesthetically pleasing, without any leaning or uneven frosting distribution.
Apply a crumb coat. This essential step is a game-changer for a clean, smooth final layer of frosting. Apply a very thin layer of frosting all over the cooled, leveled cake – top and sides. This “crumb coat” effectively seals in any loose crumbs, preventing them from mixing into your final, visible frosting layer. Once applied, chill the cake in the refrigerator for about 20-30 minutes until the crumb coat is firm. This chilling step further locks in the crumbs and provides a solid base, making it much easier to apply your final, thicker layer of frosting smoothly and flawlessly.
Gluten Free Chocolate Cake Recipe
Print
Pin
Rate
Ingredients
Cake
- 1¾ cups Bob’s Red Mill gluten free 1-to-1 flour blend
- ¼ cup cornstarch
- ¾ cup Dutch processed cocoa powder
- 1 teaspoon fine sea salt
- 2 teaspoons baking soda
- 1 teaspoon baking powder
- 2 large eggs
- 1 cup granulated sugar
- ½ cup brown sugar
- ½ cup oil
- 1 cup buttermilk
- 2 teaspoons vanilla extract
- 1 cup hot coffee
Frosting
- 1½ cups butter softened at room temperature
- ¾ cup Dutch-processed cocoa powder
- 3 cups powdered sugar
- ½ teaspoon vanilla extract
- pinch of salt
- 1 to 3 tablespoons milk optional
Instructions
Cake
-
In a medium bowl, sift together gluten-free flour, cornstarch, cocoa powder, salt, baking soda, and baking powder. Sifting ensures there are no lumps and ingredients are well combined. Set this dry mixture aside.

-
In a separate large bowl, combine the room temperature eggs, granulated sugar, brown sugar, oil, buttermilk, and vanilla extract. Whisk these wet ingredients together until they are thoroughly blended and smooth, ensuring the sugars are mostly dissolved.

-
Gradually add the sifted dry ingredients to the wet ingredients. Mix on low speed or by hand until just combined; be careful not to overmix. Pour in the hot coffee and stir again until a smooth, slightly thin batter forms. It’s crucial not to overmix at this stage. Let the batter rest for at least 20 minutes; this allows the gluten-free flour to fully hydrate, resulting in a moister and less crumbly cake.

-
While the batter rests, preheat your oven to 340°F (170°C). Prepare your cake pans by generously greasing them and lining the bottoms with parchment paper. This recipe works well in three 6-inch round pans or two 8-inch round pans, ensuring easy release and a perfect bake.
-
Evenly divide and pour the rested batter into the prepared cake pans. Bake for 32-35 minutes, or until a toothpick inserted into the center comes out with only a few moist crumbs. Avoid overbaking. Let the cakes cool in their pans for 10 minutes before gently inverting them onto a wire cooling rack to cool completely. Ensure they are fully cooled before frosting to prevent melting.
Frosting
-
In the bowl of a stand mixer fitted with the paddle attachment (or using an electric hand mixer), cream the softened room-temperature butter on medium-high speed for about 2 minutes. Beat until it’s light, fluffy, and noticeably paler in color. Add the vanilla extract and a pinch of salt, then beat again until just combined.
-
Gradually add the Dutch-processed cocoa powder and powdered sugar to the creamed butter, about ½ cup at a time. Beat thoroughly after each addition until fully incorporated, and remember to scrape down the sides of the bowl with a spatula after each addition to ensure everything is evenly mixed. This prevents lumps and ensures a smooth, consistent frosting.
-
If the frosting appears too thick or stiff, add milk (dairy or non-dairy, depending on dietary needs) one tablespoon at a time. Continue mixing until the frosting reaches your desired spreadable consistency – creamy, smooth, and easy to work with.
-
Once your cake layers are completely cool and your frosting is perfect, frost and decorate your gluten-free chocolate cake however you like! Get creative with piping, sprinkles, or simple swirls.
Notes and Variations
Nutrition Information
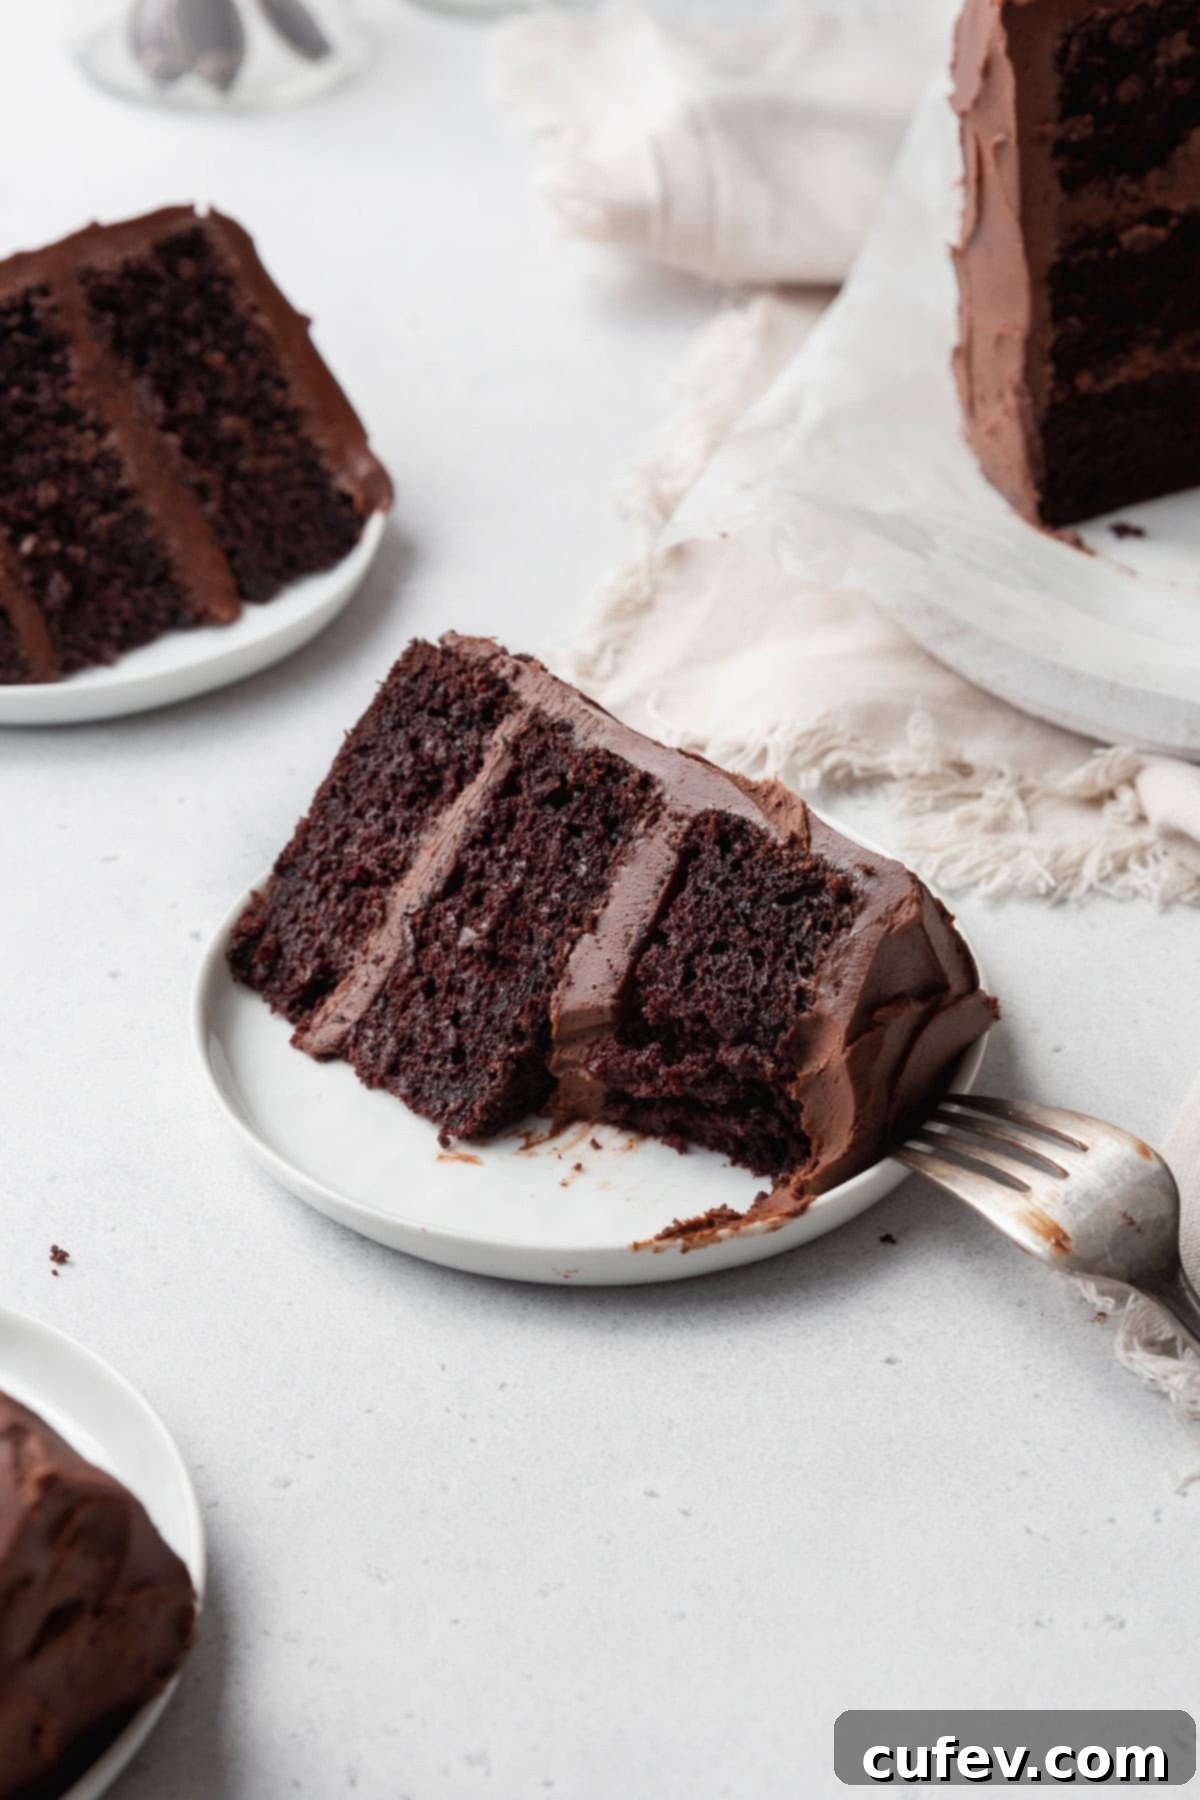
Storage Instructions for Your Delicious Gluten-Free Cake
Proper storage is essential to keep your gluten-free chocolate cake fresh, moist, and delicious for as long as possible. The best method for storing your cake largely depends on the type of frosting you’ve used.
Cakes with Traditional Buttercream Frosting: If your cake is frosted with a classic buttercream made from butter, powdered sugar, and cocoa (like the one in this recipe), you can safely store it in an airtight container at room temperature for up to 3 days. Ensure it’s in a cool, dry place away from direct sunlight or heat. The airtight container is crucial to prevent the cake from drying out and absorbing other odors.
Cakes with Cream Cheese Frosting or Dairy-Free Frosting: Frostings containing cream cheese or made with dairy-free alternatives (which often include plant-based creams or vegan butter) are more perishable. For these, it’s best to store your cake in an airtight container in the refrigerator for up to 3 days. While refrigeration helps preserve these frostings, it can sometimes slightly alter the cake’s texture. To enjoy it at its best, let the cake come closer to room temperature for about 30 minutes before serving.
Freezing for Longer Freshness: This gluten-free chocolate cake freezes beautifully, allowing you to enjoy slices whenever a craving strikes. To freeze, wrap each individual cake slice tightly with a couple of layers of plastic wrap, ensuring no air can reach the cake. Then, place the wrapped slices into a freezer-safe bag or an airtight container. Stored this way, the cake will maintain its quality in the freezer for 1-2 months. When ready to enjoy, simply thaw a slice at room temperature for a few hours or gently warm it if desired.
Explore More Irresistible Gluten-Free Cake Recipes
If you’ve loved this gluten-free chocolate cake, then you’re in for a treat! Our kitchen is filled with an array of other delicious gluten-free cake recipes that are just as easy to make and equally delightful. Expand your gluten-free baking repertoire with these fantastic options:
If your heart desires even more chocolatey goodness, our gluten-free German chocolate cake is absolutely calling your name! It’s incredibly moist, just like this recipe, but taken to the next level with a decadent, rich coconut pecan frosting that’s simply divine.
Not always a fan of heavy frosting but still want an impressive, visually stunning cake? You absolutely must try this vibrant gluten-free pineapple upside-down cake recipe! The caramelized pineapple topping makes for an effortlessly elegant presentation and a wonderfully moist crumb.
For a perfect start to your day or an afternoon treat, this gluten-free coffee cake is ideal for brunch. It’s wonderfully fluffy, incredibly moist, packed with warm cinnamon flavor, and pairs exquisitely with a freshly brewed cup of coffee.
Another delightful cake to serve at brunch or for an afternoon tea is my bright and zesty gluten-free lemon poppy seed cake. It’s a harmonious blend of sweet and tangy flavors with a wonderfully moist texture that will brighten any gathering.
My gluten-free pound cake is a testament to classic comfort, featuring a dense, buttery, and moist crumb that rivals any traditional pound cake! It’s fantastic on its own or elevated with a dollop of whipped cream and a medley of fresh berries.
Gluten-free whoopie pies – are they technically considered cake or cookies? Whatever your classification, this recipe is a definite keeper! These soft, cake-like sandwich cookies filled with creamy frosting are a nostalgic treat that everyone will adore.
