Mastering Authentic Arepas: The Ultimate Guide to Crispy & Flavorful Cornmeal Cakes
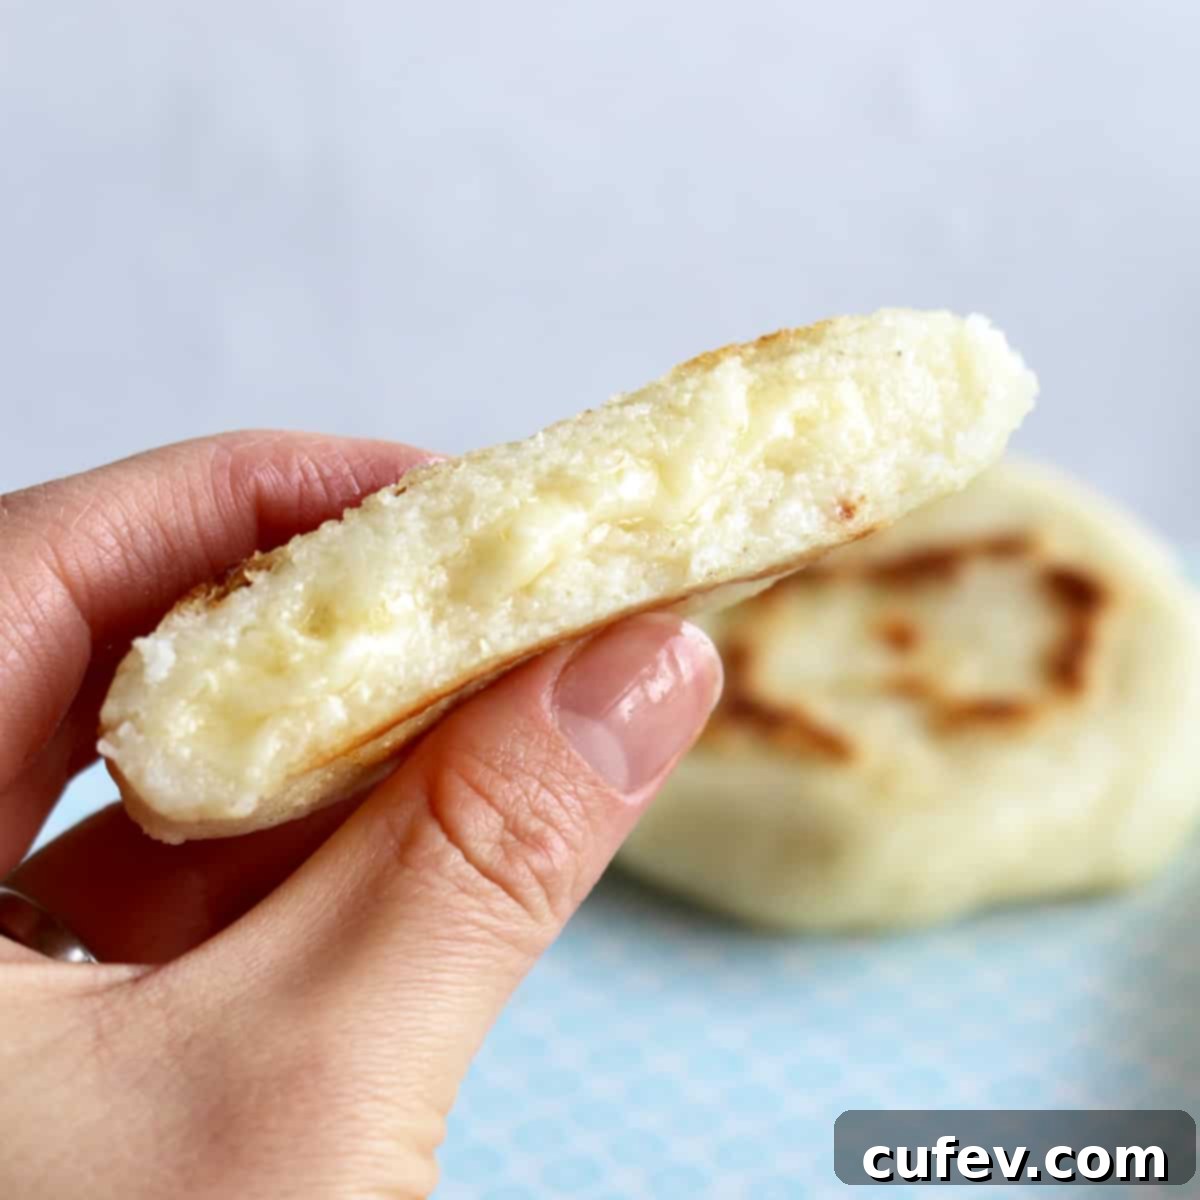
Arepas are more than just a dish; they’re a culinary cornerstone, a delightful cornmeal cake deeply rooted in South American culture, particularly in Colombia and Venezuela. Imagine a golden, crispy exterior giving way to a soft, moist, and fluffy interior, ready to be filled with an endless array of savory or sweet ingredients. This versatility makes arepas perfect for any meal, from a hearty breakfast to a satisfying dinner, or even a quick, delicious snack.
Whether you’re new to Latin American cuisine or a long-time admirer, learning how to make homemade arepas is a rewarding experience. This comprehensive guide will walk you through everything you need to know, ensuring you achieve perfect results every time. Get ready to discover the magic of these incredibly simple yet profoundly delicious corn patties!
What Exactly Are Arepas?
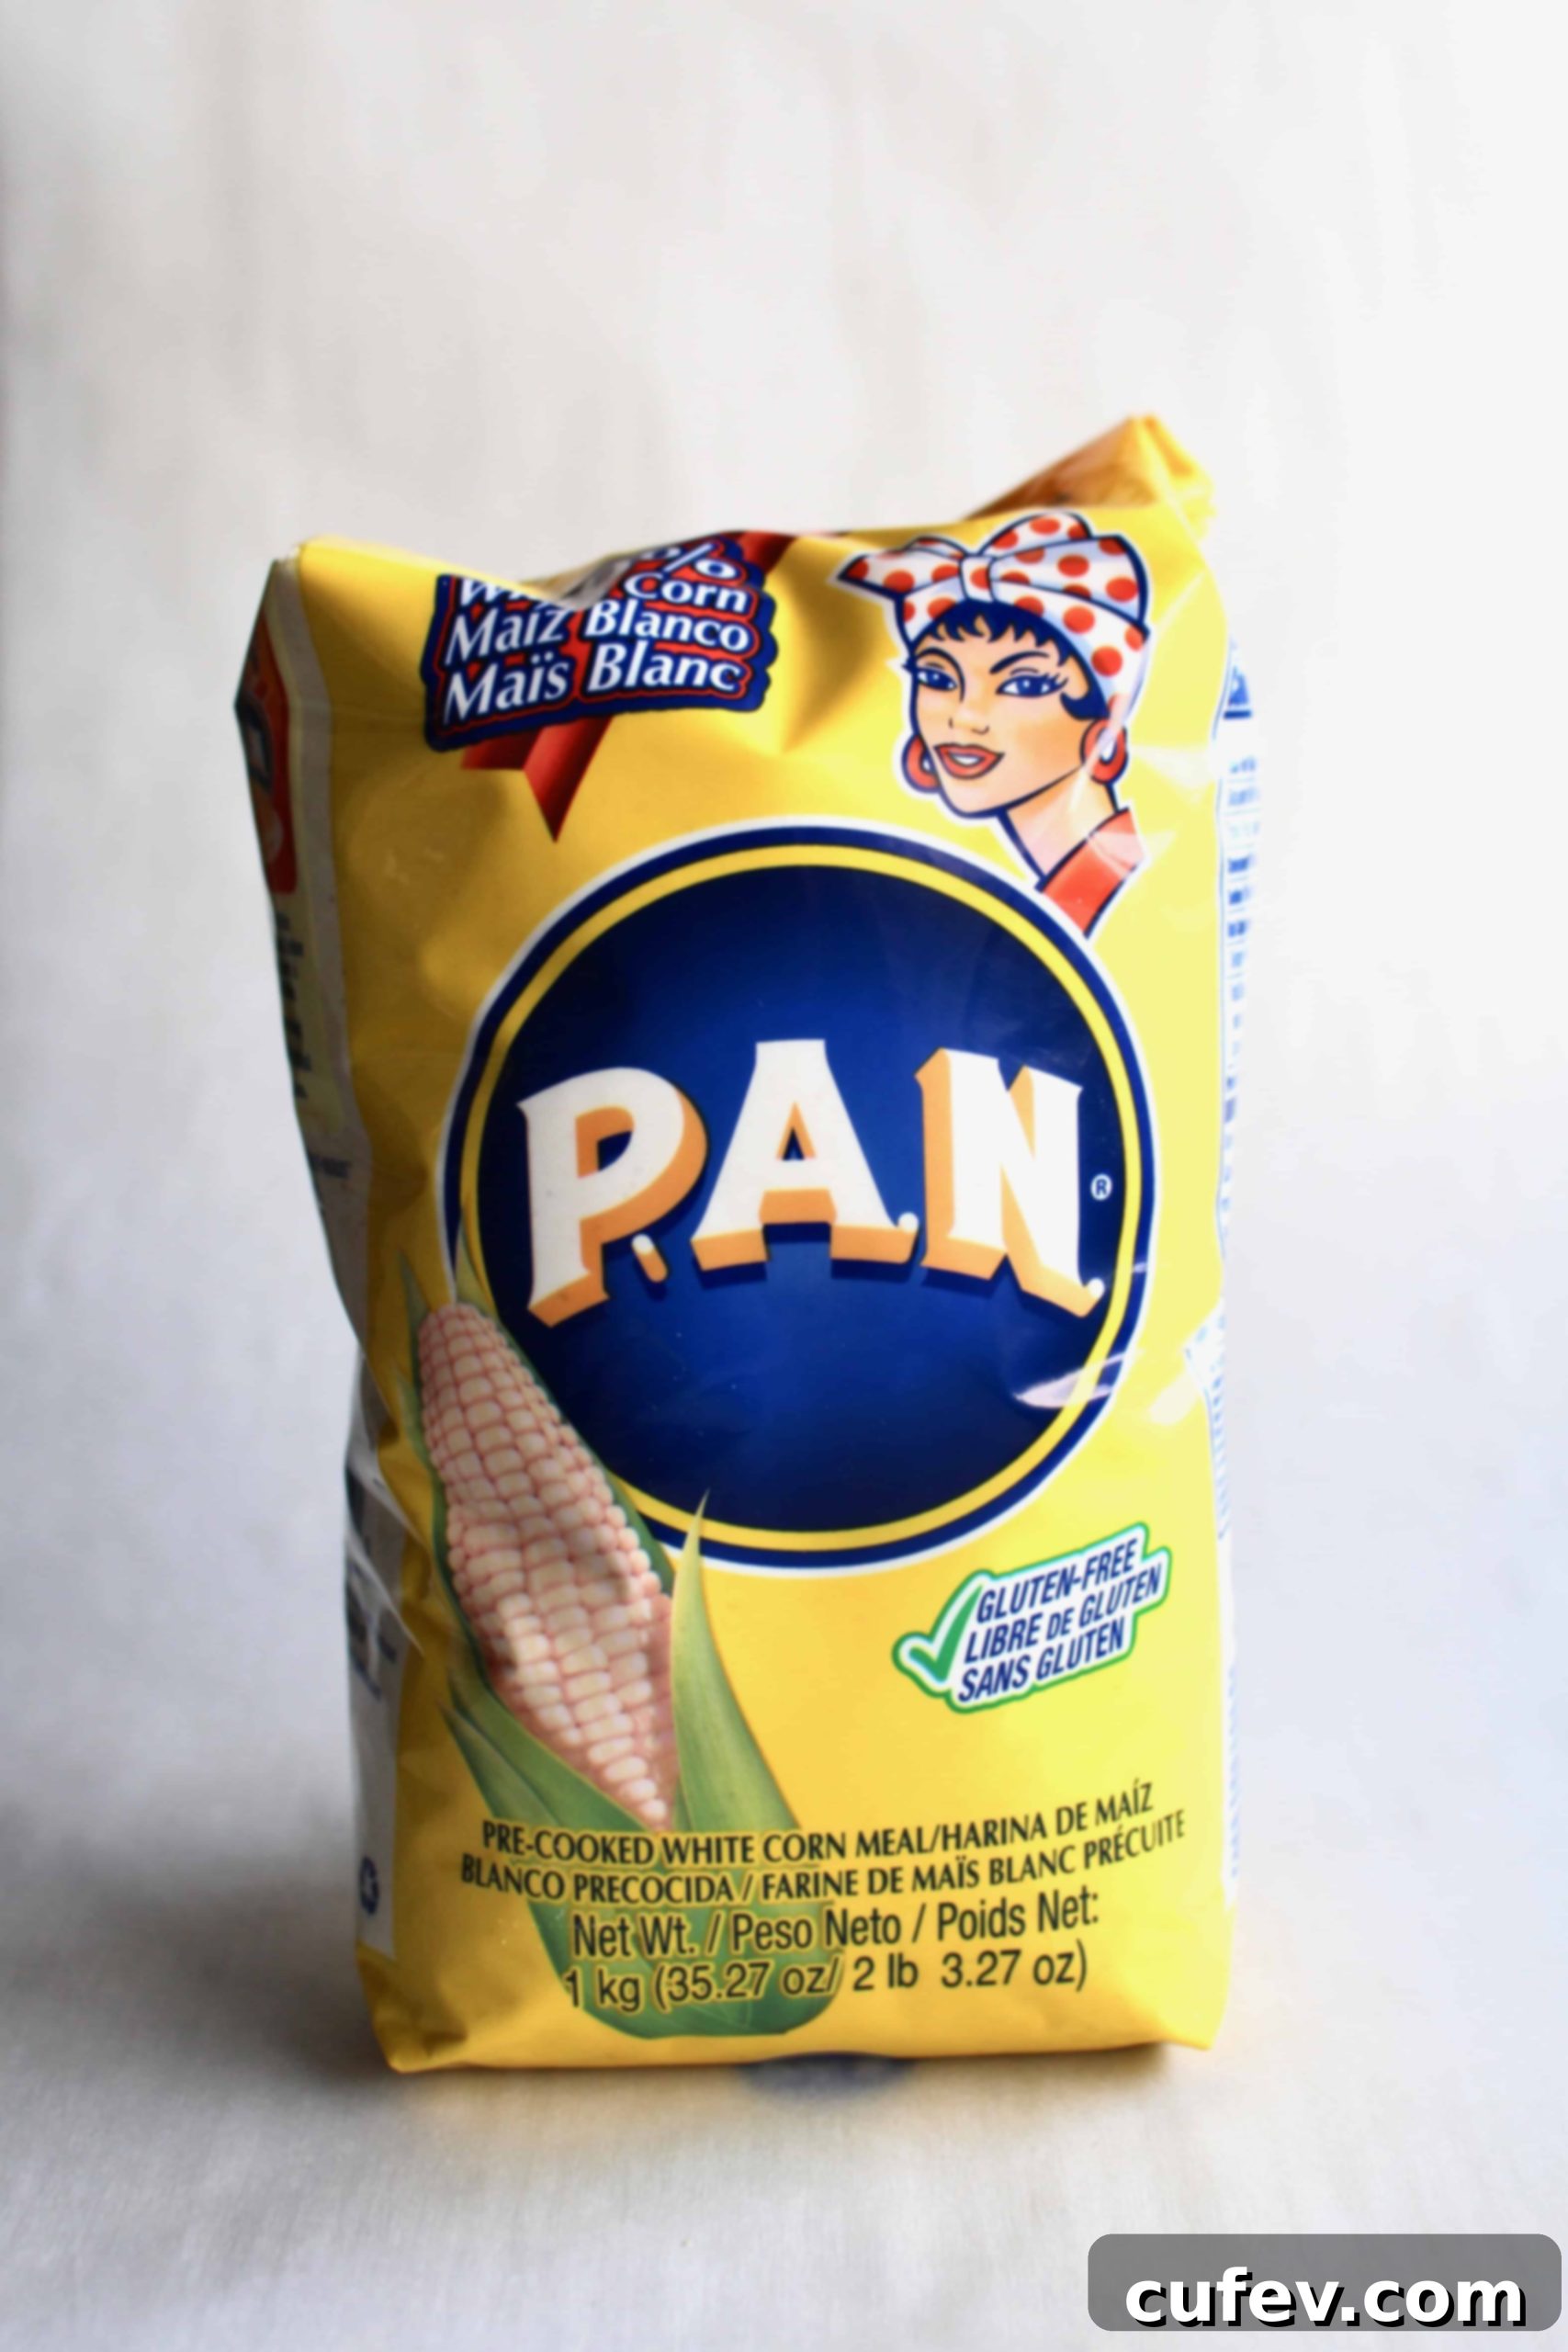
At their core, arepas are round, flatbreads or patties made from a unique type of pre-cooked corn flour, specifically masarepa (also known by brand names like Harina P.A.N. or Harina Arepa). Unlike regular cornmeal or masa harina, masarepa is gelatinized, dried, and then ground, which allows it to absorb water quickly and form a smooth, pliable dough that holds its shape beautifully without cracking.
A Staple in South American Cuisine
Originating from indigenous communities in the region now known as Colombia, Venezuela, and parts of Panama, arepas have evolved into a national dish in both Colombia and Venezuela, each country boasting its own distinct styles and traditions. They are a daily bread, a symbol of heritage, and a vessel for an astonishing variety of fillings.
Texture and Versatility
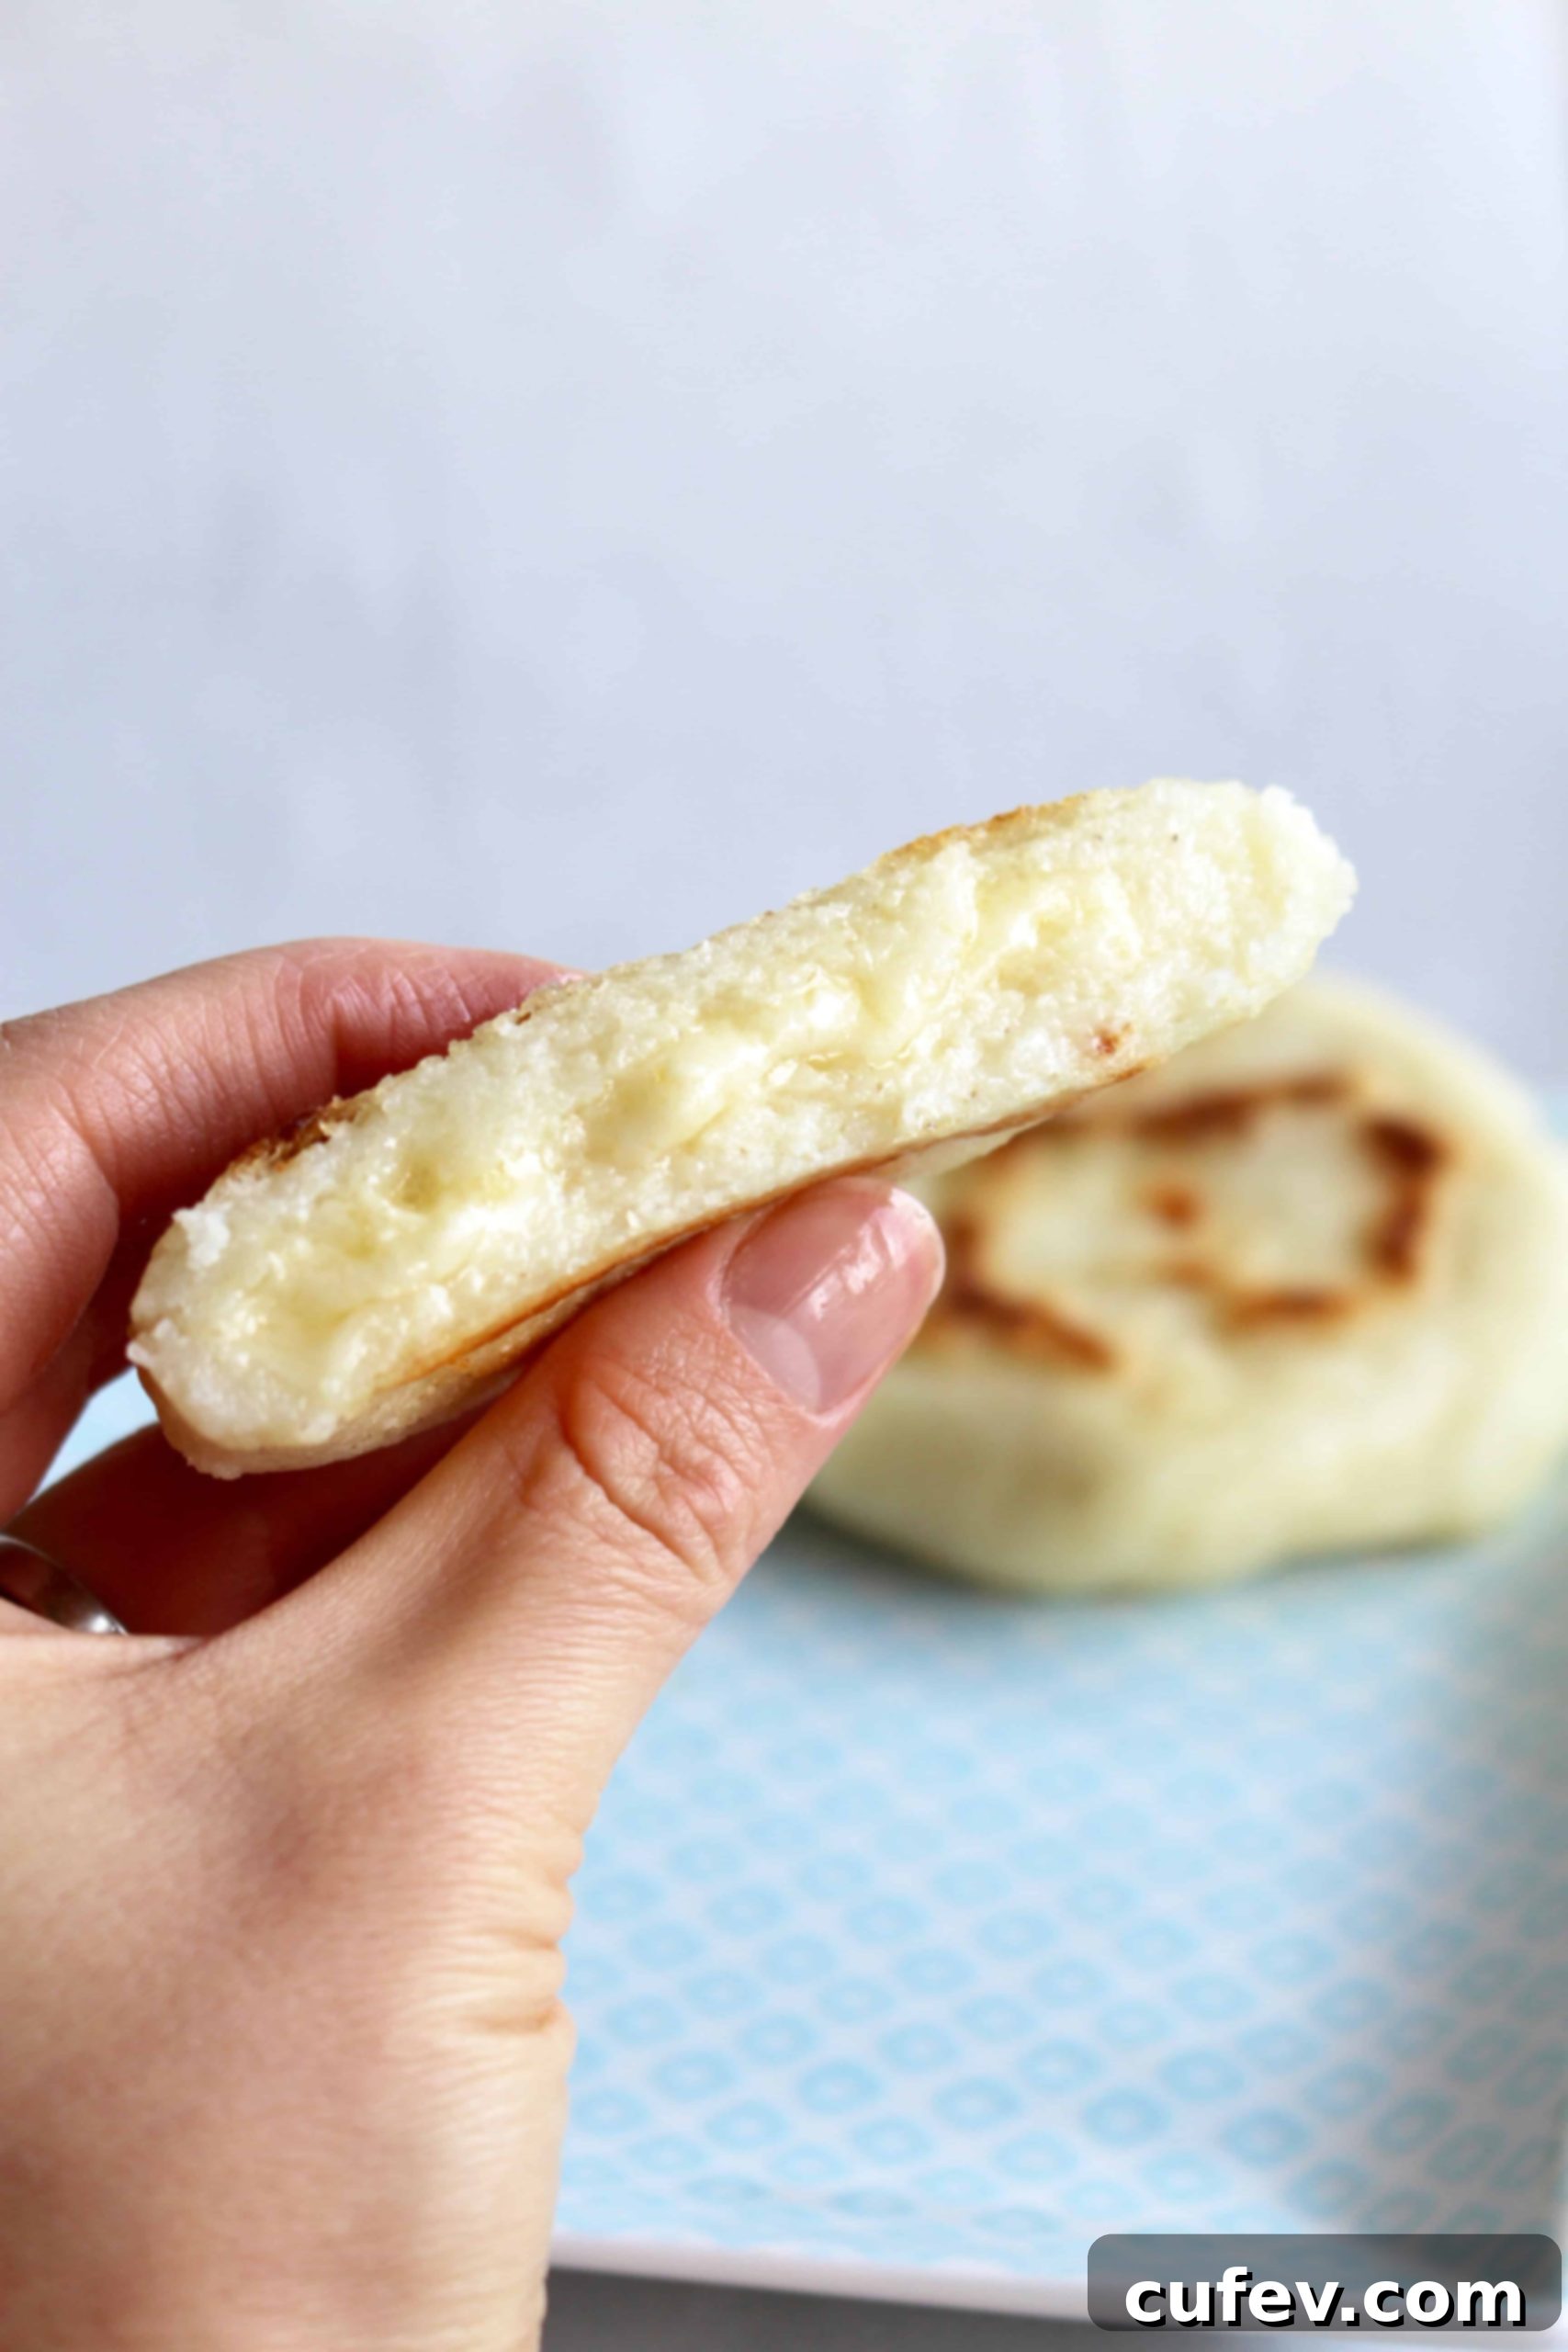
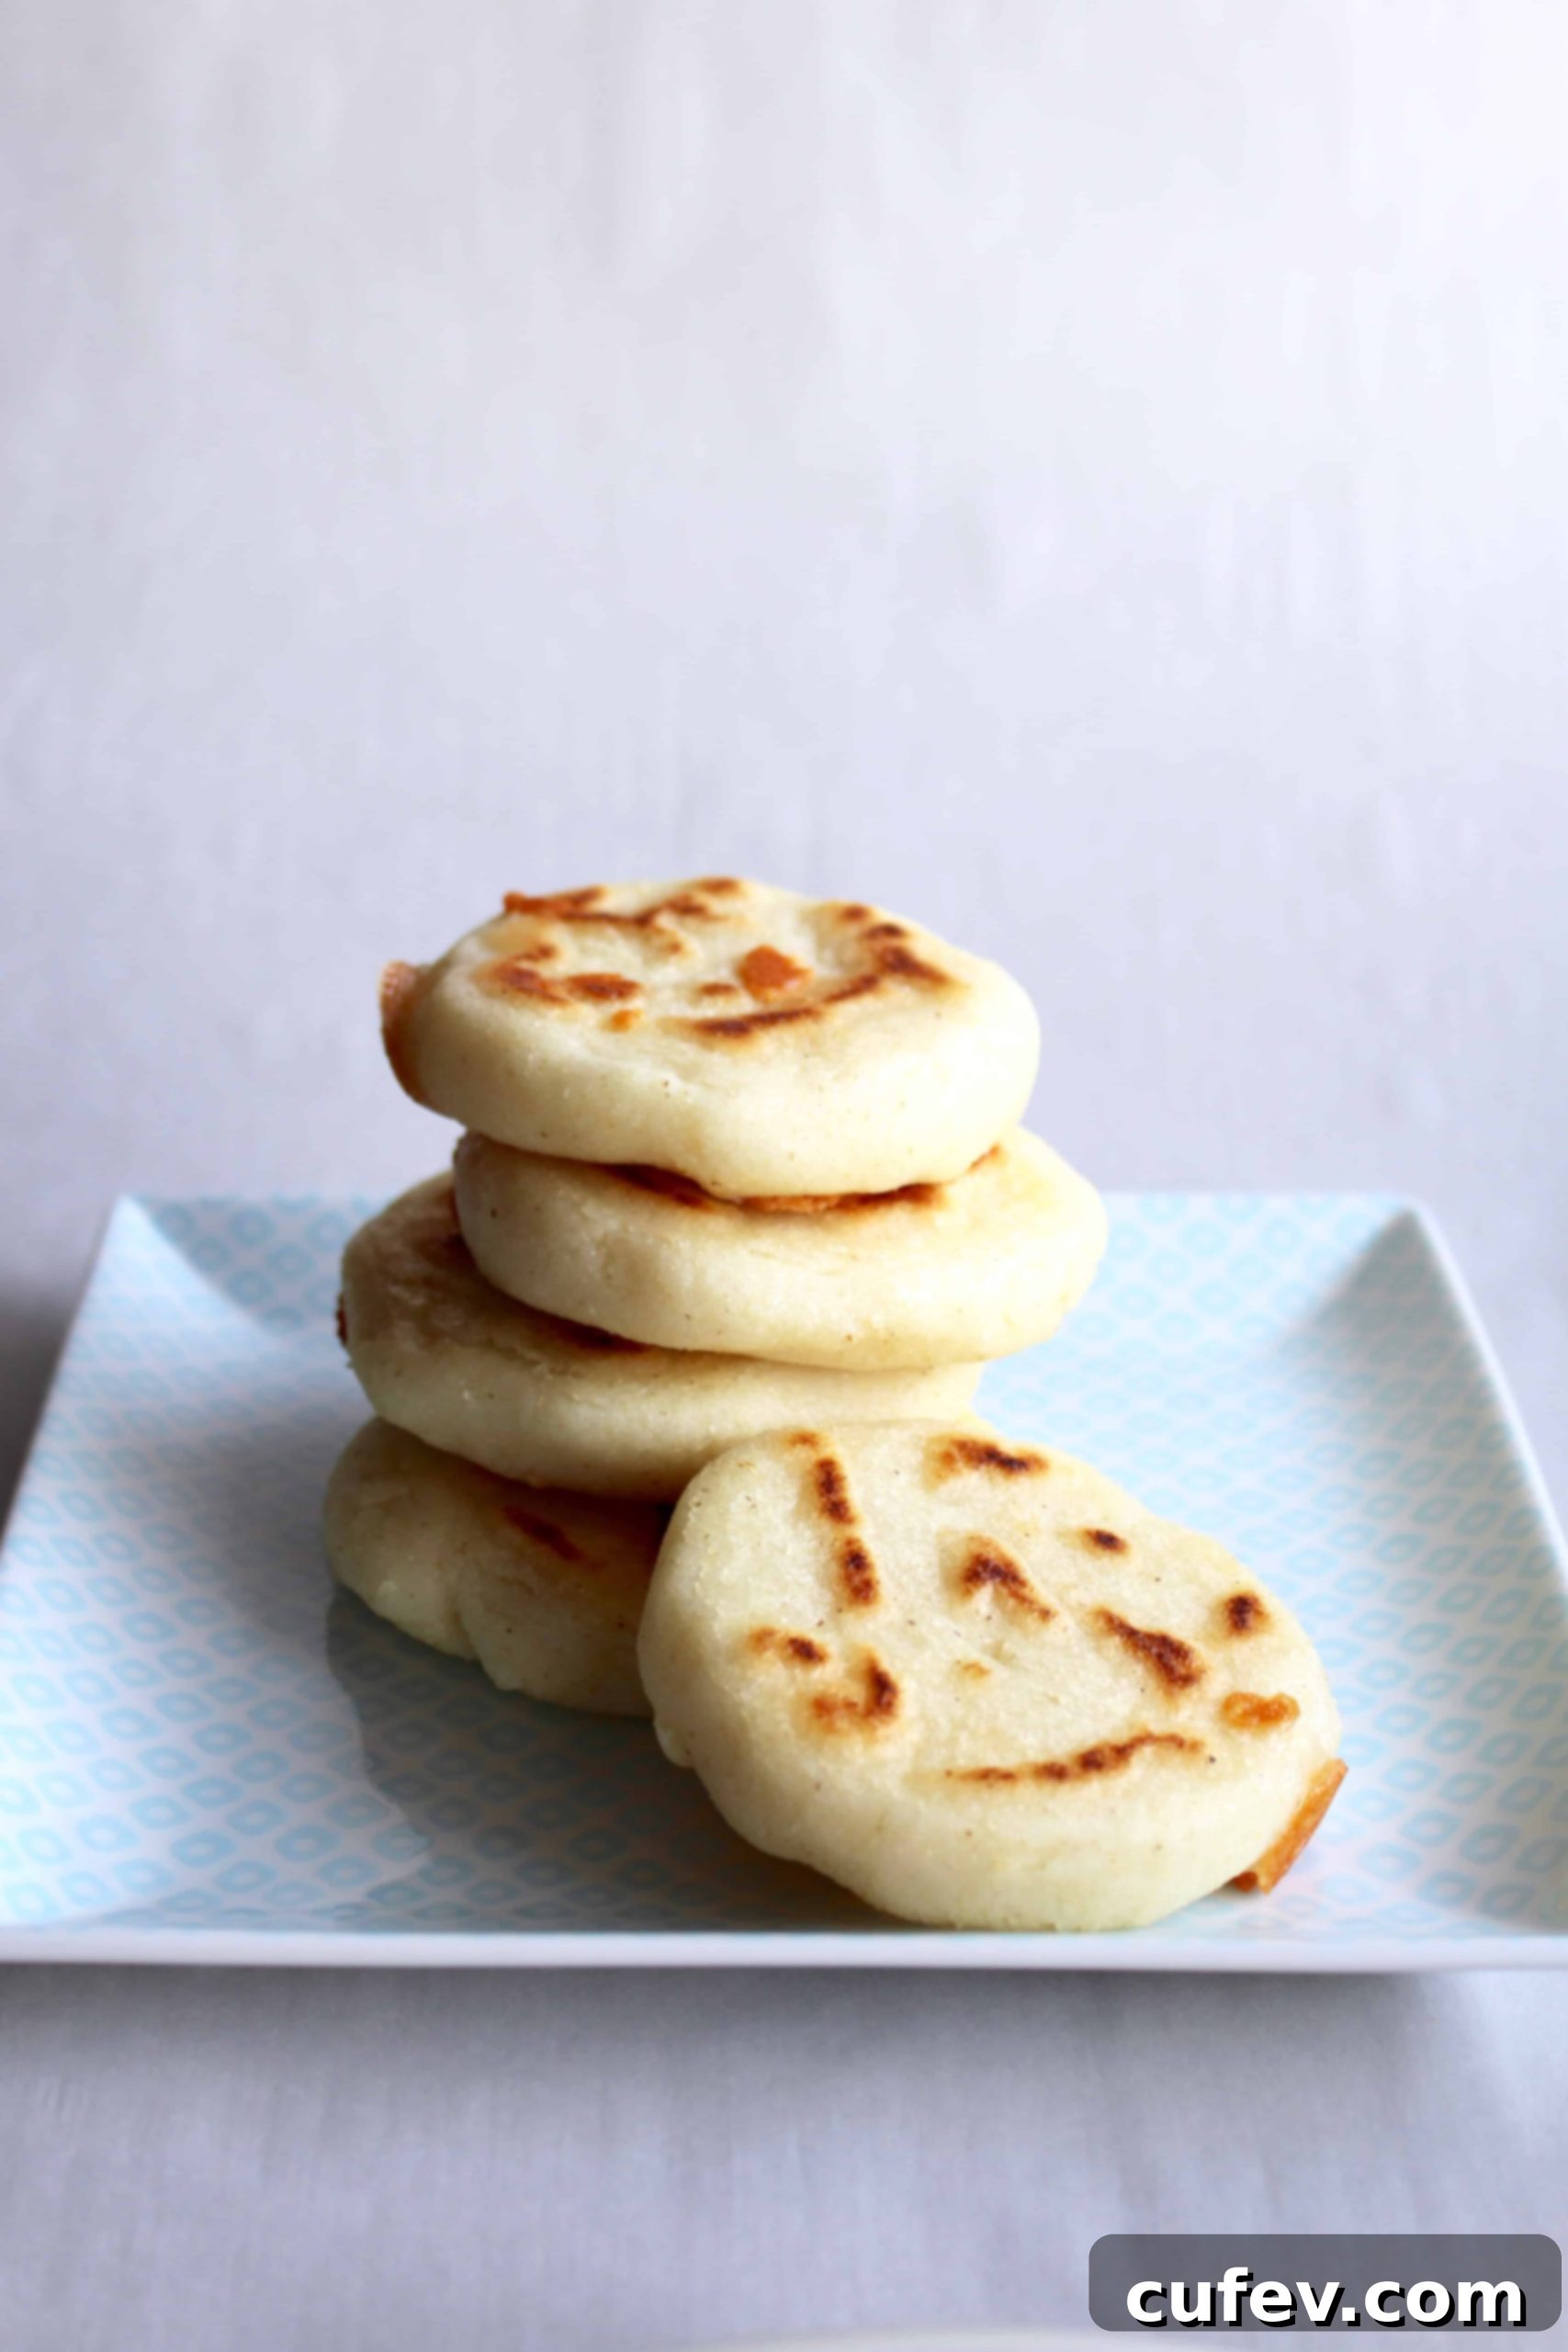
When perfectly cooked, arepas offer an enticing contrast: a slightly crisp, golden-brown crust on the outside and a wonderfully soft, tender, and moist interior. This unique texture is what makes them so enjoyable. Their neutral, subtly sweet corn flavor provides the perfect canvas for almost any filling you can imagine. From rich shredded meats and creamy avocado salads to simple cheese or butter, the possibilities are truly endless.
What’s more, arepas are naturally gluten-free, making them a fantastic and inclusive option for a wide range of dietary needs. Their simplicity in ingredients and preparation belies their profound versatility and deliciousness.
Essential Ingredients for Perfect Arepas
One of the most appealing aspects of making arepas is the minimal ingredient list. You only need a few pantry staples to create these delightful cornmeal cakes. However, the quality and type of each ingredient are crucial for achieving that authentic taste and texture.
- Arepa Flour (Masarepa or Harina P.A.N.): This is by far the most important ingredient. You absolutely *must* use pre-cooked cornmeal, not regular cornmeal used for grits, polenta, or masa harina (used for tortillas). Pre-cooked cornmeal, commonly branded as Harina P.A.N. (which stands for Productos Alimenticios Nacionales), is finely ground, pre-cooked, and then dehydrated. This unique processing allows it to absorb water quickly and form a cohesive dough ideal for arepas. You can find both white pre-cooked cornmeal and yellow masarepa; both work wonderfully, with yellow masarepa often lending a slightly sweeter flavor and richer golden color. Ensure the package explicitly states “pre-cooked corn meal” or “harina de maíz precocida.”
- Salt: Don’t skip the salt! While many arepas are filled with flavorful ingredients, a touch of salt in the dough itself is essential for enhancing the natural corn flavor and balancing the overall taste. It brings out the best in the cornmeal, making the arepas delicious even on their own.
- Water: The water hydrates the masarepa, transforming it from a dry powder into a workable dough. Using warm water (not hot) is often recommended as it helps the flour absorb more quickly and results in a smoother, more pliable dough that is easier to knead and shape. The exact amount can vary slightly depending on humidity and the specific brand of flour, so pay attention to the dough’s consistency.
- Oil (for cooking): A small amount of neutral cooking oil (like vegetable, canola, or corn oil) is used to pan-fry or griddle the arepas. This helps achieve that signature crispy, golden-brown exterior and prevents sticking. While some recipes might suggest adding a tiny bit of oil to the dough, for traditional crispy arepas, it’s primarily used in the pan.
Step-by-Step Guide: How to Make Arepas
Making arepas from scratch is surprisingly straightforward and requires no special equipment beyond a good mixing bowl and a pan or griddle. Follow these simple steps for perfectly delicious homemade arepas.
Step 1: Prepare the Arepa Dough
In a large mixing bowl, combine the masarepa (arepa flour) and salt. Gradually add the warm water, stirring with a spoon or your hands until a shaggy mixture forms. Continue mixing and then begin kneading the dough for about 3-5 minutes. The goal is a smooth, homogenous dough that is soft and pliable, but not sticky. If the dough feels too dry and crumbly, add a tablespoon of water at a time until it comes together. If it’s too wet and sticky, add a teaspoon of masarepa until it reaches the right consistency. Once kneaded, let the dough rest for 5-10 minutes. This crucial resting period allows the pre-cooked cornmeal to fully hydrate, resulting in a more tender arepa and making the dough much easier to handle.
Step 2: Form the Arepa Patties
After resting, the dough should be firm enough to handle without sticking. Divide the dough into 8-10 equal portions (depending on your desired size; 10 portions usually yield snack-sized arepas, while 8 makes larger, meal-sized ones). Roll each portion into a smooth ball between your palms. Then, gently flatten each ball into a disk, about 3.5 to 4 inches (9-10 cm) in diameter and approximately ½ to ¾ inch (1.2-1.9 cm) thick. Aim for even thickness to ensure uniform cooking. If you’re making cheese-stuffed arepas (Arepas con Queso), flatten a portion, place a tablespoon or two of shredded cheese (like mozzarella or a mild white cheese) in the center, then carefully gather the edges of the dough to enclose the cheese, re-roll into a ball, and flatten again into a disk. Ensure the cheese is fully sealed within the dough to prevent it from oozing out during cooking.
Step 3: Cook the Arepas to Golden Perfection
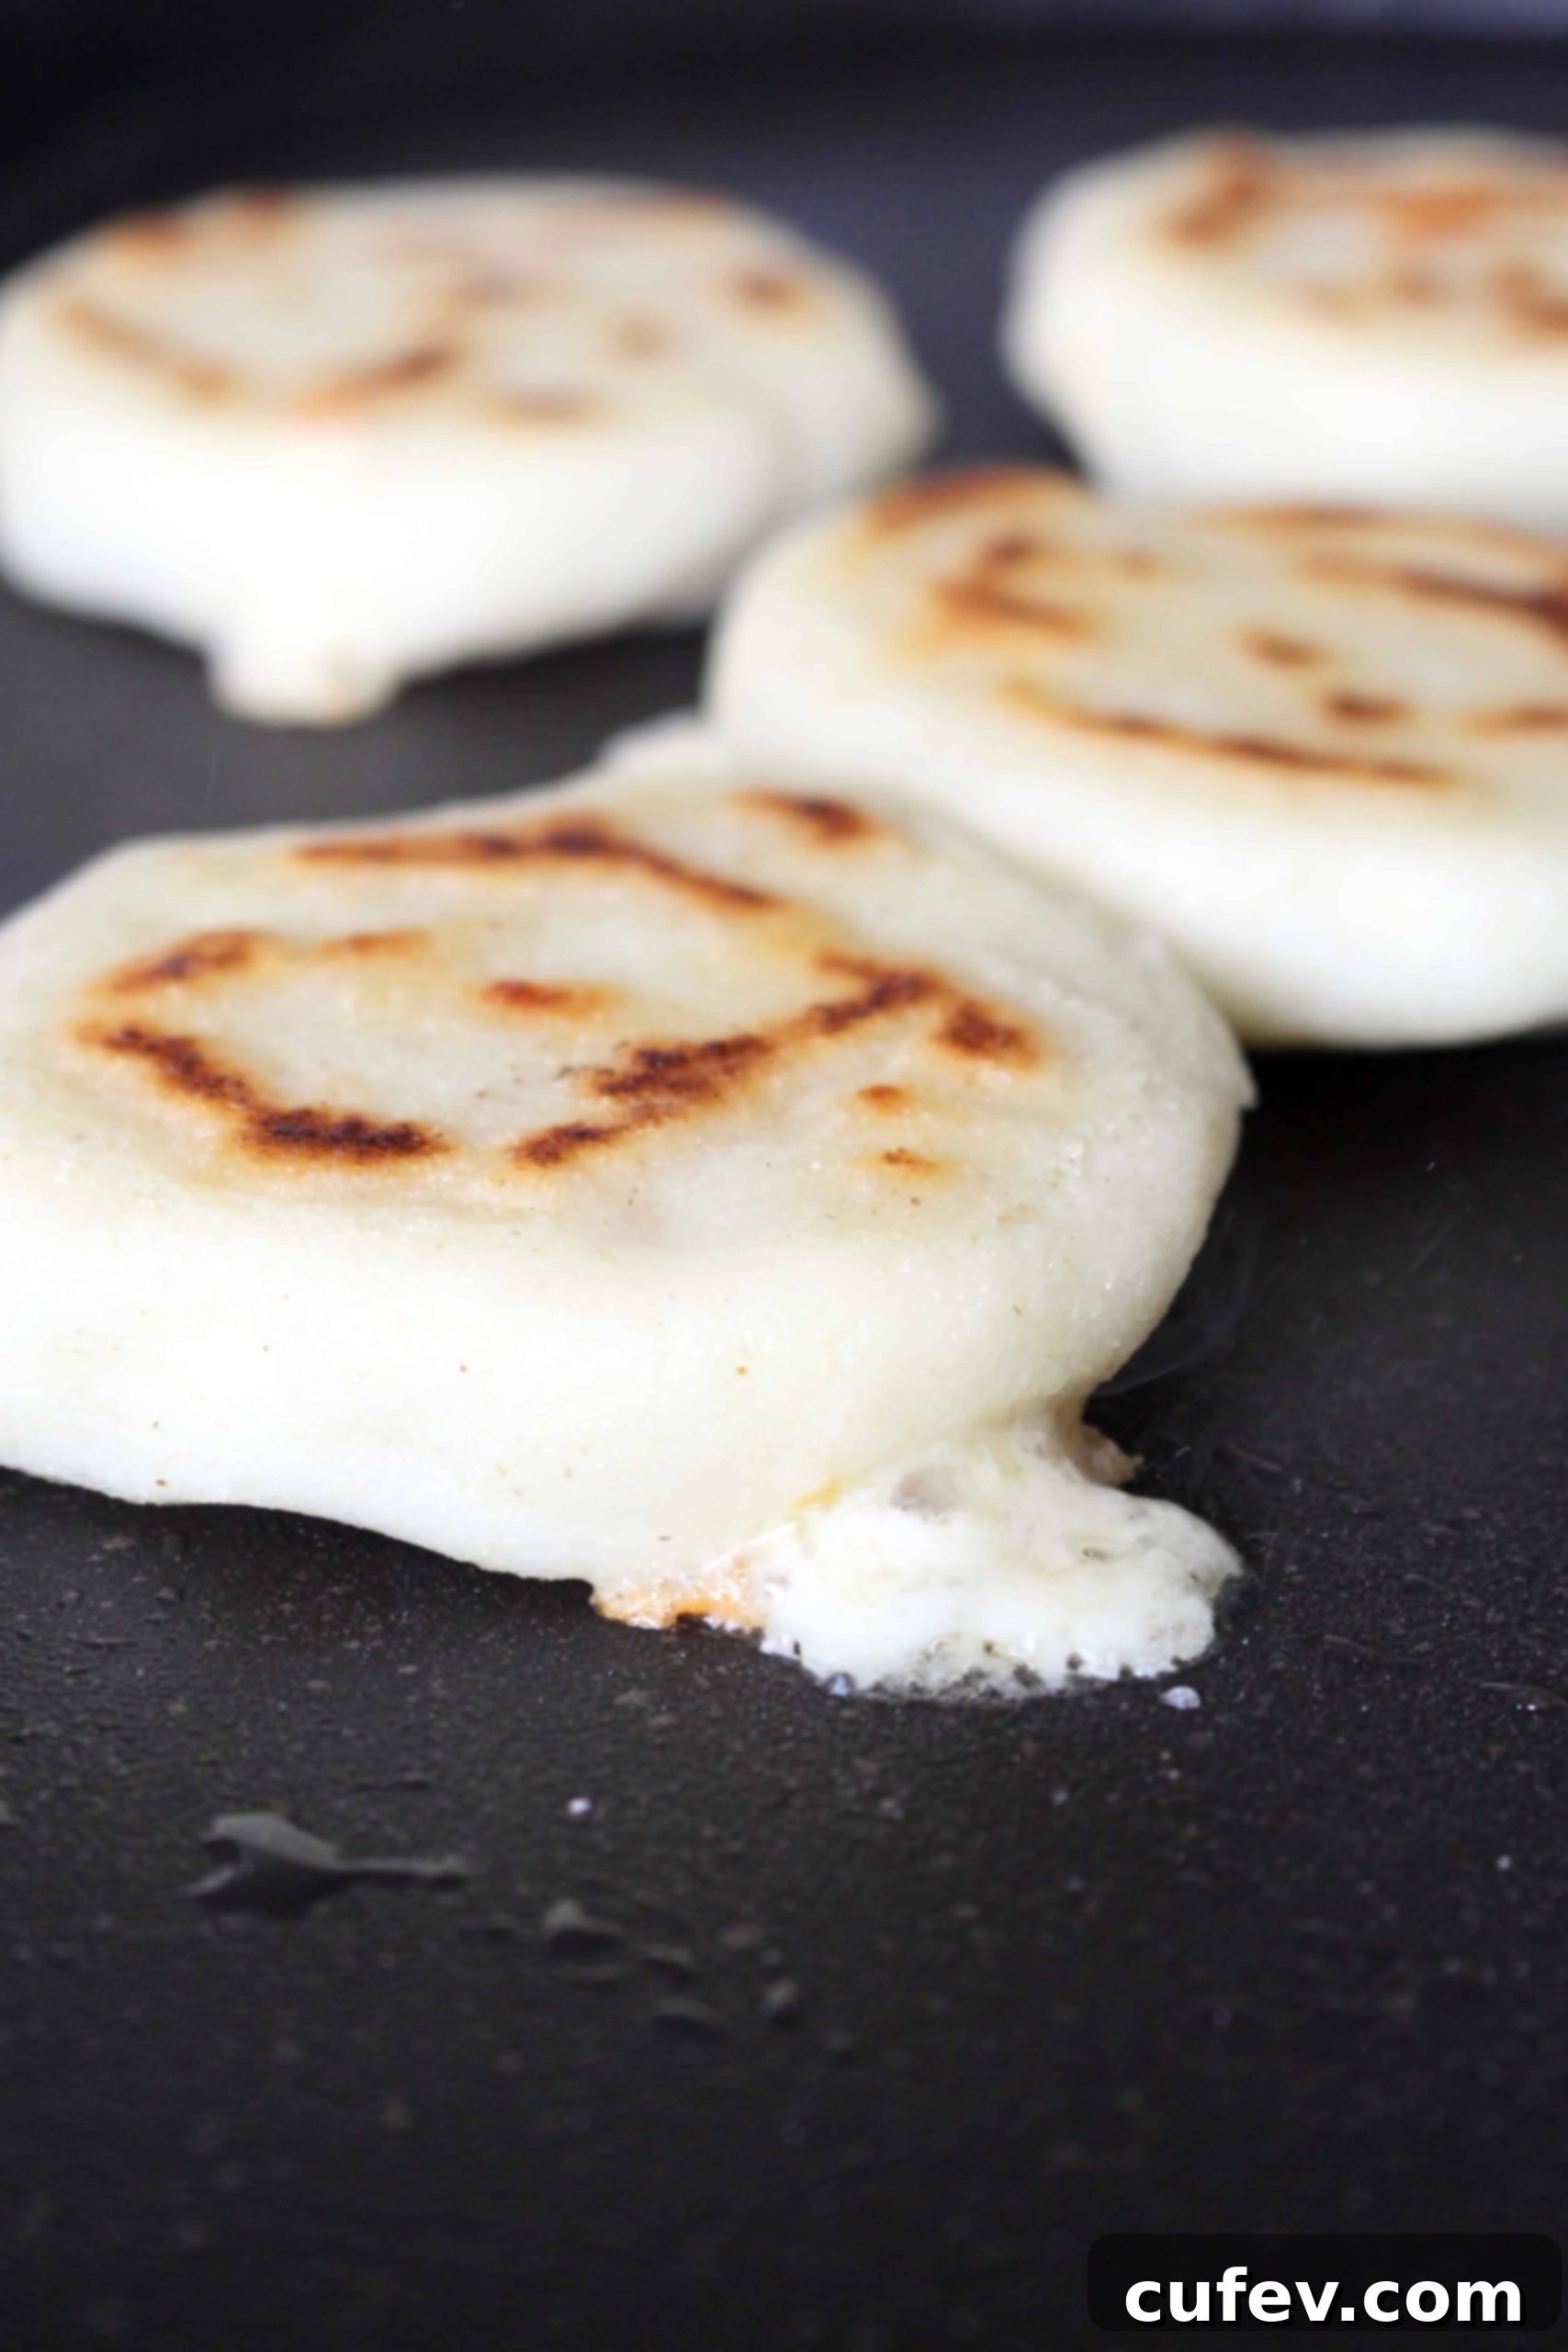
Heat a cast-iron skillet, a heavy-bottomed frying pan, or a griddle over medium heat. Add a tablespoon or two of cooking oil, ensuring the bottom is lightly coated. Once the oil is shimmering, carefully place the formed arepas onto the hot surface. Do not overcrowd the pan; cook in batches if necessary.
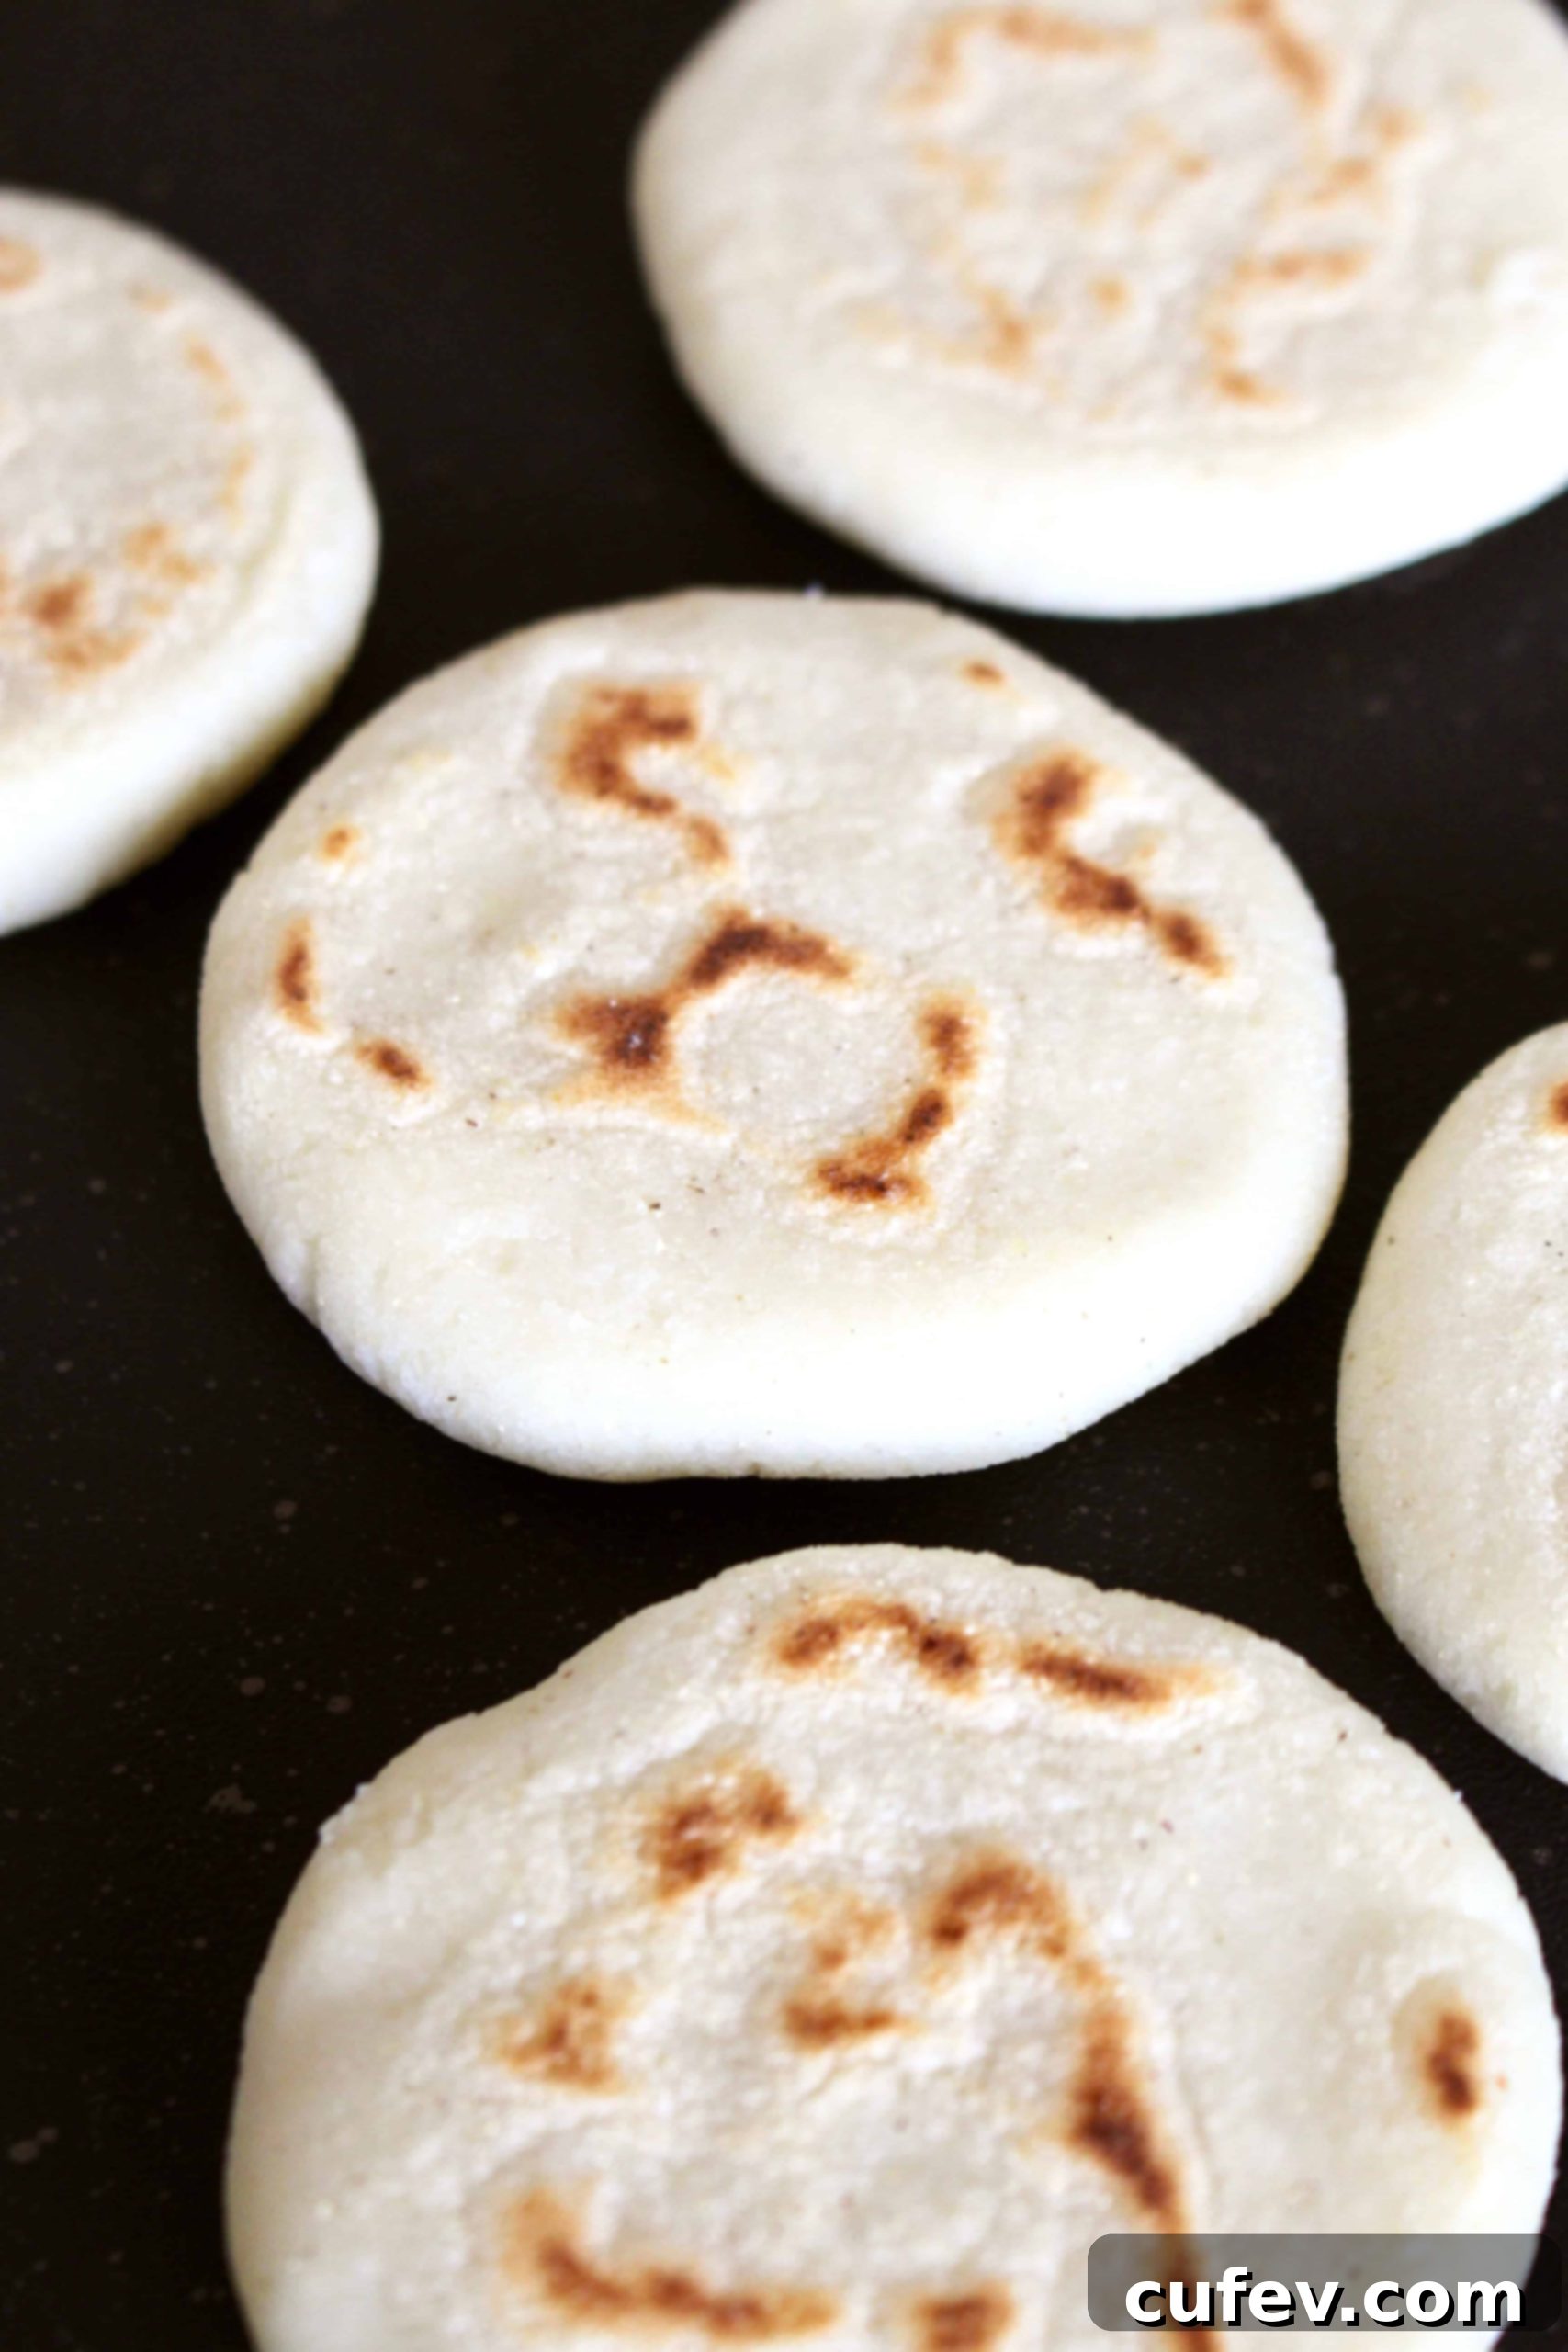
Cook for about 5-8 minutes per side, or until the arepas develop a beautiful golden-brown crust and are firm to the touch. You’ll know they’re ready when they have distinct grill marks (if using a griddle) or a uniformly golden-brown color on both sides. The exterior should be crispy, and the arepas should sound hollow when tapped. For a fully cooked interior, especially for thicker arepas, you can transfer them to a preheated oven (around 350°F / 175°C) for an additional 10-15 minutes after pan-frying, which helps them cook through without burning the exterior.
Once cooked, transfer the arepas to a wire rack to cool slightly. This prevents them from becoming soggy and helps maintain their crispiness.
Step 4: Serve and Enjoy Your Homemade Arepas
Arepas are best enjoyed warm, straight off the pan. Using a sharp knife, carefully slice each arepa horizontally about two-thirds of the way through, creating a pocket. Now comes the fun part: filling them with your favorite ingredients! Serve immediately and savor the incredible flavors and textures of your homemade arepas.
Delicious Arepa Filling Ideas
The beauty of arepas lies in their incredible versatility when it comes to fillings. They can transform into a full meal or a delightful snack with just a few ingredients. Here are some popular and incredibly tasty serving suggestions:
- Reina Pepiada (The “Curvy Queen”): This iconic Venezuelan filling is a creamy, flavorful chicken and avocado salad. It’s often made with shredded chicken, mashed avocado, mayonnaise, cilantro, and a touch of lime juice. It’s my absolute favorite and a must-try for any arepa enthusiast. Get the Reina Pepiada recipe here!
- Arepas with Cheese (Arepas con Queso): Simple yet satisfying, this can be achieved by stuffing the arepas with shredded mozzarella, a white melting cheese like queso blanco, or even cheddar during the forming stage. Or, simply slice open a plain arepa and fill it with your favorite cheese, allowing it to melt slightly from the residual heat.
- Shredded Beef (Carne Mechada): Tender, slow-cooked shredded beef, often stewed in a rich tomato-based sauce with peppers and onions, is a classic Venezuelan filling that offers a burst of savory flavor.
- Black Beans and Cheese (Dominó): A vegetarian-friendly option, this combination of savory black beans and salty, melty cheese (often shredded white cheese) is a staple and incredibly comforting.
- Perico: A popular Venezuelan breakfast filling, Perico consists of scrambled eggs cooked with sautéed onions, tomatoes, and peppers. It’s a wonderfully flavorful way to start your day.
- Carnitas: For a Mexican-inspired twist, juicy and crispy slow cooker carnitas make an incredible filling. The rich pork pairs perfectly with the subtle corn flavor of the arepa.
- Avocado and Eggs: A healthy and satisfying breakfast or brunch option. Simply slice open your arepa, spread with fresh avocado, and top with scrambled or fried eggs.
- Butter and Fresh Cheese: For a quick and simple snack, especially in Colombia, hot arepas are often split and filled with butter and a slice of fresh, salty cheese.
- Condiments: Don’t forget the condiments! A good homemade guasacaca (Venezuelan avocado salsa), a vibrant cilantro sauce, or your favorite hot sauce can elevate any arepa filling.
Frequently Asked Questions About Arepas
While both arepas and pupusas are delicious cornmeal patties designed to hold savory fillings, their key difference lies in the type of corn flour used. Arepas are made with masarepa (pre-cooked cornmeal), which yields a distinctly crispy exterior and a soft, airy interior. Pupusas, on the other hand, are typically made with masa harina, an untreated corn flour that results in a softer, chewier texture. Additionally, pupusas are often larger, flatter, and commonly stuffed before cooking, whereas arepas can be stuffed or simply sliced and filled after cooking.
Although both countries cherish arepas, there are notable differences. Venezuelan arepas (known as arepas venezolanas or arepas rellenas) are generally smaller, thicker, and almost always sliced open and generously stuffed with a variety of elaborate fillings (like Reina Pepiada or Carne Mechada). Colombian arepas, conversely, tend to be larger, flatter, and thinner. They are often served plain with butter and cheese on top, or sometimes stuffed with just cheese (arepas con queso) before cooking. The fillings for Colombian arepas tend to be simpler, often focusing on fresh cheese or eggs.
Arepas have a long and rich history, originating from the pre-Columbian indigenous populations inhabiting the valleys and mountains of the region that is now modern-day Colombia, Venezuela, and Panama. They predate the arrival of Europeans and have been a fundamental part of the diet in these areas for centuries.
Yes, traditional arepas made from masarepa (pre-cooked cornmeal) are naturally gluten-free! This is one of their fantastic qualities. The main ingredients—corn flour, water, and salt—do not contain gluten. However, it’s always important to be mindful of your fillings. Ensure any additions, such as processed meats, sauces, or toppings, are also gluten-free if you are strictly adhering to a gluten-free diet.
Arepas are truly at their best when enjoyed fresh and warm, right after cooking. However, if you have leftovers, allow them to cool completely before transferring them to an airtight container. Store them in the refrigerator for up to 3-4 days. When reheating, avoid the microwave if possible, as it can make them soft and somewhat rubbery. Instead, reheat them in a toaster, toaster oven, or a dry skillet over medium heat until they are crispy on the outside and warmed through, which helps restore their delightful texture.
Absolutely! Arepas freeze exceptionally well, making them perfect for meal prep. Once cooked and cooled completely, place them in a single layer in a freezer-safe bag or an airtight container, separated by parchment paper to prevent sticking. They can be stored in the freezer for up to one month. To reheat from frozen, you can place them directly in a preheated toaster, toaster oven, or conventional oven (at about 375°F / 190°C) for 15-20 minutes, or until heated through and crispy. Avoid thawing them at room temperature first, as this can make them mushy.
Yes, baking arepas is a great alternative, especially if you’re making a larger batch or prefer a less hands-on approach. After shaping, you can bake them in a preheated oven at 375°F (190°C) for about 20-30 minutes, flipping halfway through, until they are golden brown and firm. While baking provides an evenly cooked arepa, pan-frying or grilling often gives them a superior crispy exterior. For the best of both worlds, many people pan-fry for a few minutes per side to get that crisp crust, then finish them in the oven to ensure they are cooked through.
Cracking usually indicates that your dough is too dry or hasn’t been kneaded enough to develop proper elasticity. Ensure you’re using warm water, which helps the masarepa absorb moisture more effectively. Knead the dough thoroughly for at least 5 minutes until it’s smooth and soft. If you notice cracking while forming the patties, dip your hands in a little water or lightly moisten the edges of the dough and smooth them out. Allowing the dough to rest for 5-10 minutes after kneading is also crucial for hydration and preventing cracks.
Explore More Savory Delights
If you’ve enjoyed making these delicious arepas, you might also love exploring other savory recipes that bring vibrant flavors to your kitchen. Expand your culinary repertoire with these mouth-watering dishes:
- If you’re in the mood for a cozy bowl of soup, try either my roasted tomato soup or creamy pumpkin soup! They’re perfect for a comforting meal on a chilly day.
- Want an impressive rice dish that’s bursting with flavor? My arroz valenciana recipe is so savory and rich, you’ll love it! It’s a fantastic centerpiece for any gathering.
- This spinach and artichoke dip is incredibly creamy and addictive – the perfect appetizer for any party or casual get-together.
Thanks so much for stopping by! I truly hope you loved this authentic arepas recipe as much as I do. There’s nothing quite like the satisfaction of creating these versatile and delicious cornmeal cakes from scratch. For more mouth-watering recipe inspiration, cooking tips, and culinary adventures, make sure to follow me on Pinterest, Facebook, and Instagram. You can also get all of my newest content and exclusive recipes delivered straight to your inbox by signing up for my email newsletter! Happy cooking!

Arepas Recipe
Print
Pin
Rate
Ingredients
- 2 cups P.A.N. arepa flour (masarepa)
- 1 teaspoon salt
- 2½ cups warm water
- 1-2 tablespoons neutral cooking oil (for frying)
Instructions
-
In a large bowl, combine the masarepa and salt. Gradually add the warm water, mixing until a shaggy dough forms. Knead for 3-5 minutes until smooth and pliable. Let rest for 5-10 minutes to hydrate.
-
Divide the dough into 8-10 portions. Roll each portion into a ball, then flatten into a disk about 3.5-4 inches (9-10 cm) in diameter and 1/2 to 3/4 inch thick. (If stuffing with cheese, enclose cheese in dough before flattening).
-
Heat oil in a pan or griddle over medium heat. Cook arepas for 5-8 minutes per side until golden brown and crispy. For thicker arepas, transfer to a 350°F (175°C) oven for an additional 10-15 minutes to cook through.
-
Serve warm. Slice each arepa horizontally about two-thirds through to create a pocket, then fill with your desired ingredients. Enjoy!
Notes
Freezing: Cooked and cooled arepas can be frozen for up to one month in an airtight freezer bag or container, separated by parchment paper. Reheat directly from frozen in a toaster or oven.
