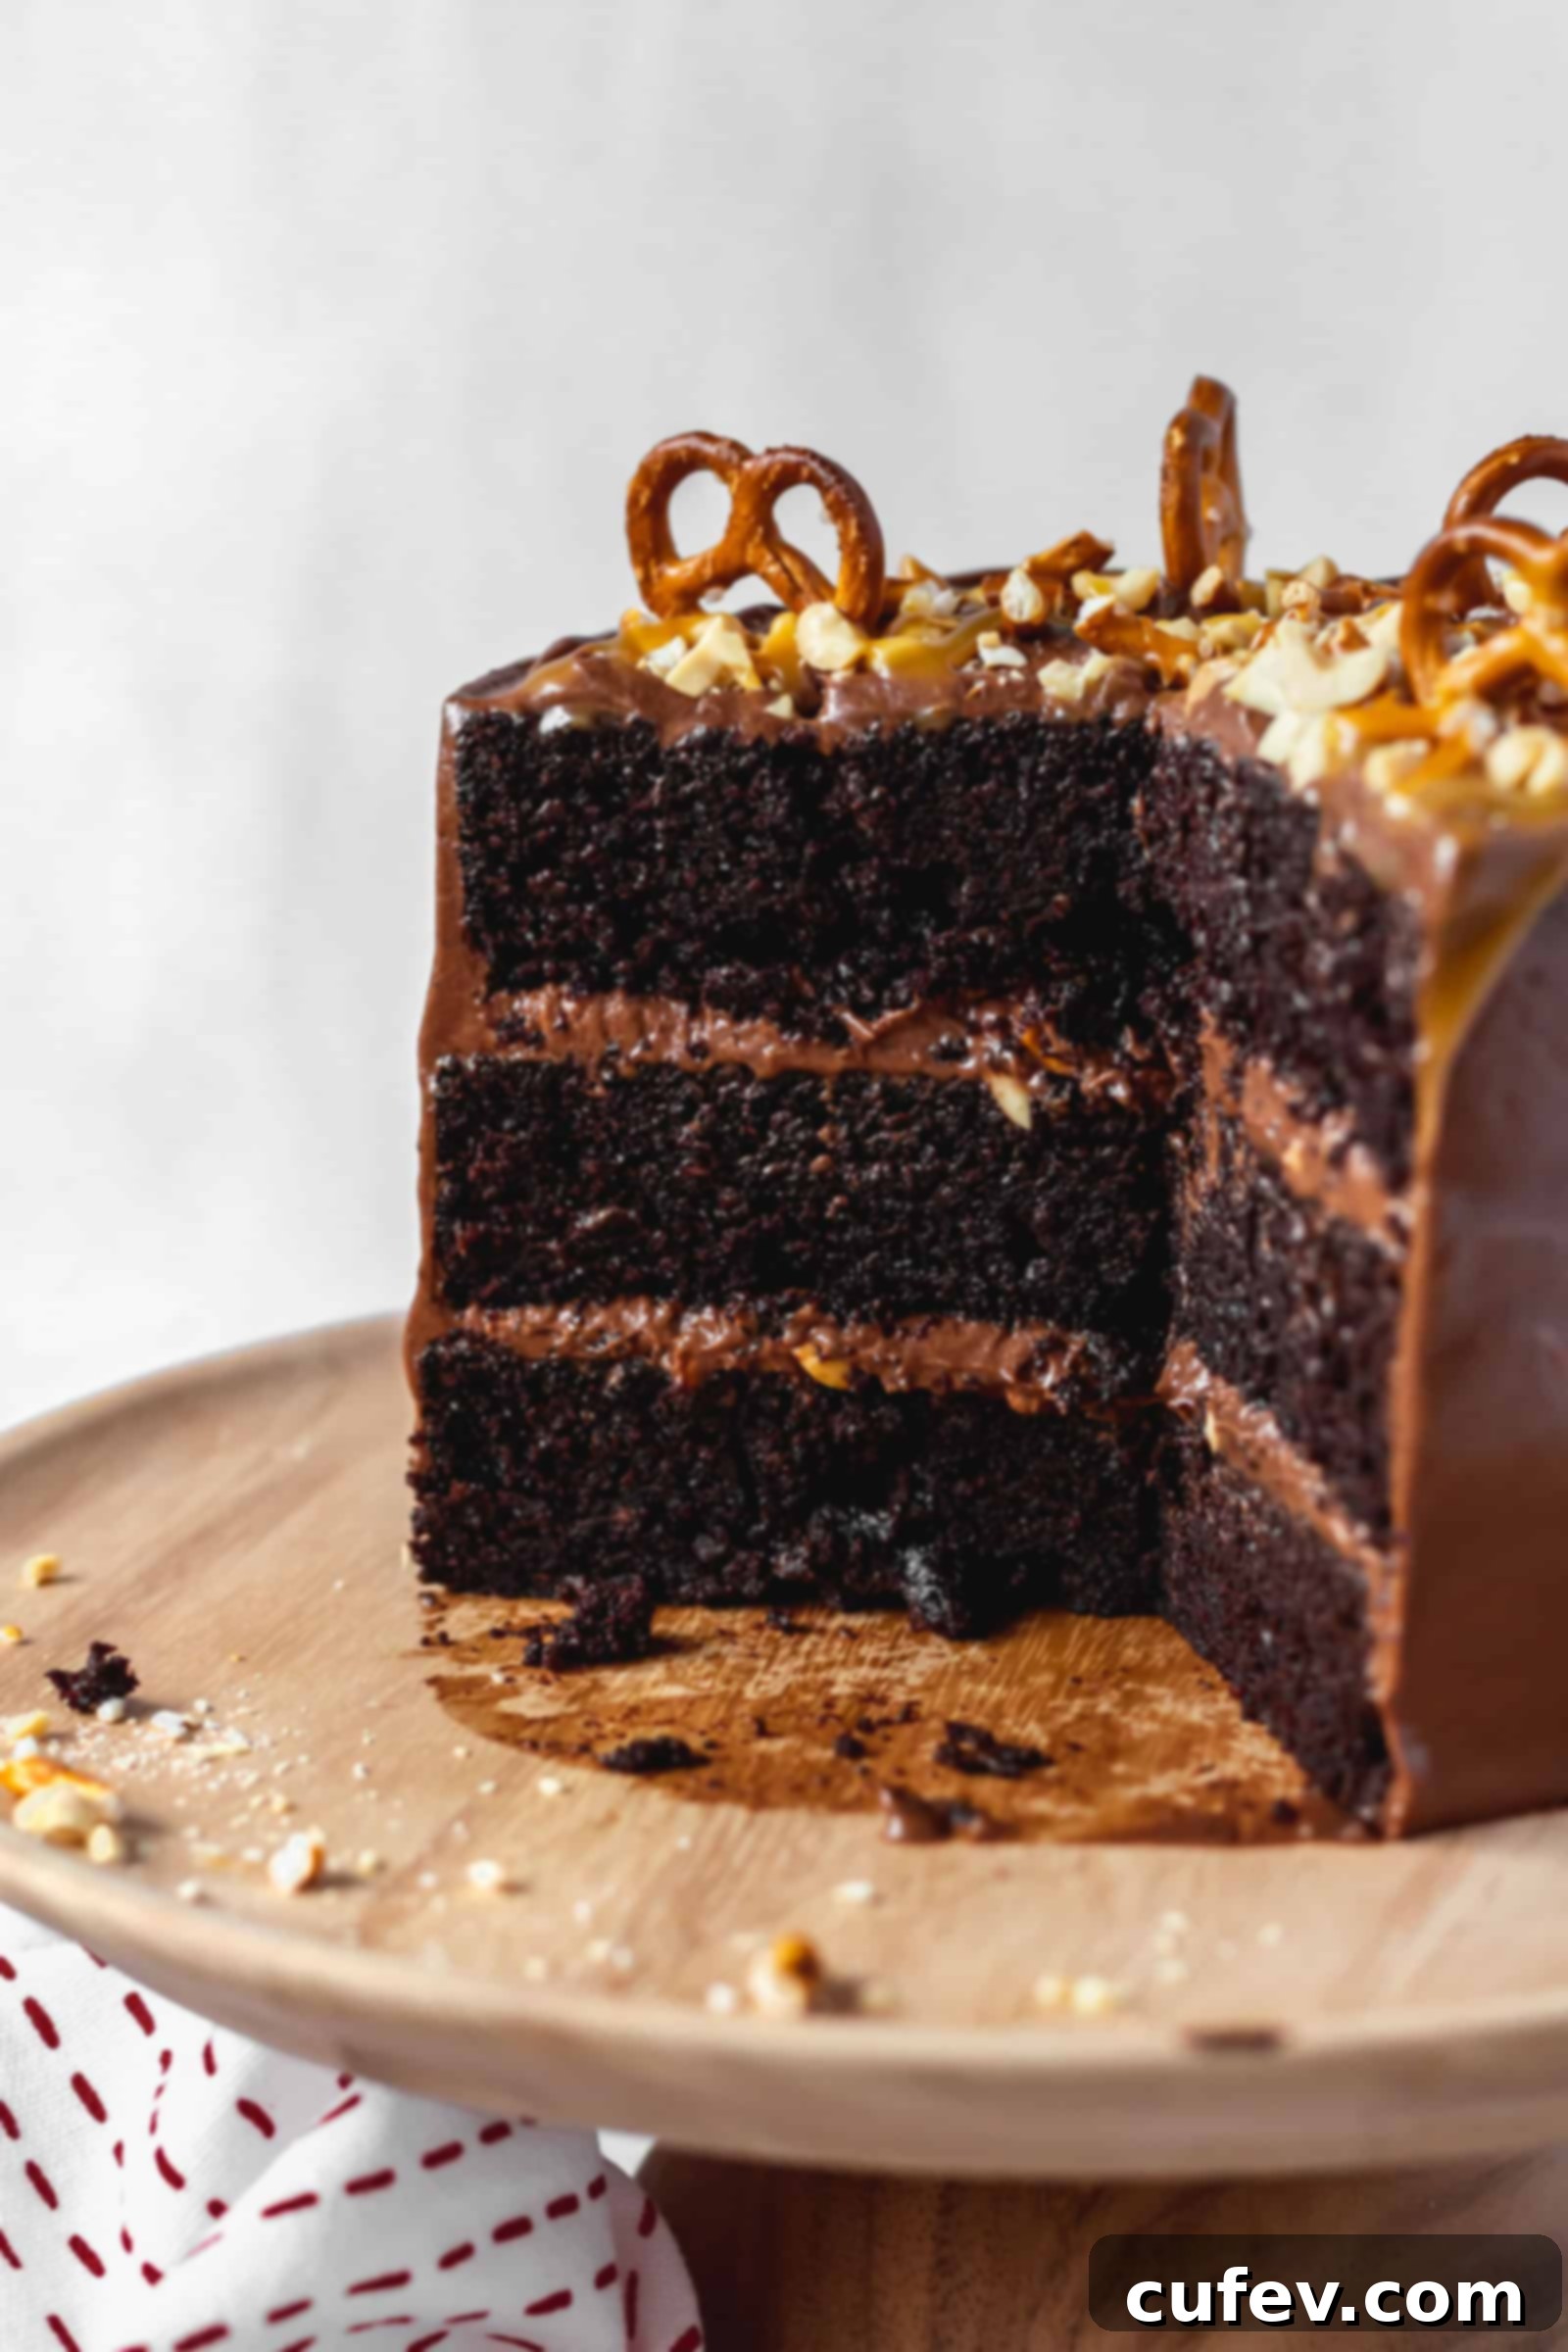
The Ultimate Moist Chocolate Cake with Salty Peanut Pretzel Crunch and Decadent Cream Cheese Frosting
Every year, for my birthday, there’s one tradition I simply can’t break: I bake my own cake. Why? Because it’s the only way to guarantee perfection – a cake that’s exactly how I envision it, crafted to my precise preferences. And for me, perfection always means a chocolate cake, but not just any chocolate cake. It has to be exceptionally moist, deeply rich, and utterly unforgettable. This past year, I truly outdid myself, creating a masterpiece: a luxurious and incredibly moist chocolate cake, generously slathered with silky chocolate cream cheese frosting, then crowned with a delightful medley of salty peanuts and crunchy pretzels. As if that wasn’t enough, I finished it all with a luscious drizzle of caramel sauce! Yes, I truly went all out, and the results were spectacular.
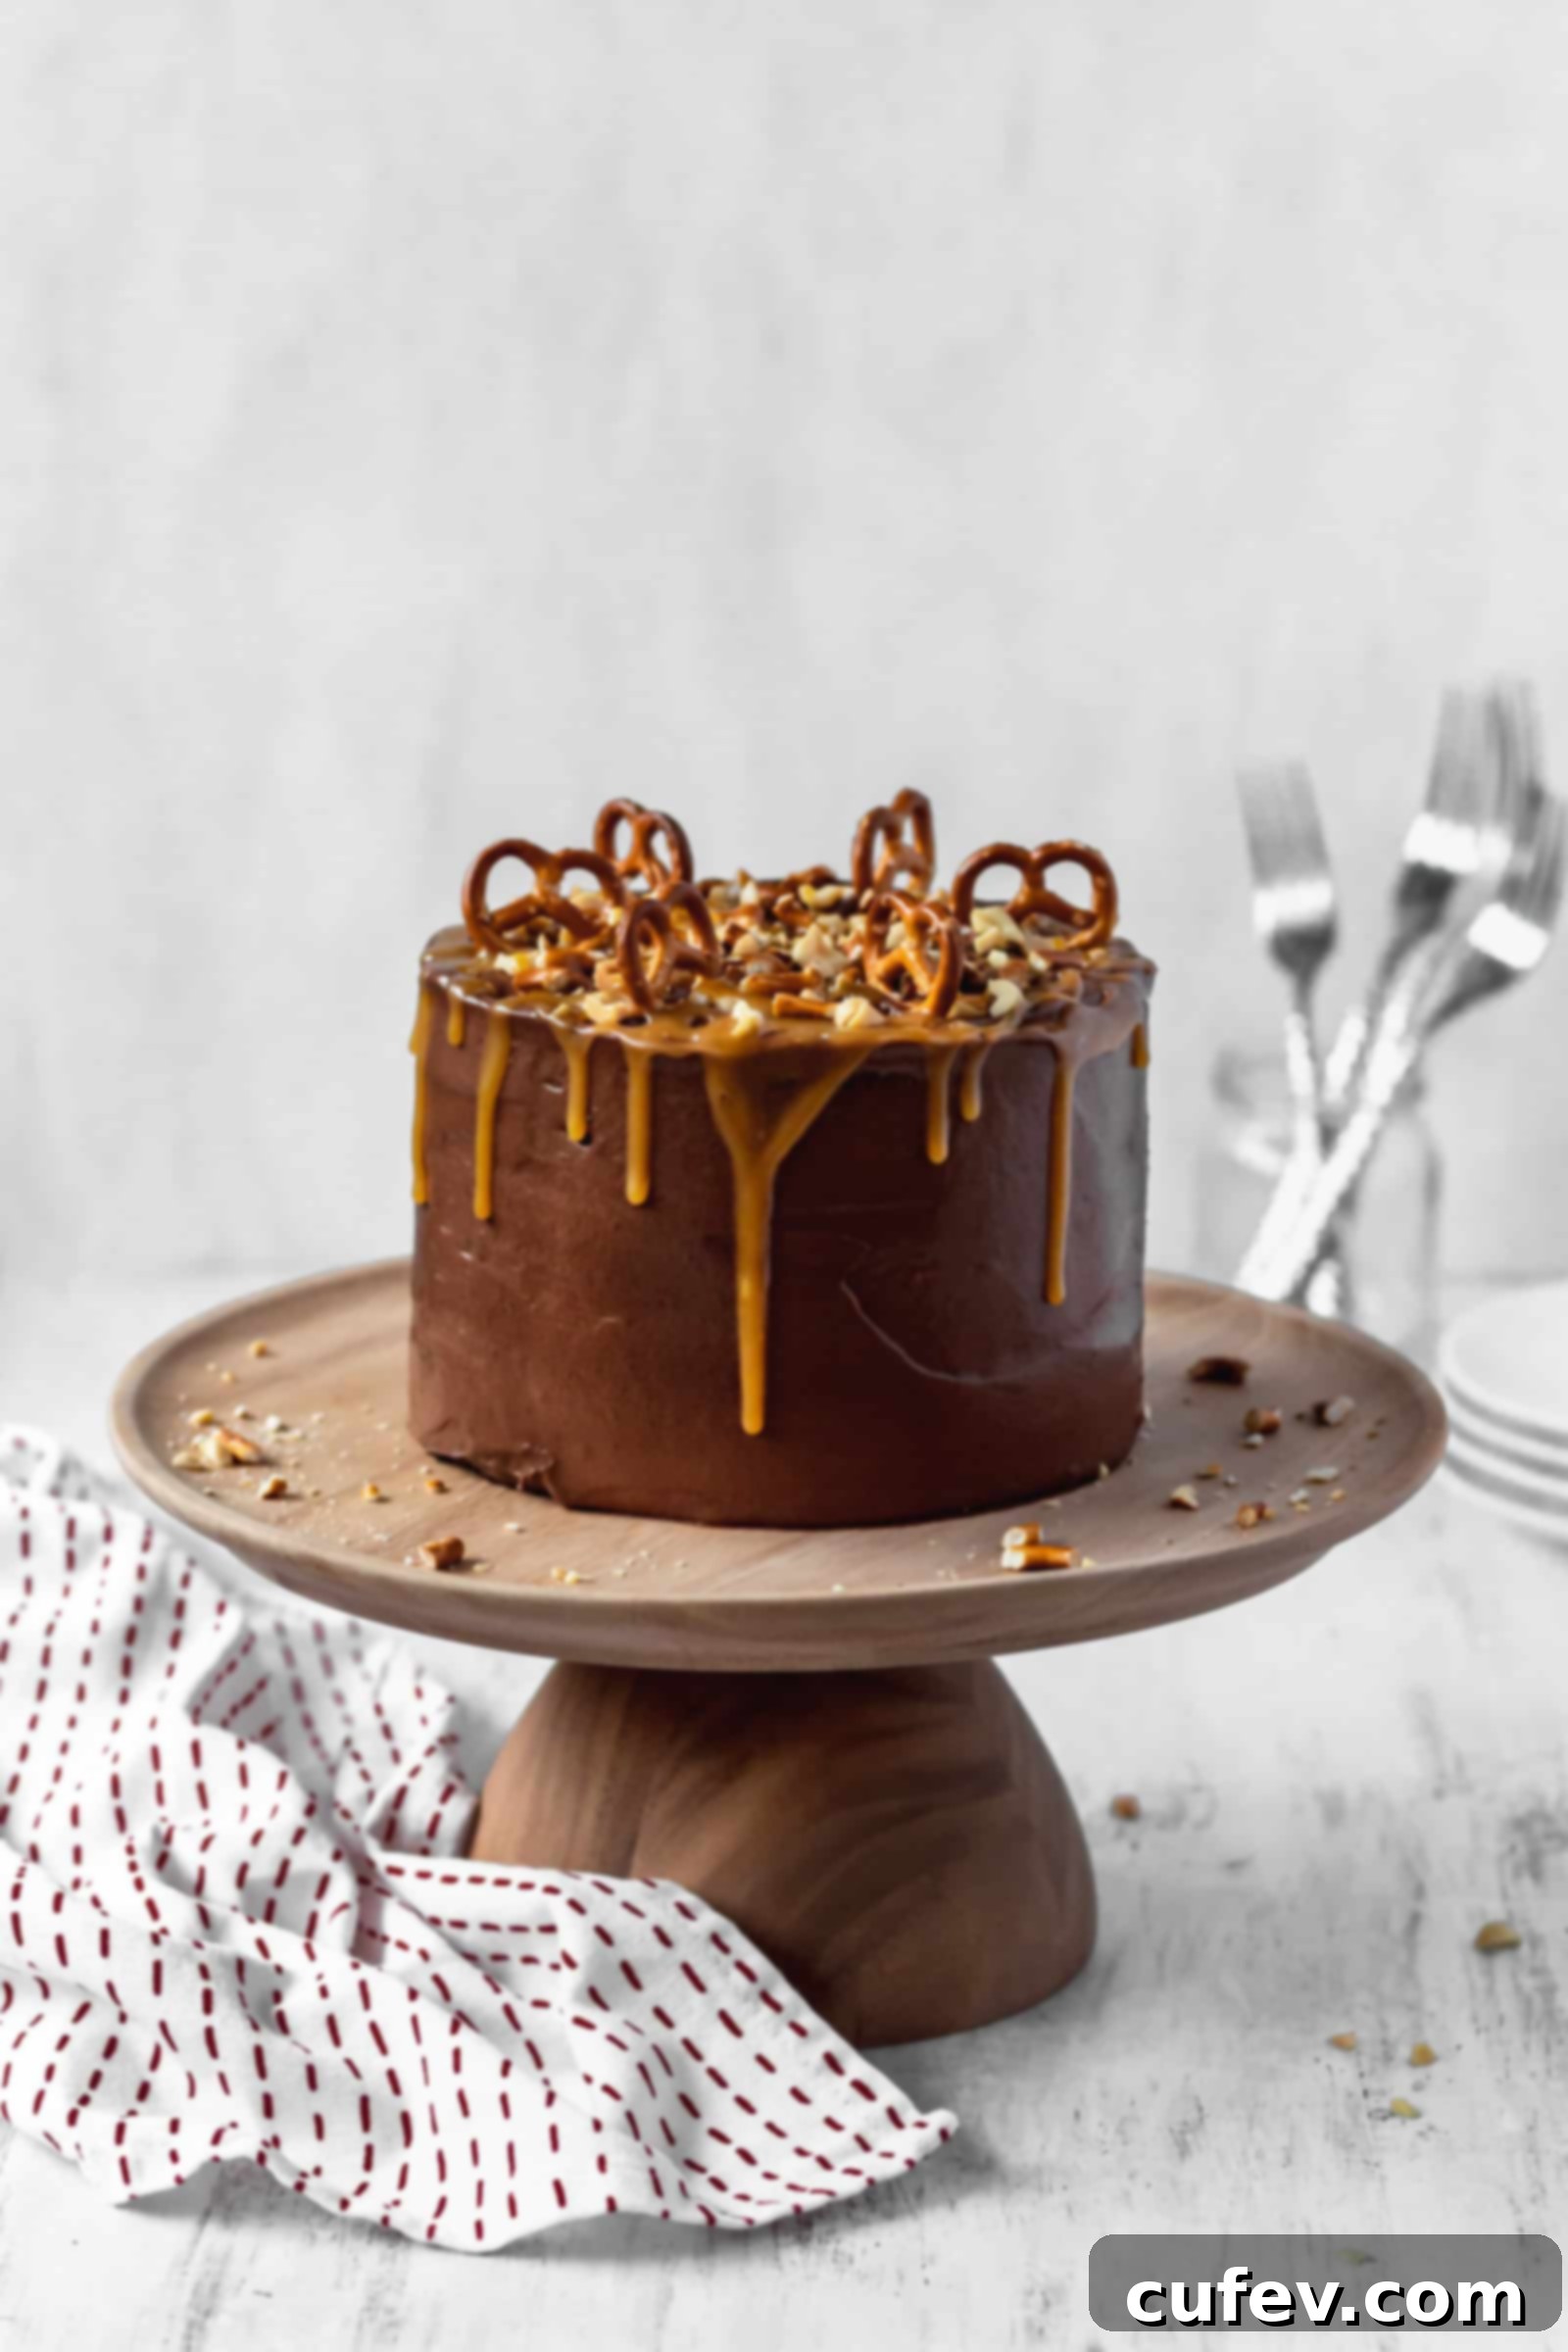
Indulge in the Perfect Balance: Chocolate Cake with Salty Peanuts and Pretzels
The foundation of this show-stopping layer cake is my absolute favorite chocolate cake recipe – a true staple in my kitchen. It consistently delivers a cake that is wonderfully fluffy, incredibly moist, and intensely chocolatey, without ever being overly sweet. The secret to its profound chocolate flavor lies in the strategic use of high-quality Dutch processed cocoa powder, combined with a touch of instant espresso. These two ingredients work in harmony to deepen the chocolate notes, creating a rich, complex taste profile that is simply divine. To elevate this already fantastic cake, I enveloped each layer in a silky-smooth chocolate cream cheese frosting, adding a delightful tang that cuts through the richness. But what truly makes this cake a revelation is the genius addition of salty peanuts and crisp pretzels on top. This crucial element provides an irresistible textural contrast and a much-needed salty counterpoint, ensuring that each decadent slice is perfectly balanced and utterly satisfying. You can enjoy a generous portion without ever feeling overwhelmed by sweetness – it’s an experience for all your senses.
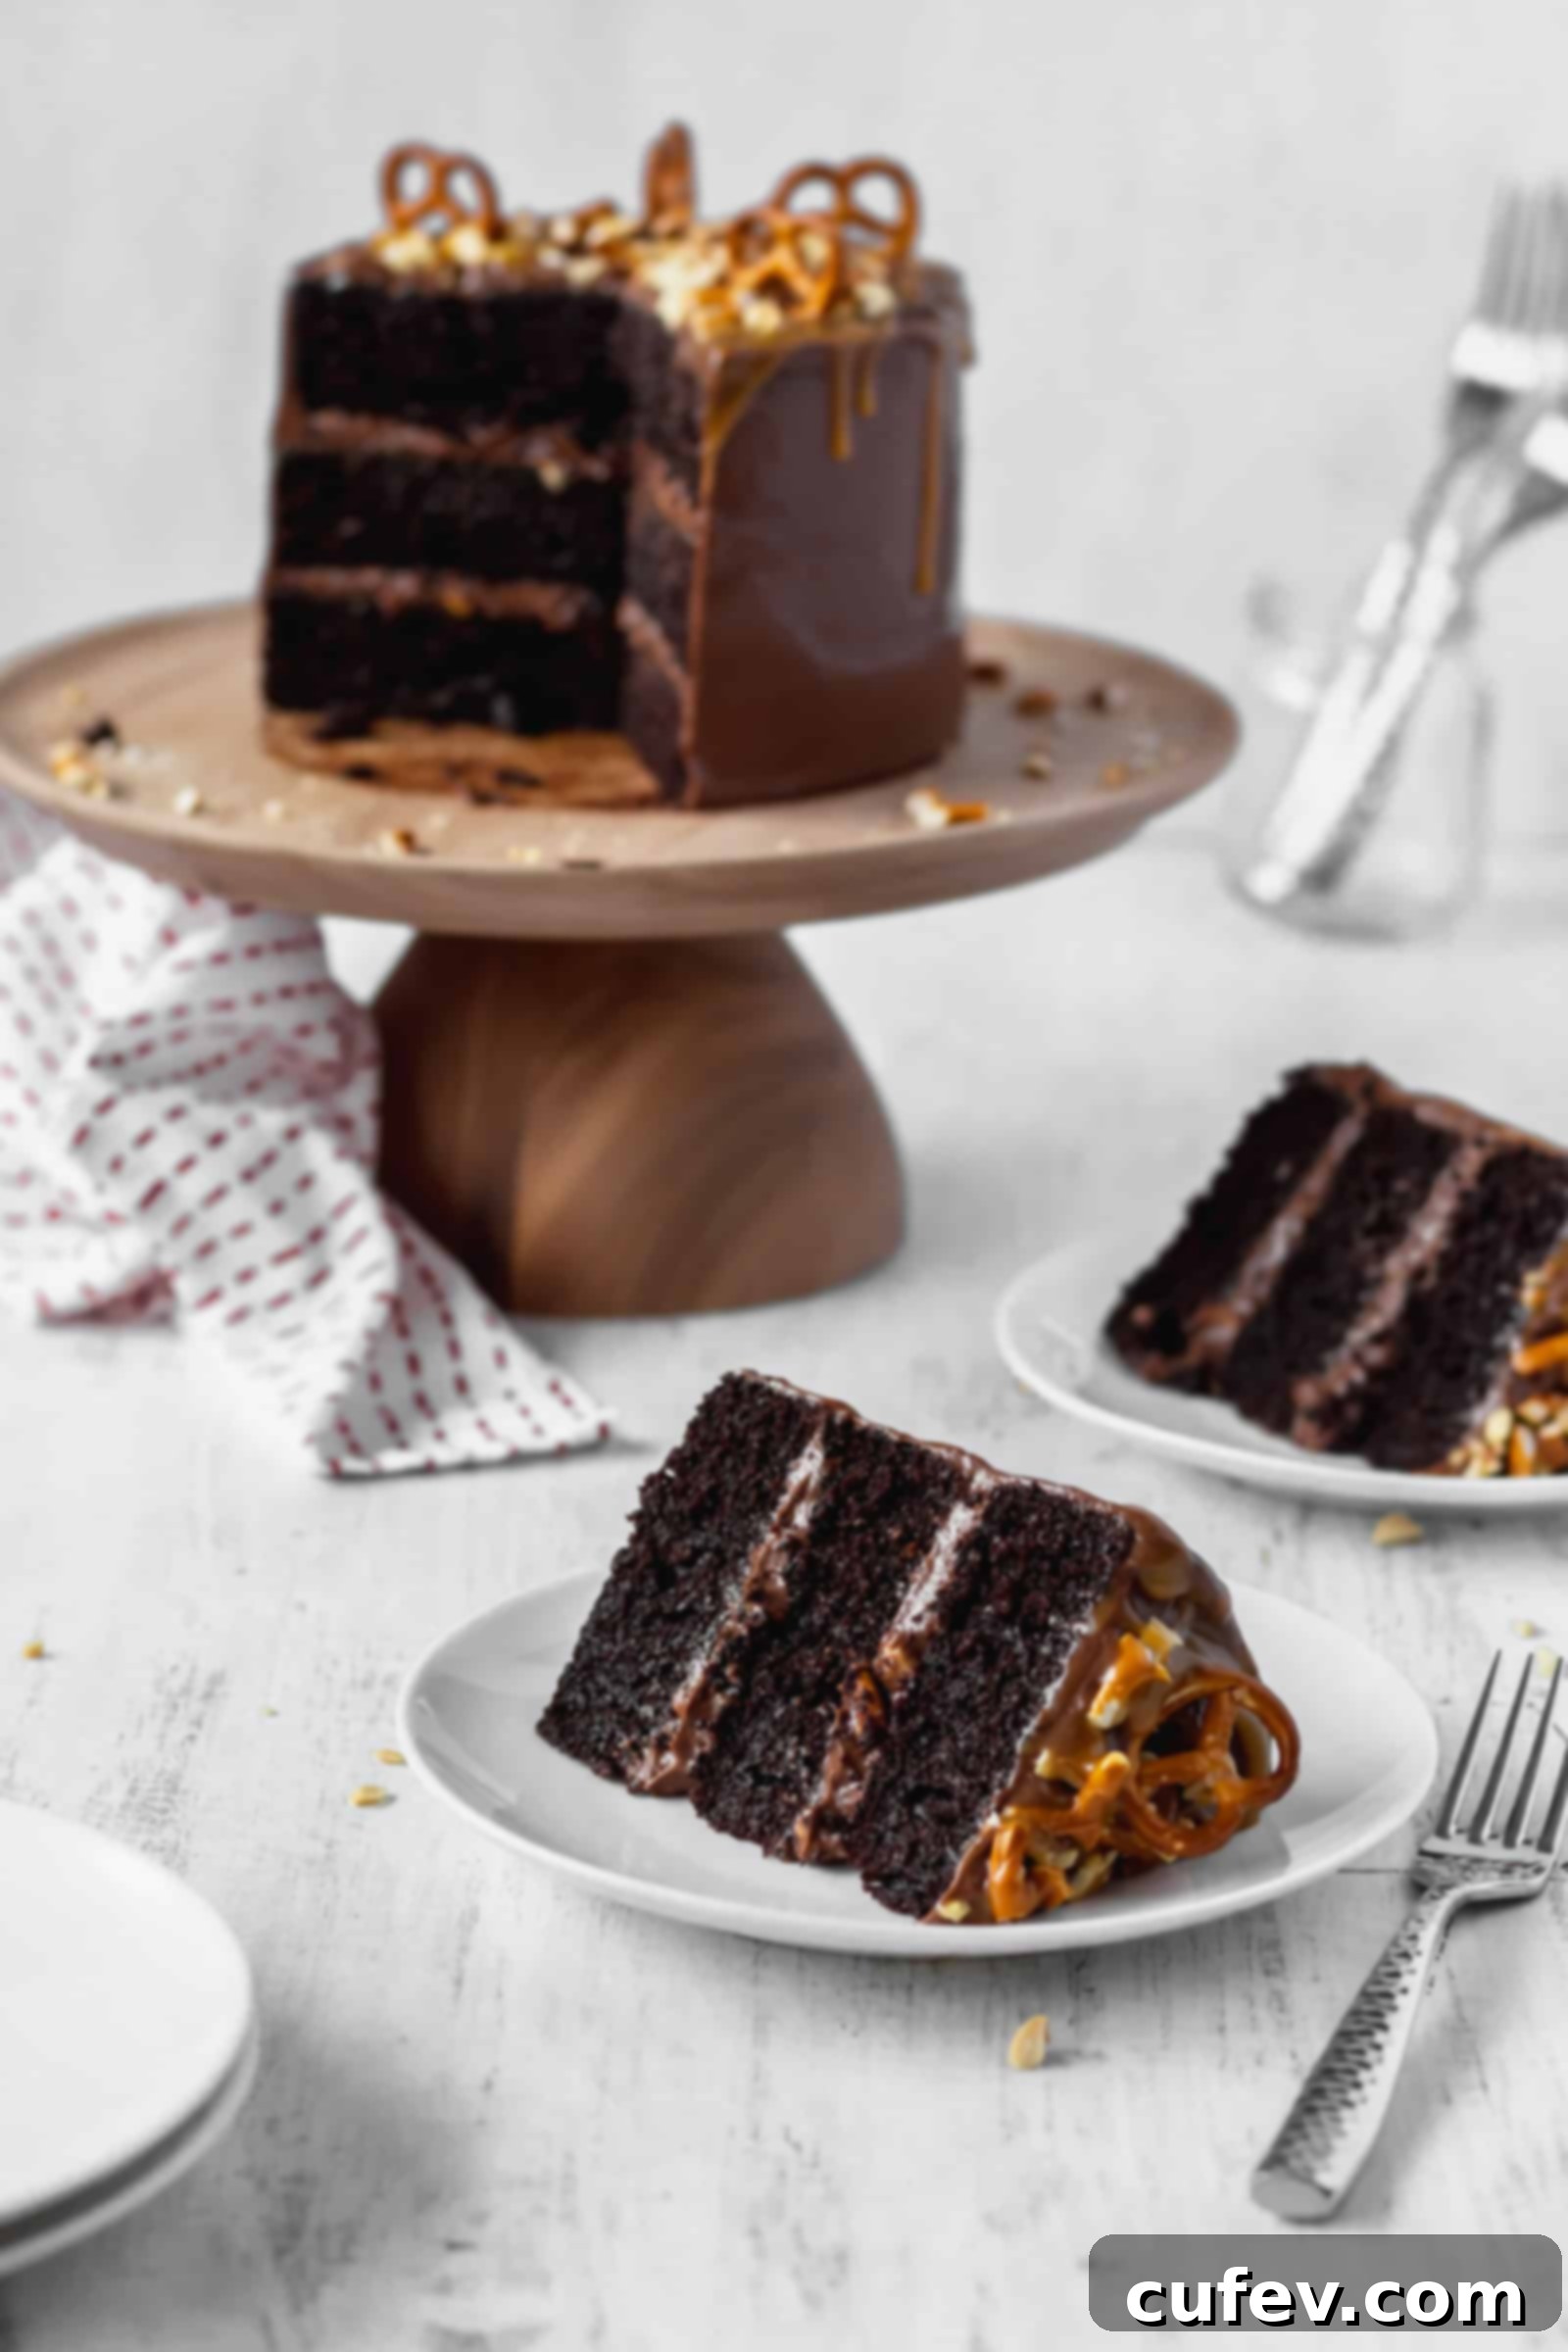
The Science of a Super Moist and Fluffy Chocolate Cake: Unveiling the Secrets
If you’ve ever been disappointed by a dry, crumbly chocolate cake, you know the frustration. Achieving that perfect balance of moistness and fluffiness can seem like a baking enigma. However, my go-to chocolate cake recipe unlocks this mystery with a few key ingredients and techniques, resulting in a cake that is exceptionally soft, tender, and incredibly moist even when chilled. It’s a game-changer for any chocolate cake enthusiast!
Key Ingredients for Unbeatable Moisture and Texture:
- Milk and Sour Cream: Instead of relying solely on milk, this recipe incorporates a powerful duo: milk and sour cream. Sour cream adds a significant boost of moisture and a delicate tang that enhances the cake’s flavor profile. The acidity in sour cream also reacts with the baking soda, promoting a lighter, fluffier crumb. This combination ensures a cake that stays tender for days.
- Oil Instead of Butter: While butter often reigns supreme in baking for flavor, oil is the secret weapon for ultimate moisture, especially in cakes that are refrigerated. Unlike butter, which solidifies when cold, oil remains liquid, keeping the cake exceptionally tender and moist even after chilling. For this recipe, I recommend using a good quality regular olive oil (not extra virgin, as its strong flavor can be too dominant). This choice guarantees a soft texture that defies refrigeration.
- Cake Flour vs. All-Purpose Flour: This is another critical distinction. Cake flour has a lower protein content compared to all-purpose flour, which results in less gluten development. Less gluten means a more tender, delicate, and fluffy crumb, preventing the cake from becoming dense or chewy. It’s a small change that makes a huge difference in the final texture.
Smart Substitutions for Your Pantry:
Life happens, and sometimes you don’t have every ingredient on hand. But don’t let that stop you from making this amazing chocolate cake!
- Sour Cream Alternatives: If sour cream isn’t available, you can easily substitute it with an equal amount of full-fat Greek yogurt. Greek yogurt offers a similar tang and moisture contribution, keeping your cake delightful.
- Buttermilk Magic: In a pinch, if you lack both sour cream and milk, buttermilk can come to the rescue! Simply substitute both the ½ cup (120g) of sour cream and ½ cup (120g) of milk with 1 cup (240g) of buttermilk. The acidity in buttermilk will also work wonders for the cake’s texture and flavor.
One of the many benefits of using oil and cream cheese frosting in this recipe is its excellent keeping qualities. Because of the cream cheese frosting, this cake must be stored in the refrigerator. However, thanks to the olive oil, the cake remains incredibly nice and tender even when it’s chilled. It truly defies the common issue of refrigerated cakes becoming dry or stiff. This cake stays wonderfully soft and moist for several days, making it perfect for enjoying piece by piece or preparing ahead for a special occasion.
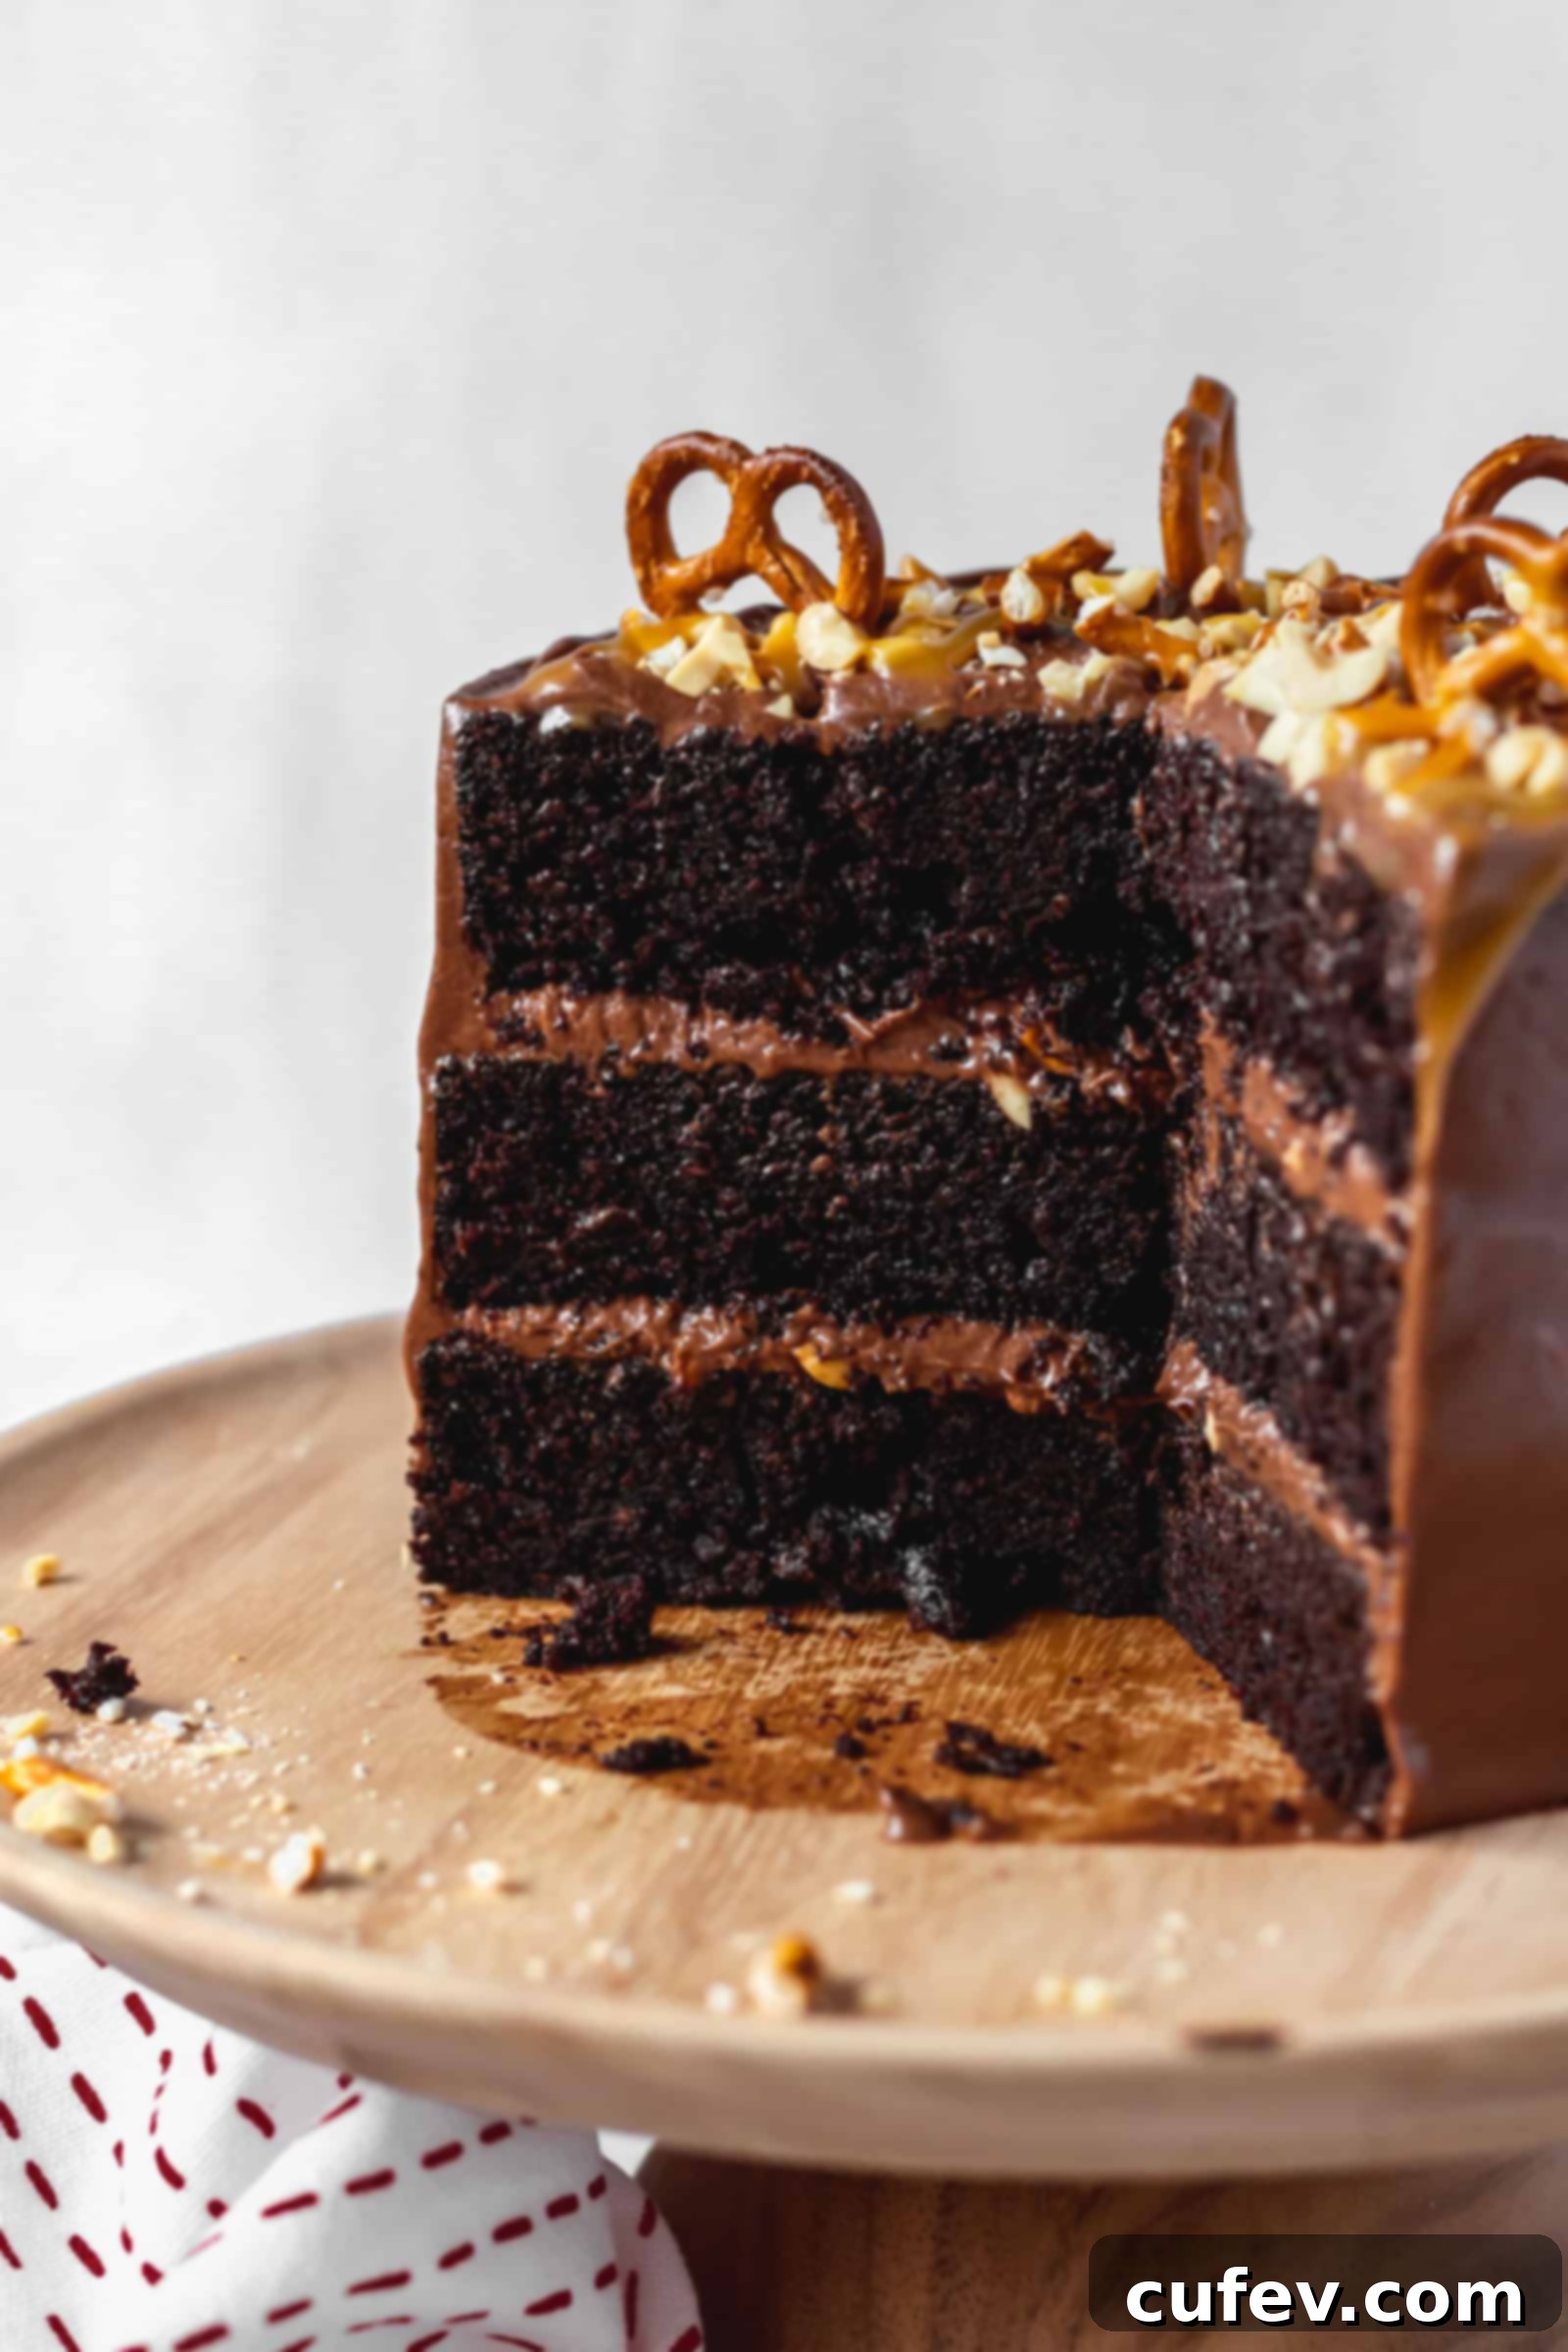
The Irresistible Tang: Chocolate Cream Cheese Frosting
While classic chocolate buttercream frosting holds an iconic status, I have a distinct preference when it comes to topping a rich chocolate cake: chocolate cream cheese frosting. It’s undeniably one of my all-time favorite frostings! What sets it apart is the beautiful tang that the cream cheese introduces. This subtle tartness acts as a magnificent counterpoint to the deep sweetness of the chocolate cake, creating a more sophisticated and balanced flavor profile. It allows the frosting to be intensely chocolatey without feeling overly heavy or cloyingly sweet, as some buttercreams can be. It’s chocolatey perfection, proving that “too much chocolate” is indeed an impossible concept when cream cheese is involved!
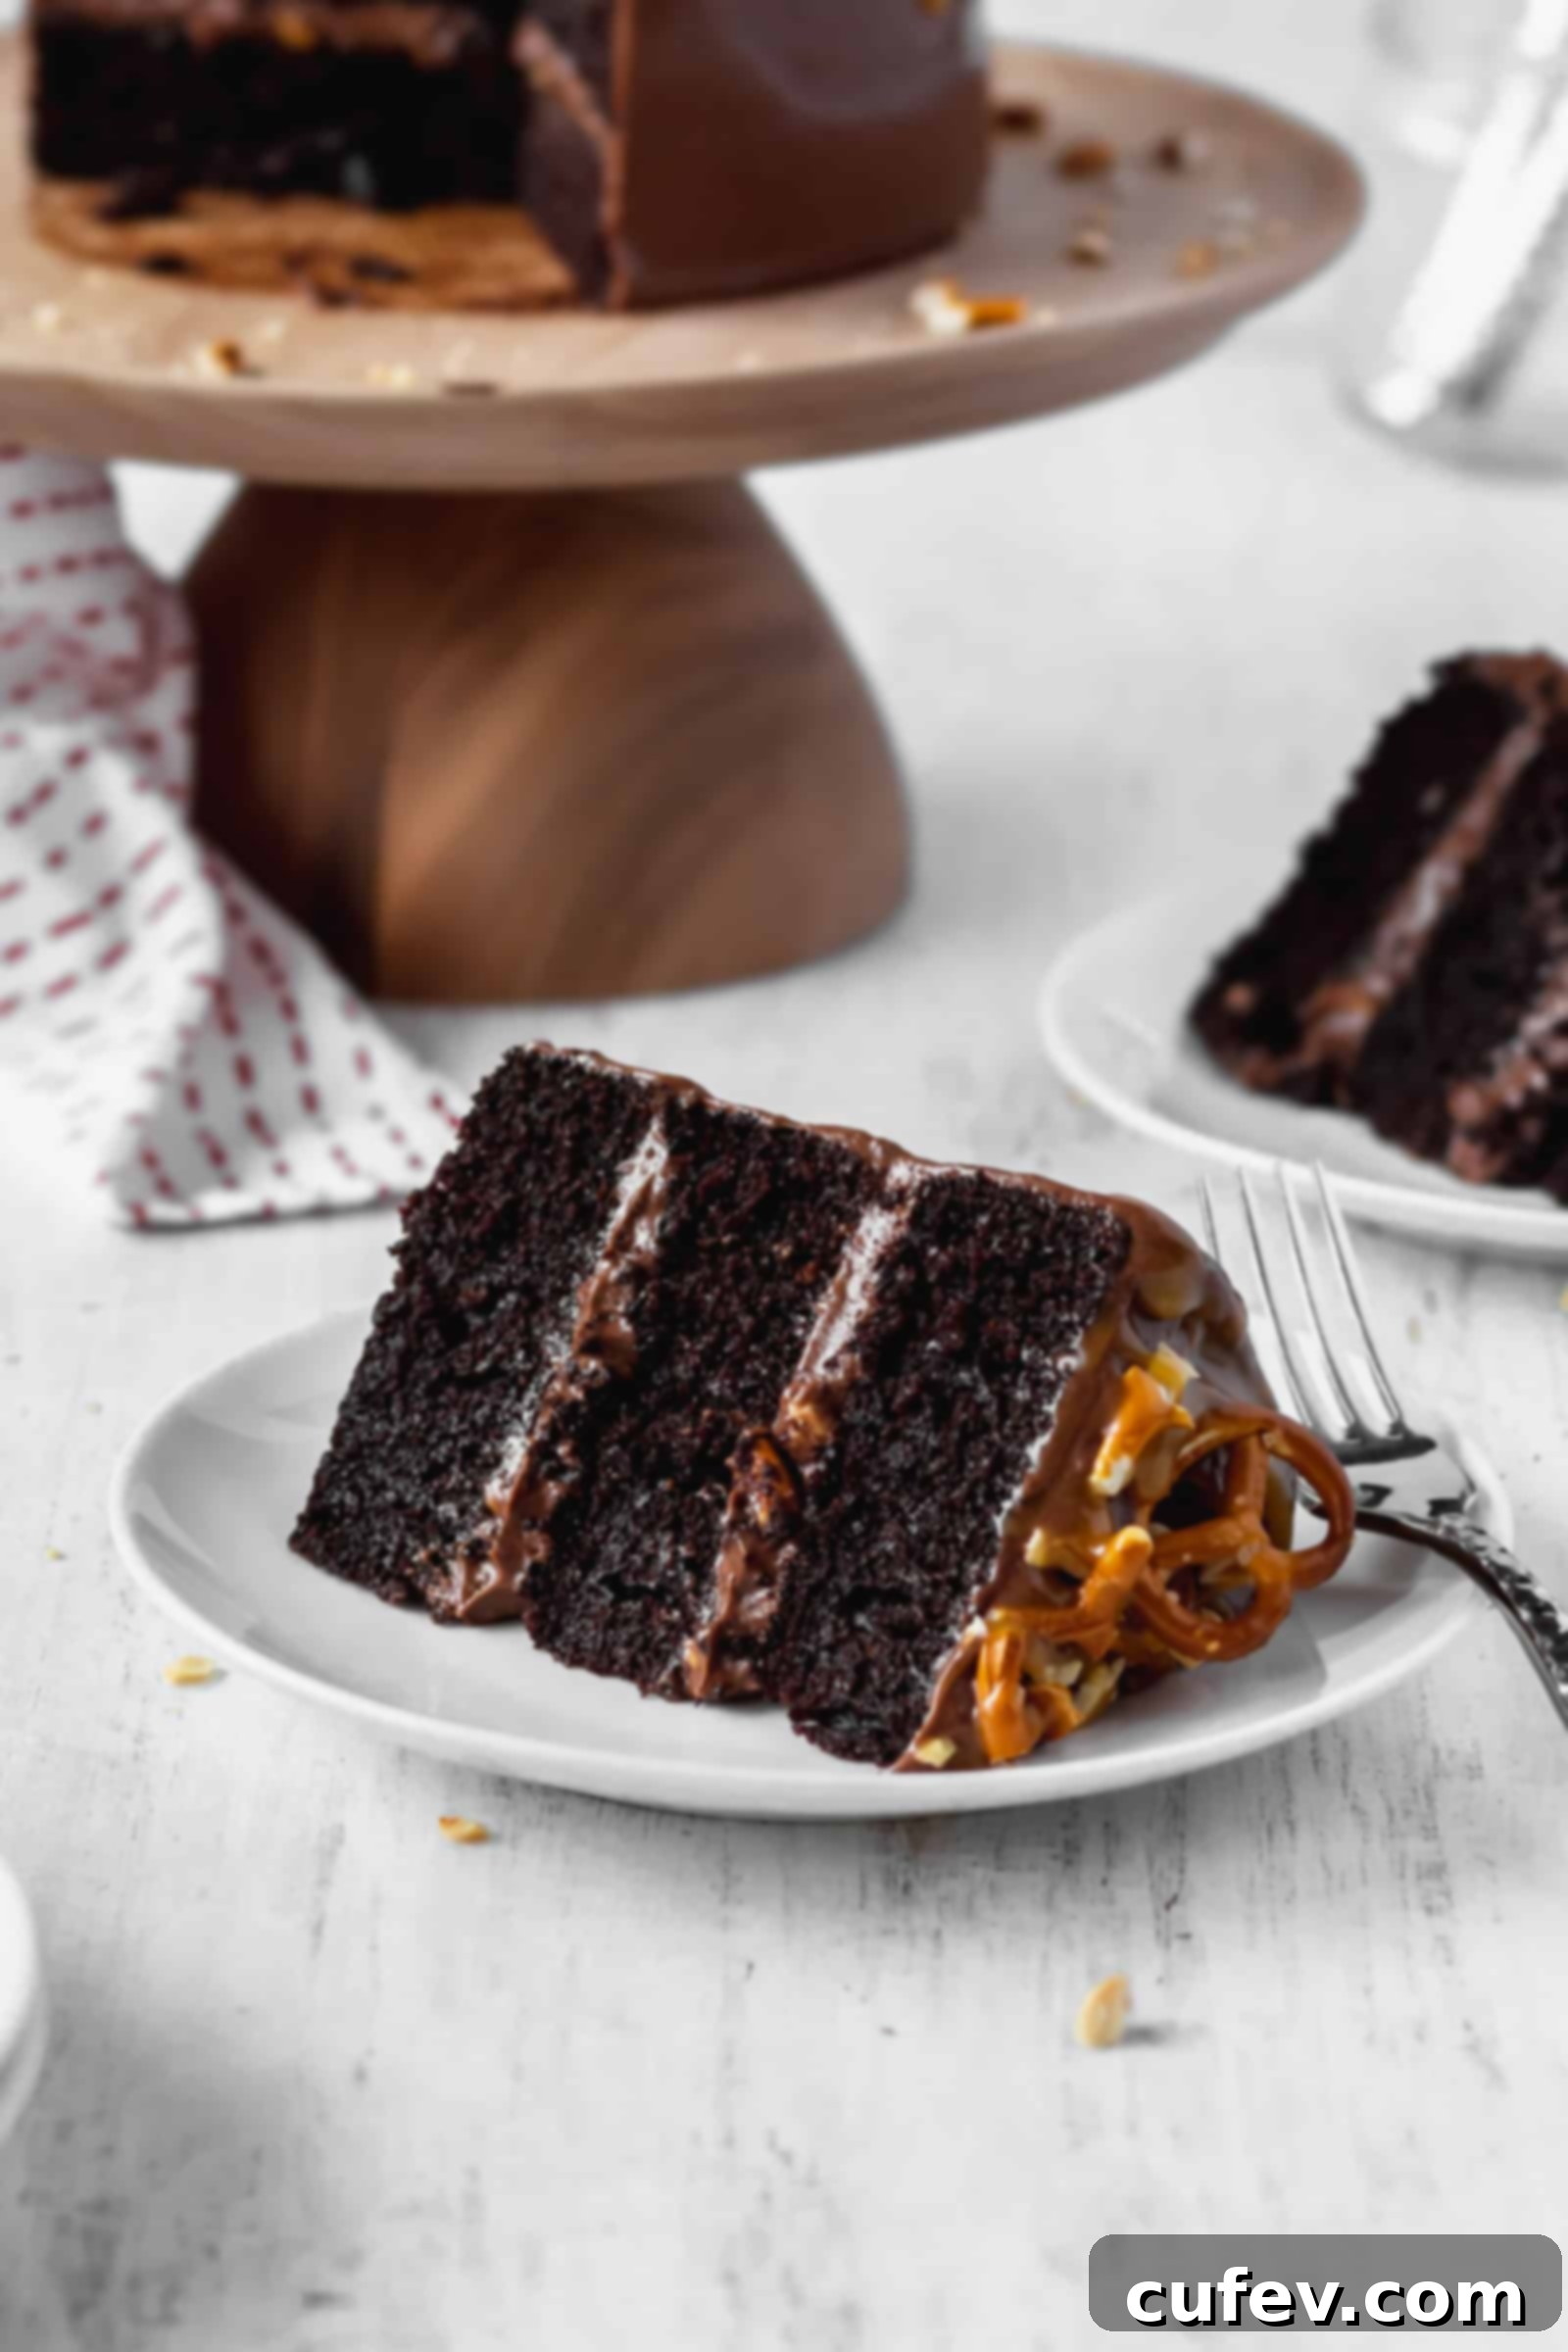
Crafting Your Masterpiece: How to Make Chocolate Cake with Salty Peanuts and Pretzels
Baking this stunning layer cake is a joyous process, and with these detailed steps, you’ll achieve perfect results every time. Let’s walk through it, ensuring every element contributes to a moist, flavorful, and beautifully presented cake.
Prepping Your Dry Ingredients: The Key to a Smooth Batter
Begin by preheating your oven to 340°F (170°C) and preparing your cake pans. Grease and line the bottoms of three 6-inch cake pans (or two 8-inch cake pans) with parchment paper. This crucial step prevents sticking and ensures your cakes release cleanly. In a large bowl, meticulously sift together the cake flour, cocoa powder, fine sea salt, baking soda, and baking powder. Sifting might seem like an extra step, but I promise you, it’s worth it. It aerates the dry ingredients, removes any lumps of flour or cocoa powder, and ensures a light, even crumb in your finished cake. You’ll be glad you did when you cut into a perfectly smooth slice.
Combining Wet and Dry: Building the Batter
In a separate, larger bowl, whisk together the wet ingredients: large eggs, granulated sugar, light brown sugar, regular olive oil, sour cream (or your chosen substitute), milk, water, instant espresso, and vanilla extract. Whisk until well combined and the sugars have mostly dissolved. Gradually add the sifted flour mixture to the wet ingredients. Using a spatula or whisk, stir until *just* combined. Be careful not to overmix; overmixing can develop too much gluten, leading to a tough cake. A few streaks of flour are better than a dense cake!
Baking Your Cake Layers to Perfection
Divide the batter evenly among your prepared cake pans. This is where a kitchen scale can be incredibly helpful for precision! Bake in the preheated oven for 30 to 35 minutes, or until a wooden skewer or toothpick inserted into the center of a cake comes out clean. This indicates it’s fully baked. Allow the cakes to cool in their pans for about 10 minutes before carefully inverting them onto a wire rack to cool completely. Patience here is key; trying to frost warm cakes will lead to a melty mess. Once fully cooled, use a serrated knife to carefully slice off any domed tops, creating flat, even layers ready for assembly.
The Art of Assembly: Layering and Frosting
Now for the fun part! Place your first cake layer on your serving plate or cake stand. Spread a generous amount of your delicious chocolate cream cheese frosting evenly over the top. Then, sprinkle a portion of the salty peanuts and crushed pretzels over the frosting. Top with the next cake layer and repeat the frosting and topping process. If you’re making a three-layer cake, add the third layer and repeat one more time.
The Crumb Coat and Final Decoration: Professional Touches
To achieve a professional-looking finish, apply a thin, even coating of chocolate cream cheese frosting all over the entire cake – top and sides. This is known as a “crumb coat,” and it seals in any loose crumbs, preventing them from getting into your final layer of frosting. Once crumb-coated, place the cake in the refrigerator to chill for at least an hour, allowing the frosting to firm up. This step makes applying the final coat much easier and cleaner. After chilling, remove the cake and apply the remaining chocolate cream cheese frosting, smoothing it out for a beautiful finish. Finally, decorate the top with more salty peanuts and pretzels, and then drizzle generously with caramel sauce for that ultimate touch of indulgence.
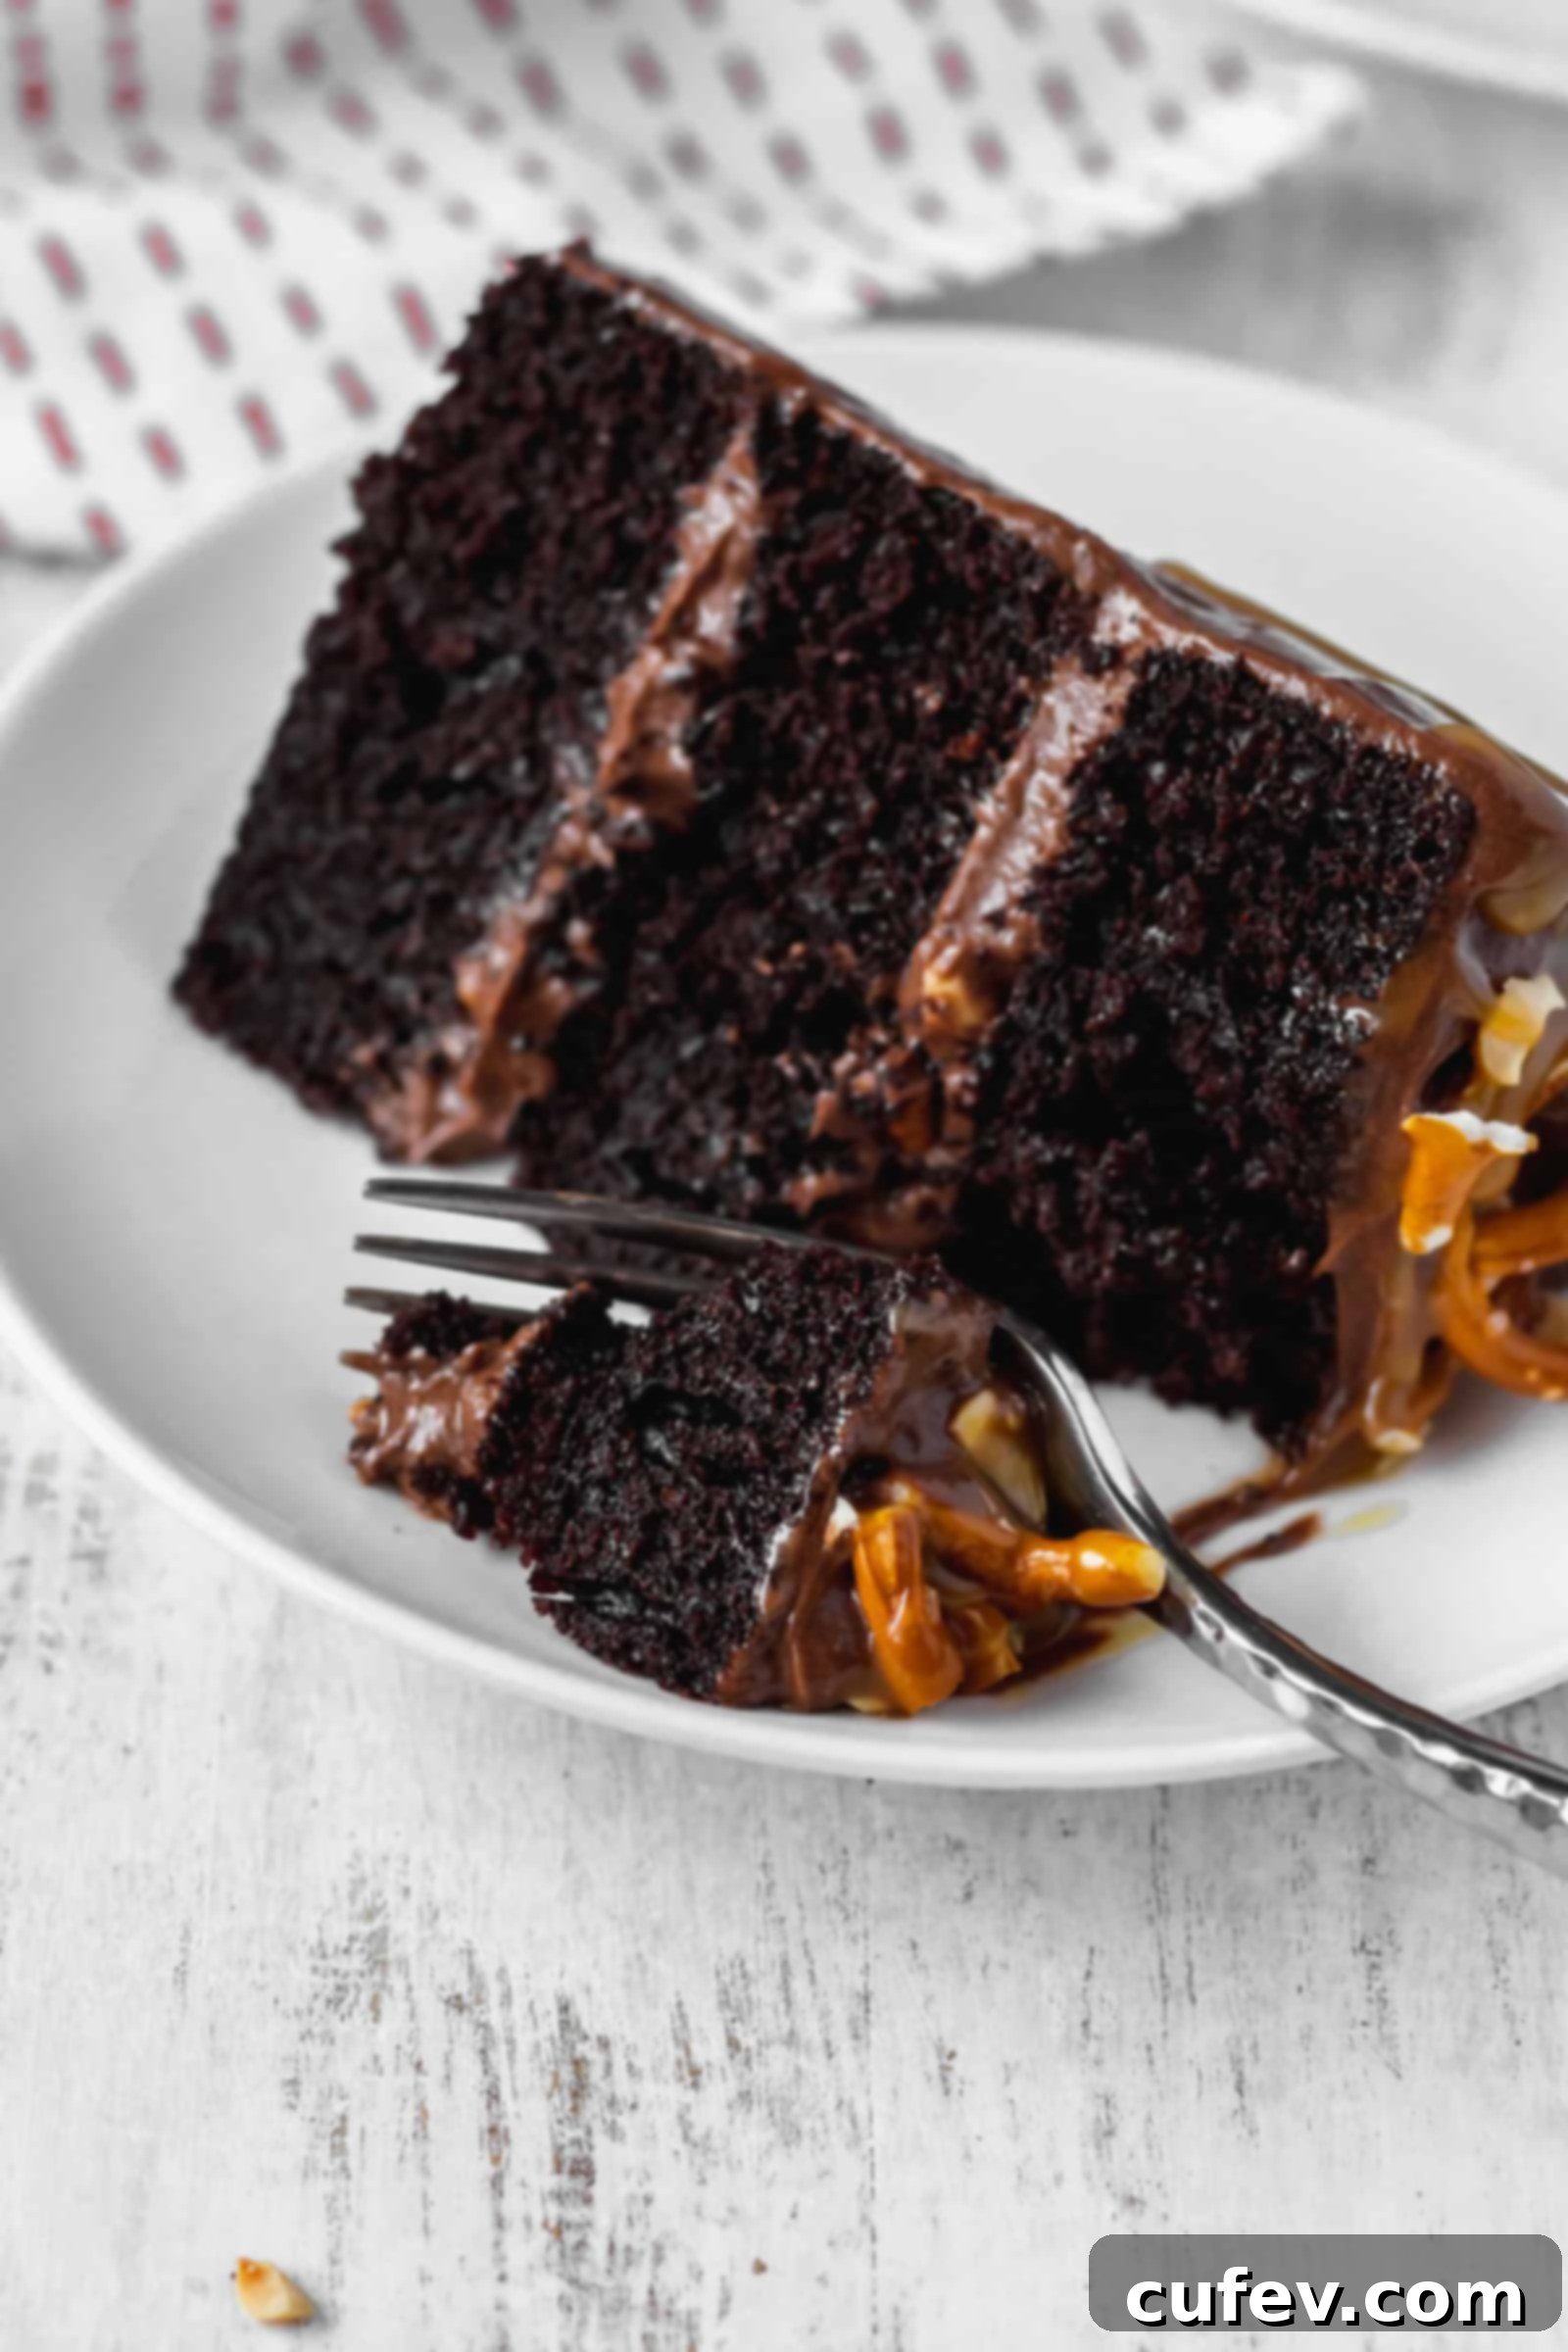
Unlock Professional Results: Expert Tips for Making a Beautiful Layer Cake
Baking a layer cake can be incredibly rewarding, and with a few professional techniques, you can elevate your homemade creations to bakery-worthy status. These tips focus on precision and presentation, ensuring your cake is as beautiful as it is delicious.
- Embrace the Kitchen Scale for Accuracy: A digital kitchen scale is arguably the most valuable tool in a baker’s arsenal. Not only is it essential for accurately weighing out your ingredients (which leads to consistent results every time, unlike volume measurements that can vary), but it’s also incredibly useful when dividing cake batter into pans. By ensuring equal amounts of batter in each cake pan, all your layers will bake at the same rate, resulting in perfectly even cake layers. This consistency is the first step towards a stable and attractive layer cake.
- The Ruler is Your Best Friend for Even Layers: This might sound like an obsessive detail, but trust me, a ruler is a game-changer for layer cake construction. I use my ruler to mark the sides of my cooled cake layers before I carefully slice off the domes. This precise measurement ensures that each layer is perfectly uniform in height. Is it a bit “anal” to use a ruler for baking? Perhaps. Is it absolutely worth it? Without a doubt! There’s a special sense of accomplishment when you slice into a frosted cake and reveal three (or more!) impeccably even layers, showcasing your meticulous craftsmanship.
- Achieve Uniform Frosting with an Ice Cream Scoop: If you’ve gone to the trouble of creating perfectly even cake layers, you’ll want your frosting layers to be just as consistent, right? An ice cream scoop is a fantastic, often overlooked tool for this task. Use it to portion out the same amount of frosting for each layer before spreading it with an offset spatula. This simple trick ensures that every bite has an equal ratio of cake to frosting, contributing to both the aesthetics and the eating experience.
- Master the Crumb Coat and Chill Technique: If you’re a fan of Yolanda Gampp’s How to Cake It videos on YouTube, you’ll be intimately familiar with the concept of the “crumb coat and chill.” This technique is non-negotiable for a professional finish. After stacking your cake layers, apply a very thin, almost translucent layer of frosting over the entire cake – top and sides. This “crumb coat” traps any loose crumbs, preventing them from mixing into your final, visible layer of frosting. Pop the cake into the refrigerator to chill for at least an hour, allowing this initial coat to firm up. Once firm, you can apply your final, thicker layer of frosting smoothly and flawlessly, resulting in a pristine, crumb-free exterior.
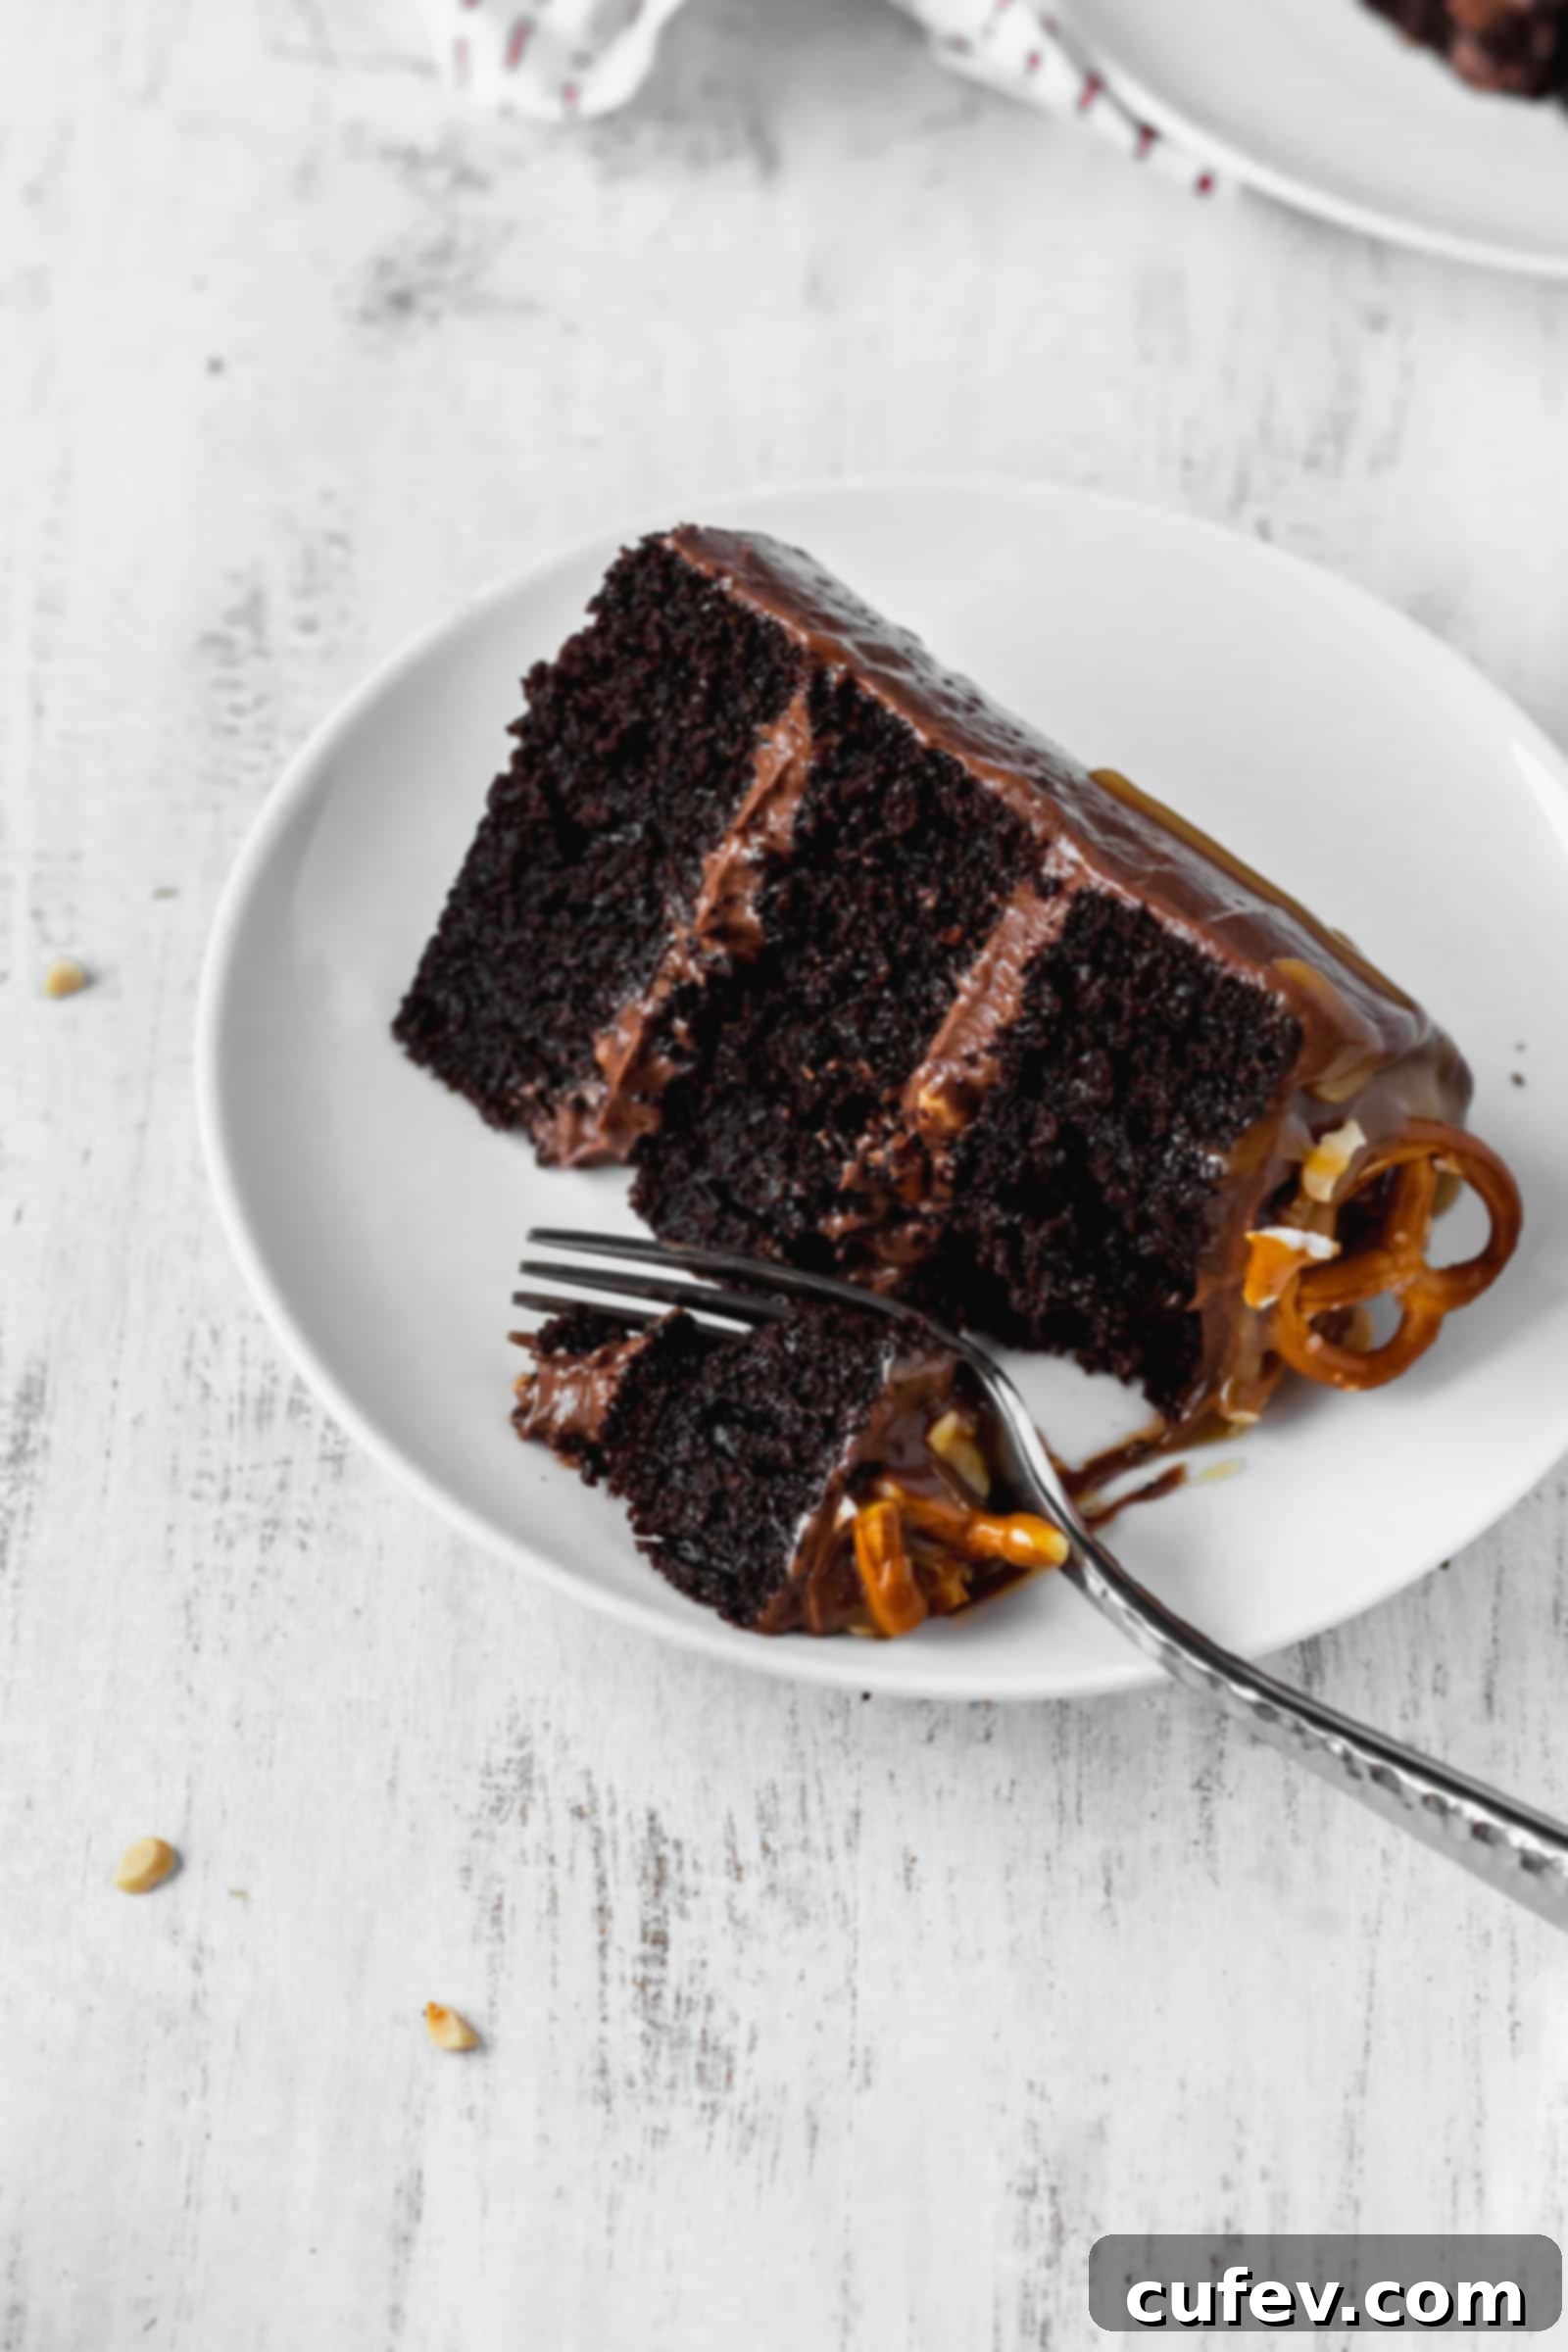
Discover More Layer Cake Recipes to Delight Your Senses
If you’ve enjoyed baking and tasting this chocolate masterpiece, you’re in for a treat with these other delightful layer cake recipes from my kitchen. Each one offers a unique flavor journey, perfect for any occasion or craving:
- This incredibly popular mocha cake utilizes the very same moist and fluffy chocolate cake base from this recipe, but it’s elevated with a dreamy, creamy coffee buttercream frosting. It’s a coffee lover’s dream!
- For those with dietary restrictions, fear not! I have two fantastic gluten-free options that are so delicious, no one will ever guess they’re gluten-free. Try this classic gluten-free chocolate cake for a rich and satisfying dessert, or venture into something unique with this indulgent gluten-free German chocolate cake. Both deliver on flavor and texture.
- If chocolate isn’t your primary craving, or you’re looking for something bright and refreshing, my lemon curd cake is an absolute must-try. This dairy-free delight features tender lemon cake layers frosted with a tangy lemon buttercream and boasts luscious, hidden layers of silky homemade lemon curd. It’s a burst of sunshine in every bite!
- As a self-proclaimed matcha fanatic, my matcha cake holds a special place in my heart. The matcha cake layers are wonderfully fluffy, infused with the earthy, vibrant flavor of green tea, creating a unique and delicious dessert that’s perfect for tea lovers.
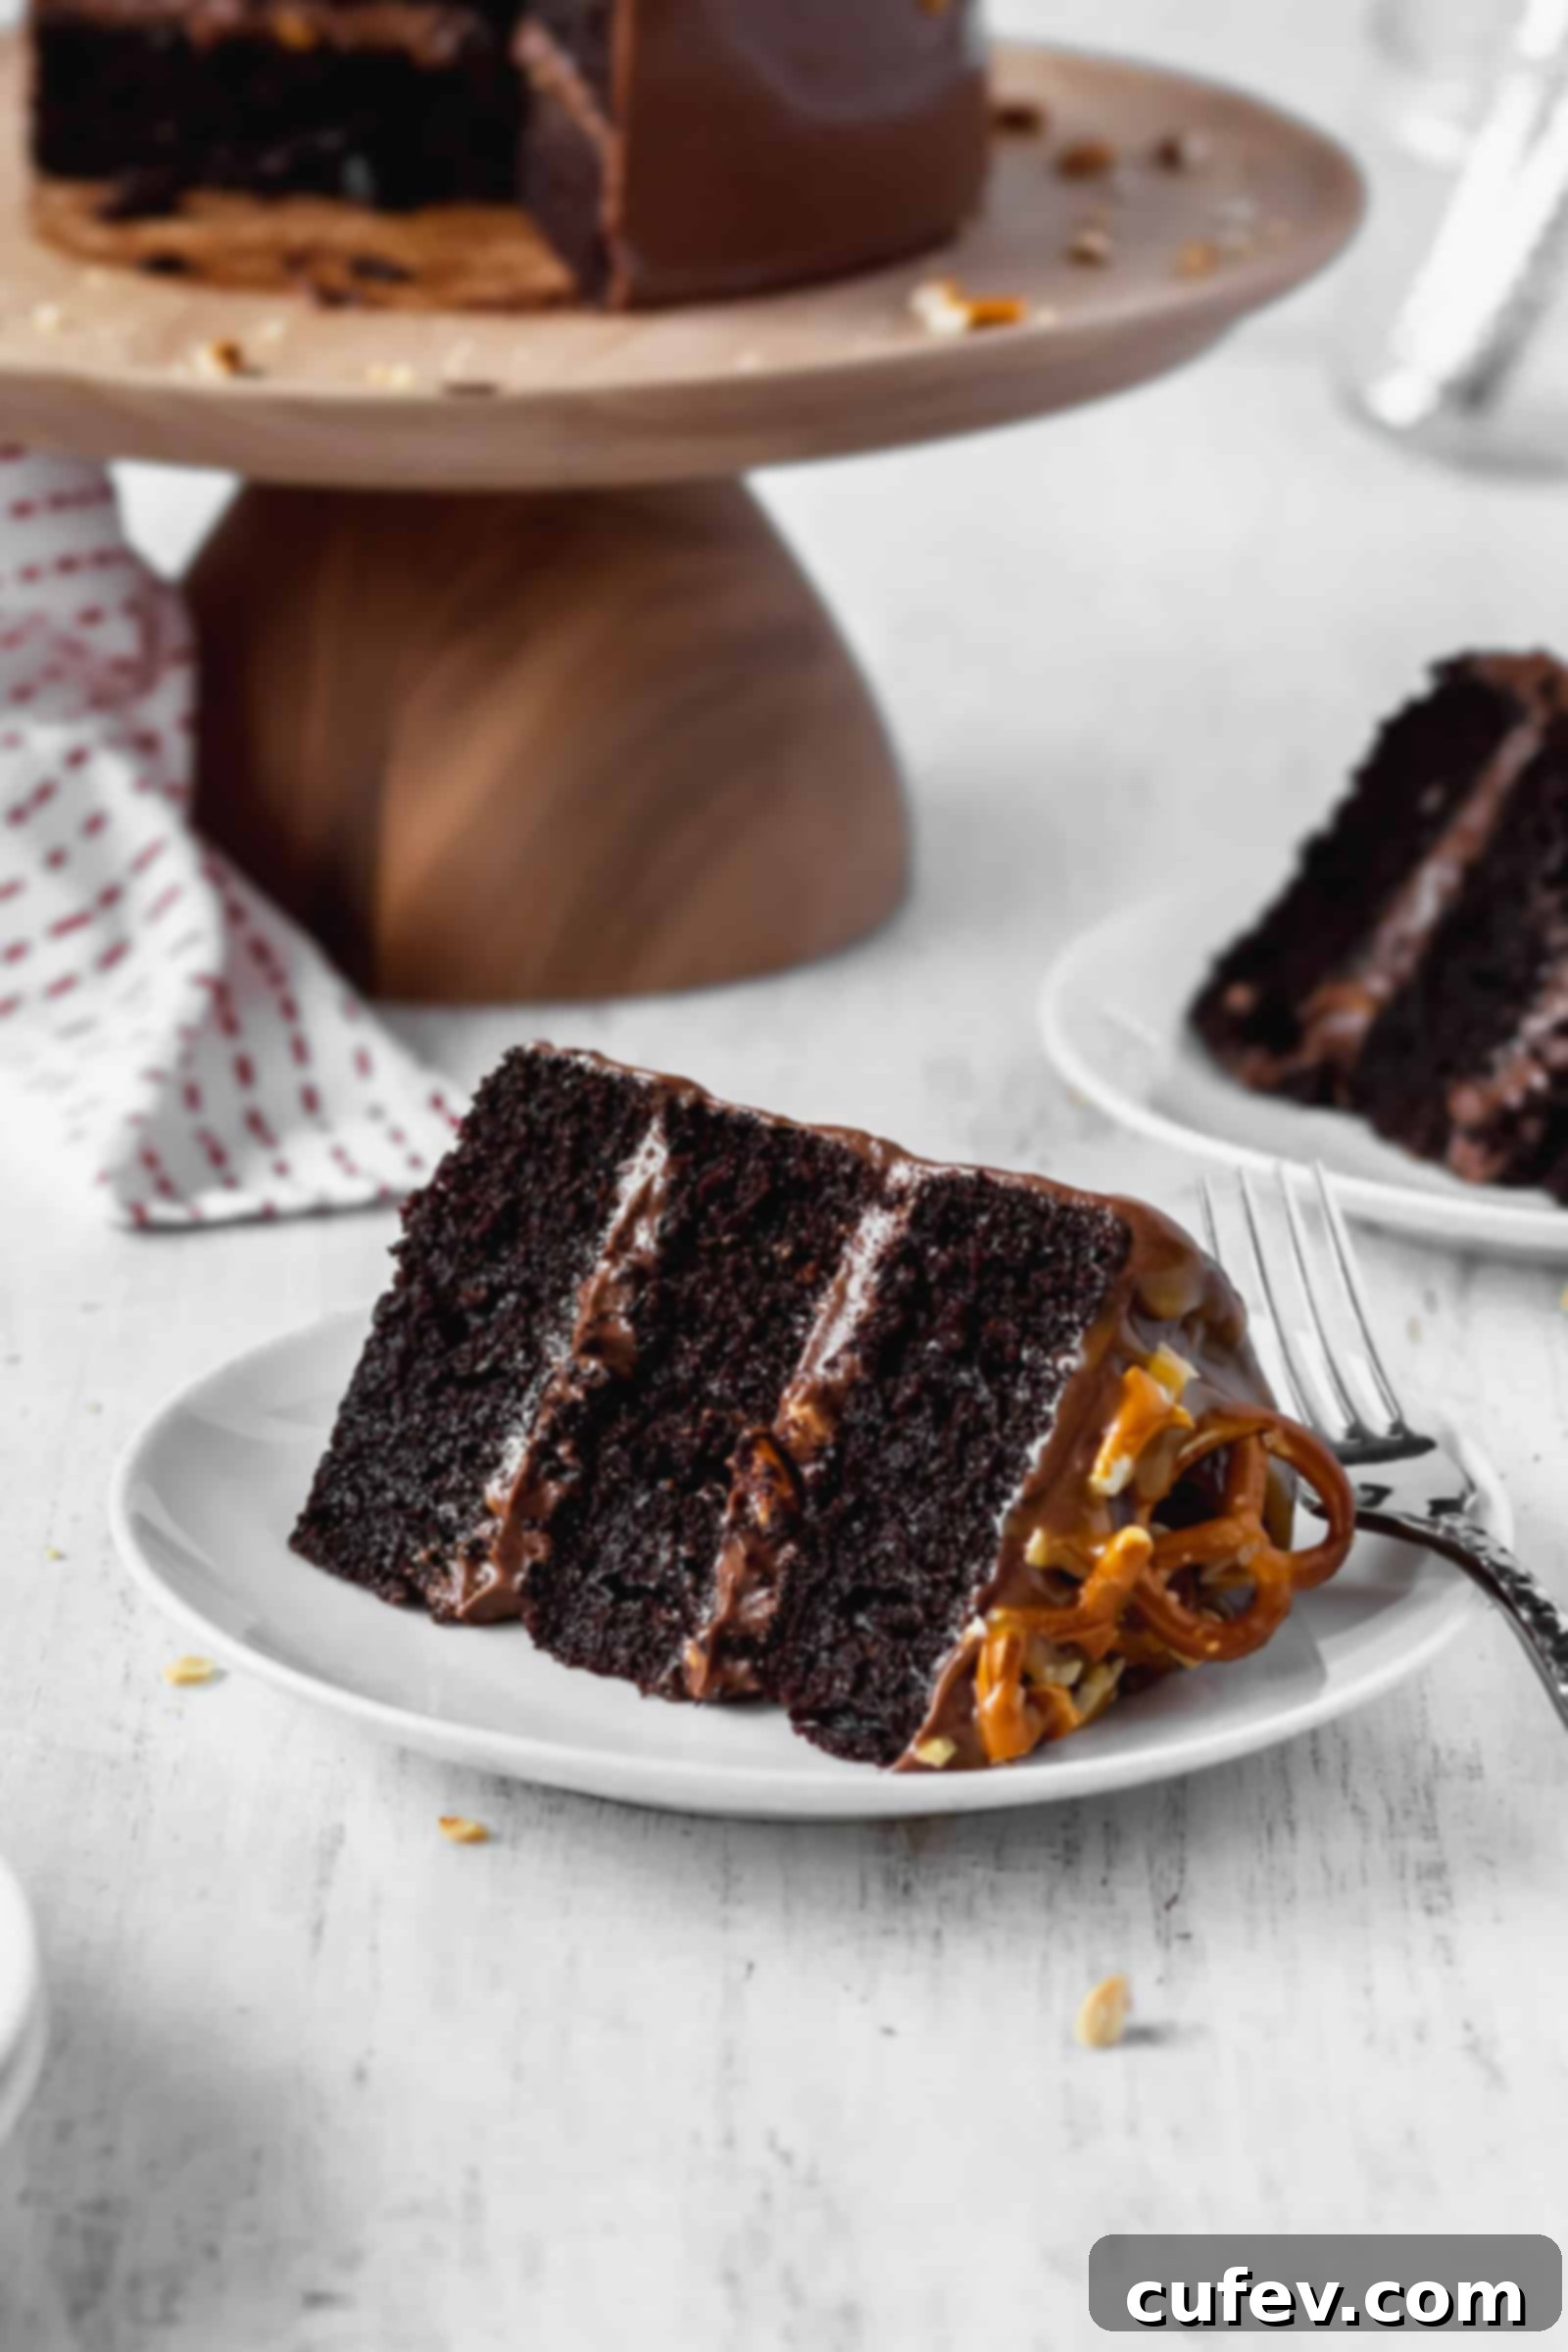
Chocolate Cake with Salty Peanuts and Pretzels
Print
Pin
Rate
Ingredients
Chocoalte Cake
- 2 cups / 240g cake flour
- ¾ cup / 63g dutch processed cocoa powder
- 1 teaspoon / 6g fine sea salt
- 2 teaspoons / 12g baking soda
- 1 teaspoon / 4g baking powder
- 2 large eggs
- 1 cup / 200g granulated sugar
- 1 cup / 200g light brown sugar
- ½ cup / 100g olive oil
- ½ cup / 120g sour cream (can substitute greek yogurt)
- ½ cup / 120g milk
- 2 teaspoons instant espresso
- 1 cup / 240g water
- 2 teaspoons / 10g vanilla extract
Chocolate Cream Cheese Frosting
- 12oz / 340g cream cheese, room temperature
- ⅔ cup / 151g unsalted butter, room temperature
- ¾ cup / 63g dutch processed cocoa powder
- 3½ cups / 420g powdered sugar
- ¼ teaspoon fine sea salt
Garnish
- ¾ cup salted peanuts
- ¾ cup pretzels
- ½ cup caramel sauce
Instructions
Chocolate Cake
-
Preheat the oven to 340°F/170°C. Grease and line three 6-inch cake pans (or two 8-inch cake pans) with parchment paper and set aside.
-
In a bowl, sift together the cake flour, cocoa powder, salt, baking soda, and baking powder. Set aside.
-
In a separate bowl, combine the eggs, granulated sugar, light brown sugar, olive oil, sour cream, milk, water, instant espresso, and vanilla. Add the flour mixture and stir until just combined.
-
Divide the batter evenly among the cake pans and bake for 30 to 35 minutes or until a toothpick inserted into the center comes out clean. Let them cool in the pan for about 10 minutes before taking it out onto a wire rack to cool completely. After the cakes have cooled completely, slice the domes off the top.
Chocolate Cream Cheese Frosting
-
In a large bowl, beat the butter using an electric hand mixer or stand mixer until smooth and creamy. Add the cream cheese and continue to beat. Sift in the powdered sugar, cocoa powder, and salt. Mix until fully combined.
Assembly
-
Spread some frosting on one of the cake layers and sprinkle some peanuts and pretzels and top it with another layer of cake, and repeat if making a three-layer cake.
-
Cover the entire cake with a thin coating of frosting, and stick the cake in the fridge to chill for an hour to let the frosting harden. Take it out and cover the cake with the remaining chocolate cream cheese frosting and decorate with more peanuts pretzels, and a drizzle of caramel sauce.
