Decadent After Eight Brownies: The Ultimate Fudgy Mint Chocolate Treat

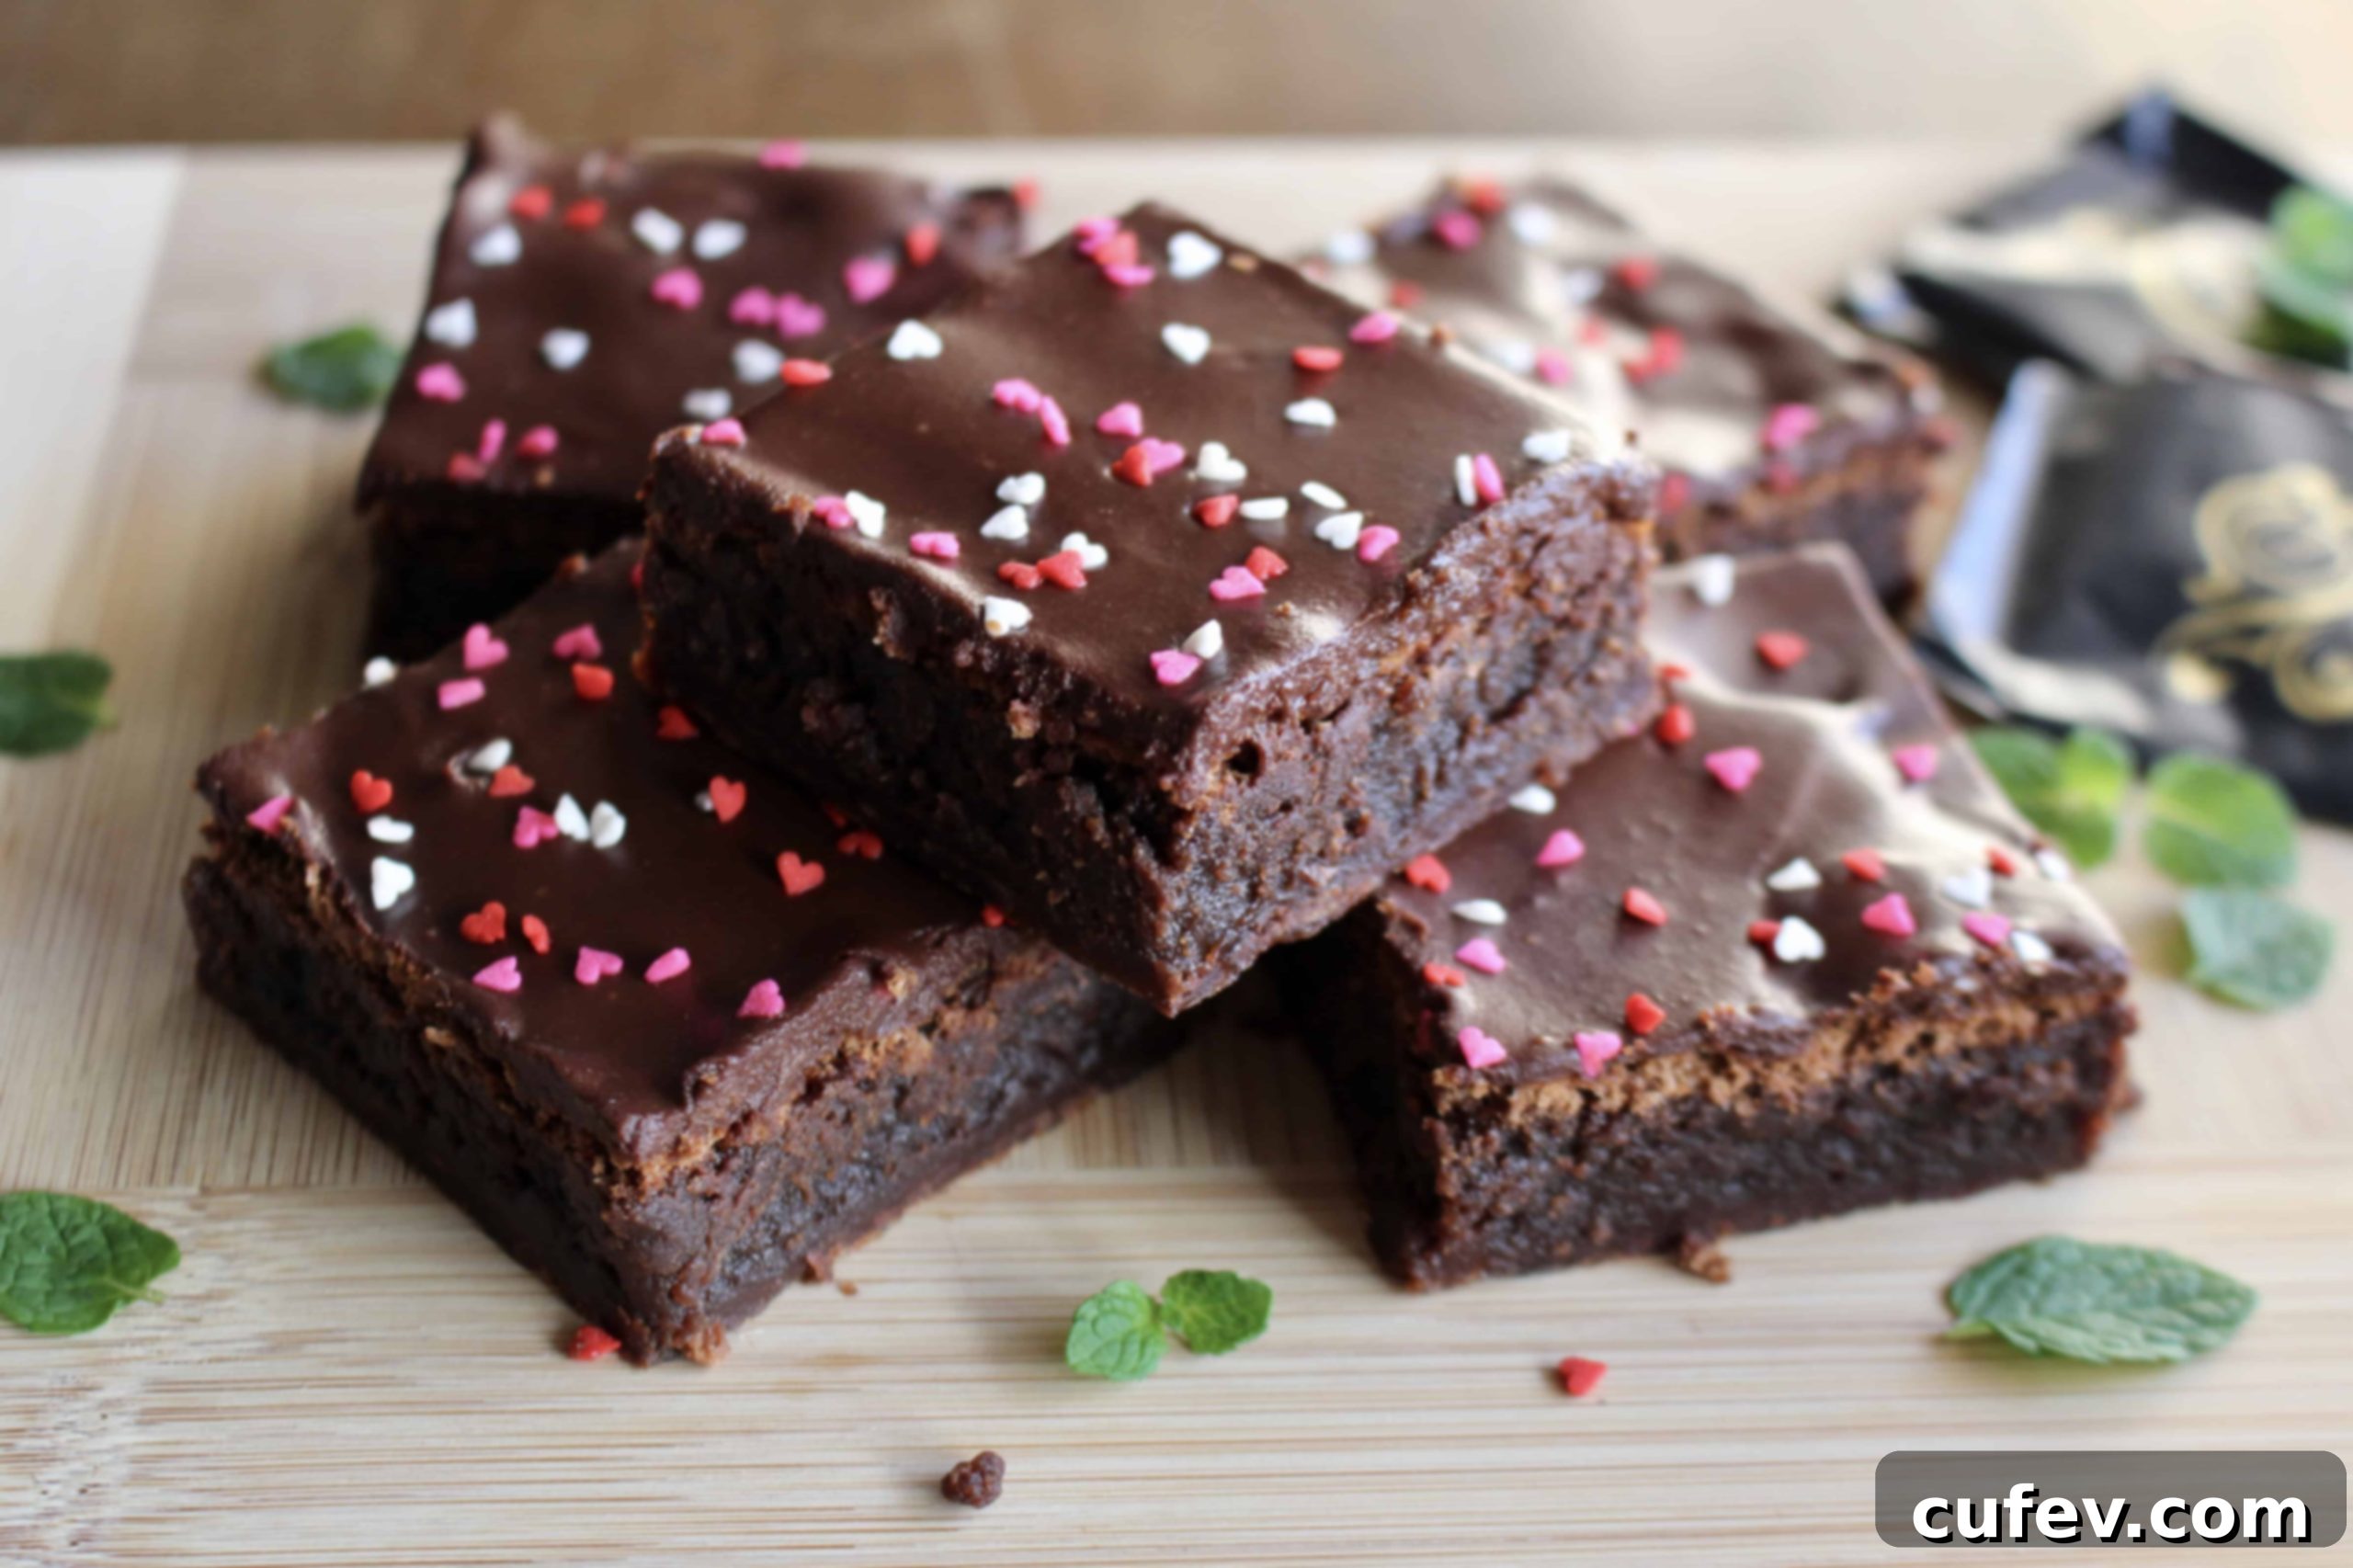
Prepare to be enchanted by these truly exceptional After Eight brownies – the ultimate minty chocolate sensation, perfect for Valentine’s Day or any occasion that calls for a touch of indulgence. If you’re a devotee of deeply rich, incredibly gooey, and sinfully fudgy brownies that might even make you wonder if they’re fully cooked (spoiler: they are, and that’s exactly how we want them!), then this recipe is tailor-made for you. Presenting these After Eight brownies to your special someone on Valentine’s Day is a guaranteed way to earn a cascade of compliments and create a memorable, sweet moment. These aren’t just brownies; they’re an experience, a delightful fusion of intense dark chocolate and refreshing mint that dances on your palate.
Beyond Valentine’s Day, these brownies are a fantastic dessert to bring to potlucks, serve at dinner parties, or simply enjoy as a luxurious treat at home. Their unique flavor profile sets them apart from conventional brownies, offering a sophisticated twist that appeals to both chocolate and mint lovers. The key to their perfection lies in achieving that signature fudgy texture, a characteristic that makes every bite melt in your mouth, leaving you craving more. We’ll guide you through every step to ensure your brownies are nothing short of spectacular, from selecting the right chocolate to mastering the ideal baking time.
Crafting Your Perfect Brownie Base
Our journey to brownie bliss begins with meticulous preparation. First, preheat your oven to a precise 302°F (150°C). This lower, slower baking temperature is crucial for achieving that desirable fudgy consistency rather than a cakey one. While the oven warms, prepare an 8 x 8-inch square baking pan by greasing it thoroughly and lining it with parchment paper. Ensure the parchment paper hangs over the sides, creating “slings” that will make it effortlessly easy to lift the cooled brownies out of the pan. This simple step prevents sticking and ensures beautifully intact squares.
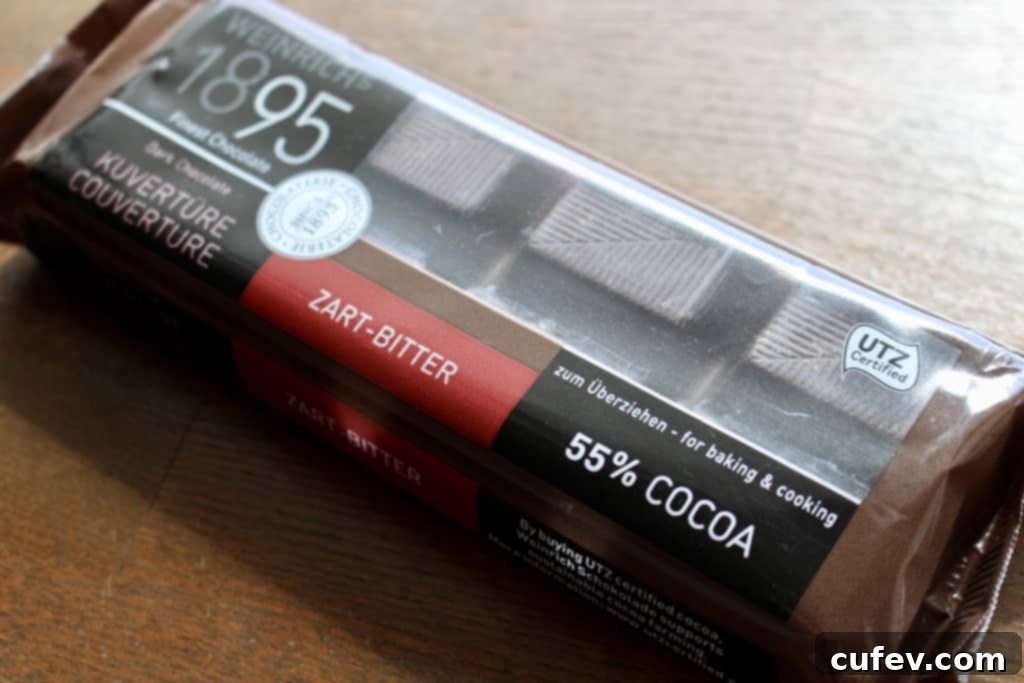
Next, let’s prepare our chocolate. For these brownies, the quality of your dark chocolate is important, but you don’t need to break the bank. A good quality dark chocolate with a cocoa percentage around 60-70% will provide the rich, deep flavor we’re after without being overly bitter. Chop the dark chocolate into fine, even pieces. This allows it to melt smoothly and consistently. Transfer the chopped chocolate to a heat-proof bowl, along with the softened salted butter and a teaspoon of instant espresso powder. The espresso powder is a secret weapon in chocolate baking; it doesn’t make the brownies taste like coffee, but rather intensifies and deepens the chocolate flavor, making it even more pronounced and luxurious.
Place this bowl over a double boiler. If you don’t have a dedicated double boiler, a heat-proof bowl set over a saucepan of simmering water works perfectly. Ensure the bottom of the bowl does not touch the water. Gently melt the chocolate and butter, stirring occasionally until it’s almost completely melted. Remove the bowl from the double boiler and continue to stir until the mixture is entirely smooth and glossy. The residual heat will finish the melting process, preventing the chocolate from scorching. Set this luscious chocolate mixture aside to cool slightly while you prepare the wet ingredients.
In a separate large mixing bowl, combine the eggs, light brown sugar, and granulated sugar. Beat these together vigorously until the mixture transforms into a pale, thick, and creamy consistency. This process incorporates air, which contributes to the brownies’ soft interior. Add the vanilla extract and continue to mix until fully incorporated. Vanilla complements the chocolate beautifully and adds another layer of aromatic warmth. Once the chocolate mixture has cooled enough that it’s warm to the touch but not hot (to avoid cooking the eggs), gently pour it into the egg and sugar mixture. Stir until everything is just combined and smooth. Be careful not to overmix at this stage.
Finally, it’s time for the dry ingredients. Sift together the all-purpose flour and cocoa powder directly into the wet mixture. Sifting is a crucial step as it removes any lumps, ensuring a smooth batter, and also aerates the dry ingredients, contributing to a tender crumb. Gently fold the flour and cocoa powder into the batter using a spatula until just combined. Overmixing the flour can develop the gluten, leading to tougher, less fudgy brownies, so stop mixing as soon as no streaks of flour are visible.

The Star Ingredient: After Eight Chocolates and a Crucial Lesson
Now, let’s talk about the true star of this recipe: After Eight chocolates. These delightful confections have been a personal favorite since childhood, and their unique combination of dark chocolate and refreshing mint fondant makes them perfect for this dessert. For those unfamiliar, After Eight chocolates are elegantly thin squares of dark chocolate encasing a smooth, creamy, and intensely minty fondant filling. They offer a sophisticated, cooling burst of flavor that perfectly balances the richness of the dark chocolate, much like a more refined version of a York Peppermint Pattie or Junior Mints. The crisp dark chocolate shell gives way to a soft, sweet mint interior, creating a delightful textural and flavor contrast.
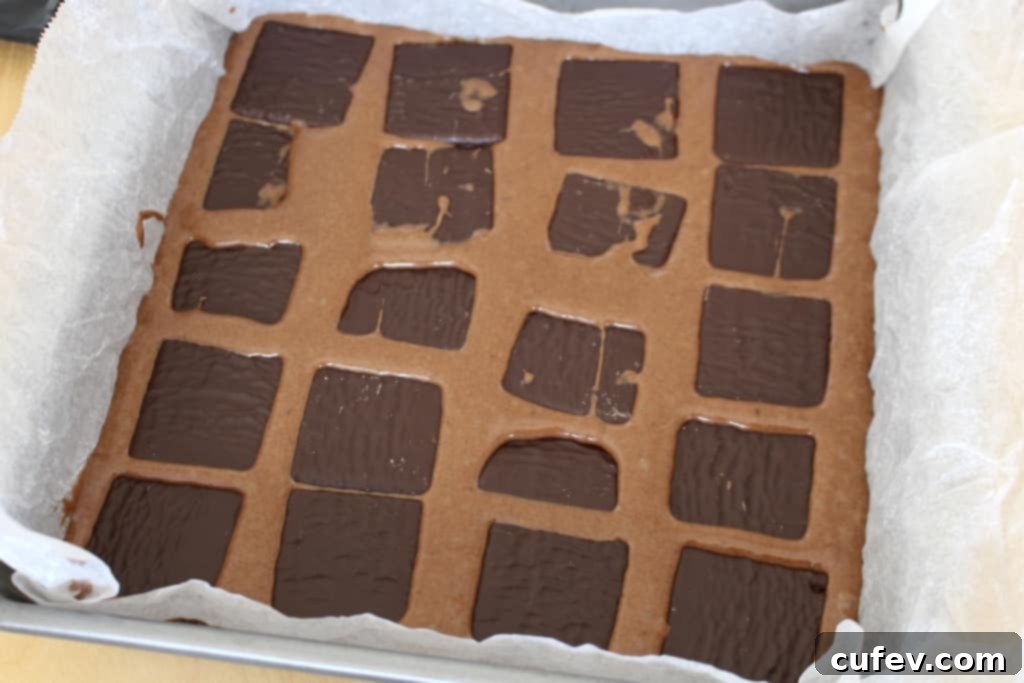
When developing this recipe, I initially tried incorporating the After Eight chocolates directly into the batter before baking. I poured half the brownie batter into the prepared pan, carefully laid out about 20 After Eight squares (nearly an entire box!), and then covered them with the remaining batter. However, I must strongly, *strongly* advise against this approach based on my experience. Because these brownies bake slowly at a lower temperature, the delicate mint fondant inside the chocolates underwent an undesirable transformation. The chocolates sank to the bottom of the pan, and the sugar in the fondant caramelized excessively, turning rock solid. The result was a struggle to cut the brownies, requiring firm pressure on the knife until I heard a distinct crunch. The caramelized bottom layer was incredibly hard and difficult to eat, eventually necessitating that I slice it off altogether. It was a learning curve, but one that yielded valuable insights for a better outcome.
To avoid this crunchy catastrophe and achieve the perfect mint-infused brownie, I propose two superior methods for incorporating the After Eight magic:
- **Post-Bake Placement:** This is my highly recommended approach. Bake the brownies as instructed without adding the chocolates to the batter. Once the brownies are out of the oven, wait just 5 to 10 minutes for them to cool slightly. While they are still warm, arrange the After Eight chocolates evenly on top of the warm brownies. The residual heat will gently melt the chocolate squares just enough to create a soft, luscious, minty layer without causing the fondant to caramelize and harden. The result is a smooth, delightful mint chocolate topping that truly embodies the After Eight experience.
- **Omit and Ganache:** If you prefer to avoid the After Eight squares directly in or on the brownies, or if you simply want a different minty chocolate profile, you can omit the chocolates entirely from the brownie batter. Instead, prepare the optional mint chocolate ganache (details below) and spread it generously over the cooled brownies. While these wouldn’t technically be “After Eight” brownies, they would still be incredibly delicious, rich mint brownies with a vibrant, fresh flavor. This option also gives you more control over the intensity of the mint.
Baking, Cooling, and Finishing Touches
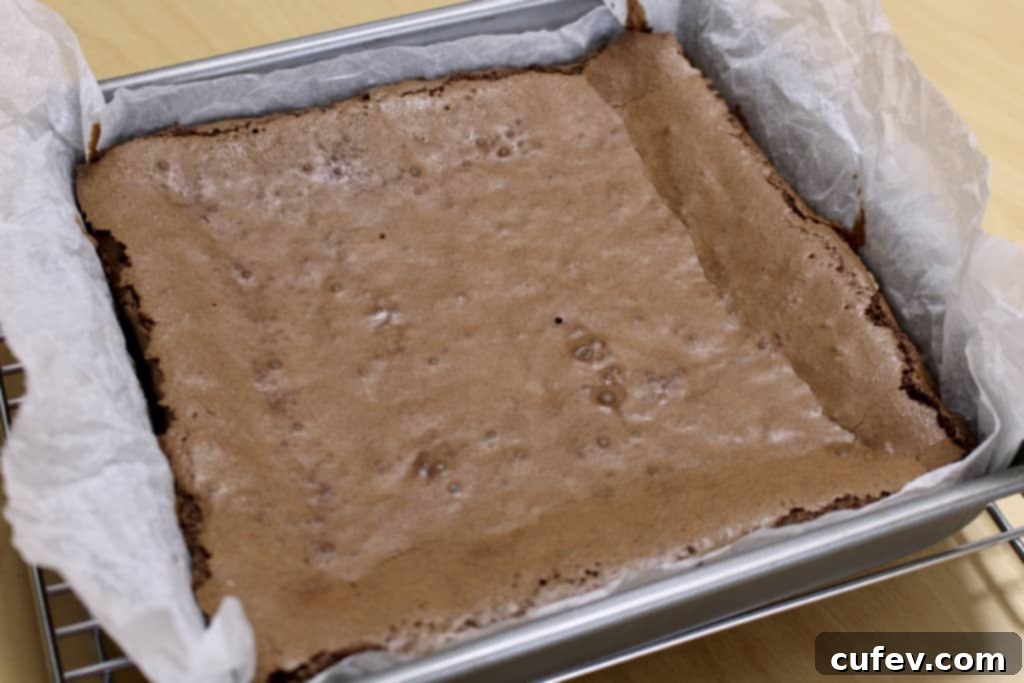
Whatever method you choose for incorporating the mint, once your batter is ready (either with After Eights on top after baking or planning for a ganache), pour it into the prepared pan. Smooth the top with a spatula for an even bake. Place the pan in your preheated oven and bake for approximately 45 to 50 minutes. The key here is not to overbake! We are aiming for that classic gooey, fudgy brownie texture. A good indicator that they are done is when a toothpick inserted into the center comes out with moist crumbs, but no wet batter. If the toothpick comes out completely clean, they are likely overbaked and will be more cake-like than fudgy.
Once baked, remove the brownies from the oven. If you opted for the post-bake After Eight placement, now is the time to arrange the chocolates on top, allowing them to gently soften. Critically, you must allow the brownies to cool completely in the pan before attempting to cut them. This step is non-negotiable for achieving clean, neat squares and preserving that coveted fudgy texture. Warm brownies are delicious, but they will crumble and fall apart when cut. Patience is a virtue here, and it will be rewarded with perfectly structured, irresistible brownies.
Optional Mint Ganache for Extra Indulgence
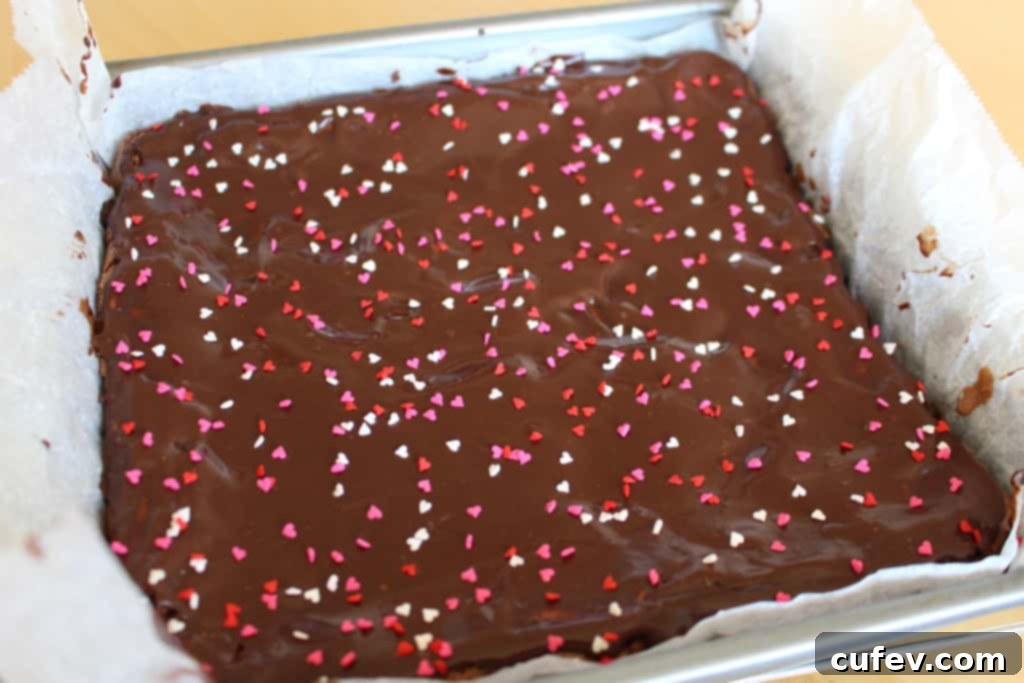
For an extra layer of minty chocolate goodness, consider making a simple mint ganache to spread over your cooled brownies. This ganache is particularly wonderful if you decided to omit the After Eight squares from the brownies themselves, or if you simply want an even more intense mint chocolate experience. To make it, place chopped dark chocolate in a bowl. In a separate saucepan or microwave, heat heavy cream until it’s just about to boil. Pour the hot cream over the chocolate and let it sit for a few minutes to allow the chocolate to melt. Then, stir until smooth and glossy. Finally, stir in a touch of butter for extra richness and the peppermint extract for that refreshing mint flavor. Allow the ganache to cool slightly and thicken before spreading it evenly over your cooled brownies. You can even create beautiful swirls or patterns with a spatula for an elegant finish.
Garnish and Presentation Ideas
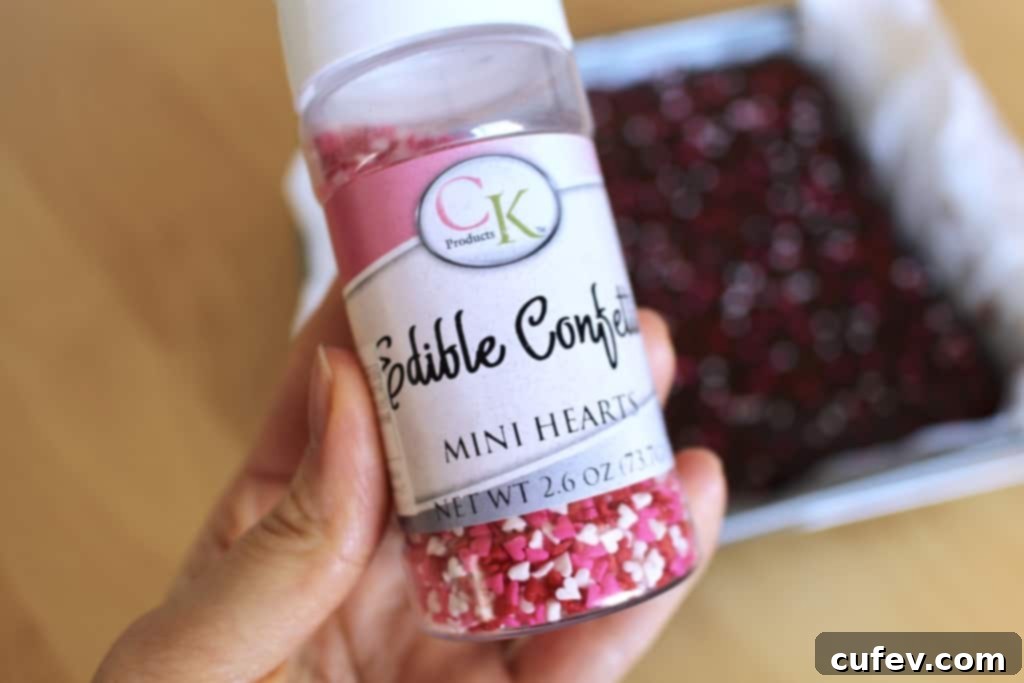
To make these brownies even more appealing, especially for special occasions like Valentine’s Day, garnishing them can elevate their presentation. I used adorable mini heart sprinkles, which added a festive and loving touch. Other fantastic garnishing options include a dusting of powdered sugar, a sprinkle of finely chopped mint leaves for a fresh aroma, or even a drizzle of white chocolate. For an extra special presentation, serve individual brownie squares with a scoop of vanilla bean or mint chocolate chip ice cream, perhaps with an extra After Eight chocolate on the side. The contrast of the warm brownie and cold ice cream is truly divine.

The Perfect End to Any Evening
These After Eight brownies are truly the perfect dessert to cap off any evening, especially a romantic one. Whether you’re enjoying a quiet night at home alone, inviting your date back for a decadent dessert after a lovely dinner, or spending a cozy night in pajamas with your fiancé watching Netflix (guess which one I’m doing!), these rich, romantic brownies are sure to be one of the highlights of the night. Their sophisticated flavor and luxurious texture make them feel incredibly special, turning an ordinary moment into an extraordinary one. The combination of intense chocolate and cool mint is not just delicious; it’s a sensory delight that lingers pleasantly.
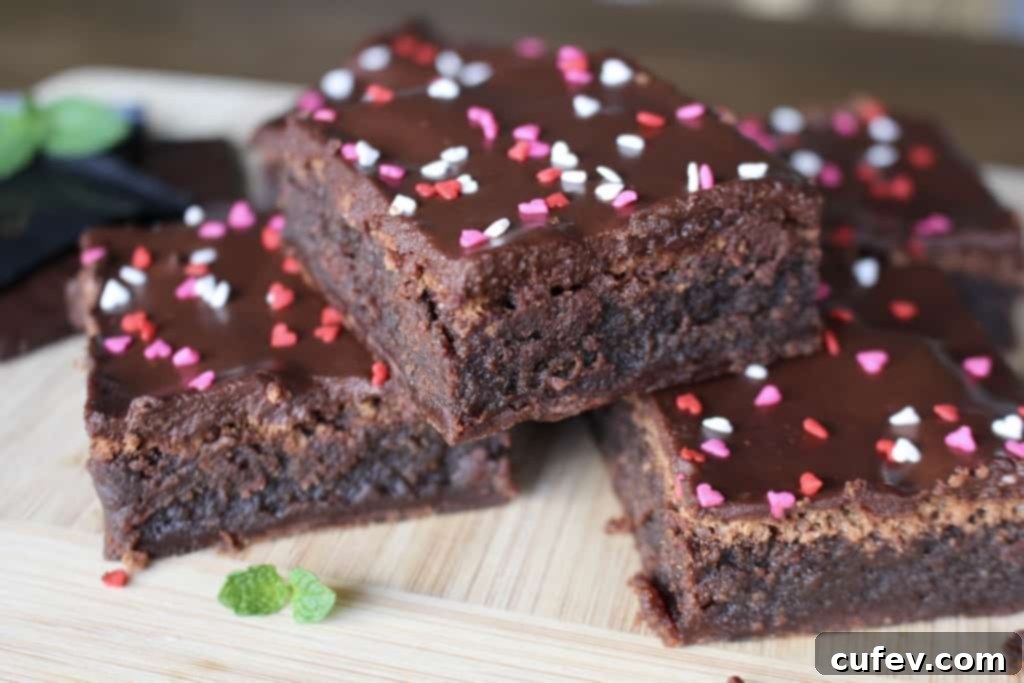
Oh yeah. Just look at that incredible fudginess. The dense, moist interior, the glistening top – how could anyone possibly say no to such a magnificent treat? Each bite is a testament to the perfect balance of chocolatey depth and refreshing mint. They are truly irresistible.
Speaking of special evenings, what are your plans for Valentine’s Day? My day will be quite packed: I’ll be at work during the day, followed by a meeting, then an hour of pilates, a gym date with Tristan after that, and then we’ll finally have a slightly late dinner out. This way, I get a much-deserved day off from cooking dinner! It’s all about balance, and these brownies are definitely part of that balance for a sweet celebration.

After Eight Brownies
Print
Pin
Rate
Ingredients
Brownies
- 4.5 oz (127.5g) dark chocolate, chopped
- ¾ cup (170g) salted butter, softened
- 1 teaspoon instant espresso powder
- 3 large eggs
- 1 cup light brown sugar
- ½ cup granulated sugar
- 2 teaspoons vanilla extract
- ¼ cup + 2 tablespoons all-purpose flour, sifted
- 1 tablespoon cocoa powder, sifted
- 20 squares After Eight chocolates (almost an entire box)
Mint Ganache (optional)
- 2.5 oz (71g) dark chocolate, chopped
- ¼ cup (60ml) heavy cream
- ½ tablespoon butter
- ½ teaspoon peppermint etract
Instructions
Brownies
-
Preheat the oven to 302°F (150°C) and grease and line an 8 x 8-inch baking pan.
-
Melt the dark chocolate and butter in a double boiler until almost completely melted. Remove from the heat, add the instant espresso powder and stir until completely melted. Set aside to cool.
-
In a large bowl, beat the eggs and sugar until it turns light yellow. Add the vanilla extract and continue to mix.
-
Pour the chocolate mixture and stir until smooth. Add the flour and cocoa powder and mix thoroughly.
-
Pour the brownie batter into the prepared pan. Smooth the top with a spatula and bake for 45 to 50 minutes, or until a toothpick inserted comes out with some crumbs.
-
If adding After Eight chocolates to your brownies, lay them on top of the baked brownies 5 to 10 minutes after the brownies have come out of the oven.
-
Let the brownie cool completely before cutting.
Ganache
-
Put the dark chocolate into a bowl and set aside.
-
Heat the heavy cream in the microwave or a pan until almost boiling. Pour it over the chocolate and let it sit for a couple of minutes to allow the chocolate to melt.
-
Stir until the chocolate is completely melted and smooth. Add the butter and peppermint extract and stir until combined.
-
Let it cool before spreading onto the brownies.
