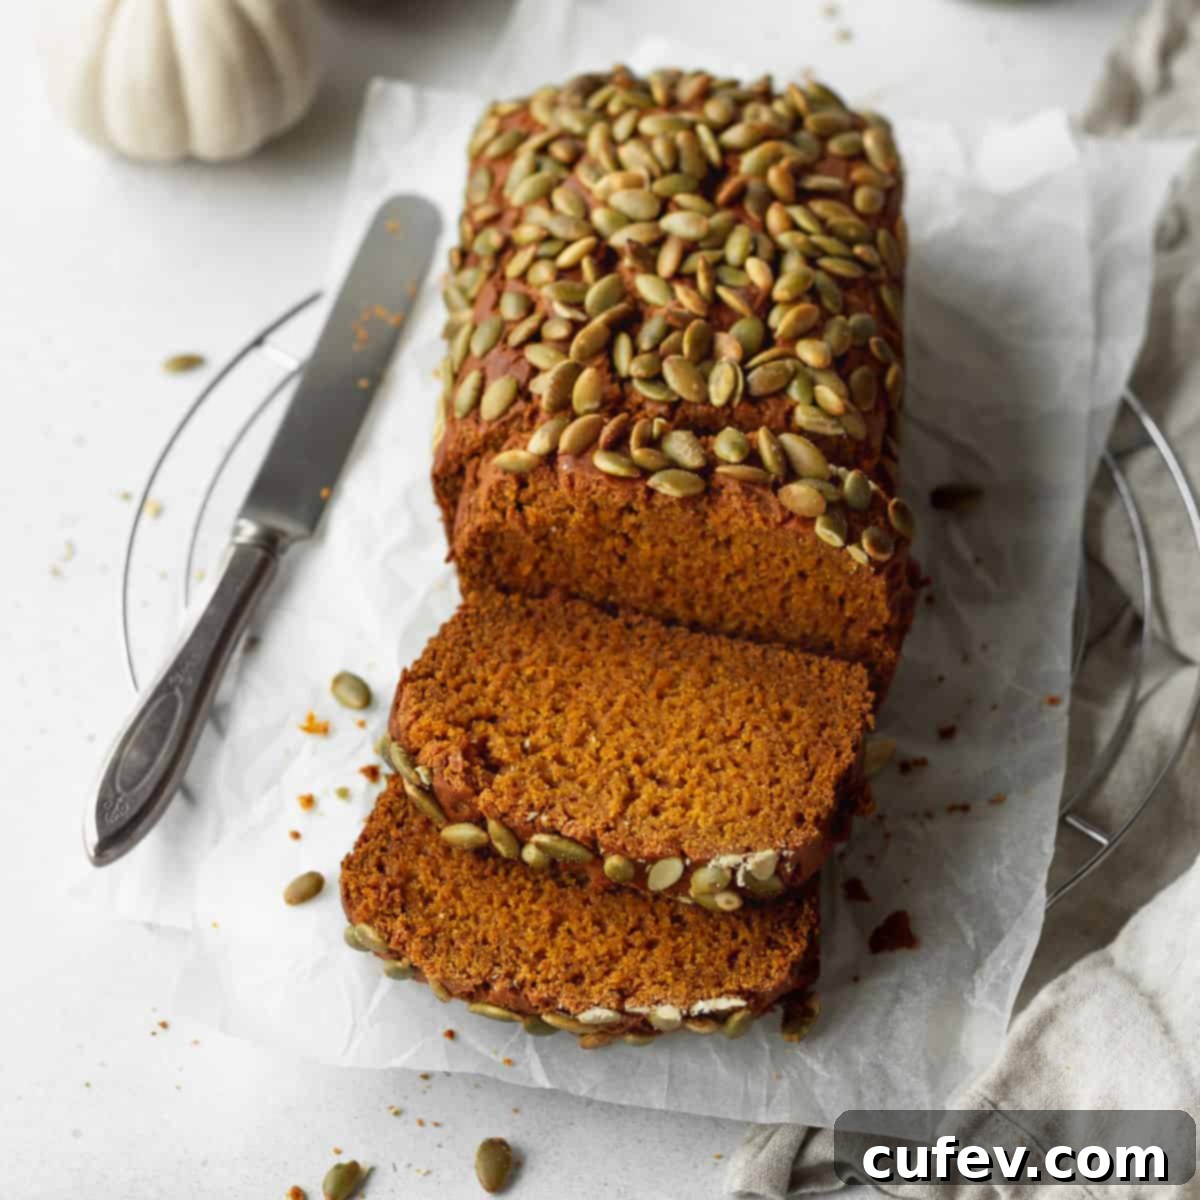
Irresistibly Moist & Perfectly Spiced Gluten-Free Pumpkin Bread: Your New Fall Favorite
Embrace the cozy flavors of autumn with this incredibly moist and perfectly spiced gluten-free pumpkin bread. Each slice is a delightful experience, thanks to the rich flavor and extra moisture imparted by pure maple syrup, beautifully complemented by the satisfying crunch of pepitas on top. This isn’t just another pumpkin bread; it’s a culinary masterpiece that will have you falling in love from the very first bite.
Over the years, I’ve dedicated countless hours to testing and perfecting gluten-free baking recipes. This particular pumpkin bread stands out as my undisputed go-to. It consistently yields a tender, flavorful, bakery-quality loaf that appeals to everyone, regardless of whether they follow a gluten-free diet or not. Its straightforward preparation makes it an accessible and enjoyable baking project, and I genuinely hope it becomes a cherished fall tradition in your home, just as it has in mine. Imagine the inviting aroma filling your kitchen, promising a treat that is both comforting and delicious.
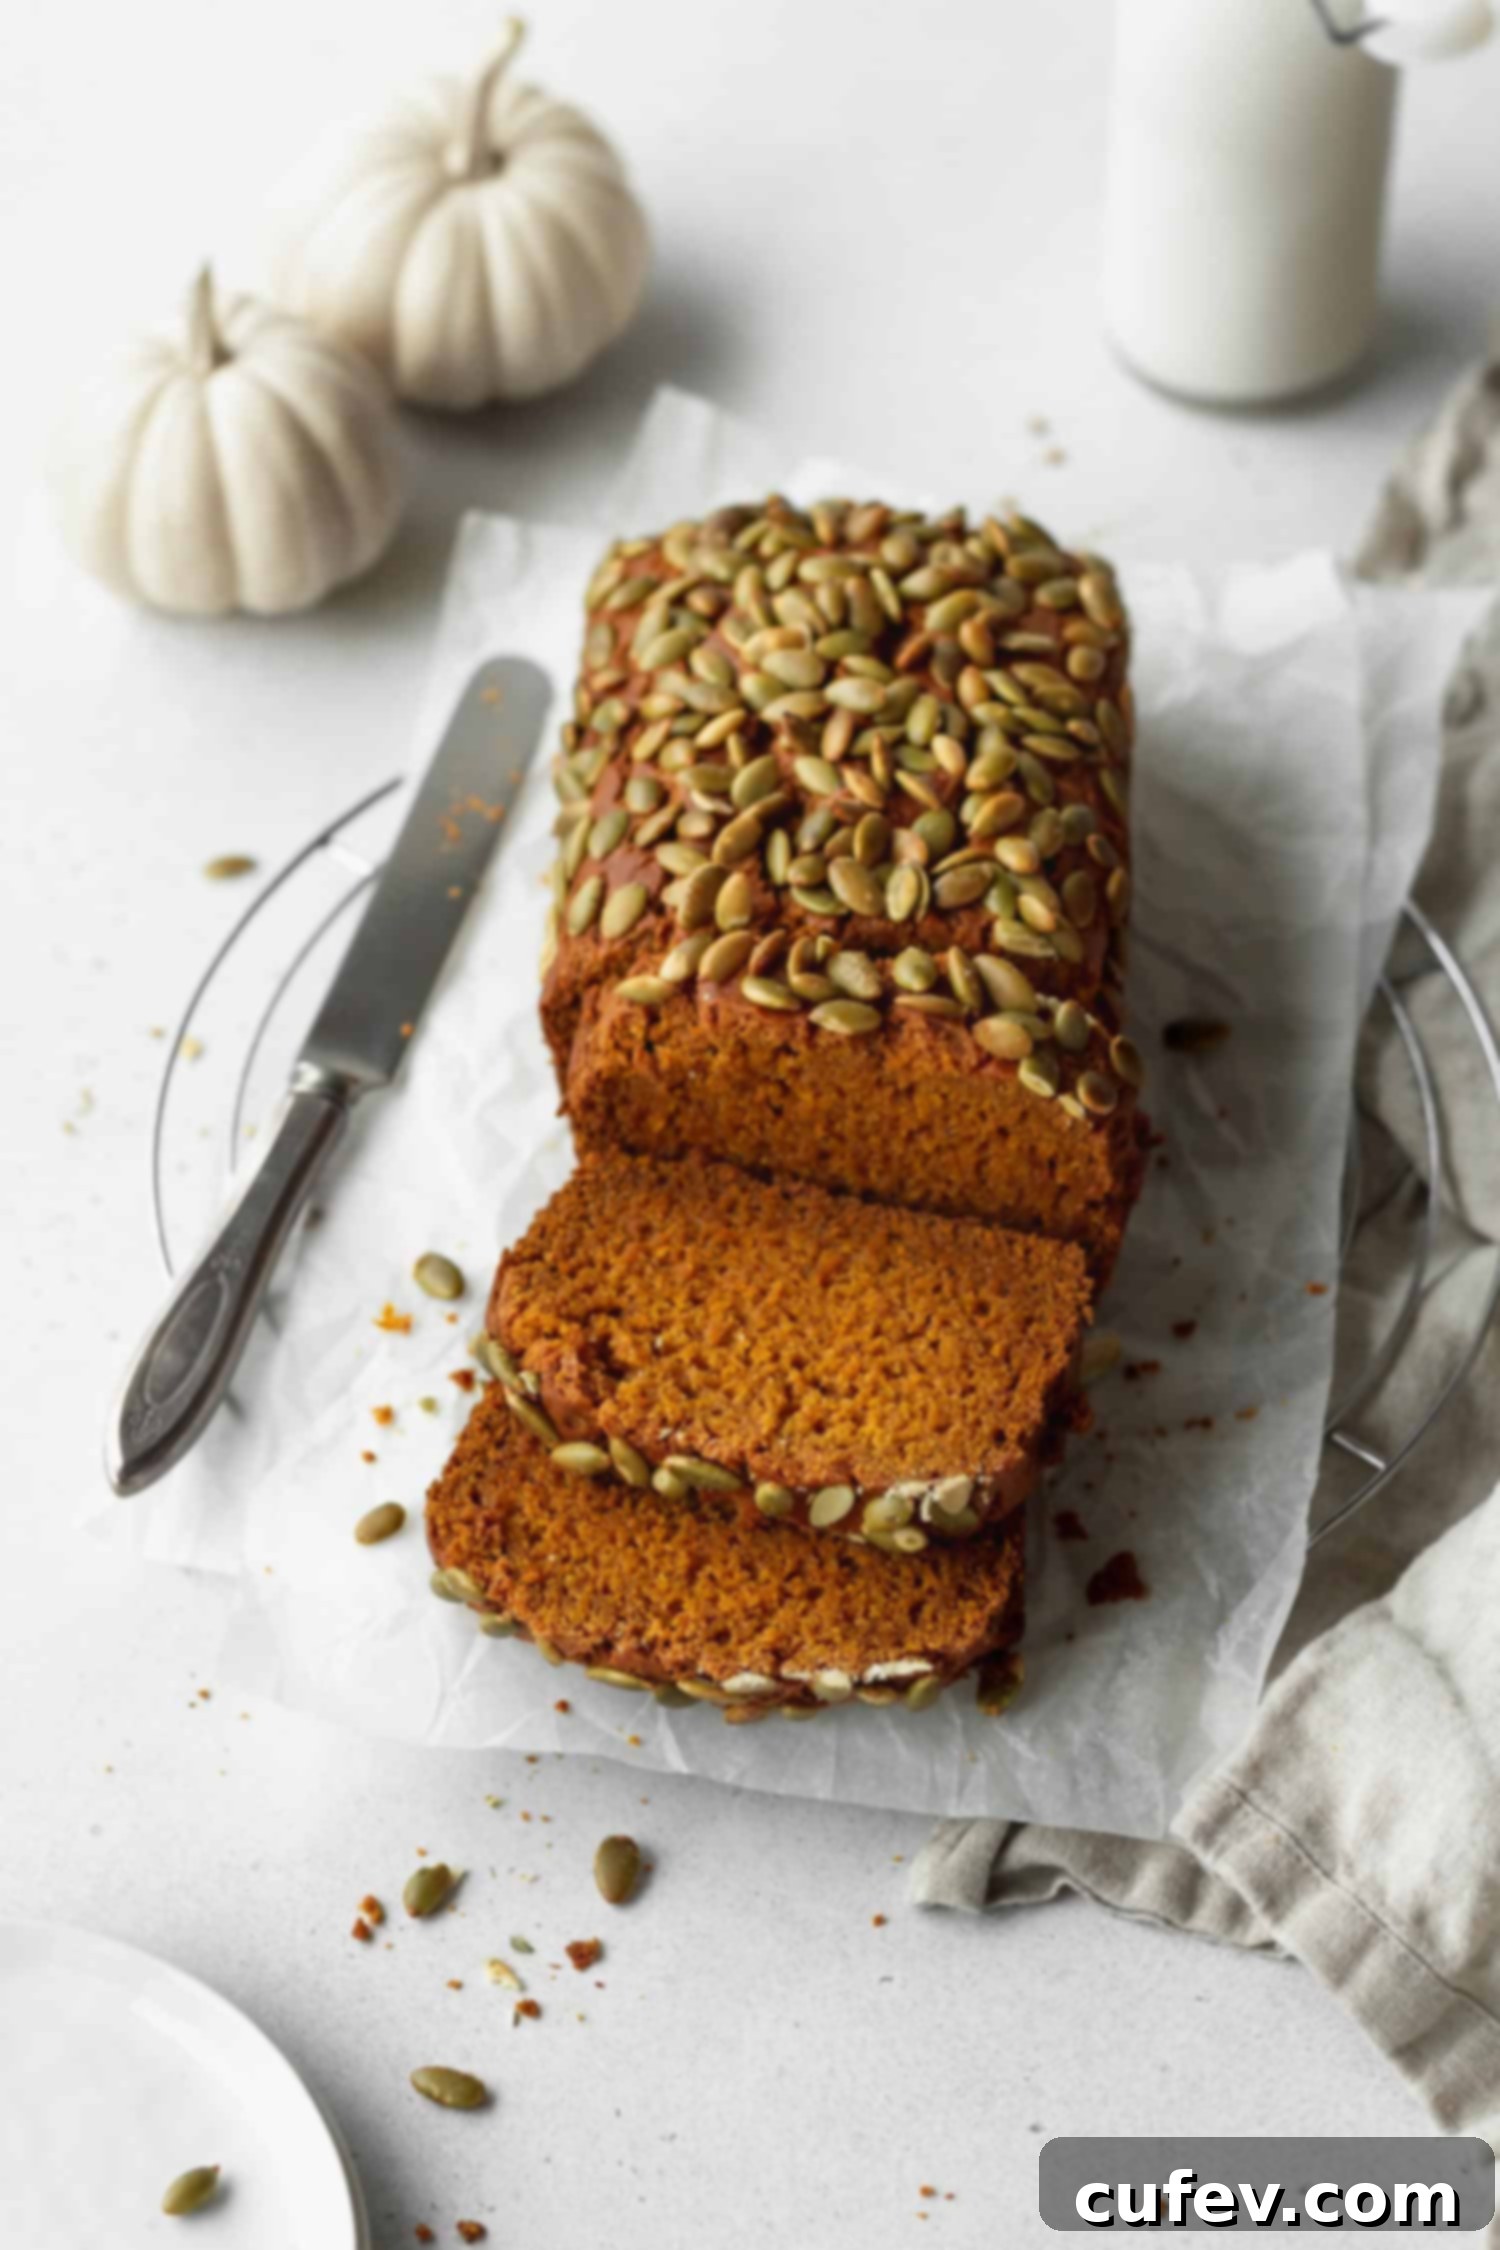
This recipe was originally published on August 29, 2020, bringing joy to countless kitchens. It was thoroughly updated and enhanced with new information and tips on August 29, 2025, ensuring it remains the best gluten-free pumpkin bread recipe available.
Essential Ingredient Notes for Perfect Gluten-Free Pumpkin Bread
To ensure your gluten-free pumpkin bread turns out perfectly every time, here are a few detailed notes on the key ingredients. You’ll find the complete list of ingredients and precise measurements further down in the recipe card.
Gluten-Free 1-to-1 Flour Blend – The foundation of any successful gluten-free baked good. It’s crucial to use a high-quality gluten-free flour blend specifically designed for 1-to-1 substitution in recipes that traditionally use all-purpose flour. Most importantly, ensure your chosen blend contains xanthan gum. Xanthan gum acts as a binder, mimicking the elasticity of gluten and preventing your baked goods from crumbling. Without it, your pumpkin bread would lack structure and fall apart. My personal recommendation, known for its consistent results, is Bob’s Red Mill 1-to-1 Baking Flour.
Cornstarch – This seemingly small addition plays a significant role in achieving that desirable tender crumb in gluten-free baking. It helps counteract the slightly chewy or gummy texture that can sometimes be present in gluten-free baked goods, resulting in a lighter, softer bread. If you prefer, you can omit the cornstarch and simply replace it with an equal amount of your gluten-free flour blend, though the texture might be slightly denser.
Spices – The soul of any great pumpkin bread lies in its spice blend. This recipe calls for a harmonious combination of ground cinnamon, ginger, nutmeg, and cloves, delivering an incredibly aromatic and warm flavor profile. For the best results, always use fresh spices; old or expired spices will have lost much of their potency and won’t contribute the vibrant flavor you’re looking for. A quick sniff test can tell you if they’re still fragrant. As a convenient alternative, you can substitute the individual spices with 1 teaspoon of your favorite pre-mixed pumpkin pie spice blend.
Canned Pumpkin – This is where clarity is key: make absolutely sure you are using pure pumpkin purée, not pumpkin pie filling. Pumpkin pie filling is pre-sweetened and spiced, which would drastically alter the flavor balance and sweetness level of this recipe, leading to an overly sweet and potentially oddly textured bread. Always check the label to confirm it’s 100% pure pumpkin.
Maple Syrup – Beyond just sweetness, pure maple syrup adds a unique depth of flavor and contributes significantly to the incredible moisture of this gluten-free pumpkin bread. Its nuanced taste complements the pumpkin and spices beautifully. For the best flavor, opt for pure maple syrup, preferably a medium or dark grade, as these tend to have a richer, more robust maple essence compared to lighter grades.
Oil – I personally favor avocado oil in both my baking and cooking due to its neutral flavor and high smoke point. However, this recipe is flexible, and you can certainly use other neutral-flavored oils like grapeseed oil. Even a good quality light olive oil works wonderfully, adding moisture without imparting a strong olive flavor. Avoid oils with strong, distinctive tastes that might compete with the pumpkin and spices.
Raw Pepitas – While technically an optional garnish for the top of the pumpkin bread, I wholeheartedly recommend including raw pepitas (shelled pumpkin seeds). They add a fantastic textural contrast and a delightful crunch to the top of the loaf, elevating the overall eating experience. If you choose not to use pepitas, or don’t have them on hand, you can simply bake the bread without them or sprinkle a bit of raw sugar on top before baking for a sweet, sparkling crust.
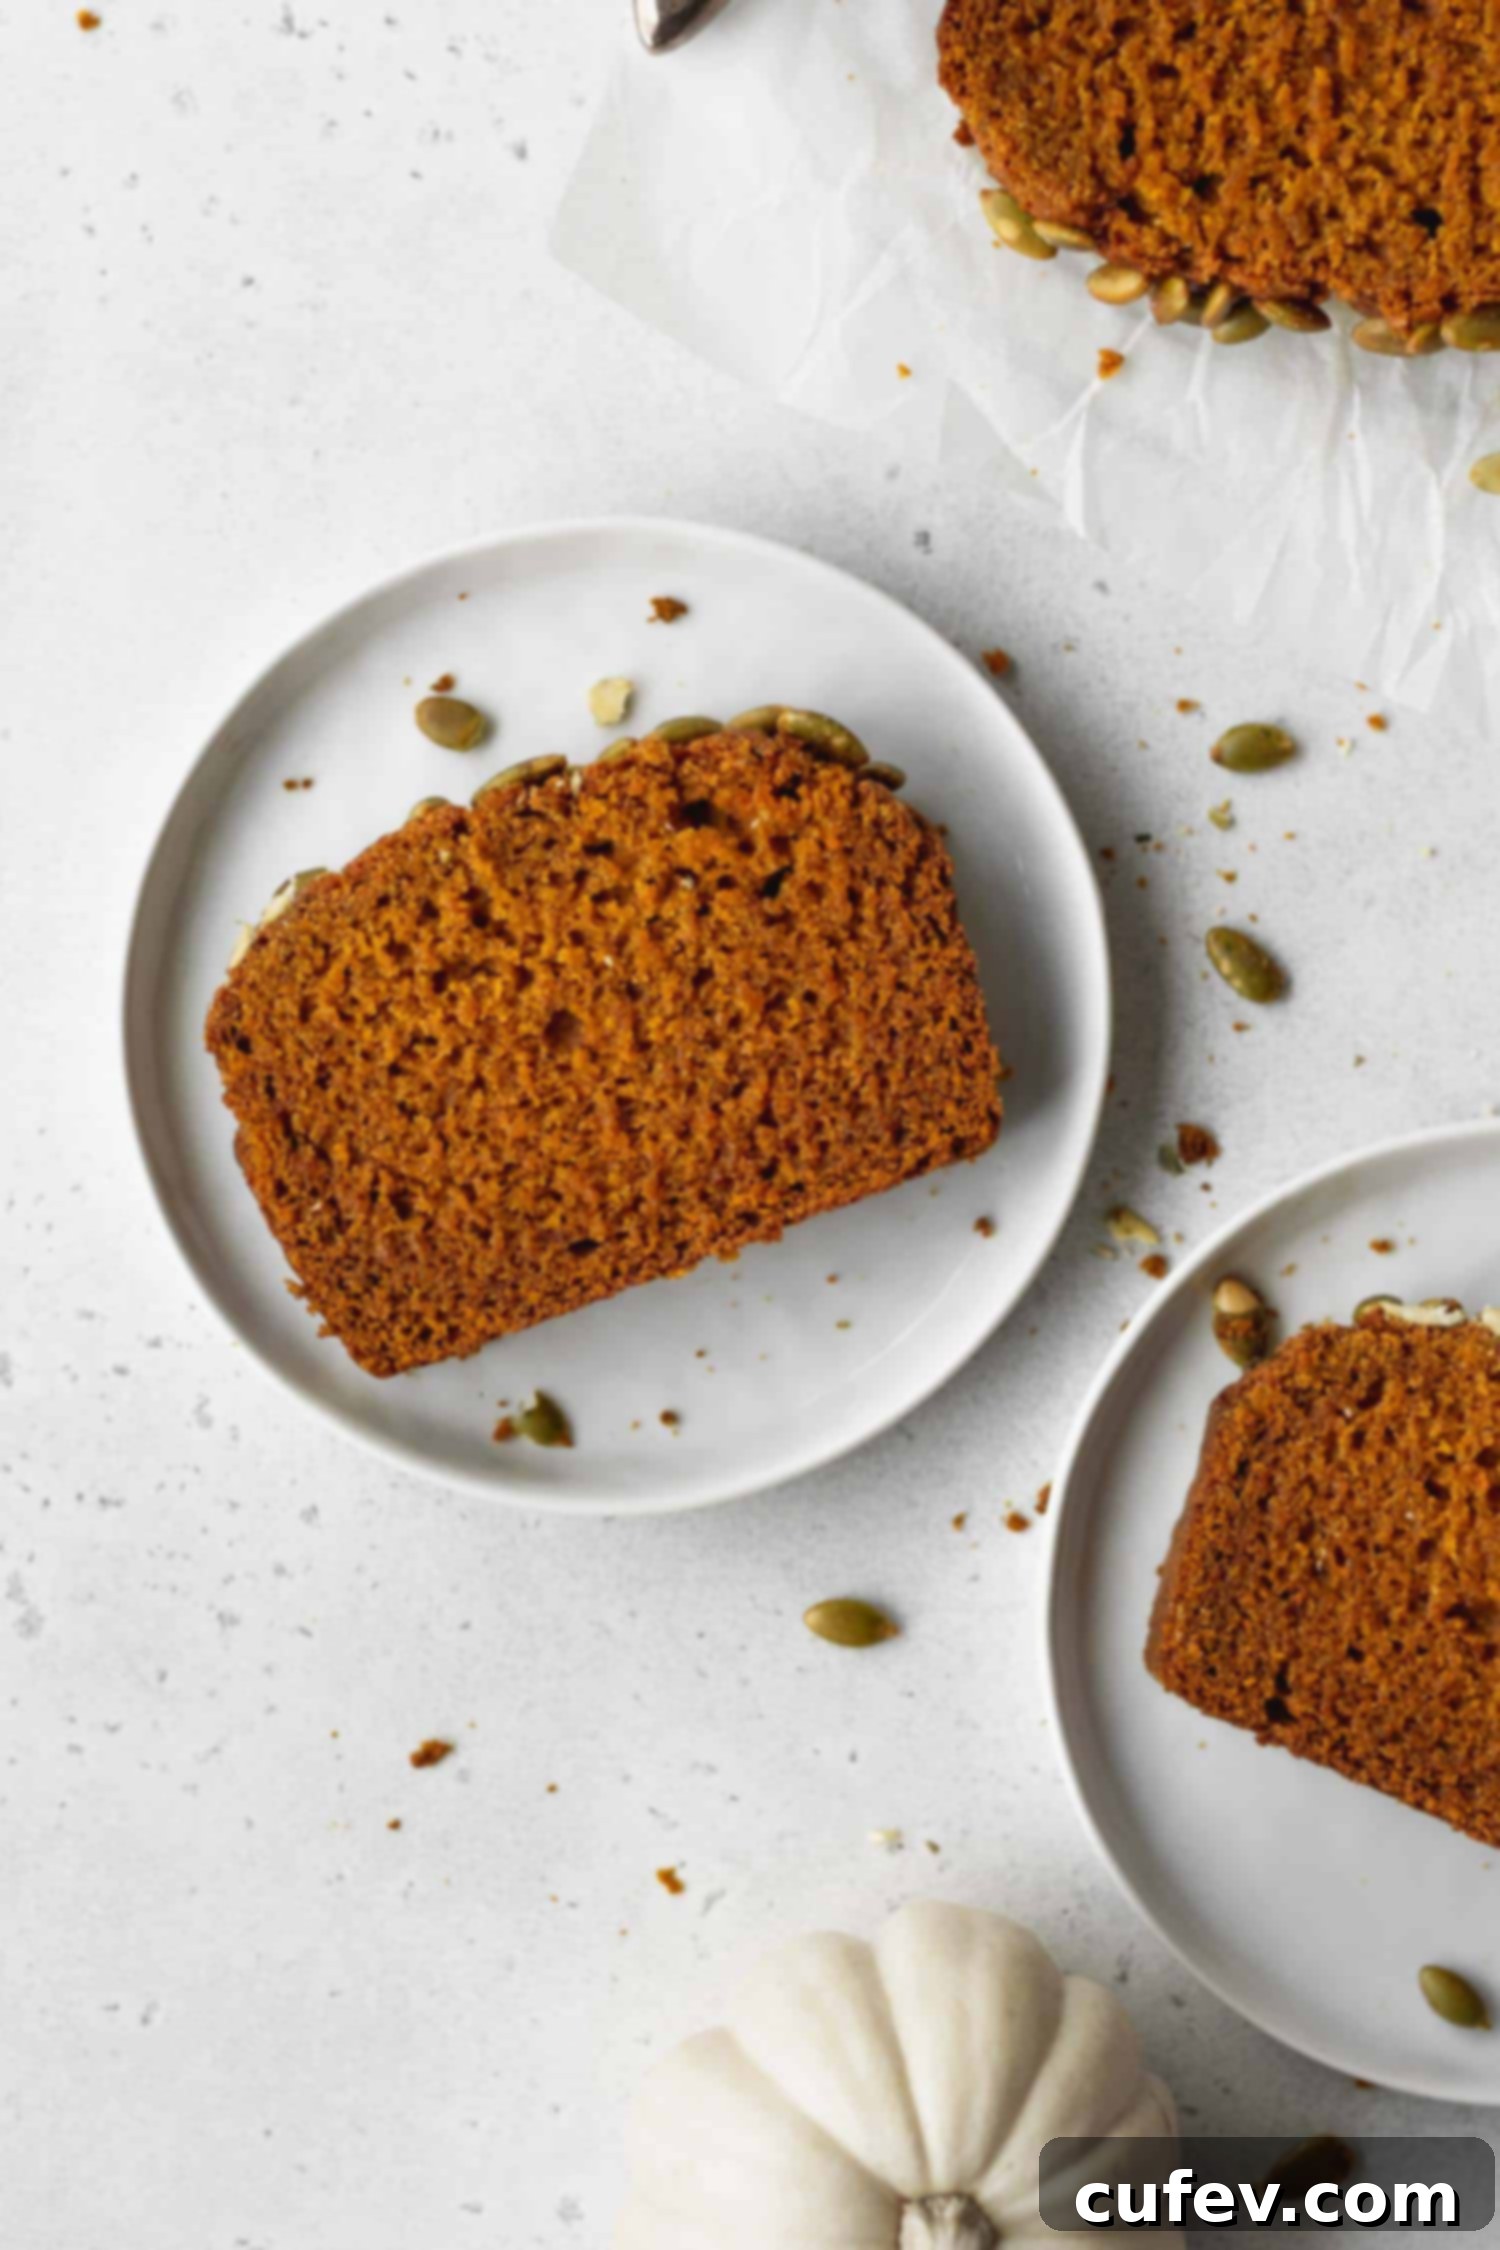
Step-by-Step Guide: How to Make This Delicious Gluten-Free Pumpkin Bread
Creating this wonderfully moist and flavorful gluten-free pumpkin bread is surprisingly simple, even for novice bakers. Just follow these easy steps to bake a perfect loaf every time!
Begin by taking a medium-sized bowl and whisking together all your dry ingredients – this includes your gluten-free flour blend, cornstarch, salt, baking soda, baking powder, and all the warm spices (cinnamon, ginger, nutmeg, and cloves). Whisk them thoroughly to ensure they are evenly distributed, then set this mixture aside. In a separate, larger bowl, combine all your wet ingredients: the pure canned pumpkin purée, light brown sugar, maple syrup, large egg, and light olive oil. Whisk these until they are smooth and well-incorporated. Next, gradually add the dry mixture to the wet mixture, stirring gently with a spatula or wooden spoon until just combined. Be careful not to overmix, as this can lead to a tougher texture.
Once you have a smooth, uniform batter, it’s time for a crucial step in gluten-free baking: allowing the batter to rest. Cover the bowl and let it sit for a good 20 to 30 minutes at room temperature. This resting period is essential because gluten-free flours require more time to fully hydrate compared to traditional wheat flour. Properly hydrating the flour prevents your finished bread from having a gritty or sandy texture, ensuring a wonderfully moist and smooth crumb.
While your batter is resting and the gluten-free flours are absorbing moisture, you can prepare your baking environment. Preheat your oven to the specified temperature (refer to the recipe card for exact details). Then, prepare your loaf pan: generously grease the inside of an 8.5×4.5-inch loaf pan and line it with parchment paper, leaving an overhang on the longer sides. This parchment sling will make it incredibly easy to lift your precious pumpkin bread out of the pan once baked, preventing any dreaded sticking.
With the batter rested and the pan prepared, all that’s left is to bring it all together. Carefully pour the smooth, hydrated batter into your parchment-lined loaf pan. If you’re using pepitas for that delightful crunch, sprinkle them evenly over the top of the batter. Place the loaf pan into the preheated oven and bake for approximately 55-60 minutes. To test for doneness, insert a toothpick (or a thin skewer, or even a piece of dry spaghetti) into the very center of the loaf. It should come out clean or with just a few moist crumbs clinging to it. Once baked, let the bread rest in the pan for 10 minutes. This allows the internal structure to set further before you use the parchment overhangs to carefully lift it onto a wire rack to cool completely. Patience is a virtue with gluten-free baking!
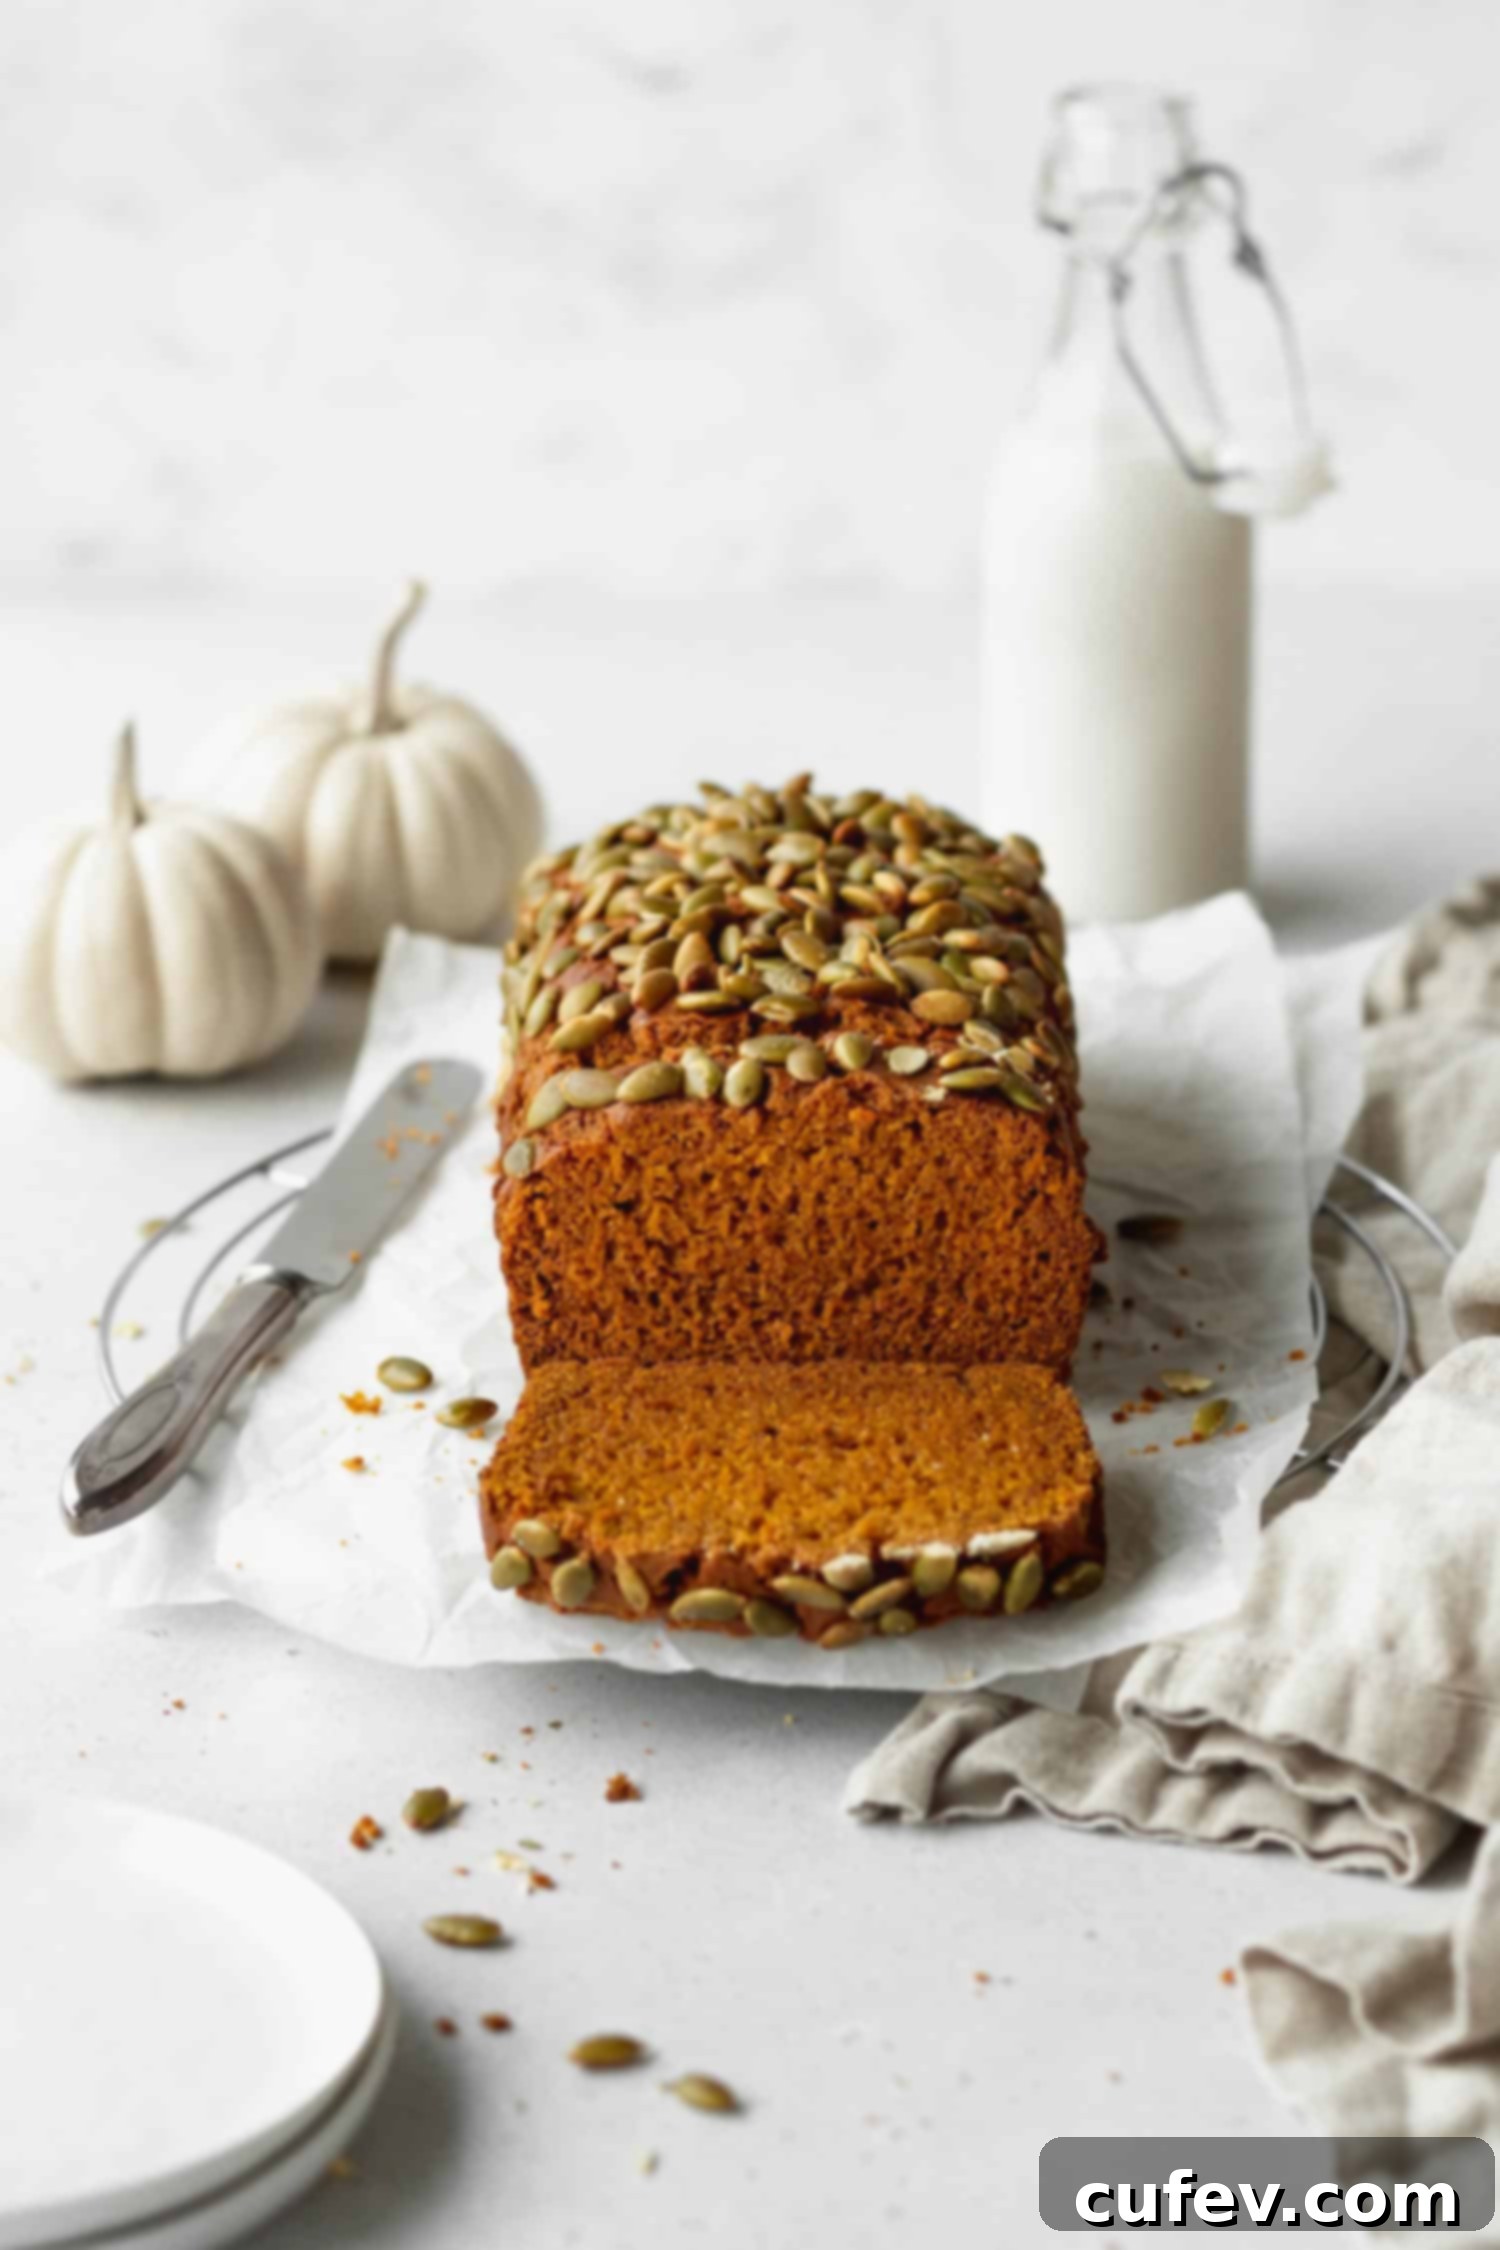
Pro Baking Tips for Perfect Gluten-Free Pumpkin Bread and Beyond
Achieving outstanding results in gluten-free baking requires a few specific techniques. Here are my top tips, honed over years of experimentation, to ensure your pumpkin bread (and other gluten-free treats) consistently comes out perfectly:
Weigh Your Ingredients for Accuracy. This is perhaps the most critical tip for consistent gluten-free baking. Using a kitchen scale to weigh your ingredients, especially flours, is significantly more accurate than using volume-based measuring cups. When you scoop flour with a cup, or even spoon it in and level it off, you can inadvertently pack too much flour into the cup, adding a substantial amount more than intended. This excess flour can lead to dense, dry, and crumbly baked goods that lack the desired texture. Given that gluten-free flour blends are often more expensive than traditional all-purpose flour, precise measurement ensures you get delicious, bakery-quality results every time, preventing the disappointment of wasted ingredients and effort.
Choose a Metal Pan for Even Baking. The type of baking pan you use can significantly impact the outcome of your gluten-free bread. Metal pans are superior heat conductors compared to glass or ceramic, which tend to heat up more slowly and retain heat for longer. For gluten-free baking, my strong recommendation is to use a light-colored metallic pan. These pans distribute heat efficiently and evenly, promoting a uniform bake and a beautifully golden crust. If you happen to be using a dark metal pan, which absorbs more heat, it’s wise to decrease your oven temperature by about 20°F (approximately 10°C) to prevent the edges of your bread from becoming overbaked, dry, or even burnt while the center cooks through.
Cool Completely for Optimal Texture. This tip requires patience, but it’s absolutely vital for gluten-free baked goods. Unlike their gluten-containing counterparts, gluten-free breads and cakes continue to “cook” and set their internal structure as they cool. If you cut into this pumpkin bread (or any other gluten-free loaf or cake) while it’s still warm, you’ll likely find it has a mushy, gummy, or even slightly underbaked texture in the center. Resisting the urge to slice immediately allows the starches to fully set and the moisture to redistribute, transforming the bread into the perfectly moist, tender, and non-gummy delight it’s meant to be. Trust me, your patience will be richly rewarded with a superior texture!
Gluten-Free Pumpkin Bread Recipe
Ingredients
- 1¼ cups gluten-free 1-to-1 flour blend make sure it contains xanthan gum
- ¼ cup cornstarch
- ¾ teaspoon fine salt
- 1 teaspoon baking soda
- 1 teaspoon baking powder
- ½ teaspoon ground cinnamon
- ¼ teaspoon ground ginger
- ⅛ teaspoon ground nutmeg
- ⅛ teaspoon ground cloves
- 7.5 ounces canned pumpkin (half a 15oz can, pure pumpkin purée)
- ¾ cup light brown sugar
- ¼ cup maple syrup (pure, medium or dark)
- 1 large egg
- ⅓ cup light olive oil or avocado oil
- 1½ tablespoons raw pepitas (optional, for topping)
Instructions
-
In a medium bowl, thoroughly whisk together the gluten-free flour, cornstarch, salt, baking soda, baking powder, cinnamon, ginger, nutmeg, and cloves. Ensure all dry ingredients are well combined. Set this bowl aside.
-
In a separate, large mixing bowl, combine the canned pumpkin purée, light brown sugar, pure maple syrup, large egg, and light olive oil. Whisk until smooth. Add the reserved dry flour mixture to the wet ingredients and stir gently with a spatula until just fully combined. Be careful not to overmix the batter. Cover the bowl and let the batter rest at room temperature for 30 minutes. This resting period is crucial for the gluten-free flour to fully hydrate, preventing a gritty texture.
-
While the batter rests, preheat your oven to 340°F (170°C). Grease an 8.5×4.5-inch (20x10cm) loaf pan and line it with parchment paper, allowing some overhang on the longer sides. This parchment “sling” will make it easy to remove the baked bread.
-
Pour the rested batter evenly into the prepared loaf pan. Sprinkle the raw pepitas over the top, if using. Bake for 55-60 minutes, or until a skewer or toothpick inserted into the middle of the loaf comes out clean or with only a few moist crumbs attached. Once baked, let the bread rest in the pan for 5-10 minutes before carefully lifting it out onto a wire rack to cool completely. Allowing it to cool fully is essential for the best gluten-free texture.
Notes
Nutrition
Frequently Asked Questions About Gluten-Free Pumpkin Bread
While the flavors are similar, this recipe is optimized for a loaf. If you’re craving delicious pumpkin muffins, I highly recommend using this dedicated recipe for gluten-free pumpkin muffins instead! Those muffins are specifically formulated to be incredibly moist and fluffy, often featuring a delectable crunchy streusel topping that makes them truly special.
Absolutely! This gluten-free pumpkin bread is a fantastic canvas for various additions. Chocolate chips, whether milk, dark, or white, would melt beautifully into the bread. Toasted chopped pecans or walnuts would add another layer of texture and nutty flavor. For an extra decadent touch, you could also prepare a streusel topping to sprinkle over the batter before baking, slather it with a tangy cream cheese frosting once cooled, or simply serve warm slices with a dollop of homemade honey butter.
To maintain its delightful moisture and flavor, store any leftover gluten-free pumpkin bread in an airtight container at room temperature for up to 3 days. To prevent the cut surfaces from drying out, which can happen quickly with quick breads, I recommend pressing a piece of parchment paper, plastic wrap, or aluminum foil directly against the sliced side before sealing the container. This helps lock in the moisture.
Yes, this pumpkin bread freezes beautifully! For best results, allow the loaf to cool completely before slicing it into individual portions. Wrap each slice tightly in plastic wrap, then again with aluminum foil, and place them in a freezer-safe bag or container. This method helps prevent freezer burn. You can store the bread in the freezer for up to 3 months. When you’re ready to enjoy, simply thaw individual slices on the counter for about an hour or warm them gently in the microwave for 10-20 seconds.
Yes, this recipe is naturally dairy-free! It achieves its wonderful moisture and rich texture from ingredients like eggs, pure maple syrup, a neutral-flavored oil (like avocado or light olive oil), and canned pumpkin purée, rather than relying on milk or butter. This makes it a fantastic option for those with dairy sensitivities or preferences.
Unfortunately, the egg plays a critical structural role in this particular gluten-free pumpkin bread recipe. It contributes significantly to the bread’s rise, moisture, and binding properties. Substituting it with an egg replacer or simply omitting it would likely result in a dense, crumbly loaf that won’t hold together properly. For a truly vegan pumpkin bread, it would be best to seek out a recipe specifically developed to be egg-free.
I generally wouldn’t recommend using coconut oil, whether refined or virgin, in this specific recipe. Coconut oil tends to be quite heavy and can impart a distinct flavor that might not complement the delicate pumpkin and spice profile as well as a neutral oil would. While I suggest light neutral oils like avocado or grapeseed oil, you could also use an equal amount of melted dairy butter or a high-quality vegan butter substitute if you prefer that flavor profile, keeping in mind that the recipe is already dairy-free.
For this gluten-free pumpkin bread, the ideal pan size is an 8.5 x 4.5-inch loaf pan. While many standard loaf pans are 9-inches, using that larger size with this recipe can cause your bread to bake flatter and spread out more. By opting for the slightly smaller 8.5 x 4.5-inch pan, you’ll achieve a beautifully risen, nicely domed loaf with a perfect bakery-style appearance.
Absolutely! If you don’t require a gluten-free diet and prefer to use traditional flour, you can easily substitute the gluten-free 1-to-1 flour blend with an equal amount of regular all-purpose flour. The recipe should perform well with this simple swap, delivering a delicious pumpkin bread that everyone can enjoy.
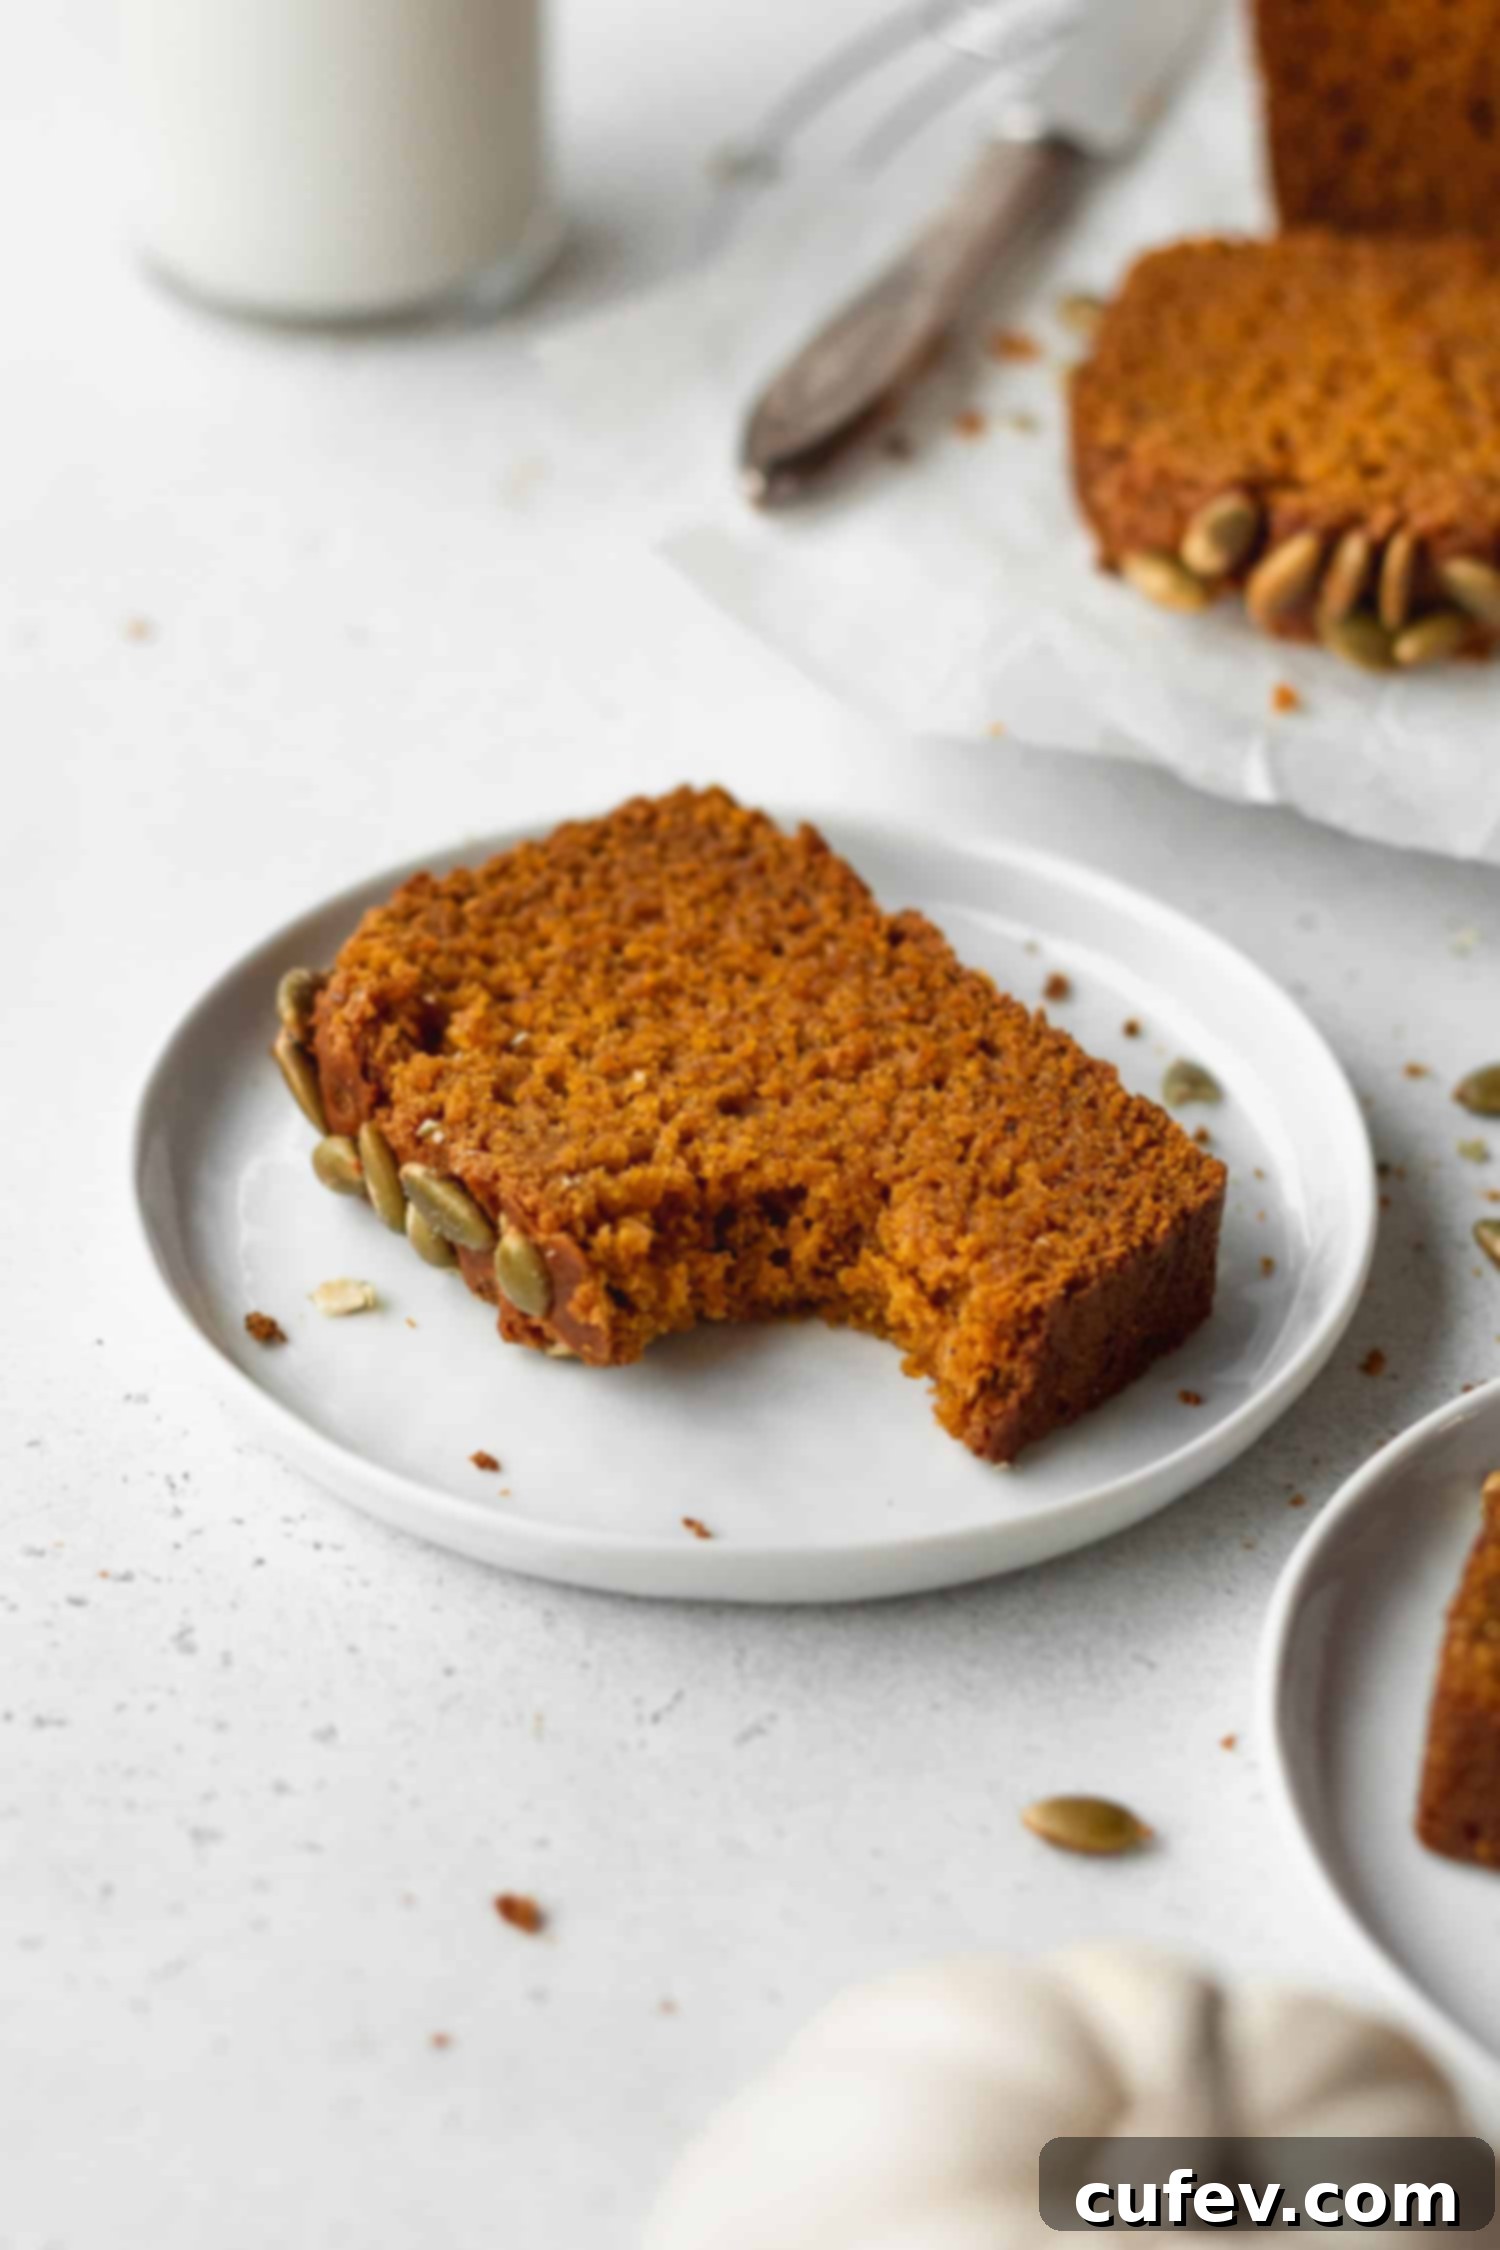
More Delightful Gluten-Free Dessert Recipes to Try
If you’ve fallen in love with the comforting flavors and perfect texture of this gluten-free pumpkin bread recipe, you’re in for a treat! There are so many more delicious gluten-free sweets waiting for you to discover. Expand your baking repertoire with these other highly-rated gluten-free dessert recipes:
- Craving more pumpkin goodness? Dive into my gluten-free pumpkin muffins! They are wonderfully fluffy and moist, crowned with an irresistible streusel topping for an extra crunch.
- For a timeless classic, these gluten-free sugar cookies are an absolute must-try. They boast a soft center with a crisp bottom, just like the beloved cookies you remember from your favorite bakery.
- Are you a fan of chewy cookies? Then you’ll adore these incredible gluten-free chocolate chip cookies! For a festive twist, try the equally delightful gluten-free Christmas cookies during the holidays.
- All chocolate lovers, unite! You absolutely need to make these super fudgy gluten-free brownies right now. They deliver that iconic shiny, crackly surface and intense chocolate flavor everyone craves.
- If you enjoy the convenience and comforting nature of loaf cakes, explore my other fantastic recipes: a perfectly moist gluten-free banana bread, a tender gluten-free zucchini bread, or this bright and zesty lemon poppy seed cake! Each one is incredibly moist and surprisingly easy to whip up.
- For an even broader selection, check out this comprehensive list of 27 top-rated gluten-free and dairy-free desserts. You’re sure to find your next favorite sweet treat!
