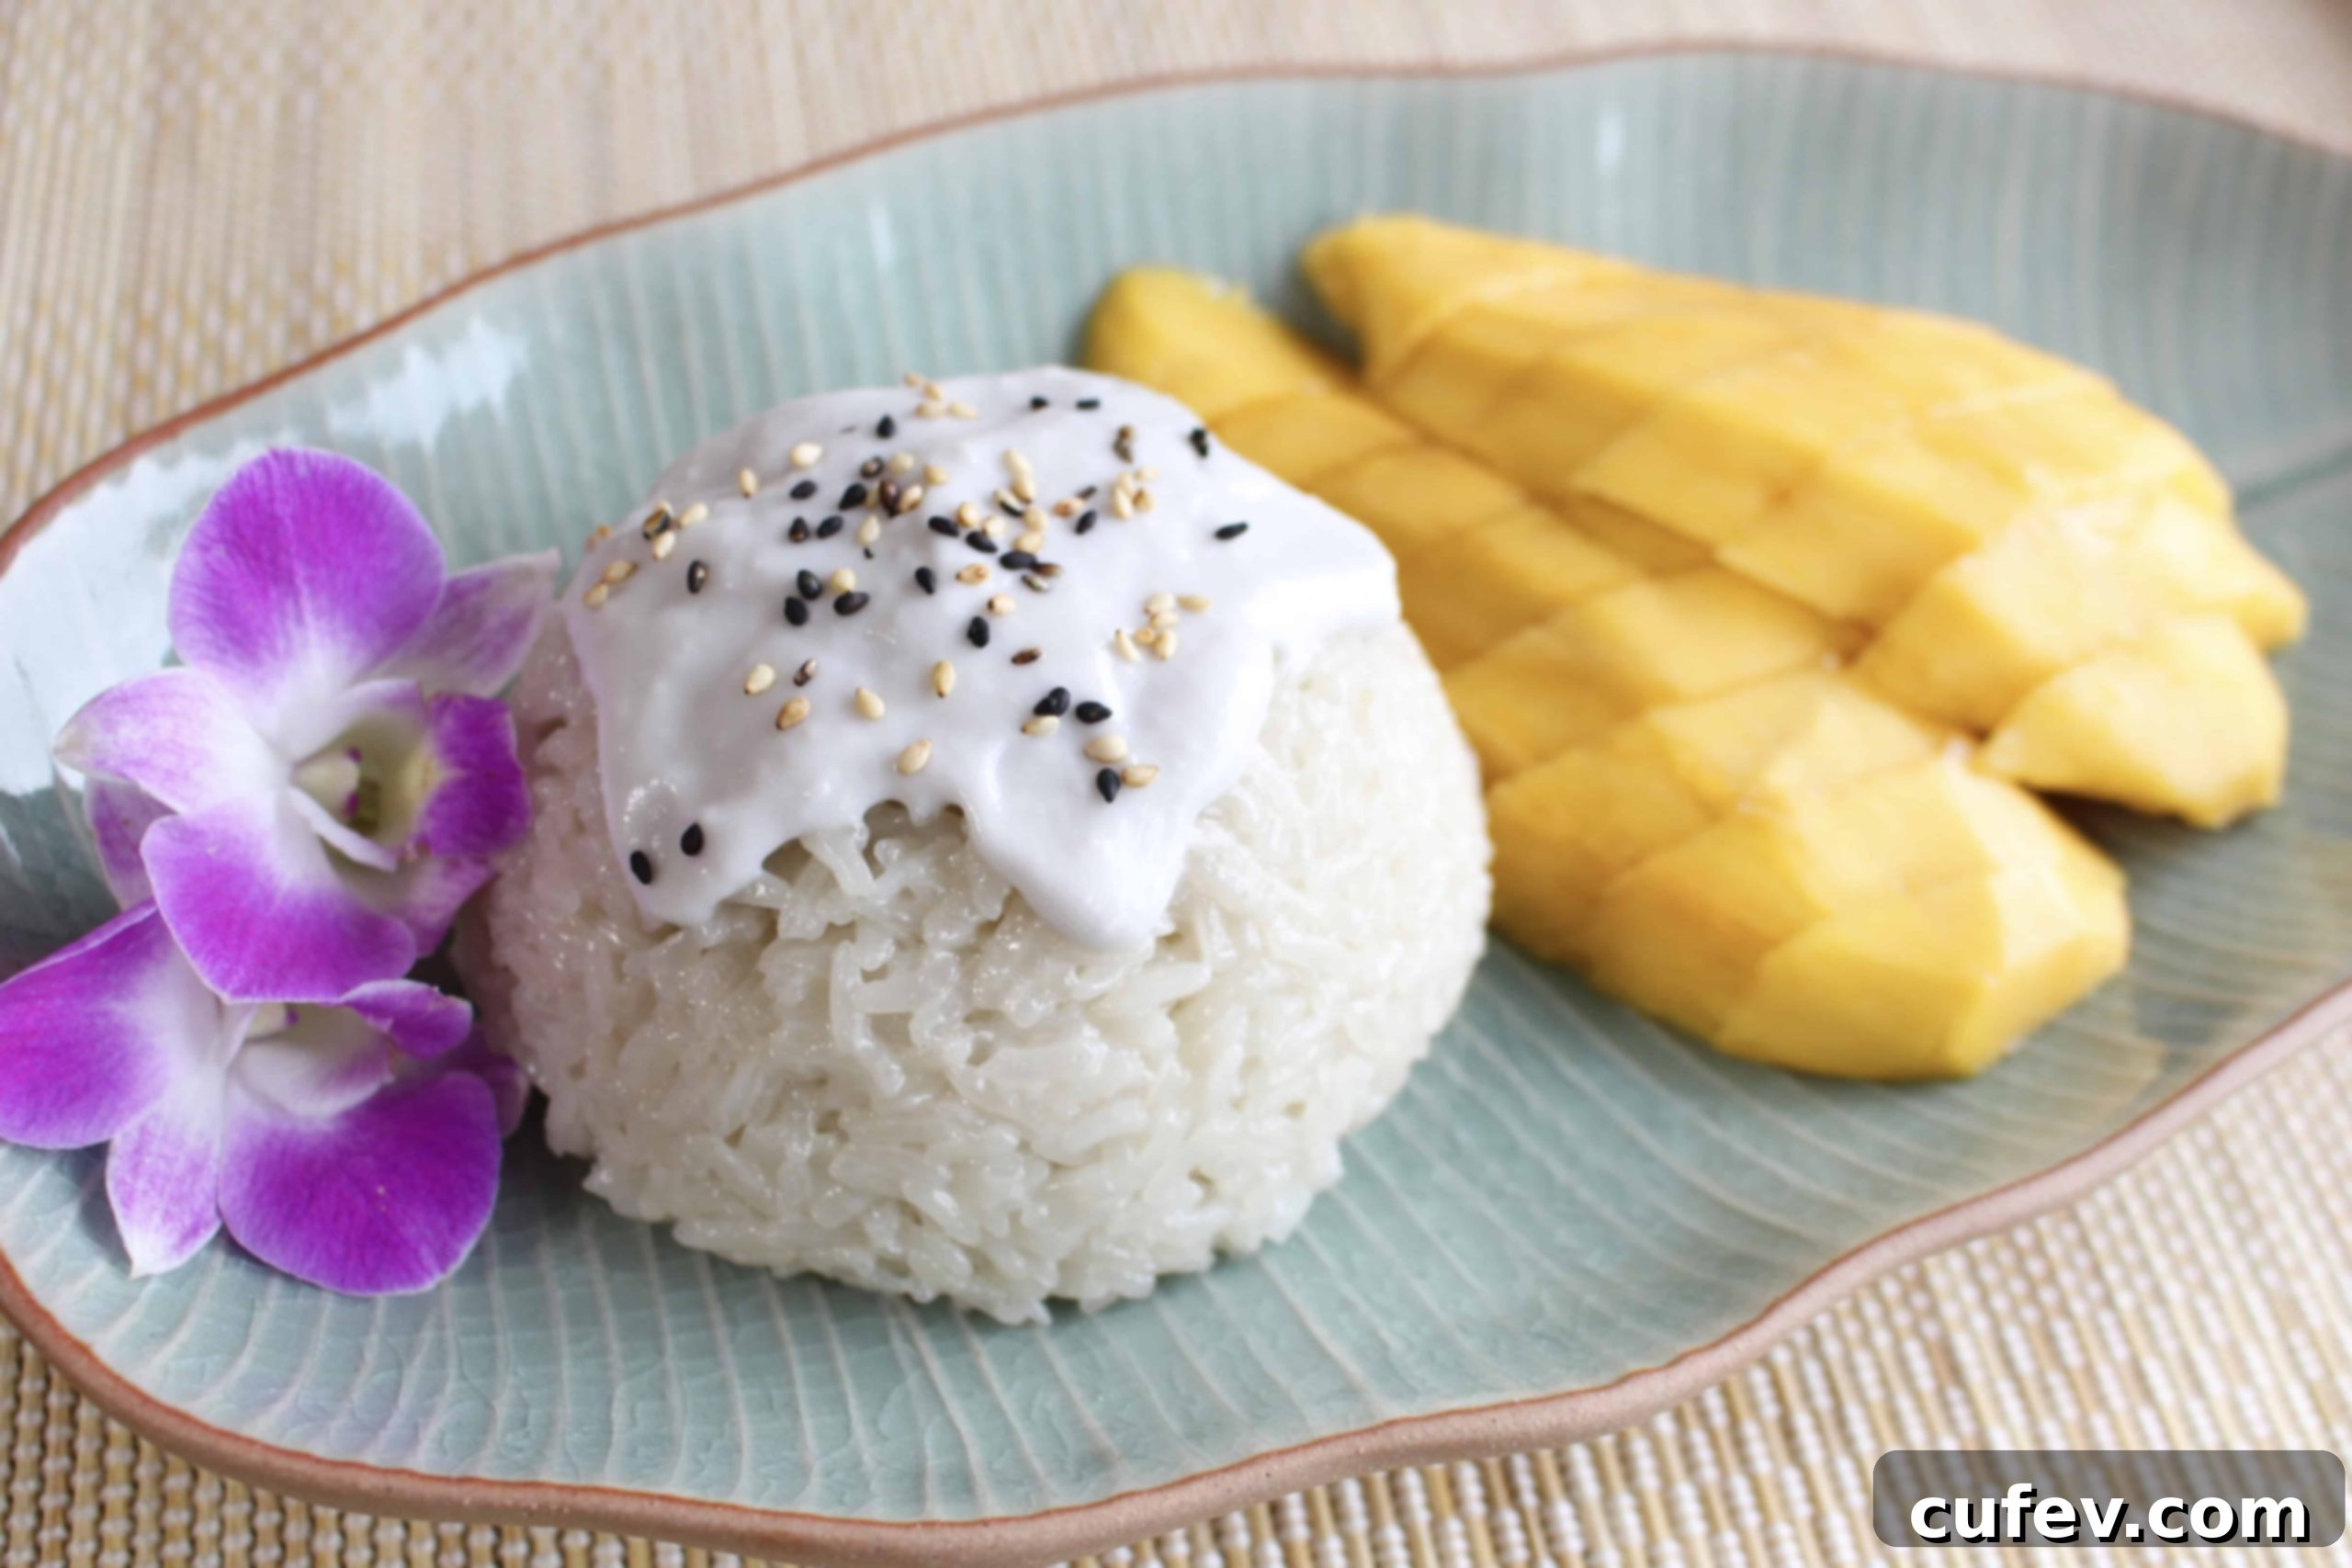
Authentic Thai Mango Sticky Rice (Khao Niao Mamuang) Recipe: A Journey from Phuket to Your Kitchen
Two summers ago, my understanding of “vacation” was completely redefined during my inaugural trip to Phuket, Thailand, with Tristan. This wasn’t just my first trip with him; it was my very first true vacation. Prior to this, my travels to various countries had been for high school volleyball and softball tournaments, where sightseeing was a luxury rarely afforded. I’d also visited relatives in a couple of U.S. states, but let’s be honest, family visits, however cherished, don’t quite capture the essence of a relaxing getaway. Phuket was different. It was a world of vibrant colors, warm breezes, and unforgettable flavors that truly opened my eyes to the joy of travel and culinary discovery.
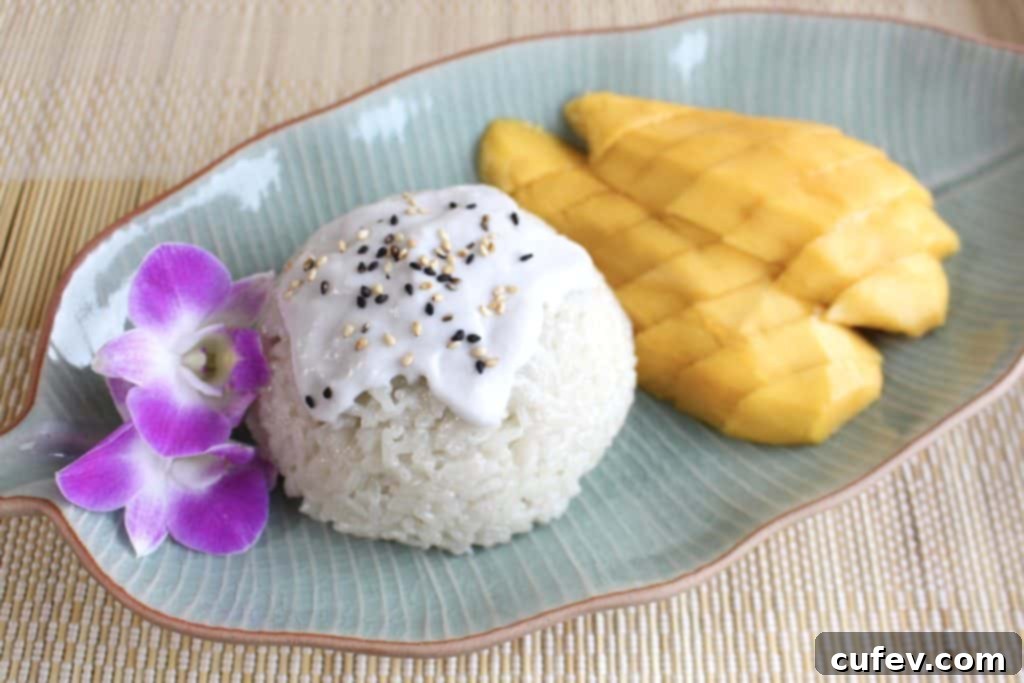
One of the most delightful aspects of our stay in Thailand was the opulent breakfast buffet offered at our hotel. Every morning, a spread of delectable dishes awaited us, but one item consistently stole my heart: the bite-sized portions of coconut sticky rice generously topped with perfectly ripe mango cubes. I had never encountered mango with sticky rice, known locally as khao niao mamuang, before this trip. From the first spoonful, I was utterly captivated. The sweet, creamy coconut milk infused into the tender sticky rice, perfectly complemented by the juicy, tropical sweetness of fresh mango, was an revelation. I found myself returning for multiple servings of these irresistible treats each morning, alongside savory fried rice and noodles. This delicious obsession, while undeniably satisfying, ultimately led to a gain of about 4lbs (2kgs) during my incredible week in Phuket – a small price to pay for such culinary bliss!
A Humorous Encounter: “Manko Rice?”
Our appreciation for khao niao mamuang grew so profound that one evening, we decided to order a full portion at the hotel restaurant. As the waitress approached to take our order, I eagerly requested the “mango with sticky rice.” What followed was a moment of pure, unexpected hilarity. The waitress, with a slight linguistic twist, responded, “Manko rice?” Tristan and I had to physically bite our tongues, struggling to suppress a burst of laughter. We exchanged a knowing glance, understanding immediately the unintentional humor. For those unfamiliar, manko in Japanese is a slang term for vagina, creating an amusingly awkward yet memorable dining experience. It’s these small cultural quirks that often add the most color to travel memories.
Reliving Thai Flavors: The Osaka Thai Festival
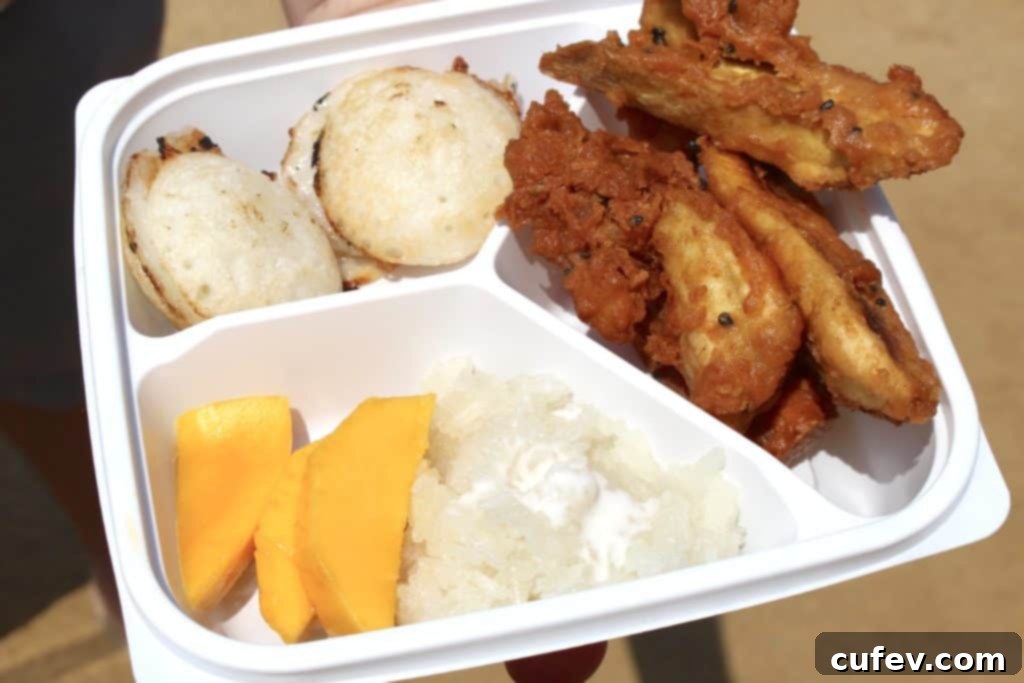
Many months later, the sweet memory of that Thai dessert lingered. So, when the annual Thai festival arrived in Osaka, I knew exactly what my mission was. I ventured out with my parents to the bustling, open dirt field right by the magnificent Osaka Castle, where the festival was held. The air was thick with the aroma of exotic spices and grilling foods, and the sounds of traditional Thai music filled the lively atmosphere. There were countless booths offering a dizzying array of authentic Thai dishes and crafts. My eyes scanned every stall, eagerly searching for that familiar golden fruit and glistening rice. Finally, I found it – a booth proudly displaying mango with sticky rice!
However, the temptations of other exquisite Thai desserts were too strong to resist. I opted for a delightful dessert platter that featured my beloved mango sticky rice, alongside fluffy coconut pancakes (kanom krok), and deliciously deep-fried bananas and sweet potatoes. The moment I took a bite of that juicy mango paired with the perfectly coconutty rice, I was instantly transported back to the sun-drenched beaches of Thailand. The taste was so authentic, so evocative, that I knew then and there: I had to learn how to make this cherished dessert myself. It wasn’t just about satisfying a craving; it was about recreating a precious memory and bringing a piece of Thailand into my own kitchen.
The Quest for Authentic Sticky Rice: Understanding Khao Niao
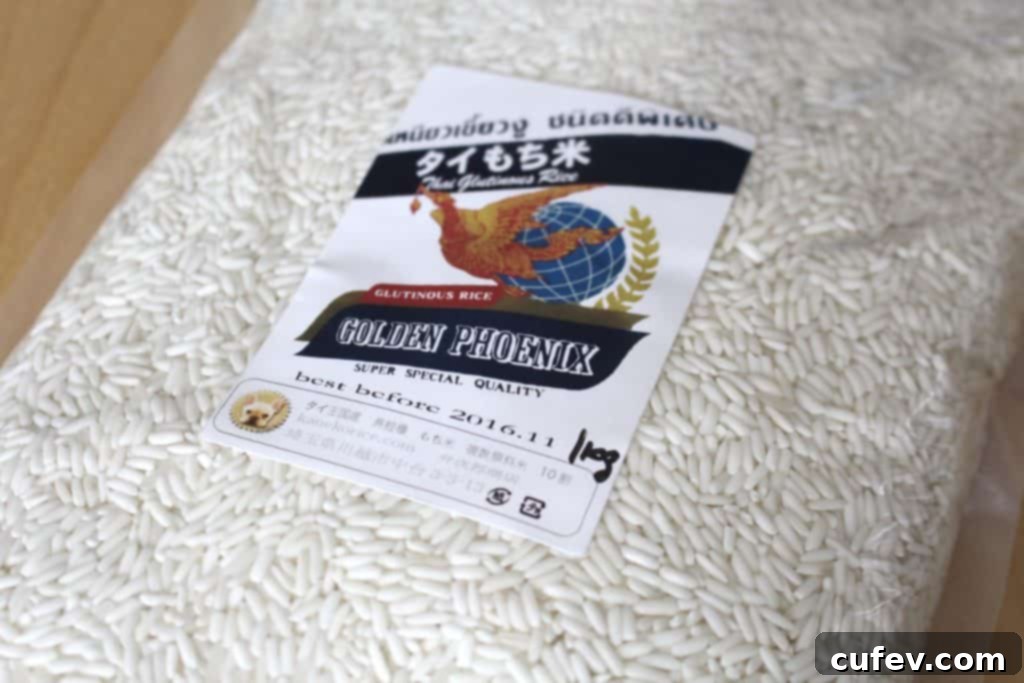
My journey to recreate the perfect mango sticky rice began with research. I quickly discovered that Thai sticky rice, or khao niao, is distinctly different from the Japanese sticky rice I was accustomed to. While both are glutinous varieties, their texture, cooking methods, and even flavor profiles vary significantly. Thai sticky rice offers a unique chewiness and a slightly different grain structure that is essential for the authentic taste and mouthfeel of khao niao mamuang. Determined to achieve true authenticity, I bypassed local stores and ordered my specialized sticky rice online, ensuring I had the correct foundation for my homemade Thai dessert.
Mastering the Art of Steaming Sticky Rice
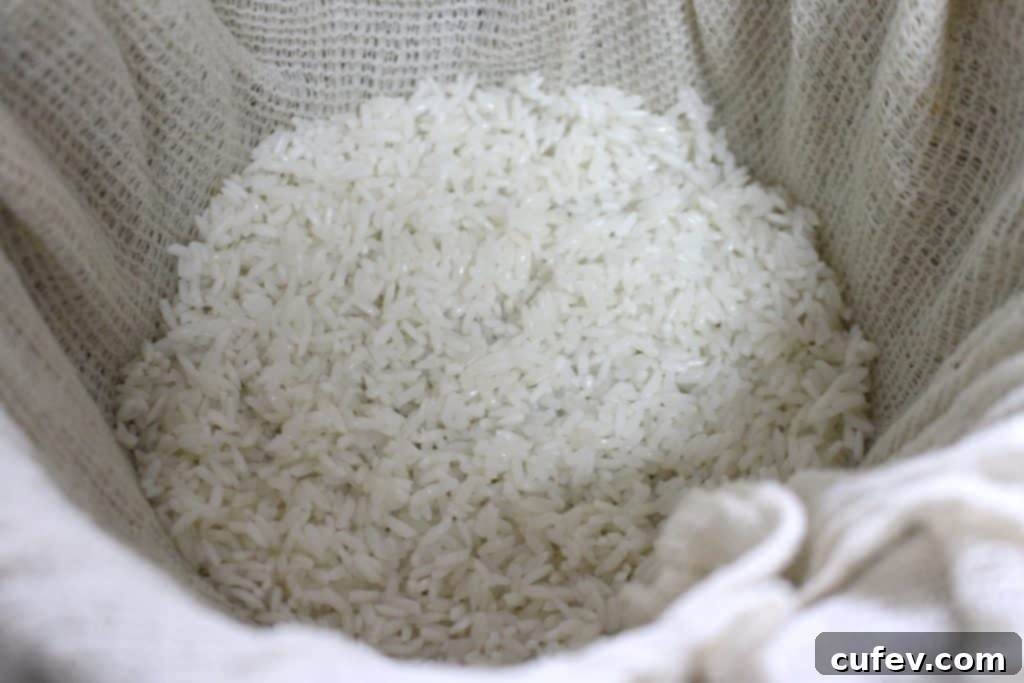
The cooking process for khao niao also holds a specific technique that sets it apart. The first crucial step is to rinse the sticky rice thoroughly under cold running water until the water runs clear. This removes excess starch, preventing the rice from becoming overly gummy. Following the rinse, the rice must be soaked in water for at least four hours, or preferably overnight. This soaking period is vital; it hydrates the grains evenly, allowing them to cook to the perfect tender-chewy consistency when steamed. Without proper soaking, the rice can remain hard in the center or become brittle.
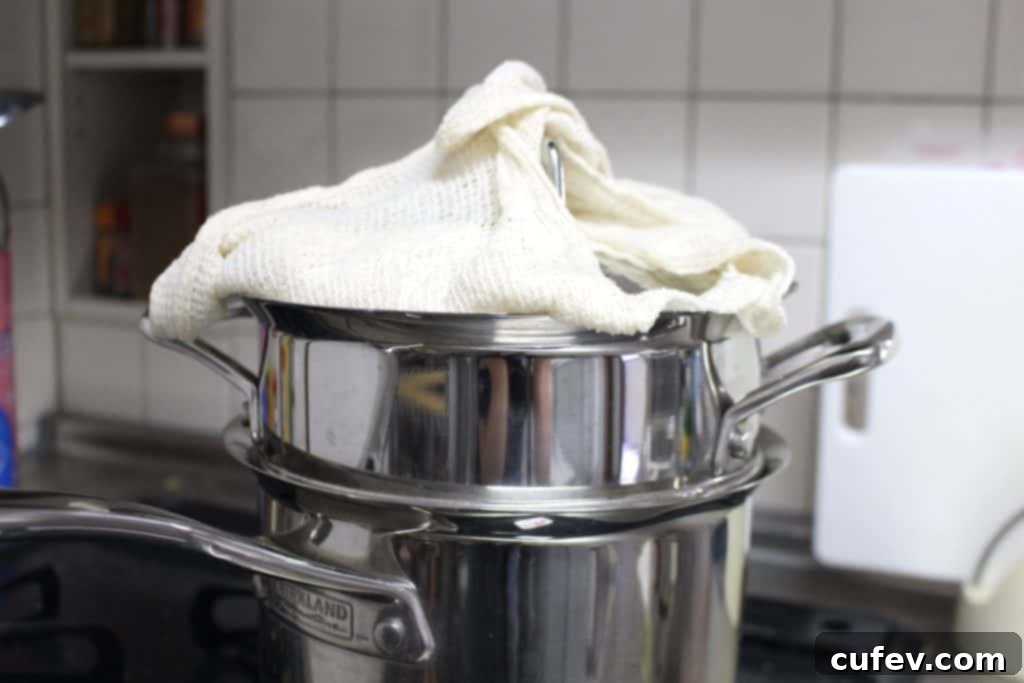
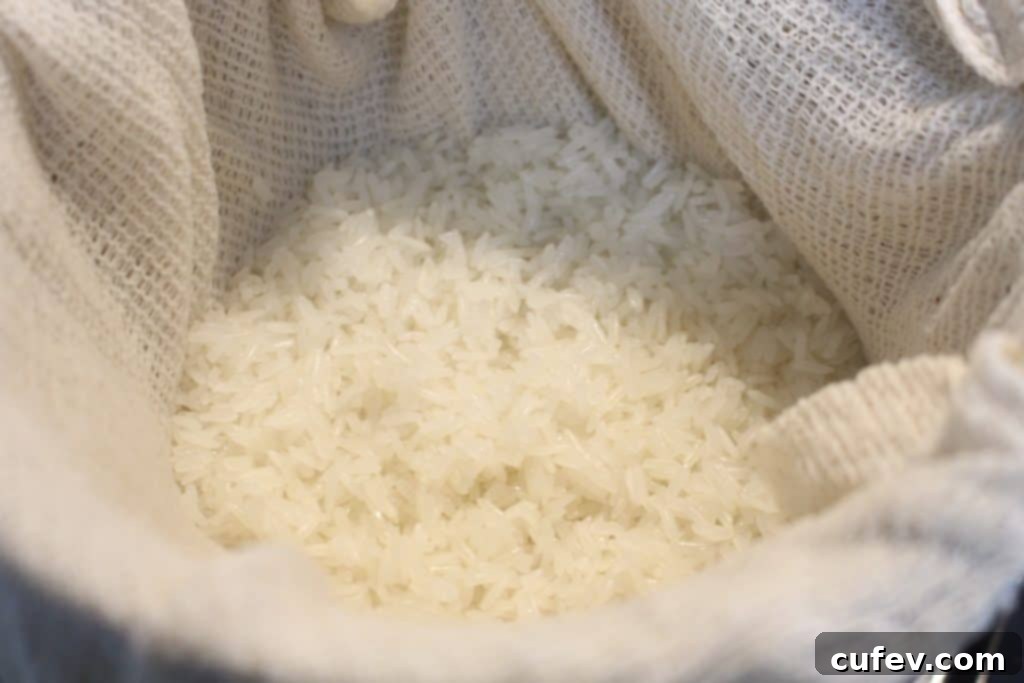
After soaking, the water is drained, and the sticky rice is transferred onto a cheesecloth-lined steamer. In Japan, we often use a rice cooker with a specific sticky rice setting, which is convenient but yields a slightly different result. In Thailand, however, steaming is the traditional and preferred method. This technique, using a bamboo or metal steamer, is believed to impart a superior taste and texture to the rice, giving it that characteristic springiness and distinct aroma that rice cookers simply can’t replicate. The steaming process typically takes 20 to 25 minutes. A critical tip for success is to flip the rice halfway through the steaming time. This ensures even cooking and prevents the top layer from drying out and hardening, guaranteeing uniformly soft and perfectly cooked grains.
Crafting the Sweet Coconut Milk Infusion
While the sticky rice steams to perfection, your attention turns to preparing the luxurious coconut milk mixture that will transform the plain rice into a sweet, aromatic delight. In a small saucepan, combine the canned coconut milk, granulated sugar, and a pinch of fine sea salt. Gently heat this mixture over medium-low heat, stirring occasionally, until the sugar completely dissolves. It’s important not to boil the mixture vigorously, but rather to warm it enough to ensure the sugar integrates smoothly. The salt, though a small amount, is crucial as it balances the sweetness of the sugar and mango, enhancing all the flavors. This sweet coconut syrup is the heart of the sticky rice’s flavor profile, infusing it with tropical richness.
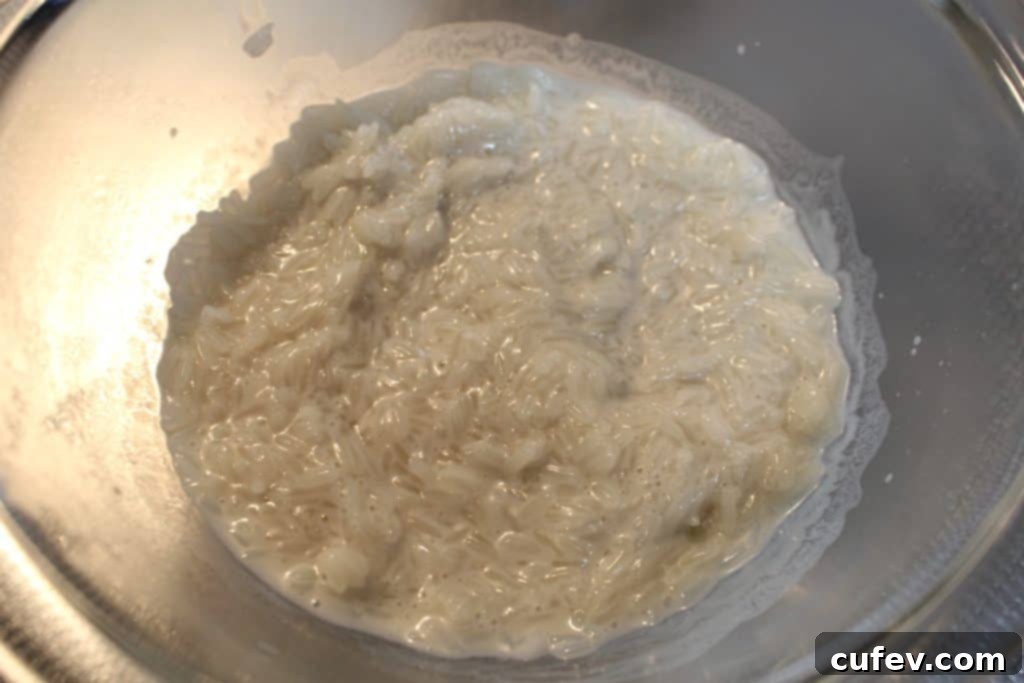
Once the rice is steamed and the coconut milk mixture is ready, transfer the hot sticky rice into a clean bowl. Immediately pour the warm coconut mixture over the rice. Using a spoon, gently mix the rice and coconut milk together, ensuring every grain is coated. Then, cover the bowl and let it sit for about 15 minutes. This resting period is essential; it allows the sticky rice to fully absorb the sweet coconut milk, becoming wonderfully tender, fragrant, and perfectly infused with flavor. The transformation is magical, turning simple rice into a sticky, sweet base for the vibrant mango.
The Optional, Yet Highly Recommended, Salty Coconut Sauce
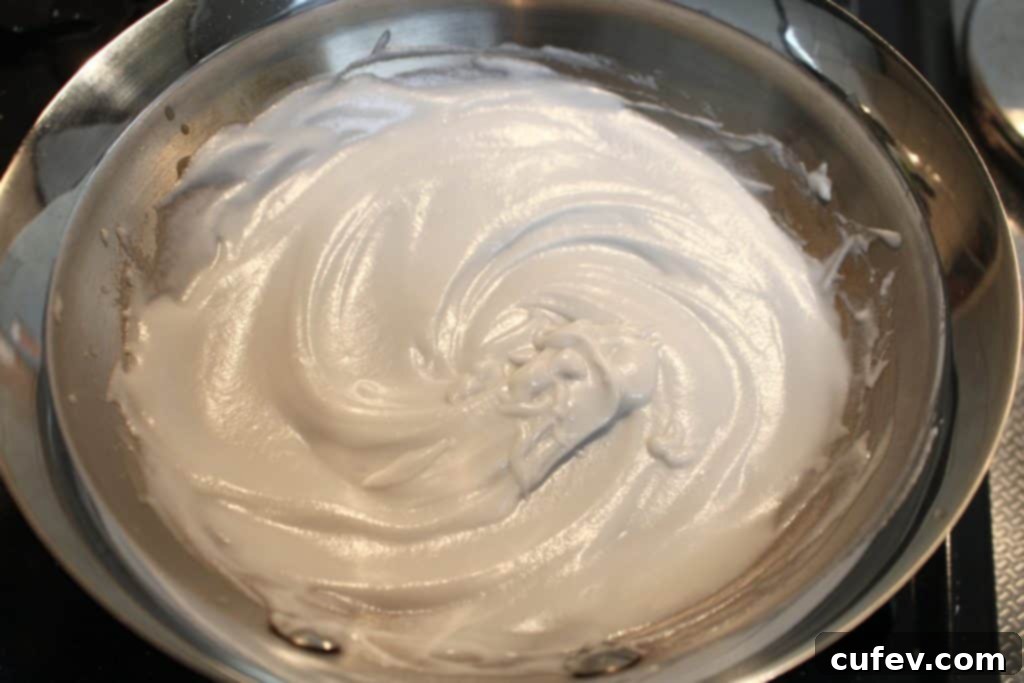
While the sticky rice is soaking up its sweet coconut bath, you have the opportunity to elevate your dessert even further by preparing an optional, but in my opinion, highly recommended salty coconut sauce. This sauce isn’t just an extra step; it’s a game-changer. The subtle saltiness perfectly contrasts with the sweetness of the rice and mangoes, creating a truly harmonious flavor profile that distinguishes an exceptional mango sticky rice from a merely good one. To make it, combine additional canned coconut milk, a teaspoon of rice flour (which acts as a thickening agent), fine sea salt, and a tiny pinch of sugar in a separate pan. Whisk these ingredients together until smooth, then bring the mixture to a gentle boil, stirring constantly to prevent lumps. As soon as it boils and thickens slightly, remove it from the heat and let it cool. The rice flour gives it a beautiful, pourable consistency that clings to the rice and mango without being too heavy.
Artful Assembly and Presentation
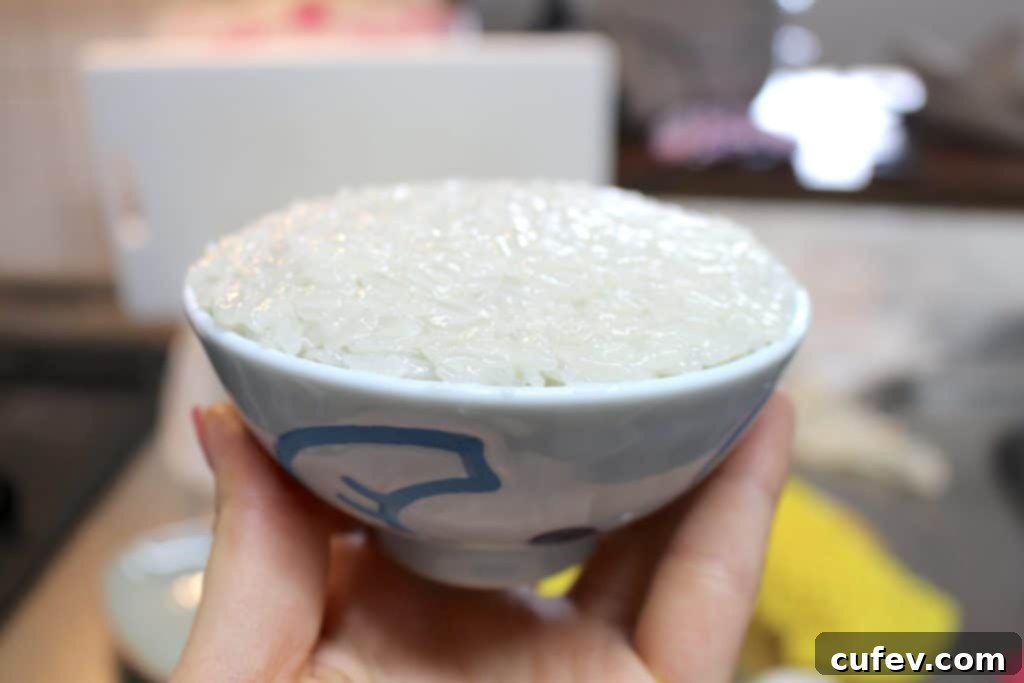
At this point, you could simply spoon the luscious sticky rice onto a plate, but for an authentic presentation, I prefer to mold it. The rounded mound of rice is exactly how it was elegantly served to me at the hotel in Thailand, adding a touch of visual appeal. For this, I reach for my trusty kid-sized rice bowl – yes, the blue elephant one! – and firmly pack the coconut-infused sticky rice into it. This ensures a beautifully shaped portion.
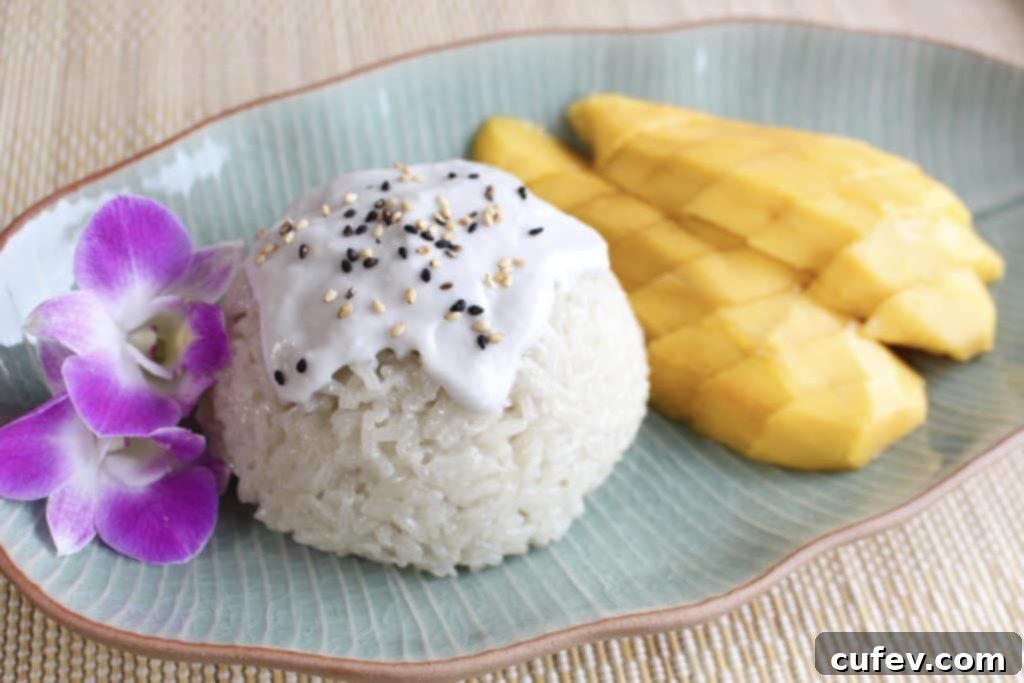
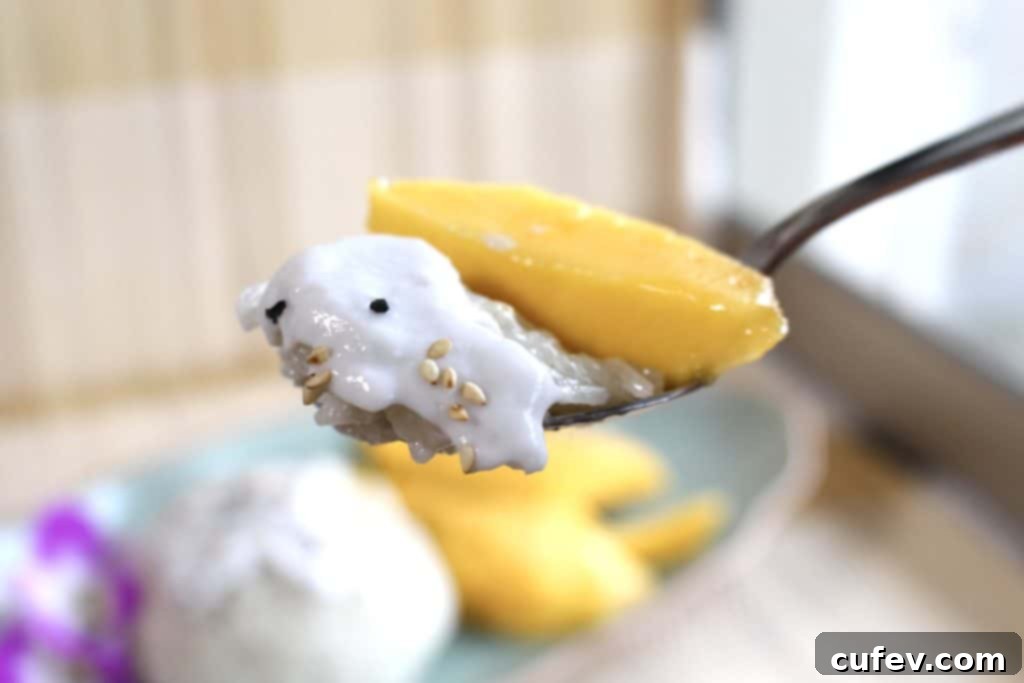
Carefully unmold the sticky rice onto your serving plate. Alongside this perfect mound, arrange generous slices of fresh, ripe mango. The vibrant yellow of the mango against the creamy white of the sticky rice creates a visually stunning contrast. Finally, spoon a generous amount of that delectable salty coconut sauce over the rice, allowing it to cascade down the sides. For an added touch of texture and nutty flavor, sprinkle a few toasted sesame seeds on top. Each component plays a vital role: the sweet, rich rice; the fresh, fruity mango; the savory, creamy sauce; and the slight crunch of sesame. It’s a symphony of flavors and textures.
The Sweet Reward of a Homemade Thai Dessert
I am absolutely thrilled that I can now effortlessly recreate my favorite Thai dessert, mango sticky rice, right here at home! The sense of accomplishment and the sheer joy of tasting those familiar flavors again are immeasurable. With every single bite, I’m instantly transported back to that blissful summer vacation in Phuket, feeling the warm sand between my toes, listening to the gentle lapping of the waves, and sipping on refreshing coconut juice. This simple yet profound dessert is more than just food; it’s a gateway to cherished memories and a celebration of beautiful culinary traditions.
If you’re a fan of chewy, sweet sticky rice desserts, I highly recommend trying this sakura mochi recipe! It’s another easy-to-make, visually stunning, and absolutely delicious treat that celebrates the delicate flavors of Japanese spring.
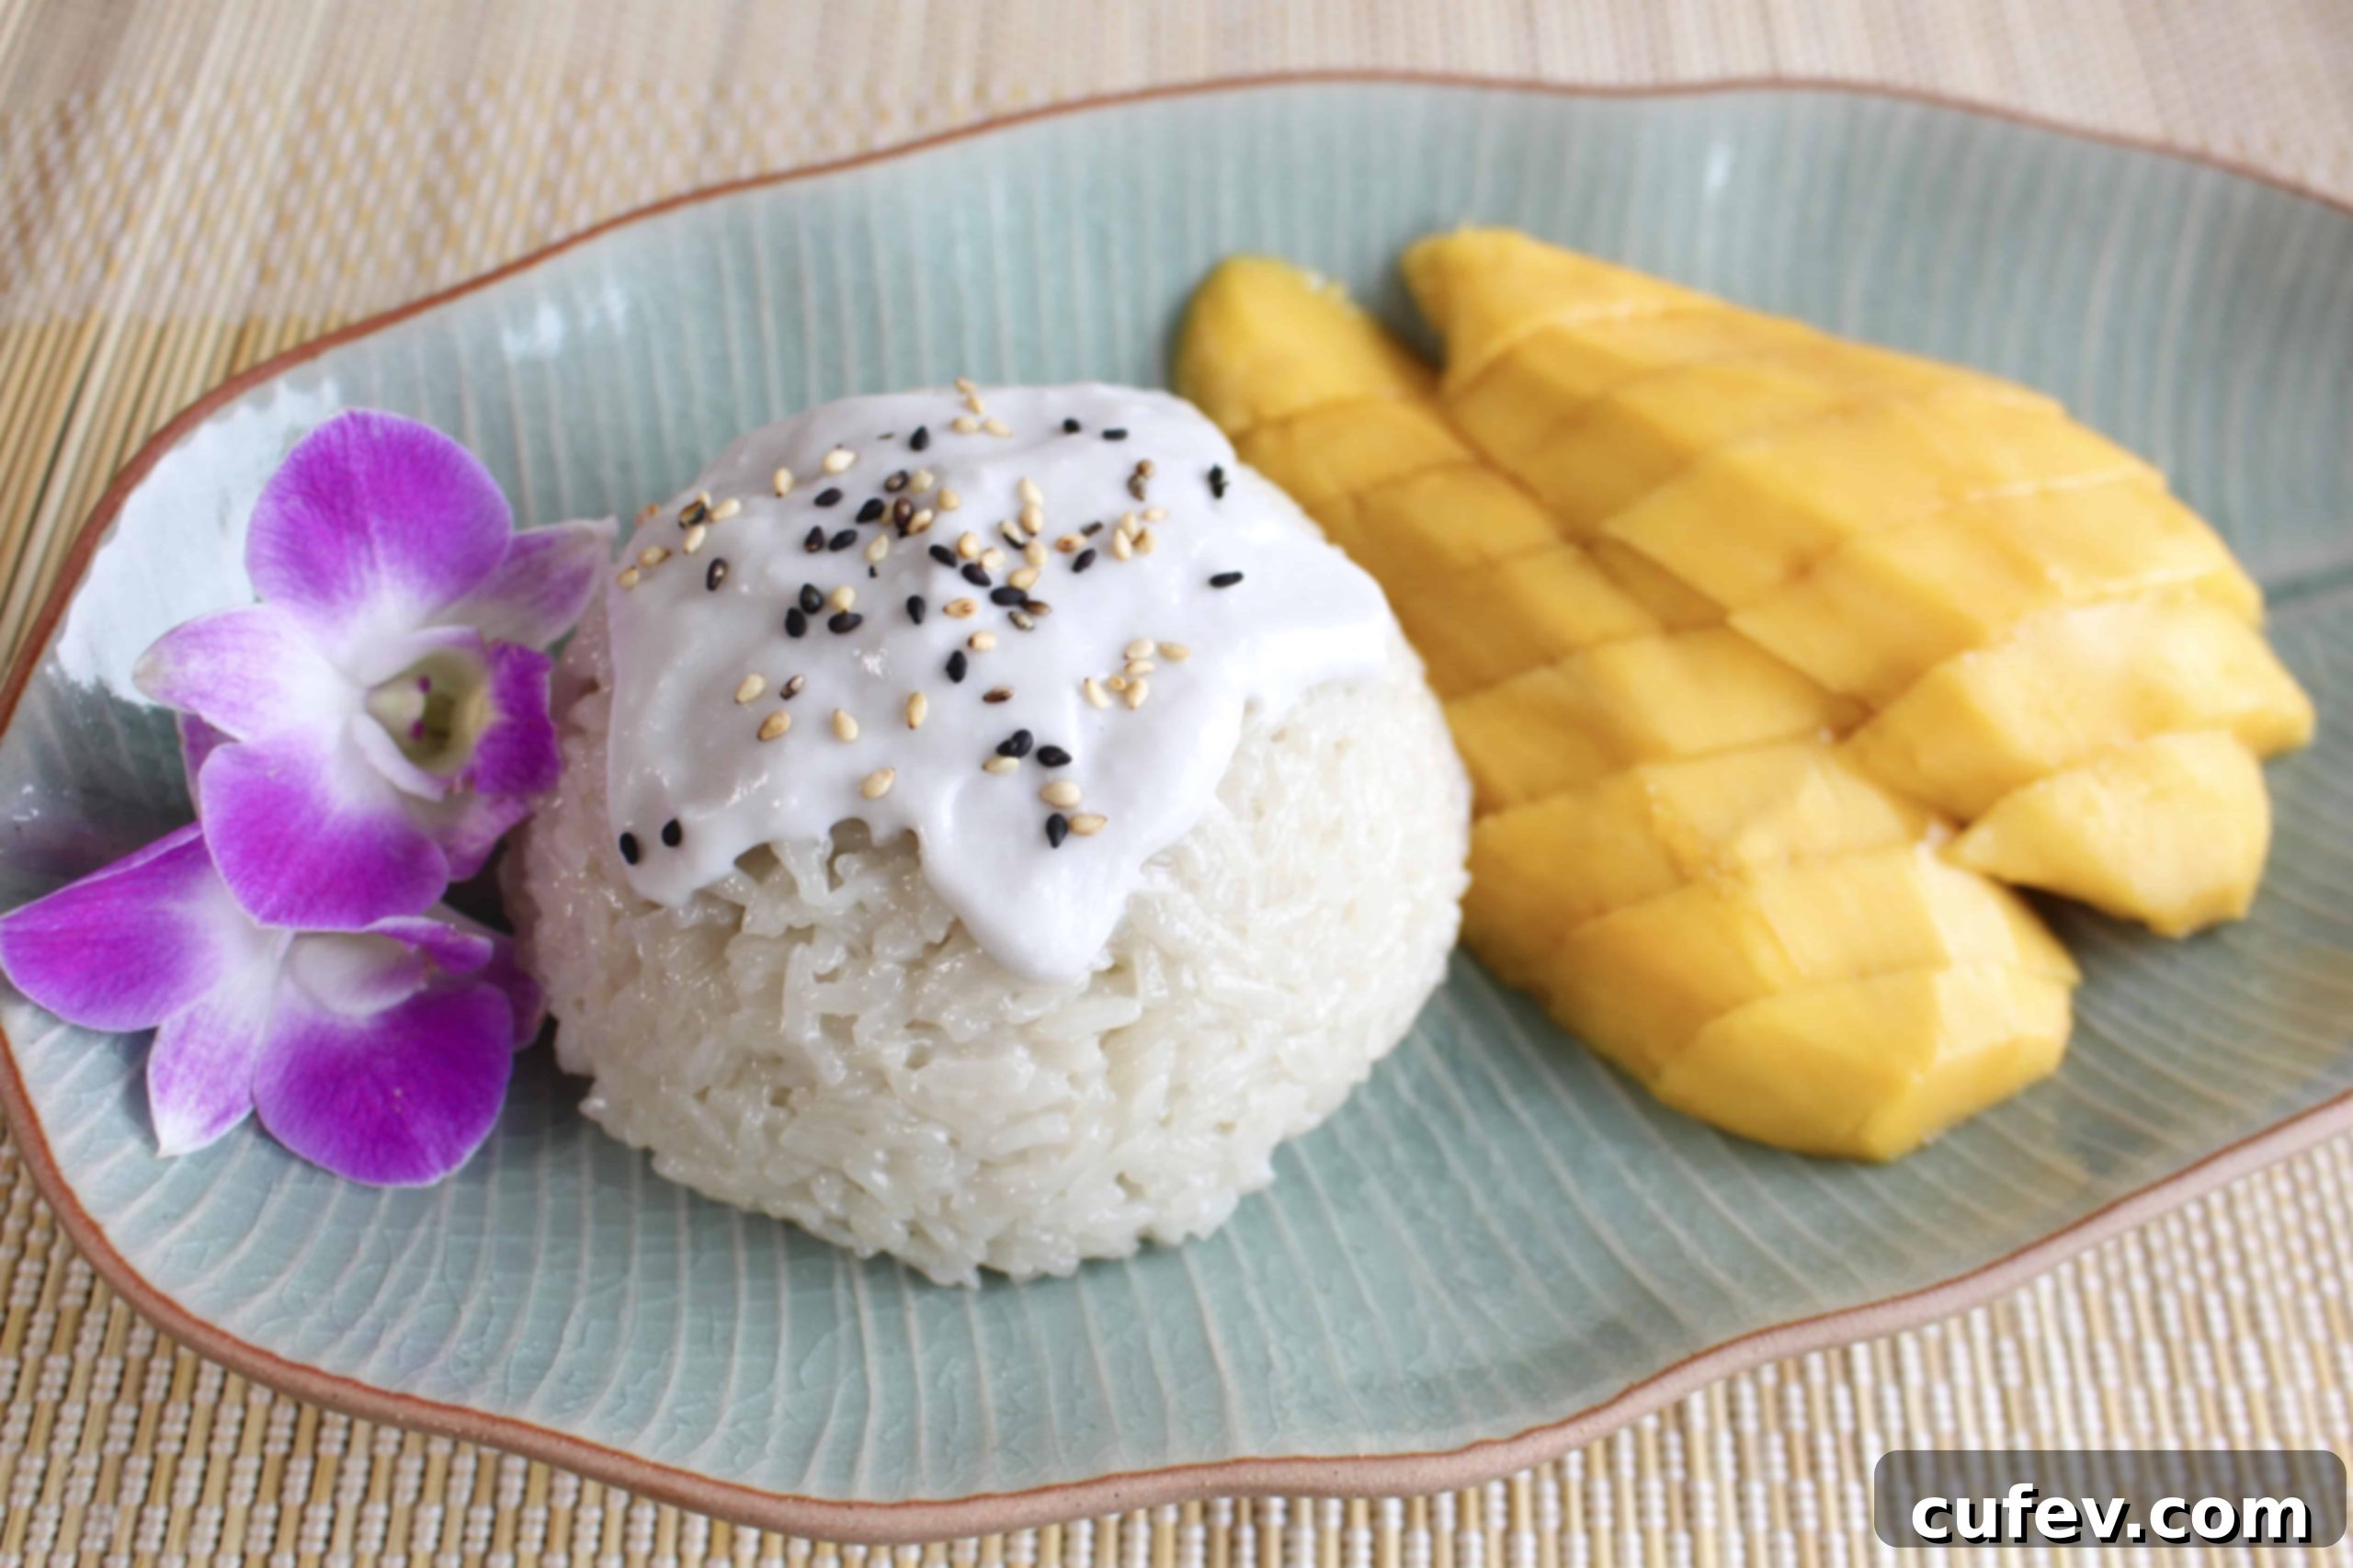
Mango with Sticky Rice (Khao Niao Mamuang)
Print
Pin
Rate
Ingredients
Sticky Rice
- ½ cup (100g) Thai sticky rice
- ½ cup (120ml) canned coconut milk
- 2 tablespoons granulated sugar
- ¼ teaspoon fine sea salt
Coconut Sauce
- ⅓ cup (80ml) canned coconut milk
- 1 teaspoon rice flour
- ⅛ to ¼ teaspoon fine sea salt
- pinch of sugar
Toppings
- 2 ripe mangoes, sliced
- toasted sesame seeds (optional)
Instructions
Sticky Rice Preparation
-
Rinse the Thai sticky rice under cold water until the water runs clear. Then, soak the rinsed rice in fresh water for a minimum of 4 hours, or ideally overnight, to ensure proper hydration.
-
Drain the soaked water completely and transfer the sticky rice onto a cheesecloth-lined steamer basket. Steam the rice for 20 to 25 minutes over simmering water. Remember to flip the rice halfway through the steaming process to ensure even cooking and prevent dryness.
-
While the sticky rice is steaming, prepare the sweet coconut milk mixture: In a small saucepan, combine ½ cup (120ml) canned coconut milk, 2 tablespoons granulated sugar, and ¼ teaspoon fine sea salt. Heat gently over medium-low heat, stirring until the sugar has fully melted. Do not let it boil.
-
Once the rice is steamed, immediately transfer it into a bowl. Pour the warm coconut milk mixture over the hot rice. Using a spoon, gently mix to combine, ensuring all the rice grains are coated. Cover the bowl and let it sit for 15 minutes to allow the rice to fully absorb the coconut milk and become tender.
Coconut Sauce Preparation (Optional but Recommended)
-
For the savory coconut sauce, combine ⅓ cup (80ml) canned coconut milk, 1 teaspoon rice flour, ⅛ to ¼ teaspoon fine sea salt, and a pinch of sugar in a small pan. Whisk together until smooth. Bring the mixture to a gentle boil, stirring constantly, until it thickens slightly. Turn off the heat and let it cool.
Assembly & Serving
-
To plate, use a small bowl to mold the sticky rice into a rounded shape, then carefully invert it onto a serving plate. Arrange slices of fresh, ripe mango alongside the rice. Drizzle the prepared coconut sauce generously over the sticky rice and sprinkle with toasted sesame seeds (if desired) for added flavor and crunch. Serve immediately and enjoy your authentic homemade Mango Sticky Rice!
