Irresistible Lemon Curd Thumbprint Cookies: A Sweet & Tangy Delight for Any Occasion
Prepare to fall in love with these utterly delightful lemon curd cookies! Combining a tender, buttery sugar cookie base with a vibrant dollop of silky, luscious lemon curd, these treats are a symphony of sweet and tart flavors. Often known as lemon thumbprint cookies, they are surprisingly easy to make and offer a bright burst of citrus that is perfect for any season, bringing sunshine even on the cloudiest days. Whether you’re a seasoned baker or just starting, this recipe will guide you to create beautiful, flavorful cookies that are sure to impress.

This recipe was originally published on May 15, 2022, and has been thoroughly updated with new information, enhanced instructions, and additional tips on November 26, 2023, to ensure the best possible baking experience.
This post is proudly sponsored by Nature’s Charm. All opinions and content are my own, reflecting my genuine enthusiasm for their high-quality vegan products.
Why These Lemon Curd Cookies Are a Must-Try
There’s something truly magical about the combination of a soft, melt-in-your-mouth cookie and the zesty tang of lemon curd. These thumbprint cookies are not just visually appealing with their golden edges and sunny centers, but they also deliver an incredible flavor profile that caters to all palates. The sweet sugar cookie provides the perfect canvas for the intense citrus burst of the lemon curd, creating a balanced treat that isn’t overly sweet. They’re ideal for holiday cookie platters, afternoon tea, dessert parties, or simply as a cheerful snack to brighten your day. Plus, with options for both gluten-free and vegan variations, they are inclusive and adaptable for various dietary needs without compromising on taste or texture.
Ingredients for the Perfect Lemon Thumbprint Cookies
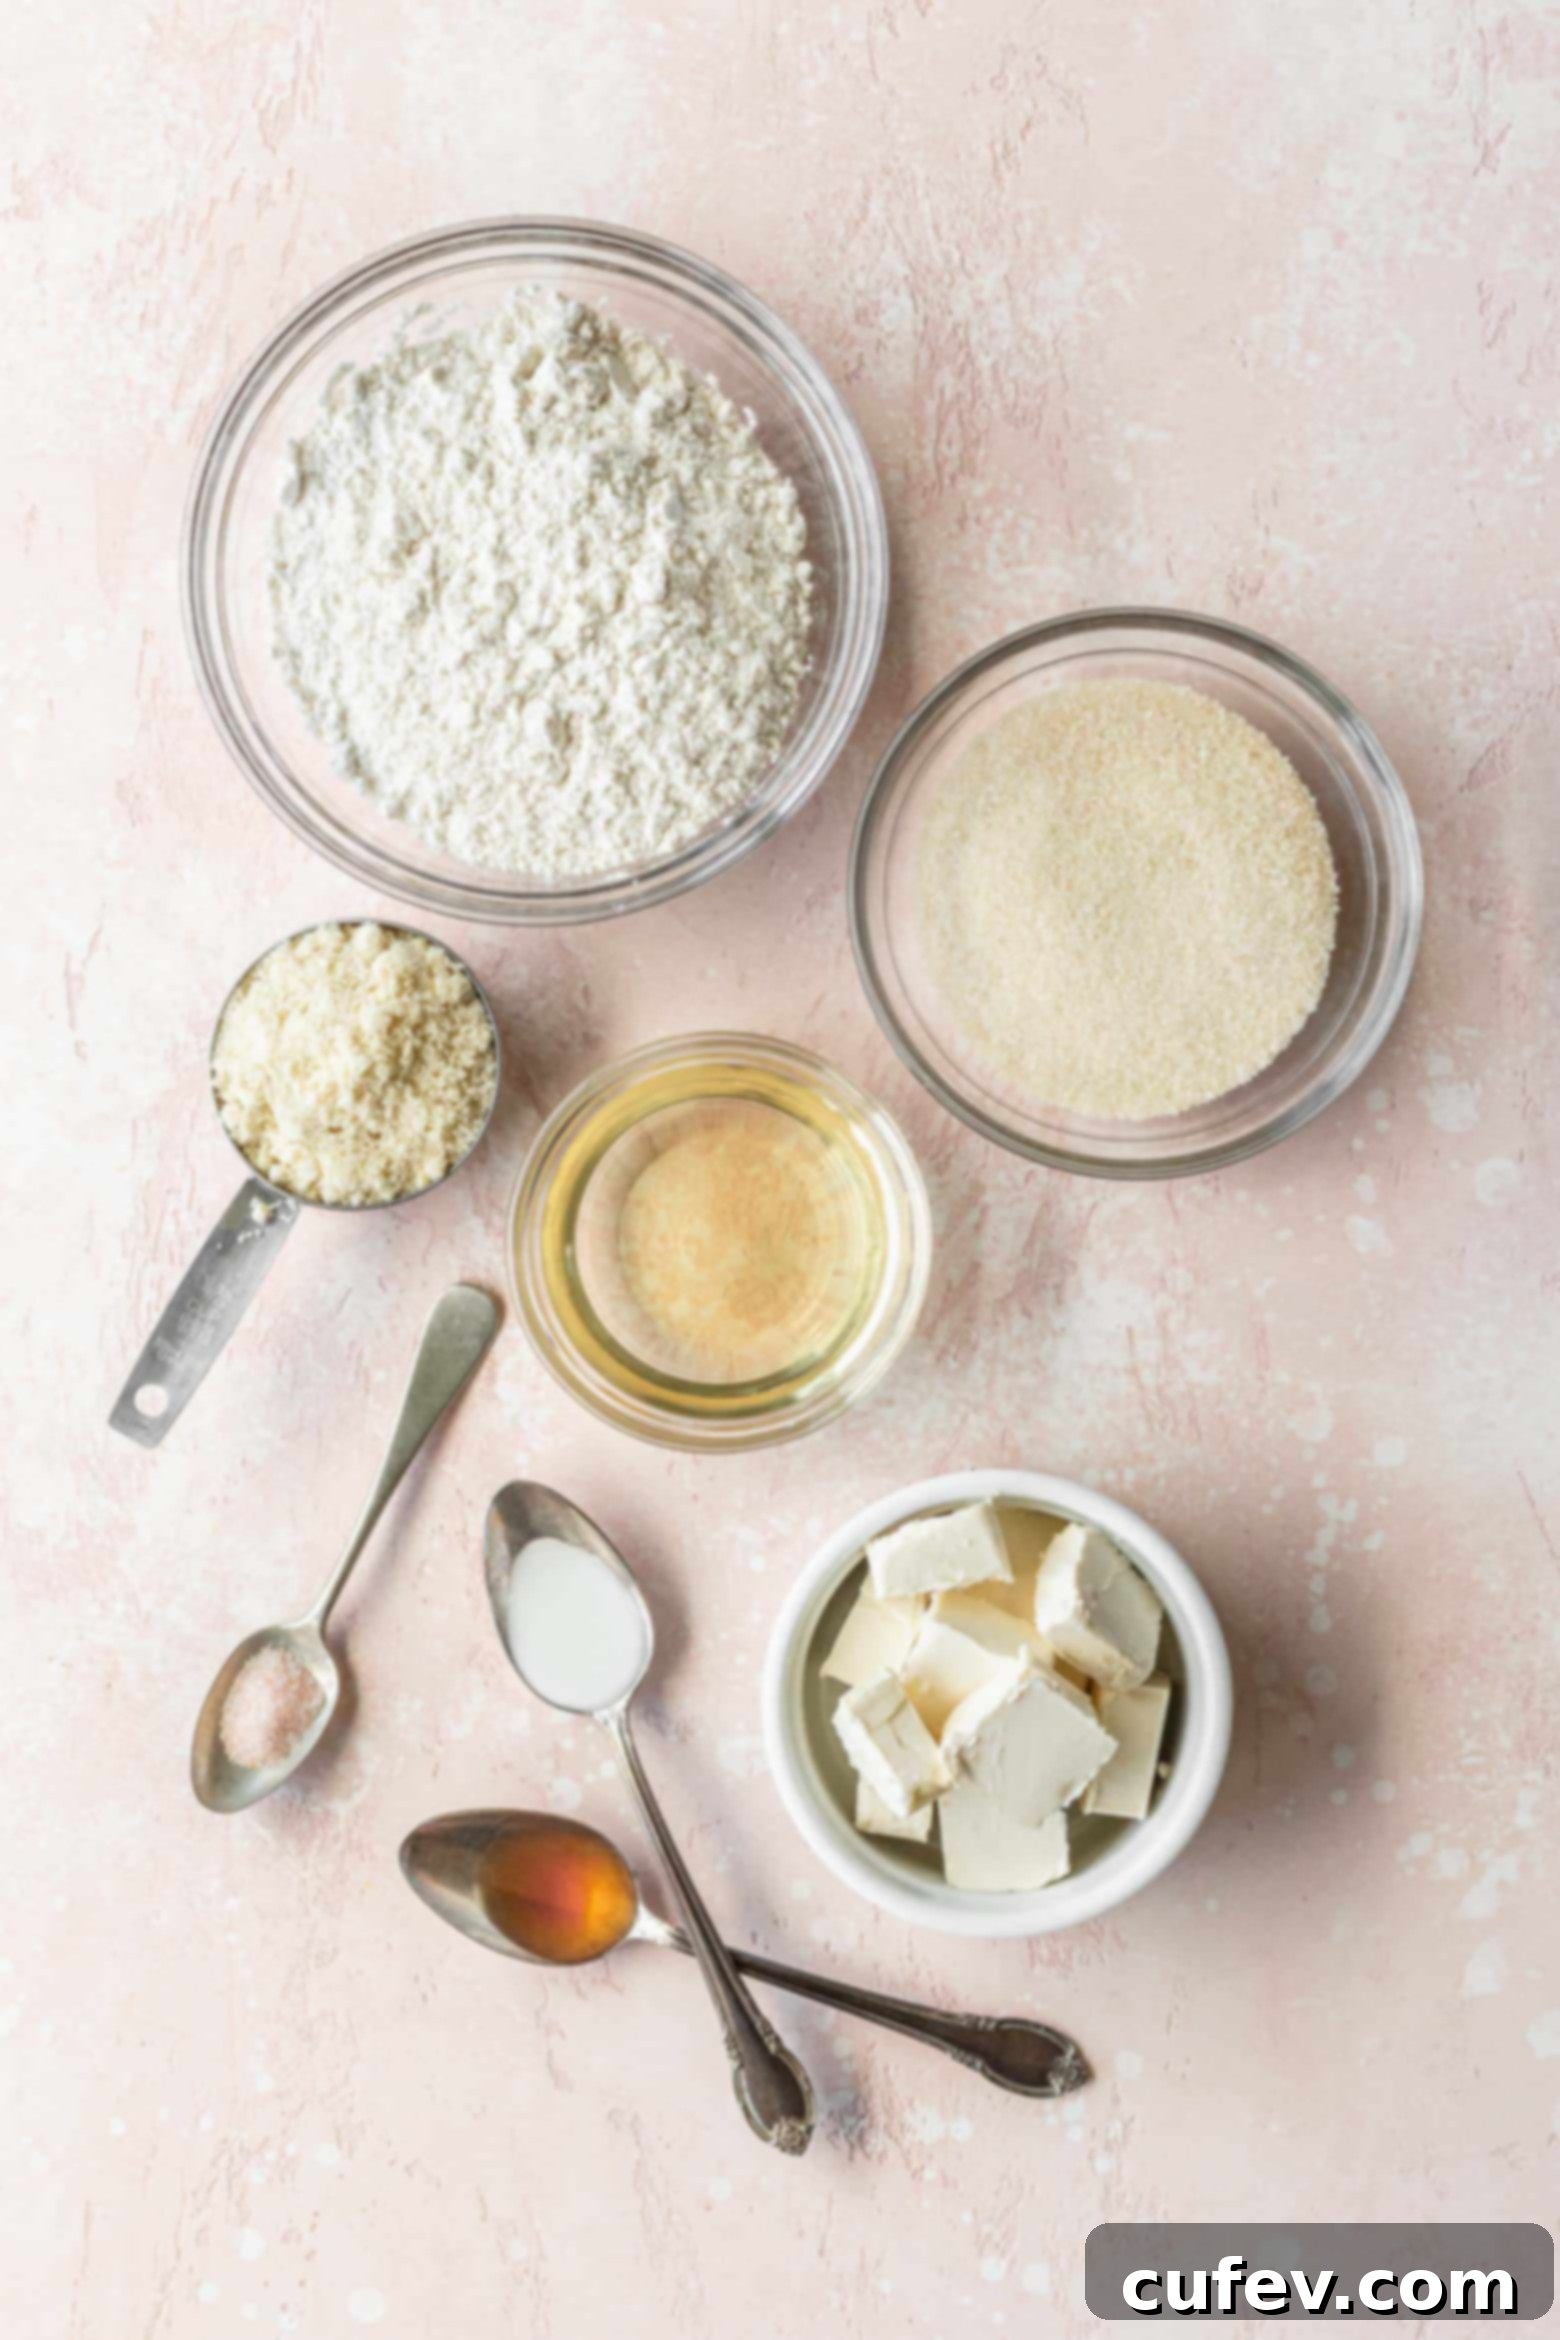
Crafting these delicious lemon curd cookies requires a few simple, yet crucial, ingredients. Each component plays an important role in achieving that perfect balance of texture and flavor. Here’s a detailed look at what you’ll need and why:
- Gluten-Free 1-to-1 Flour Blend: This is a fantastic option for those seeking a gluten-free cookie. It’s vital to use a blend that already contains xanthan gum. Xanthan gum acts as a binder, mimicking the elasticity of gluten, which is essential for preventing crumbly cookies. If your blend doesn’t include it, you’ll need to add about ¼ teaspoon per cup of flour. Alternatively, regular all-purpose flour works perfectly for a traditional sugar cookie.
- Almond Flour: Adding a touch of almond flour elevates the flavor profile, giving the cookies a subtle nuttiness and a more tender crumb. It contributes to a richer, more complex taste. If you have a nut allergy or simply don’t have almond flour, you can substitute it with an equal amount of your chosen gluten-free 1-to-1 flour blend for consistent results.
- Salt: A fundamental ingredient in baking, fine salt isn’t just for seasoning; it’s crucial for balancing the sweetness of the sugar and the tartness of the lemon curd. It enhances all the other flavors, preventing the cookies from tasting bland or overly sugary.
- Butter (Dairy or Vegan): Butter is key for richness and tenderness in the cookie dough. You have the flexibility to use either dairy butter or a high-quality vegan butter. When opting for vegan butter, pay attention to its fat content. If your vegan butter has less than 8 grams of fat per 2 teaspoons, it’s recommended to supplement it with refined coconut oil or shortening. This adjustment ensures the cookies have the right structure and texture, as lower-fat butter might lead to a less stable dough. Refer to the recipe card notes for precise measurements if making this substitution. Ensure your butter is softened at room temperature for optimal creaming.
- Granulated Sugar: This provides the primary sweetness for the cookie base, creating a classic sugar cookie flavor. It also helps with the cookie’s structure and gives it a slightly crisp edge.
- Milk (Dairy or Non-Dairy): Just a tablespoon of milk helps bring the dough together, ensuring it’s smooth and pliable. Any milk you have on hand will work. For a completely vegan option, I personally love using Nature’s Charm’s evaporated oat milk, which contributes to both the cookie dough and the lemon curd for a harmonious flavor.
- Vanilla Extract: Pure vanilla extract or vanilla paste adds a warm, aromatic depth that complements the lemon beautifully. Avoid imitation vanilla for the best flavor outcome.
- Lemon Curd: The star of these thumbprint cookies! You can use your favorite homemade lemon curd for a truly fresh and vibrant taste, or a good quality store-bought version for convenience. If you’re looking for a delightful egg-free option, I highly recommend checking out my vegan lemon curd recipe, which perfectly captures that bright, tangy essence.
How to Make Lemon Curd Cookies: Step-by-Step Guide
Creating these lemon curd thumbprint cookies is a straightforward process that yields incredibly satisfying results. Follow these steps for perfect cookies every time:
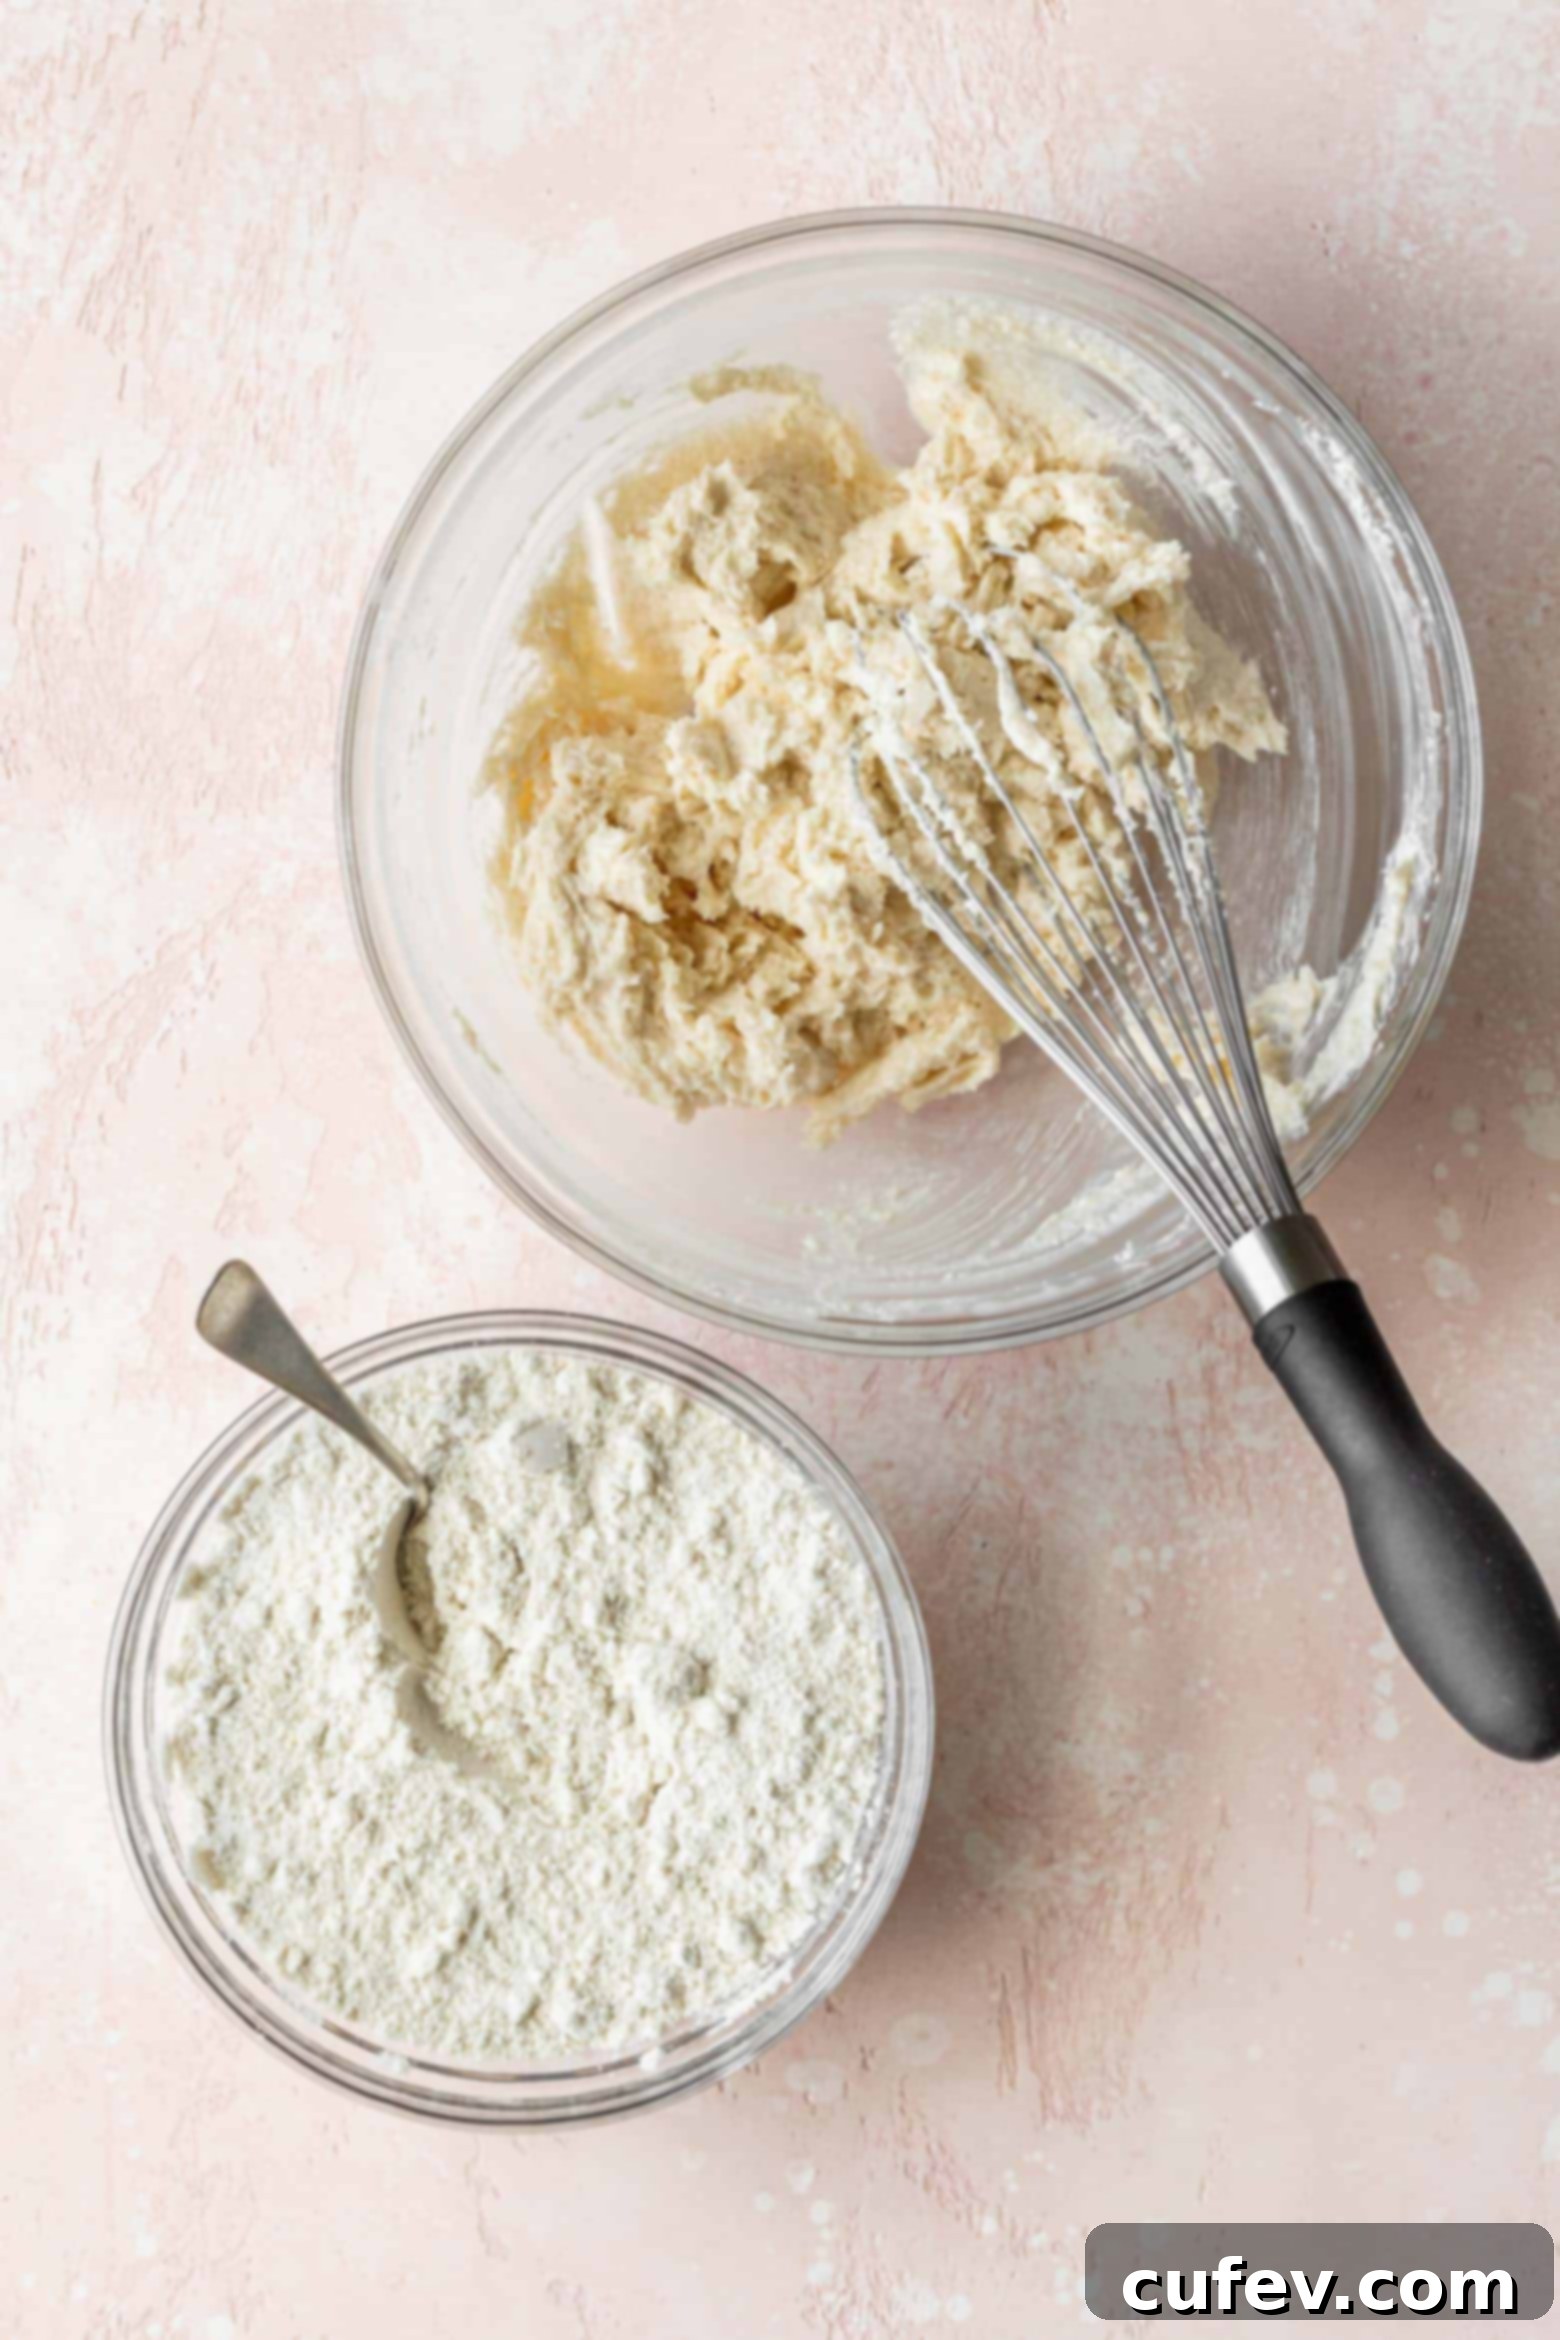
Step 1: Combine Dry Ingredients. In a medium-sized bowl, whisk together the gluten-free 1-to-1 flour blend, almond flour, and fine salt. This ensures all the dry ingredients are evenly distributed before being added to the wet mixture, preventing pockets of unmixed flour in your dough. Set this bowl aside.
Step 2: Cream Wet Ingredients. In a separate, larger bowl, using an electric mixer (handheld or stand mixer), cream together the softened butter (or vegan butter/coconut oil blend) and granulated sugar until the mixture is light, fluffy, and pale in color. This process incorporates air into the butter, which contributes to the cookies’ tender texture. Next, beat in the milk and vanilla extract until just combined.
Step 3: Form the Dough and Chill. Gradually add the dry flour mixture to the wet ingredients, mixing on low speed until no dry bits of flour remain and a cohesive dough forms. Be careful not to overmix, which can lead to tough cookies. Cover the bowl with plastic wrap and refrigerate the dough for at least 30 minutes. This chilling period is crucial; it allows the flours to fully hydrate and the butter to firm up, which prevents the cookies from spreading too much during baking.
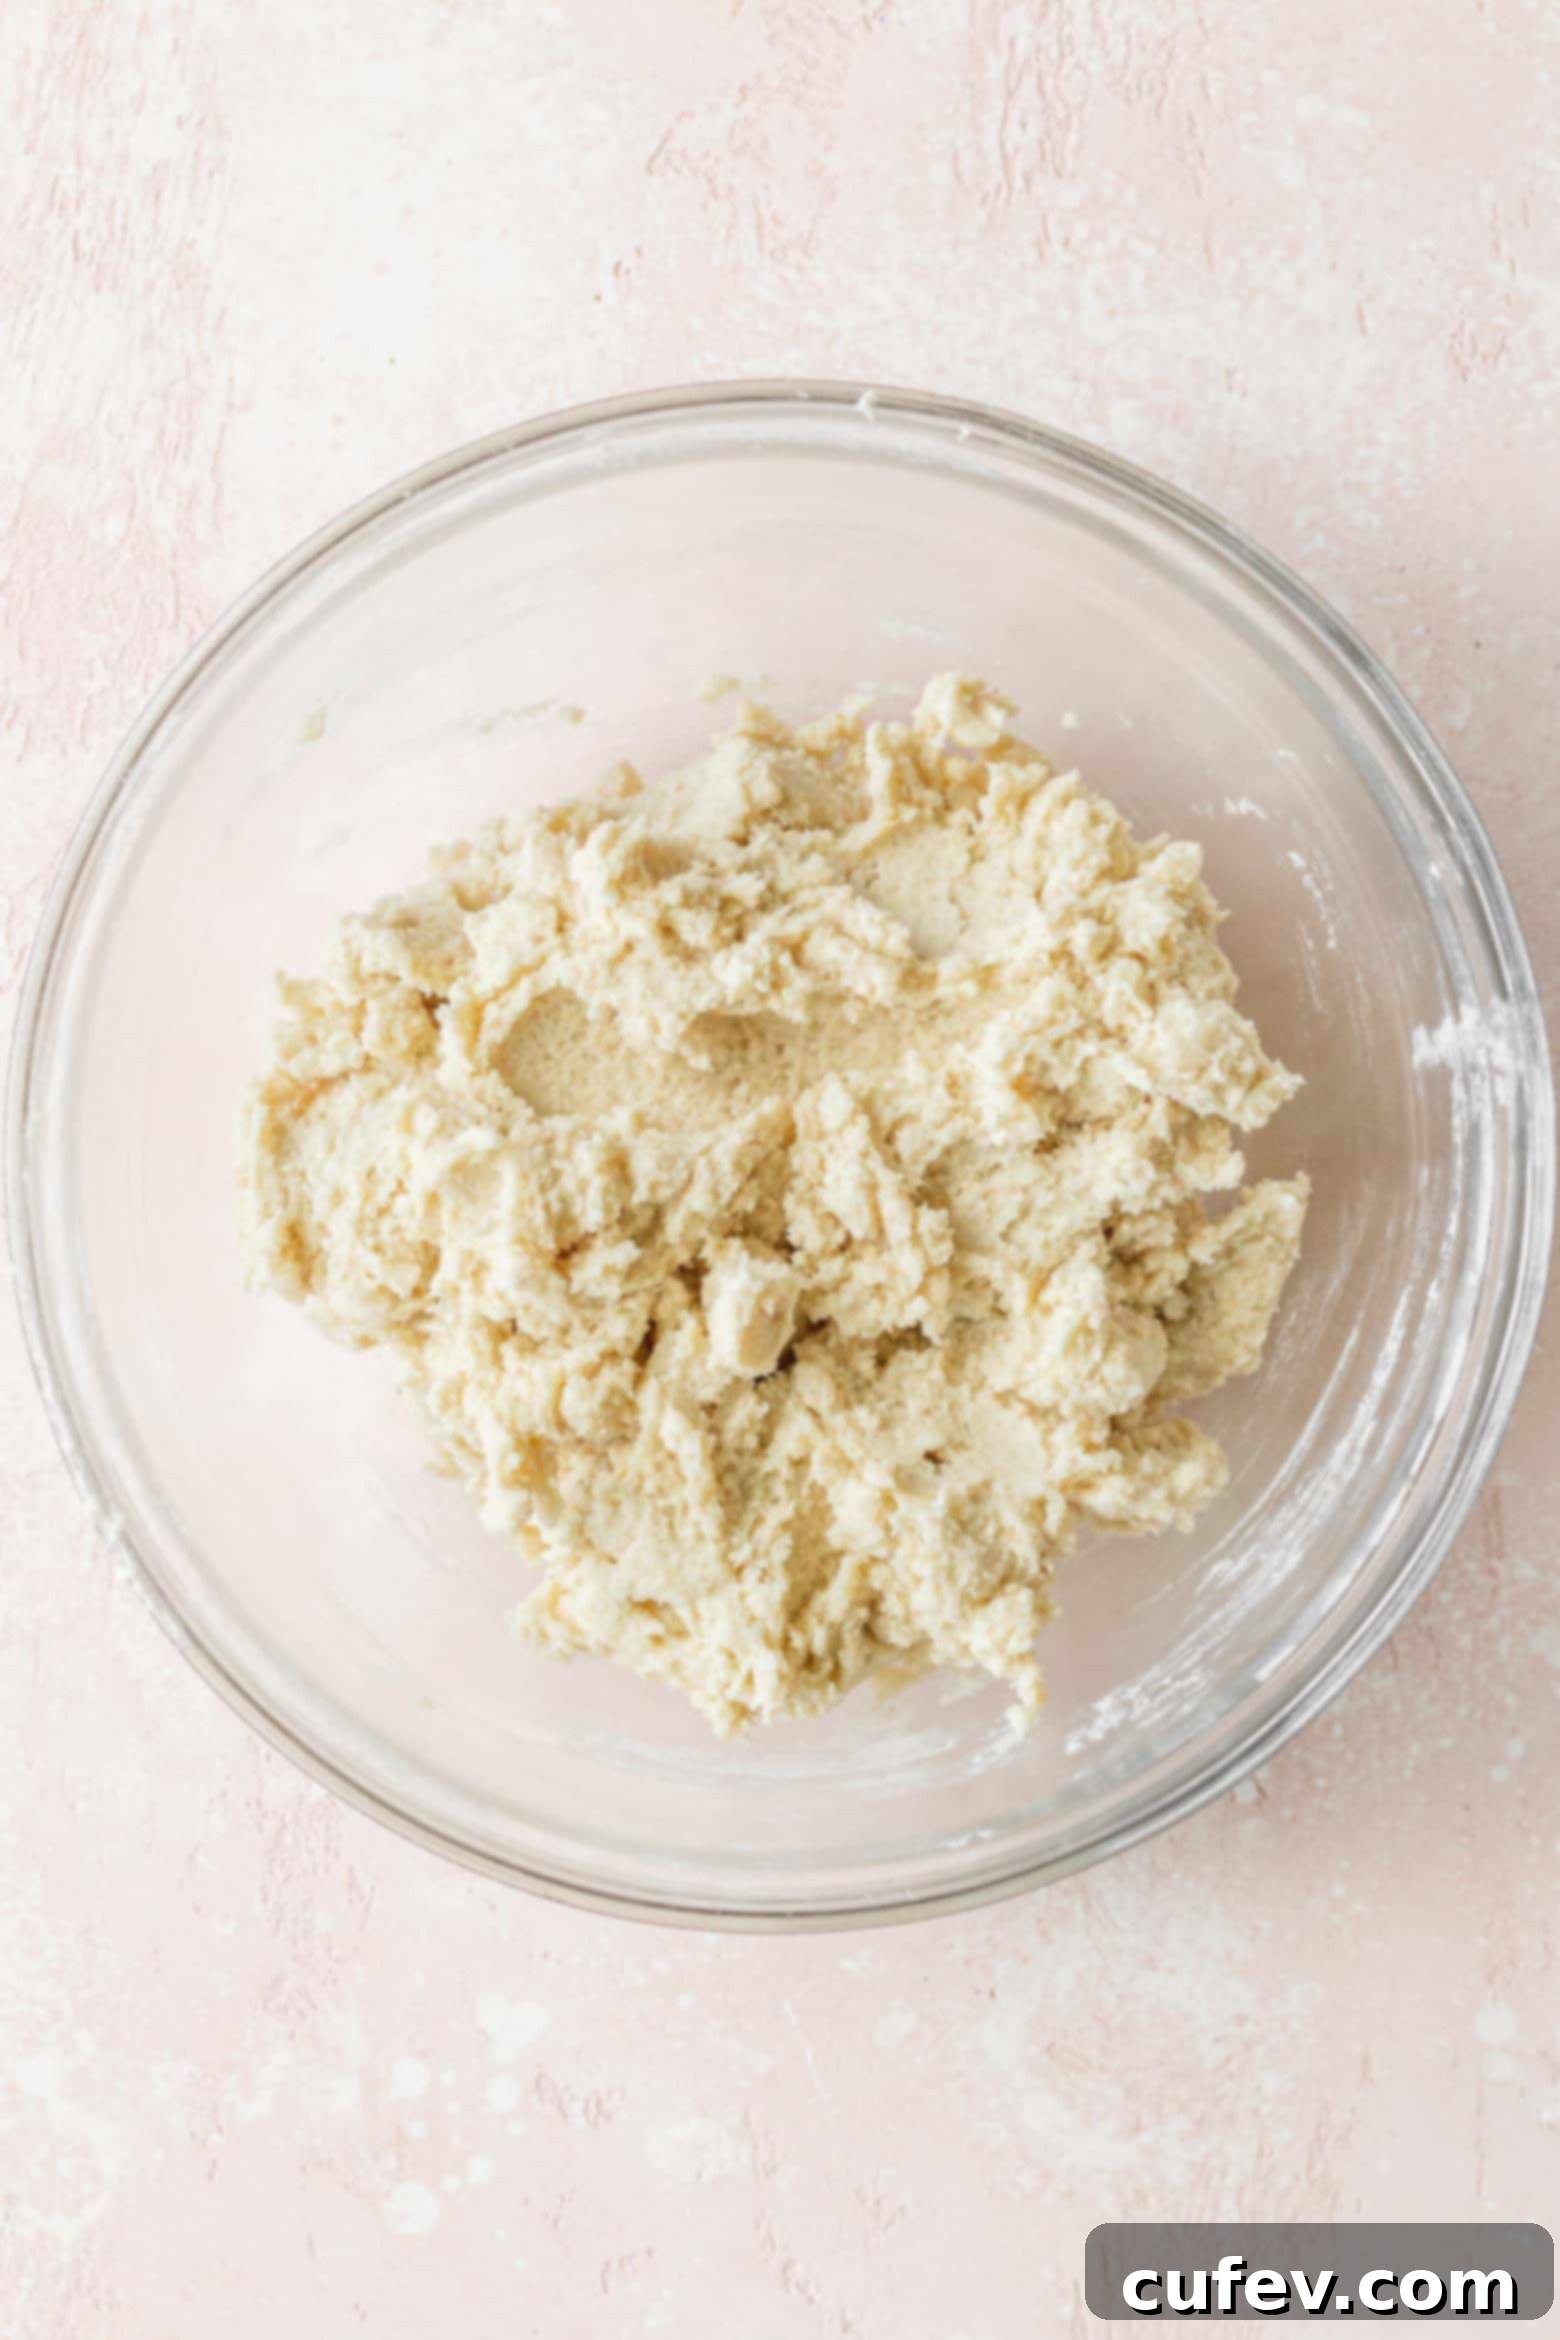
Step 4: Roll and Chill Again. Once chilled, take a heaped tablespoon of cookie dough and roll it into a smooth ball between your palms. Place the dough balls on a piece of parchment paper or a plate. Repeat this process until all the dough is used. Return these shaped cookie dough balls to the fridge for another hour. This second chill is key to ensuring the cookies maintain their perfect round shape and don’t flatten excessively in the hot oven.
Step 5: Preheat Oven and Prepare Baking Sheet. While the dough is chilling for the second time, preheat your oven to 375°F (190°C). Line a baking sheet with parchment paper. This prevents sticking and makes for easy cleanup.
Step 6: Bake the Cookies. Arrange the chilled cookie dough balls on the prepared baking sheet, ensuring they are spaced about 2 inches apart to allow for slight spreading. Bake for 9-12 minutes, or until the edges are lightly golden and the centers are just set. Baking time can vary depending on your oven, so keep a close eye on them.
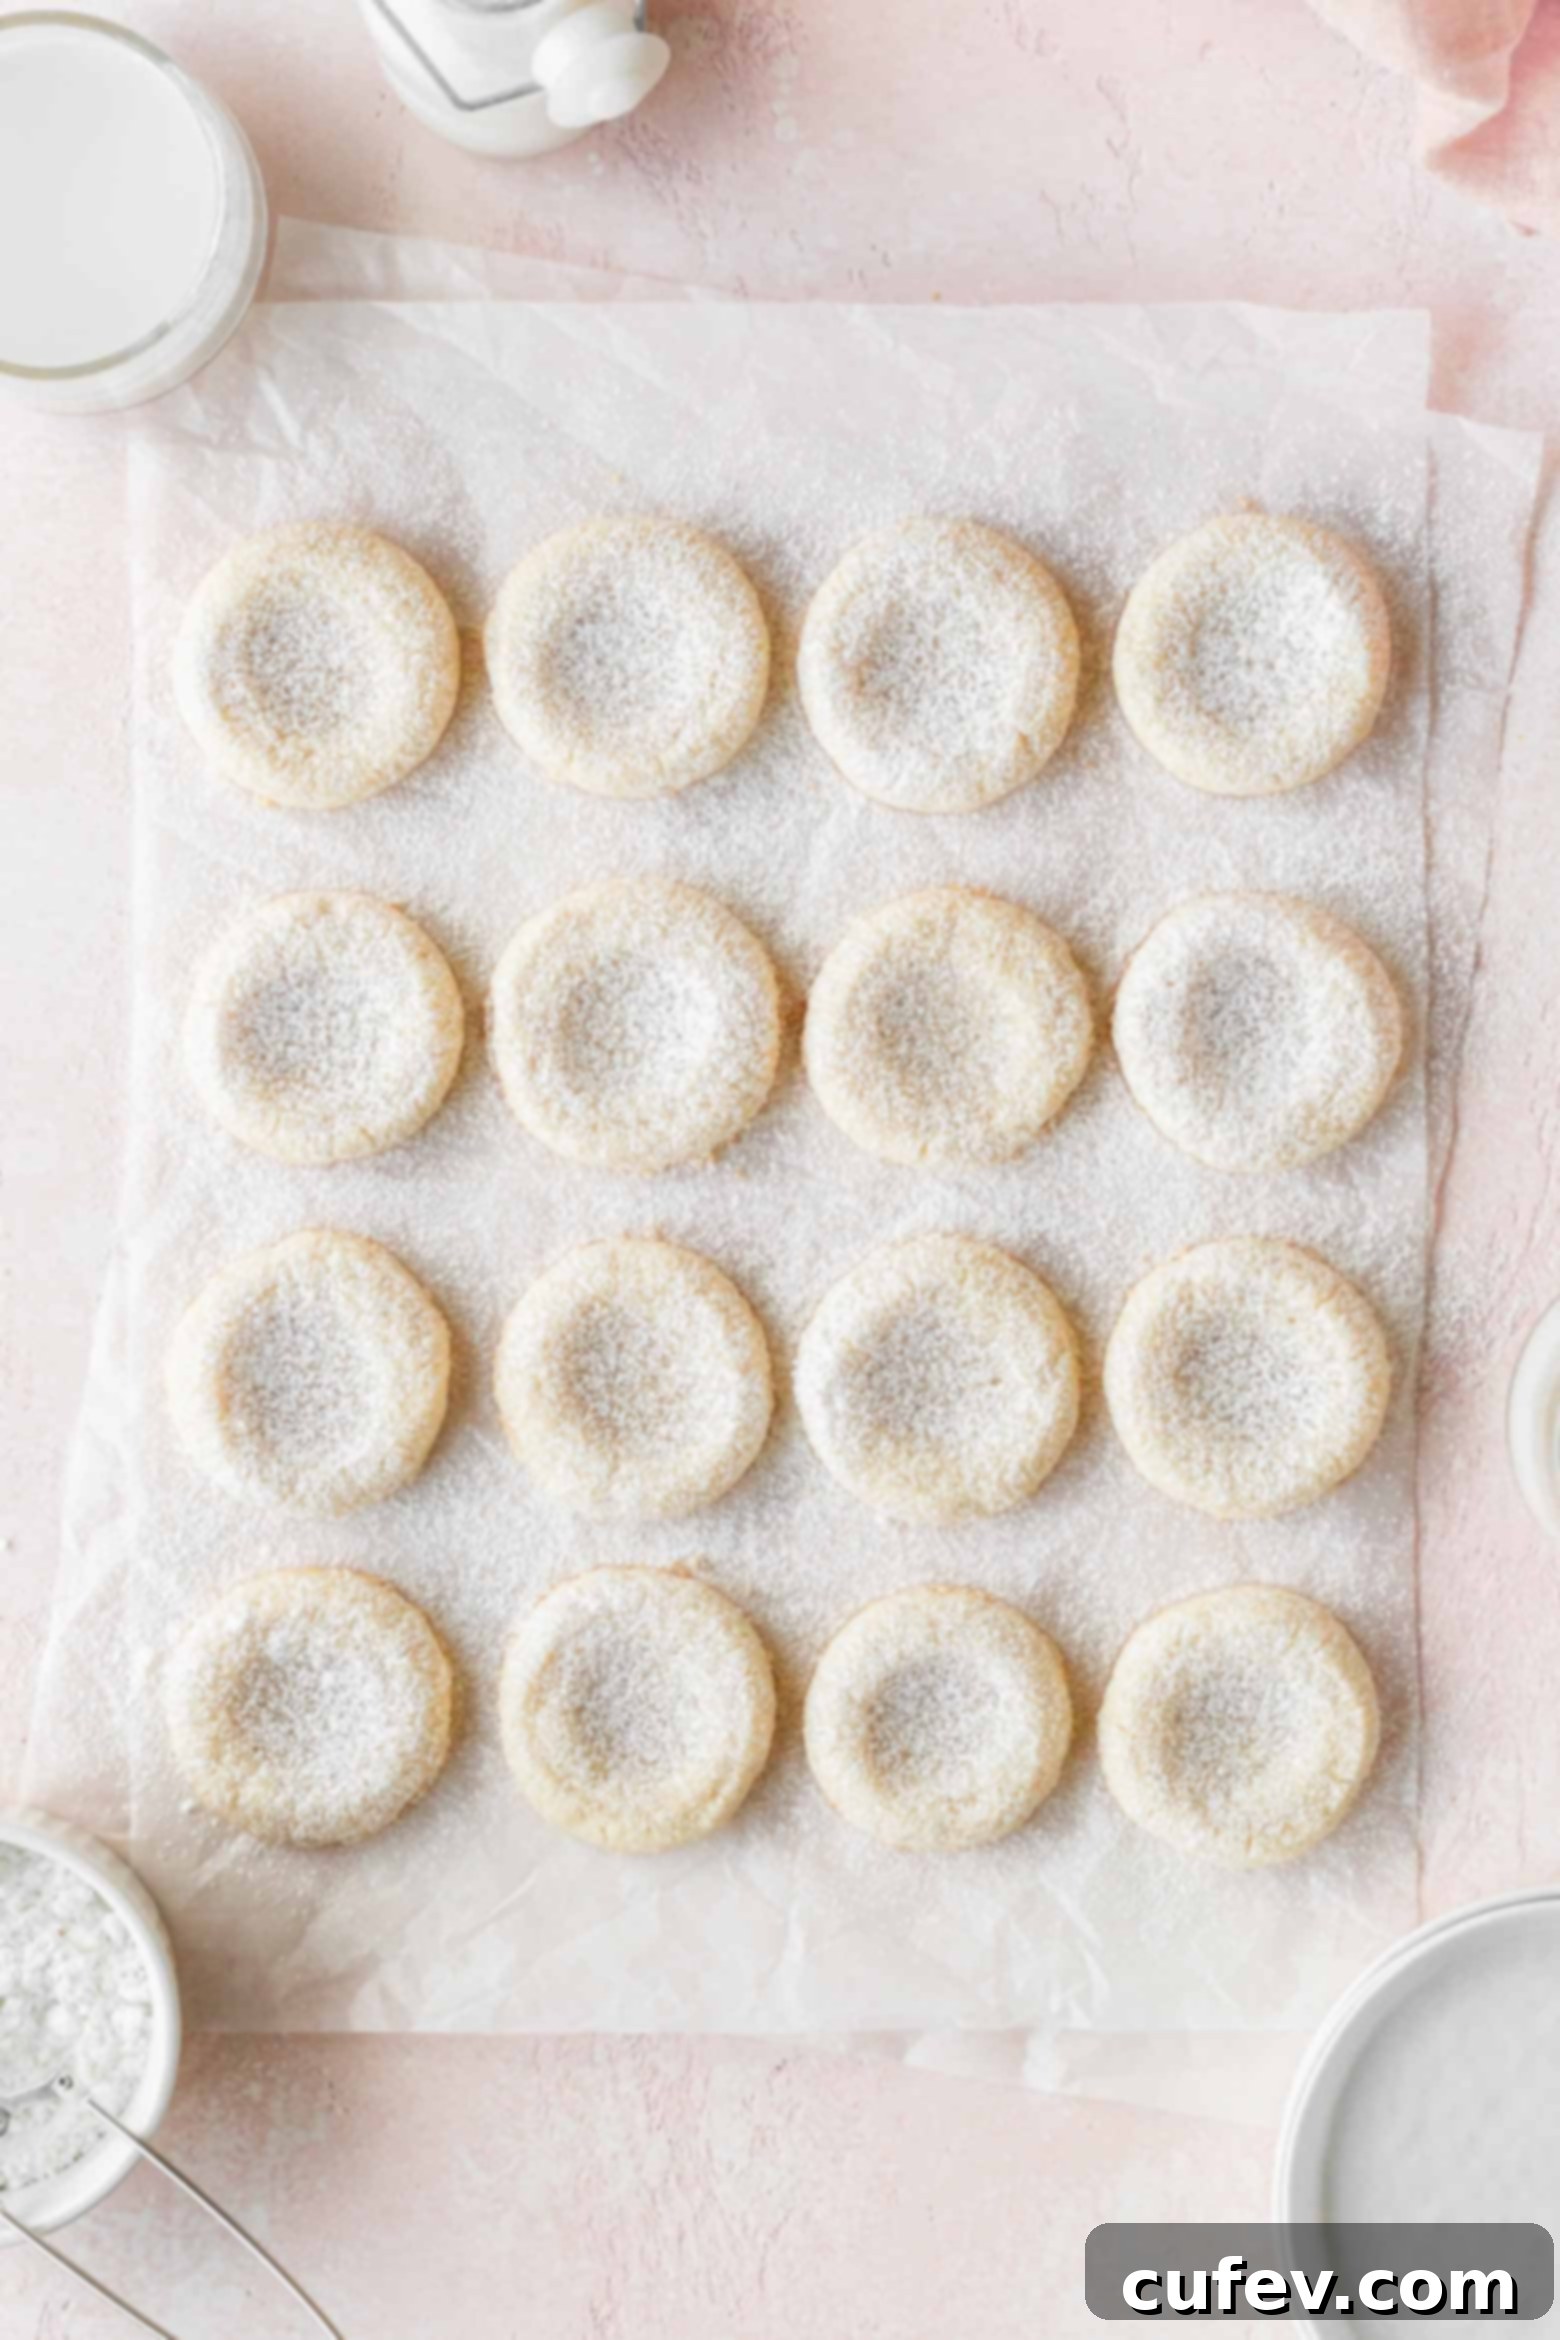
Step 7: Create Indentations. Immediately after removing the cookies from the oven, while they are still warm and pliable, use the back of a small teaspoon or a round measuring spoon to gently press into the center of each cookie, creating a distinct indentation. Be careful not to press all the way through. This step is done *after* baking because indentations made beforehand would disappear as the cookies expand. Allow the cookies to cool completely on the baking sheet before carefully transferring them to a wire rack. This prevents them from breaking and helps them firm up.

Step 8: Dust and Fill. Once the cookies are completely cool, arrange them on a wire rack or back on parchment paper. Lightly dust them with powdered sugar for a beautiful finish and an extra touch of sweetness. Then, carefully spoon or pipe the luscious lemon curd into the indentations of each cookie. For a neat finish, you can use a small pastry bag fitted with a round tip, or simply a small spoon.

Recipe Pro Tips for Perfect Lemon Curd Cookies
Achieving bakery-quality lemon curd cookies is all about paying attention to a few key details. Here are some expert tips to ensure your cookies turn out perfectly every time:
- Don’t Skip Chilling the Cookie Dough: This is arguably the most important step for thumbprint cookies. The initial 30-minute chill allows the flour, especially gluten-free blends, to properly hydrate, resulting in a more uniform texture. More critically, it firms up the butter in the dough. Cold butter melts more slowly in the oven, meaning the cookies hold their shape better and spread less, giving you that desirable thick, chewy cookie.
- Shape and Chill Before Baking: While the dough is soft after the first chill, it’s easier to roll into perfect balls. Once shaped, chilling them again for an hour helps them retain their form even more effectively in the heat of the oven. This extra chill is your secret weapon against flat, overly-spread cookies.
- Create Indentations After Baking: Resisting the urge to make the thumbprints before baking is crucial. As cookies bake and expand, any indentations made beforehand will likely fill in or lose their definition. Pressing them gently with a teaspoon immediately after they come out of the oven, while still warm and pliable, allows you to create crisp, defined wells for your lemon curd without cracking the delicate cookie surface.
- Rotate Baking Sheets for Even Baking: Ovens often have hot spots. To ensure all your lemon curd cookies bake evenly, rotate your baking sheets halfway through the baking time. This simple action helps achieve uniform browning and ensures no cookie is over or under-baked.
- Optimal Ingredient Temperature: Ensure your butter is properly softened to room temperature before creaming. If it’s too cold, it won’t cream properly, and if it’s too warm, your dough might be too greasy and spread excessively. This small detail can significantly impact the final texture of your cookies.
- Use a Cookie Scoop: For consistently sized and perfectly round cookies, a cookie scoop is invaluable. It ensures each cookie ball is uniform, leading to even baking and a professional look.
- Save and Repurpose Leftover Lemon Curd: Don’t let any of that delicious lemon curd go to waste! It’s incredibly versatile. Use it as a vibrant spread on your morning toast or croissants, swirl it into plain yogurt with some granola for a quick and exciting breakfast, or fold it into homemade vanilla ice cream for a delightful lemon swirl. It also makes a fantastic topping for pancakes or waffles!

Frequently Asked Questions About Lemon Curd Cookies
To maintain their freshness and prevent the lemon curd from sticking, store your lemon curd cookies in an airtight container at room temperature. For best results, place a piece of parchment paper or wax paper between layers of cookies. This barrier ensures the delicate curd doesn’t adhere to the cookies stacked above. They typically last for about 3 days when stored properly.
Yes, these cookies freeze beautifully! For optimal preservation, wrap each cookie individually in plastic wrap before placing them in a freezer-safe bag or airtight container. This helps prevent freezer burn and keeps the curd intact. They can be stored in the freezer for up to 1 month.
Freezing cookie dough: You can also freeze the unbaked cookie dough. Roll the dough into balls as instructed, then lay them on a baking sheet and freeze until solid. Once frozen, transfer the dough balls to a freezer bag. They’ll keep in the freezer for about a month, ready to be baked on demand.
Baking from frozen: When you’re ready to bake, simply take the frozen cookie dough balls out of the freezer and arrange them on a parchment paper-lined baking sheet. Let them sit at room temperature for about 15 minutes before baking them in the preheated oven. You may need to add a minute or two to the baking time.
The most effective way to prevent your thumbprint cookies from spreading excessively is to ensure the cookie dough is thoroughly chilled. This means chilling the dough after mixing for 30 minutes, and then again after shaping the balls for a full hour. Cold butter in the dough melts more slowly in the oven, which helps the cookies maintain their structure and prevents them from flattening out too much.
Absolutely! While lemon is a classic, these thumbprint cookies are incredibly versatile. If you’re not a fan of lemon or want to try something new, feel free to switch it out for another citrus curd. Imagine vibrant orange, tangy lime, or exotic yuzu curd cookies! Fruit jams or preserves can also be a delightful alternative for a different flavor profile.
Yes, making the lemon curd in advance is a fantastic time-saving strategy! You can prepare the lemon curd up to a week ahead of time. Simply store it in an airtight container in the refrigerator, ensuring it’s completely cooled before sealing. This allows you to focus solely on baking the cookies on the day you plan to assemble them.
Yes, chilling the cookie dough is a non-negotiable step for these thumbprint cookies. It serves multiple purposes: it allows the flour to properly hydrate, which improves the texture of the cookies, and more importantly, it chills the butter in the dough. Cold butter melts more gradually in the oven, preventing the cookies from spreading too much and ensuring they hold their shape beautifully.
Yes, you can certainly leave the cookie dough in the fridge overnight, or even for up to 2-3 days. If you need to store the dough for a longer period, it’s best to roll it into individual cookie dough balls first. Once shaped, you can store them in an airtight container in the freezer for extended freshness (up to a month), then bake from frozen as described above.
Absolutely! A hand mixer will work just as effectively for creaming the butter and sugar and mixing the dough. Just ensure you scrape down the sides of the bowl frequently to incorporate all ingredients evenly.
For an even more intense lemon flavor, you can definitely add a teaspoon or two of fresh lemon zest to the cookie dough along with the vanilla extract. This will infuse the cookie base with a subtle citrus aroma that perfectly complements the curd.
A light-colored, heavy-gauge aluminum baking sheet is ideal. Darker baking sheets can absorb more heat and cause the bottoms of your cookies to brown too quickly. Always line your baking sheet with parchment paper to prevent sticking and for easy removal.

More Lemon Recipes to Brighten Your Day!
If you’ve fallen in love with the zesty freshness of these lemon curd cookies, you’ll be thrilled to discover more delightful lemon-infused creations. Lemon desserts are known for their ability to invigorate the senses and brighten any occasion. Here are some of my other favorite lemon recipes that I highly recommend you try:
- If you can’t get enough of rich lemon curd desserts, you absolutely must try my lemon curd cake! It features three heavenly layers of moist lemon cake, filled with luscious lemon curd in between, and exquisitely decorated with a smooth, tangy lemon buttercream. It’s a showstopper!
- This lemon poppy seed cake recipe is a true gem and a definite must-try if you adore the classic lemon loaf. It’s incredibly moist, wonderfully tangy, and easily one of my all-time favorite lemon recipes for its vibrant flavor and perfect texture.
- My lemon bars are an iconic dessert that you have to experience. They slice beautifully, making them look super impressive for gatherings, and the intense lemon flavor is unbelievably delicious and perfectly balanced with a shortbread crust!
- For those who appreciate the comfort of cinnamon rolls but crave a citrusy twist, give these amazing lemon rolls a try. They are soft, sweet, and bursting with bright lemon flavor, making for a truly unique and irresistible breakfast or brunch treat.
- Avoiding sugar but still craving a lemony delight? Explore this fantastic sugar-free lemon cookie recipe. It proves that you don’t need added sugar to enjoy a delicious, zesty cookie.

Lemon Curd Cookies Recipe
Print
Pin
Rate
Ingredients
- 2 cups gluten-free 1-to-1 flour (with xanthan gum)
- ½ cup almond flour
- ½ teaspoon fine salt
- 1 cup butter vegan or dairy, softened at room temperature (See Notes)
- ⅔ cup granulated sugar
- 1 tablespoon milk vegan or dairy
- 1½ teaspoons vanilla extract
- 1 batch vegan lemon curd
Instructions
-
In a bowl, combine gluten-free all-purpose flour, almond flour, and salt. Set it aside.
-
In a separate bowl, cream together the softened vegan butter, melted coconut oil, and granulated sugar. Add the evaporated oat milk and vanilla extract, and mix again.
-
Add the flour mixture and stir until you don’t see any dry bits of flour left. Cover the bowl and let it rest in the fridge for 30 minutes.
-
Take a heaped tablespoon amount of cookie dough into your hands and roll it into a ball. Place it on a parchment paper and repeat until all the cookie dough has been rolled. Place them into the fridge for an hour.
-
Preheat the oven to 375°F (190°C) and line a baking sheet with parchment paper.
-
Place the cookie dough balls 2 inches apart on the baking sheet. Bake for 9-12 minutes.
-
When the cookies come out of the oven, take a teaspoon and press on the surface of each cookie to create an indentation. Let them cool completely on the baking sheet before moving them to a wire rack.
-
Lay the cookies on a wire rack or parchment paper and dust them with powdered sugar. Fill the indentations with the lemon curd.
