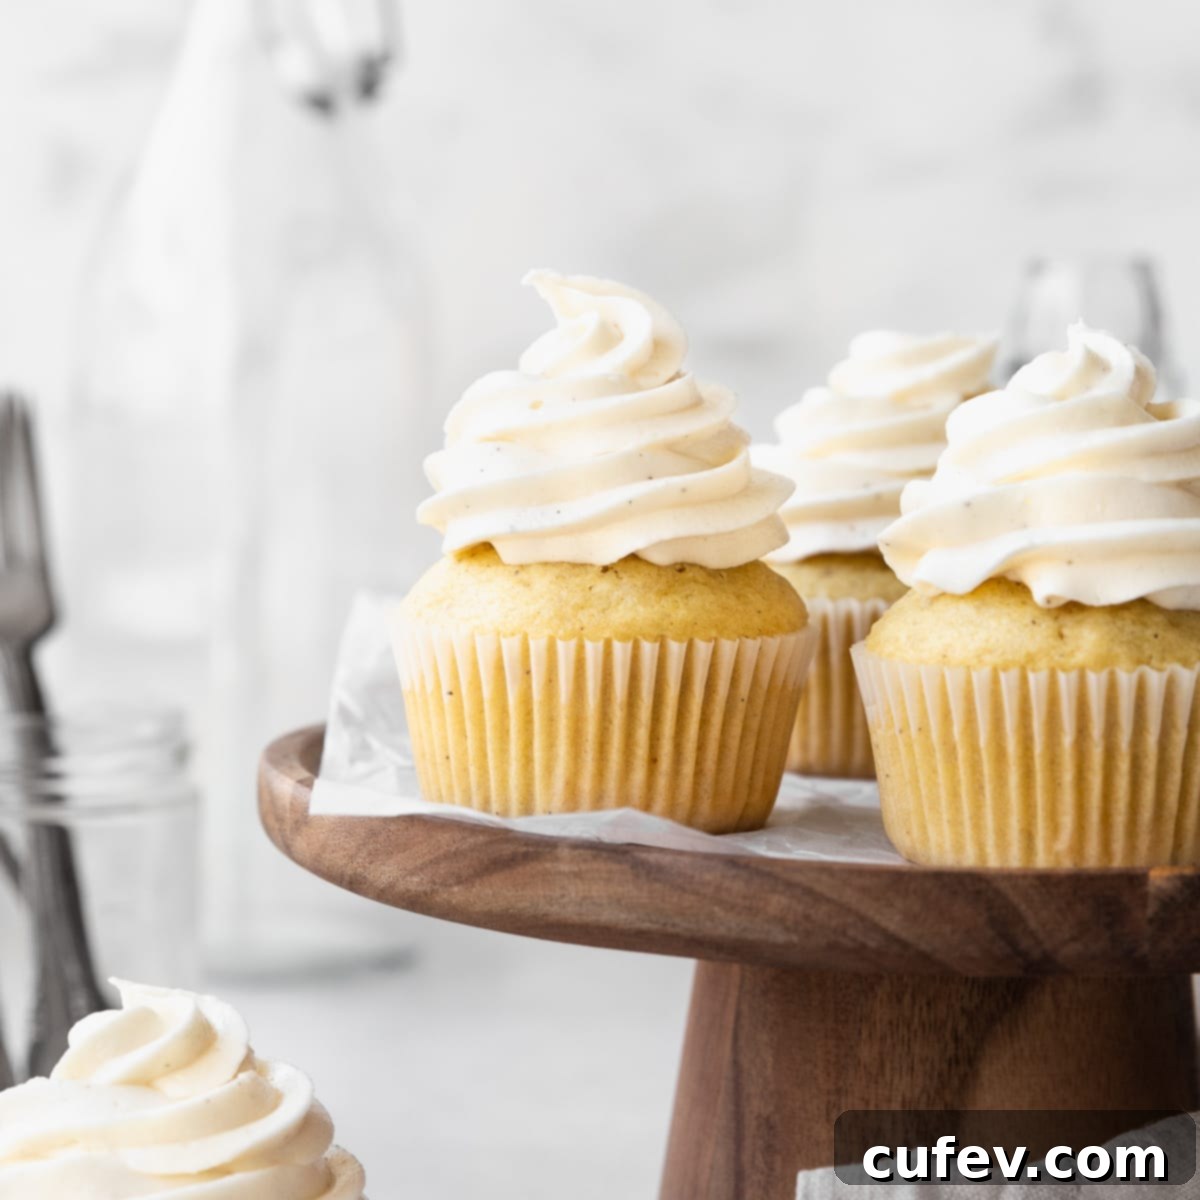
The Best Dairy-Free Vanilla Cupcake Recipe for Irresistibly Fluffy Treats
Prepare to be amazed by these incredibly moist and tender dairy-free vanilla cupcakes, crowned with a luxuriously rich and creamy buttercream frosting that nobody will ever guess is dairy-free! Whether you’re navigating allergies, dietary preferences, or simply looking for a fantastic new dessert, this easy-to-follow recipe is your ticket to sweet success. Say goodbye to dry, crumbly dairy-free baked goods and hello to pure, vanilla-scented perfection. These cupcakes are not just “good for dairy-free” – they’re just plain *good*!
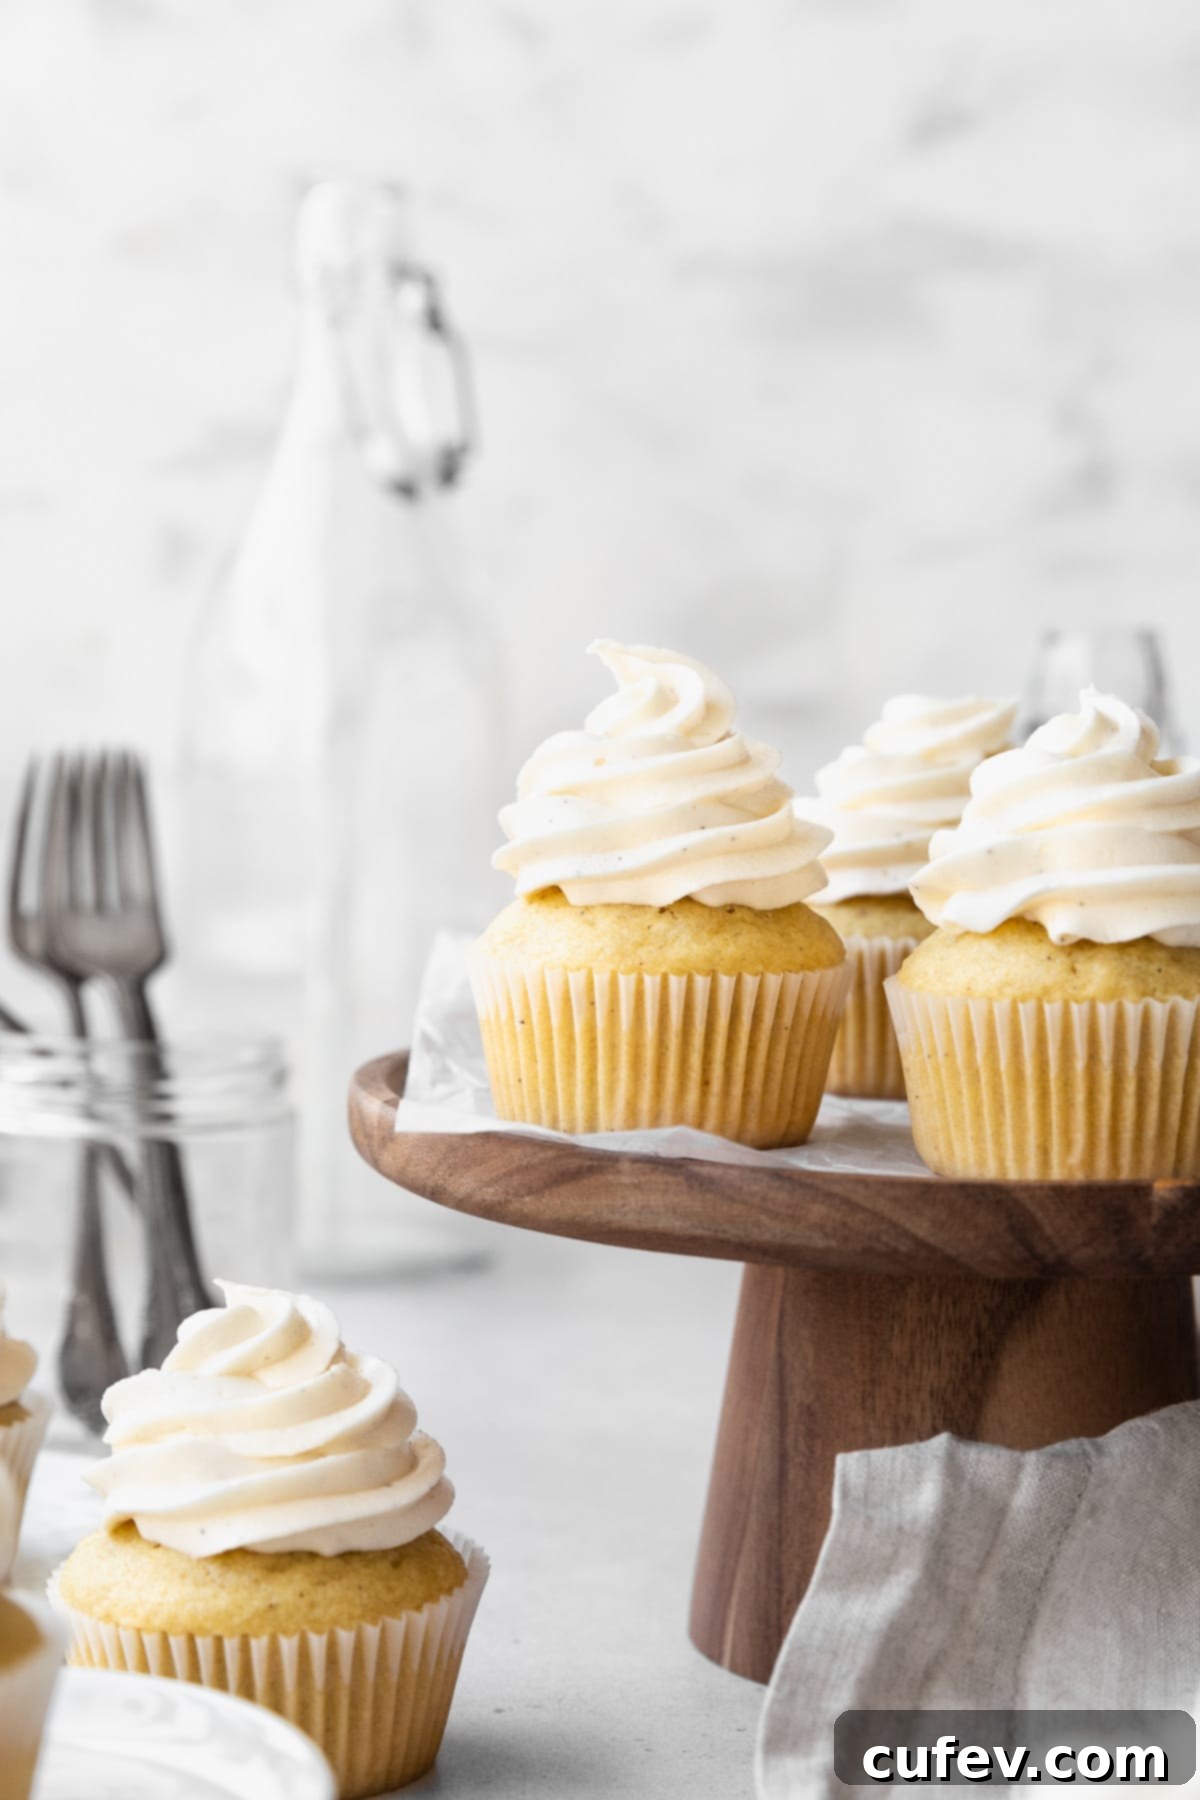
This recipe was originally published on January 6, 2023. It was updated with new photos, expanded information, and expert tips on August 11, 2023, to ensure the best possible baking experience for you.
Why You’ll Love These Dairy-Free Cupcakes
Finding a truly delicious dairy-free cupcake recipe that doesn’t compromise on flavor or texture can be a challenge. Many recipes often result in dense, dry, or flavorless treats. But this recipe is different! We’ve cracked the code to create cupcakes that are:
- Incredibly Moist: Thanks to a clever combination of oil, eggs, and a secret ingredient (mayonnaise!), these cupcakes stay wonderfully moist for days.
- Perfectly Fluffy: A balanced blend of baking soda and baking powder ensures a light, airy, and tender crumb that melts in your mouth.
- Rich Vanilla Flavor: Pure vanilla extract shines through, giving these cupcakes that classic, comforting taste everyone loves.
- Creamy Buttercream: The dairy-free vanilla buttercream is so smooth and decadent, it rivals any traditional frosting.
- Easy to Make: With simple, accessible ingredients and straightforward steps, even novice bakers can achieve impressive results.
- Versatile: Easily adaptable for gluten-free diets, making them perfect for a wider range of dietary needs.
Whether you’re celebrating a birthday, hosting a gathering, or simply craving a sweet treat, these dairy-free vanilla cupcakes are guaranteed to be a hit with everyone, dairy-free or not!
Essential Ingredients for Dairy-Free Vanilla Cupcakes
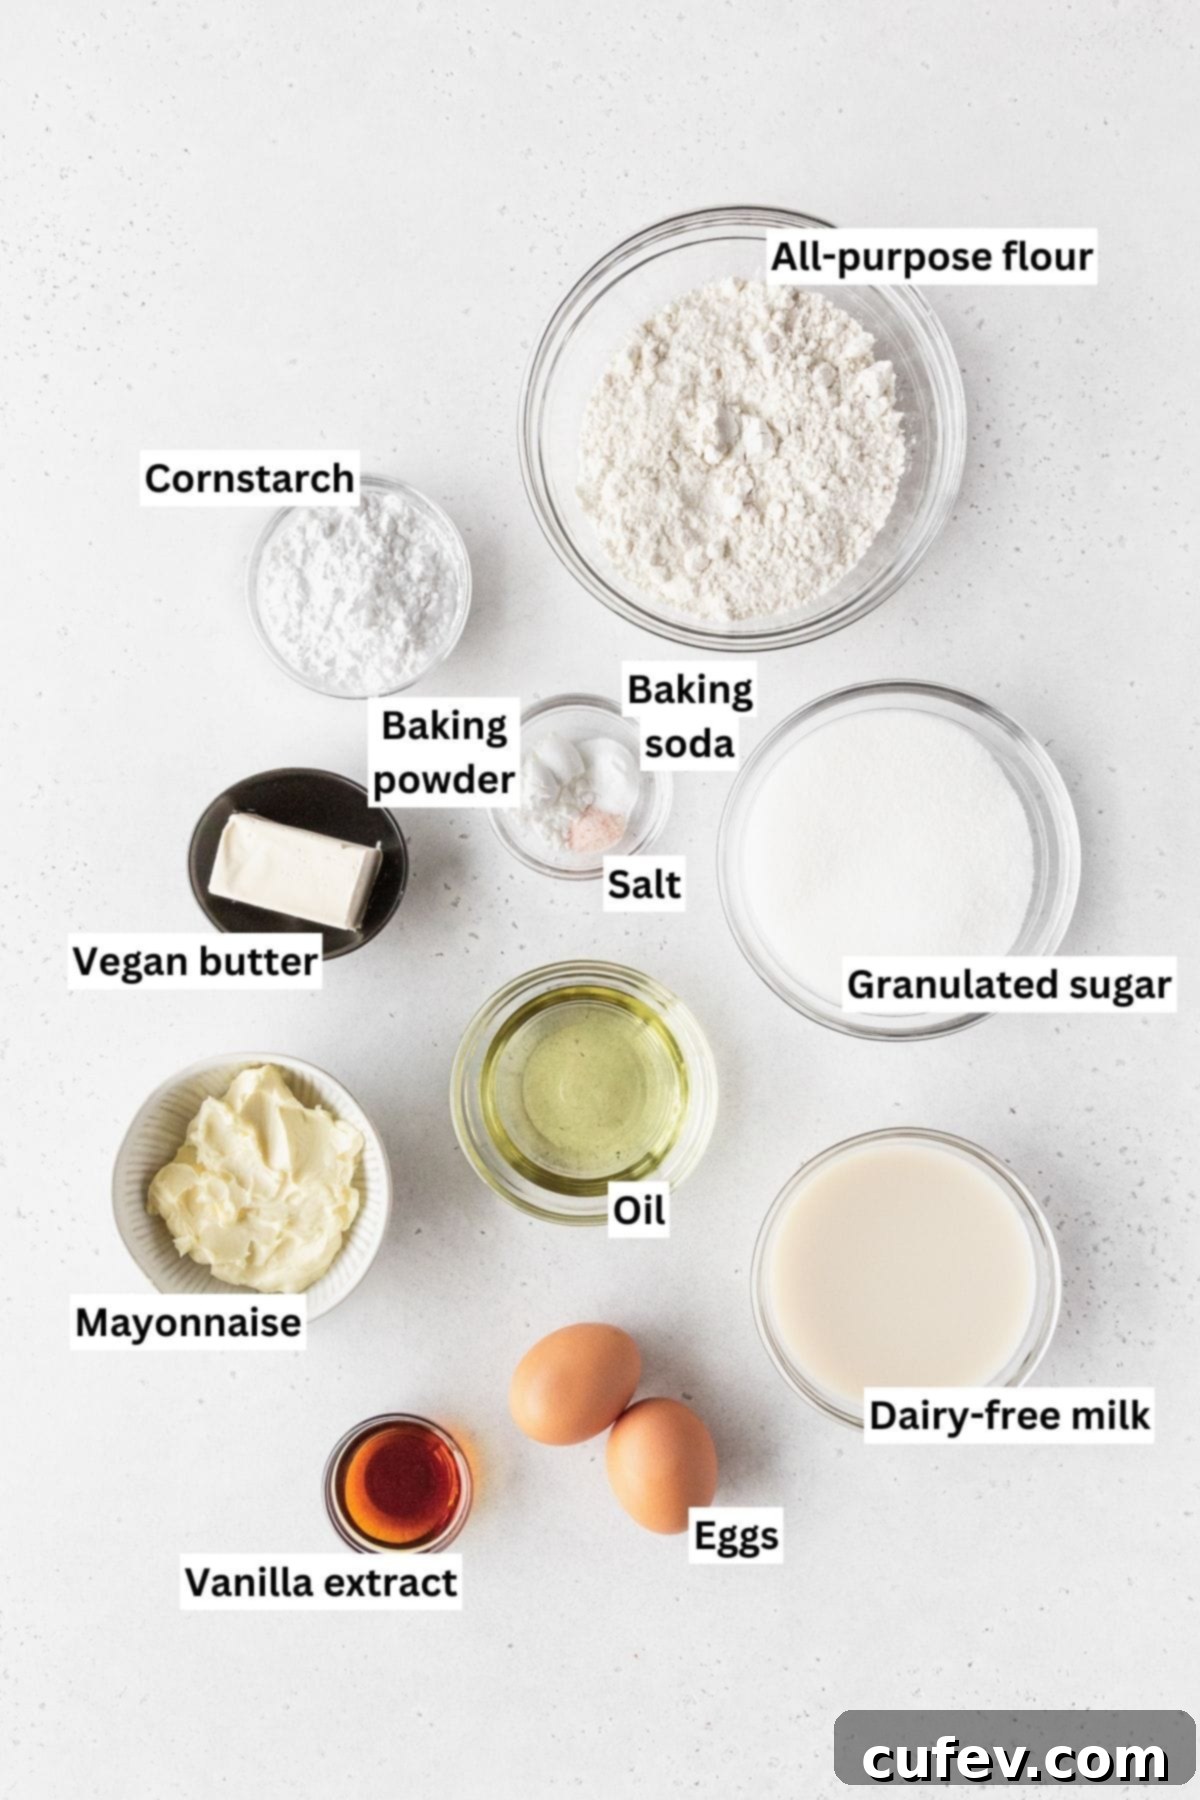
As promised, this vanilla cupcake recipe, completely free of milk and other dairy products, relies on very simple, readily available ingredients. You likely have most of these in your pantry already! Here’s a detailed look at everything you’ll need to create these delectable treats:
- All-Purpose Flour: Standard plain white flour provides the ideal structure for these cupcakes. If you prefer to use cake flour for an even finer crumb, feel free to substitute it directly. Just remember to omit the cornstarch if using cake flour, as cake flour inherently has a lower protein content that yields a tender texture.
- Cornstarch: This is our secret weapon for achieving an incredibly tender and soft texture in our cupcakes without needing specialty flours. It helps to lighten the flour mixture and contributes to that delicate crumb. If you have a corn sensitivity, potato starch is an excellent 1:1 substitute.
- Fine Salt: Essential for balancing the sweetness and enhancing all the other flavors. Fine salt dissolves quickly and evenly into the batter. If you’re using a coarser salt like Kosher salt, please use a conversion chart (e.g., 1 teaspoon fine salt ≈ 1.25-1.5 teaspoons Kosher salt) to ensure proper seasoning.
- Baking Soda & Baking Powder: We utilize both leavening agents for maximum lift and the perfect airy texture. Baking soda reacts with acidic ingredients (like mayonnaise), while baking powder provides consistent rise. This dynamic duo ensures your cupcakes are beautifully domed and fluffy.
- Granulated Sugar: This provides sweetness and helps with browning and moisture retention. You can use organic cane sugar for a less refined option or superfine caster sugar for an even smoother dissolve into the batter.
- Vegan Butter: Choose a high-quality vegan butter stick that has an 80% fat content (typically 8g of fat per 2 teaspoons or 1 tablespoon). Brands like Miyoko’s Kitchen or Earth Balance baking sticks work wonderfully. Ensure it’s softened to room temperature for optimal creaming.
- Oil: A neutral-flavored oil adds additional moisture and keeps the cupcakes moist for longer without altering the vanilla flavor. Avocado oil is my personal favorite due to its mild taste and healthy fat profile, but grapeseed oil, peanut oil, sunflower seed oil, or standard vegetable oil are all excellent, neutral-tasting alternatives.
- Eggs: These are crucial for binding the batter, adding richness, and contributing to the cupcake’s structure and lift. Ensure your eggs are at room temperature for better emulsion with the other ingredients.
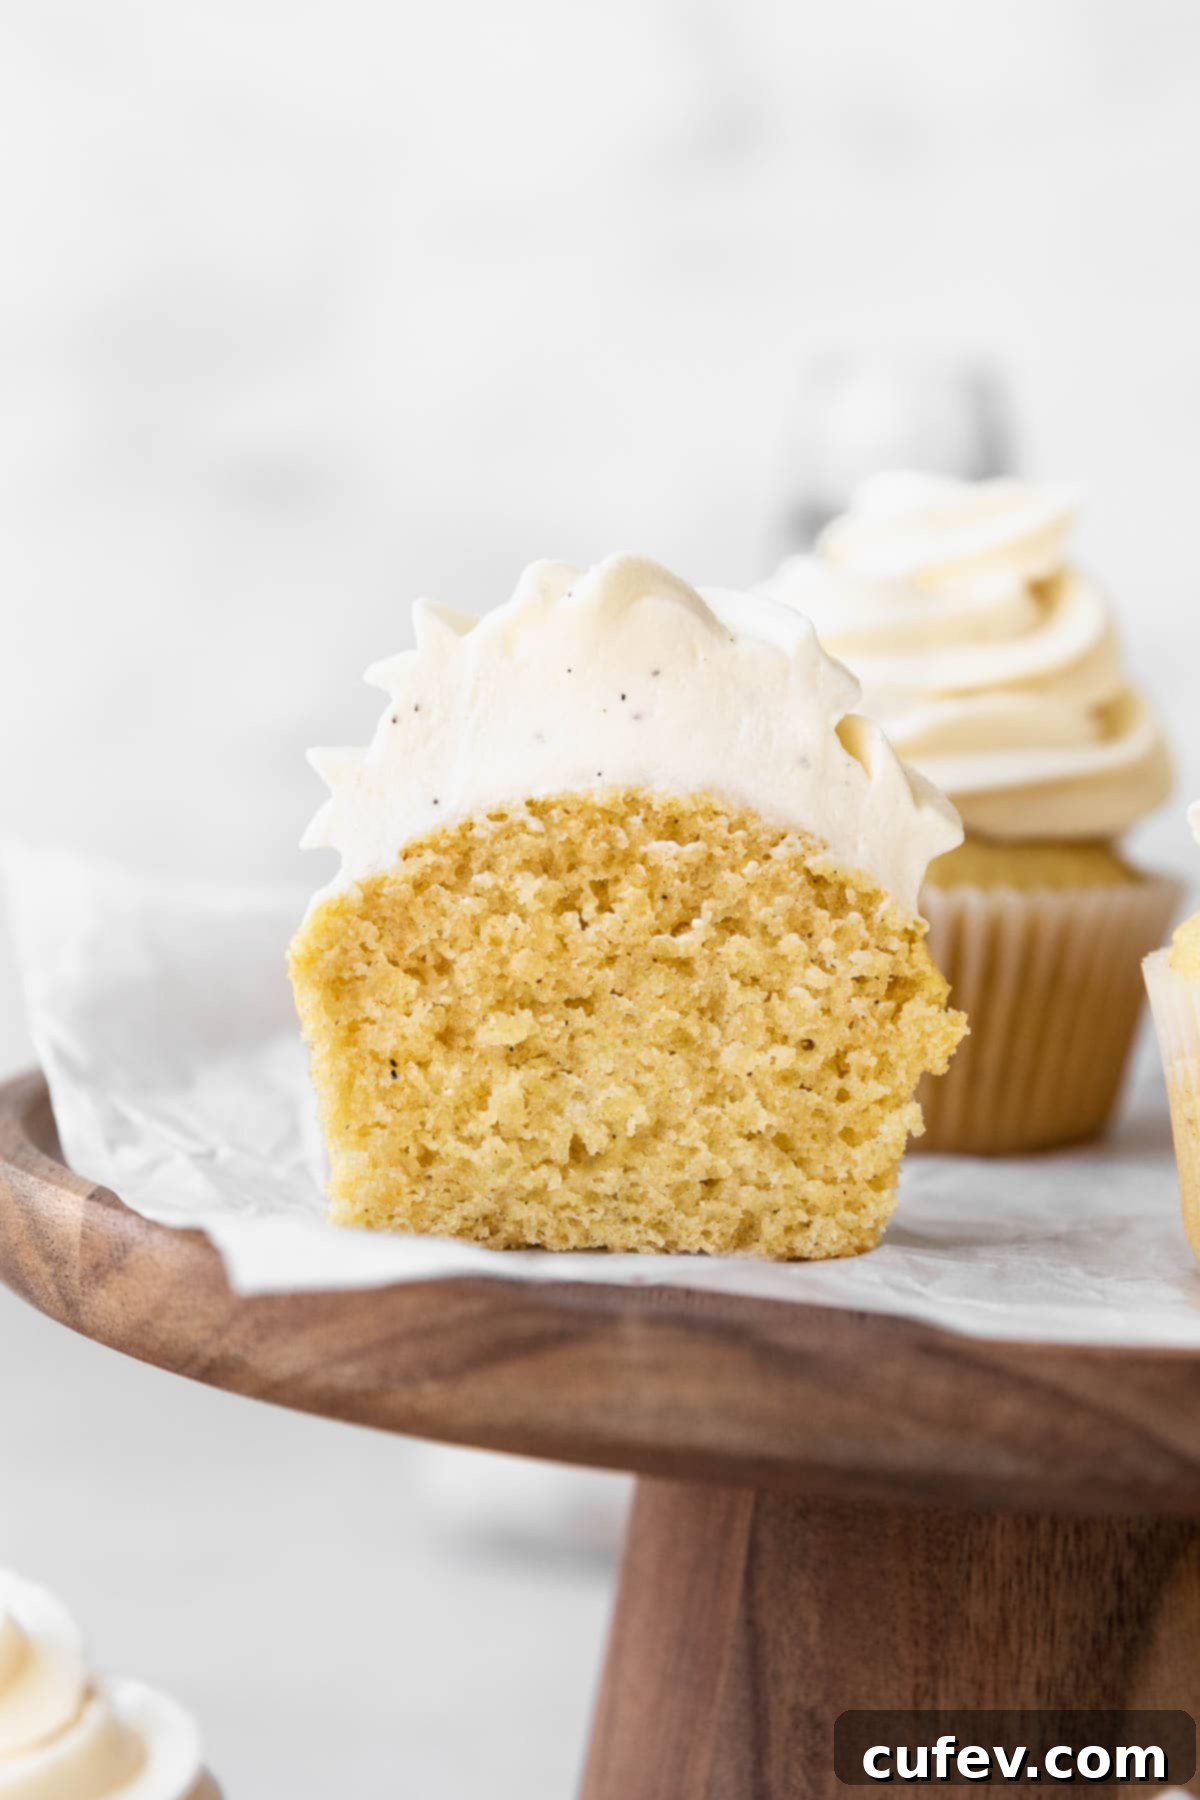
- Mayonnaise: This might seem unconventional, but it’s a fantastic dairy-free substitute for sour cream or buttermilk! Mayonnaise is an emulsion of oil and egg yolks, making it rich and acidic. The acidity reacts with the baking soda, contributing to an incredibly fluffy texture, while the fat adds moisture. Don’t worry; while the raw batter might have a slightly tangy scent, you absolutely won’t taste it in the baked cupcakes. It’s truly a game-changer for dairy-free baking!
- Vanilla Extract: For classic vanilla flavor, use a high-quality pure vanilla extract. For an even more intense and authentic vanilla experience, especially if you love those beautiful specks, vanilla bean paste is an excellent alternative.
- Unsweetened Dairy-Free Milk: Any variety of plain or vanilla-flavored plant-based milk will work perfectly here. Soy milk, oat milk, or almond milk are all great choices. Just make sure it’s unsweetened so you can control the overall sweetness of the cupcakes.
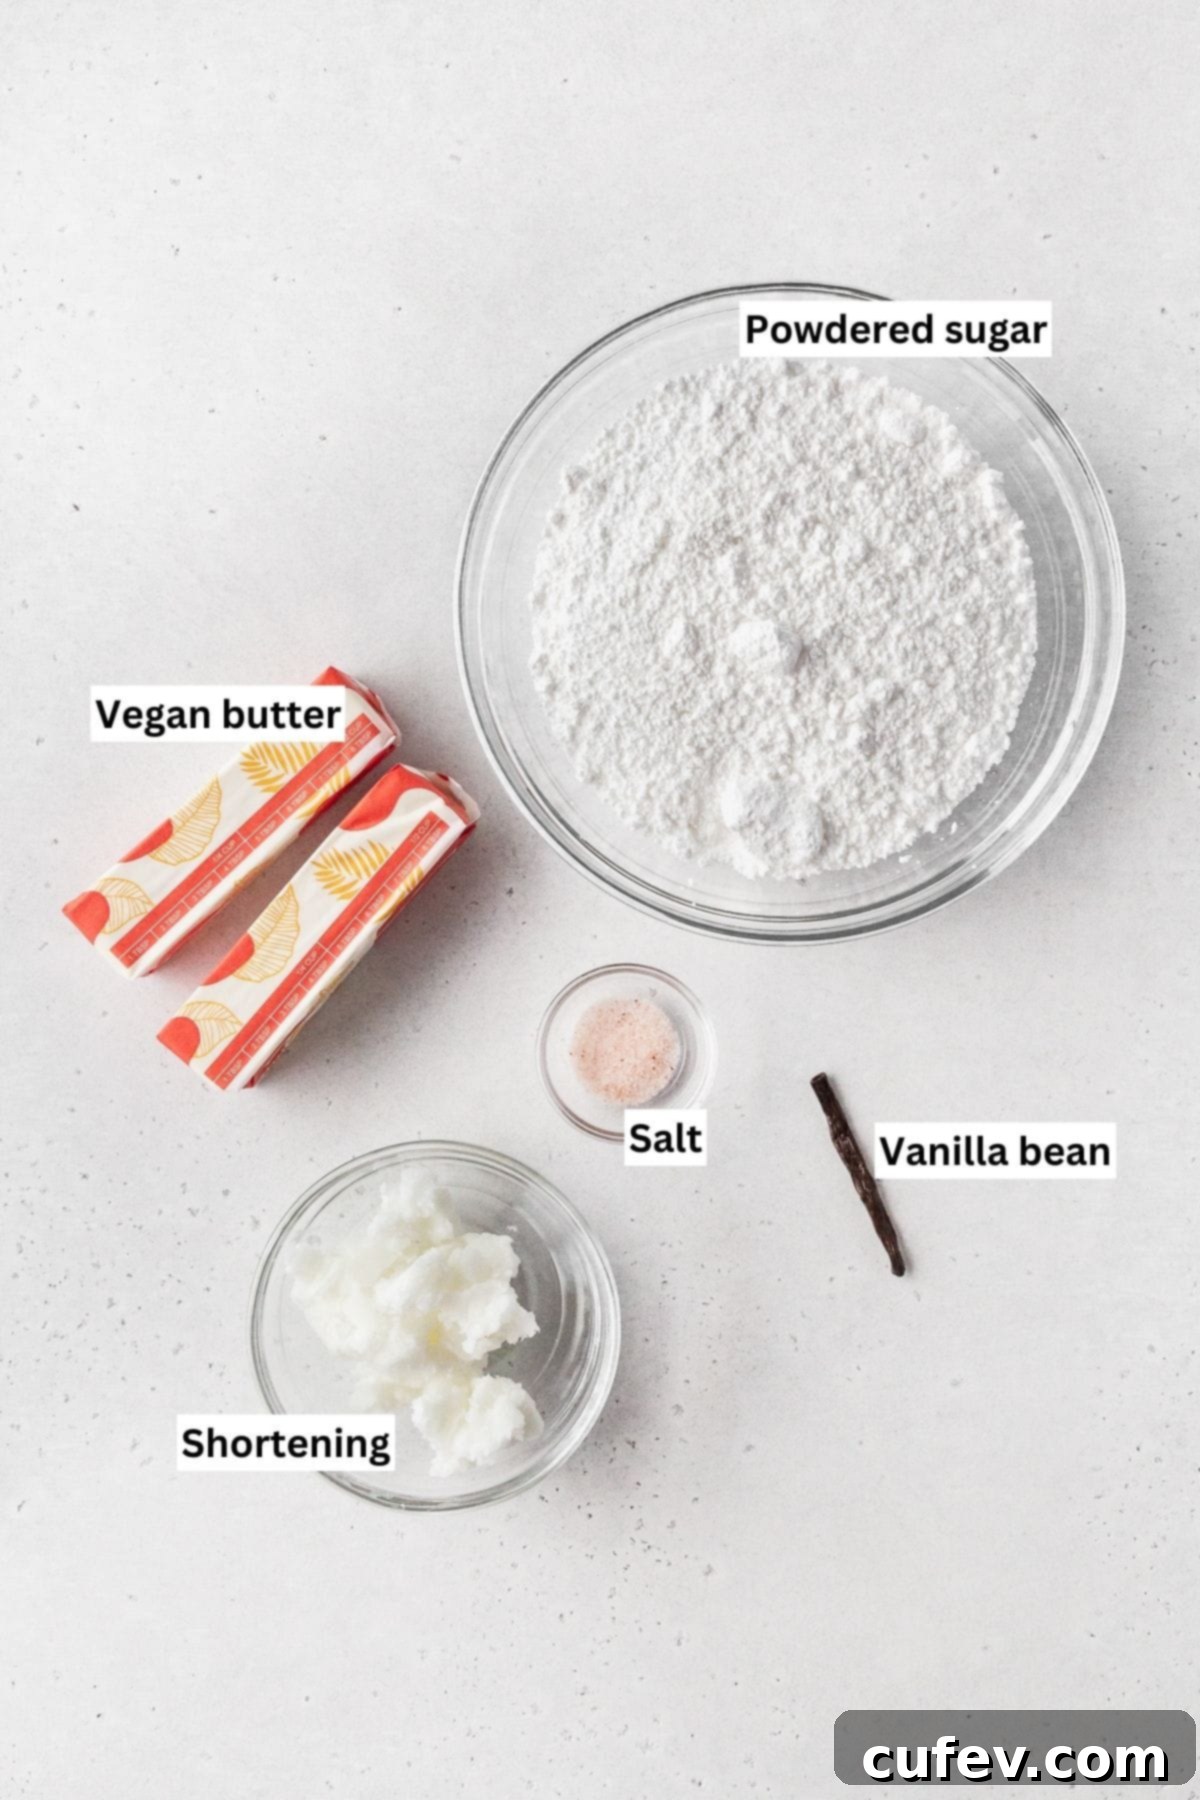
For the luscious vegan vanilla bean buttercream frosting, you’ll also need these key components:
- Shortening: This ingredient is crucial for adding stability and a silky-smooth texture to your dairy-free vanilla frosting, helping it hold its shape beautifully without melting too quickly. While you can substitute with equal amounts of vegan butter, shortening provides a firmer, more pipes-friendly consistency, especially in warmer environments.
- Powdered Sugar: Also universally known as icing sugar or confectioner’s sugar, this superfine powder is absolutely essential for creating a soft, smooth, and lump-free buttercream. Its fine texture ensures a creamy mouthfeel. If you find yourself without powdered sugar, you can easily make your own by blending granulated sugar with a touch of cornstarch in a food processor or high-speed blender.
- Vanilla Bean: For the ultimate deep, aromatic vanilla flavor and those characteristic gorgeous black flecks that make your frosting look gourmet, a fresh vanilla bean is unparalleled. Scrape out the seeds for the best results. If a vanilla bean isn’t available, you can substitute with 4 teaspoons of high-quality vanilla bean paste or 4 teaspoons of pure vanilla extract. The paste will still give you those lovely visual flecks.
How To Make Perfectly Fluffy Dairy-Free Vanilla Cupcakes
Creating these delightful cupcakes without any dairy is surprisingly simple and follows a similar process to traditional baking. The key is in the careful selection of ingredients and precise execution. Here’s a detailed, step-by-step guide to ensure your success:
Step 1: Prep Your Workspace and Oven. Start by preheating your oven to 340°F (170°C). This lower temperature helps the cupcakes bake evenly and prevents them from drying out. Line a standard 12-cup muffin pan with paper liners. For best results, use good quality liners that won’t stick to your finished cupcakes.
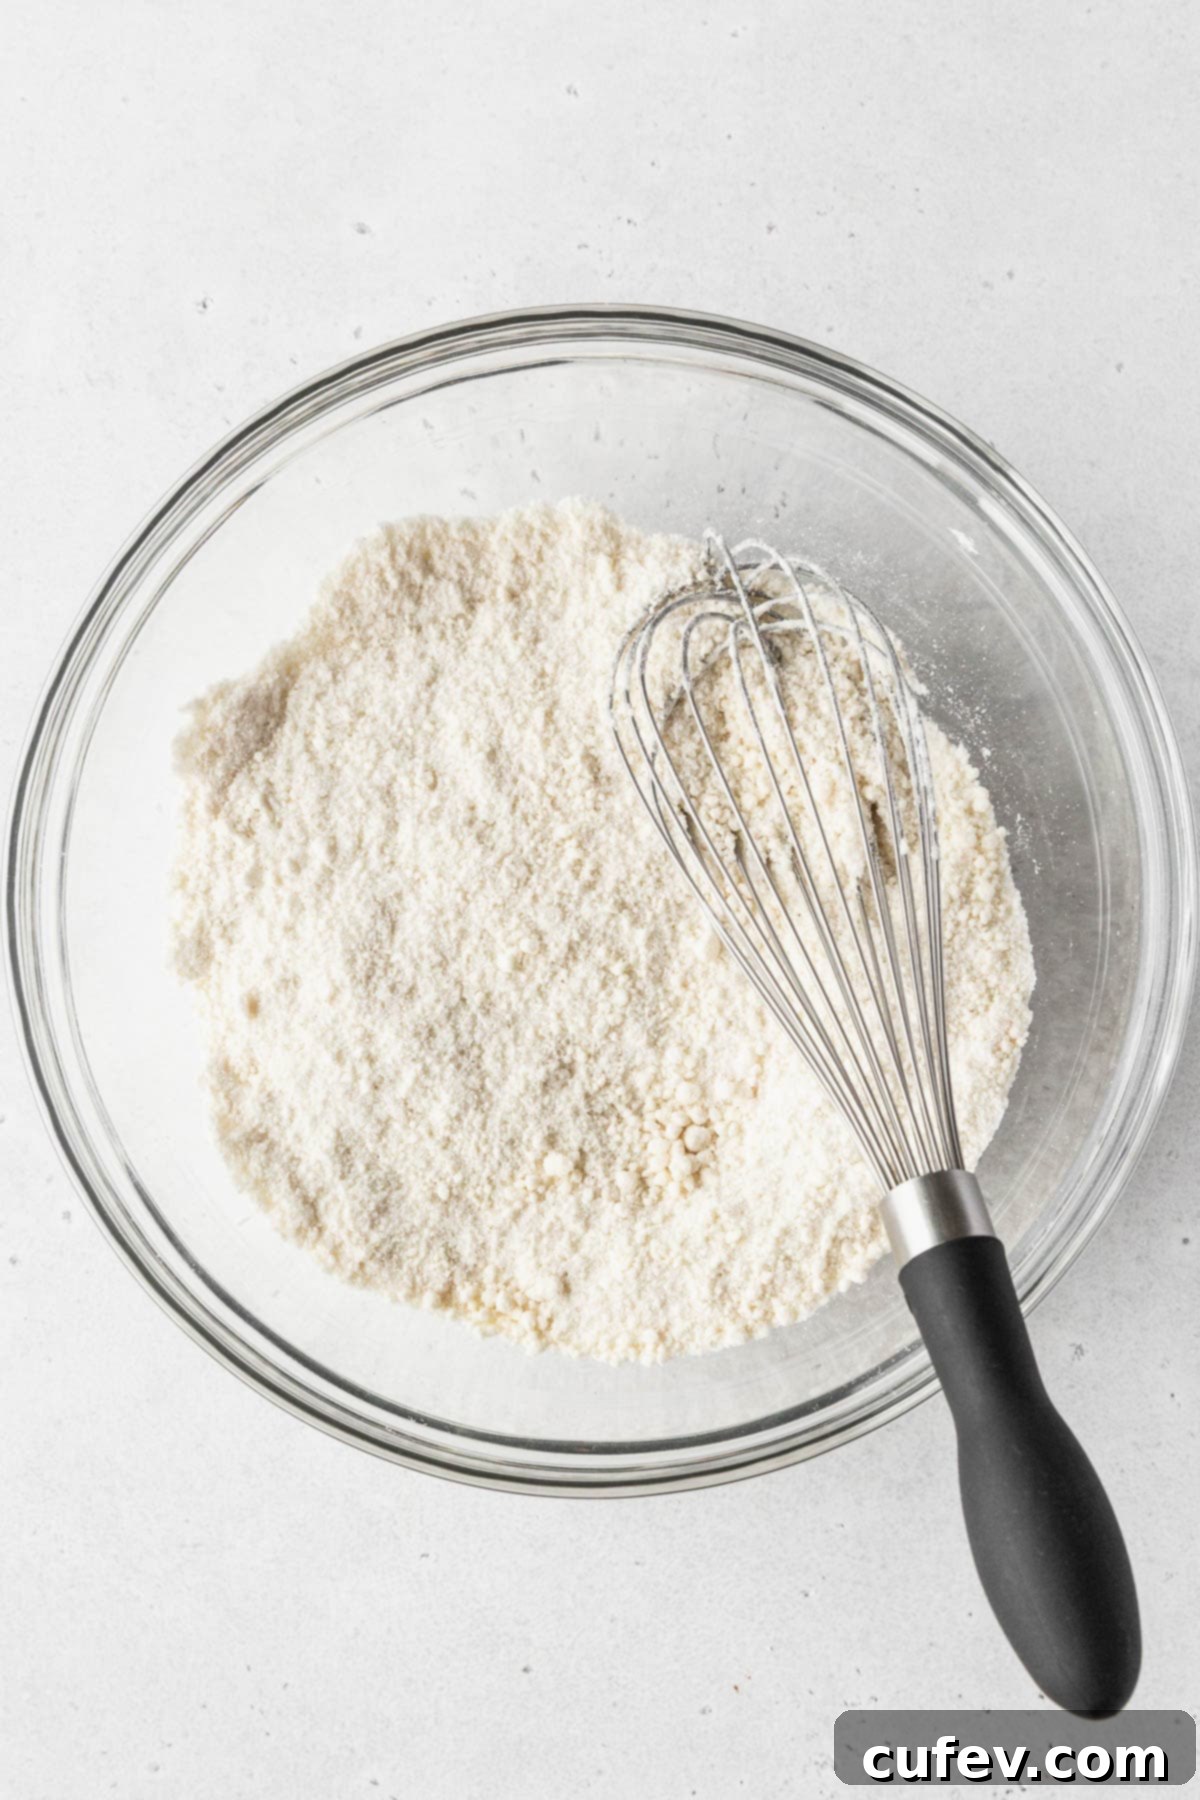
Step 2: Combine Dry Ingredients and Vegan Butter. In a large mixing bowl, thoroughly whisk together your all-purpose flour, cornstarch, fine salt, baking soda, baking powder, and granulated sugar. Whisking ensures all leavening agents and dry ingredients are evenly distributed. Next, add the softened vegan butter to the dry mixture. Using your fingertips or a pastry blender, work the butter into the flour until the mixture resembles coarse sand or fine crumbs. This step, known as the reverse creaming method, helps to coat the flour particles in fat, leading to a super tender crumb.
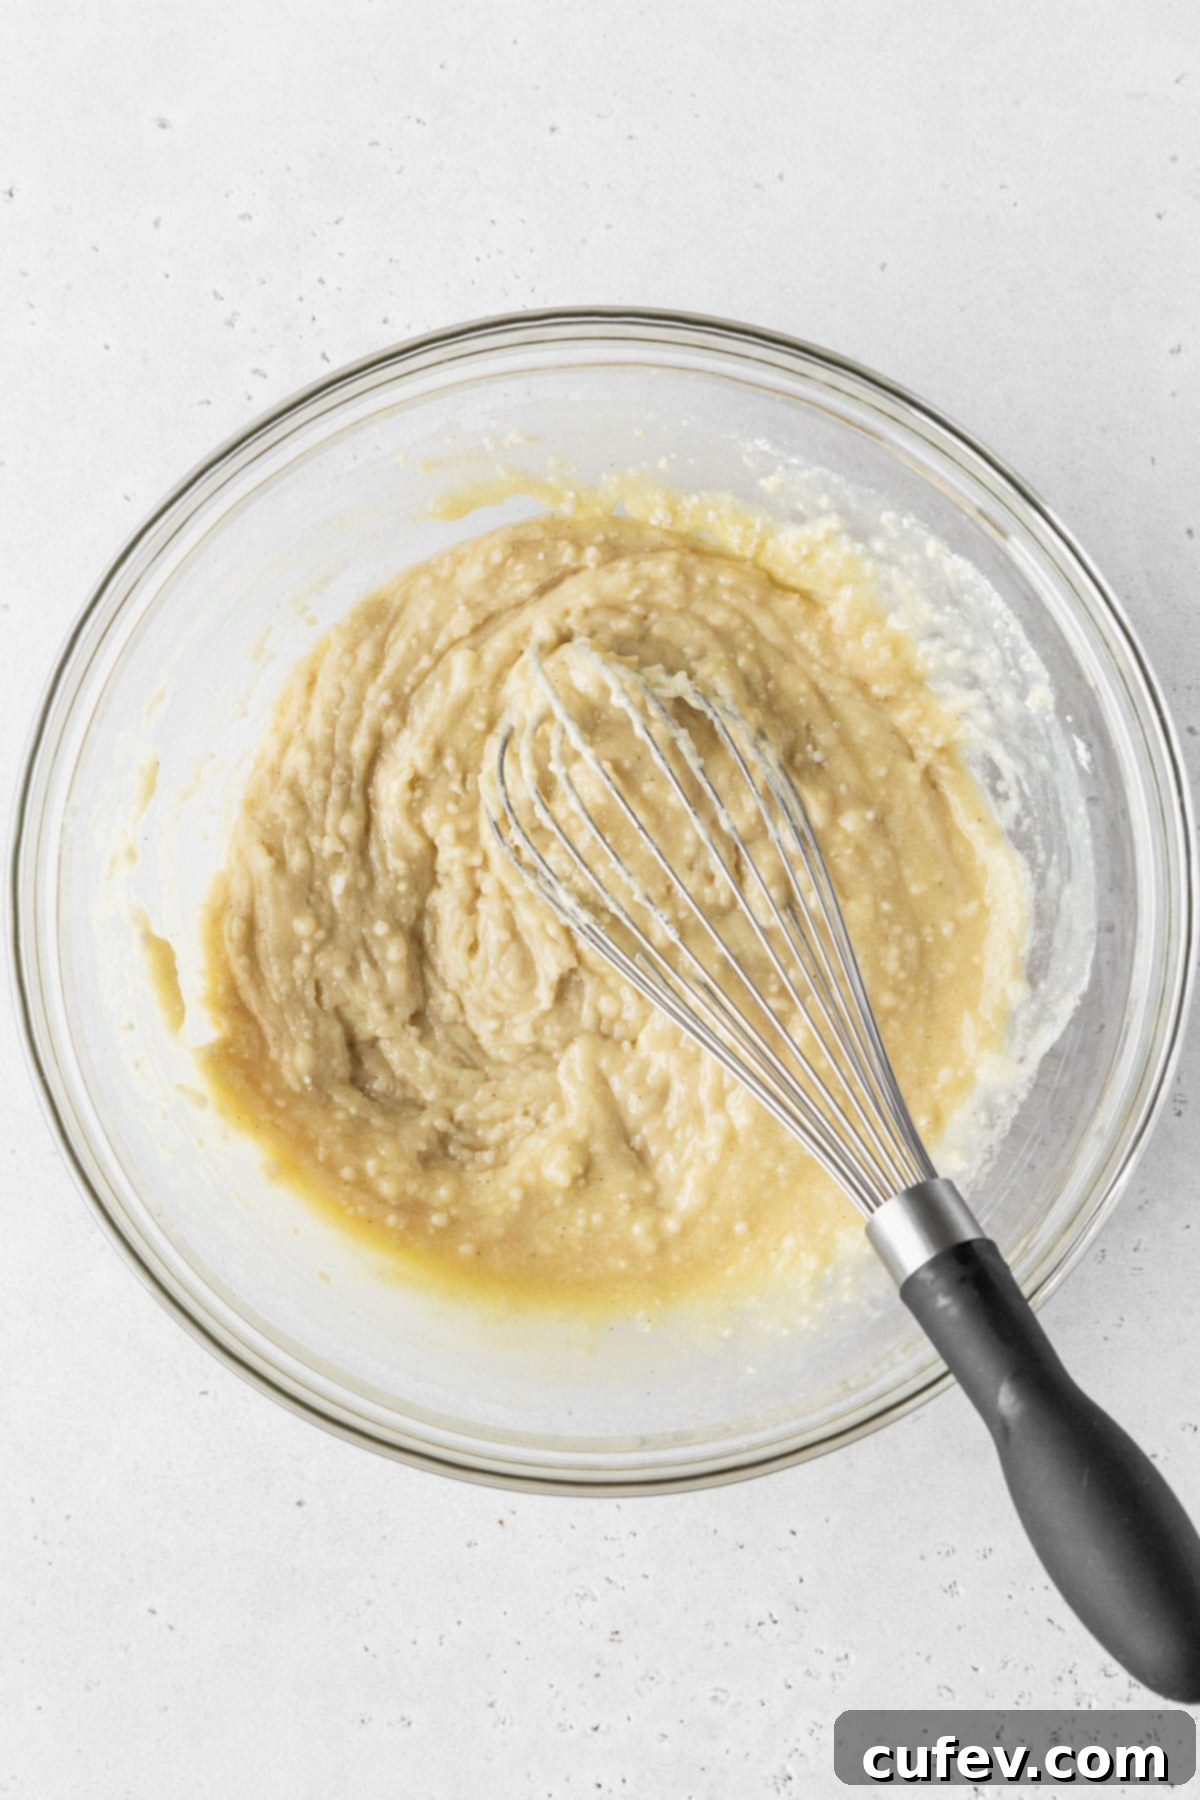
Step 3: Prepare and Add Wet Ingredients. In a separate medium bowl, whisk together the neutral-flavored oil, room-temperature eggs, mayonnaise (our secret ingredient!), and pure vanilla extract until the mixture is smooth and well combined. The mayonnaise adds richness and a slight tang, mimicking dairy sour cream and reacting with the baking soda for extra lift. Pour this wet mixture into your dry ingredients and mix on low speed with an electric mixer, or by hand with a spatula, until just combined. Be careful not to overmix at this stage.
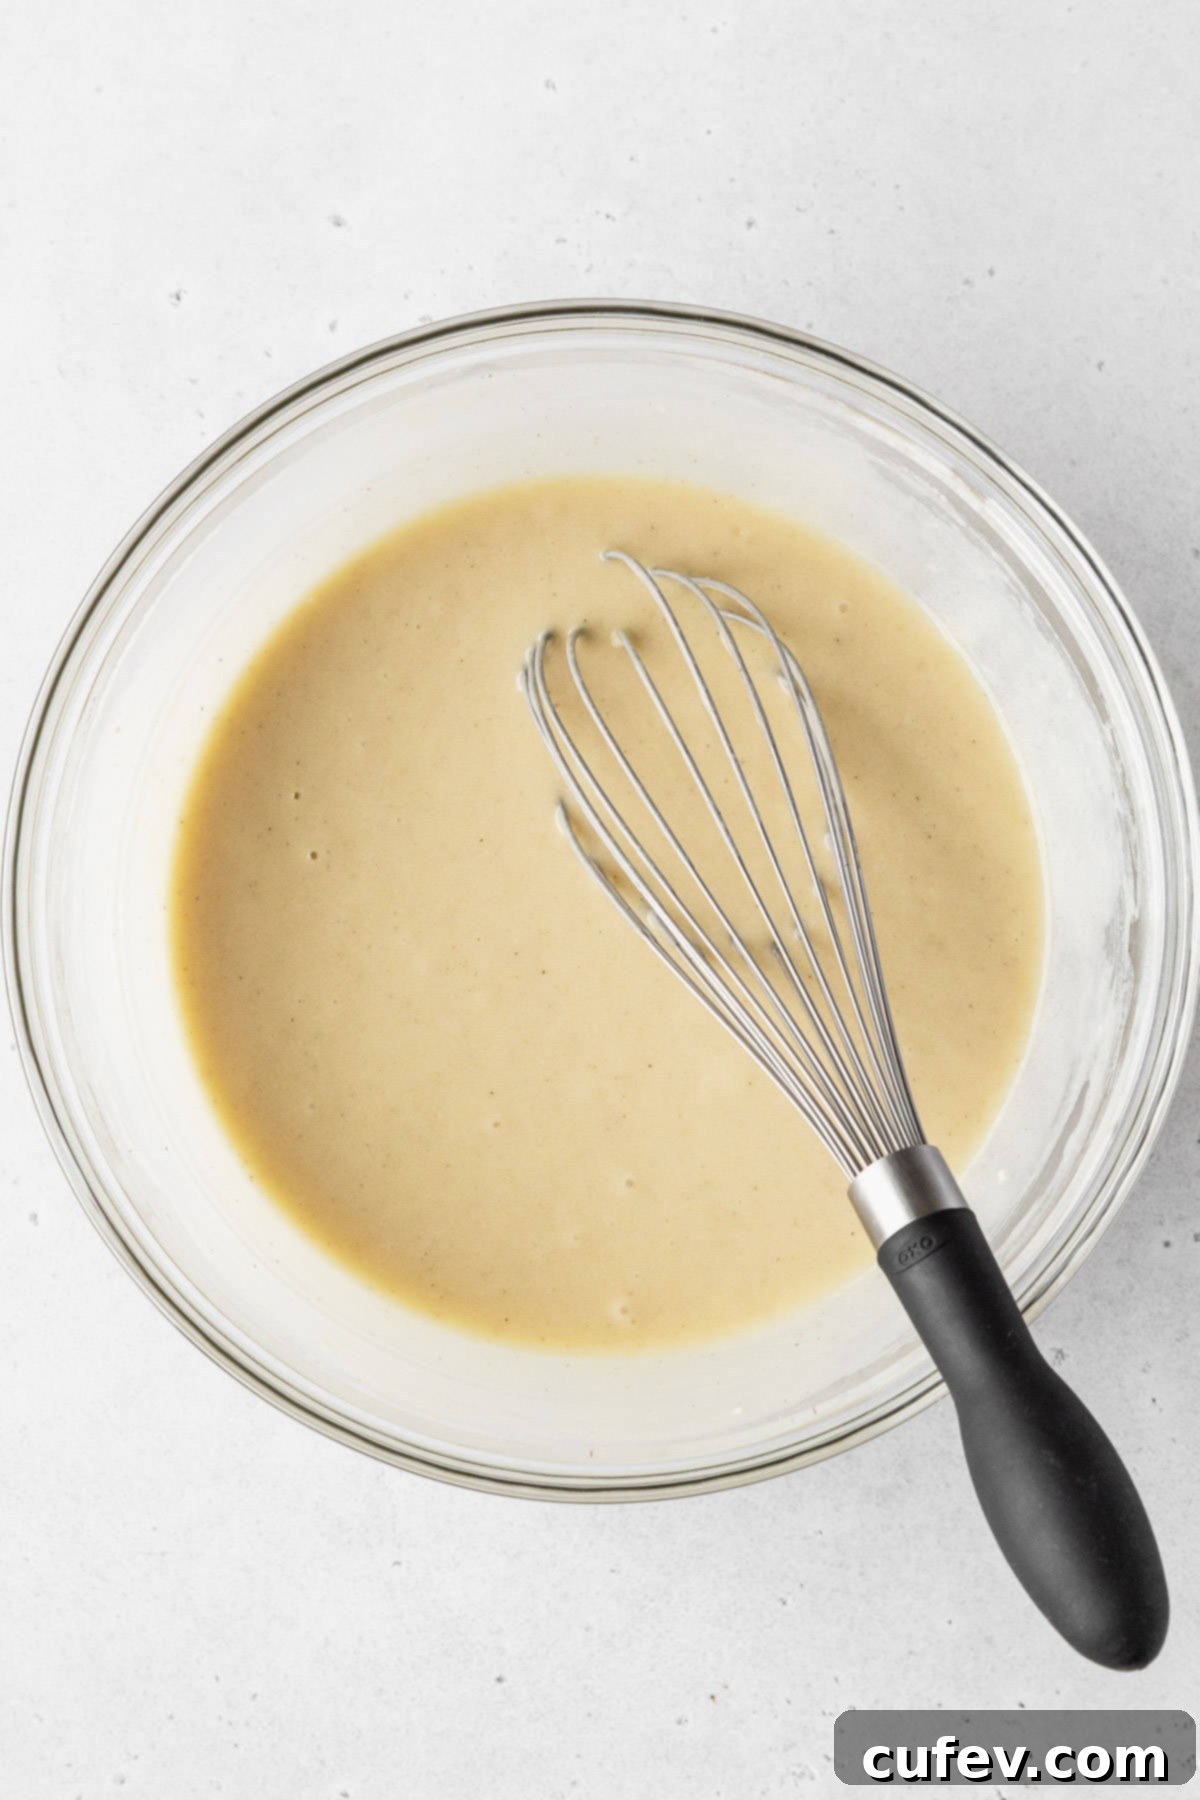
Step 4: Incorporate Dairy-Free Milk to Finish the Batter. Finally, gradually stir in the unsweetened dairy-free milk until a smooth, cohesive batter forms. Gently scrape down the sides and bottom of the bowl with a rubber spatula to ensure all ingredients are fully incorporated and no pockets of dry flour remain. The batter should be thick but pourable.
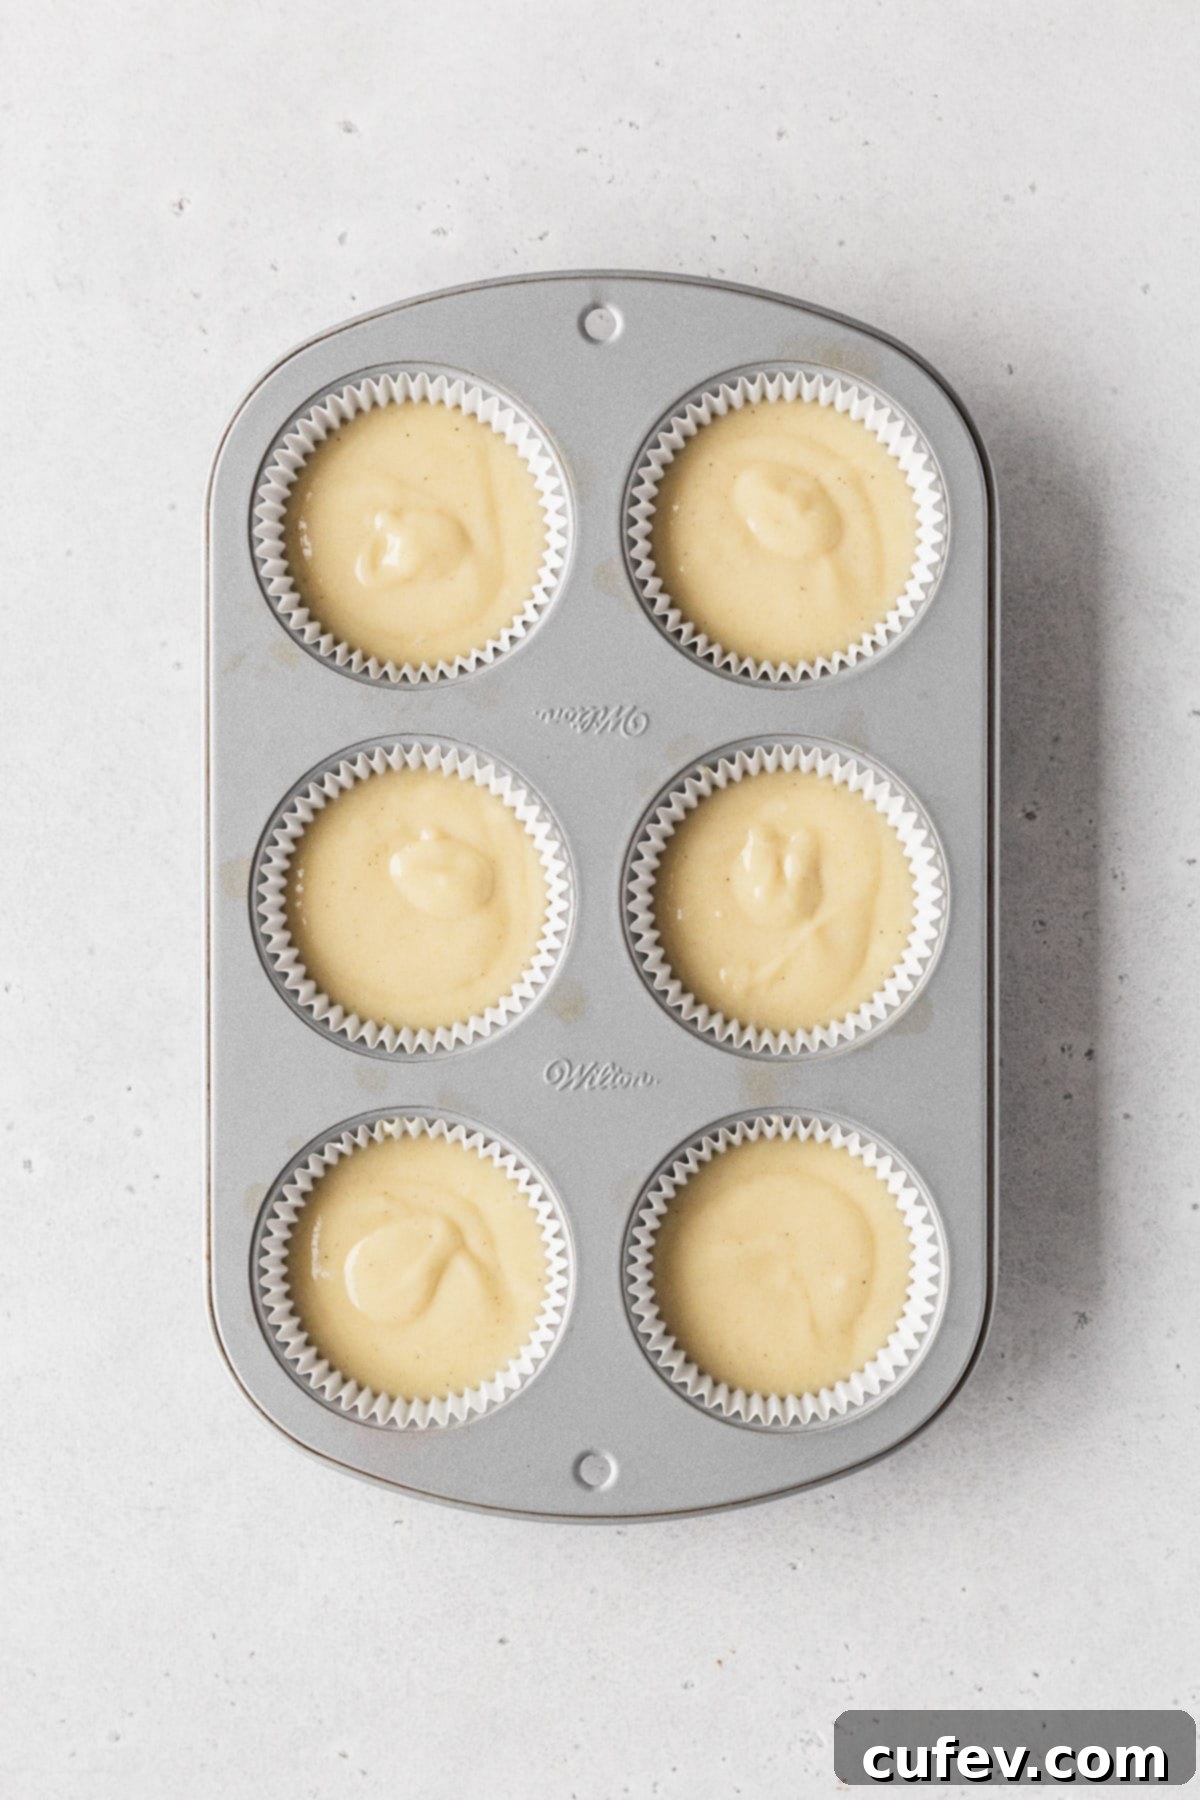
Step 5: Bake to Golden Perfection. Carefully fill each paper liner with the cupcake batter, aiming for about ½ to ⅔ full. Using a cookie scoop can help ensure even cupcake sizes. Place the cupcake pan into your preheated oven and bake for approximately 18 minutes. Baking times can vary by oven, so keep an eye on them. To check for doneness, insert a clean toothpick into the center of a cupcake. If it comes out clean or with a few moist crumbs, they’re ready. If you see wet batter, bake for another minute or two, checking frequently.
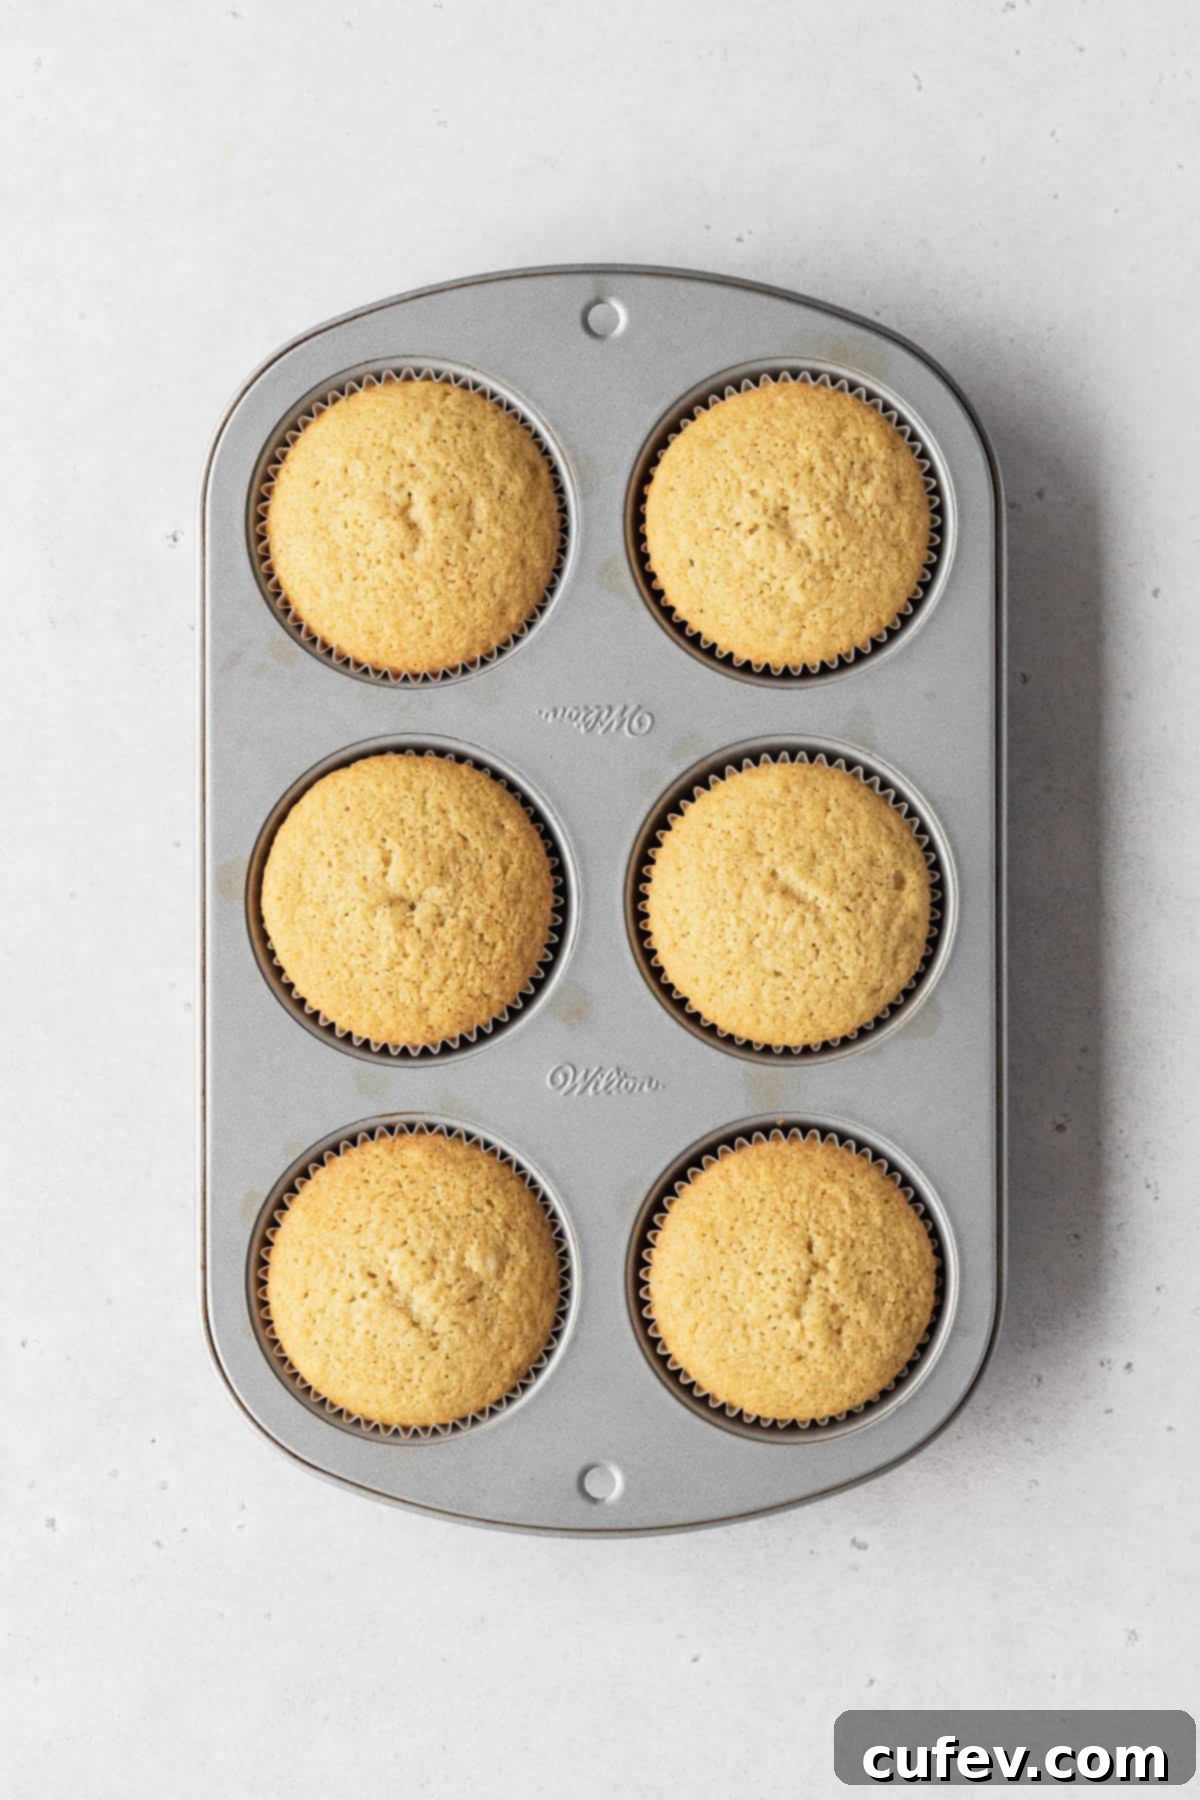
Step 6: Cool Completely. Allow the baked cupcakes to cool in the pan for just 1 minute. This helps them set slightly. Then, carefully transfer them to a wire rack to cool completely. This step is critical; if you try to frost warm cupcakes, your beautiful buttercream will simply melt and slide off.
Step 7: Prepare the Vegan Buttercream Frosting. While your cupcakes are baking and cooling, take this opportunity to prepare my irresistible dairy-free vanilla buttercream recipe! For the most intensely vanilla-flavored and visually appealing frosting, I highly recommend using the seeds scraped directly from a fresh vanilla bean or a good quality vanilla bean paste. The rich aroma and delicate flecks truly elevate the frosting.
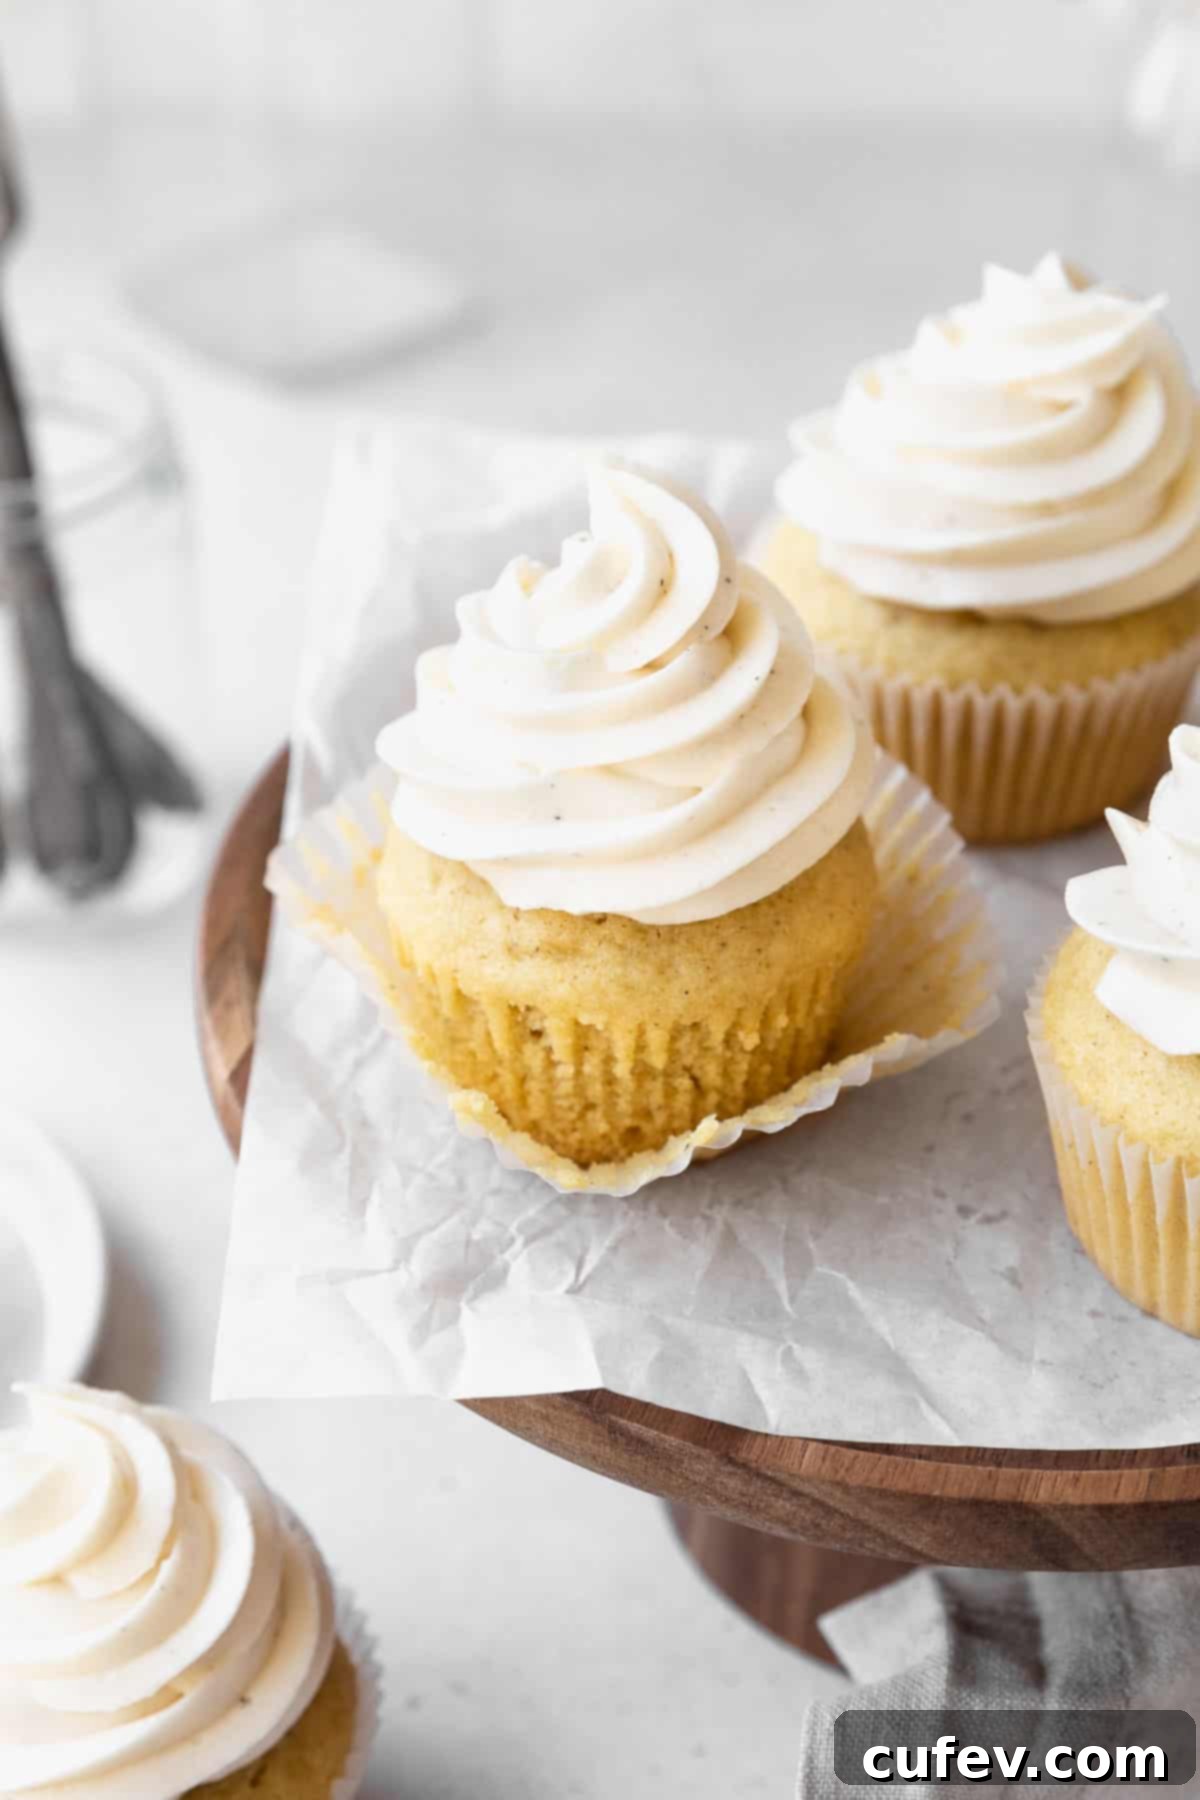
Step 8: Frost and Serve. Once your cupcakes are completely cooled (and I mean completely!), it’s time for the fun part: frosting! You can decorate them any way you like – piped with a fancy tip, spread with an offset spatula for a rustic look, or simply spooned on top. Get creative and enjoy your magnificent dairy-free creations!
Making Dairy-Free and Gluten-Free Vanilla Cupcakes
Adapting this recipe for delicious dairy-free gluten-free vanilla cupcakes is incredibly straightforward, primarily involving a simple flour swap. The key is using the right gluten-free flour blend. I highly recommend a measure-for-measure or 1-to-1 gluten-free flour blend that already includes xanthan gum in its mixture. This gum acts as a binder, providing structure that gluten-free flours typically lack. Bob’s Red Mill 1-to-1 Baking Flour is an excellent and reliable choice that consistently yields fantastic results (note: 1⅓ cup of this blend is approximately 197g).
Beyond the flour substitution, there are a few additional tips to ensure your gluten-free dairy-free cupcakes turn out perfectly moist, tender, and not crumbly:
- Extended Mixing Time: Once your gluten-free cupcake batter has come together and appears mixed, continue to beat it for an additional 2 minutes. This extra mixing time helps to fully hydrate the gluten-free flours and the xanthan gum, which in turn develops more structure and improves the overall texture of the baked goods.
- Rest the Batter: This is a crucial step often overlooked in gluten-free baking. After preparing the batter, allow it to rest for at least 30 minutes at room temperature. Gluten-free flours absorb liquids more slowly than wheat flour, and this resting period gives them ample time to fully hydrate. Skipping this step can result in a grainy or gritty texture in your finished cupcakes.
- Strategic Oven Preheat: While resting your batter, you can preheat your oven. However, be mindful that many ovens have an automatic shut-off feature if not opened or used for a certain period (often around 20 minutes). To avoid the oven turning off mid-rest, it’s best to wait until your batter has nearly completed its resting time before you begin the oven preheating process. This ensures your oven is hot and ready precisely when your batter is.
- Cool Completely Before Tasting: Patience is a virtue, especially with gluten-free baked goods! Gluten-free cupcakes continue to firm up and develop their final texture as they cool. If you try to eat them while they’re still warm, they might feel a little mushy or fragile. Allow them to cool completely on a wire rack before you even consider a taste test for the best experience.
Expert Tips for Dairy-Free Cupcake Perfection
Achieving bakery-worthy dairy-free cupcakes is easier than you think with these professional tips. Incorporating these practices will elevate your baking and ensure consistently delightful results every time:
- Always Use Room-Temperature Ingredients: This cannot be stressed enough! Ingredients like eggs and vegan butter should be at room temperature. This ensures they emulsify smoothly and evenly into the batter, preventing lumps and the need for overmixing, which can lead to tough cupcakes. Cold ingredients can cause the batter to seize up.
- Scrape the Bowl Thoroughly: Between each addition of ingredients, take a moment to scrape down the sides and bottom of your mixing bowl with a rubber spatula. This guarantees that all ingredients are fully incorporated, preventing any unmixed pockets of flour or fat, which can result in an uneven texture.
- Cool Cupcakes Completely Before Frosting: This is perhaps the most crucial tip for beautifully frosted cupcakes. If your cupcakes are even slightly warm, the dairy-free buttercream will melt, slide off, and create a messy presentation. Patience is key here; ensure they are cool to the touch all the way through before applying any frosting.
- Use a Cookie Scoop for Even Portions: For uniformly sized cupcakes that bake evenly and look professional, use a cookie scoop (or ice cream scoop, as sometimes listed) to portion the batter into the liners. This simple tool makes the process clean, quick, and consistent.
- Invest in High-Quality Cupcake Liners: Cheap paper liners can stick to your gorgeous cupcakes, tearing off bits of cake when removed. Opt for good quality, grease-proof liners (parchment paper liners or foil liners work great) to ensure easy removal and a pristine finish.
- Do Not Overmix the Batter: Once you add the wet ingredients to the dry, mix just until combined. Overmixing develops gluten (even in all-purpose flour) and can lead to dense, tough cupcakes. A few small lumps are perfectly fine and will bake out.
- Measure Flour Correctly: For the most accurate results, weigh your flour with a kitchen scale (1⅓ cup all-purpose flour is approximately 160g). If you don’t have a scale, use the “spoon and level” method: spoon flour into your measuring cup, then level off the top with a straight edge, rather than scooping directly from the bag.
Storage Instructions for Dairy-Free Cupcakes
Proper storage is essential to keep your dairy-free vanilla cupcakes tasting fresh and delicious. Here’s how to store them for optimal enjoyment:
Refrigeration: Once baked and frosted, these delicious dairy-free vanilla cupcakes will remain fresh for about 3 days when stored in an airtight container in the refrigerator. While you might be able to eat them for a couple of days beyond that, their texture and freshness will begin to decline, potentially becoming dry. For the best taste and softest buttercream, allow the cupcakes to come to room temperature on the counter for 15-20 minutes before serving or enjoying.
Freezing for Longer Storage: If you’ve made a large batch or want to enjoy these treats later, freezing is an excellent option:
- First, place the frosted cupcakes in the fridge for about 1-2 hours, or until the buttercream frosting is completely firm and solid. This prevents smudging.
- Once firm, individually wrap each cupcake tightly with plastic wrap, ensuring no air can get in.
- Place the wrapped cupcakes in an airtight container or a freezer-safe bag.
- They can be kept in the freezer for up to a month.
- To defrost, transfer the frozen cupcakes to the refrigerator overnight.
- Before serving, let them sit on the counter at room temperature for 15-20 minutes to allow the buttercream to soften and the cake to reach its optimal texture.
Frequently Asked Questions About Dairy-Free Cupcakes
While this recipe is dairy-free and can be made gluten-free with a simple flour swap, I have not personally tested an egg-free version in combination with gluten-free flour. Egg-free and gluten-free baked goods can be quite finicky to balance in terms of texture and structure, so I can’t confidently guarantee results or provide specific substitutions for eggs in that specific scenario.
If you do experiment with making this recipe egg-free, especially alongside the gluten-free modification, I would be incredibly grateful if you could share your results and any successful adjustments in the comments below! Your feedback helps the entire baking community.
For these cupcakes, any unsweetened plain or vanilla-flavored plant-based milk will work well. Soy milk, oat milk, and almond milk are all excellent choices. Ensure it’s unsweetened to avoid making the cupcakes overly sweet and to allow the vanilla flavor to truly shine.
It’s best to avoid microwaving vegan butter to soften it, as this can cause it to melt unevenly or become oily, which can negatively affect the texture of your cupcakes. The ideal method is to leave it out on the counter at room temperature for at least 1-2 hours until it’s pliable but still cool to the touch. If you’re in a hurry, you can cut it into smaller pieces to speed up the process, but gentle, natural softening is always preferred.
Yes, this recipe can absolutely be adapted for a dairy-free cake! It will yield enough batter for a single 8-inch or 9-inch round cake. Adjust the baking time; a cake will typically need to bake longer, anywhere from 25-35 minutes, depending on your oven and pan size. Always use the toothpick test for doneness.
More Irresistible Dairy-Free Dessert Recipes
If you loved these dairy-free vanilla cupcakes, you’re in for a treat! Explore more delightful dairy-free desserts that are perfect for any occasion:
- These dairy-free peanut butter cookies are a dream come true for peanut butter lovers. They boast a crisp exterior that gives way to a soft, incredibly chewy center, bursting with rich peanut butter flavor.
- Bright and zesty dairy-free lemon bars strike the perfect balance between sweet and tangy. Imagine a buttery shortbread crust topped with a thick, luscious, and intensely lemony curd – pure sunshine in every bite!
- Prepare to be amazed by this dairy-free pumpkin pie. It’s wonderfully silky, rich, and utterly delicious, making it an absolute must-have for any fall gathering or holiday feast.
Craving More Cupcake Creations?
If cupcakes are your passion, you’ll adore these other fantastic recipes from my kitchen, catering to various flavor preferences:
- My chocolate cupcakes are designed to be super moist and incredibly fluffy, delivering a deep, satisfying chocolate flavor that will never disappoint.
- For carrot cake enthusiasts, try my carrot cake cupcakes. They’re spiced to perfection and topped with a bright, tangy lemony cream cheese frosting that complements the cake beautifully.
- Love the unique taste of matcha lattes? Then I already know these vibrant matcha cupcakes with white chocolate frosting are right up your alley! Their earthy notes are perfectly balanced by the sweet frosting.
- These chocolate peanut butter cupcakes are a Reese’s lover’s ultimate dream! A rich chocolate base paired with a creamy peanut butter frosting creates an irresistible flavor combination.
Thanks so much for stopping by and trying this delightful Dairy-Free Vanilla Cupcake Recipe! I truly hope you loved every fluffy, creamy bite. Don’t forget to connect with me and share your baking adventures on Pinterest, Facebook, and Instagram. Tag me #aimadeitforyou with your creations! You can also ensure you never miss out on my newest recipes and baking tips by signing up for my exclusive email newsletter!
Dairy-Free Vanilla Cupcakes
Ingredients
Vanilla cupcakes
- 1⅓ cup all-purpose flour (or 197g 1-to-1 GF flour blend if making gluten-free)
- ⅓ cup cornstarch (omit if using cake flour or a GF blend with xanthan gum)
- ½ teaspoon fine salt
- ½ teaspoon baking soda
- 2 teaspoons baking powder
- 1 cup granulated sugar
- ½ stick vegan butter softened at room temperature (80% fat content recommended)
- ¼ cup oil (neutral flavored, e.g., avocado, grapeseed, or vegetable)
- 2 large eggs (room temperature)
- ⅓ cup mayonnaise (dairy-free, if needed; adds fluff and structure)
- 4 teaspoons vanilla extract (pure vanilla or vanilla paste for richer flavor)
- ⅔ cup unsweetened dairy-free milk (soy, oat, or almond milk work best)
Vanilla buttercream frosting
- 2 sticks vegan butter softened at room temperature (80% fat content)
- ⅓ cup shortening (for stability; can substitute equal amounts vegan butter for a softer frosting)
- 3 cups powdered sugar (also known as confectioner’s sugar)
- ⅓ vanilla beans (a 2-inch piece, seeds scraped, or 4 tsp vanilla paste/extract)
- ¼ teaspoon fine salt
Instructions
Cupcakes
- Preheat your oven to 340°F (170°C) and line your cupcake pan with paper liners.
- In a large bowl, thoroughly whisk together the flour, cornstarch, salt, baking soda, baking powder, and granulated sugar. Add the softened vegan butter and work it into the flour mixture until it resembles coarse sand.
- In a separate bowl, mix the oil, room-temperature eggs, mayonnaise, and vanilla extract until smooth. Add this wet mixture to the dry ingredients and mix on low speed until just combined.
- Stir in the dairy-free milk until a smooth batter forms. Scrape down the sides and bottom of the bowl to ensure everything is fully incorporated.
- Fill the liners evenly with the batter, about ½ to ⅔ full. Bake the cupcakes in the preheated oven for 18 minutes. Check for doneness by inserting a toothpick into the center; it should come out clean or with a few moist crumbs. If needed, bake for another minute or two. Let the cupcakes cool in the pan for 1 minute before transferring them onto a wire rack to cool completely.
Frosting
- In the bowl of a stand mixer fitted with a paddle attachment, beat the softened vegan butter and shortening for 3 to 4 minutes on medium-high speed until the mixture is fluffy and light in color.
- Gradually add the powdered sugar, about a third at a time, beating well after each addition. Scrape the sides and bottom of the bowl with a spatula before each new addition to ensure even mixing. Once all the sugar is incorporated, taste and add more if you desire a sweeter frosting.
- Finally, add the fine salt and the scraped seeds from the vanilla bean (or vanilla paste/extract) to the buttercream. Beat again for another minute or two until everything is smoothly combined and the frosting is light and fluffy. Frost your completely cooled cupcakes any way you like!
Notes
- Room Temperature is Key: Always use room-temperature ingredients, including your eggs and vegan butter. This promotes smooth emulsification and prevents overmixing, ensuring a tender crumb.
- Scrape the Bowl: Regularly scrape the sides and bottom of your mixing bowl with a spatula to guarantee all ingredients are thoroughly incorporated.
- Complete Cooling: It’s vital that cupcakes are *completely* cooled before you attempt to frost them. Even slight warmth will cause your delicious buttercream to melt and slide off.
- Even Scooping: For uniform cupcakes that bake evenly and look professional, use a cookie scoop (or ice cream scoop) to portion your batter into the liners.
- Quality Liners: Invest in high-quality, grease-proof cupcake liners to prevent sticking and preserve the perfect appearance of your mini cakes.
- Don’t Overmix: Mix the batter just until combined. Overmixing can develop gluten and lead to tough cupcakes.
- Proper Flour Measurement: For accuracy, weigh your flour or use the “spoon and level” method to avoid adding too much, which can make cupcakes dry.
- Gluten-Free Adaptation: If making gluten-free, use a 1-to-1 GF flour blend with xanthan gum. Mix for an extra 2 minutes and then rest the batter for 30 minutes to allow flours to hydrate fully. Cool completely before eating.
