Delicious Gluten-Free Whoopie Pies: Soft, Cakey, & Perfectly Nostalgic
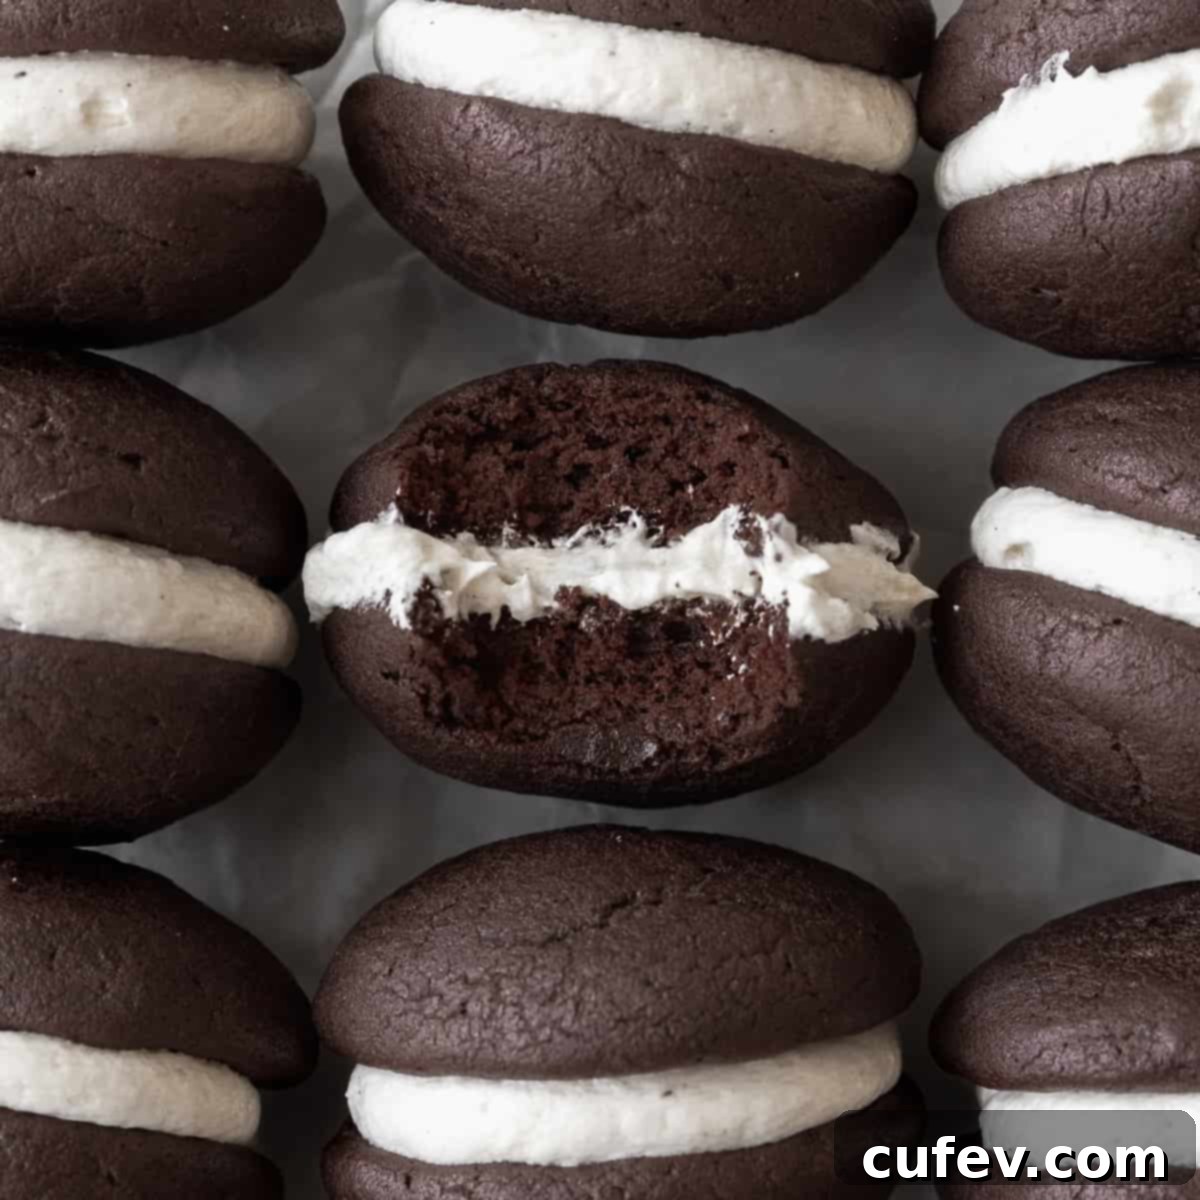
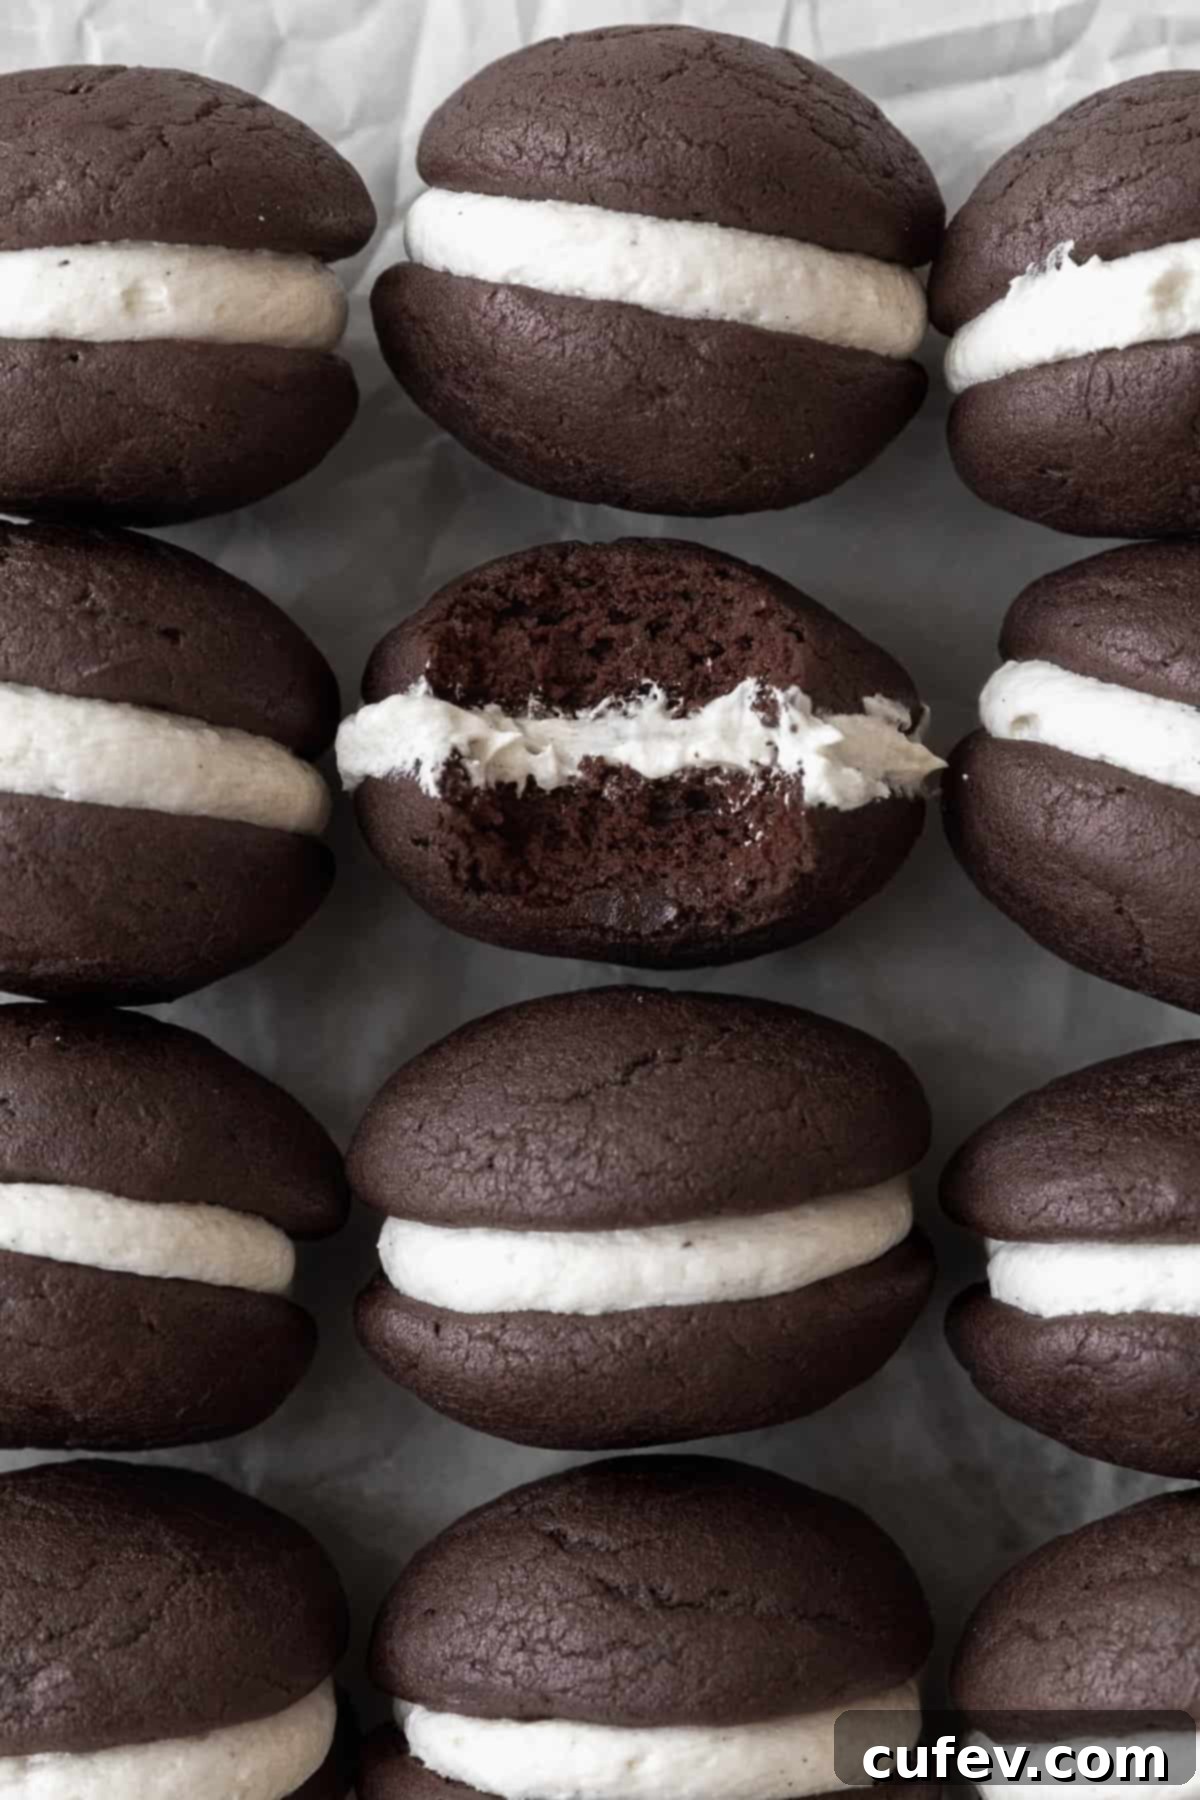
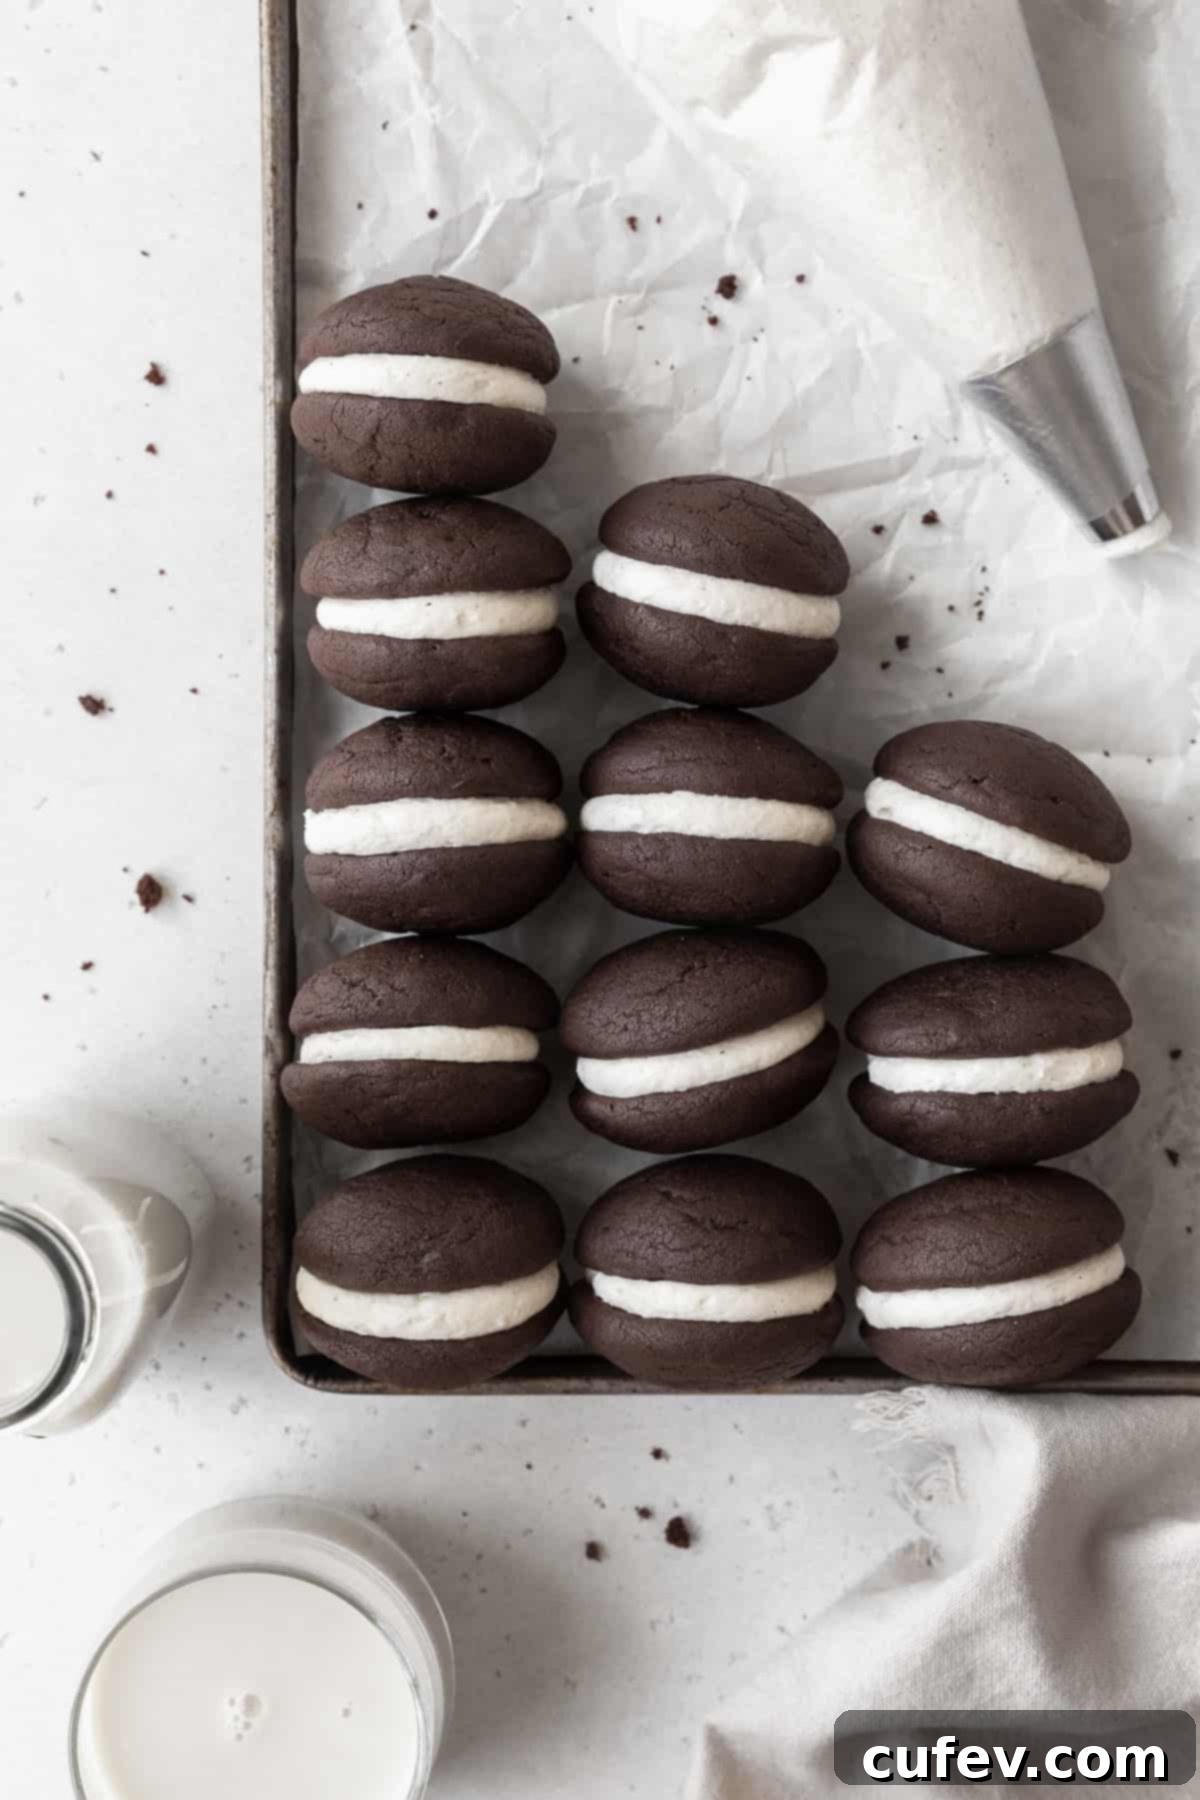
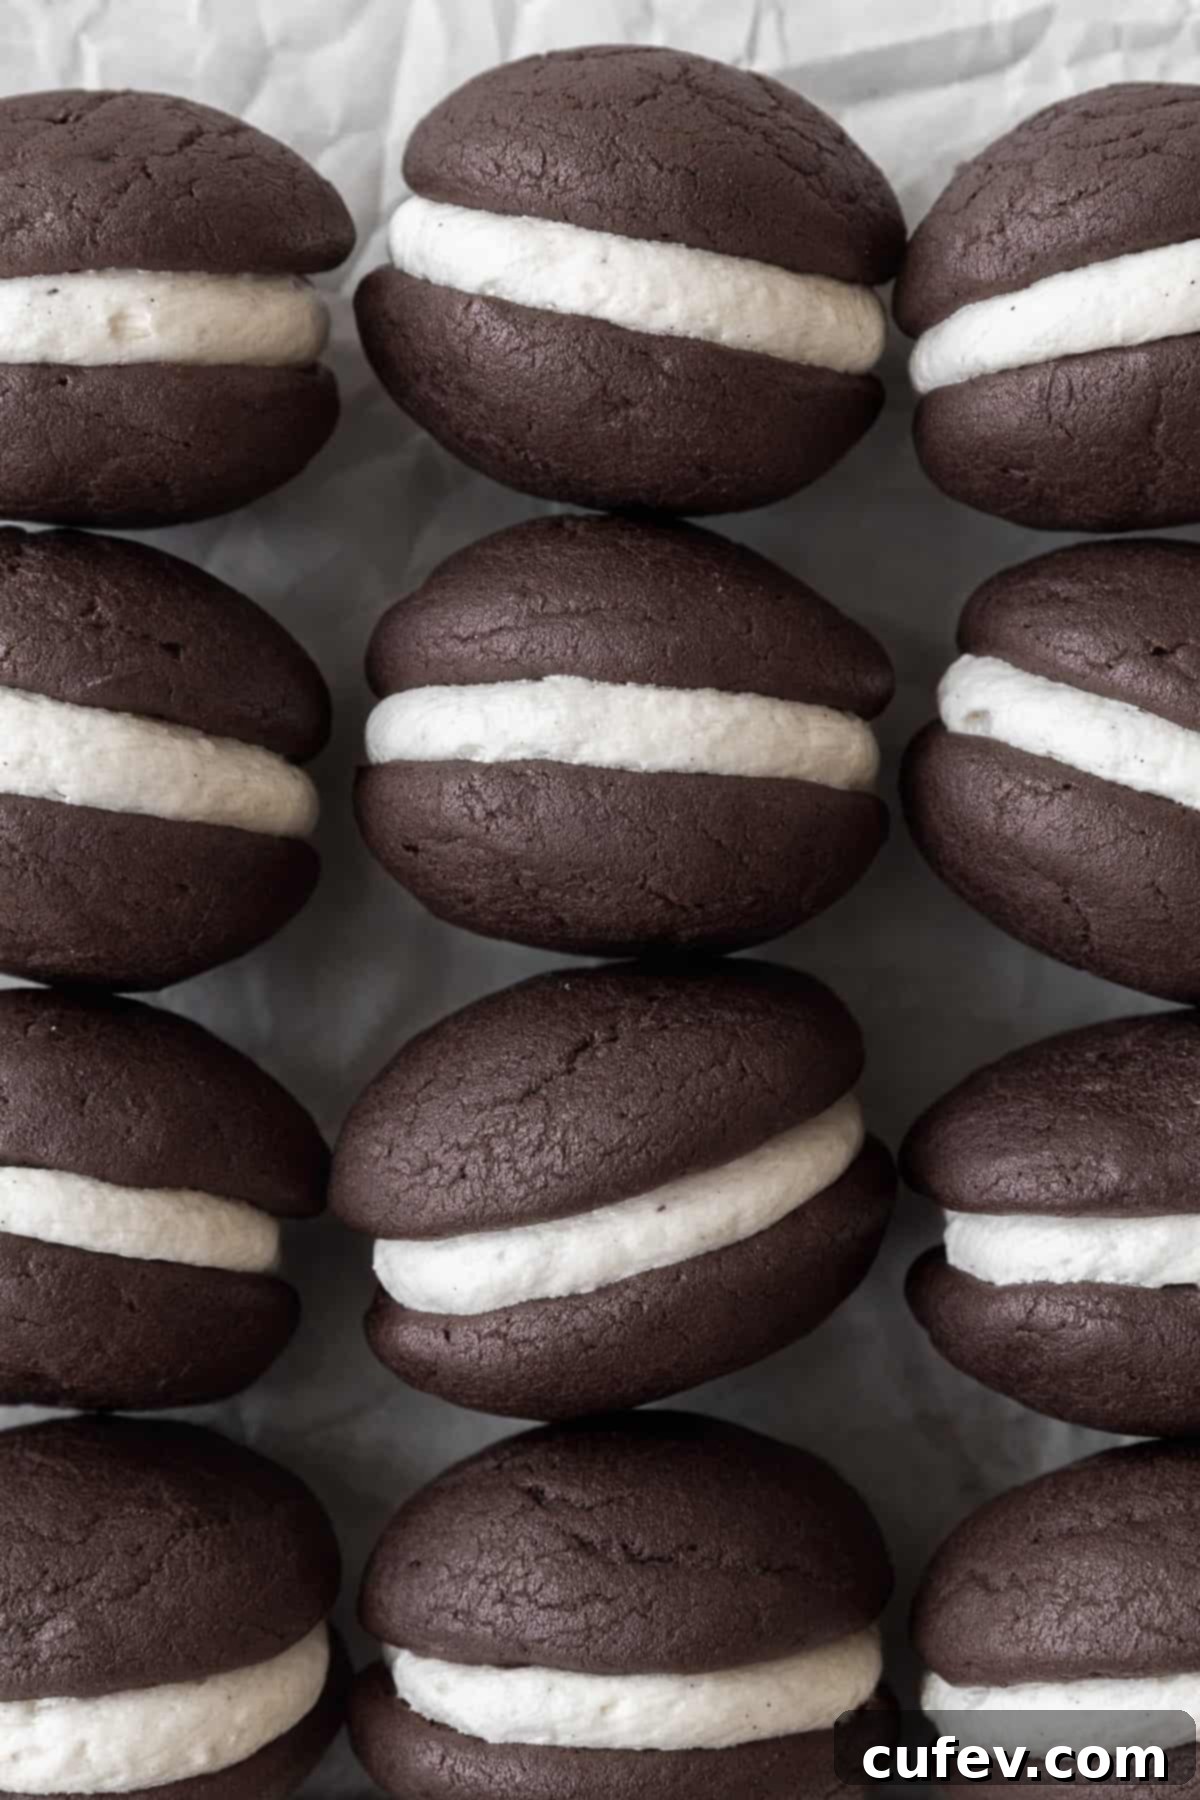
Step into a world of pure, unadulterated comfort with these incredible **Gluten-Free Whoopie Pies**. Imagine soft, incredibly cakey chocolate sandwich cookies paired with a rich, velvety vanilla filling that transports you straight back to childhood — all without a trace of gluten. This recipe delivers everything you love about classic whoopie pies: their irresistible texture, deep chocolate flavor, and delightfully creamy center, making them a truly nostalgic treat accessible to everyone.
Crafted with readily available gluten-free all-purpose flour, rich cocoa powder, tangy buttermilk, and a selection of everyday pantry staples, these whoopie pies come together with surprising ease. The result is a batch of tender, moist chocolate cakes that serve as the perfect counterpart to the sweet, fluffy vanilla filling. Forget complicated decorating techniques; these charming sandwich cakes are perfect as they are, making them ideal for a relaxed afternoon indulgence, a delightful addition to holiday platters, or even a fun, fuss-free birthday dessert.
I’ve poured countless hours into meticulously testing and refining this recipe to ensure that every single batch is not only simple to follow but also consistently delicious. From the perfectly domed chocolate cakes to the smooth, pipeable vanilla buttercream, every element is designed for success, guaranteeing a memorable baking experience and even more delightful eating.
This post was originally published on June 1, 2023. It was updated with new recipe information on February 5, 2024, to bring you the most perfect gluten-free whoopie pie experience.
Essential Ingredients for Perfect Gluten-Free Whoopie Pies
Achieving the perfect texture and flavor in your gluten-free whoopie pies relies on a few key ingredients. Here’s a closer look at what makes them so special and why each component is important:
- Gluten-Free Flour: The foundation of our cakey cookies! For the best results, use a high-quality 1-to-1 or measure-for-measure gluten-free flour blend. Brands like Bob’s Red Mill 1-to-1 Baking Flour are formulated with a balanced mix of starches and gums to mimic traditional wheat flour, ensuring your whoopie pies are tender and not crumbly. Avoiding single-grain flours or blends without xanthan gum is crucial for optimal structure. To delve deeper into the world of gluten-free flours and their characteristics, you can explore this detailed post on gluten-free flours.
- Cornstarch: This seemingly small addition plays a big role. Cornstarch works wonders by softening the flour proteins (even in GF blends) and contributing to a light, airy, and wonderfully tender crumb in your whoopie pies. It helps prevent them from becoming dense, a common pitfall in gluten-free baking.
- Dutch-Processed Cocoa Powder: For that rich, deep chocolate color and flavor, Dutch-processed cocoa is ideal. Unlike natural cocoa, which is acidic, Dutch-processed cocoa has been treated to neutralize its acidity. Since this recipe already includes an acidic ingredient (buttermilk), using Dutch-processed cocoa creates a more balanced pH, which is essential for proper leavening when paired with baking soda, ensuring your cakes rise beautifully without an overly bitter taste.
- Unsalted Butter: Butter provides richness and structure to both the chocolate cakes and the vanilla filling. Using unsalted butter allows you to control the total salt content in the recipe. Both regular dairy butter or high-quality vegan butter sticks work perfectly, offering flexibility for dietary needs.
- Oil: Adding a neutral-flavored oil, such as avocado oil or light olive oil, alongside butter contributes to the incredible moisture and tenderness of the whoopie pie cakes. Oil helps keep the cakes soft for longer and adds a subtle depth to the texture without overpowering the chocolate flavor. Feel free to use your preferred neutral oil.
- Instant Espresso (optional): This is your secret weapon for intensifying the chocolate flavor! Just a small amount of instant espresso powder doesn’t make the whoopie pies taste like coffee; instead, it deepens and amplifies the cocoa notes, making the chocolate taste even more pronounced and luxurious. If you prefer to avoid caffeine, decaffeinated instant espresso is a great option, or you can omit it entirely without compromising the recipe’s success.
- Buttermilk: A crucial ingredient for tenderizing the whoopie pie batter. The acidity in buttermilk reacts with the baking soda, creating air pockets that lead to a soft, fluffy cake texture. It also enhances the overall buttery flavor. If you don’t have buttermilk on hand, it’s incredibly easy to make your own: simply add 1 tablespoon of distilled white vinegar (or lemon juice) to a 1-cup measuring cup, then fill the rest with dairy or non-dairy milk to the 1-cup line. Stir gently and let it sit for 3-5 minutes until it slightly curdles before incorporating it into your batter.
Expert Tips for Gluten-Free Whoopie Pie Success
Baking gluten-free whoopie pies can be a breeze with a few expert tips to guide you. Follow these recommendations for perfectly textured cakes and a delightful filling every time:
- Carefully Weigh the Flour for Optimal Texture: This is arguably the most critical tip for gluten-free baking. Flour, especially GF blends, can be easily over-measured when scooped directly from the bag with a measuring cup, leading to a dense, dry, or crumbly result. For accurate and consistent results, always use a kitchen scale to weigh your gluten-free flour. If a scale isn’t available, gently spoon the flour into your measuring cup and then level it off with a straight edge, rather than scooping directly with the cup. This method prevents compaction and ensures you’re using the correct amount.
- Achieving Uniform Whoopie Pie Cakes: Consistency is key for beautiful whoopie pies. To ensure all your chocolate cakes are of similar size and bake evenly, use a cookie scoop (a 1.5-tablespoon scoop is ideal for this recipe). Alternatively, for ultimate precision, you can weigh each scoop of batter. This not only makes for a visually appealing end product but also ensures consistent baking times.
- Mastering the Filling Application: The vanilla filling is just as important as the cake itself! Always ensure your filling is at room temperature before piping or spreading. Refrigerated filling will be too stiff, making it difficult to pipe smoothly and potentially tearing your delicate cake halves. If you don’t have a dedicated piping bag, a sturdy Ziploc bag with a corner snipped off works wonderfully. Simply fill the bag, snip a small hole (start small, you can always make it bigger), and pipe. For a rustic look, or if you prefer not to pipe, an offset spatula is perfect for spreading the filling evenly.
- Serve at Room Temperature for Best Enjoyment: While whoopie pies can be stored in the refrigerator, they are truly at their best when served at room temperature. This allows the chocolate cakes to return to their soft, tender texture and ensures the vanilla filling is light, creamy, and smooth, providing the most enjoyable eating experience.
- Don’t Overmix the Batter: Overmixing gluten-free batter can still lead to tough or dense baked goods. Mix the dry ingredients into the wet until just combined and no streaks of flour remain. A few small lumps are perfectly fine.
- Allow Proper Cooling: After baking, let the whoopie pie cakes cool on the baking sheet for a minute or two before transferring them to a wire rack to cool completely. Attempting to fill warm cakes will result in melted, messy frosting and possibly soggy cakes. Patience here pays off!
Gluten-Free Whoopie Pie Recipe
Print
Pin
Rate
Ingredients
Chocolate cake
- 1¾ cup gluten-free 1-to-1 flour
- ¼ cup cornstarch
- ¾ cup cocoa powder
- ½ teaspoon fine salt
- 1 teaspoons baking soda
- 1 teaspoon baking powder
- ½ cup unsalted butter melted
- ¼ cup oil avocado or light olive oil
- 1 cup brown sugar
- 2 large eggs
- 1 cup buttermilk
- 2 teaspoons vanilla extract
- 1 teaspoon instant espresso optional
Vanilla buttercream frosting
- 1 cup unsalted butter
- ⅓ cup shortening
- 3 cups powdered sugar
- 2 teaspoons vanilla extract
- ¼ teaspoon fine salt
Instructions
Chocolate cake
-
In a large bowl, combine the melted butter, oil, brown sugar, and instant espresso, if you’re using it. Mix until well combined.
-
Add the eggs one at a time, beating thoroughly after each addition until fully incorporated.

-
Stir in the buttermilk and vanilla extract, beating until the mixture is smooth and evenly combined. Set this wet mixture aside.

-
In a separate medium bowl, whisk together the gluten-free flour, cornstarch, cocoa powder, salt, baking soda, and baking powder. Gradually add this dry mixture to the wet ingredients, stirring gently until just smooth and no dry streaks of flour remain. Avoid overmixing. Allow the batter to rest for 30 minutes.

-
While the batter is resting, preheat your oven to 340°F (170°C). Line a large baking sheet with parchment paper to prevent sticking.
-
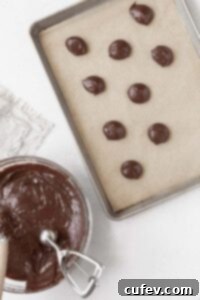
Using a cookie scoop (approximately 1½ tablespoons), scoop even portions of batter onto the prepared parchment paper, leaving about 2 inches of space between each mound to allow for spreading.

-
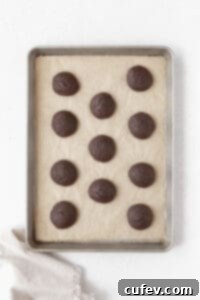
Bake the cakes for approximately 8 minutes, or until they are set and spring back lightly when gently touched. Let them cool on the baking sheet for 1-2 minutes before carefully transferring them to a wire rack to cool completely. This is crucial before frosting.

Vanilla buttercream frosting
-
In the bowl of a stand mixer fitted with a paddle attachment, or using a large bowl with a hand mixer, beat the softened butter and shortening together until the mixture is light, creamy, and fluffy. This typically takes about 3 minutes on medium-high speed.
-
Gradually add the powdered sugar, one cup at a time, beating well after each addition. Make sure to scrape down the sides and bottom of the bowl with a spatula after each addition to ensure everything is fully incorporated. Taste the frosting and add more sugar if you prefer a sweeter filling.
-
Add the fine salt and vanilla extract to the frosting. Beat again for about 1 minute until the ingredients are thoroughly combined and the frosting is smooth and airy.
-
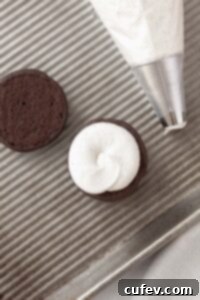
Once the cakes are completely cool, assemble your whoopie pies. Using a piping bag or an offset spatula, spread a generous amount of vanilla buttercream frosting onto the flat bottom of one chocolate cake. Then, gently place another chocolate cake on top, creating a delightful sandwich. Repeat this process with the remaining cakes and frosting.

Notes
Nutrition
Storage and Freezing Directions for Whoopie Pies
Ensuring your whoopie pies stay fresh and delicious is simple with these storage tips:
- Refrigeration: Leftover whoopie pies should be stored in an airtight container to maintain their freshness and soft texture. When properly stored in the refrigerator, they will keep beautifully for 3-4 days. This also helps the filling set slightly, making them easier to handle.
- Freezing: Whoopie pies are excellent candidates for freezing, allowing you to enjoy them much later. For best results, wrap each individual whoopie pie tightly in parchment paper or plastic wrap. Then, place the wrapped pies in a freezer-safe container or a heavy-duty freezer bag. They can be frozen for up to 3 months. To enjoy, simply thaw them in the refrigerator overnight or at room temperature for a few hours until soft.
Frequently Asked Questions About Whoopie Pies
The key to perfectly domed, fluffy whoopie pies rather than flat, spread-out ones lies in careful mixing. Overmixing the batter develops gluten (even in gluten-free flours, the starches can become overworked) and incorporates too much air, which can cause the cookies to spread excessively during baking. To achieve that ideal cake-like texture, mix your dry ingredients into the wet until the last streaks of flour have just disappeared. A few small lumps are perfectly acceptable and even desirable.
Whoopie pies are known for their soft, cake-like texture, which can sometimes lead to them sticking to surfaces. To prevent this, always line your baking sheets with parchment paper – never just grease them. Additionally, ensure the baked whoopie pie cakes cool completely on a wire rack before attempting to handle them or apply the filling. Proper cooling allows the cakes to firm up and prevents the filling from melting, minimizing stickiness.
Absolutely! Whoopie pie filling freezes wonderfully. You can prepare a batch in advance and store it in a freezer-safe container for up to 3 months. When you’re ready to use it, simply transfer the frozen filling to the refrigerator and allow it to thaw completely, which usually takes about 2-4 hours. Once thawed, give it a quick whisk to restore its smooth, fluffy consistency before piping or spreading it onto your cooled whoopie pie cakes.
While both are popular sandwich treats, Moon Pies and whoopie pies are distinct! Moon Pies are a specific brand of commercially produced sandwich cookie, typically featuring two round vanilla graham cracker-like cookies around a marshmallow filling, often dipped in a chocolate glaze. They tend to be firmer and have a more processed marshmallow taste.
In contrast, traditional whoopie pies, like this gluten-free version, are homemade and feature two soft, cake-like chocolate halves (sometimes pumpkin or other flavors) sandwiched around a rich, creamy filling. This filling is usually a vanilla buttercream, marshmallow fluff-based frosting, or a combination, offering a much richer and more buttery flavor and a softer, less uniform texture than a Moon Pie’s marshmallow. Essentially, whoopie pies are more akin to miniature cakes, while Moon Pies are closer to large cookies with a marshmallow center.
Whoopie pies, affectionately known by regional names such as “gobs,” “chocolate gobs,” or “Amish whoopie pies,” are much more than just a dessert – they’re a beloved American classic. At their heart, they are delightful sandwich cookies composed of two soft, cake-like chocolate cookies (often described as miniature cakes) generously filled with a creamy, old-fashioned vanilla frosting. Unlike crispier cookies, whoopie pies boast a moist, tender, and slightly chewy texture that truly sets them apart.
The charming history of the whoopie pie is as rich as its flavor. While their exact origin is debated, popular lore credits resourceful German settlers or farmers in Pennsylvania’s Amish and Pennsylvania Dutch communities. Legend has it that these delicious treats were originally made from leftover cake batter, baked into small rounds, and then sandwiched with a sweet filling. When these delightful creations were found in lunch pails, children and farmers would exclaim, “Whoopie!” – giving the dessert its catchy name.
Maine also lays a strong claim to the whoopie pie’s heritage, with many believing it originated there and even designating it as the official state treat. Regardless of the precise birthplace, whoopie pies have become a cherished culinary tradition across the Northeastern United States, particularly within Amish communities who have perfected their own unique recipes. They are celebrated for being portable, satisfyingly chocolaty, wonderfully buttery, and perfectly sweet – a true testament to simple, comforting baking that has stood the test of time. Our gluten-free version aims to capture all this traditional charm while being accessible to everyone.
More Delicious Gluten-Free Dessert Recipes to Try
If you’re still craving something sweet or looking for more delightful gluten-free treats, explore these fantastic recipes:
If you’re feeling the heat and need a refreshing treat, make these gluten-free ice cream sandwiches! You can easily use your favorite store-bought ice cream or follow the no-churn ice cream recipe I’ve included for a homemade touch.
This no-bake icebox cake is another perfect option if it’s too hot to turn on the oven, but you’re still craving a wonderfully sweet and creamy dessert without the fuss!
These chewy coconut oatmeal cookie sandwiches are, hands down, some of my absolute favorite cookie sandwiches! Simply use a high-quality gluten-free flour blend to ensure they are completely gluten-free and equally delicious.
Love chocolate as much as we do? These fudgy double chocolate chip cookies are incredibly rich, decadent, and utterly delicious! They bake up perfectly when made gluten-free, delivering that intense chocolate experience you crave.
If you’re looking for a consistently moist and absolutely fool-proof cake recipe, you must try this gluten-free chocolate cake. It’s renowned for its incredible moisture and consistently receives rave reviews every single time it’s made!
