Spooktacularly Sweet & Healthy: Homemade Halloween White Chocolate Eyeballs with Purple Sweet Potato Filling
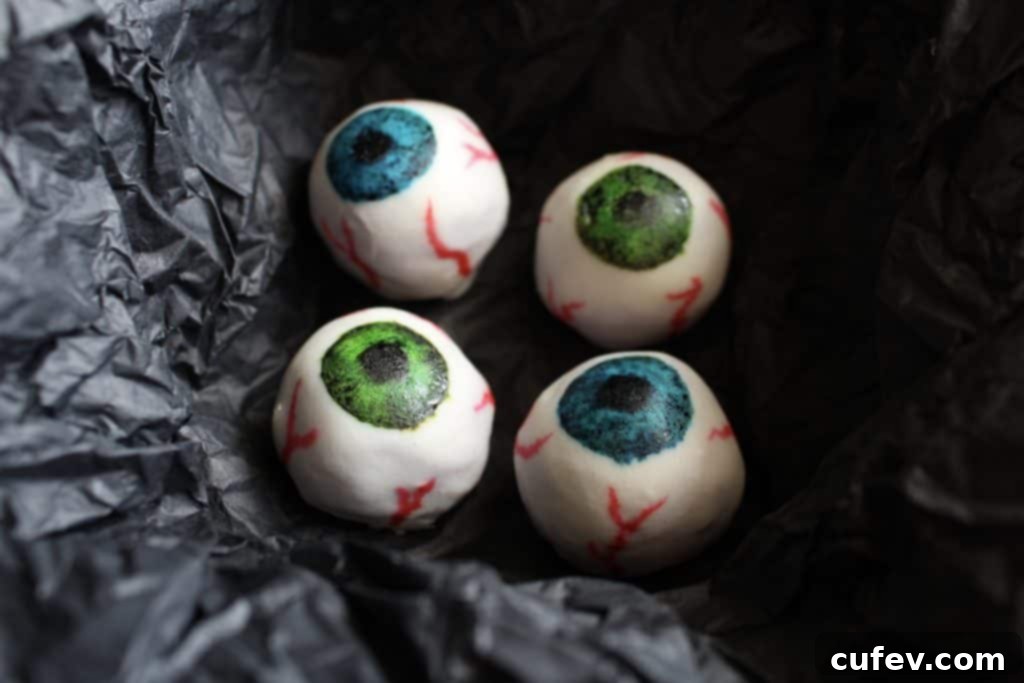
Are you searching for a unique and healthier alternative to traditional sugary Halloween candy? These delightful Halloween white chocolate eyeballs are the perfect homemade treat to impress trick-or-treaters and party guests alike! They offer a delicious surprise filling that’s both nutritious and visually striking, making them a fantastic choice for a memorable celebration.
Updated September 16, 2019 (Originally posted October 29, 2016)
While whipping up a batch of these spooky treats might take a little more time than simply grabbing a few bags of store-bought candy, the effort is undeniably worth it. These homemade Halloween eyeballs boast an unparalleled flavor that store-bought options can’t match. More importantly, they provide a much healthier alternative, ensuring no one gets an excessive sugar rush. Get ready to receive compliments, as everyone you share these creative Halloween treats with will surely be impressed by your culinary artistry and thoughtful approach to festive snacking.
Why Choose Homemade & Healthy Halloween Treats?
In an age where health consciousness is on the rise, many parents and hosts are seeking alternatives to candy-laden Halloween offerings. Our white chocolate eyeballs filled with sweet potato provide an excellent solution. By making your own treats, you gain complete control over the ingredients, allowing you to reduce refined sugars, avoid artificial additives, and incorporate wholesome components like sweet potatoes. This not only makes for a more nutritious snack but also caters to various dietary preferences or allergies that store-bought items might not address. Plus, there’s an undeniable charm and personal touch to homemade goodies that mass-produced candies simply can’t replicate. It’s an opportunity to show care, creativity, and offer something truly special during the spooky season.
Crafting Your Delicious Halloween White Chocolate Eyeballs
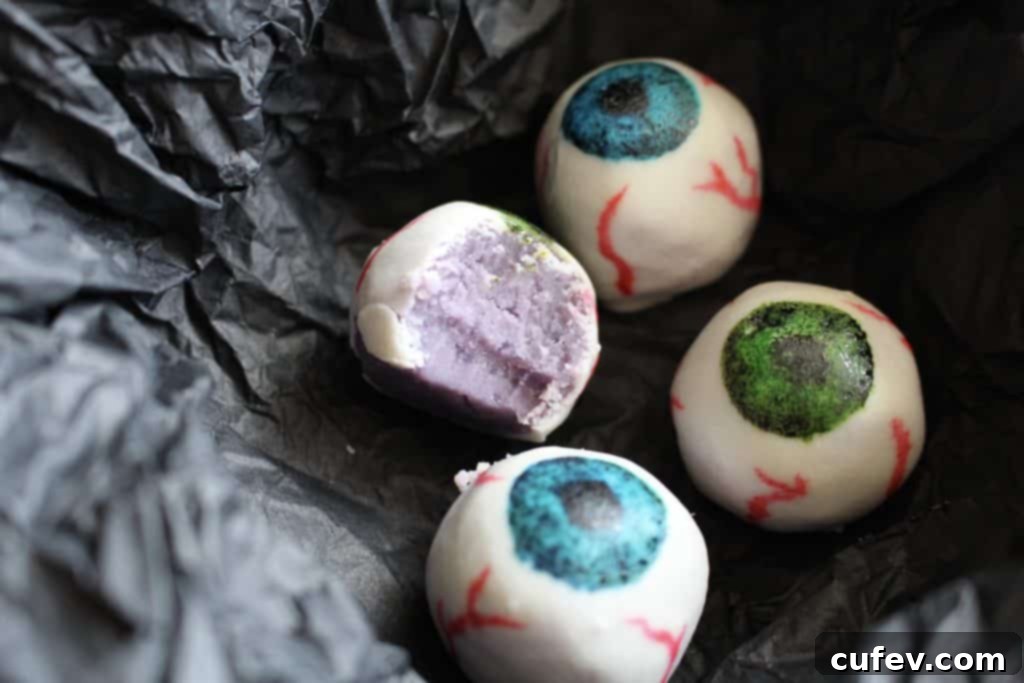
Despite their name, these “white chocolate eyeballs” are wonderfully deceptive – their primary ingredient is a nutritious sweet potato filling! For these particular Halloween treats, I opted for Japanese purple sweet potatoes. Their naturally vibrant purple hue is perfectly suited for Halloween, offering a striking contrast to the white chocolate exterior and a delightful surprise when bitten into. Beyond their color, Japanese sweet potatoes have a unique flavor profile and texture that makes them ideal for this recipe.
Preparing the Purple Sweet Potato Filling
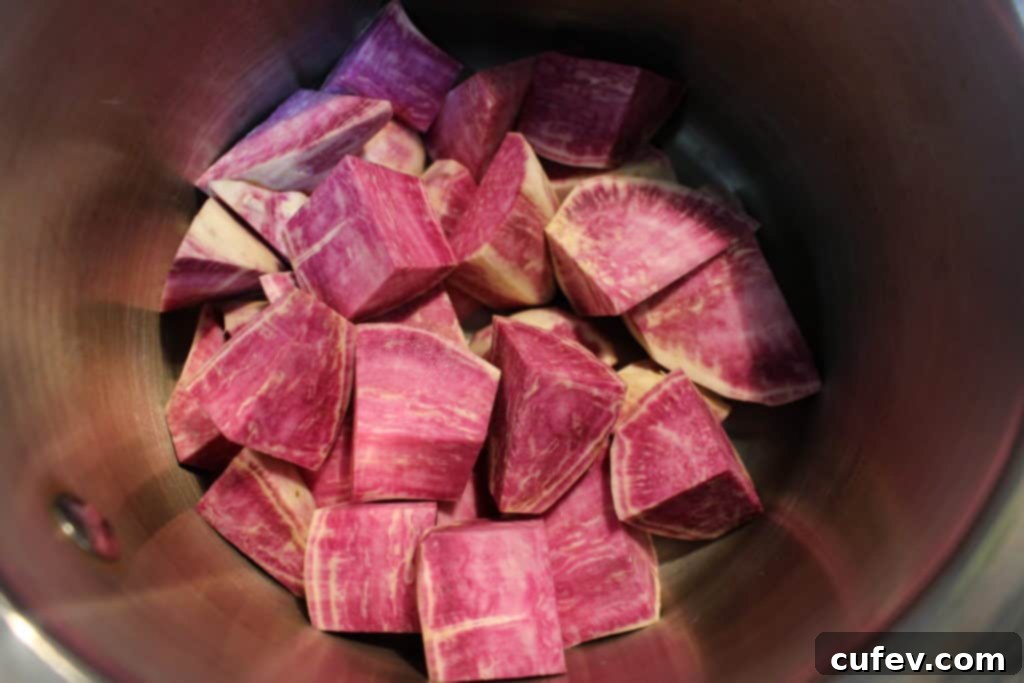
Everyone seems to have their preferred method for boiling potatoes, but for optimal results, I recommend starting with cold water. Place your peeled and chopped sweet potato chunks into a saucepan and cover them with cold water. Bring the water to a boil, then reduce the heat to a gentle simmer. Cook for about 15 to 20 minutes, or until the sweet potatoes are fork-tender. You’ll know they’re ready when you can easily pierce a piece with a toothpick or fork and it falls off on its own. This ensures a smooth and creamy mash.
Once tender, thoroughly drain the sweet potatoes. Transfer the hot, drained sweet potatoes to a large mixing bowl, then add the salted butter, light brown sugar, and heavy cream. Now it’s time to mash away! If you don’t own a dedicated potato masher, a sturdy fork can get you started, breaking down the larger chunks. For an extra smooth and fluffy texture, I then switch to an electric beater to whip the mixture until it’s perfectly creamy and free of lumps. This step is crucial for achieving the ideal consistency for rolling into balls.
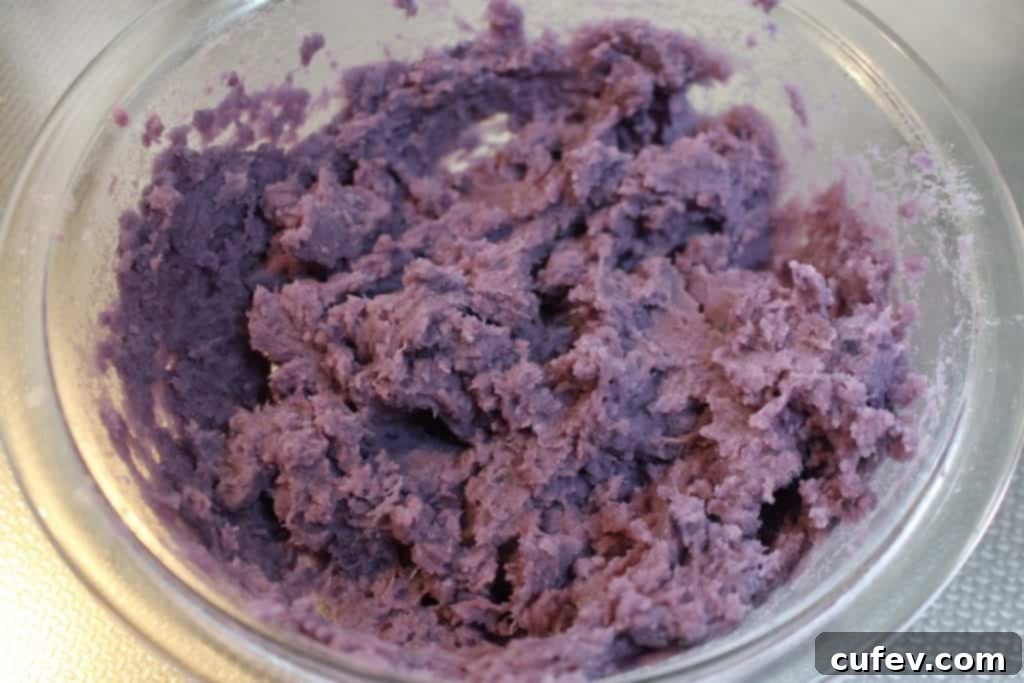
A quick note on sweet potato varieties: Japanese sweet potatoes tend to be starchier and less watery than common American sweet potato varieties. If you opt to use American sweet potatoes, you might need to adjust the amount of heavy cream. Start with a little less and add more as needed, ensuring the mixture isn’t too wet. The goal is a firm, pliable consistency that can be easily rolled into neat balls without sticking excessively to your hands. Once mashed, let the mixture cool completely before proceeding to the next step.
Rolling and Chilling the Eyeball Cores
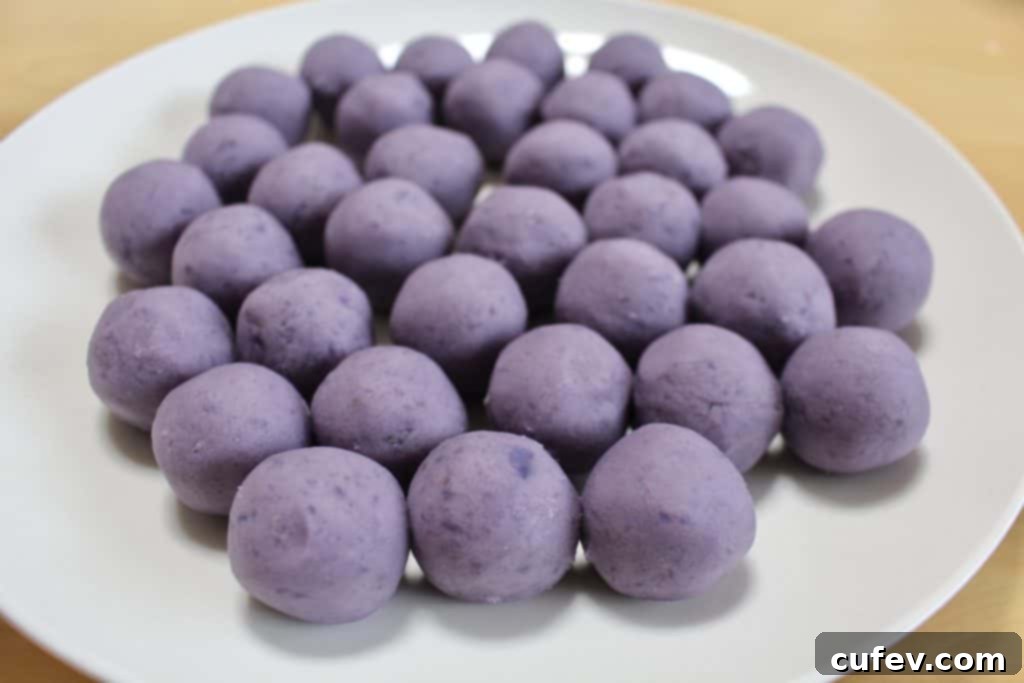
Once your sweet potato mixture has cooled, scoop out tablespoon-sized portions and gently roll them between your palms to form smooth, uniform balls. The size is entirely up to your preference; if you’re aiming for more dramatic “eyeballs,” you can certainly make them larger. I chose a smaller size for this particular batch because I planned to use them as decorative toppers for these fantastic Halloween black sesame cupcakes! Once all your sweet potato balls are shaped, arrange them on a plate or baking sheet, cover them with plastic wrap, and let them chill in the fridge for at least 30 minutes. This chilling step is vital as it firms up the balls, making them easier to handle and ensuring the white chocolate coating adheres smoothly without melting the interior.
Coating Your Eyeballs with Tempered White Chocolate
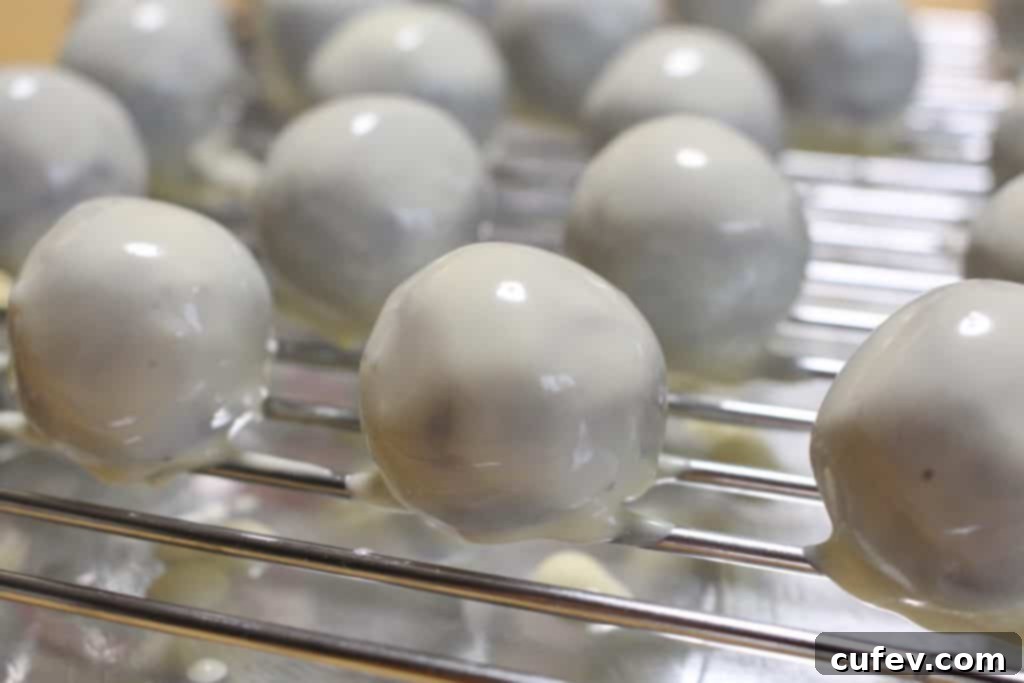
While your sweet potato balls are firming up in the fridge, it’s the perfect time to prepare your white chocolate. For the best results – a shiny finish, a satisfying snap when bitten, and to prevent “sugar bloom” (that dull, streaky appearance) – you’ll want to temper your white chocolate. Tempering involves carefully heating and cooling chocolate to stabilize its cocoa butter crystals. I highly recommend consulting resources like Ecole Chocolat for detailed instructions on chocolate tempering techniques, such as the seeding method or the double boiler method with precise temperature control. While it might sound intimidating, with a little practice, it’s a skill that will elevate all your chocolate-dipped creations.
Once your white chocolate is perfectly tempered, remove the chilled sweet potato balls from the fridge. Using a fork or a dipping tool, carefully dip each sweet potato ball into the melted white chocolate, ensuring it’s fully coated. Lift it out, tap gently to remove any excess chocolate, and then place it on a parchment-lined baking sheet or wire rack to harden. Repeat this process until all your sweet potato cores are beautifully enrobed in white chocolate. Allow them to harden completely at room temperature or in the fridge if you’re in a hurry. A fully hardened coating provides the ideal canvas for your artistic details.
Bringing Your Eyeballs to Life: Decoration Tips
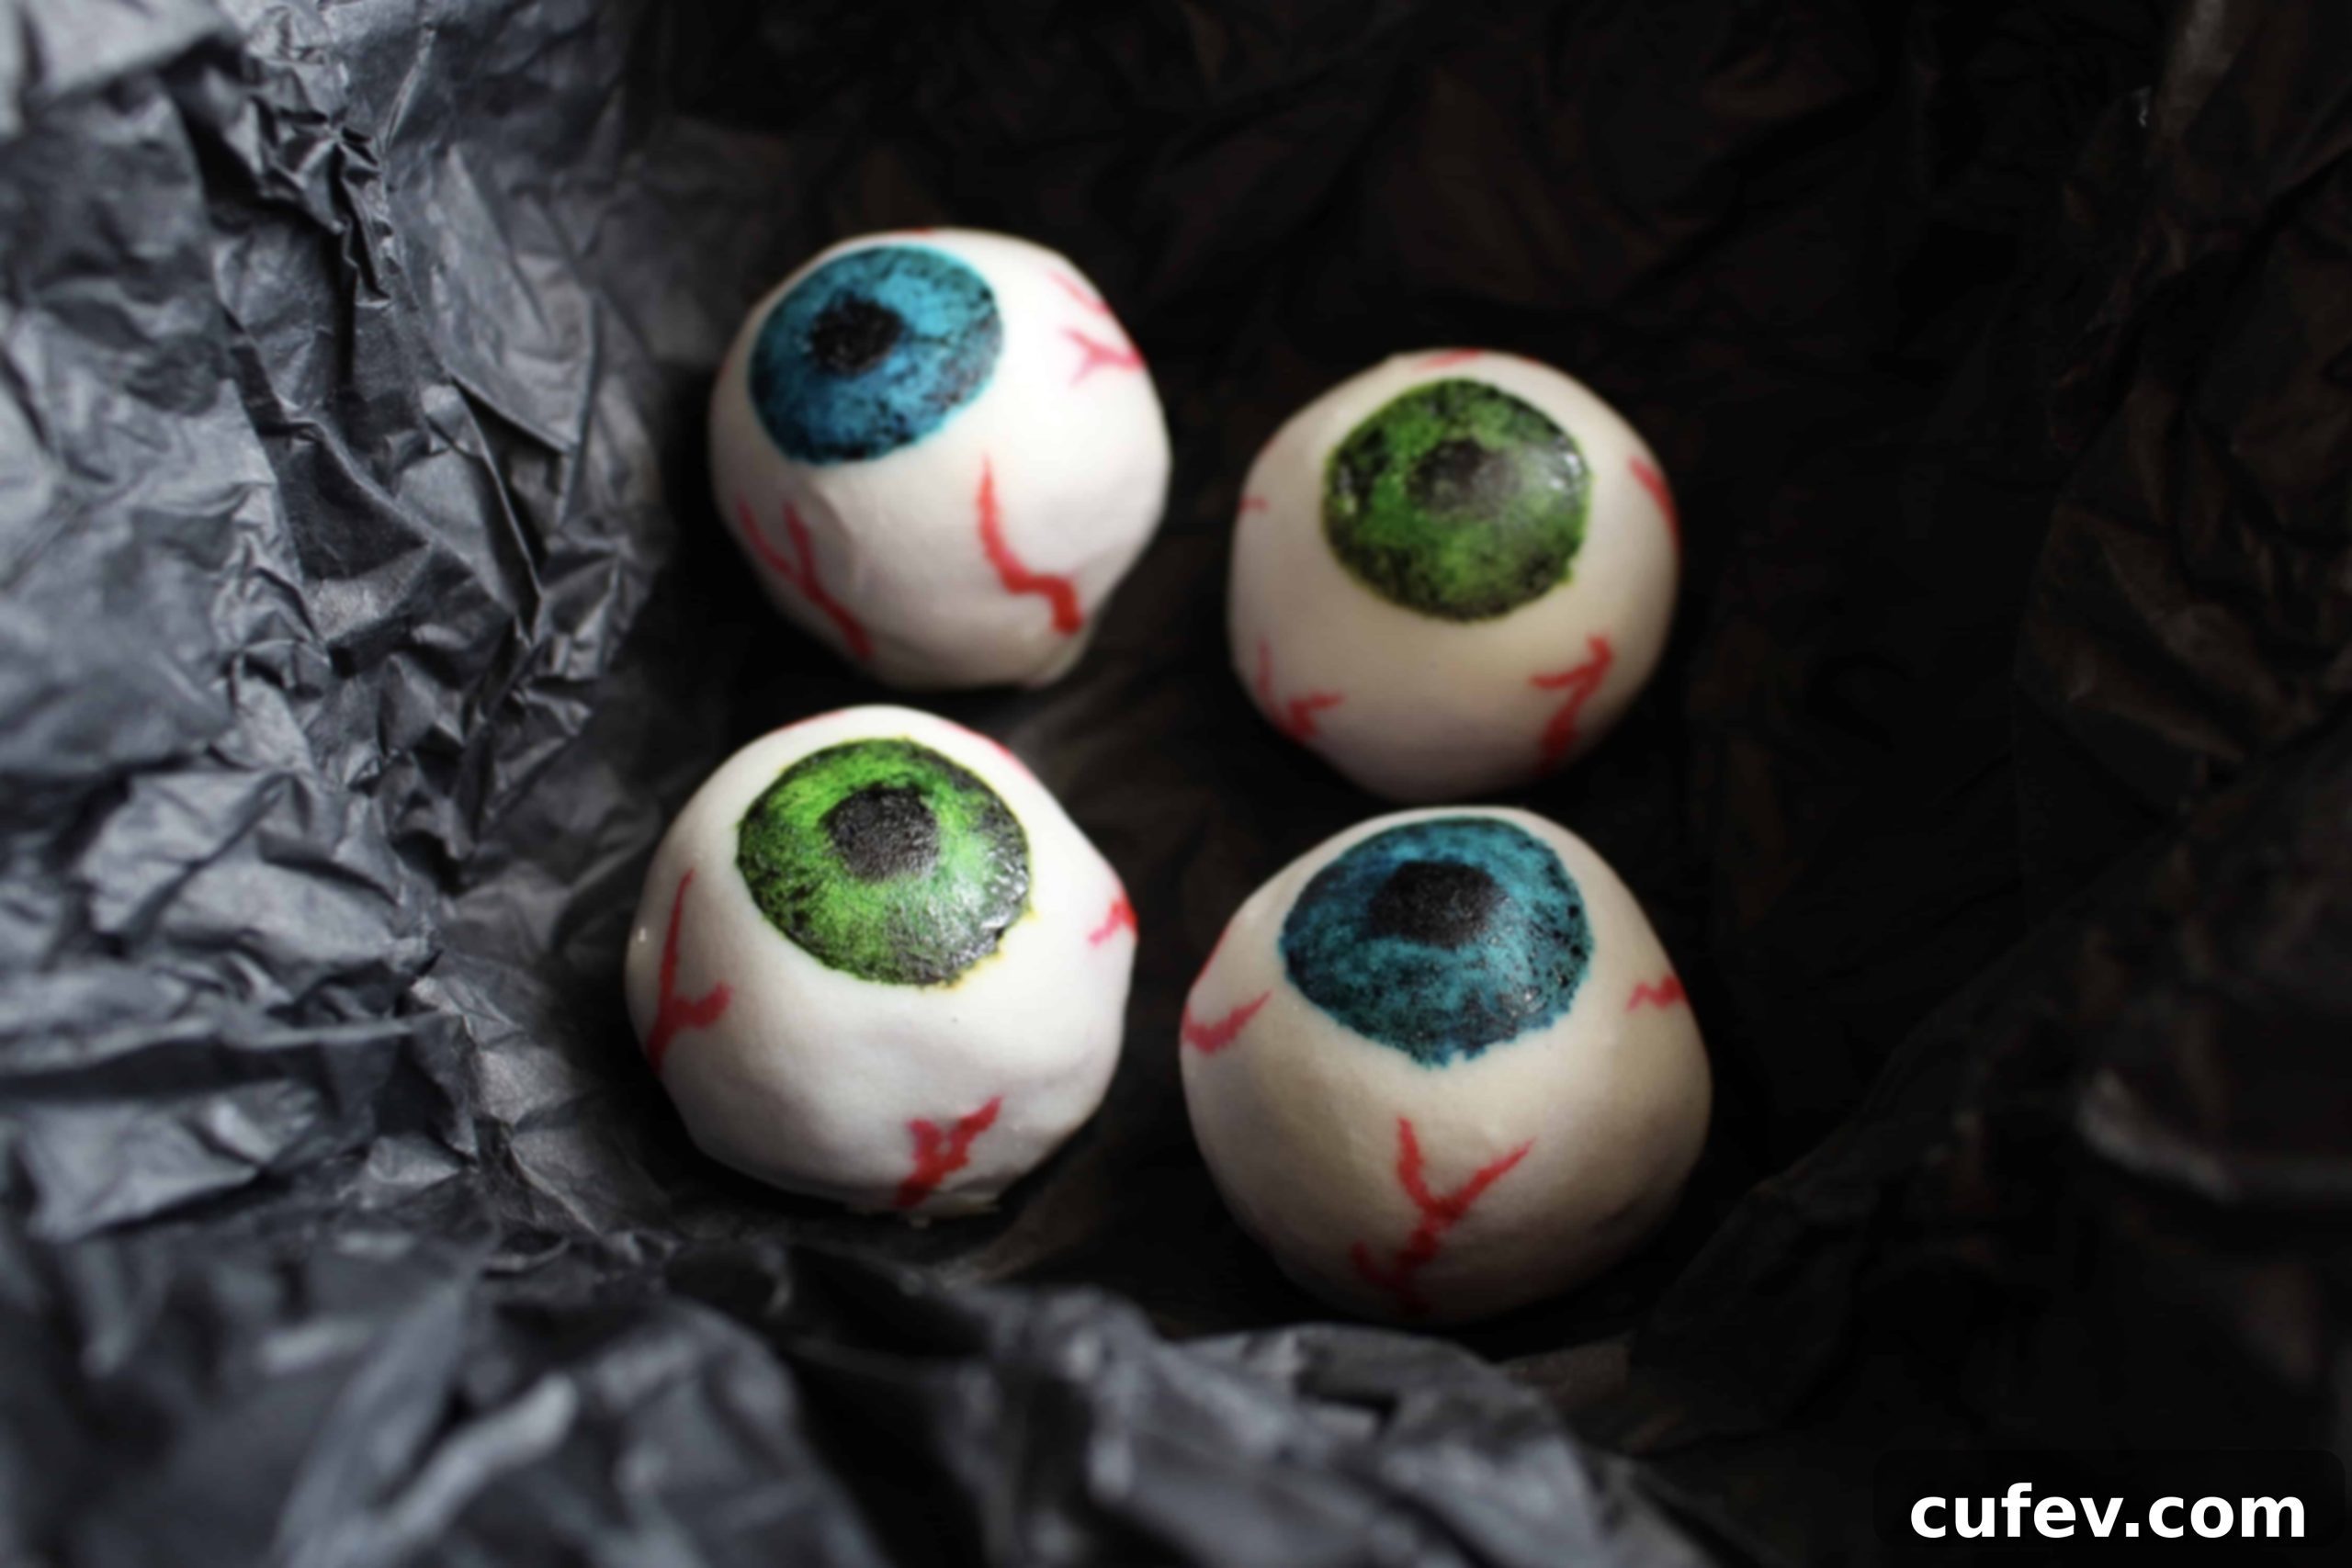
Once the white chocolate coating has completely set, the fun truly begins: it’s time to paint on the eerie details! For this step, it’s absolutely crucial to use gel food coloring. I learned this the hard way – I initially tried using liquid food coloring, but the surface tension of the chocolate wouldn’t allow the liquid color to adhere properly, resulting in splotchy, non-permanent marks. Gel food coloring, however, provides vibrant, consistent color that dries beautifully on the chocolate surface.
Liquid vs. Gel Food Coloring: The Essential Difference
Understanding the difference between liquid and gel food coloring is key for successful chocolate decoration. Liquid food coloring is water-based, and as chocolate is oil-based, they don’t mix well, causing the chocolate to seize or the color to bead up on the surface. Gel food coloring, on the other hand, is concentrated and typically glycerin or corn syrup-based, making it compatible with chocolate and allowing it to adhere smoothly without affecting the chocolate’s texture or appearance. This ensures your eyeball details are crisp and stay put.
For the iris, I used Sky Blue and Leaf Green from Wilton’s set of 8 colors, which gave a good range of natural eye shades. For the creepy bloodshot veins, I mixed Pink with some Orange from the same set – a creative workaround since my jar of Christmas Red was mysteriously missing! For the central pupil and any intricate details on the iris, I used a separate black gel food coloring. You can experiment with different color combinations to create a variety of spooky or fantastical eye effects.
I must admit, I’m not typically a huge fan of using food coloring, but I had an absolute blast painting these Halloween eyeballs! It brought back fond memories of painting in high school, an activity I hadn’t truly engaged with since. The process was incredibly relaxing and creatively satisfying, reminding me how much I missed that artistic outlet. Don’t be afraid to get creative; use fine-tipped brushes or even toothpicks to achieve different effects, from subtle veins to dramatic, bloodshot eyes. Let your imagination run wild and create a truly unique set of spooky edibles!
Serving and Storage Suggestions for Your Halloween Eyeballs
These white chocolate eyeballs are incredibly versatile. Serve them individually on a platter for a spooky party spread, or as mentioned, they make fantastic toppers for cupcakes or other Halloween desserts. Their firm texture makes them easy to handle, and the vibrant purple interior is always a delightful surprise for those who take a bite. To store any leftover eyeballs, keep them in an airtight container in the refrigerator for up to a week. If you plan to gift them, consider arranging them in small cellophane bags tied with festive Halloween ribbons for a charming and personal touch. These homemade treats are sure to be a conversation starter and a memorable part of your Halloween festivities.
Explore More Spooky & Sweet Halloween Recipes
If you’re looking to expand your collection of Halloween treats, be sure to try these equally fun and delicious options. Our Frankenstein matcha rice krispie treats offer a vibrant green twist on a classic, while our spooky Halloween cookies provide endless possibilities for creative decorating and delightful flavors. These recipes, combined with your new white chocolate eyeballs, will make your Halloween spread truly unforgettable and impress every ghoul and goblin who stops by.
Already ready to skip the spooky season and jump headfirst into holiday cheer? We’ve got you covered! Check out these delicious and easy gluten-free Christmas cookie recipes to get a head start on your festive baking. From sweet potato eyeballs to holiday cookies, there’s always something delightful to create in the kitchen!
Halloween White Chocolate Eyeballs
Print
Pin
Rate
Ingredients
- 1¼ lbs (567g) purple sweet potato, peeled and chopped into chunks
- 3 tablespoons (42g) salted butter
- ¼ cup (40g) light brown sugar
- 2 tablespoons heavy cream
- 5.3 oz (150g) white chocolate, chopped
Instructions
-
Boil the peeled and chopped sweet potatoes in a saucepan until tender.
-
Put the drained sweet potatoes, butter, sugar, and heavy cream into a bowl and mash together. Let the mixture cool completely.
-
Take a tablespoonful of the cooled sweet potato mixture and roll it up into a ball. Cover with plastic wrap and chill in the fridge.
-
While the sweet potato balls are chilling, temper the white chocolate.
-
Dip each sweet potato ball into the tempered white chocolate and let them harden. Once they’ve hardened completely, paint on the iris, pupils, and veins using gel food color.
