Mastering Homemade Strawberry Daifuku (Ichigo Daifuku): Your Guide to Soft Mochi with Fresh Berries & Sweet Fillings
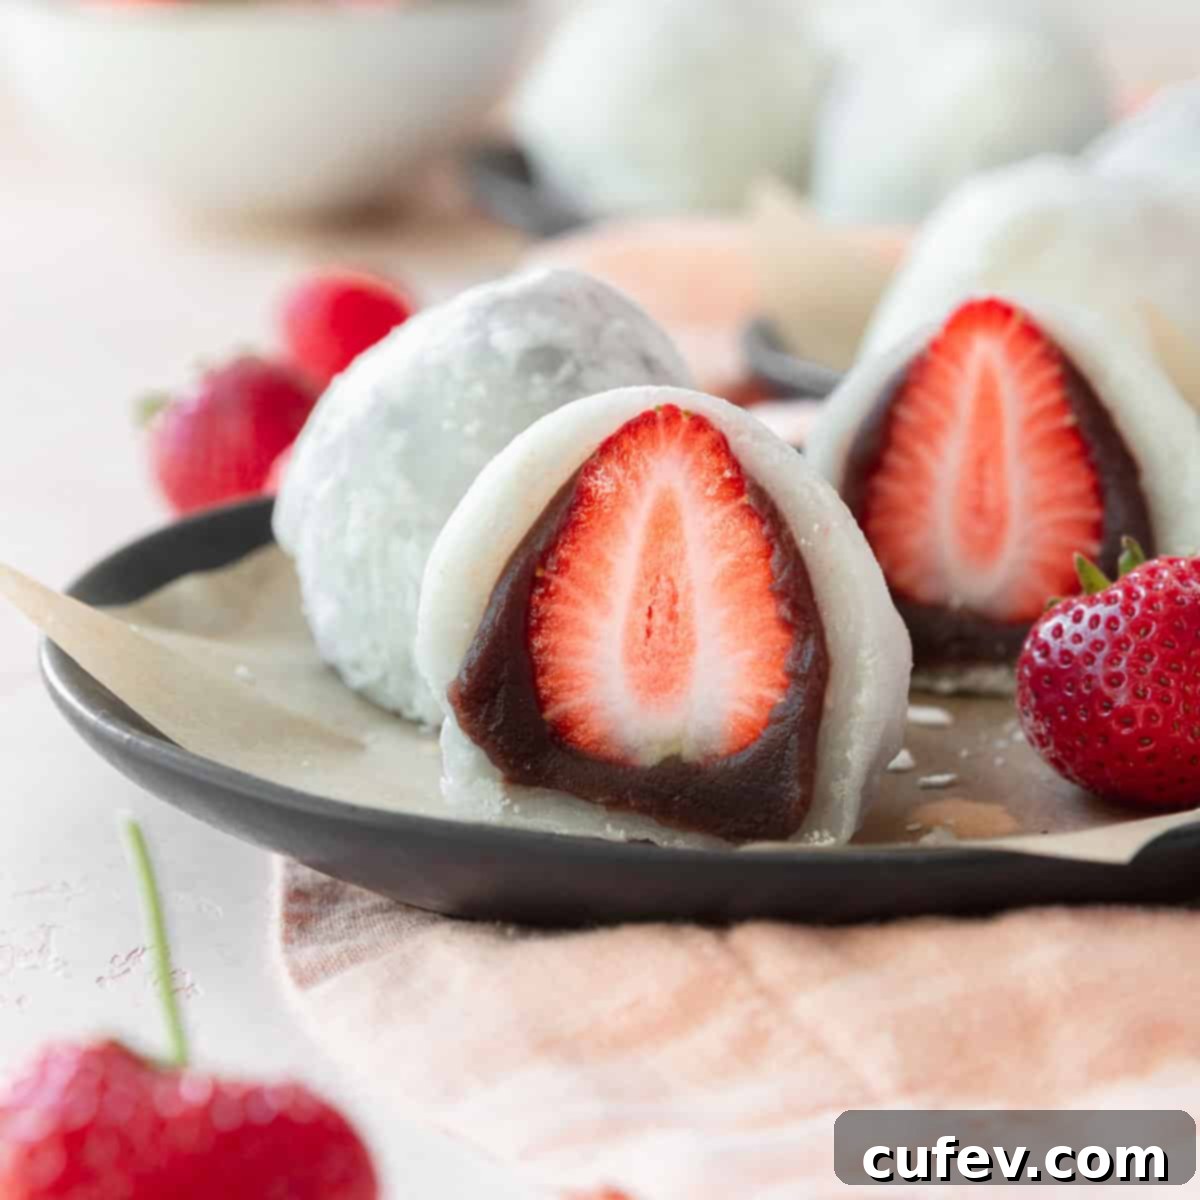
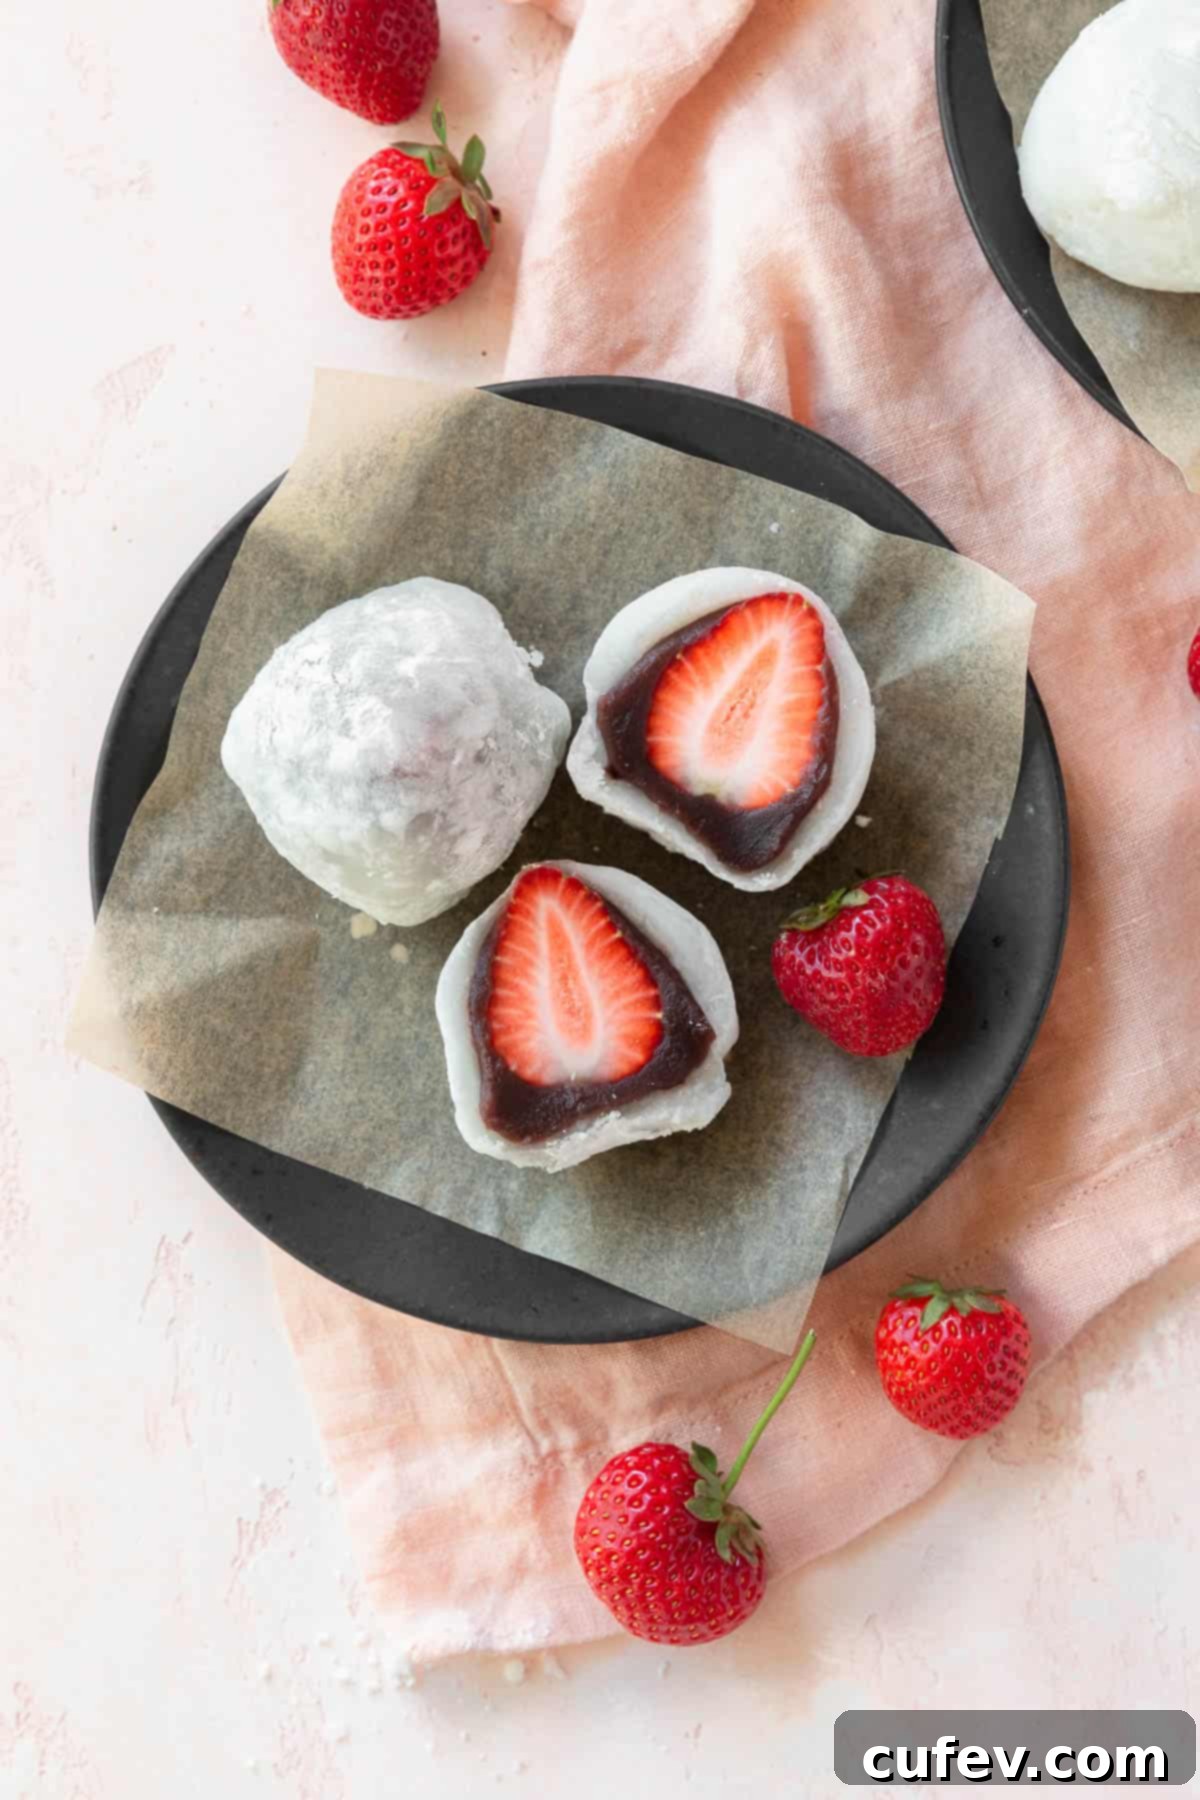
Strawberry Daifuku (Ichigo Daifuku) いちご大福: Imagine a dessert that perfectly blends tender-soft, sweet mochi with a rich, sweetened red bean paste, all embracing a burst of juicy, ripe strawberry. This dream confection is Ichigo Daifuku, a delightful Japanese treat that truly captures the essence of elegant simplicity. Whether you prefer the traditional anko (sweet red bean filling) or a creamy whipped topping, this recipe guides you to create an authentically light, refreshing, and truly delightful dessert that will captivate any mochi enthusiast.
This post is sponsored by Nature’s Charm. All text and opinions are my own.
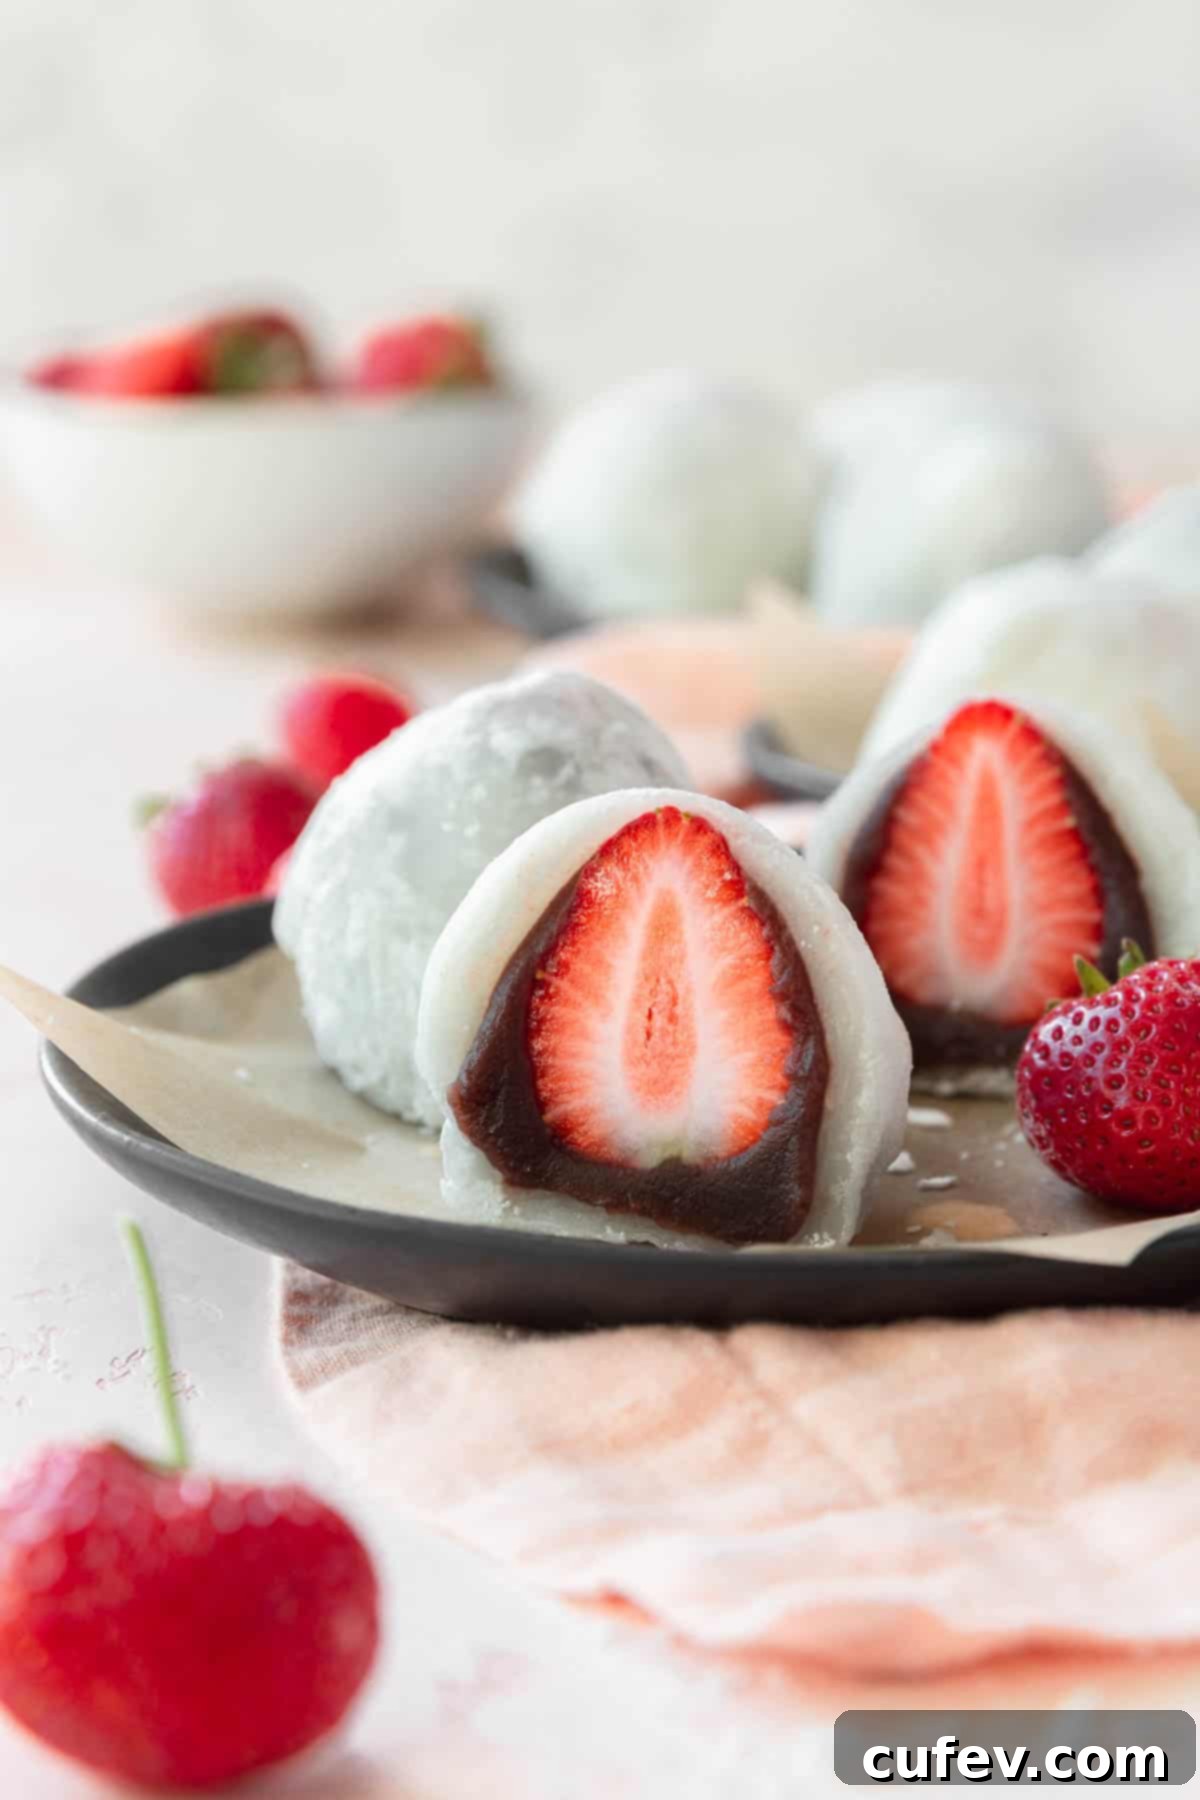
Table of contents
- What Is Strawberry Daifuku?
- Why You’ll Love Homemade Strawberry Daifuku
- Essential Ingredients for Strawberry Mochi
- How to Make Traditional Strawberry Mochi (Anko Filling)
- Variation: How to Make Whipped Cream Strawberry Mochi
- Top Tips for Perfect Mochi Every Time
- Storage Guidelines for Fresh Daifuku
- Frequently Asked Questions About Ichigo Daifuku
- Discover More Japanese Flavors
Growing up in Osaka, Japan, Ichigo Daifuku held a special place in my childhood memories. The delicate combination of soft, chewy mochi wrapped around juicy strawberries and sweet bean filling was a treat we often enjoyed. We would visit the local wagashiya, a traditional Japanese sweet shop, where these beautiful confections were displayed with the same artistry and care as pastries in a European bakery. Their vibrant colors and exquisite presentation always made them feel like a treasure.
Strawberry mochi wasn’t just a seasonal delight; it was a year-round pleasure. Beyond everyday indulgence, we also sought them out on New Year’s Day, finding them at the lively food stalls outside the shrine after offering our prayers for health and good fortune. These moments forged a deep connection to this dessert, and I’m excited to share the authentic taste and joy of making Ichigo Daifuku from my own heritage with you.
What Is Strawberry Daifuku?
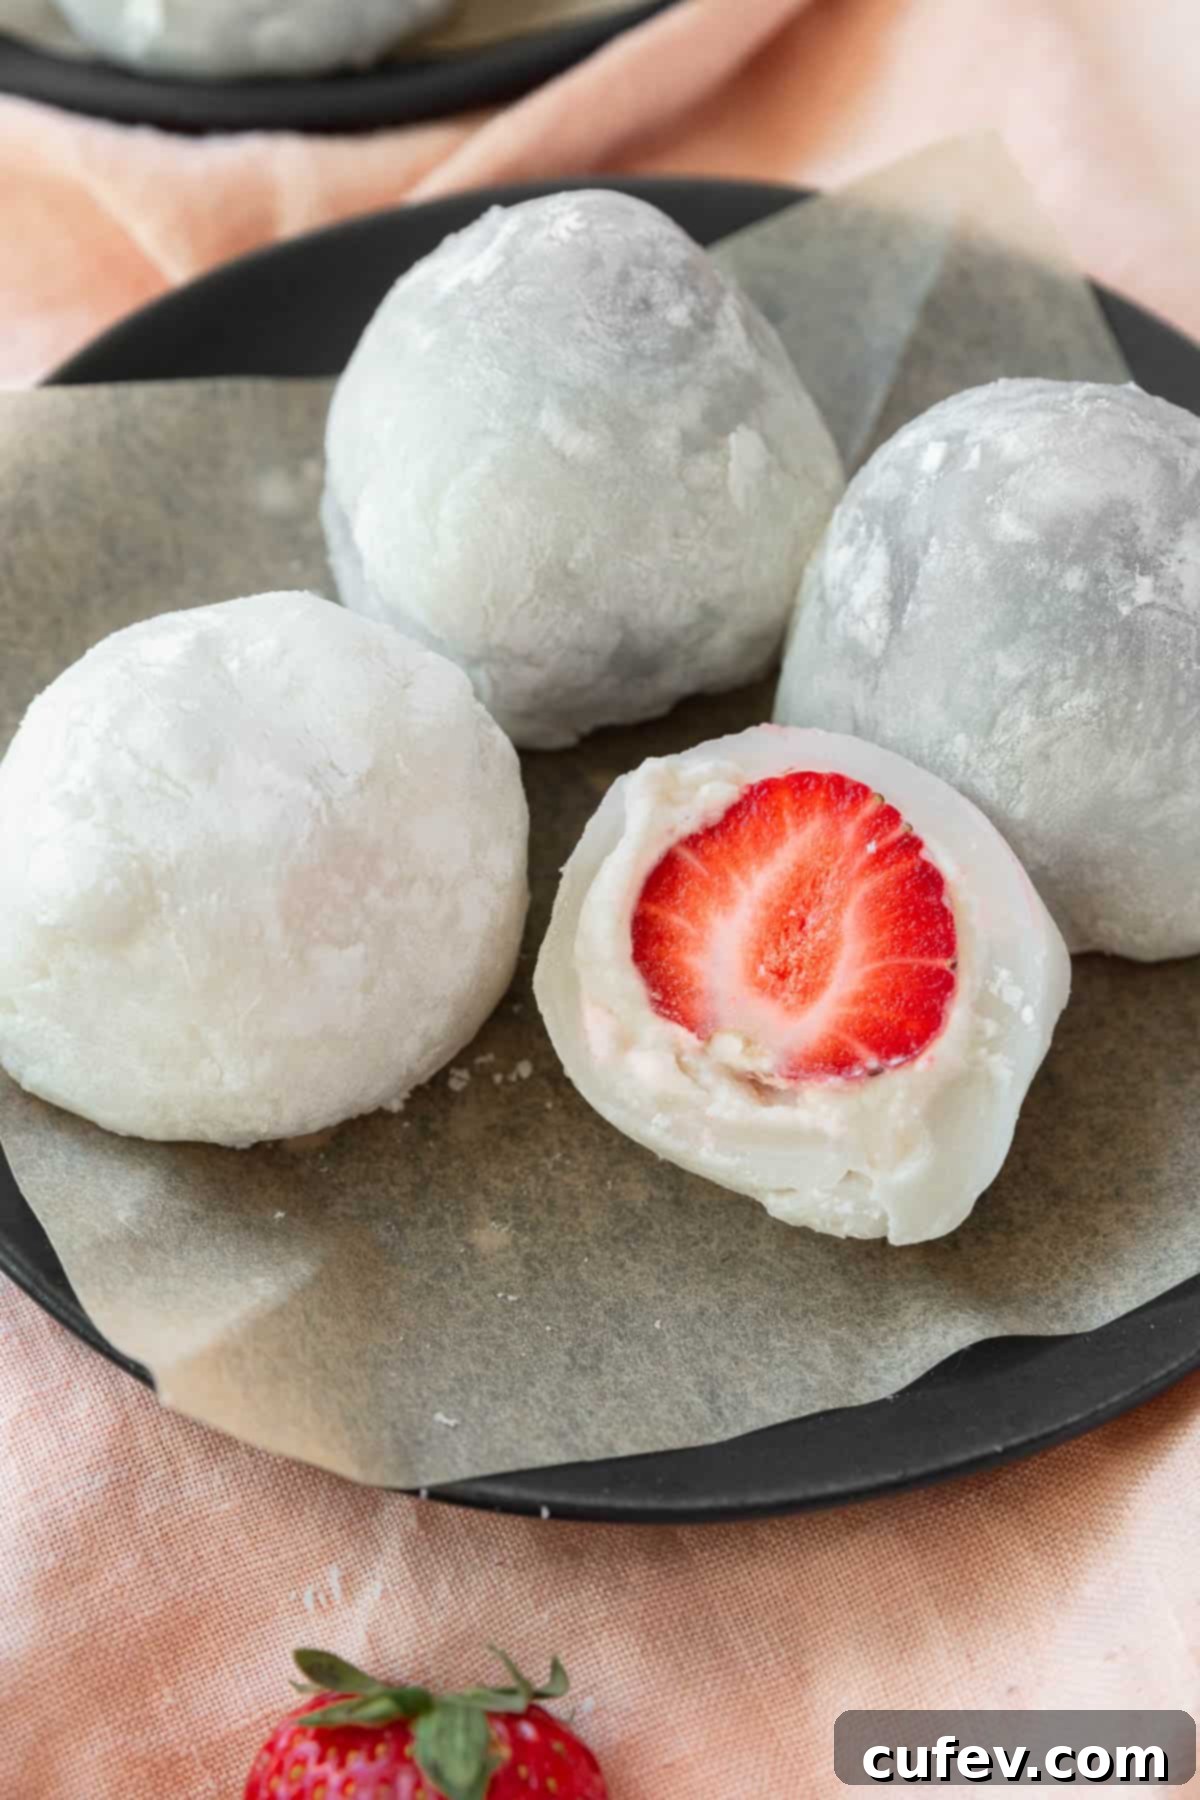
Strawberry Daifuku, known in Japanese as Ichigo Daifuku (いちご大福), is a popular variation of Daifuku, a beloved sweet Japanese confection. At its heart, Daifuku consists of a small, round mochi (sweet glutinous rice cake) stuffed with a sweet filling. Ichigo Daifuku elevates this concept by incorporating a fresh, ripe strawberry into the center, offering a delightful contrast of textures and flavors.
Most commonly, Ichigo Daifuku features anko, a rich and creamy sweetened red or white bean paste, as its primary filling, which harmonizes beautifully with the tartness of the strawberry. However, for those seeking a lighter, more modern twist, a delicate whipped cream filling is also a popular choice. This recipe provides clear instructions for both traditional anko-filled and decadent whipped cream-filled strawberry mochi, allowing you to choose your favorite. Beyond strawberries, other Daifuku varieties can be filled with an array of ingredients, from sweetened Japanese apricots and crème caramel to refreshing ice cream or even savory anko fillings, showcasing the versatility of this classic treat.
Why You’ll Love Homemade Strawberry Daifuku
- Versatile Filling Options: This recipe offers the flexibility to prepare your strawberry daifuku with either a classic, sweet red bean paste (anko) or a light, airy whipped cream. This means you can customize your dessert to match your craving, whether you prefer traditional Japanese flavors or a contemporary creamy delight.
- Perfect Balance of Lightness and Sweetness: Experience the exquisite harmony of sweet, juicy strawberries encased in pillowy, tender mochi. This dessert isn’t overly heavy, making it an ideal anytime treat that satisfies your sweet tooth without being cloying.
- Authentic Japanese Experience: Guided by insights from my own upbringing in Japan, this recipe provides authentic techniques and tips. You’ll not only create a delicious dessert but also connect with a genuine piece of Japanese culinary tradition, just as it’s enjoyed in homes and sweet shops across the country.
- Naturally Gluten-Free Goodness: For those with dietary restrictions, this is fantastic news! The sweet mochi dough is made from shiratamako (sweet rice flour), which is inherently gluten-free. This makes strawberry mochi an excellent, safe, and delicious dessert option for anyone avoiding wheat.
Essential Ingredients for Strawberry Mochi
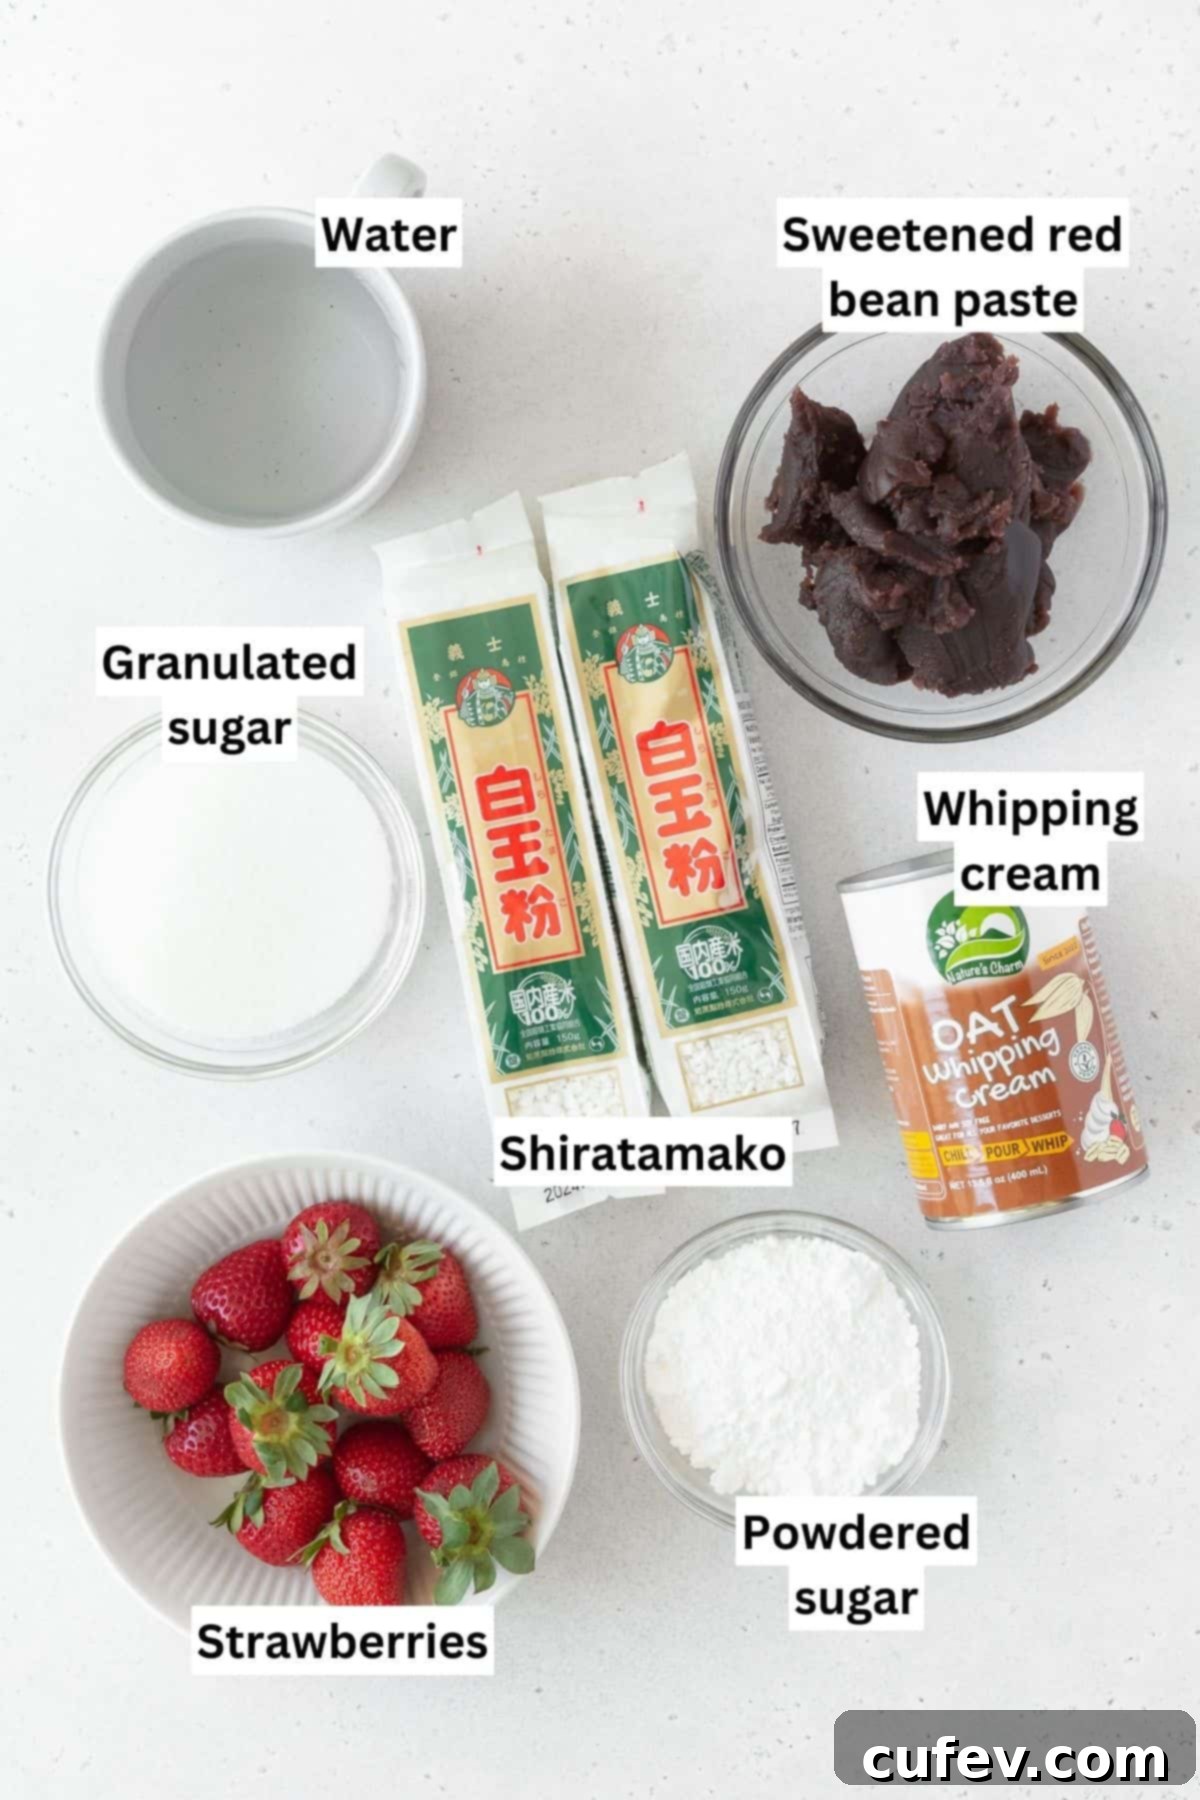
Gathering the ingredients for this delightful strawberry mochi recipe is straightforward. Many items can be found at your local grocery store, while specialty ingredients like shiratamako and anko are readily available at Asian markets or online. Here’s what you’ll need for your Ichigo Daifuku:
- Fresh Strawberries – Select strawberries that boast a deep, vibrant ruby red color and feel firm and heavy for their size, indicating peak ripeness and juiciness. Before use, ensure they are thoroughly washed and hulled to prepare them for embedding within the fresh fruit mochi.
- Shiratamako – This is sweet glutinous rice flour, the star ingredient for achieving the signature soft, tender, and chewy texture of mochi. Unlike regular rice flour, shiratamako produces a dough that is incredibly pliable and smooth when cooked. You can typically find shiratamako in the Asian cuisine aisle of larger grocery stores, at specialty Asian markets, or conveniently order it online via Amazon.
- Granulated Sugar – White granulated sugar not only sweetens the mochi dough to perfection but also plays a crucial role in maintaining its soft and supple texture over time.
- Potato Starch or Arrowroot Flour – Essential for preventing the sticky mochi dough from adhering to your hands and work surface during preparation. Both options are naturally gluten-free, ensuring your strawberry mochi remains suitable for those with sensitivities.
- Sweet Red Bean Paste (Anko) – A fundamental component of traditional Japanese sweets, anko is made from sweetened azuki beans. It offers a unique savory-sweet flavor profile with a subtle nutty undertone. You can purchase pre-made anko online or find it in tubs or cans at your local Asian market.
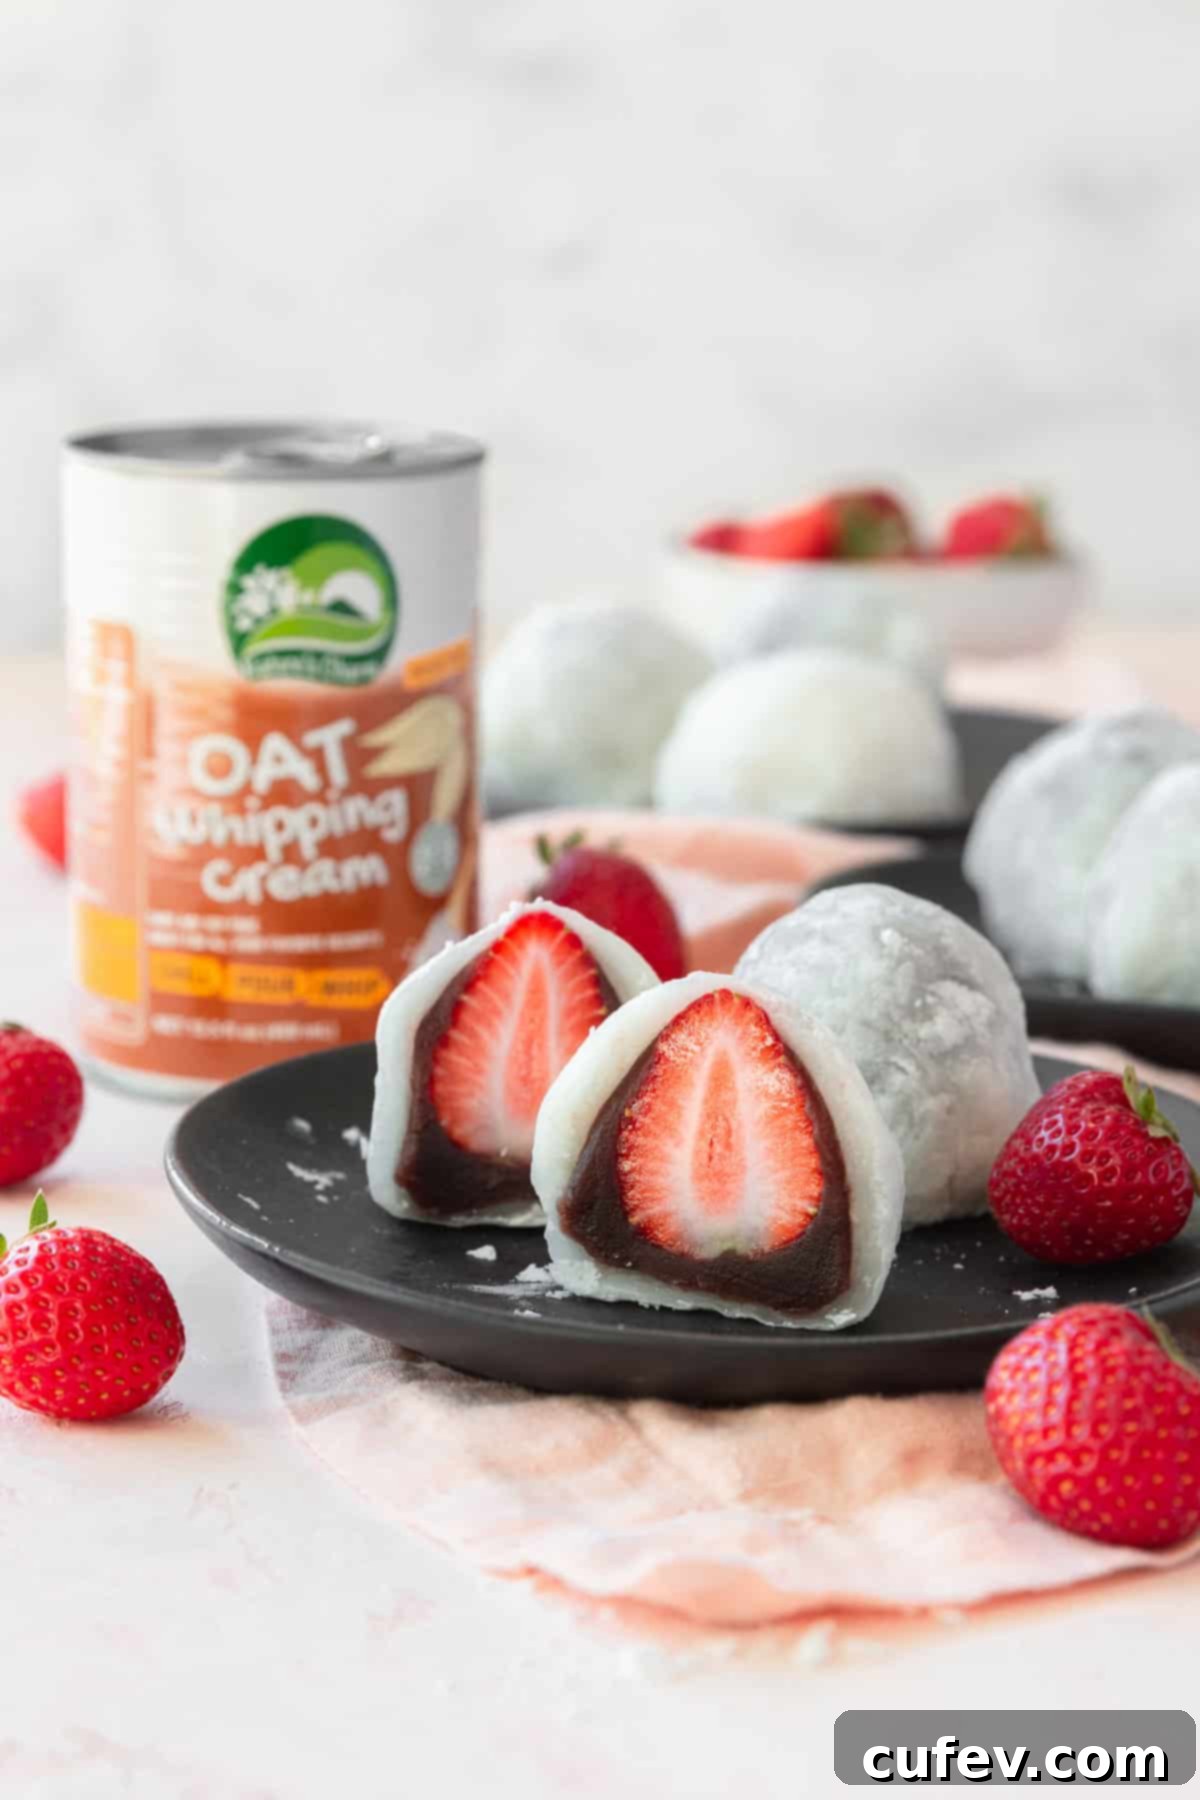
- Whipping Cream – For a delightful dairy-free option that’s incredibly rich and creamy, I recommend Nature’s Charm oat milk whipping cream. Alternatively, traditional heavy whipping cream can be used if dairy isn’t an issue for your dietary needs (refer to recipe notes for guidance on dairy cream).
- Powdered Sugar – Used to sweeten the whipping cream, powdered sugar dissolves easily, ensuring a smooth, light, and perfectly sweetened cream filling without any grainy texture.
How to Make Traditional Strawberry Mochi (Anko Filling)
While the process of crafting this strawberry daifuku recipe involves a few distinct stages, each step is straightforward and contributes to a truly rewarding culinary experience. The results—perfectly tender mochi enveloping sweet anko and fresh strawberries—are absolutely worth the effort. Below are detailed instructions for making traditional strawberry mochi with red bean paste; for the whipped cream variation, please read on to the next section.
Step 1: Prepare the Strawberries. Begin by thoroughly washing your strawberries under cool running water and gently patting them completely dry with a paper towel. Carefully hull each strawberry, removing the green leafy top and the white core, then set them aside. Dry strawberries are crucial for preventing the anko and mochi from becoming watery.
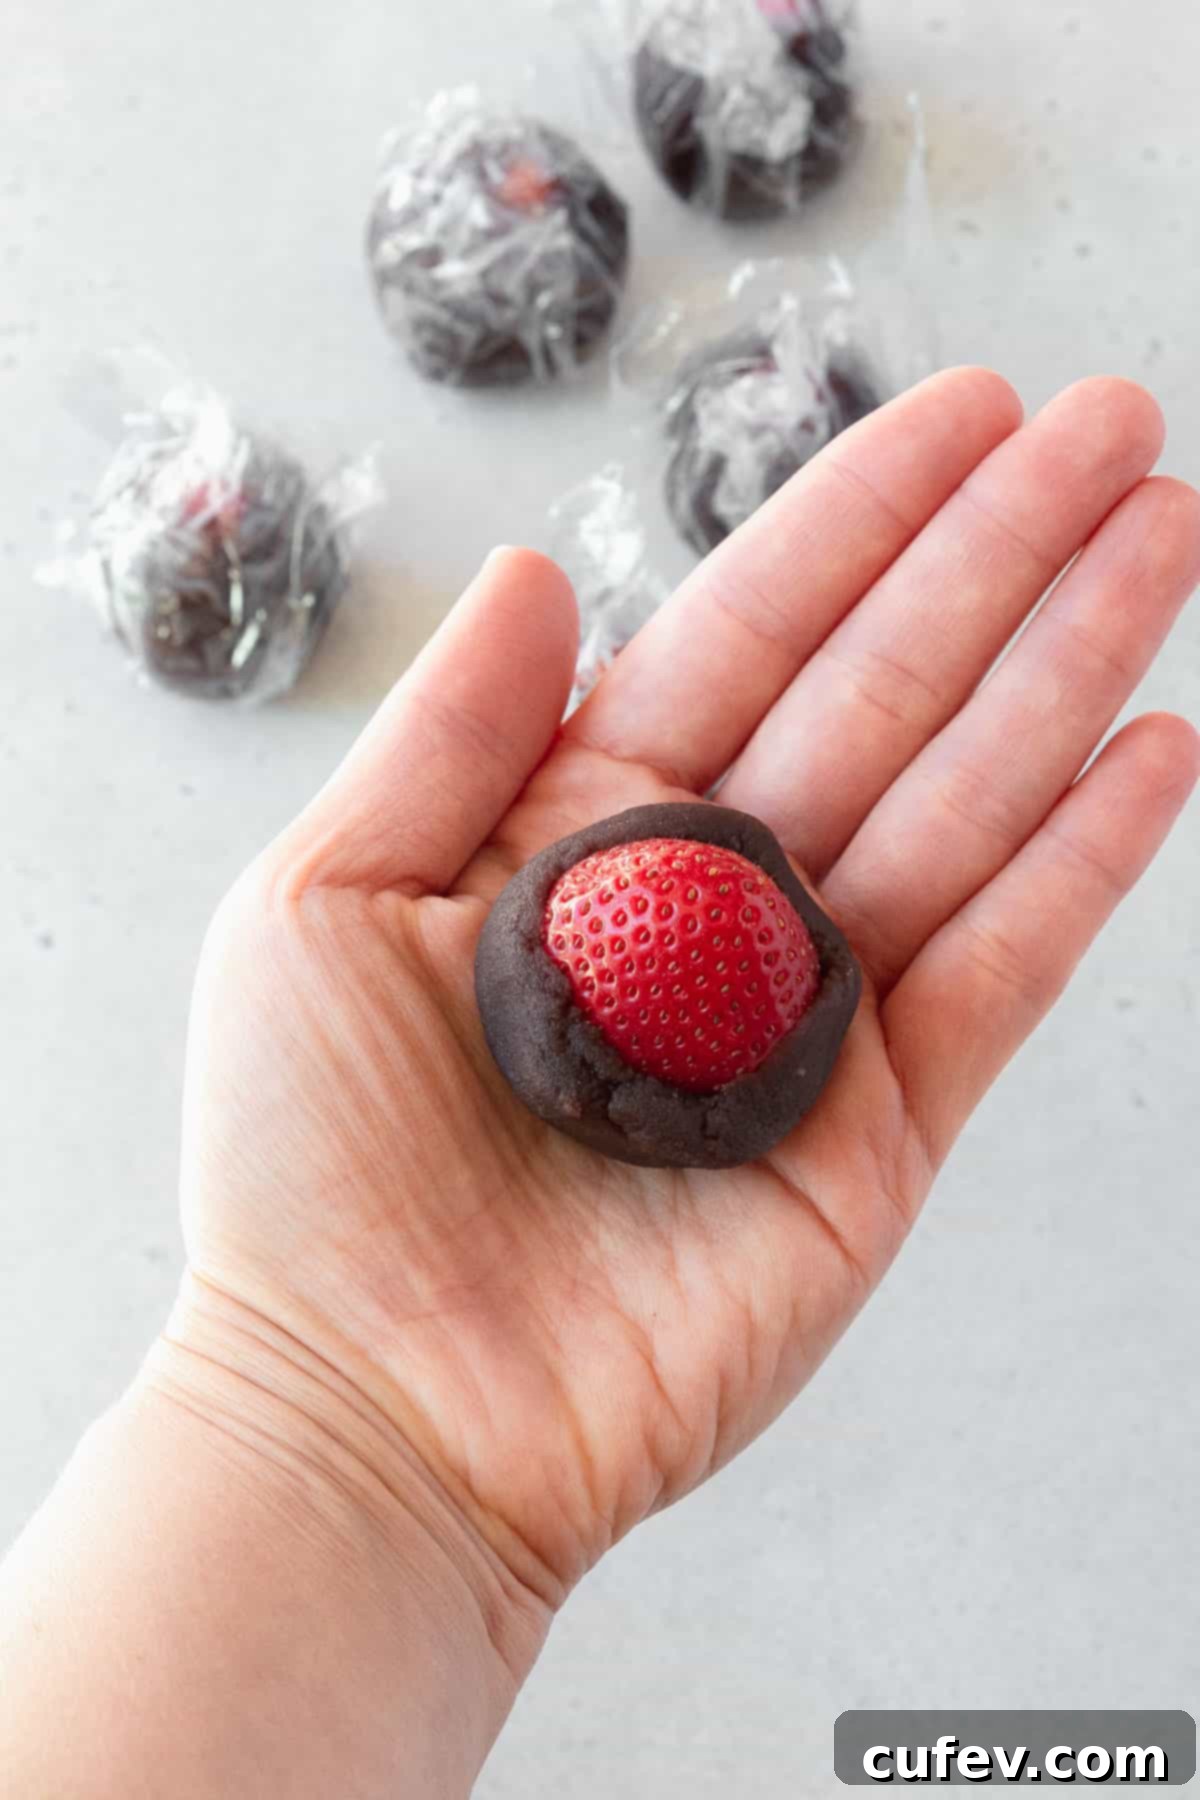
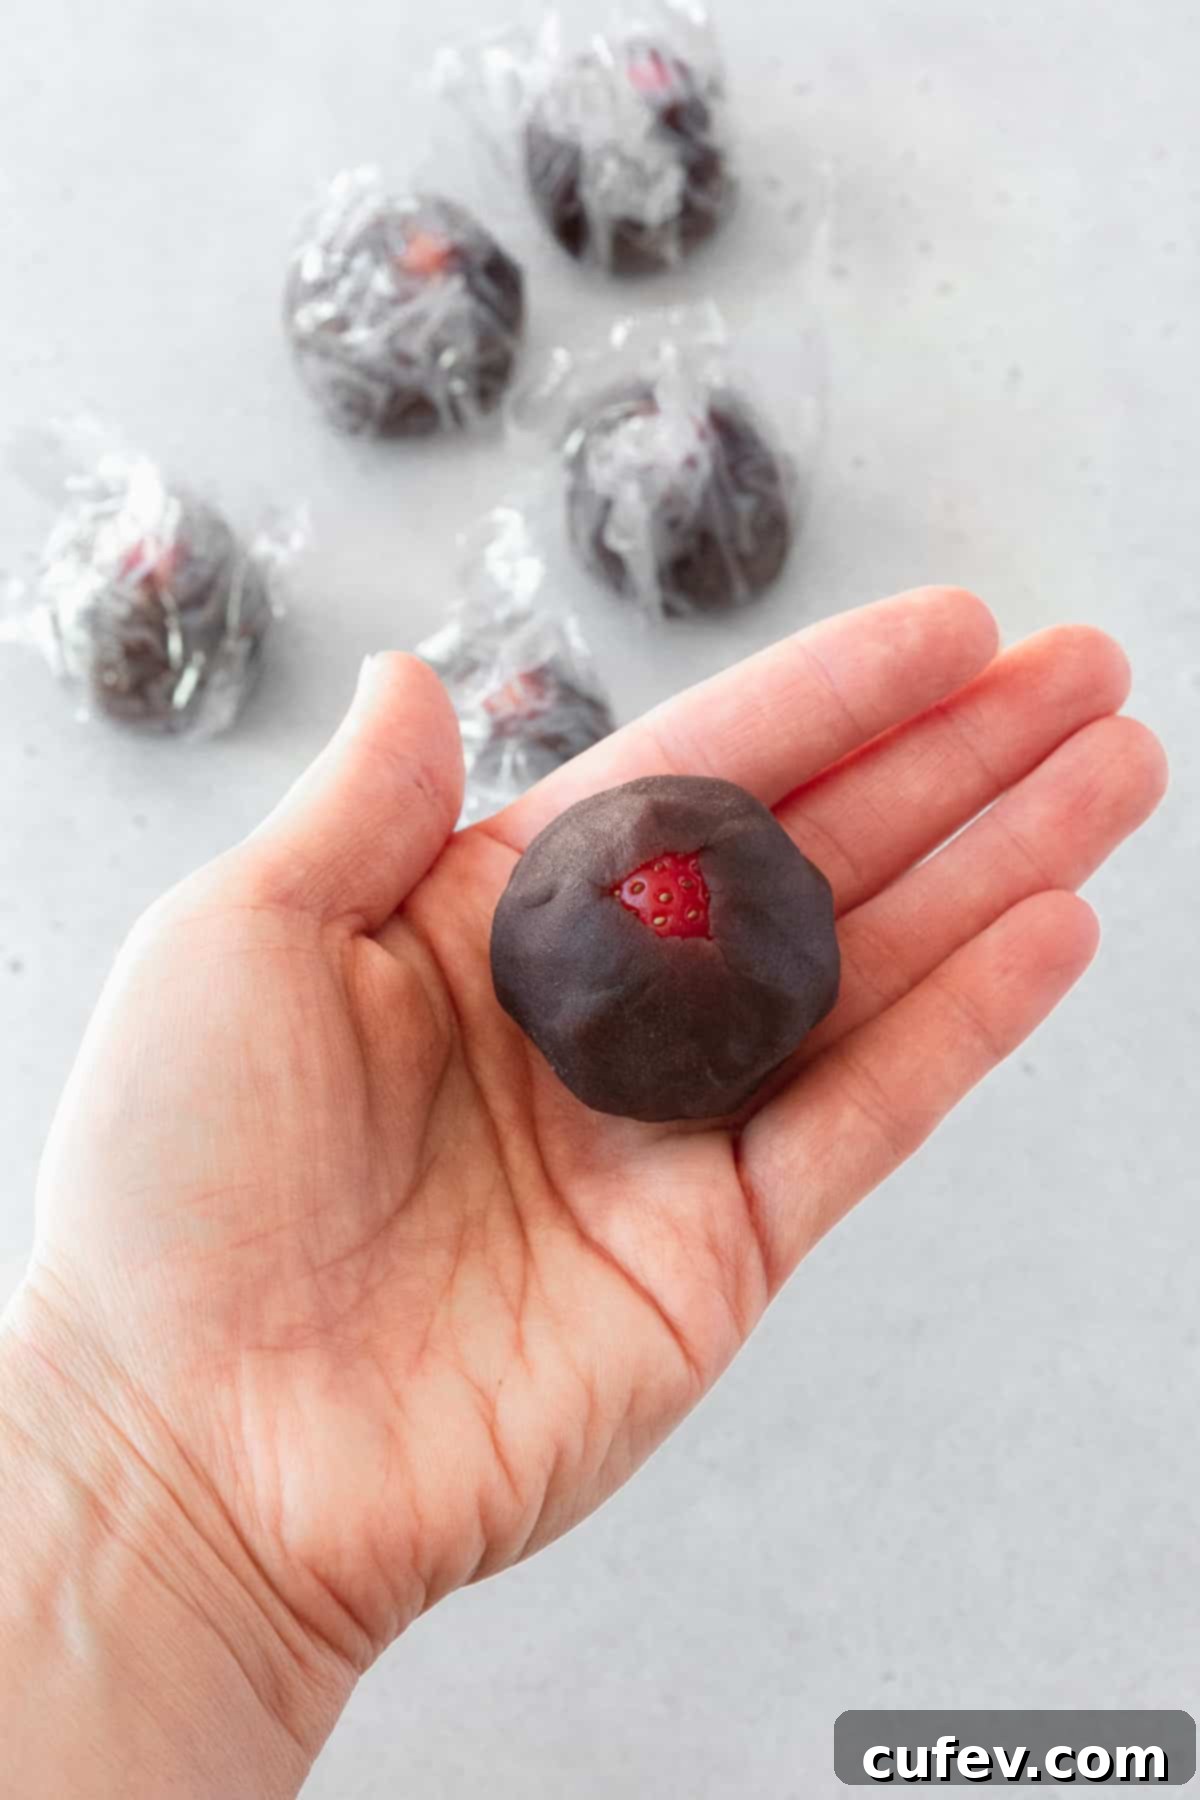
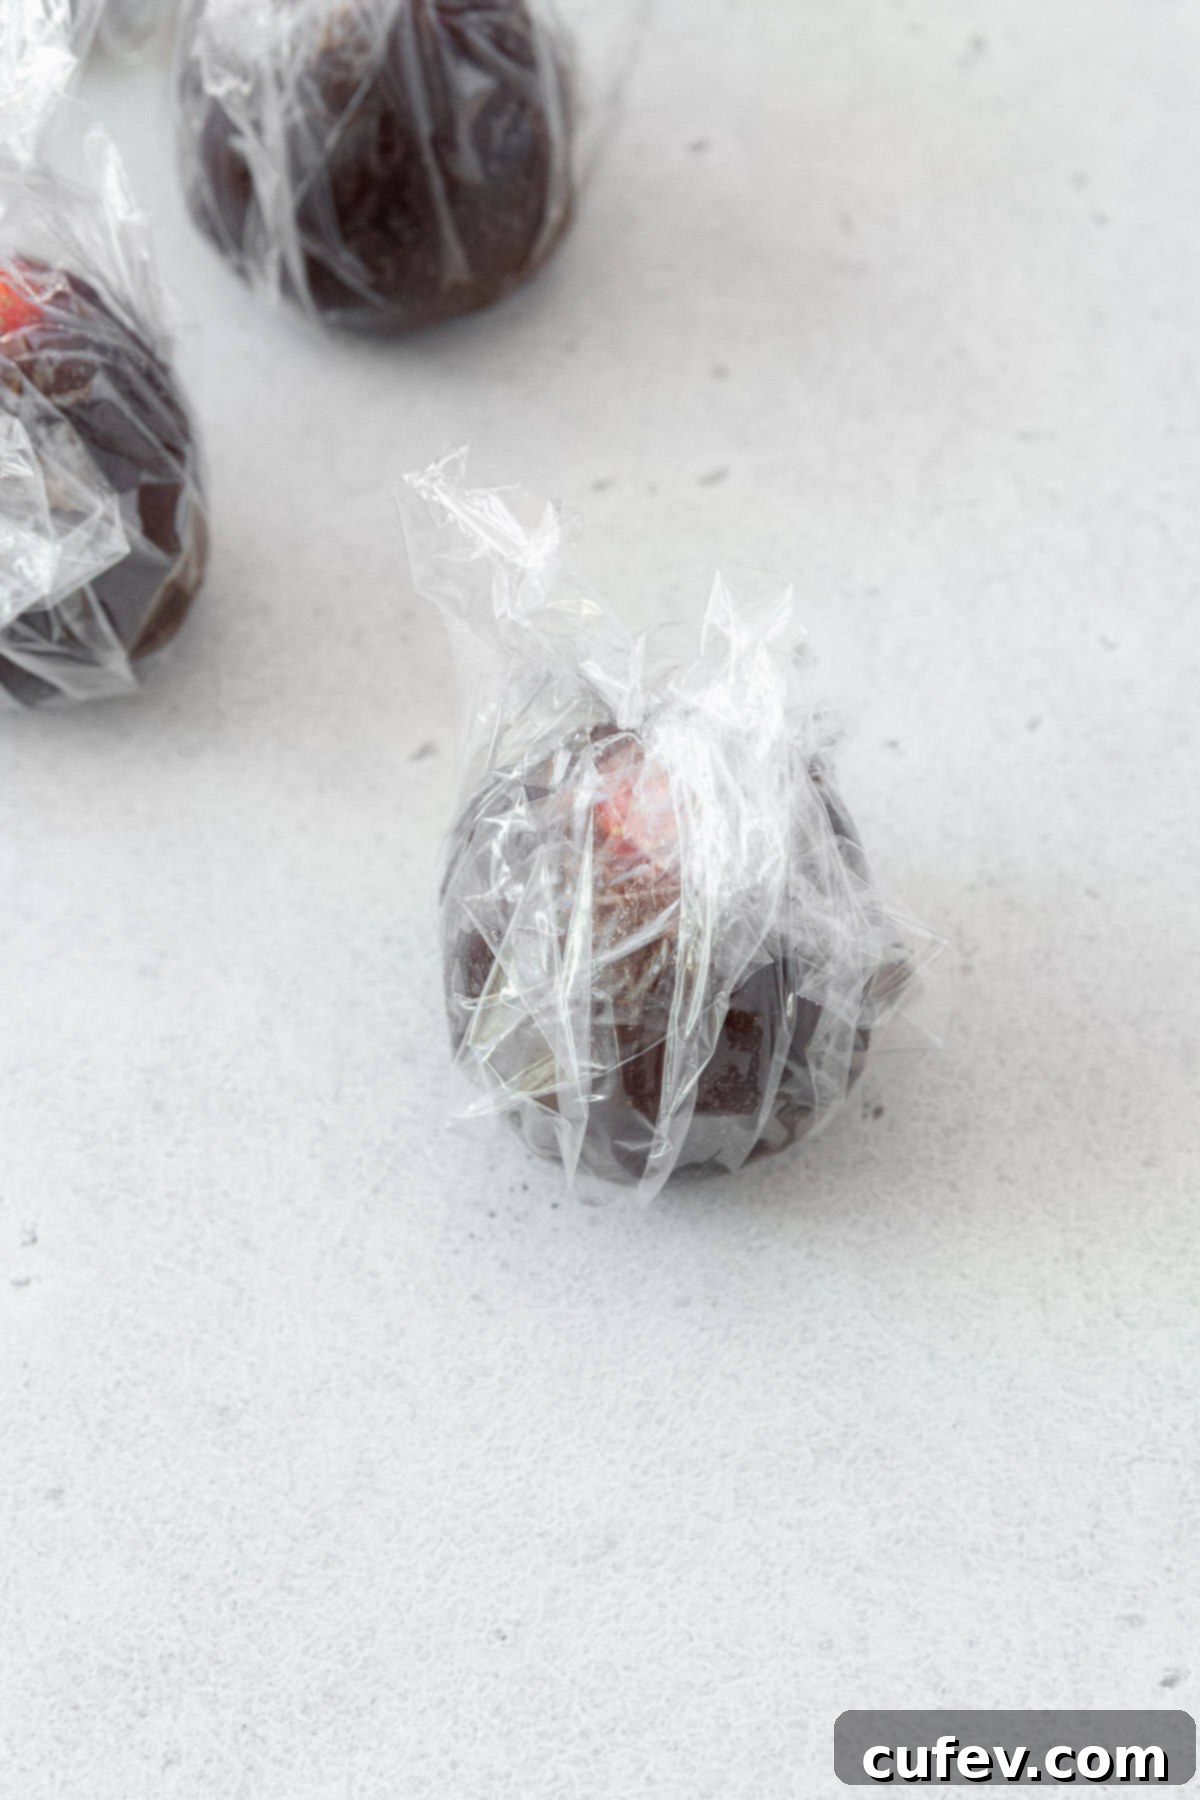
Step 2: Wrap Strawberries in Anko. Divide your sweet red bean paste (anko) into 12 equal portions. Take one portion of anko and gently flatten it in your palm. Place a prepared strawberry (pointy side up) in the center of the flattened anko. Carefully mold the anko around the strawberry, ensuring the entire berry is covered except for its very tip, which should peek out. This creates a neat, even layer. Once wrapped, lightly cover each anko-wrapped strawberry with plastic wrap to prevent them from drying out while you prepare the mochi dough. This also helps maintain their shape.
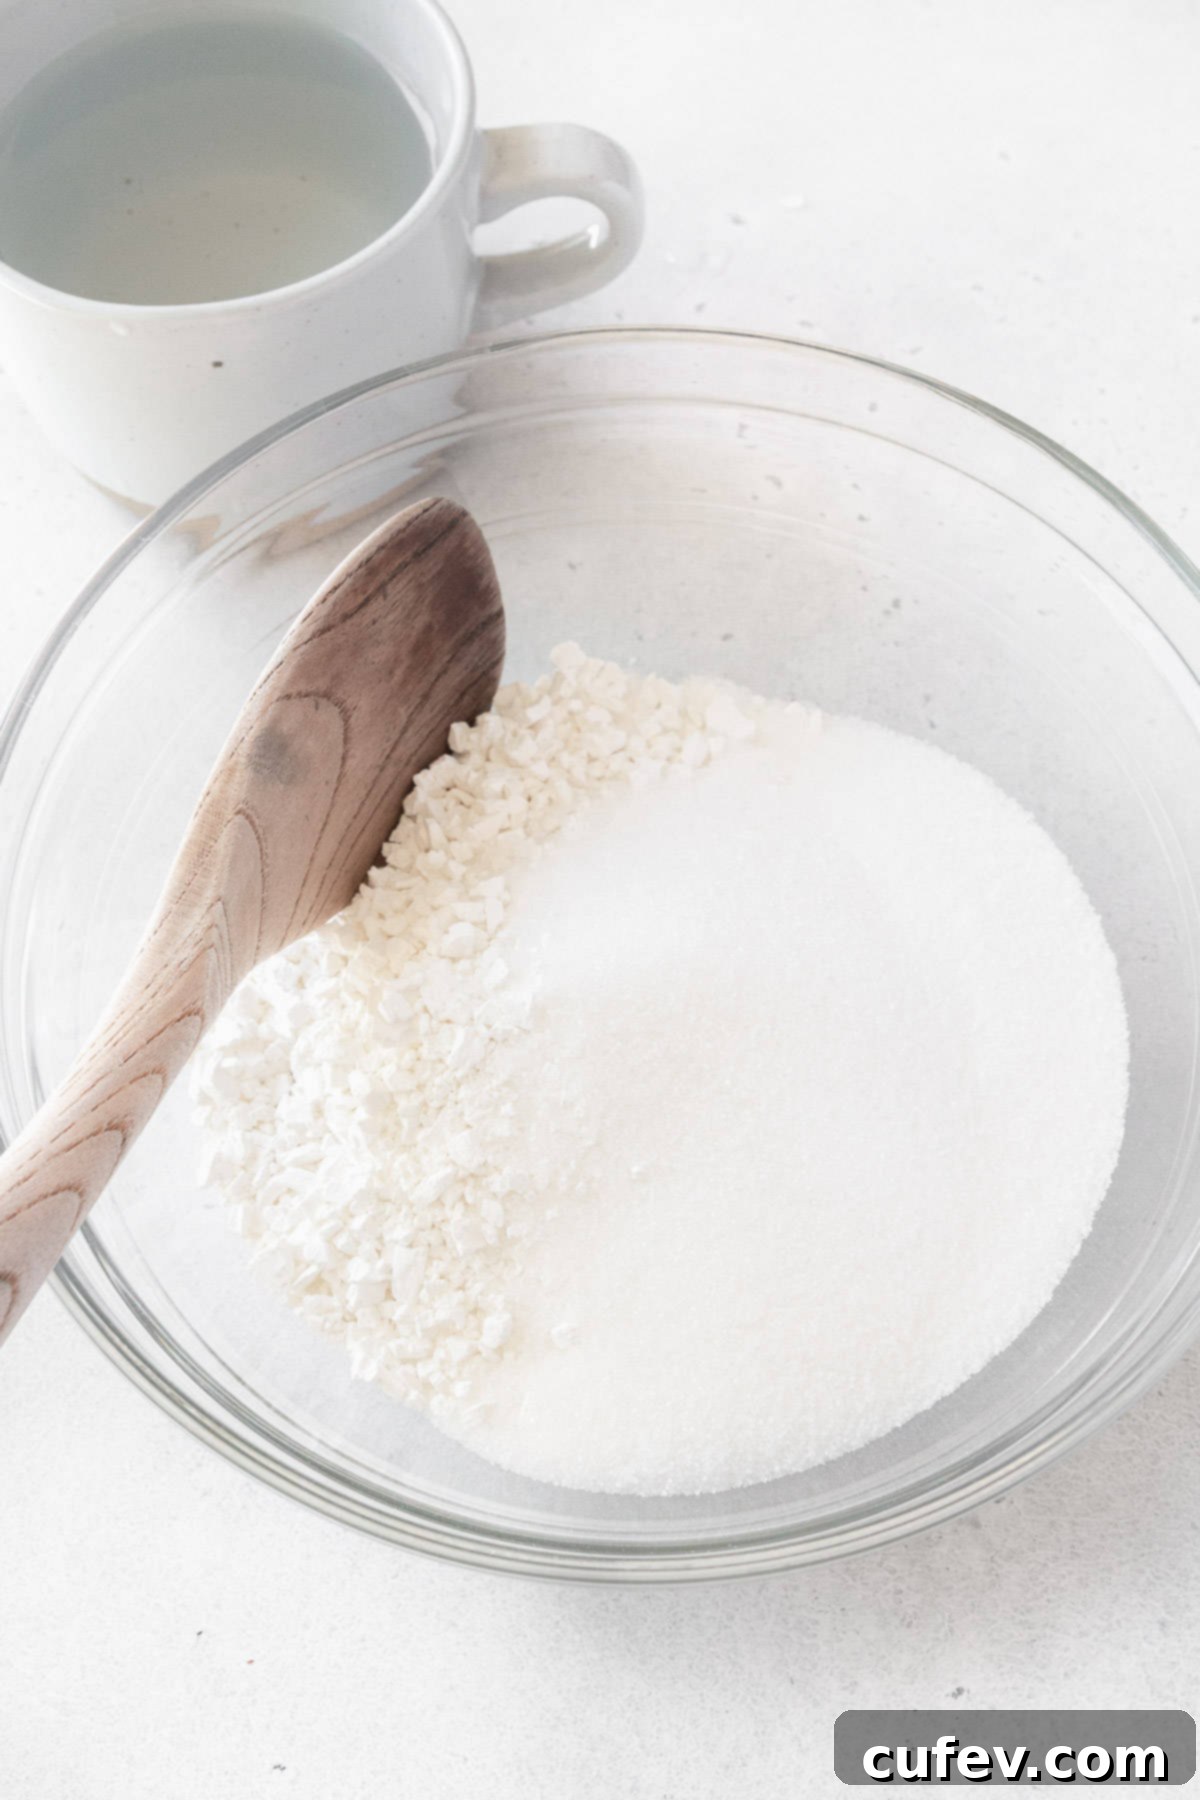
Step 3: Begin Mochi Preparation (First Microwave Cook). In a medium microwave-safe bowl, combine the shiratamako (sweet rice flour), granulated sugar, and water. Stir these ingredients thoroughly with a wooden spoon or spatula until a smooth, lump-free batter forms. Cover the bowl tightly with microwave-safe plastic wrap, leaving a small vent for steam to escape. Heat the mixture in the microwave on high for 1 minute. Remove the bowl and stir the now slightly thickened mixture vigorously. It will still be quite wet but should show some signs of gelatinization around the edges.
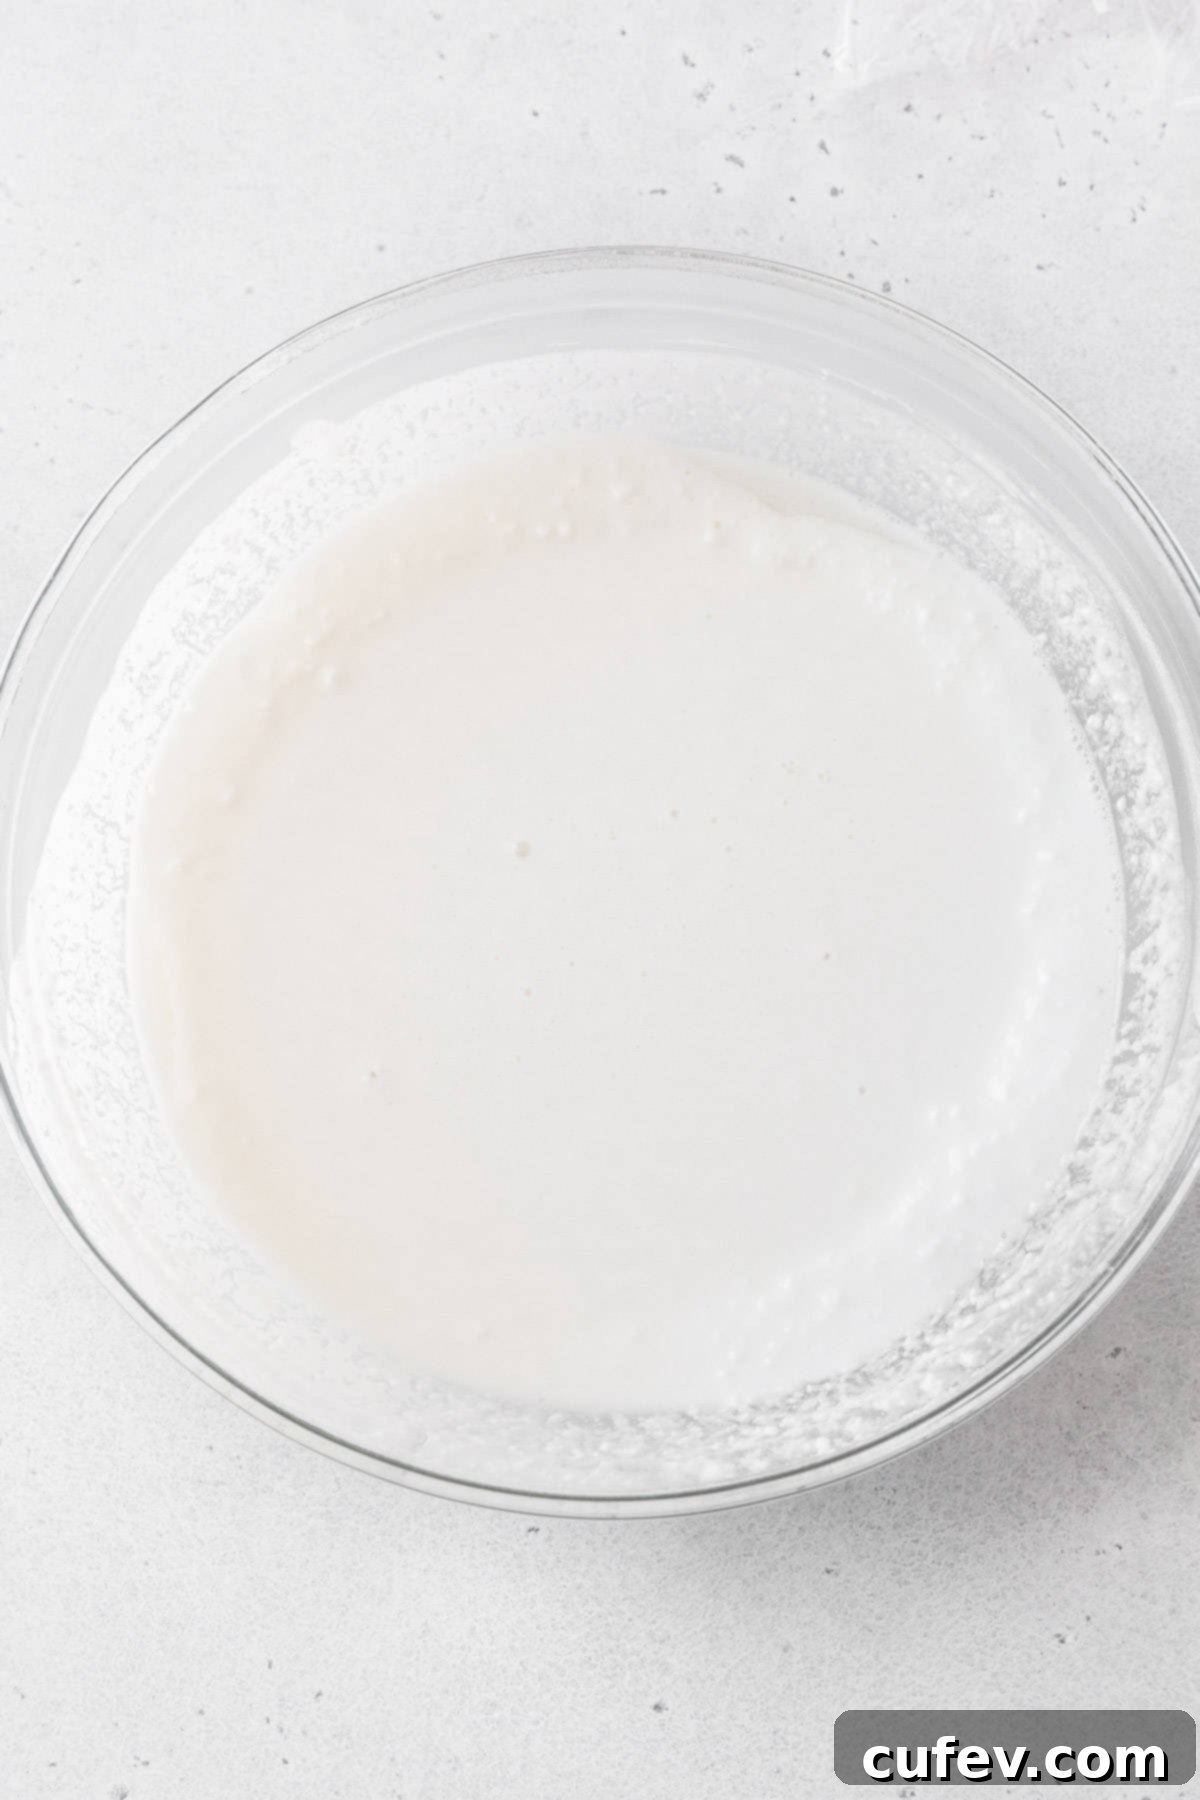
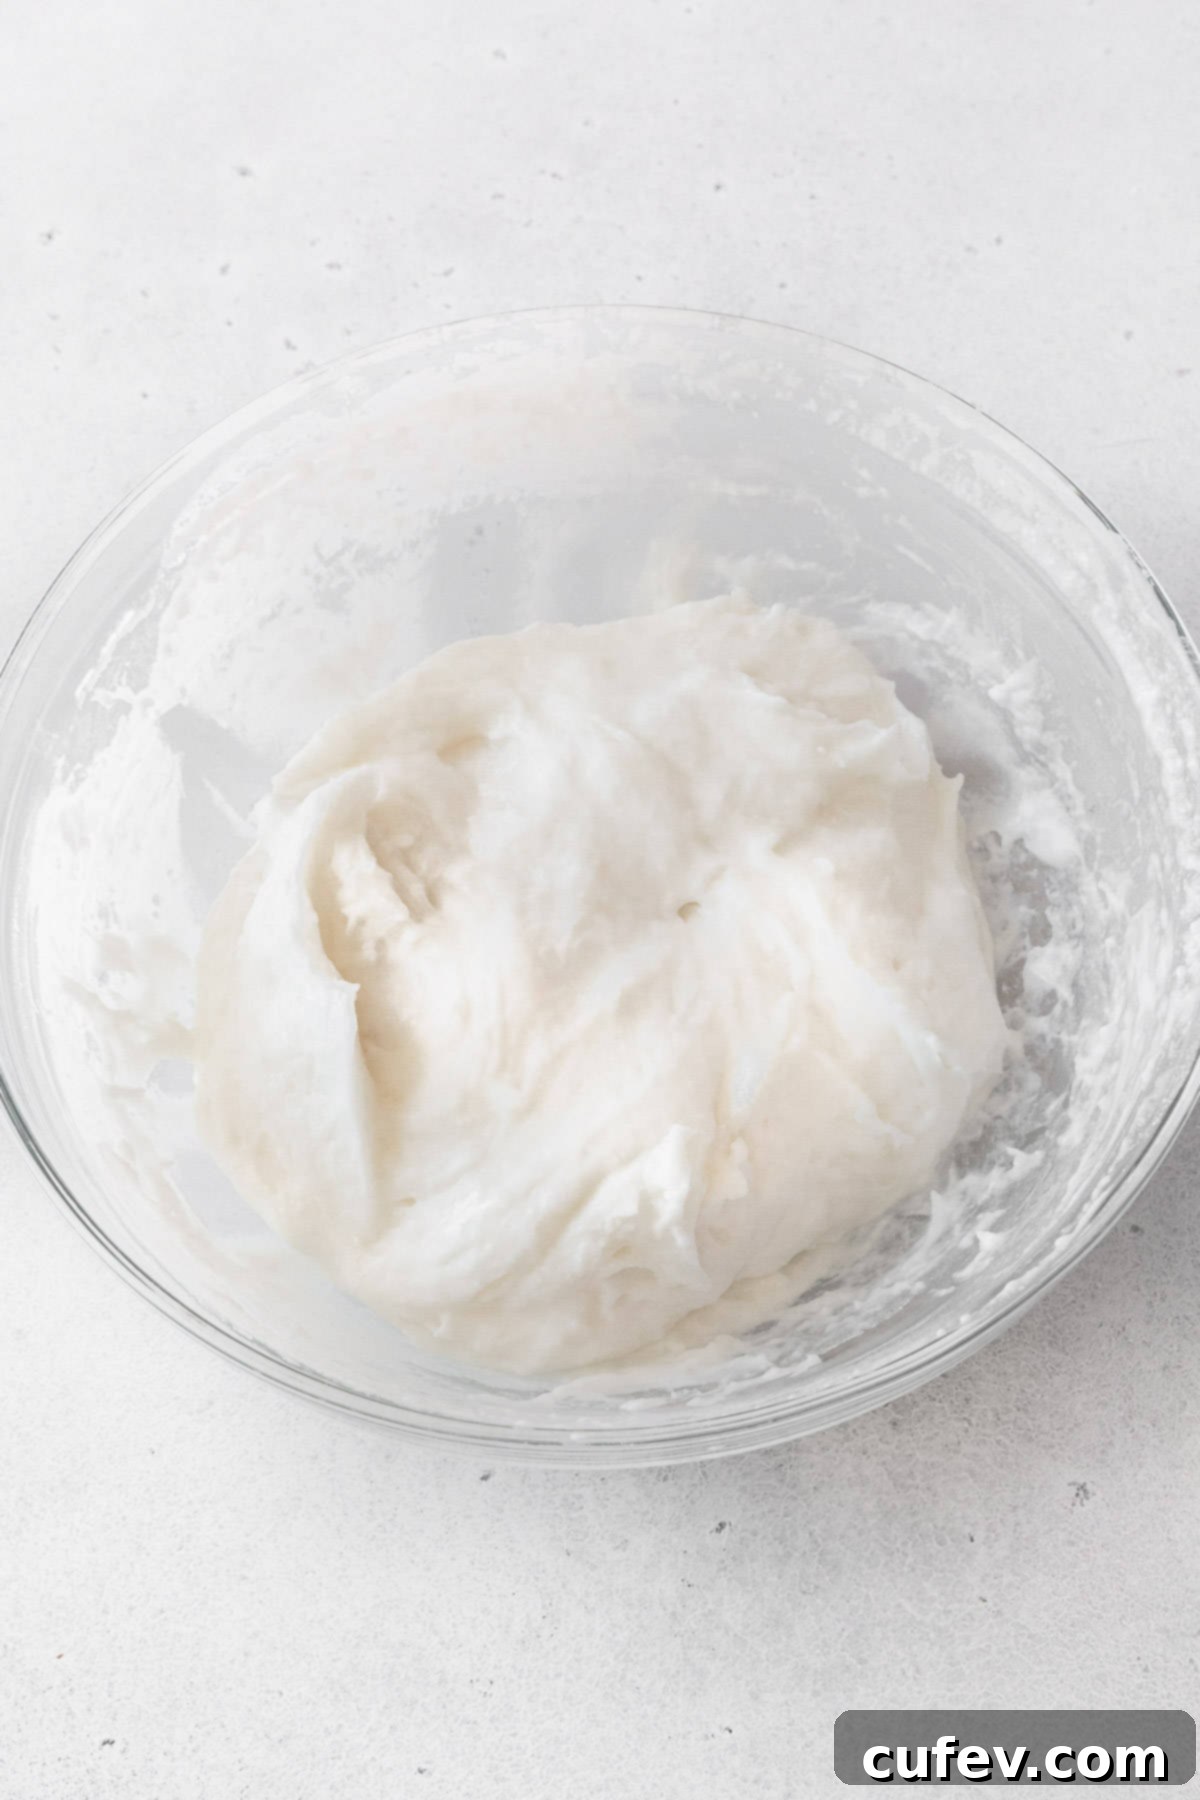
Step 4: Second Microwave Cook. Re-cover the bowl with plastic wrap and return it to the microwave for another 1 minute on high. After this second heating, remove it and mix the dough extremely well again. At this stage, the mixture should have transformed significantly; it will be much stickier, partially translucent, and have a creamy, somewhat gelatinous consistency. You might still observe a few small white, uncooked spots, which is perfectly normal.
Step 5: Final Microwave Cook (if needed). Cover the bowl one last time and microwave for 30 seconds. Stir vigorously until all white, uncooked areas disappear and the dough is uniformly translucent and incredibly sticky. If stubborn white spots remain, repeat the 30-second microwave interval and stir again. The goal is a fully cooked, elastic, and smooth mochi dough.
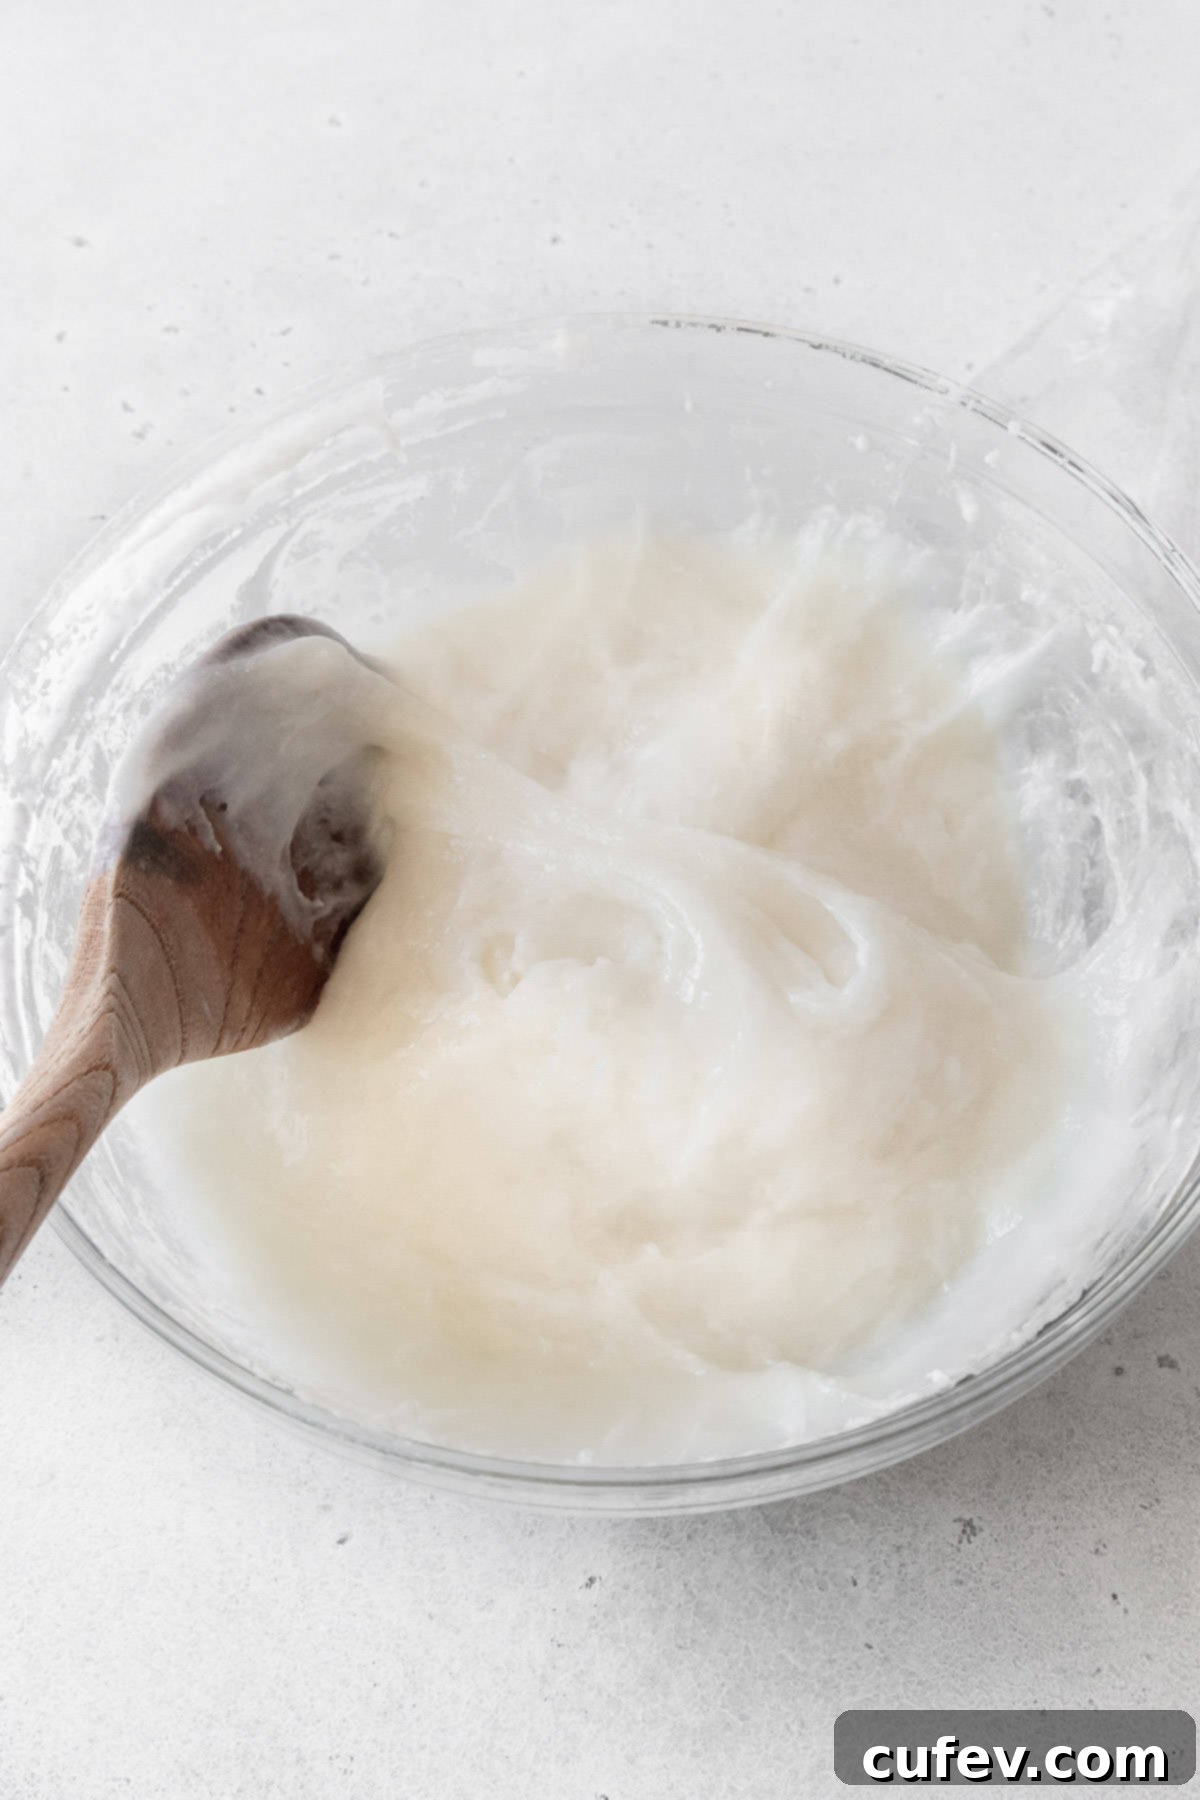
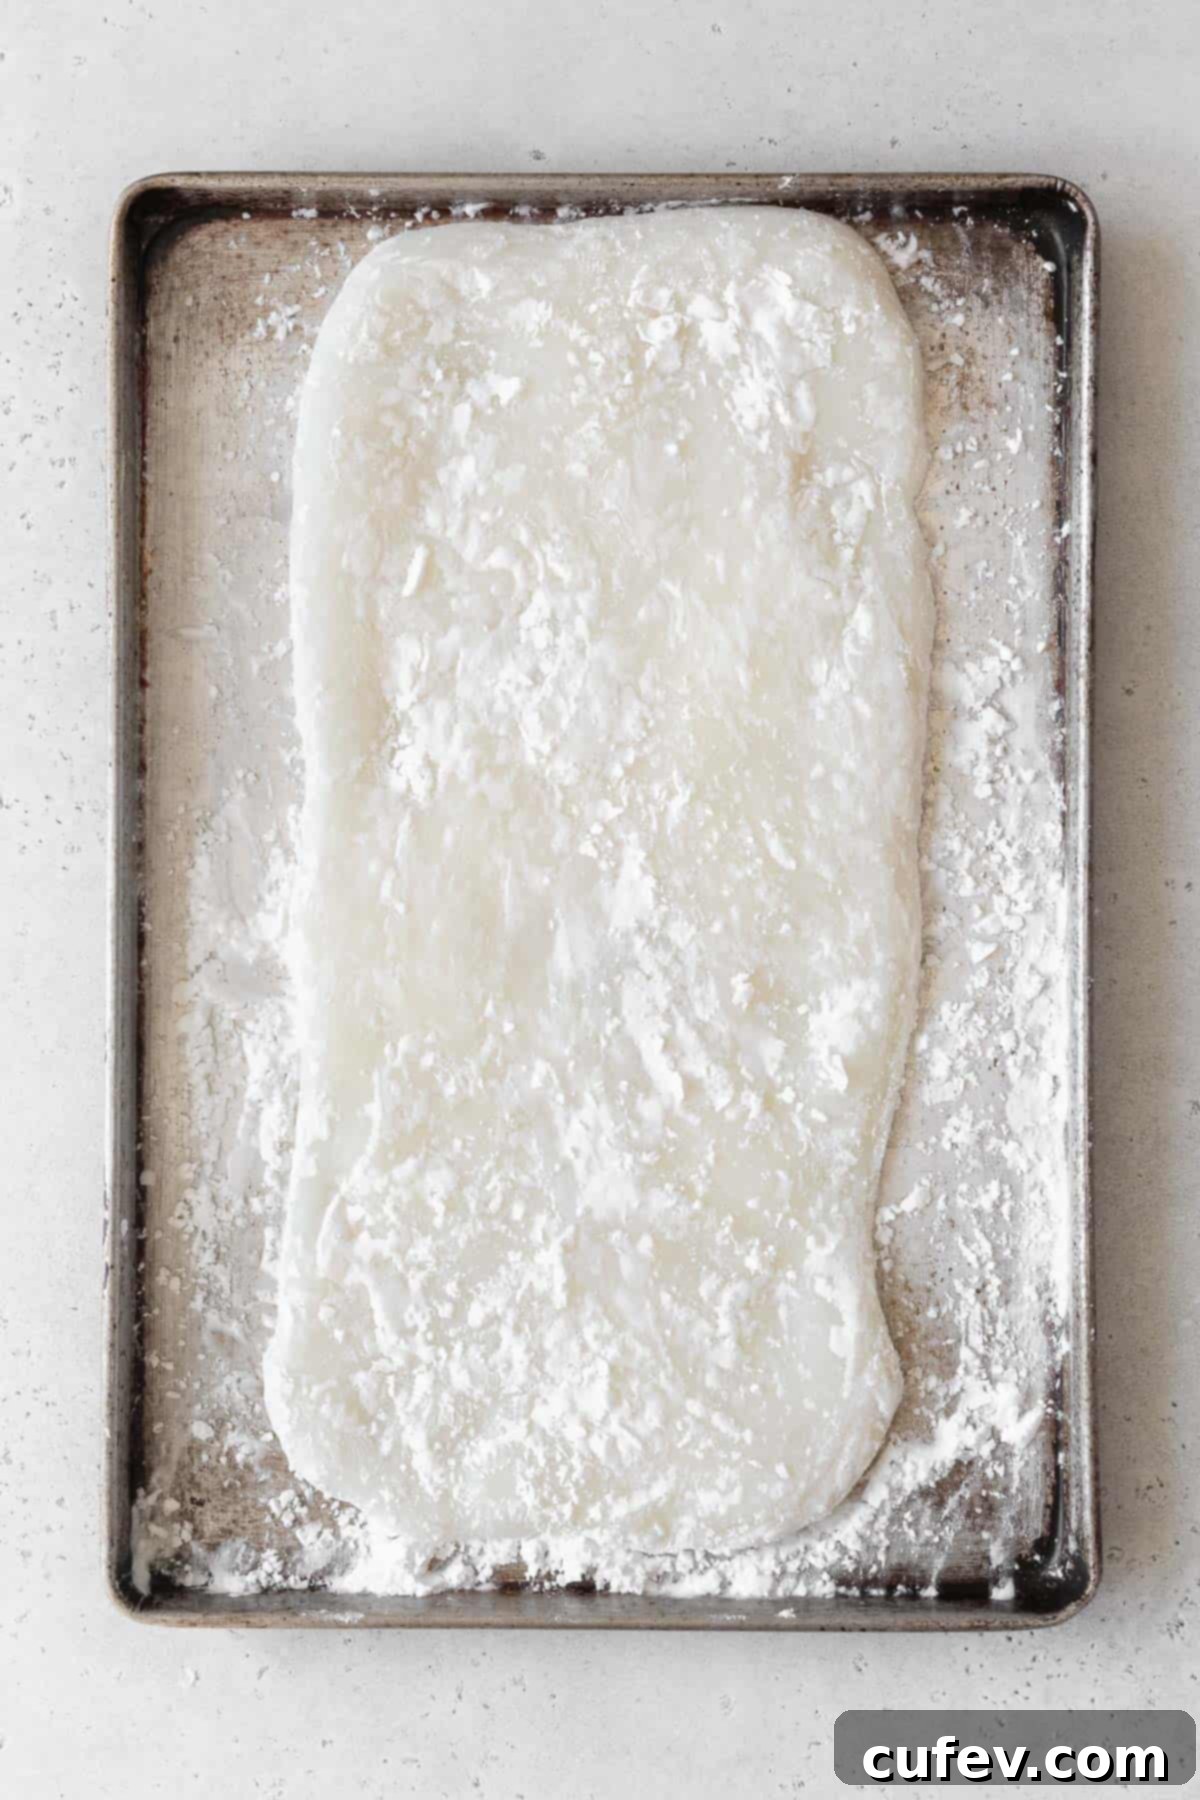
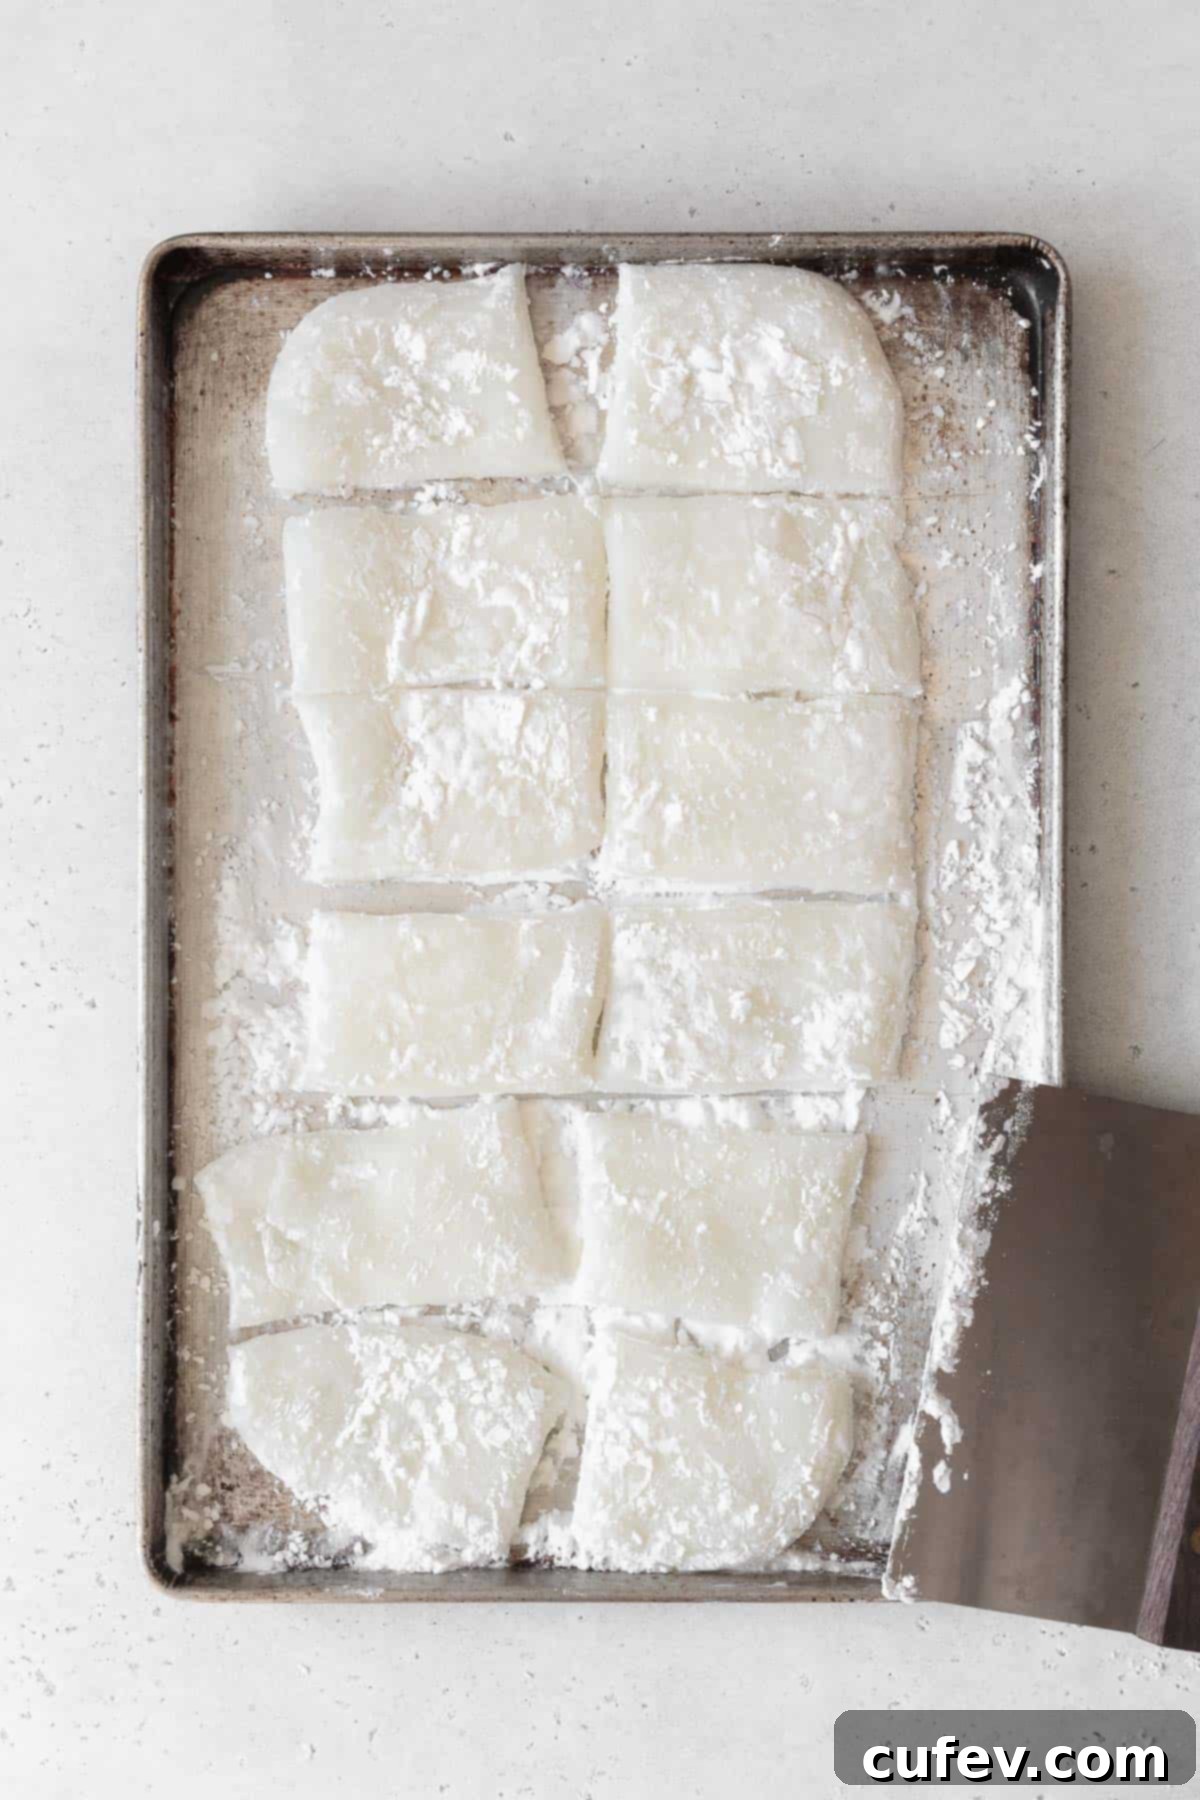
Step 6: Prepare the Work Surface. Generously dust a clean baking sheet or a large, flat tray with potato starch or arrowroot flour. This step is crucial for managing the incredibly sticky mochi dough. Carefully transfer the hot mochi dough from the bowl onto the prepared surface. Immediately dust the top of the mochi with more starch. Using your hands, gently flatten the mochi into an even rectangle or square. If you notice any areas becoming too sticky, simply add a little more starch to prevent adherence.
Step 7: Portion the Mochi. With a sharp knife or a bench scraper, cut the flattened mochi dough into 12 equal-sized squares. Work quickly but gently, as the mochi is easiest to handle while still warm and pliable.
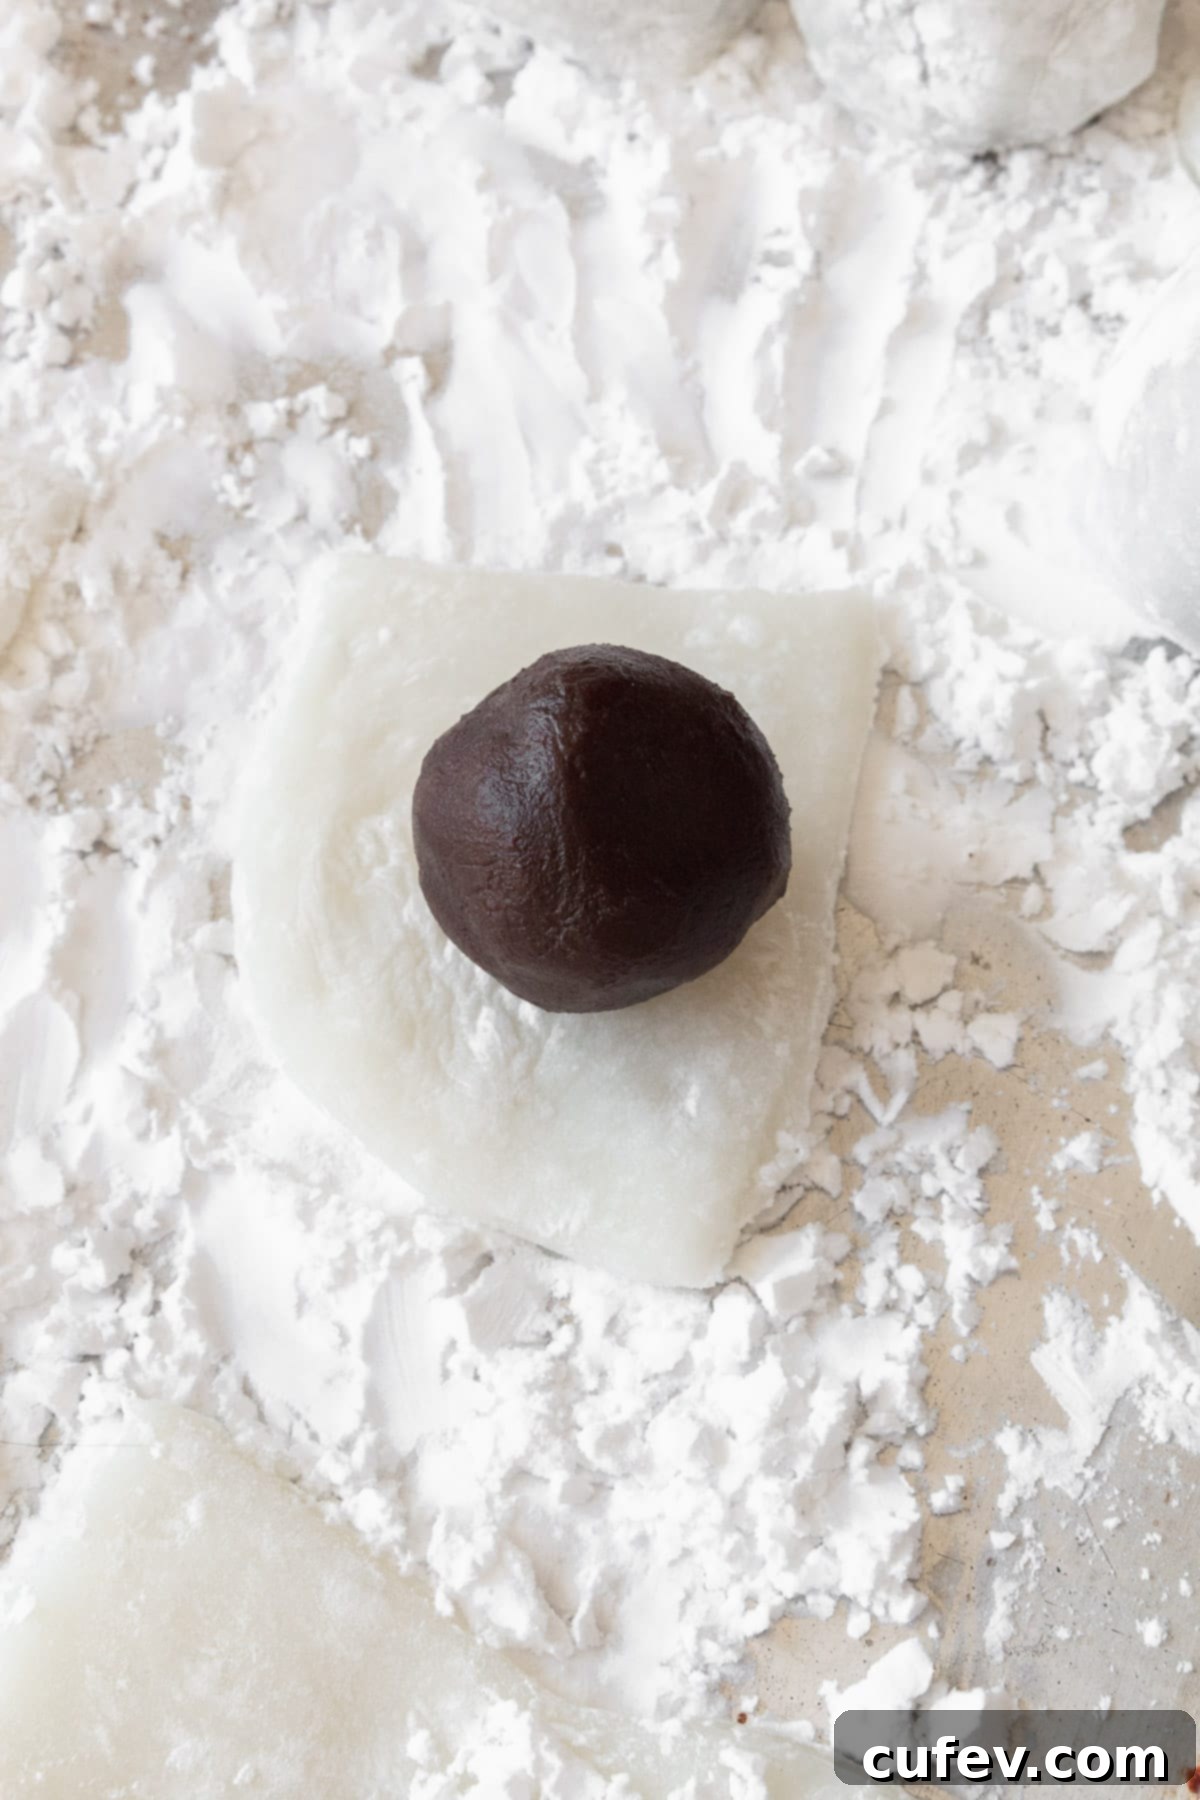
Step 8: Fill the Mochi Squares. Carefully unwrap one anko-covered strawberry and place it, pointy side down, onto the center of a mochi square. The flat base of the strawberry should be facing upwards, nestled in the anko.
Step 9: Wrap and Seal. Gently bring the edges of the mochi square up and around the anko-wrapped strawberry. Pinch the edges of the mochi together firmly at the bottom of the anko-covered strawberry to seal it completely. Ensure that the entire filling is fully encased in mochi, with no anko or strawberry peeking through, to maintain the dessert’s perfect aesthetic and prevent drying. If there is any noticeable excess mochi, you can carefully trim it away using a knife or kitchen shears for a neater finish.
Variation: How to Make Whipped Cream Strawberry Mochi
To create a delectable variation of strawberry daifuku with a light and airy whipped cream filling instead of traditional anko, simply substitute Step 2 (wrapping strawberries in bean paste) from the instructions above with the following steps:
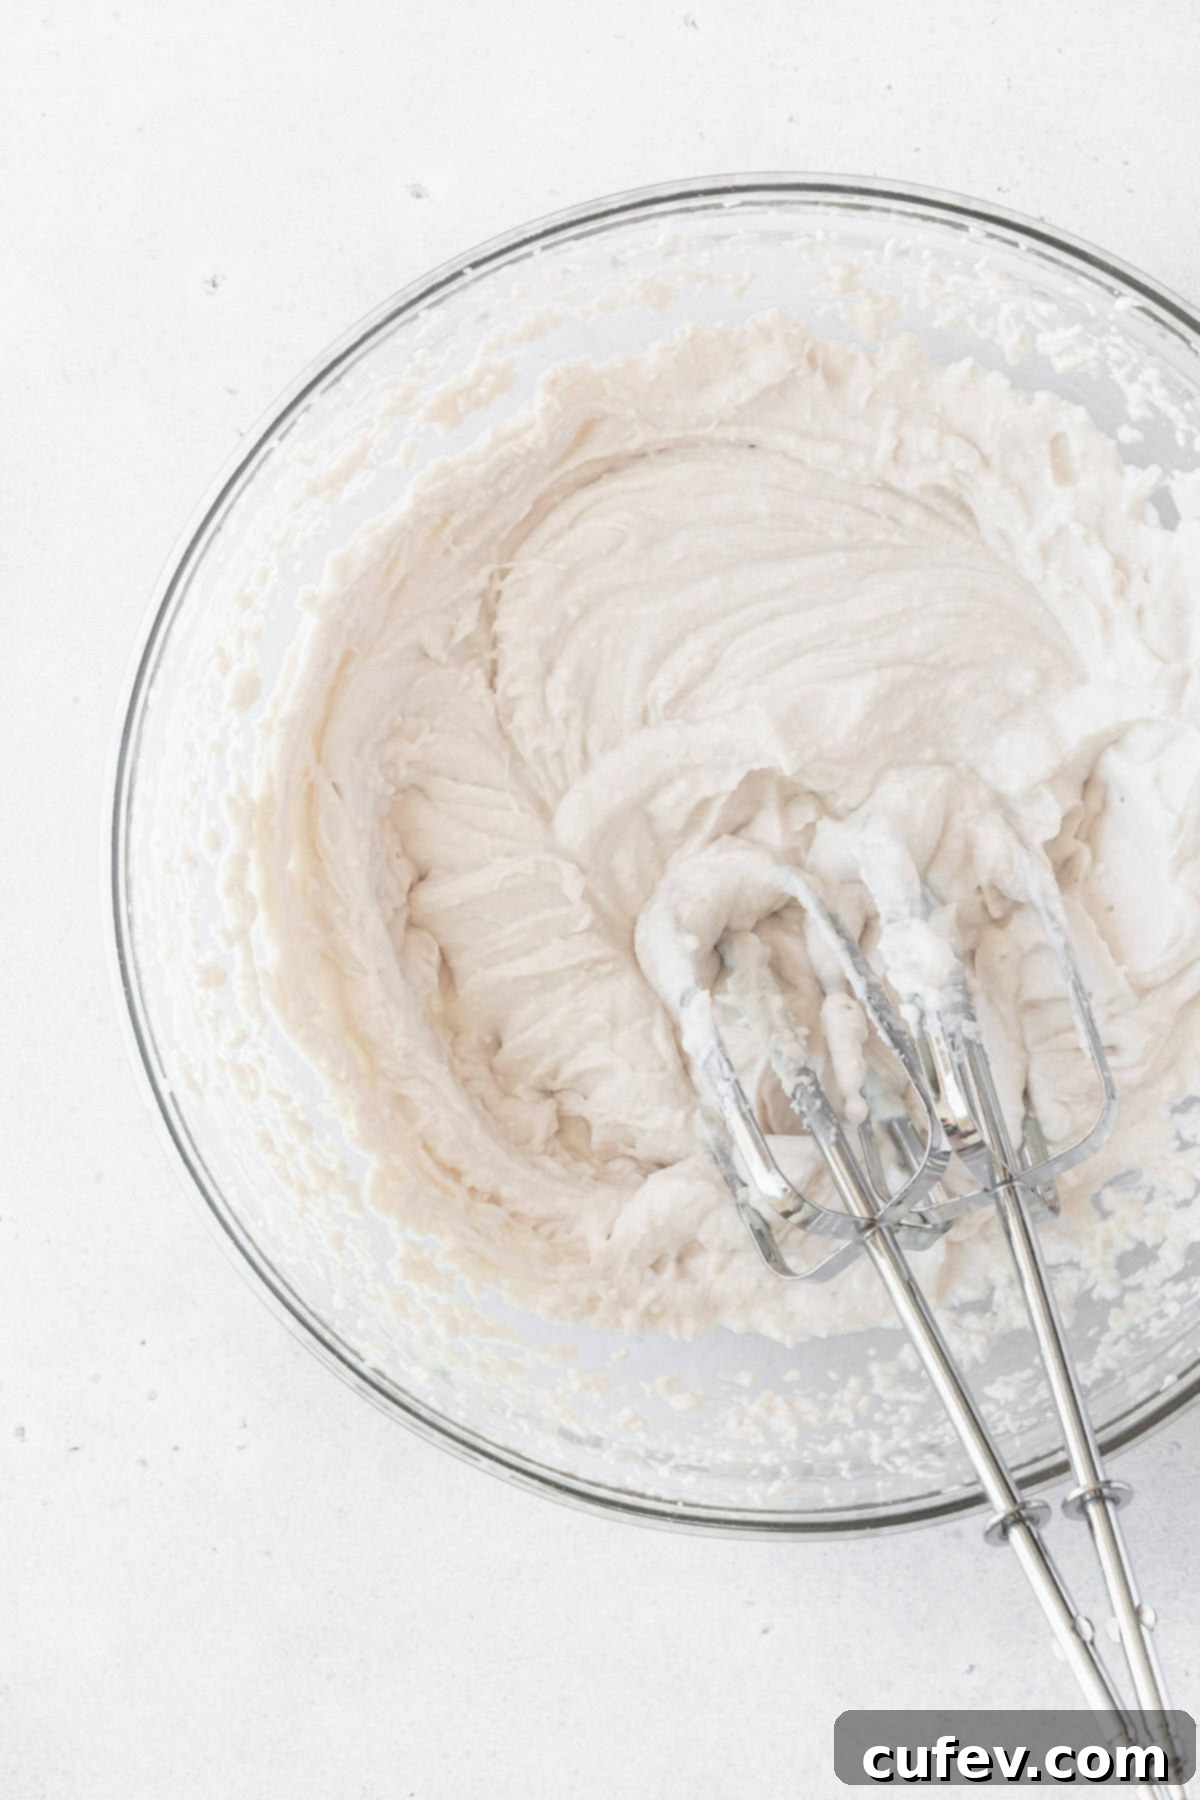
Whip the Cream: In a large mixing bowl, combine the chilled whipping cream (either Nature’s Charm oat whipping cream or traditional heavy cream) with the powdered sugar. Using a hand mixer, beat the mixture on medium-high speed for 3-5 minutes, or until soft peaks form and the cream is light, fluffy, and holds its shape.
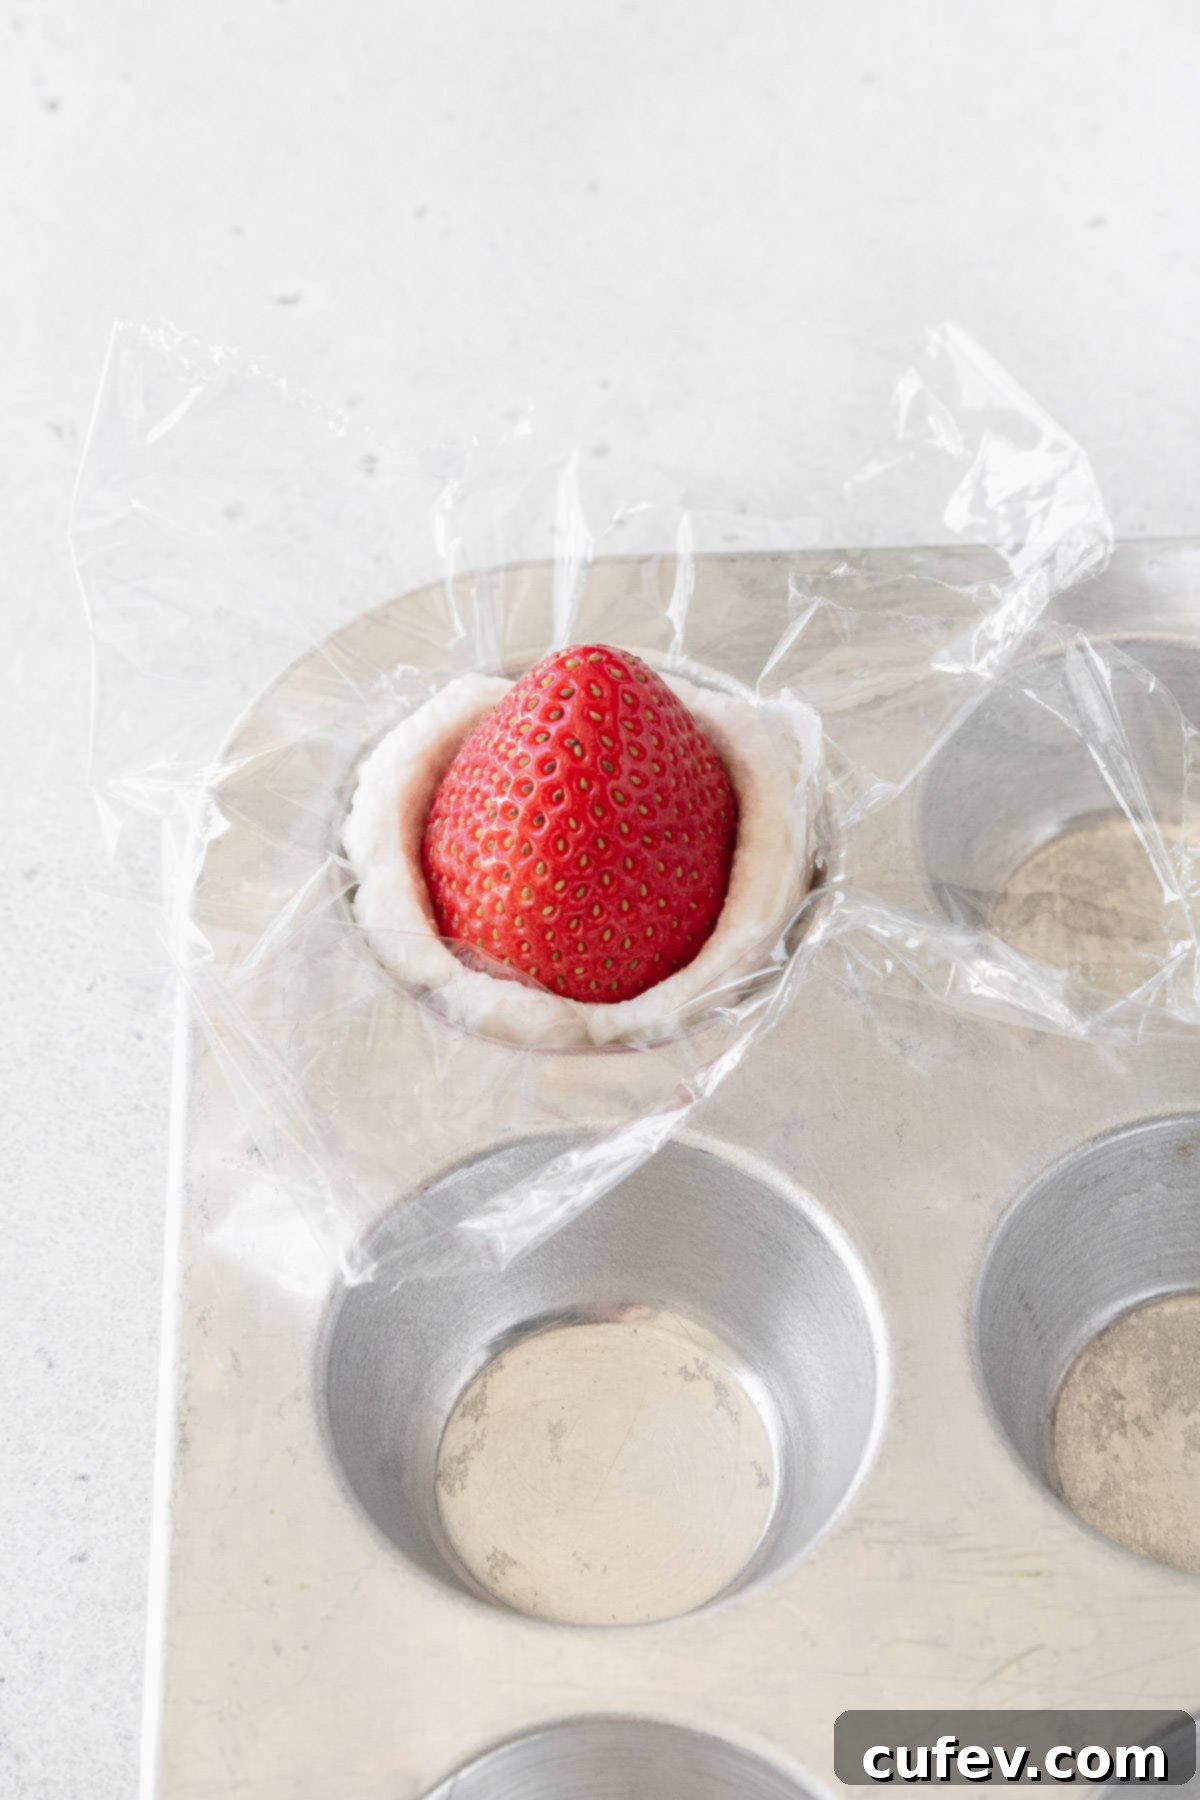
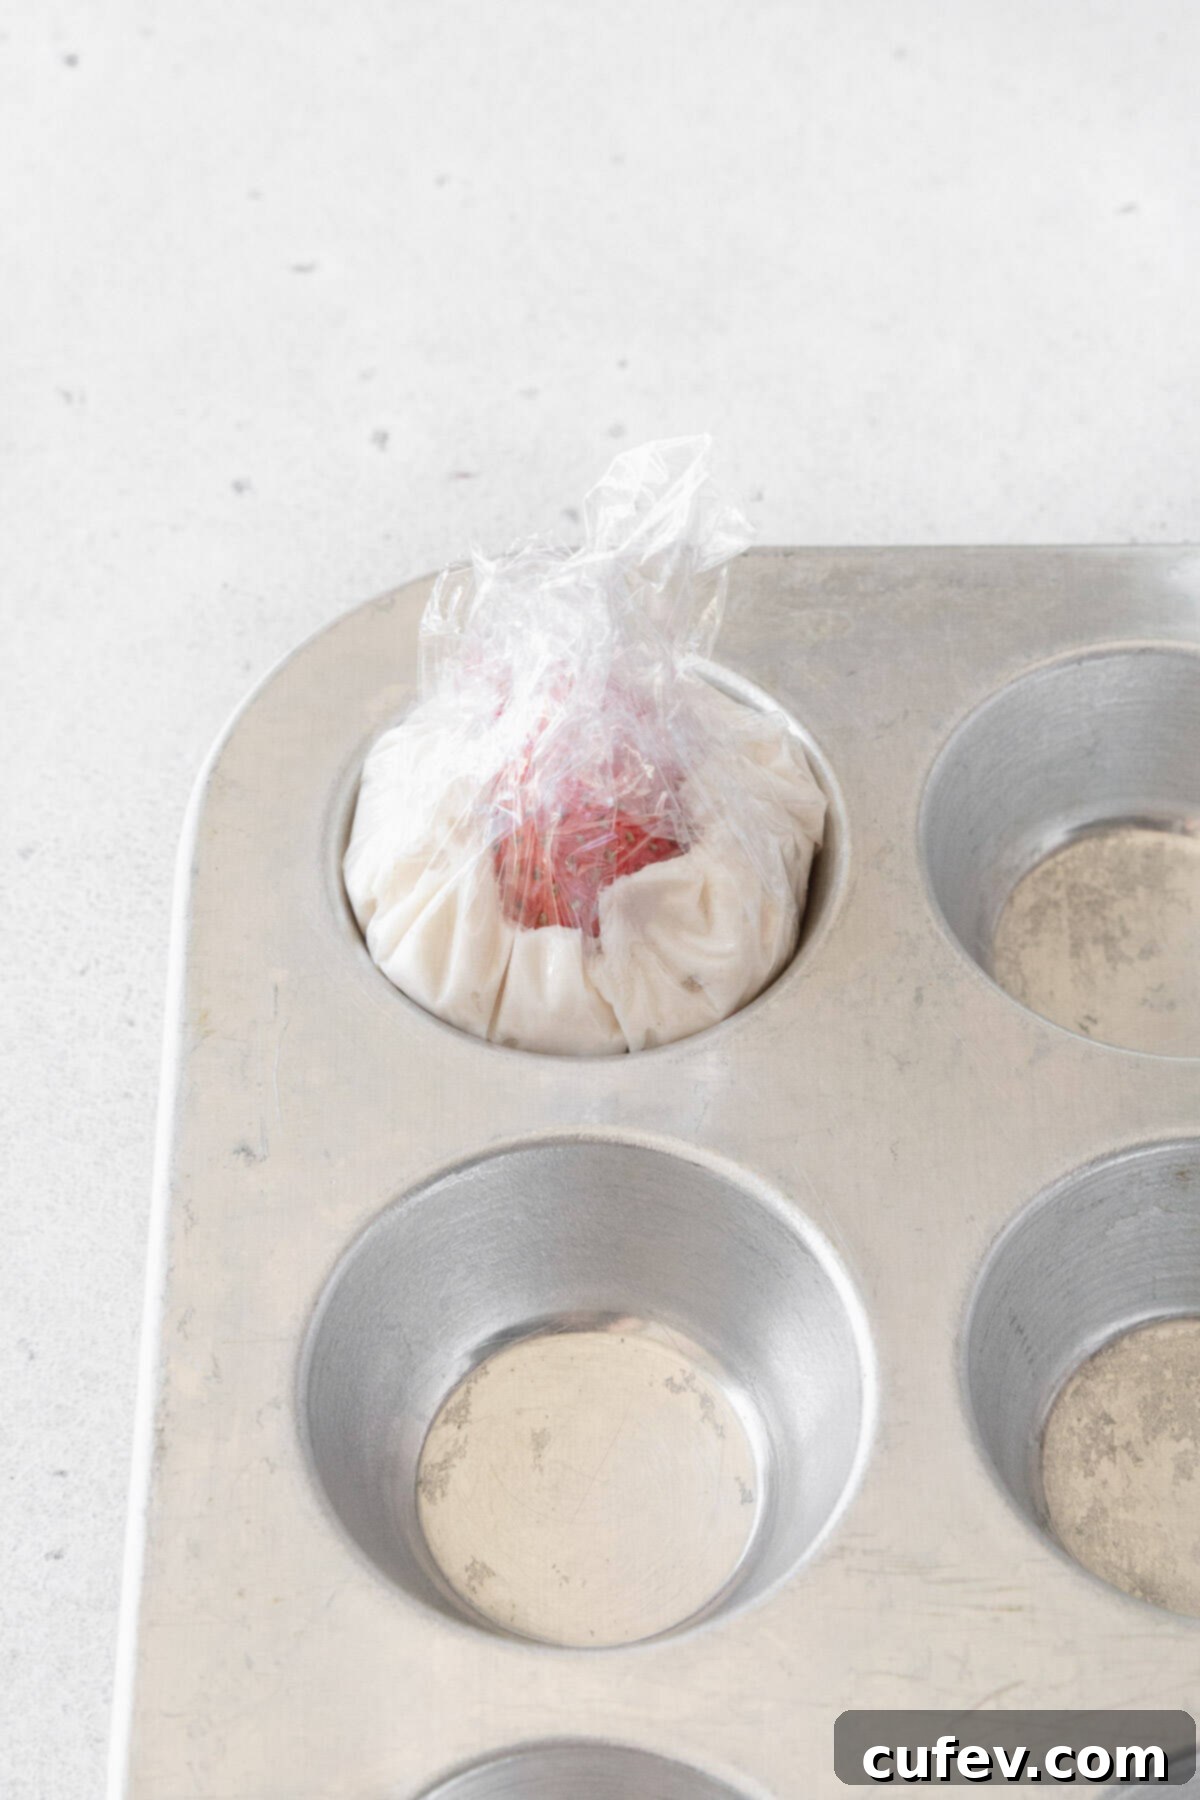
Portion and Chill the Whipped Cream: Prepare a mini muffin pan by lining each cup with a small square of plastic wrap. Carefully separate the whipped cream into 12 equal portions, placing one portion into each lined muffin cup. This helps to create individual, manageable cream pockets.
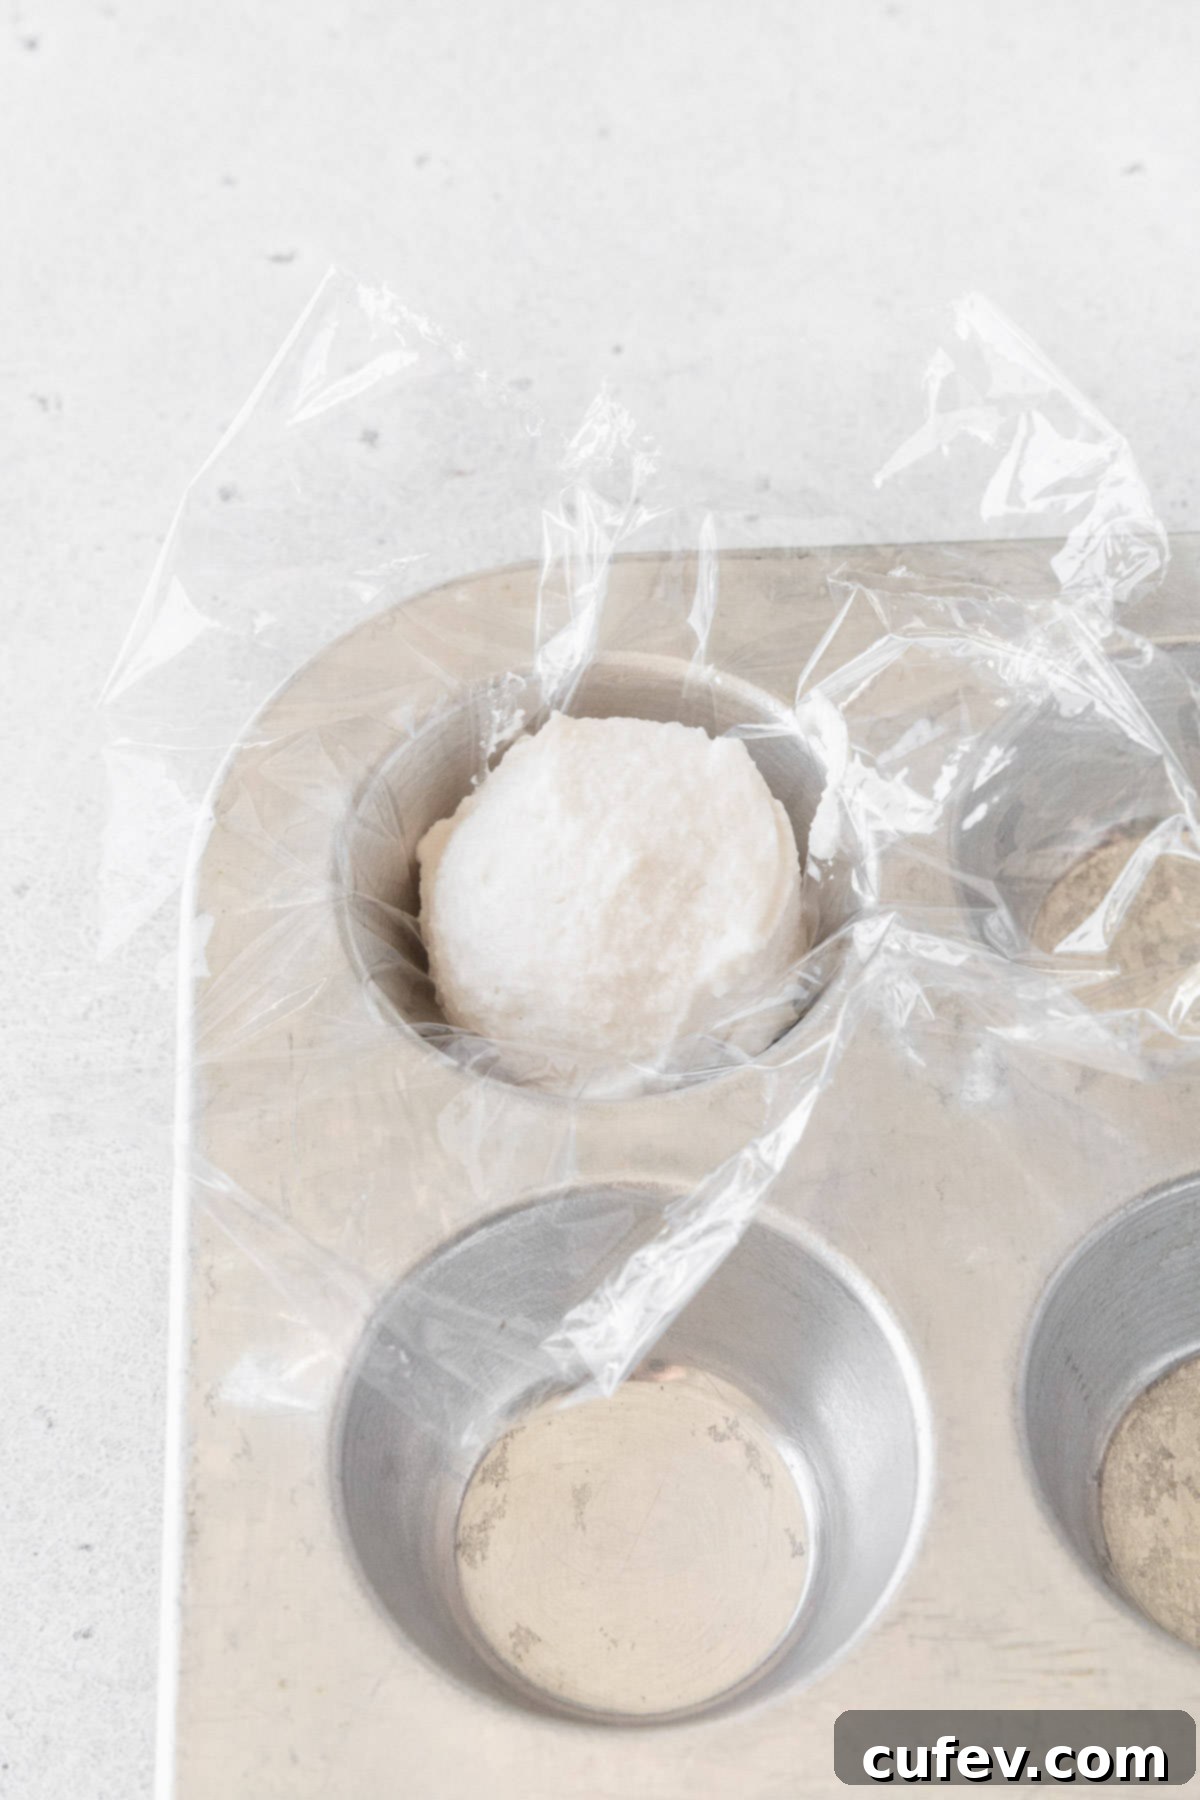
Add the Strawberries, Wrap, and Freeze: Gently press a prepared strawberry into the center of each cream portion within the muffin pan, ensuring the tip of the strawberry points upwards. Twist the excess plastic wrap at the top of each muffin cup to fully enclose the strawberry and cream. Place the entire muffin tray into the freezer for approximately 10 minutes. This brief freezing period helps the cream firm up, making it much easier to handle and wrap with the mochi dough. Once chilled, continue with the remaining mochi preparation and wrapping steps as listed in the main recipe, replacing the anko-wrapped berries with these cream-wrapped ones. Enjoy your fresh and creamy creation!
Top Tips for Perfect Mochi Every Time
Achieving perfectly tender and beautifully wrapped strawberry daifuku is easier with a few expert tips. Follow these guidelines to ensure your homemade mochi turns out flawless:
- Avoid Rolling the Mochi Too Thin: When flattening your mochi dough, be careful not to roll or stretch it excessively thin. If the mochi layer is too delicate, it becomes much more prone to tearing during the assembly process, making it difficult to fully encase the filling without breaks. Aim for a thickness that is pliable but substantial enough to handle your chosen filling.
- Option: Reduce the Sugar for a Less Sweet Treat: For those who prefer a less intensely sweet dessert, you have the option to reduce the amount of granulated white sugar in the mochi dough to ¼ cup. Be aware that while this will result in a delicious, less sweet strawberry daifuku, the mochi might become slightly firmer when stored. Sugar acts as a humectant, helping the mochi retain moisture and its signature soft, chewy texture. Even with reduced sugar, the flavor will remain wonderful.
- Generously Dust Your Work Surface and Hands: Mochi dough is notoriously sticky, especially when warm. To prevent frustration and ensure smooth handling, liberally dust your work surface (baking sheet or tray) and your hands with potato starch or arrowroot flour. This non-stick coating will make the daifuku mochi significantly easier to work with, allowing you to flatten, cut, and shape it without constant sticking. Don’t be shy with the starch – it’s your best friend here!
- Utilize Dairy Whipped Cream if Preferred: If you do not have dietary concerns regarding dairy, feel free to prepare this recipe with traditional dairy whipping cream instead of the oat milk alternative. To do so, whip 1 cup of well-chilled heavy whipping cream with 2 tablespoons of powdered sugar until soft peaks form. Then, simply proceed with the remaining recipe steps as outlined for the whipped cream variation.
Storage Guidelines for Fresh Daifuku
Proper storage is key to maintaining the delicate texture and freshness of your homemade strawberry daifuku. Since these treats contain fresh fruit and potentially dairy, specific guidelines are important to follow:
Refrigeration: For strawberry daifuku made with traditional red bean paste (anko), you can store leftovers in an airtight container at room temperature for up to 1 day, or in the refrigerator for a maximum of 2 days. Daifuku filled with whipped cream, due to the dairy or dairy-alternative content, must always be kept in an airtight container in the refrigerator and consumed within 2 days for optimal freshness and safety.
Freezing: This recipe is unfortunately not suitable for freezing. The delicate texture of the fresh strawberries will break down significantly upon freezing and subsequent defrosting, resulting in a mushy consistency that detracts from the overall enjoyment of the daifuku.
Frequently Asked Questions About Ichigo Daifuku
The term “Daifuku” in Japanese literally translates to “great luck” or “great fortune,” making it a symbol of good wishes. “Ichigo” means “strawberry.” Therefore, Ichigo Daifuku collectively refers to a delightful and fortunate sweet mochi treat that is specifically stuffed with fresh strawberries. Daifuku itself is a category of Japanese wagashi, which encompasses a wide range of traditional Japanese sweets and confections, often served with green tea.
The key difference lies in their presentation and filling. “Mochi” is a broad term for sweet rice cakes made from glutinous rice that is pounded into a soft, chewy dough. While mochi can be enjoyed plain, grilled, or used in savory dishes, it doesn’t necessarily contain a filling or always taste sweet. “Daifuku mochi,” on the other hand, refers to a specific type of mochi: small, round, sweet rice cakes that are always *stuffed* with a sweet filling. This filling is typically anko (sweet bean paste), but can also include other ingredients like fruit (as in Ichigo Daifuku), cream, or even ice cream, making Daifuku a distinct and popular dessert form of mochi.
Discover More Japanese Flavors
If you’ve fallen in love with the sweet and delicate flavors of Ichigo Daifuku, you’ll be delighted to explore more traditional Japanese sweets and desserts. Here are some other cherished recipes to expand your culinary journey:
- Sakura Mochi is another enchanting childhood favorite of mine, perfectly embodying the spirit of spring. Each beautifully delicate pink mochi is artfully wrapped in a salt-pickled cherry blossom leaf, offering a unique blend of sweet and subtly savory notes.
- For a simpler yet equally satisfying Japanese dessert, try Shiratama Dango. These soft, chewy rice flour dumplings are incredibly easy to make and versatile. Once boiled, you can customize them with any toppings you desire, from sweet kinako (roasted soybean flour) to fruity syrups.
- Kashiwa Mochi is a revered springtime classic in Japan, traditionally served to celebrate Children’s Day. These delightful mochi cakes are filled with sweet bean paste and wrapped in an oak leaf, which imparts a subtle, earthy aroma.
- If you appreciate Japanese flavors but find the chewy texture of mochi not quite to your preference, don’t worry! You can still enjoy the essence of Japanese cuisine with these fantastic alternatives: try these vibrant Matcha Cupcakes with White Chocolate Frosting, or indulge in the bright and zesty flavors of this Yuzu Cheesecake Recipe.

Strawberry Mochi (Ichigo Daifuku)
Print
Pin
Rate
Ingredients
Ichigo Daifuku
- 1 ½ cup shiratamako (glutinous sweet rice flour)
- ½ cup granulated sugar
- 1 ¼ cup water
- 12 strawberries
- potato starch or arrowroot flour to dust the work surface and your hands
Traditional filling (for 12)
- 12 oz sweetened red bean paste
Cream filling (for 12)
- ½ can Nature’s Charm oat whipping cream chilled overnight
- 2 tablespoons powdered sugar
Instructions
Prep
-
Wash the strawberries and pat them dry. Hull them and set them aside.
Filling
-
Traditional (Anko): Separate the red bean paste into 12 equal portions. Wrap each strawberry with the bean paste, leaving the tip of the strawberry uncovered. Wrap the strawberries with plastic wrap to prevent them from drying out while making the mochi.
-
Cream: Add the whipping cream and powdered sugar to a large bowl and beat with a hand mixer for 3-5 minutes until soft peaks form. Separate the filling into 12 portions using a mini muffin pan lined with squares of plastic wrap. Put a strawberry into each portion of cream with the tip of the strawberry pointing up. Twist the plastic wrap at the top to secure. Put the muffin tray in the freezer for 10 minutes to firm up.
Mochi Dough & Assembly
-
In a microwave-safe bowl, combine the shiratamako, sugar, and water, stirring until thoroughly combined. Cover the bowl with plastic wrap (leaving a small vent) and heat in the microwave for 1 minute. Remove and stir well with a wooden spoon or spatula.
-
Re-cover the bowl and heat again for 1 minute. Mix it well once more. The mixture should now be sticky and partially translucent, with some white parts remaining.
-
Cover and heat for a final 30 seconds, then mix thoroughly again. If any white, uncooked sections persist, repeat heating for another 30 seconds until the dough is uniformly translucent and elastic.
-
Transfer the warm mochi onto a baking sheet or large tray generously dusted with potato starch or arrowroot flour. Dust more starch over the mochi and use your hands to gently flatten it into an even rectangle. Add more starch to any sticky areas to facilitate handling.
-
Using a sharp knife or bench scraper, divide the flattened mochi into 12 equal-sized pieces.
-
Carefully remove the plastic wrap from either an anko-wrapped or cream-wrapped strawberry. Place the strawberry, pointy side down, onto the center of a mochi square. Bring the edges of the mochi up and around the filling, pinching them firmly together at the bottom to seal. Ensure the entire filling is completely covered by the mochi. Trim any excess mochi with a knife or kitchen shears for a clean finish.
Notes
Freezing: This recipe is not suitable for freezing, as the texture of the fresh strawberries will degrade significantly upon freezing and defrosting, becoming mushy.
