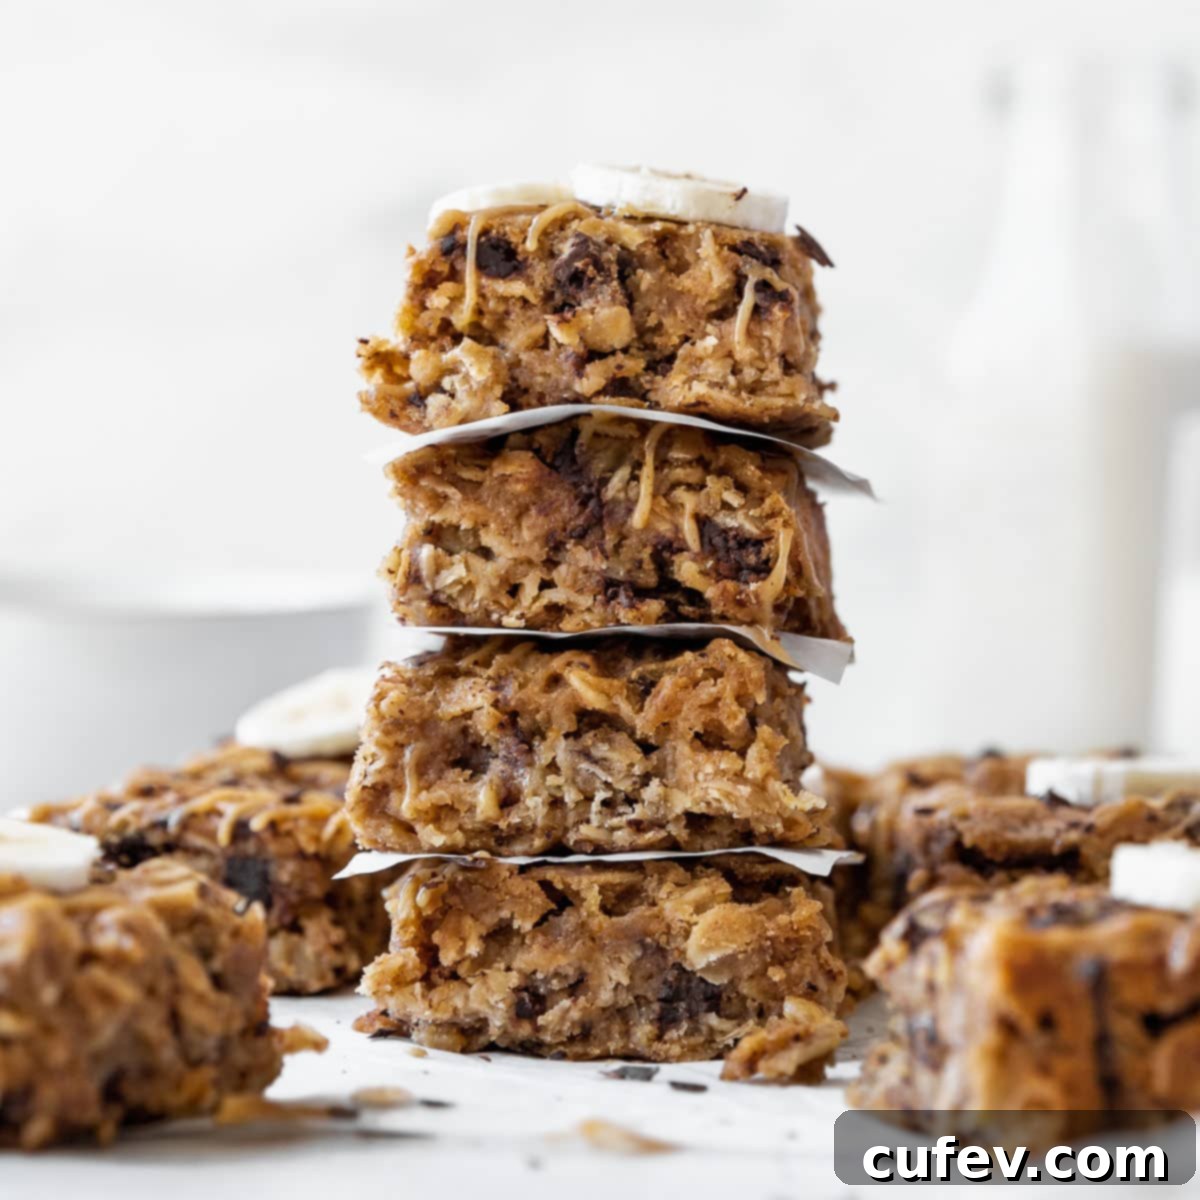
Wholesome & Easy Gluten-Free Peanut Butter Oatmeal Breakfast Bars (Vegan & Delicious!)
Packed with the comforting flavors of peanut butter, hearty oats, ripe banana, and sweet chocolate chips, this Peanut Butter Oatmeal Breakfast Bar Recipe is an absolute delight you’ll want to keep on hand! It’s a remarkably simple, one-bowl recipe that is naturally gluten-free, dairy-free, vegan, and guaranteed to be 100% satisfying. Whether you’re seeking a quick breakfast, a nutritious snack, or a wholesome dessert, these bars deliver on taste and convenience.
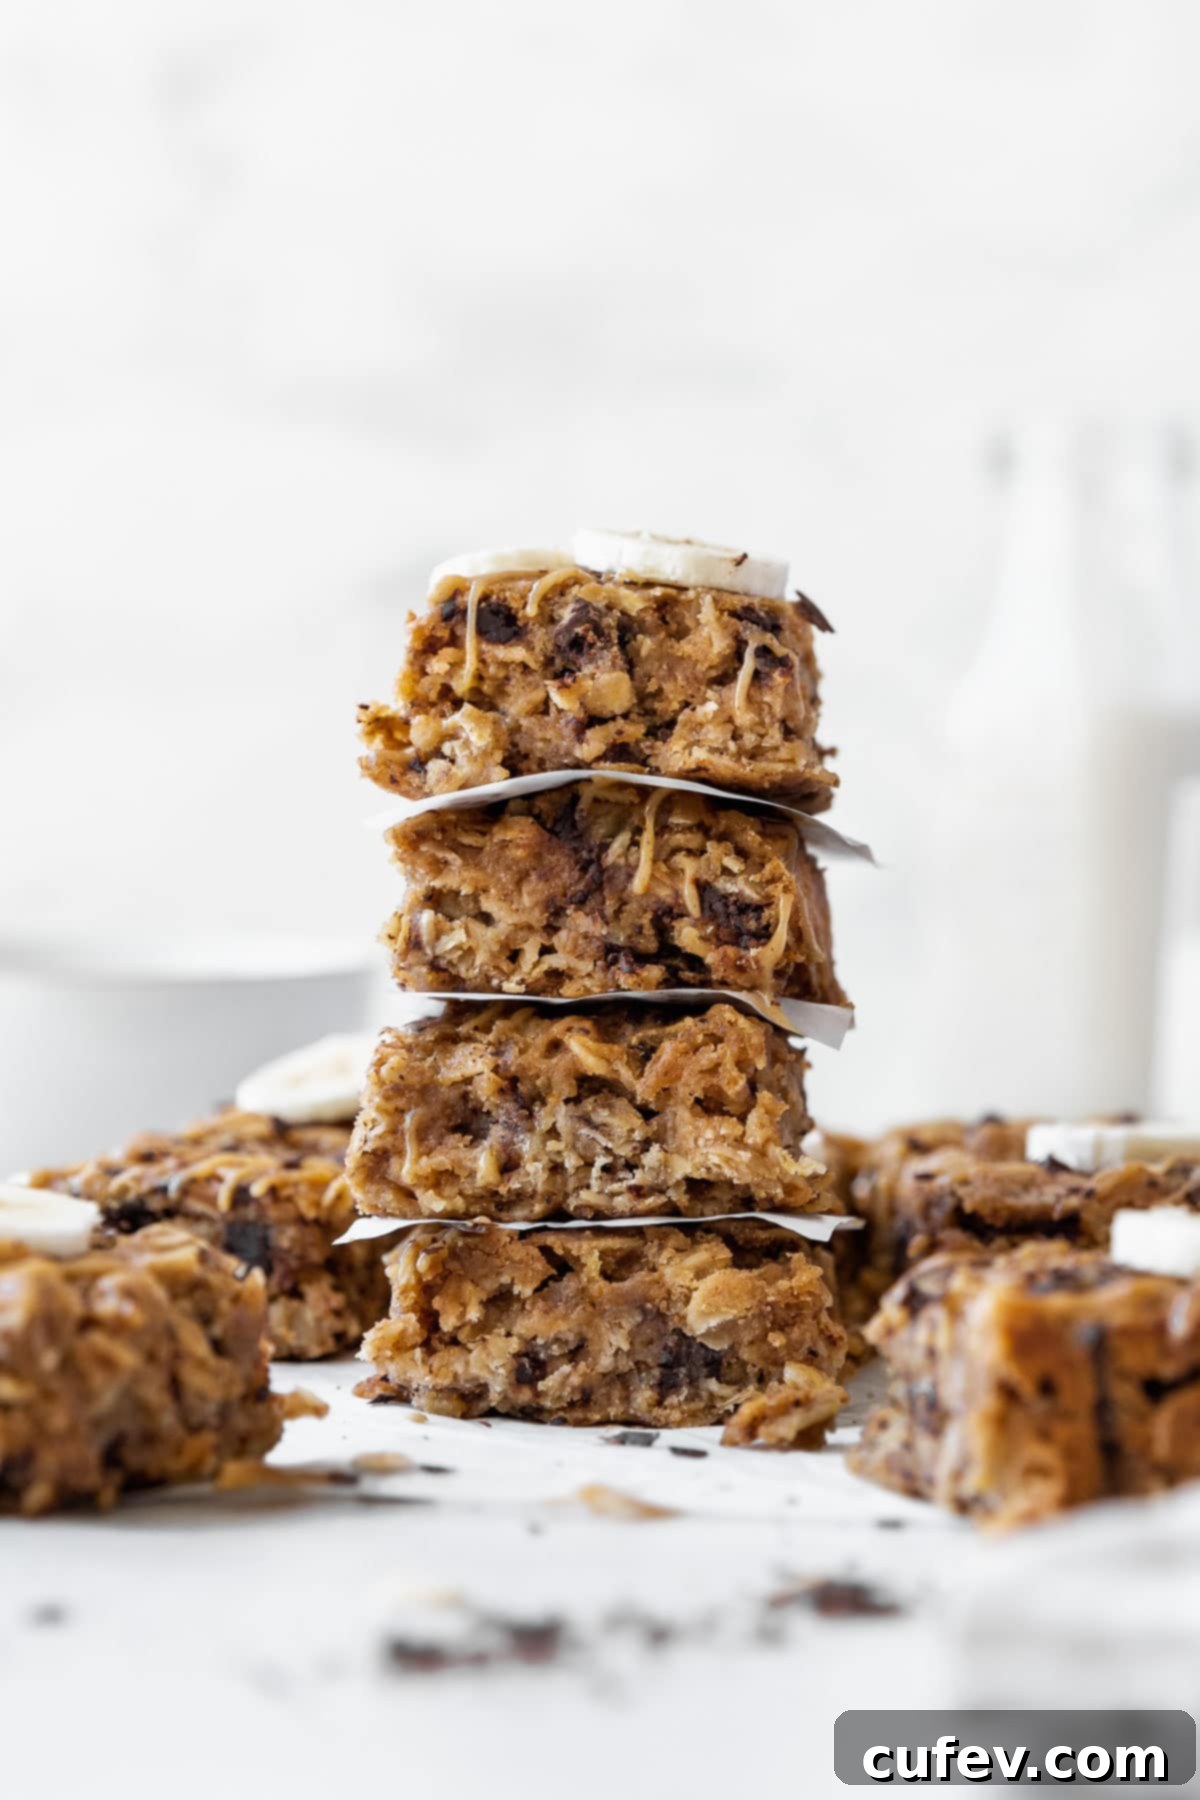
This post was originally published on March 7, 2021. It was updated with new recipe information and photos on May 22, 2023.
Why You’ll Adore These Chocolate Peanut Butter Oatmeal Bars
There are countless reasons to fall in love with these easy-to-make, incredibly delicious chocolate peanut butter oatmeal bars. They’re designed for convenience, packed with wholesome ingredients, and adaptable to many dietary needs, making them a perfect addition to any household. Here’s why these bars are destined to become a staple:
- Incredibly Nutritious: These delightful peanut butter bars are crafted with a foundation of wholesome ingredients like gluten-free oats, naturally sweet mashed banana, and pure maple syrup. This thoughtful combination not only makes them incredibly good for you, providing fiber, essential nutrients, and sustained energy, but also infuses them with a comforting, heartwarming flavor that makes healthy eating a joy. They’re a smart choice for fueling your day or satisfying cravings guilt-free.
- Effortless One-Bowl Preparation: Say goodbye to excessive kitchen cleanup! This recipe stands out for its simplicity, requiring just a single bowl from start to finish. This means less scrubbing and more time to enjoy your delicious creation. Furthermore, you won’t need any specialized equipment like a hand mixer or a stand mixer, making it accessible even for novice bakers or those with limited kitchen tools. Just grab a bowl, a spoon, and you’re ready to create magic.
- Remarkably Versatile: These peanut butter banana oatmeal bars are a true chameleon in the culinary world. They are perfectly suited as a hearty and quick breakfast to kickstart your morning, an energizing snack to combat the afternoon slump, or even a decadent yet wholesome dessert. One friend even raved about them as a fantastic late-night treat! 😉 Their satisfying texture and rich flavor profile ensure they hit the spot, no matter when or how you choose to indulge. They’re also excellent for meal prepping, giving you grab-and-go goodness throughout the week.
- Dietary Inclusive (Gluten-Free & Vegan): This recipe is a dream come true for those with specific dietary requirements. By utilizing no wheat products, eggs, or other animal-derived ingredients, these vegan oatmeal bars are wonderfully suited for our gluten-free and plant-based friends. They prove that you don’t have to compromise on flavor or texture to adhere to a special diet, offering a delicious and inclusive option for everyone to enjoy.
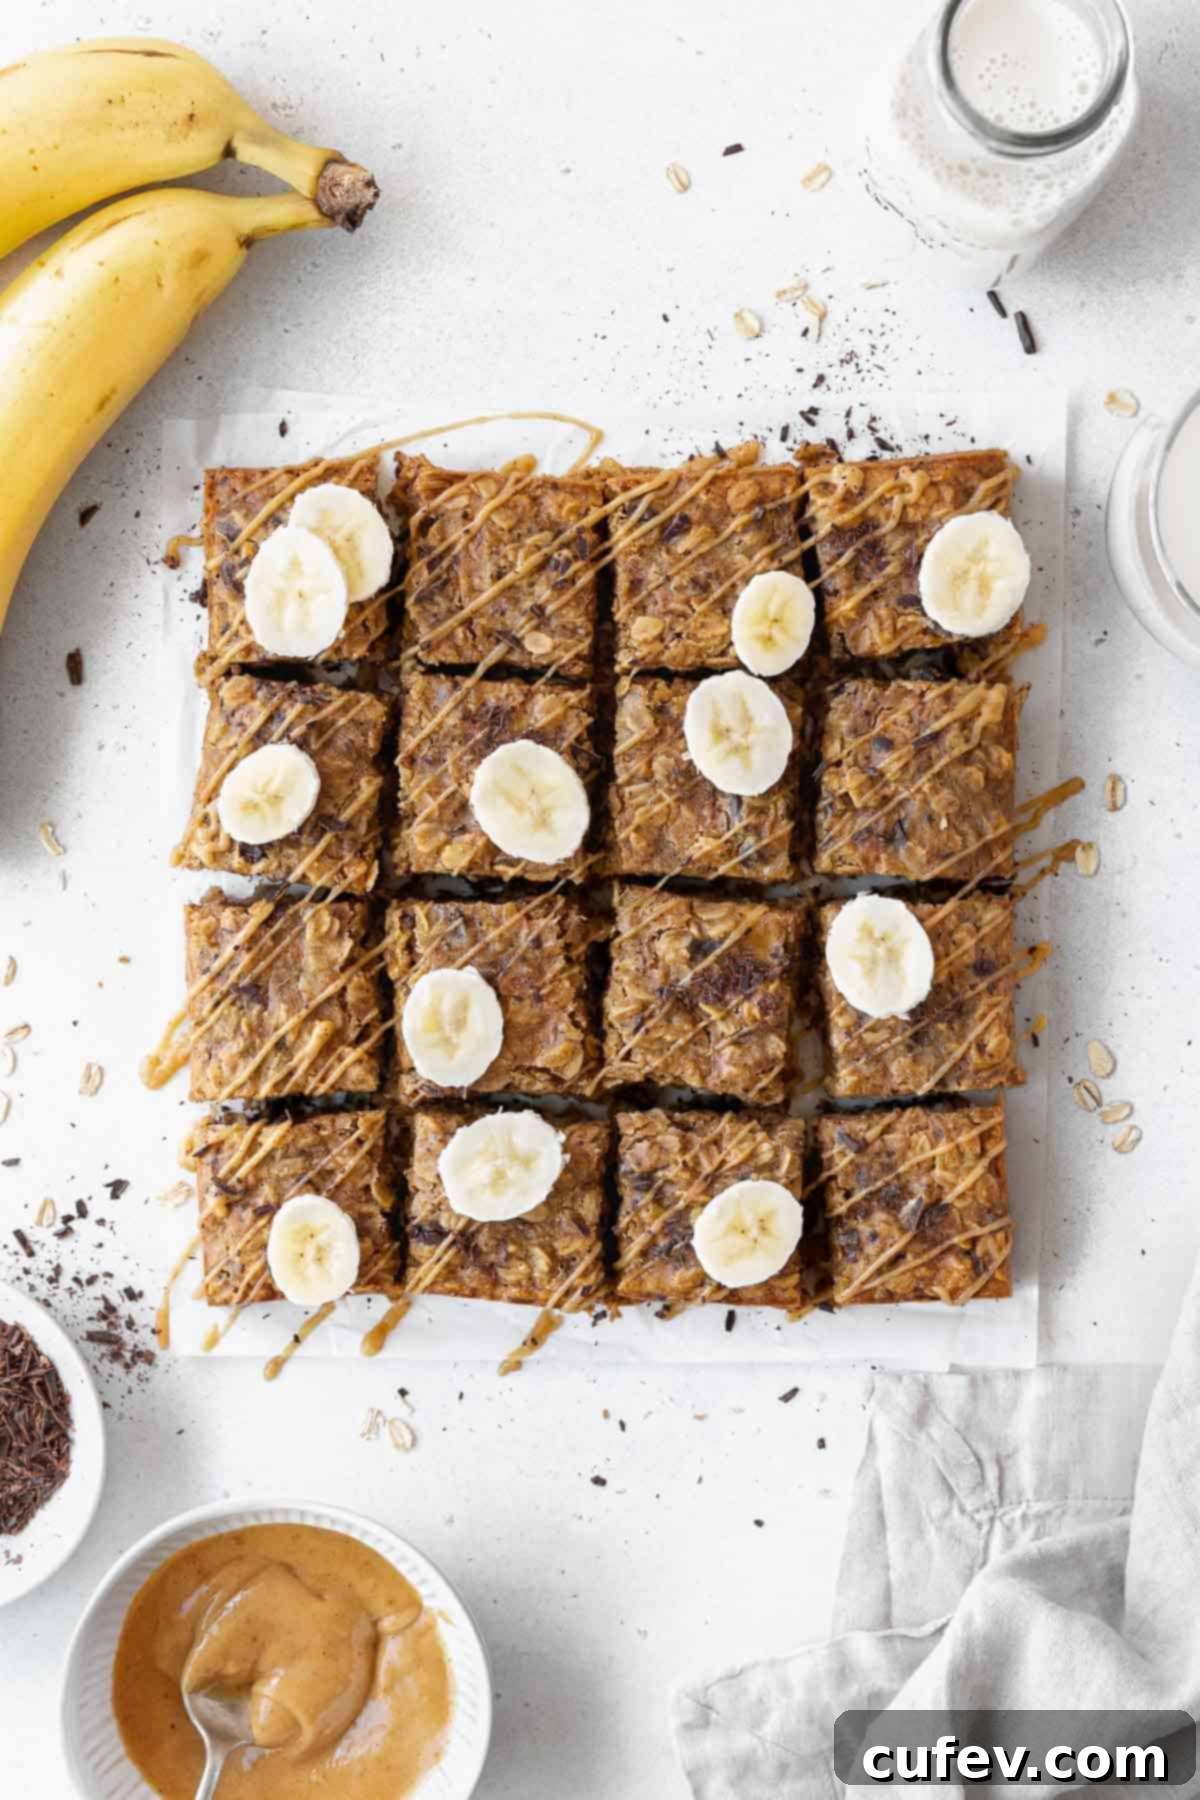
Essential Ingredients for Your Gluten-Free Peanut Butter Oatmeal Bars
Crafting these delectable gluten-free peanut butter oatmeal bars requires just a handful of straightforward pantry staples. Each ingredient plays a crucial role in achieving the perfect balance of flavor, texture, and nutrition.
- 1-to-1 Gluten-Free Flour – This specialized blend is essential for providing the necessary structure and a pleasant texture in gluten-free baking. It’s formulated to be a direct substitute for traditional all-purpose flour, making gluten-free baking simple and reliable. For the best results, I highly recommend using reputable brands like King Arthur’s Measure for Measure Flour or Bob’s Red Mill 1-to-1 Baking Flour, as they consistently yield excellent outcomes.
- Gluten-Free Oats – Old-fashioned rolled oats are the star of this recipe, contributing a chewy texture and wholesome fiber. It’s crucial to note that not all oats are certified gluten-free due to potential cross-contamination during processing. Always look for oats explicitly labeled as “certified gluten-free” to ensure the recipe remains safe for those avoiding gluten.
- Peanut Butter – The creamy, rich flavor of peanut butter is central to these bars. I typically opt for natural peanut butter (the kind with just peanuts and salt) for a more pronounced peanut flavor and healthier fat profile. However, classic jarred peanut butter can also be used; just be aware it might alter the sweetness and texture slightly due to added sugars and oils. Ensure it’s well-stirred before measuring.
- Banana – Overripe bananas are your best friend here! The browner and spottier your bananas, the better they are for baking. As bananas ripen, their sugars intensify, adding a wonderful natural sweetness and moistness to these healthy banana oatmeal bars. This recipe is a fantastic way to use up those ripe bananas sitting on your counter.
- Chocolate Chips – A sprinkle of chocolate chips (or chunks!) adds a delightful contrast and burst of sweetness. Semisweet chocolate is my preferred choice as it balances the sweetness of the other ingredients without being overly rich. To keep this recipe entirely plant-based and dairy-free, be sure to use certified vegan chocolate chips.
- Brown Sugar – Brown sugar contributes a deep, caramel-like sweetness and moisture that perfectly complements the nutty peanut butter and sweet banana. When measuring, always pack the brown sugar tightly into your measuring cup to ensure you have the correct amount, which is vital for the bar’s texture and flavor.
- Maple Syrup – Beyond adding natural sweetness, pure maple syrup enhances the overall flavor profile, creating a beautiful harmony with the nut butter, banana, and oats. It also contributes to the moist, tender texture of the bars, acting as a natural binder.
- Vegan Butter – Just a quarter cup of vegan butter provides essential richness, a tender crumb, and adds a delightful depth of flavor to the recipe without any dairy. It helps bind the ingredients and contributes to the bars’ satisfying chewiness.
- Non-Dairy Milk – A splash of non-dairy milk helps to bring the batter to the perfect consistency. Options like almond milk, oat milk, cashew milk, or even a lighter coconut milk (from a carton, not canned) work wonderfully, keeping the recipe vegan and dairy-free.
- Ground Cinnamon – A touch of ground cinnamon introduces warm, aromatic notes that elevate the flavors of peanut butter and banana, making these bars even more comforting and inviting.
- Baking Powder & Salt – Baking powder acts as a leavening agent, giving these baked banana oatmeal bars a slight lift and tender structure. Salt, on the other hand, is crucial for enhancing all the other flavors, making the sweetness brighter and the peanut butter taste more profound.
Smart Substitutions for Your Oatmeal Bars
While the original recipe for these oatmeal chocolate peanut butter bars is meticulously crafted, sometimes you need to make adjustments based on dietary needs or what you have on hand. Here are some reliable substitutions:
- Flour – If gluten isn’t a concern for you, these delicious bars can absolutely be made with the same amount of standard all-purpose flour. Keep in mind, however, that using all-purpose flour will mean the recipe will no longer be gluten-free. For different gluten-free flour options, ensure they are 1-to-1 blends for best results.
- Nut Butter – For those with peanut allergies or simply looking for a different flavor, almond butter, cashew butter, or even tahini (sesame seed butter) can be excellent substitutes for peanut butter. Using sunflower butter (like SunButter) or tahini will effectively make this recipe friendly for those with nut allergies, offering a safe and equally delicious alternative.
- Milk – While non-dairy milk is preferred for vegan and dairy-free versions, regular dairy milk can be used if those dietary restrictions are not a concern. Just remember that opting for dairy milk will mean the recipe is no longer considered dairy-free or vegan.
- Butter – Similarly, if you don’t need the recipe to be vegan or dairy-free, unsalted dairy butter can substitute for vegan butter in equal measure. This will, however, change the dietary classification of the recipe.
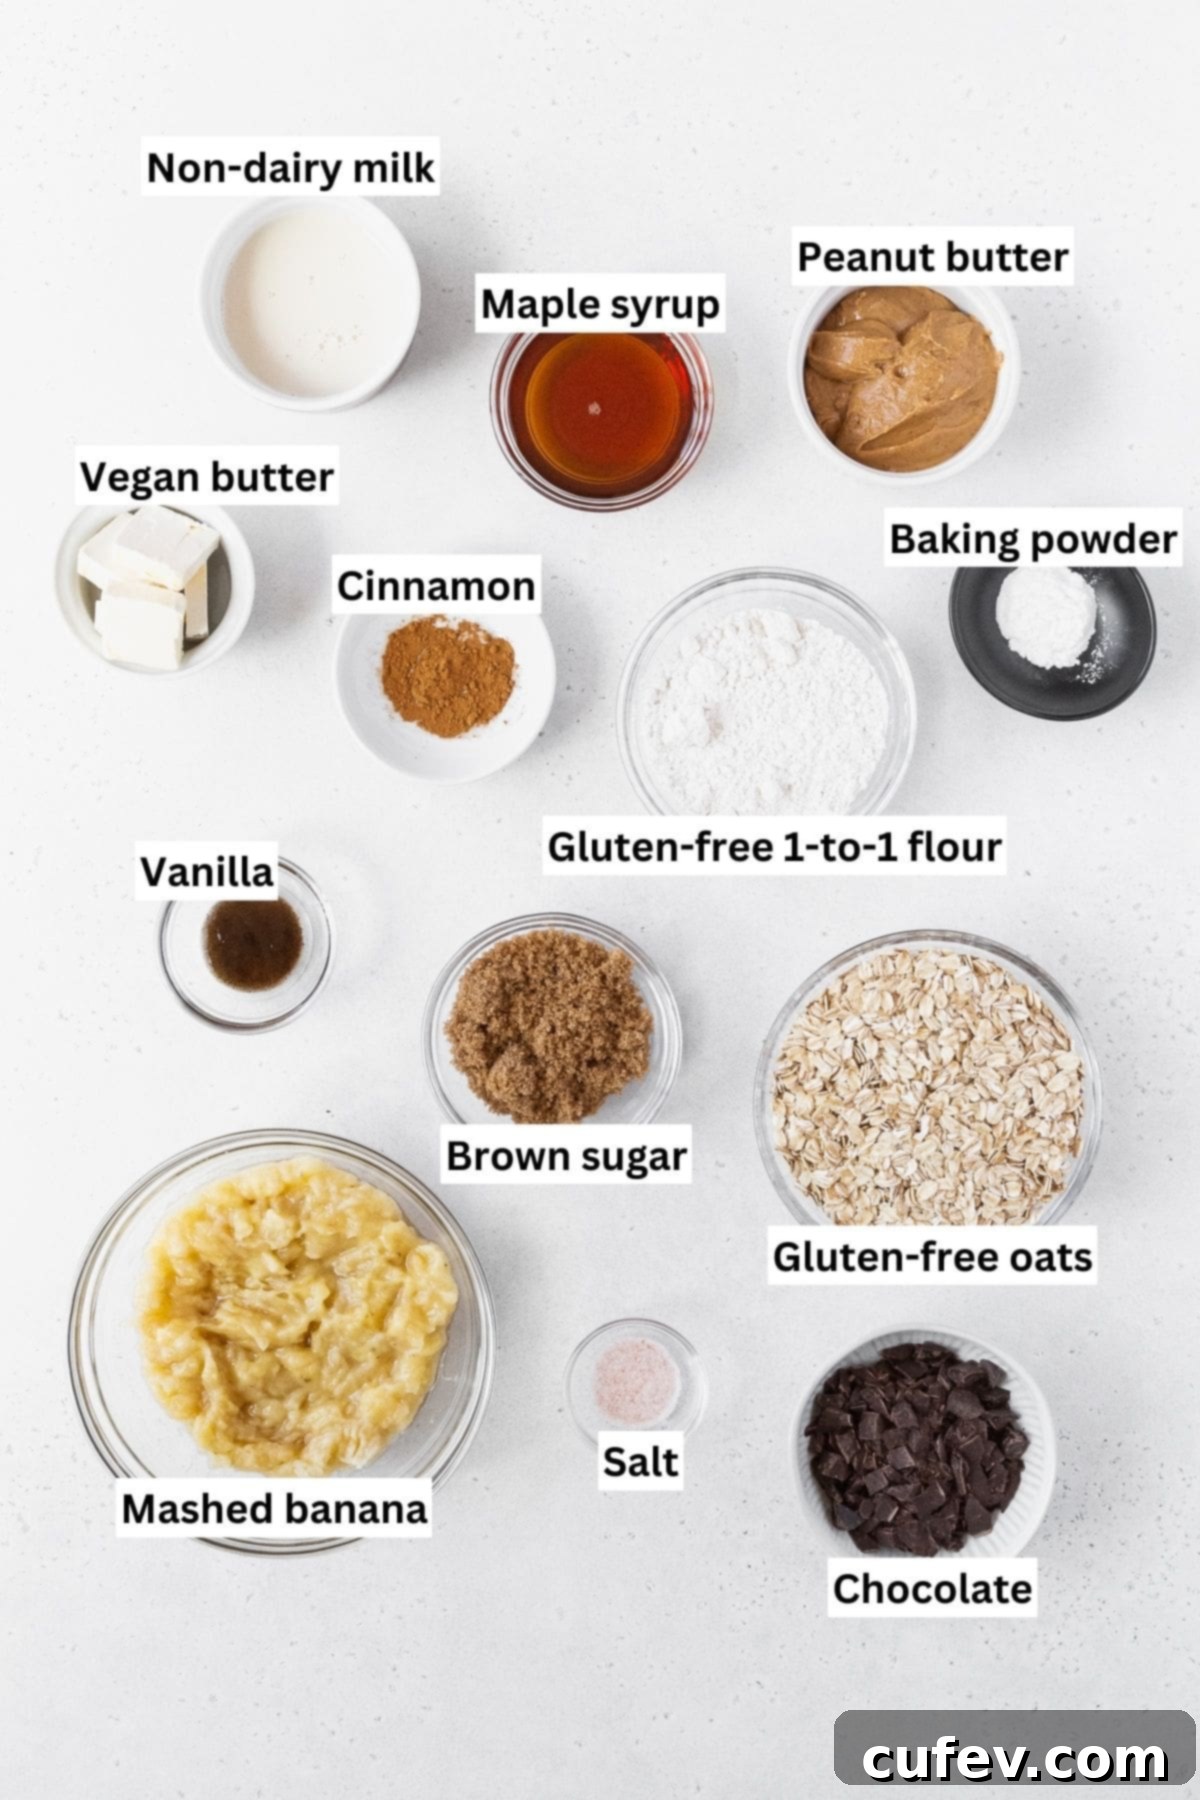
Step-by-Step: Crafting Gluten-Free Peanut Butter Oatmeal Breakfast Bars
Making these delightful chocolate peanut butter banana oatmeal bars is almost as enjoyable as eating them! The process is straightforward and results in a batch of incredibly satisfying treats. Follow these simple steps to whip them up:
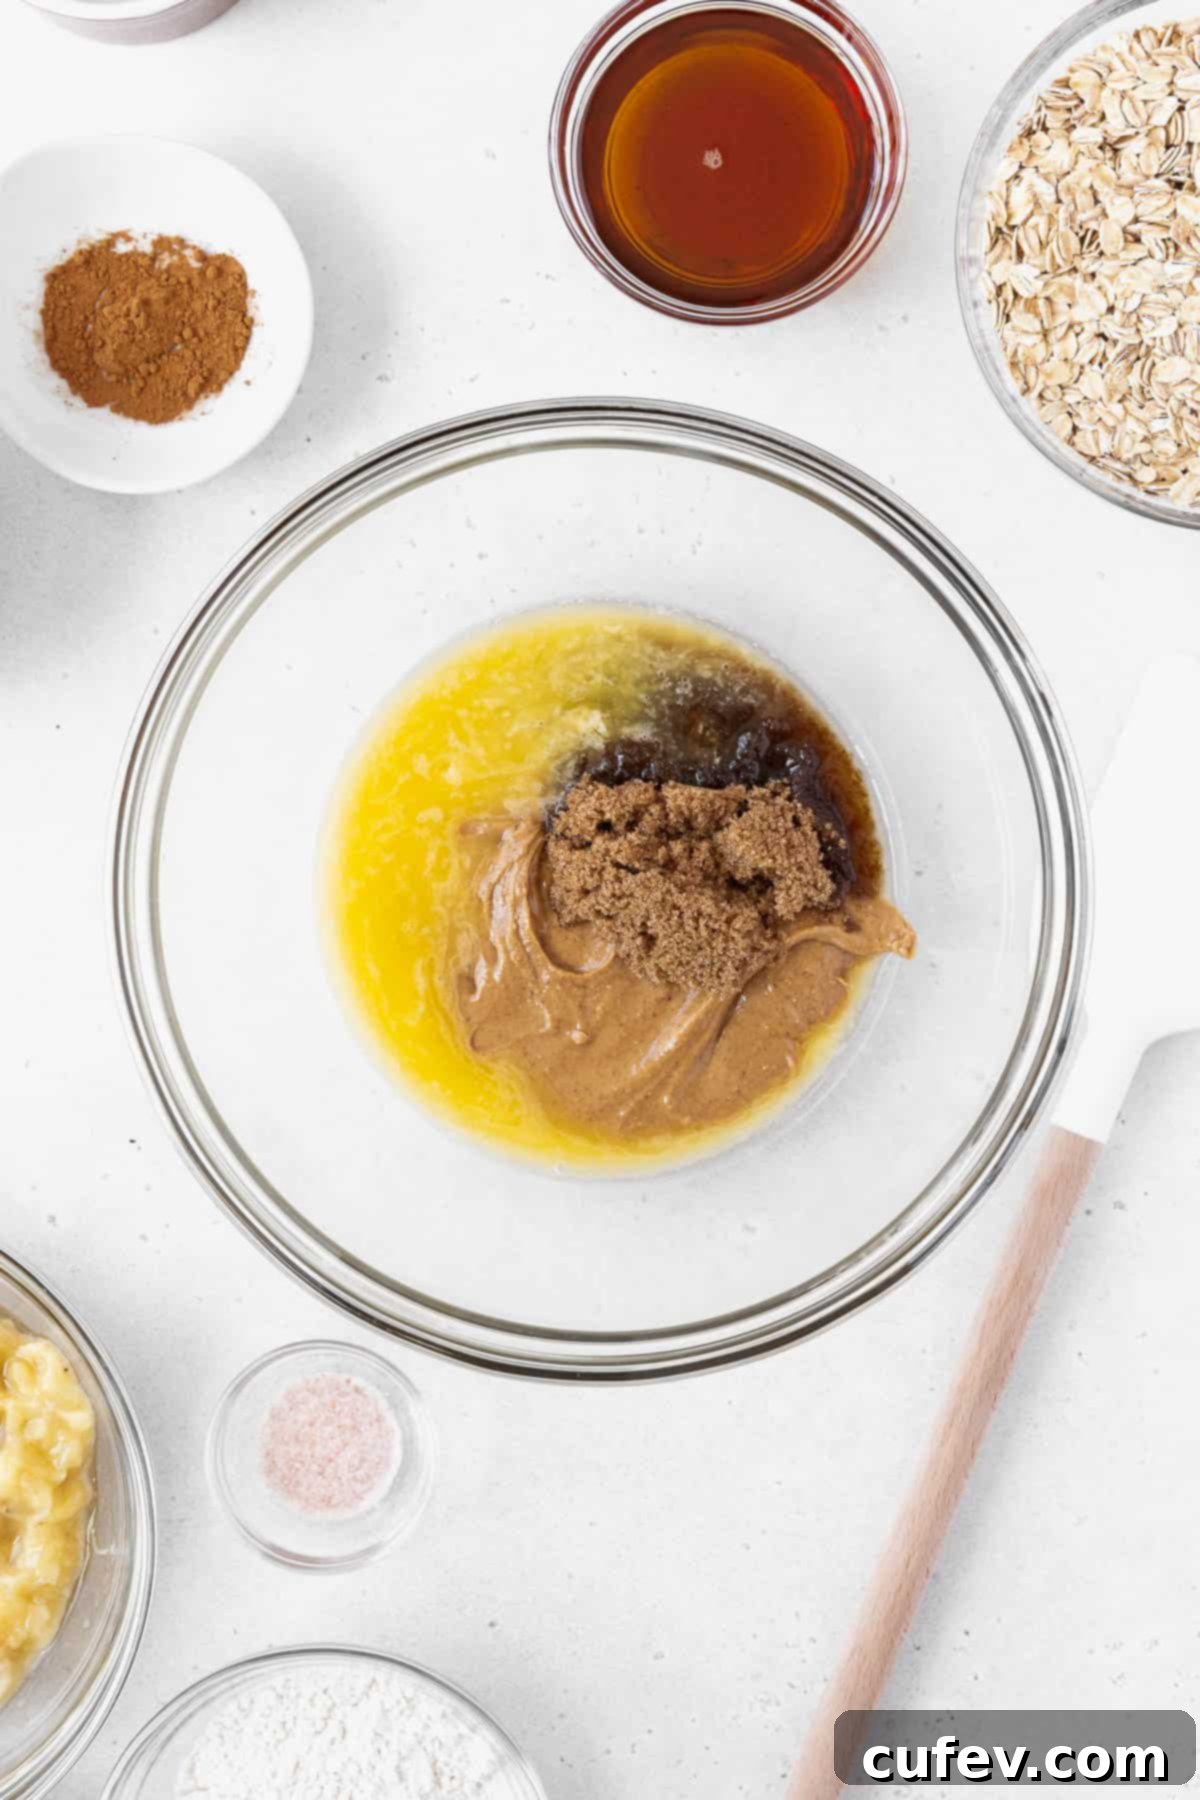
Step 1: Melt the Fats and Sweeten the Base. In a large, microwave-safe mixing bowl, combine the vegan butter and peanut butter. Heat them in the microwave for approximately 20 to 30 seconds, or just until they are fully melted and smooth. Be careful not to overheat. Once melted, add the brown sugar to the mixture and stir vigorously until all ingredients are well combined and the sugar has started to dissolve into the warm, gooey base. This creates a rich foundation for your bars.
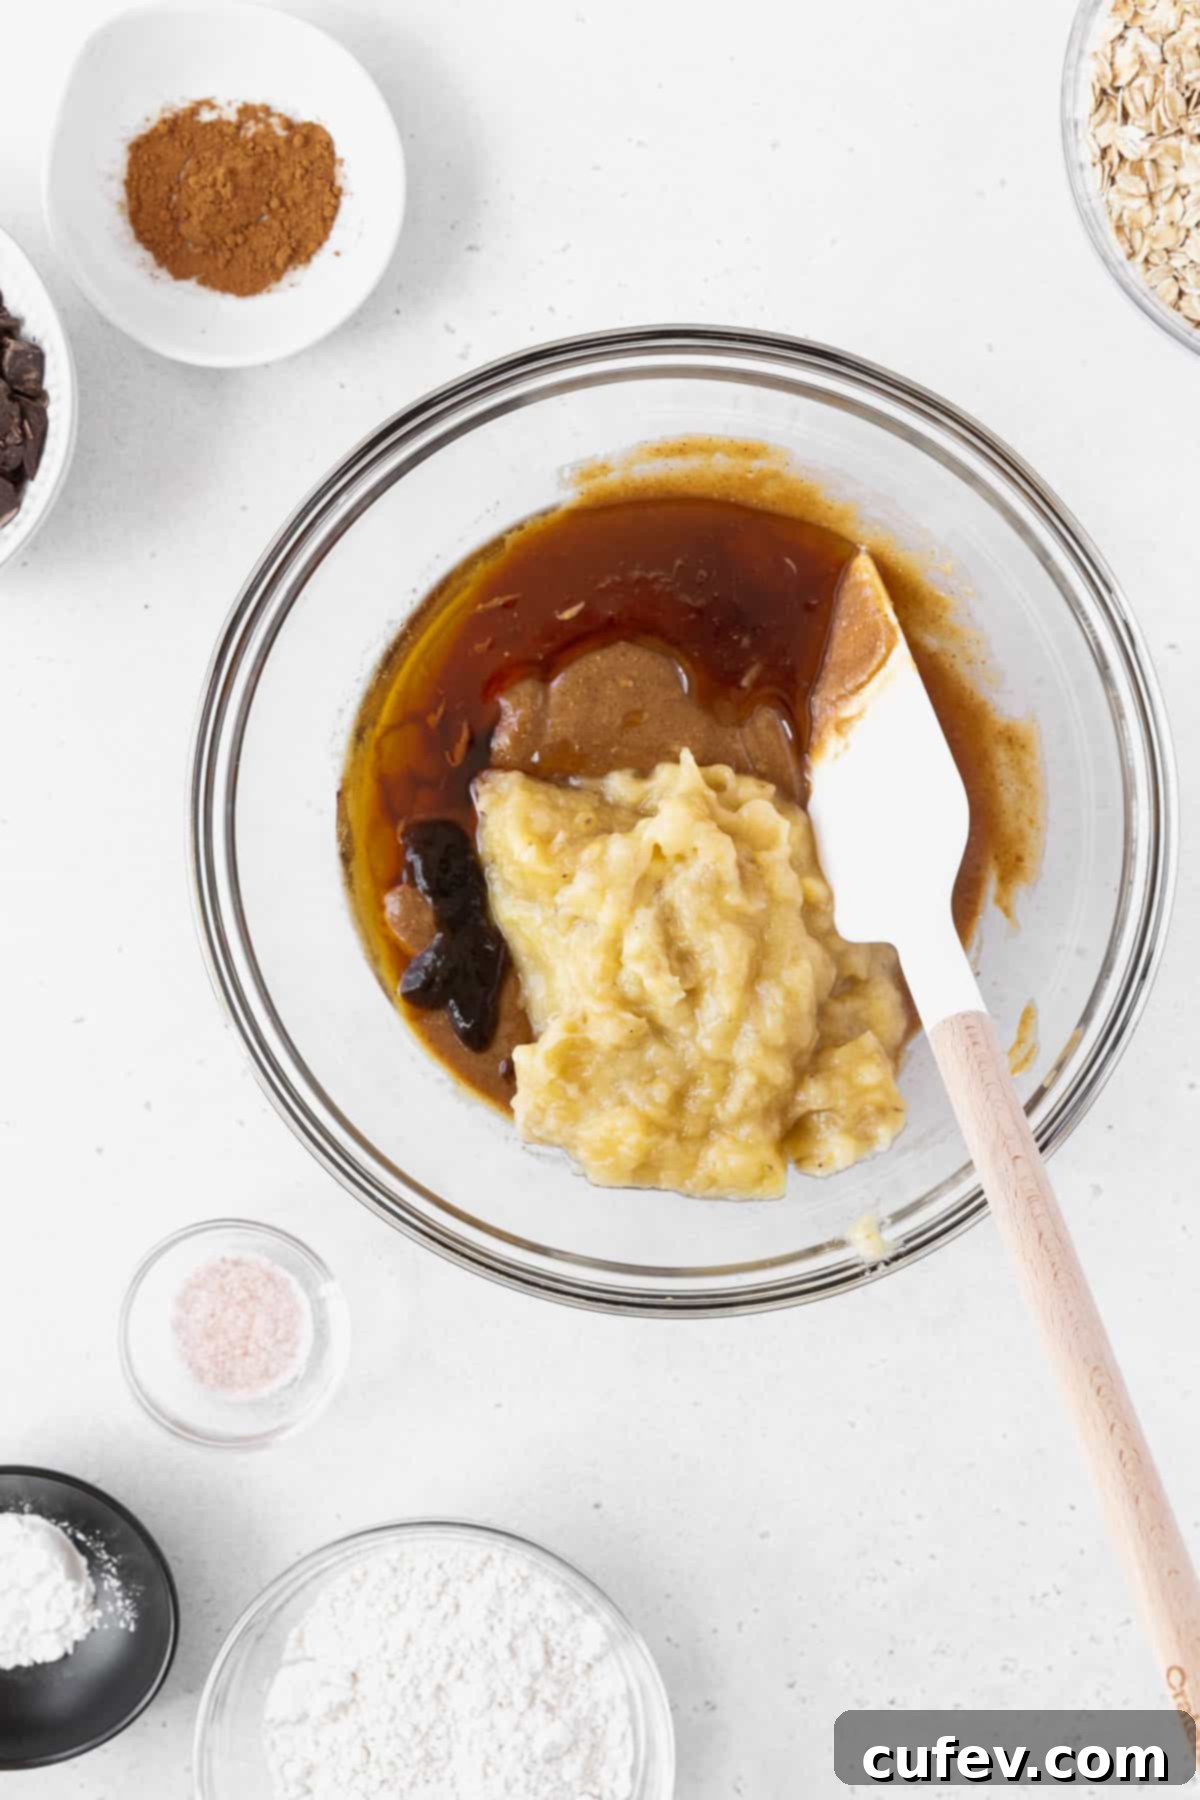
Step 2: Incorporate Wet Ingredients. To the bowl with your melted butter and peanut butter mixture, add the mashed banana, pure maple syrup, and vanilla extract. Stir everything together thoroughly, ensuring all the wet ingredients are evenly distributed. The banana provides natural sweetness and moisture, while vanilla extract adds a lovely aromatic depth.
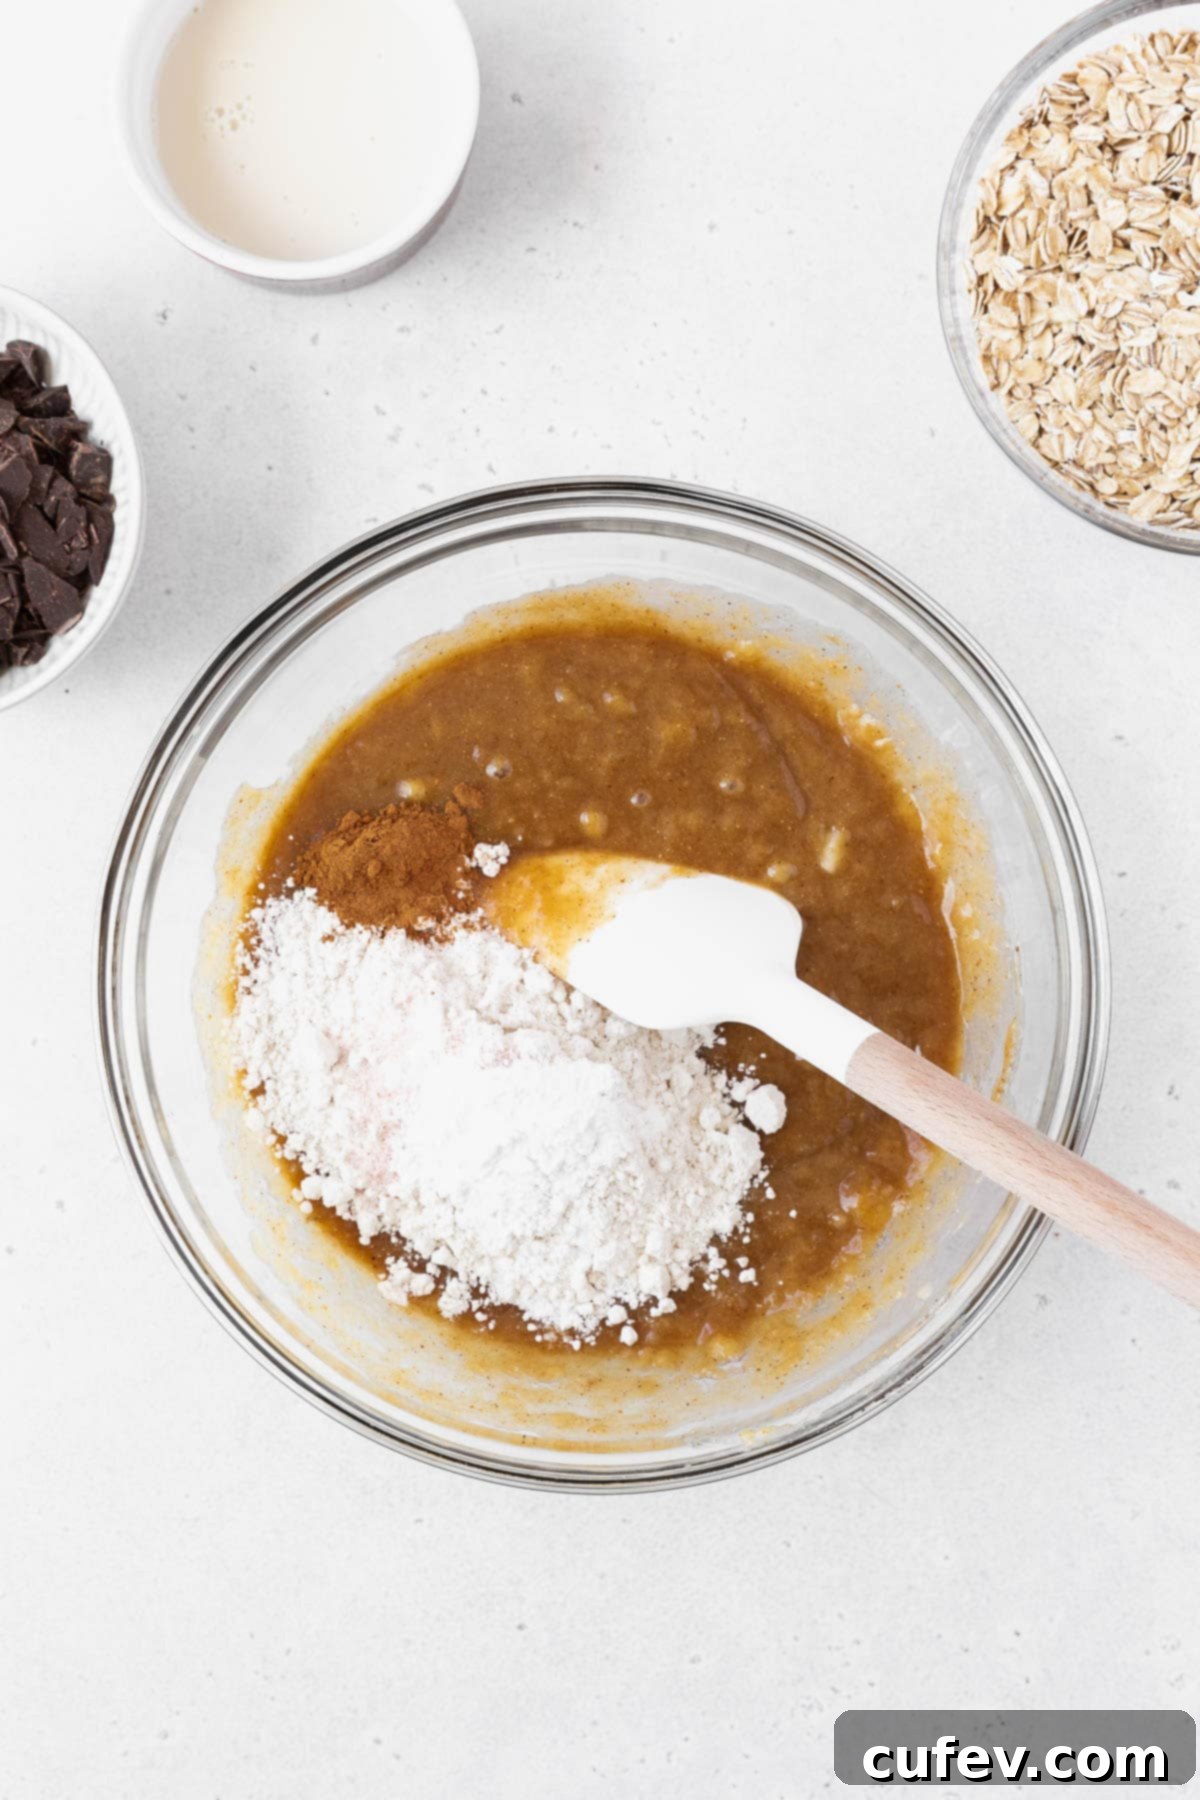
Step 3: Mix in Dry Ingredients. Now, it’s time to add the gluten-free 1-to-1 flour, salt, baking powder, and ground cinnamon to the bowl. Stir these dry ingredients into the wet mixture. Continue mixing until the batter is smooth and no dry streaks of flour remain. Avoid overmixing, especially if you are not using certified gluten-free flour, though it’s less of a concern here. The batter should be thick and well-combined.
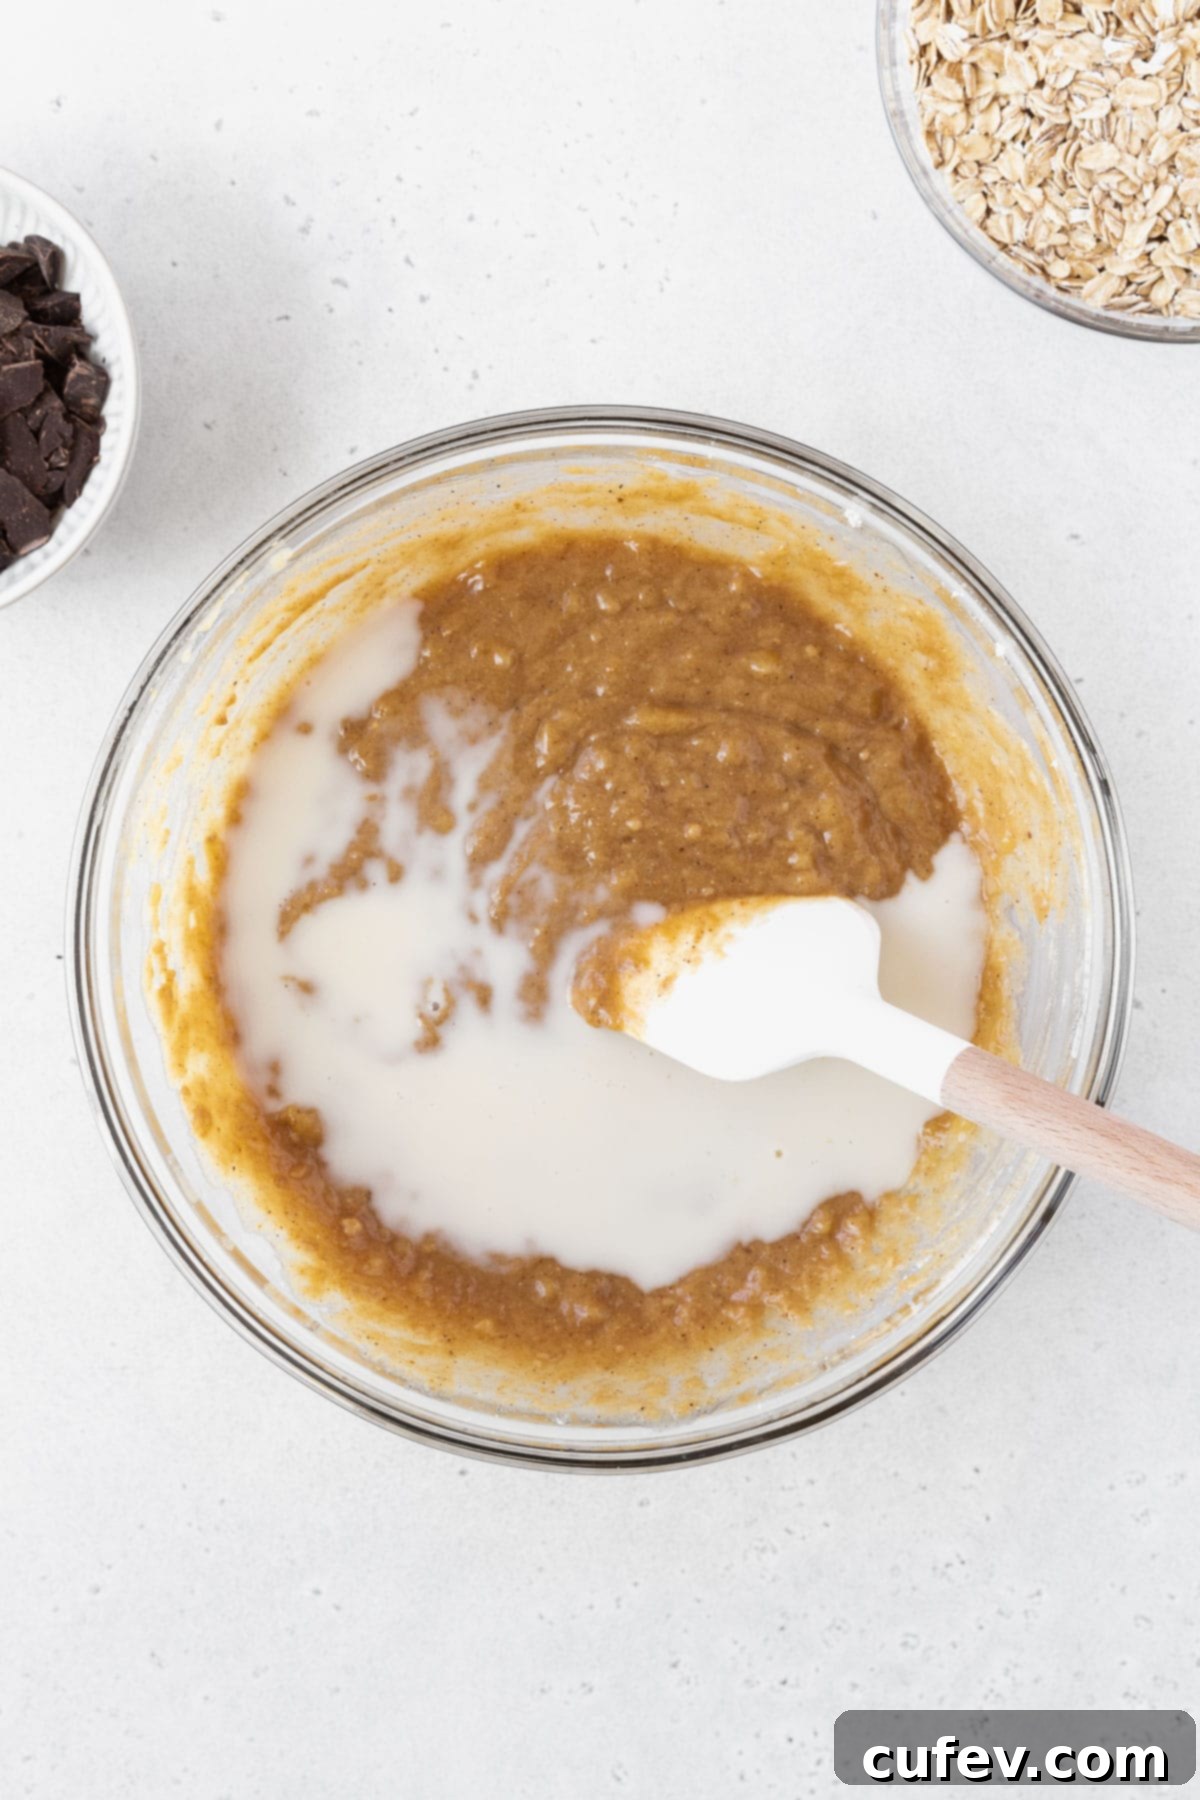
Step 4: Achieve Perfect Consistency. Pour the non-dairy milk into the batter. Gently stir until the milk is fully incorporated and the batter reaches a uniform, slightly more pourable consistency. This step ensures the bars will be moist and tender after baking.
Step 5: Add Oats and Chocolate, Then Rest. Gently fold in the gluten-free old-fashioned oats and your chosen chocolate chips until they are just evenly distributed throughout the batter. Once combined, cover the bowl and let the batter rest at room temperature for at least 30 minutes. This crucial resting period allows the gluten-free flour and oats to properly absorb the moisture, resulting in a superior texture and preventing a gummy or crumbly outcome.
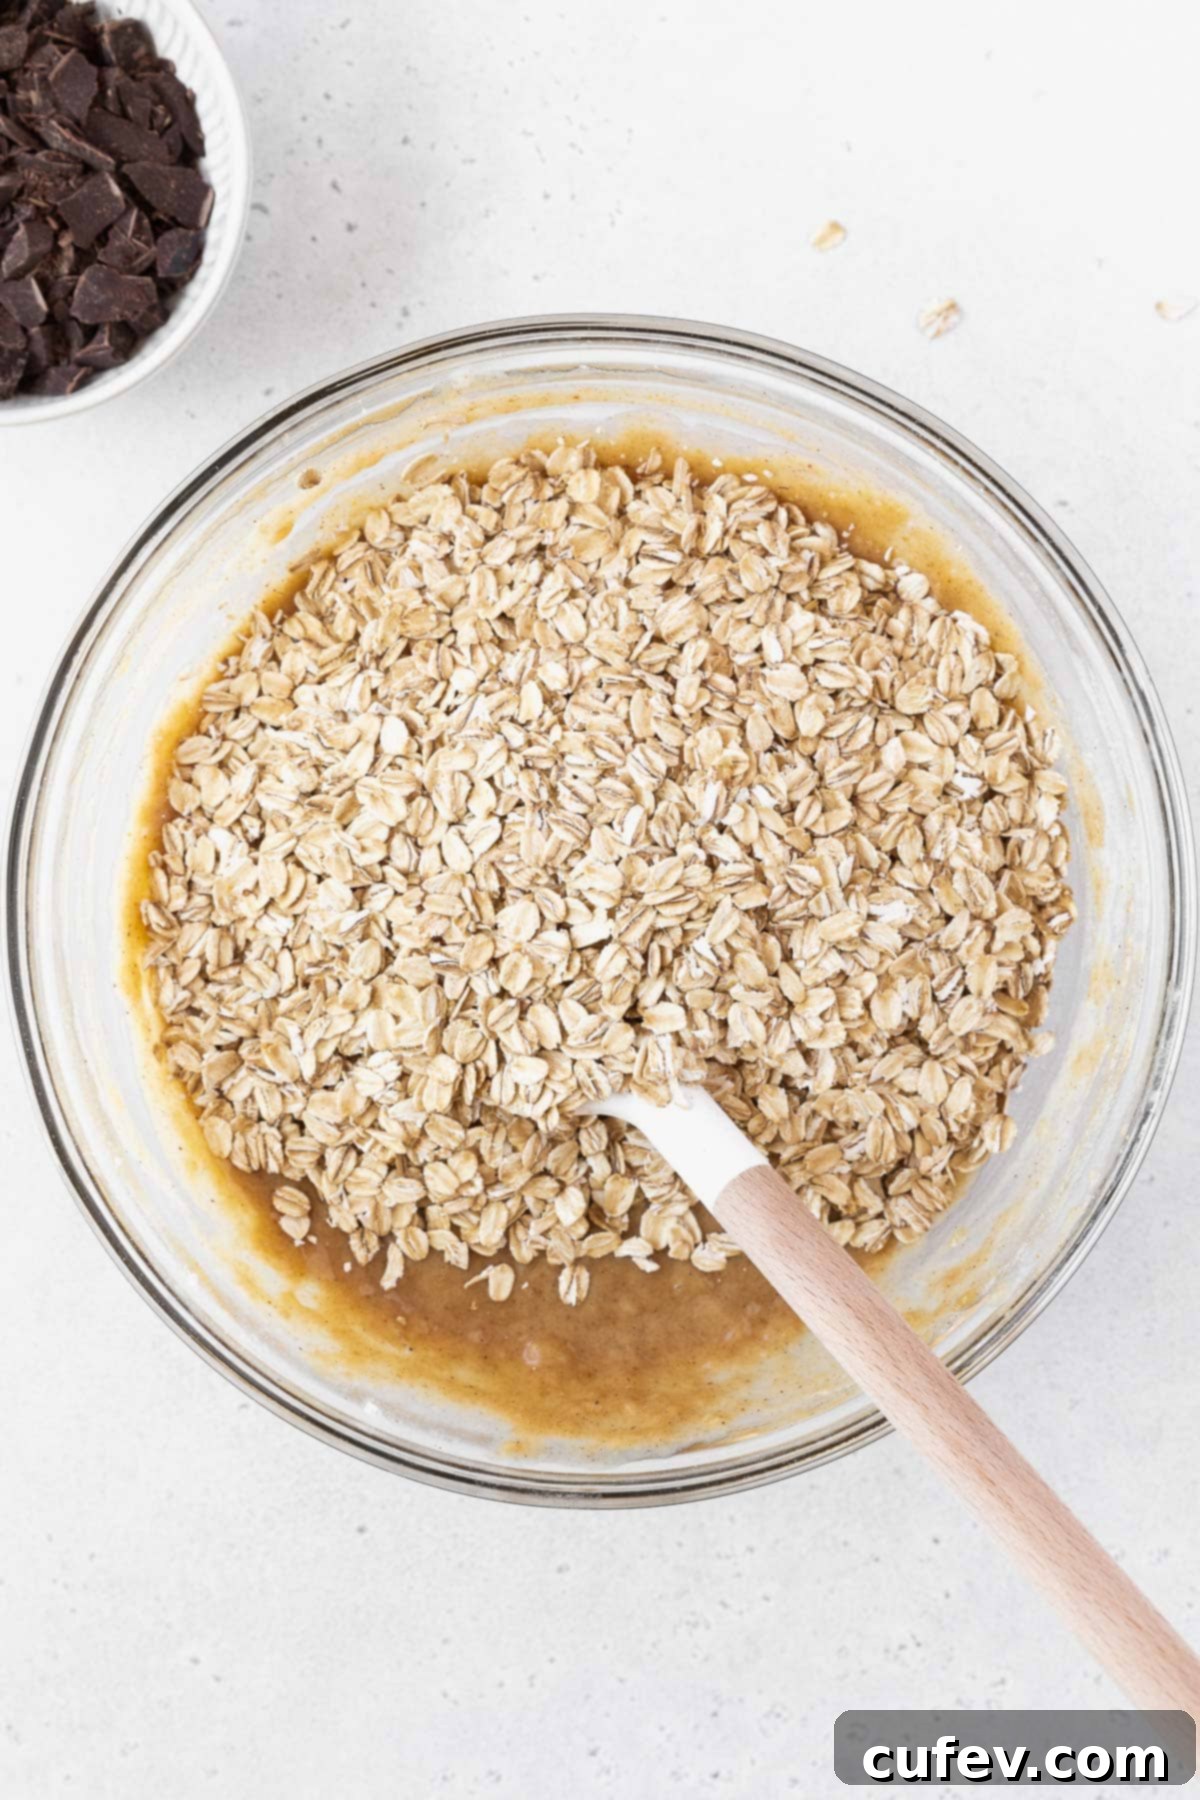
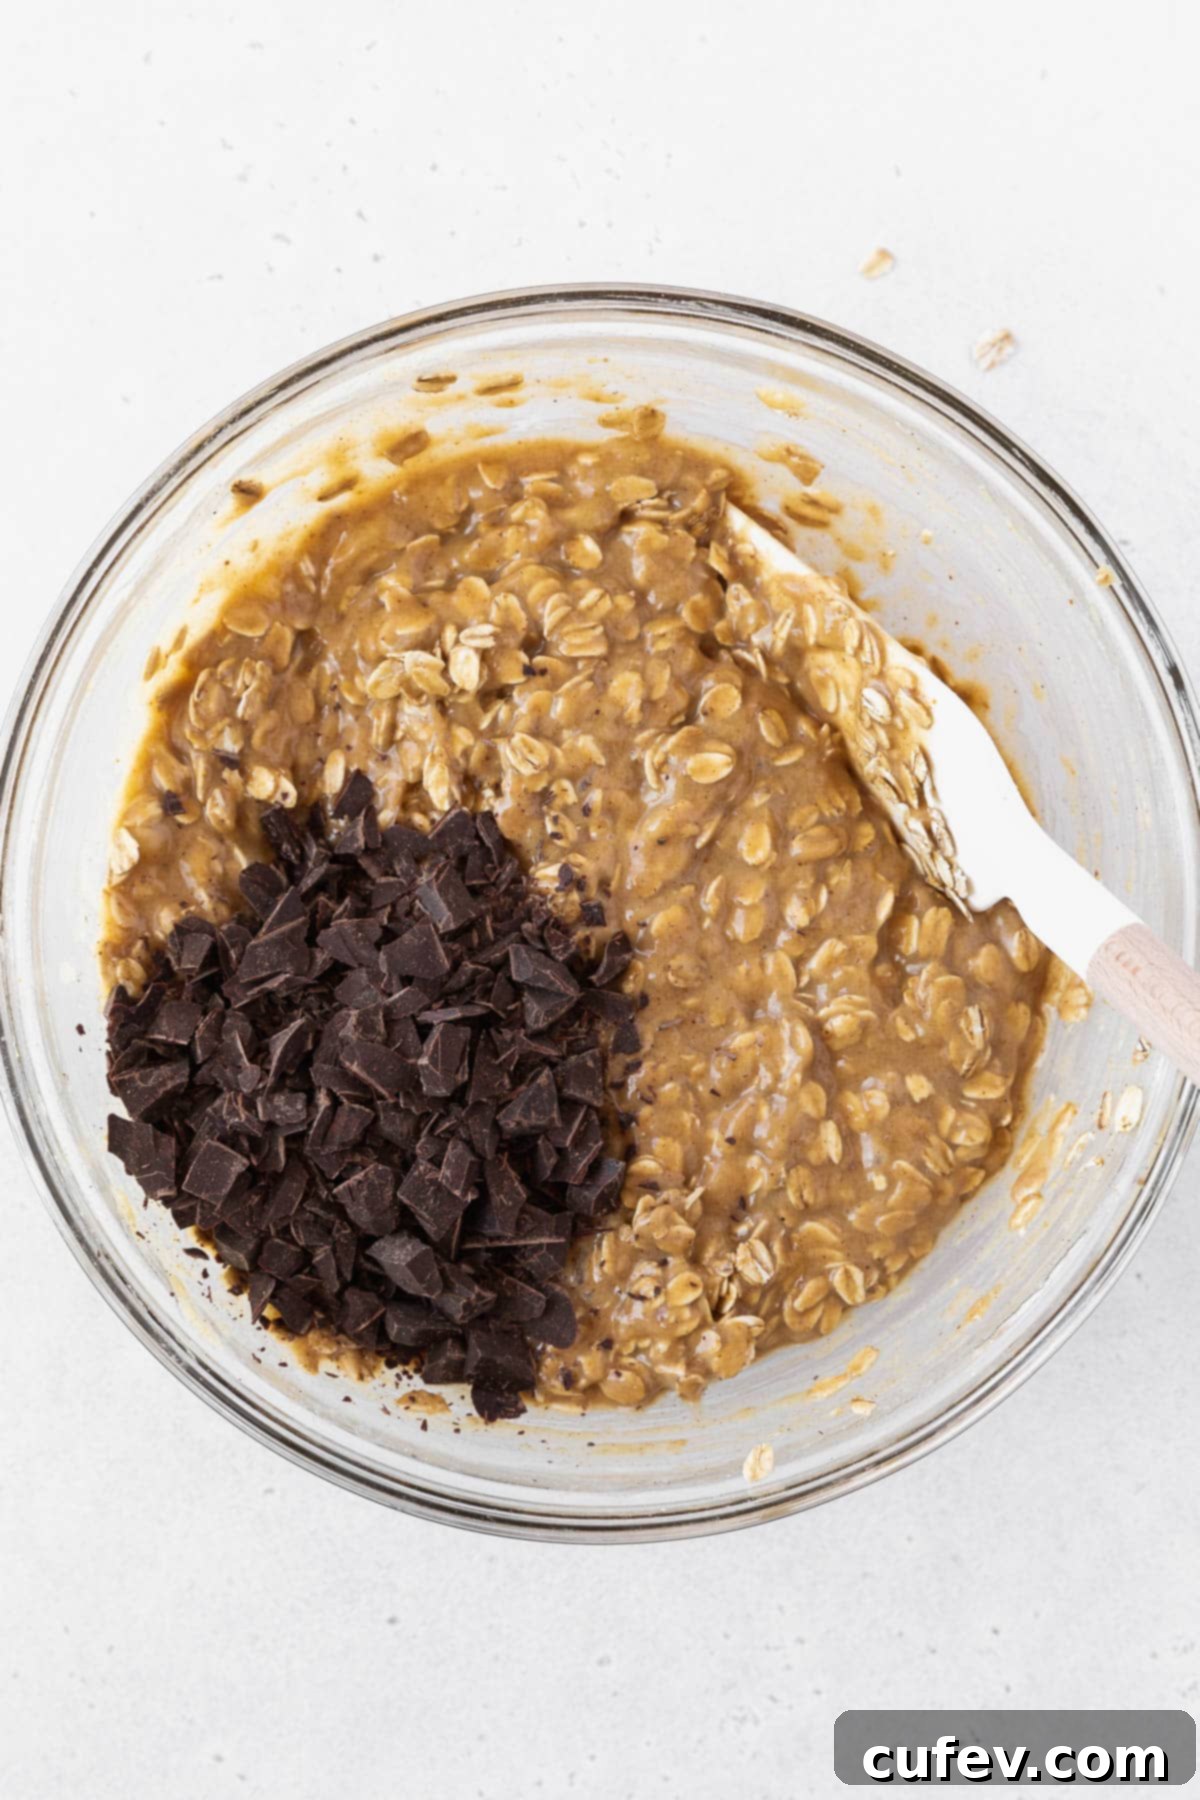
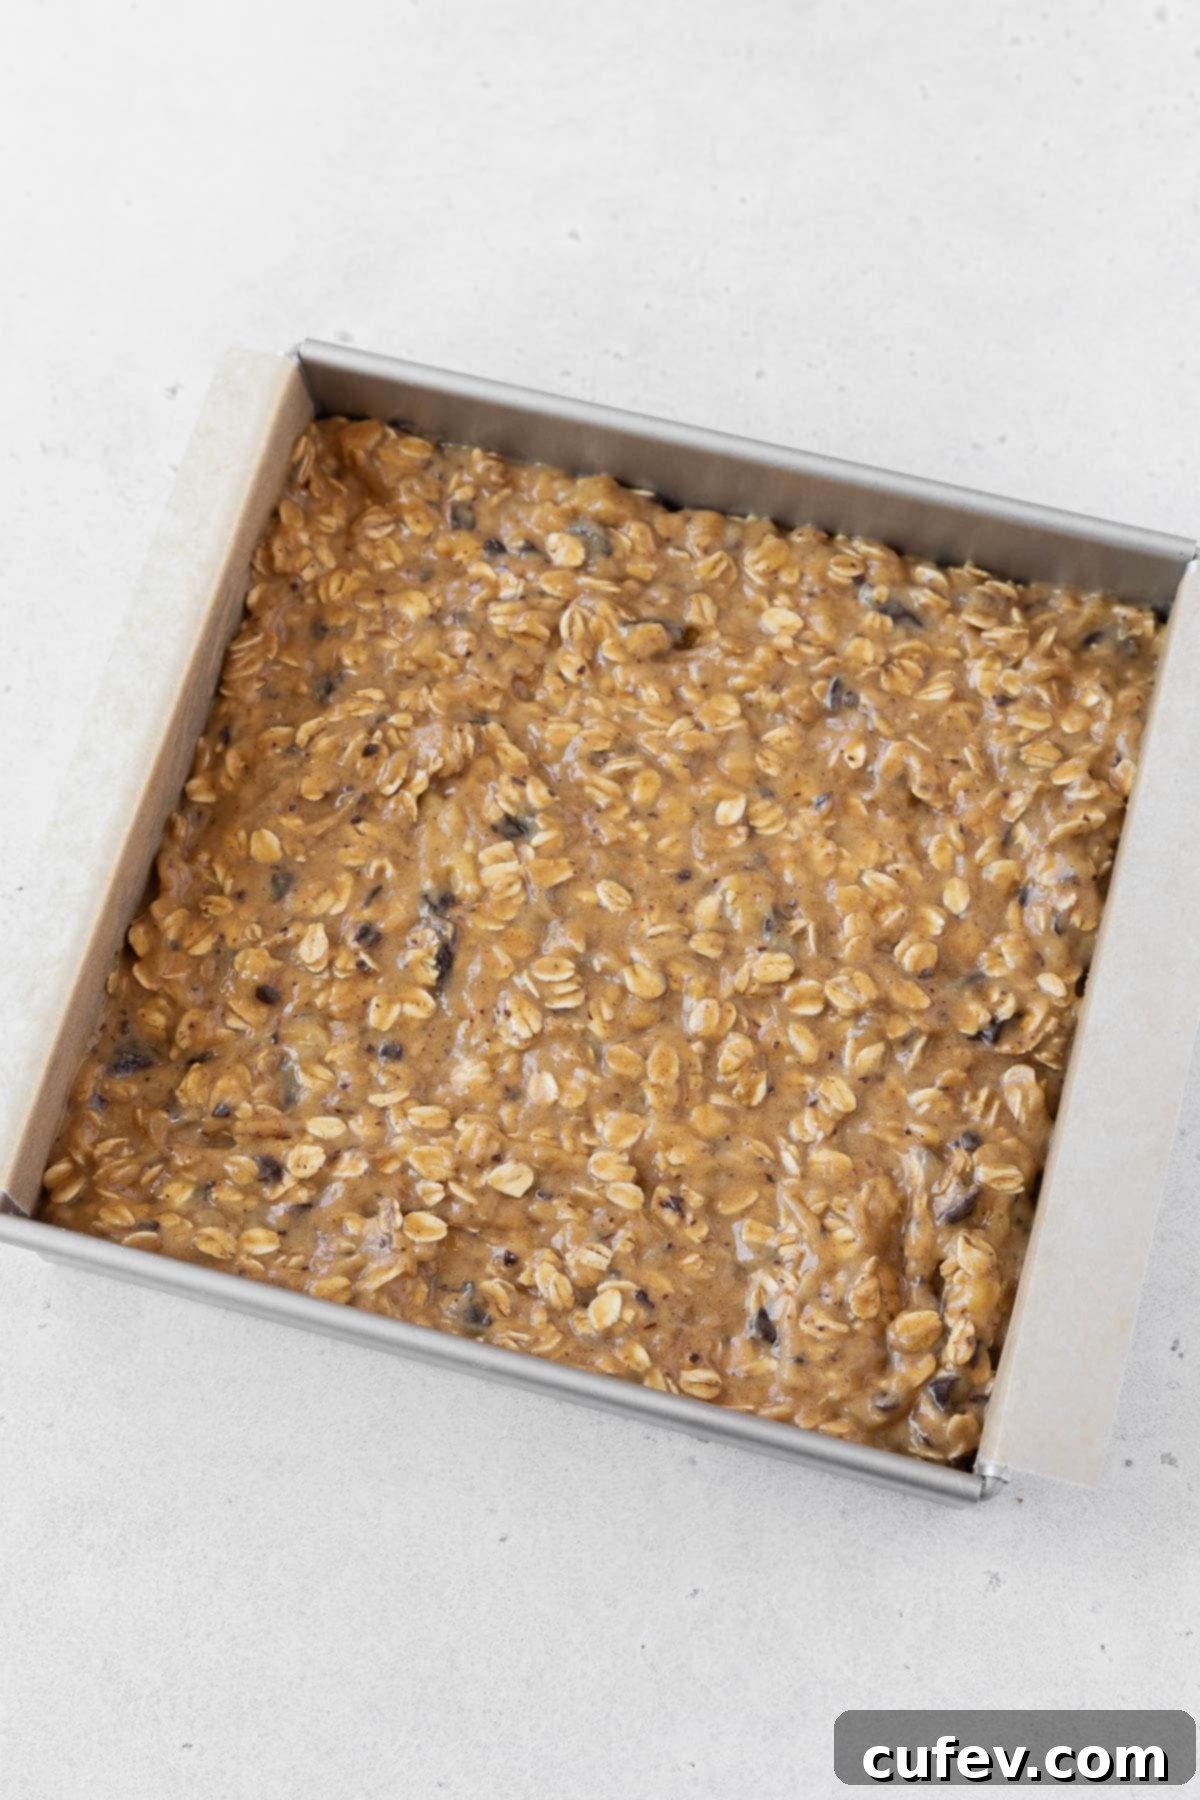
Step 6: Prepare for Baking. While the batter rests, preheat your oven to 350°F (177°C). Prepare an 8 x 8-inch baking pan by lining it with parchment paper, leaving an overhang on the sides for easy removal, and lightly greasing it. Once the batter has rested, pour it into the prepared baking pan. Use a spatula or the back of a spoon to spread the batter evenly across the surface of the pan, ensuring uniform thickness for even baking.
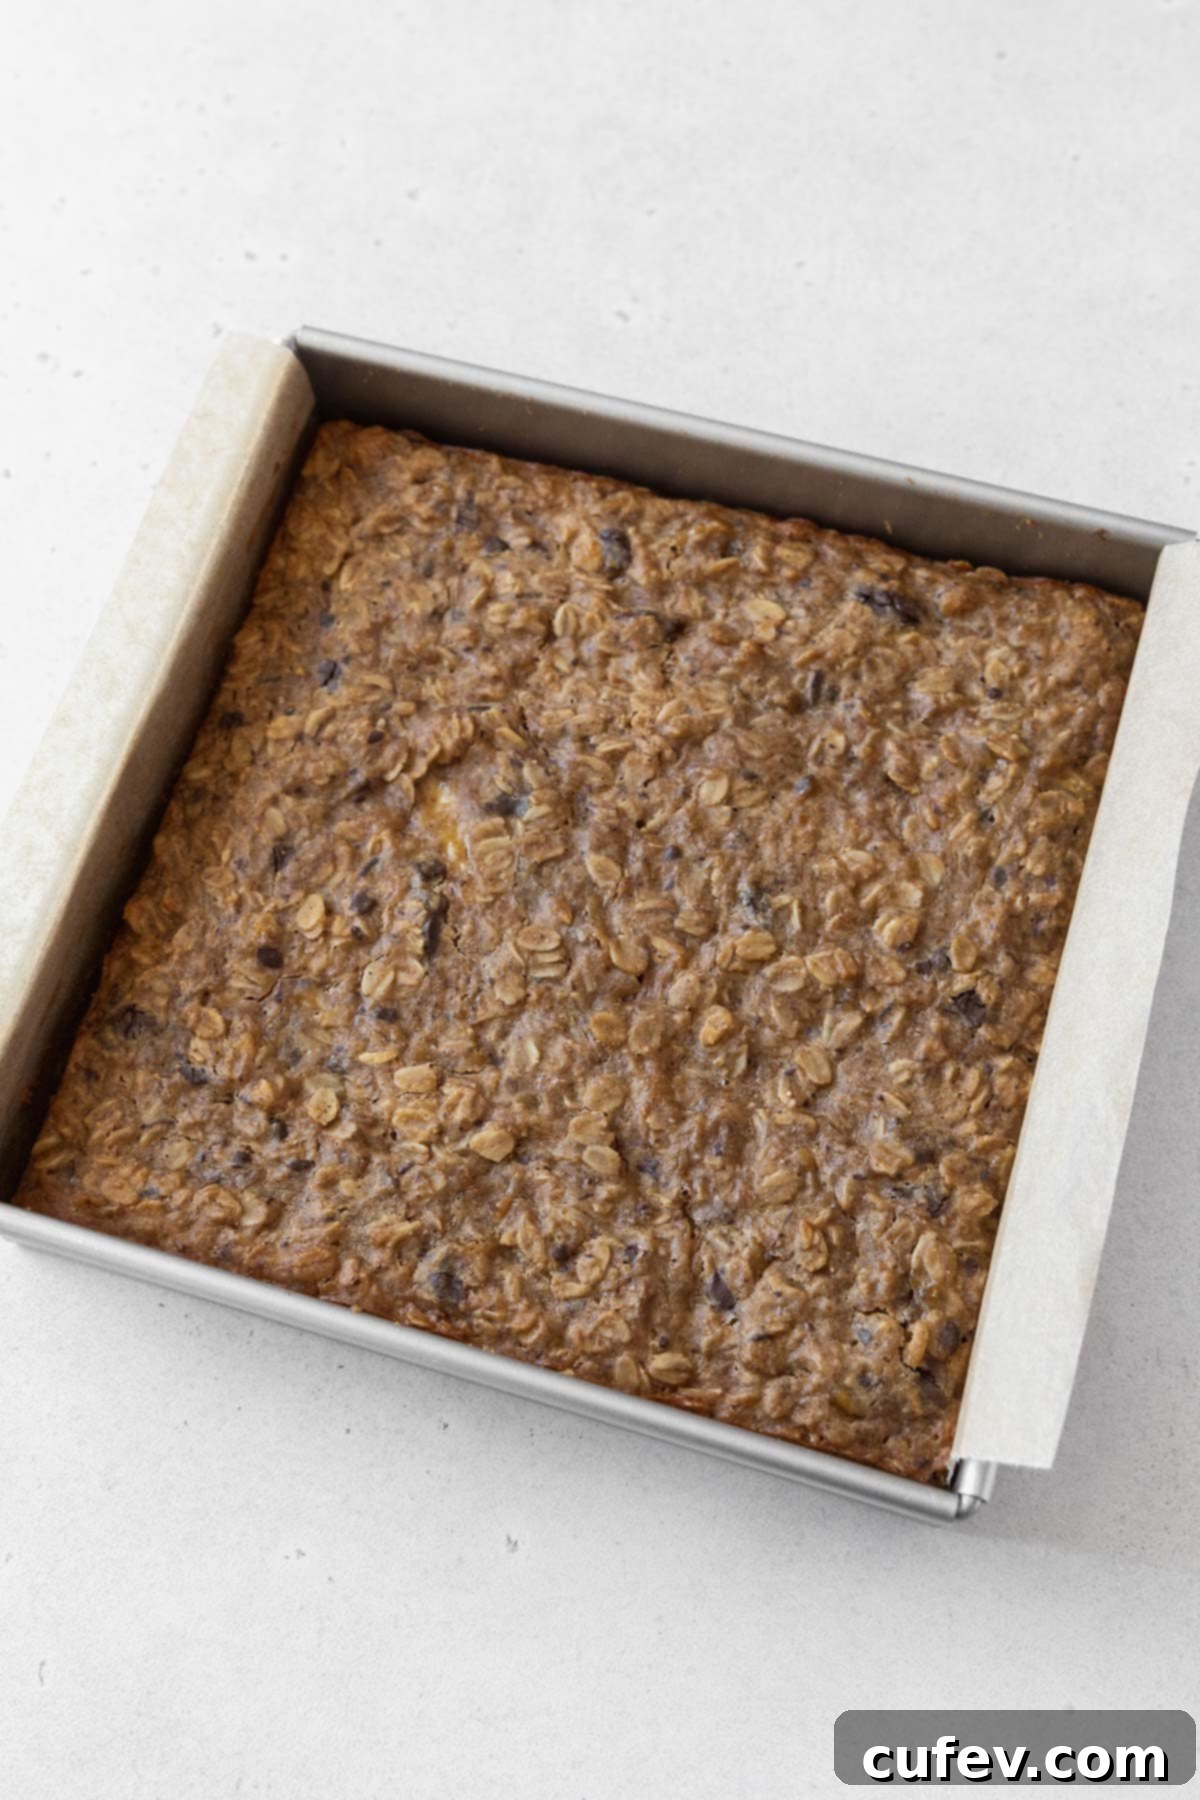
Step 7: Bake to Perfection and Cool. Bake the gluten-free peanut butter bars for 30-35 minutes, or until a wooden toothpick inserted into the center of the bars comes out clean, indicating they are fully cooked. The edges should be golden brown. Once baked, remove the pan from the oven and place it on a wire rack. It is absolutely crucial to allow the bars to cool completely on the wire rack before attempting to slice or serve them. This cooling process allows the gluten-free structure to set properly, preventing crumbling and enhancing the overall texture and flavor. Then, slice and enjoy your wholesome creation!
Pro Tips for Perfect Peanut Butter Oatmeal Bars
Achieving perfectly chewy and flavorful gluten-free peanut butter oatmeal bars is easy with a few key techniques. Keep these tips in mind for consistently successful results every time:
- Avoid Overheating Peanut Butter and Butter: When melting the peanut butter and vegan butter together in the microwave, be mindful not to overheat them. Use medium heat and heat in short bursts (e.g., 20-30 seconds). Overheating, especially natural peanut butter, can cause it to become gummy and tough, or even separate, which can negatively impact the final texture of your bars. You’re just looking for them to be gently softened and combined.
- Embrace Extra-Ripe Bananas: The secret to truly flavorful and naturally sweet banana oatmeal bars lies in using intensely ripe bananas. The browner and blacker the banana peels, the better! As bananas ripen past their prime for eating raw, their natural sugars convert and concentrate, imparting a rich, deep sweetness and an incredible moistness to your baked goods. Don’t be shy about using those almost-black bananas!
- Crucial Batter Resting Time: This step is often overlooked but is particularly important when baking with gluten-free flours and oats. Allowing the gluten-free oatmeal bar batter to rest for 30 minutes before baking gives the gluten-free flour and oats adequate time to fully absorb the moisture in the recipe. This hydration process is key to preventing a dry, crumbly, or gummy texture, resulting in a perfectly moist and tender bar.
- Cool Completely Before Slicing: This is arguably the most vital tip for any gluten-free baked good. When working with gluten-free flour blends, the structure takes longer to set than with traditional wheat flour. Therefore, it is essential to let your gluten-free oatmeal bars cool completely on a wire rack before attempting to slice or enjoy them. Cutting into warm bars can lead to them crumbling or having an undesirable, soft, and unset texture. To speed up the cooling process if you’re eager to dig in, you can place the pan of bars in the refrigerator or even the freezer for a short period.
Delightful Serving Suggestions
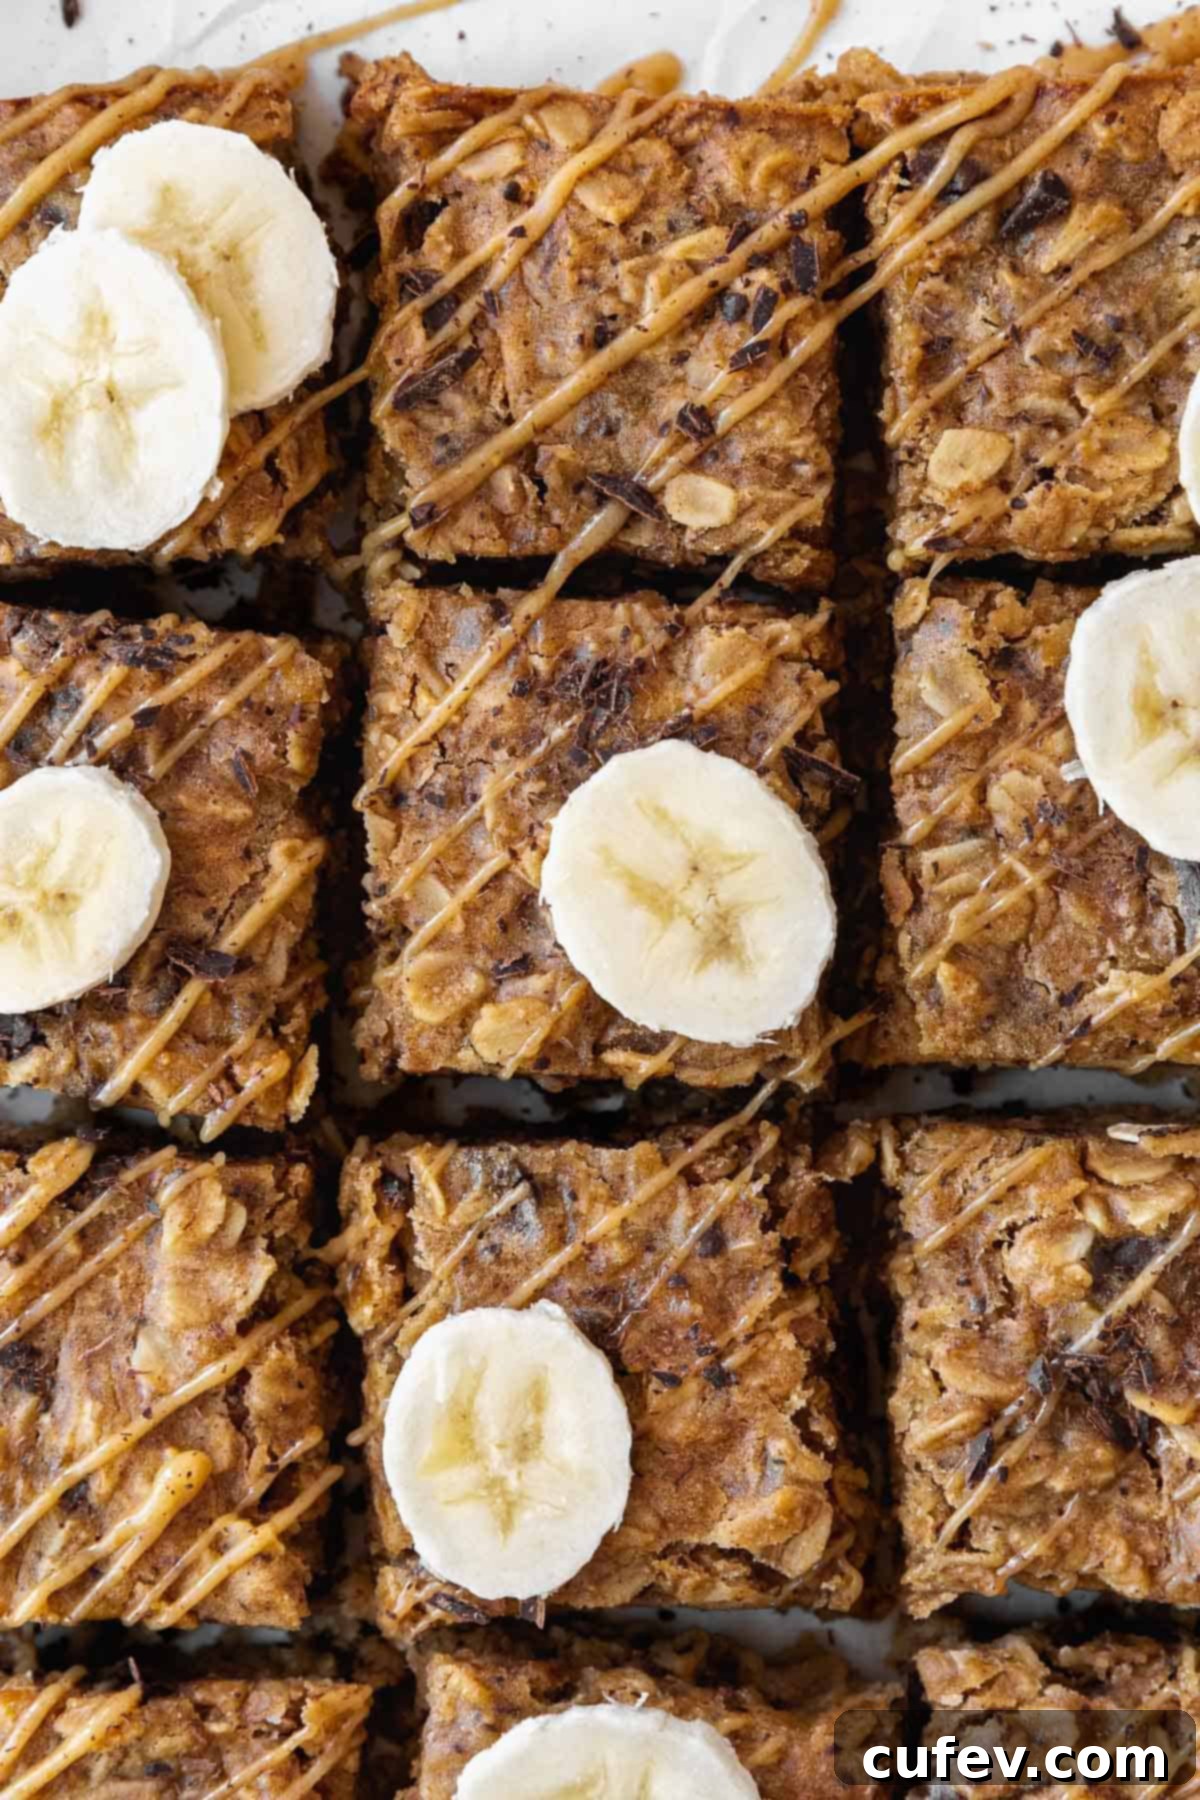
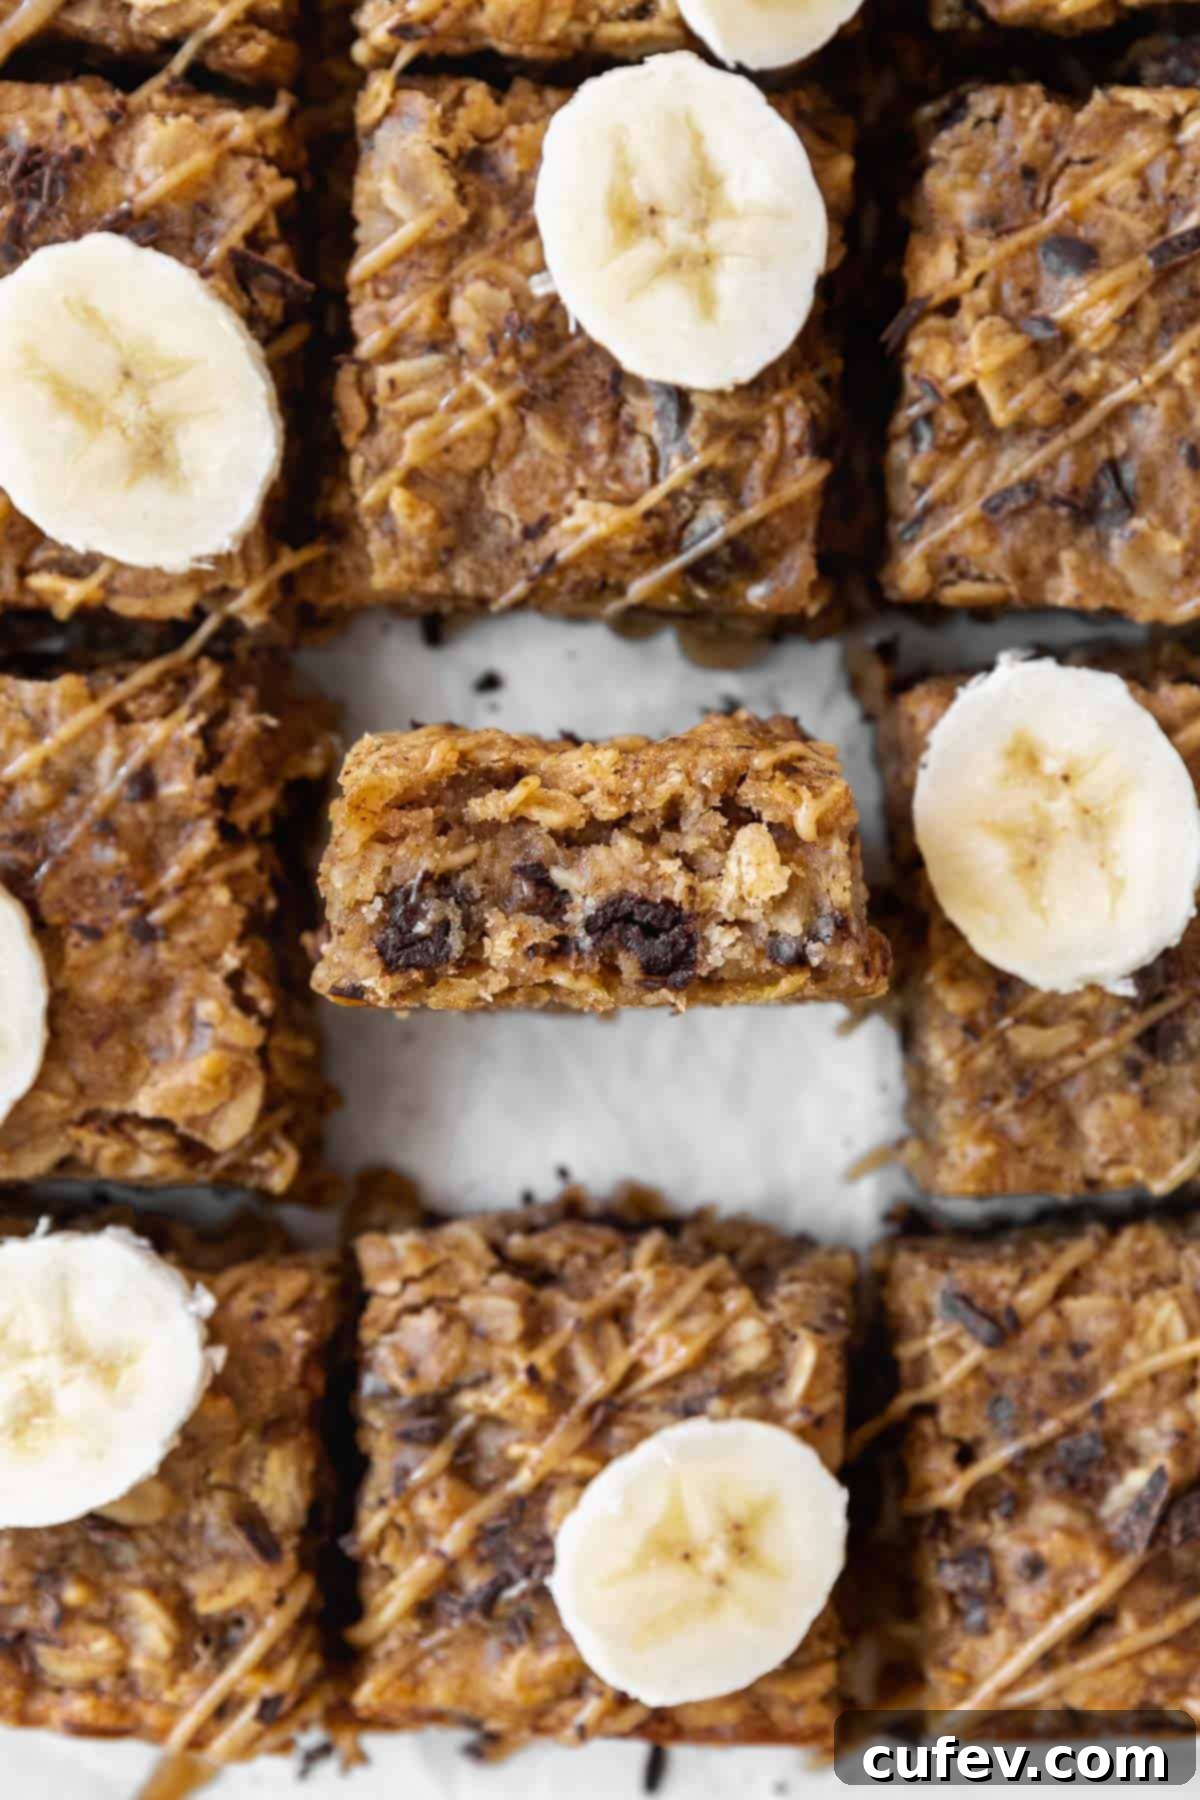
As emphasized earlier, for the best possible texture and flavor, it’s highly recommended to cool your peanut butter banana bars fully before serving. If you prefer them warm, you can gently reheat individual bars in the microwave on low heat for 10-20 seconds right before serving. These versatile oatmeal banana bars are fantastic on their own, but they also pair beautifully with a variety of accompaniments, whether served warm or at room temperature:
- Morning Beverages: Enjoy them alongside your favorite cup of freshly brewed tea, coffee, or a creamy latte for a satisfying start to your day.
- Fresh Fruit: A side of sliced fresh fruit like berries, apple slices, or extra banana can add a burst of freshness and complementary flavors.
- Extra Peanut Butter: For the ultimate peanut butter lover, a generous dollop or drizzle of extra peanut butter on top of a warm bar creates an even more indulgent experience.
- Yogurt: Pair a bar with a serving of your favorite plain or vanilla yogurt (dairy or non-dairy) for a protein-packed and balanced meal or snack. The tanginess of the yogurt perfectly contrasts the sweetness of the bars.
- … and more! These bars are so versatile, they can be enjoyed with a scoop of vegan ice cream for a dessert, or even crumbled over a smoothie bowl. Get creative!
Storage and Freezing Instructions
Proper storage ensures your delicious peanut butter chocolate oatmeal bars remain fresh and enjoyable for as long as possible. Here’s how to store them:
- Room Temperature/Refrigerator Storage: These bars keep wonderfully. Store them covered in an airtight container at cool room temperature for up to 3 days, or in the refrigerator for up to 4-5 days. Refrigerating them can help maintain their firm texture, especially in warmer climates.
- Freezing for Long-Term Enjoyment: For longer storage, these bars freeze beautifully. Place them in a freezer-safe container or freezer bag, and they will stay fresh for up to 3 months. To prevent the bars from sticking together and to allow for individual thawing, wrap each bar tightly in parchment paper or plastic wrap before placing them in the freezer bag. This is perfect for meal prep or having quick snacks ready.
- Defrosting Made Easy: When you’re ready to enjoy a frozen bar, simply thaw it at room temperature. Depending on the ambient temperature, this usually takes about 30 minutes to 1 hour, or until completely defrosted. You can also pop a frozen bar into the microwave for a quick warm-up if you prefer it heated.
Frequently Asked Questions About Peanut Butter Oatmeal Bars
No, it’s a common misconception that all rolled oats are naturally gluten-free. While oats themselves are inherently free of gluten, they are very often processed in facilities and on equipment that also handles wheat, barley, and rye. This common cross-contamination means that non-certified oats may contain traces of gluten, making them unsafe for individuals with celiac disease or gluten sensitivity. Therefore, if you adhere to a gluten-free diet, it is absolutely essential to always check for a “certified gluten-free” label on your oat packaging to ensure safety and prevent any adverse reactions.
Fortunately, many brands now offer certified gluten-free oats, making them accessible in most grocery stores across the United States. Popular and reliable brands include Bob’s Red Mill Gluten-Free Old Fashioned Rolled Oats, O Organics Gluten-Free Old Fashioned Oats, One Degree Organic Foods Sprouted Rolled Oats, and Quaker Gluten-Free Old Fashioned Oats. Always verify the certification label to ensure they meet your dietary needs.
While I am not a registered dietitian or medical professional and cannot offer definitive health claims or personalized dietary advice, I can attest that this specific recipe for peanut butter oatmeal bars is crafted from a foundation of wholesome, nutrient-dense whole food ingredients. It includes fiber-rich oats, potassium-packed bananas, protein-rich peanut butter, and natural maple syrup. When compared to many commercially produced breakfast bars that can be high in refined sugars and artificial additives, these homemade bars offer a more nutritious alternative. For a complete analysis of how these bars fit into your specific dietary needs or health goals, I highly recommend consulting a qualified nutrition professional or a dietitian.
While you technically *can* use quick oats, I strongly recommend sticking to old-fashioned rolled oats for this recipe. Quick oats are typically cut into smaller pieces and steamed longer, which means they absorb liquid much faster and can result in a gummier, less structured bar. Old-fashioned oats provide the ideal chewy texture and hearty consistency that these bars are known for. If quick oats are your only option, be aware the texture will be softer, and you might need to adjust the liquid slightly.
More Wholesome & Delicious Recipes To Explore!
If you’ve enjoyed these amazing peanut butter oatmeal breakfast bars, you’re in for a treat! Here are more fantastic recipes from my kitchen that you might love, perfect for starting your day or satisfying your sweet tooth:
- This gluten-free granola is another wonderful way to kickstart your day! It’s easy to prepare a large batch on the weekend, ensuring you have a healthy and delicious breakfast option ready for the entire week.
- Should you find yourself with a little more leisure time in the morning, treat yourself to my fluffy gluten-free waffles or the indulgent red velvet waffles. Both recipes promise a delightful experience with a soft, tender interior and a perfectly crisp exterior!
- For those mornings when you’re short on time but still want a comforting meal, my muffin mix pancakes are an absolute lifesaver. They are quick, incredibly easy, and guaranteed to be a family favorite, pleasing even the pickiest eaters.
- And if you’re in the mood for another irresistible dessert bar recipe, you must try my famous vegan magic bars recipe, the rich and fudgy gluten-free dairy-free brownies, or my decadent cheesecake bars. They are all highly requested and truly some of my personal favorites!
Thanks so much for stopping by and exploring these delightful recipes! I genuinely hope you love this banana oatmeal bars recipe as much as I do. For even more mouth-watering dairy-free, gluten-free, and/or vegan dessert and breakfast inspiration, be sure to follow me on Pinterest, Facebook, and Instagram. You can also ensure you never miss any of my newest content by signing up for my email newsletter — I promise not to spam your inbox with anything less than deliciousness!
Peanut Butter Oatmeal Breakfast Bars (Gluten-Free!)
Print
Pin
Rate
Ingredients
- ½ cup natural peanut butter
- ¼ cup vegan butter
- ¼ cup packed brown sugar
- 1 cup mashed overripe bananas
- ¼ cup pure maple syrup
- 1 teaspoon vanilla extract
- ½ cup gluten-free 1-to-1 flour blend
- 1 teaspoon baking powder
- ½ teaspoon fine salt
- ½ teaspoon ground cinnamon
- ¼ cup non-dairy milk
- 2 cups certified gluten-free old fashioned oats
- ½ cup vegan chocolate chips
Instructions
-
In a large microwave-safe bowl, combine the vegan butter and peanut butter. Heat for 20 to 30 seconds, or until just melted and smooth. Stir in the brown sugar until well combined.
-
Add the mashed banana, maple syrup, and vanilla extract to the mixing bowl. Stir thoroughly until all wet ingredients are evenly incorporated.
-
Stir in the gluten-free 1-to-1 flour, salt, baking powder, and cinnamon. Mix until the batter is smooth and no dry streaks remain.
-
Pour in the non-dairy milk and stir until fully incorporated, achieving a uniform batter consistency.
-
Gently fold the certified gluten-free old-fashioned oats and vegan chocolate chips into the batter. Cover the bowl and let the batter rest at room temperature for 30 minutes to allow the oats and flour to hydrate properly.
-
Preheat the oven to 350°F (177°C). Line an 8 x 8-inch baking pan with parchment paper, leaving an overhang on the sides, and lightly grease it. Pour the rested batter into the prepared pan and spread it out evenly across the surface.
-
Bake the gluten-free peanut butter bars for 30-35 minutes, or until a toothpick inserted into the center comes out clean. Cool the bars completely on a wire rack before slicing and serving. Enjoy!
Notes
Storage: These delightful peanut butter chocolate oatmeal bars can be stored covered in an airtight container at room temperature for up to 3 days, or in the refrigerator for 4-5 days.
Freezing: For extended freshness, the bars can be kept in a freezer-safe container or bag in the freezer for up to 3 months. To make individual portions easy to thaw, wrap each bar in parchment paper or plastic wrap before placing them into a freezer bag.
Defrosting: To enjoy, thaw the frozen bars at room temperature for 30 minutes to 1 hour, or until fully defrosted. They can also be gently warmed in the microwave.
