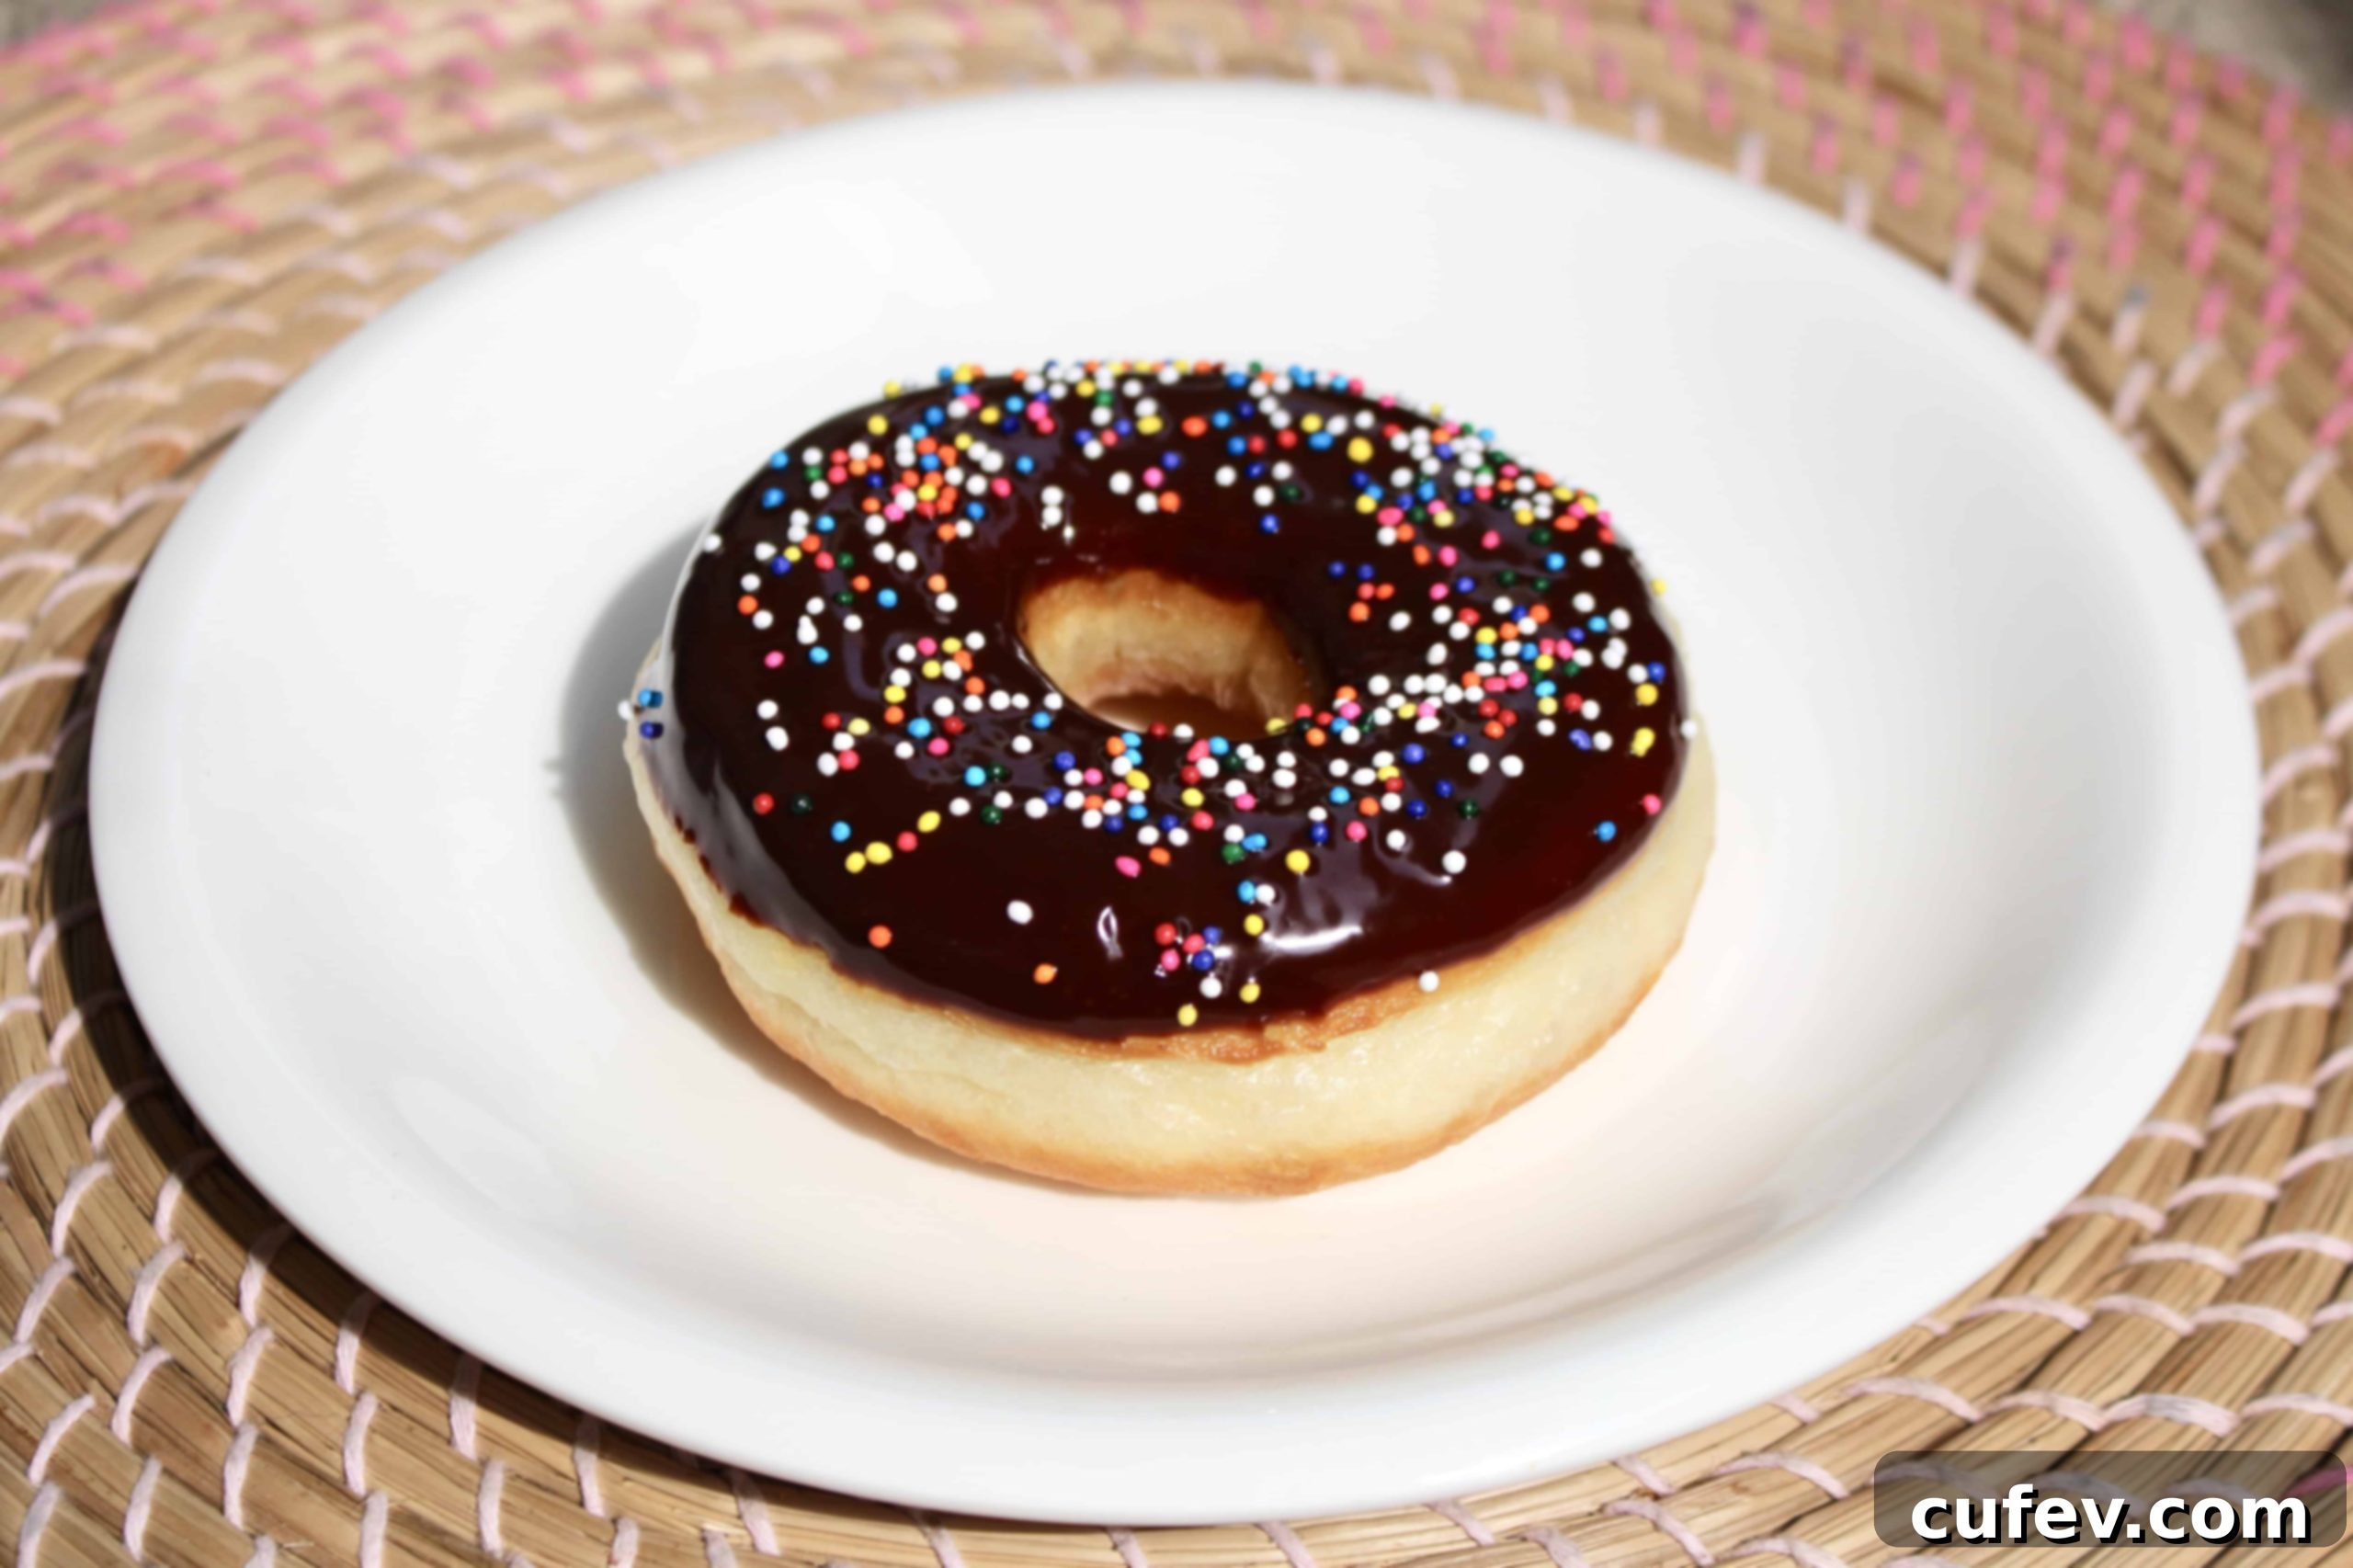
The Ultimate Easy Homemade Doughnut Recipe: Fluffy, Airy & Never Greasy!
Updated June 11, 2019 (Originally posted April 10, 2016)
There’s nothing quite like the taste of fresh, warm homemade doughnuts. For years, I embarked on a mission to perfect the ultimate homemade doughnut recipe – one that would deliver that irresistible fluffy texture without the dreaded greasy aftertaste. After countless attempts and meticulous adjustments, I’m thrilled to share a recipe that truly hits the mark! Whether you’re a seasoned baker or just starting your culinary journey, this guide will help you create doughnuts that rival your favorite bakery treats.
My initial forays into doughnut making, documented on platforms like Instagram and Facebook, were met with mixed results. While not terrible, the doughnuts often deflated upon cooling, and the lingering taste of oil was a definite deterrent. The dough itself lacked flavor, relying heavily on toppings like chocolate ganache and pastry cream to carry the taste. But perseverance pays off!
After significant tweaking and refining, I’ve finally cracked the code to making genuinely light, airy, and utterly delicious basic doughnuts. Forget overly complicated fillings or exotic toppings for a moment; this recipe celebrates the pure joy of a perfectly executed classic yeast doughnut. It’s so good, it’ll make you wonder why you ever bought them from a store!
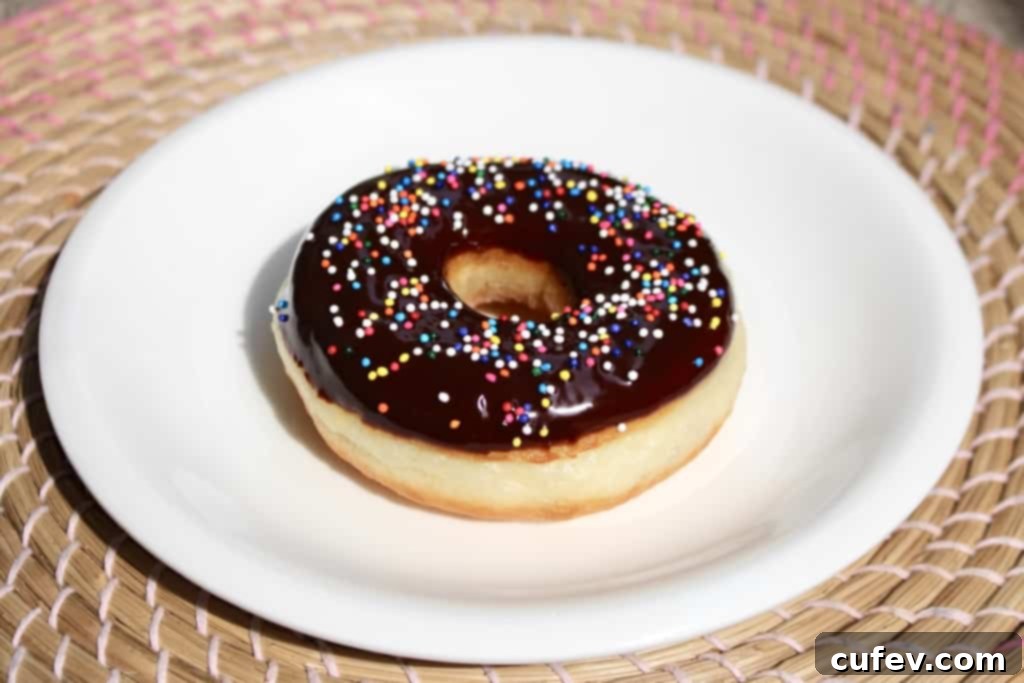
Effortlessly Make Homemade Doughnuts: Bread Machine & Hand Methods
One of the standout features of this incredible recipe is its adaptability. For those who love convenience, the dough comes together beautifully in a bread machine. This method practically eliminates the hands-on kneading, allowing you to simply add your ingredients, select the “dough” setting, and then relax while your machine does all the hard work. It’s truly a game-changer for busy bakers seeking an easy homemade doughnut solution!
Bread Machine Method: Your Shortcut to Perfect Dough
Using a bread machine is arguably the easiest way to prepare the dough for these fluffy homemade doughnuts. Simply measure all your ingredients precisely and place them into the bread machine pan in the order specified by your machine’s manufacturer (which usually means liquids first, then dry ingredients, with yeast added last to prevent early activation). Select the “dough” or “manual” setting on your bread machine, which typically includes an optimal kneading cycle followed by a first rise. Once the cycle is complete, your dough will be perfectly risen, smooth, and elastic – ready for shaping with minimal effort from your side. This method guarantees consistent results and saves you valuable time and physical exertion.
Stand Mixer or Hand Kneading: Traditional Dough Preparation
If you don’t own a bread machine, or simply prefer a more traditional approach, you can achieve equally fantastic, fluffy homemade doughnuts using a stand mixer with a dough hook or by kneading the dough by hand. The foundation of a successful yeast dough lies in proper yeast activation and achieving the right consistency:
- Activate the Yeast: Start by gently warming your water to approximately 104°F (40°C). This temperature is crucial: it’s warm enough to activate active dry yeast efficiently without being so hot that it kills the yeast. In a large bowl or the bowl of your stand mixer, combine the warm water with the active dry yeast and a pinch of granulated sugar. Stir gently and let this mixture sit for about 5 to 10 minutes. You’ll know your yeast is alive and active when it becomes visibly foamy and releases a pleasant, yeasty aroma.
- Combine Wet & Dry Ingredients: While your yeast is activating, whisk together your dry ingredients in a separate large bowl: bread flour, the remaining granulated sugar, fine sea salt, and milk powder. Once the yeast mixture is beautifully foamy, add a room-temperature beaten egg and the melted unsalted butter to it.
- Knead the Dough to Perfection: Gradually add the whisked dry ingredients to the wet ingredients. If you’re using a stand mixer, attach the dough hook and knead on low to medium-low speed for 8-10 minutes. The dough should become smooth, elastic, and eventually pull away cleanly from the sides of the bowl. If kneading by hand, turn the dough out onto a lightly floured surface and knead vigorously for 10-15 minutes. The dough should feel supple, slightly tacky but not sticky, and pass the “windowpane test” – where you can stretch a small piece thin enough to see light through it without tearing. This indicates well-developed gluten, essential for fluffy doughnuts.
- First Rise (Bulk Fermentation): Once kneaded, lightly grease a clean, large bowl with butter or a neutral oil. Place the dough into the greased bowl, turning it once to ensure it’s coated. Cover the bowl tightly with plastic wrap or a damp kitchen towel. Place the covered bowl in a warm, draft-free spot. A slightly warm oven (turned off, but previously heated to a very low temperature and then cooled) or a sunny spot can work wonders. Allow the dough to rise until it has clearly doubled in size, which typically takes 1 to 1.5 hours, though this can vary depending on your ambient room temperature and yeast activity.
Shaping and the Critical Second Rise for Maximum Fluffiness
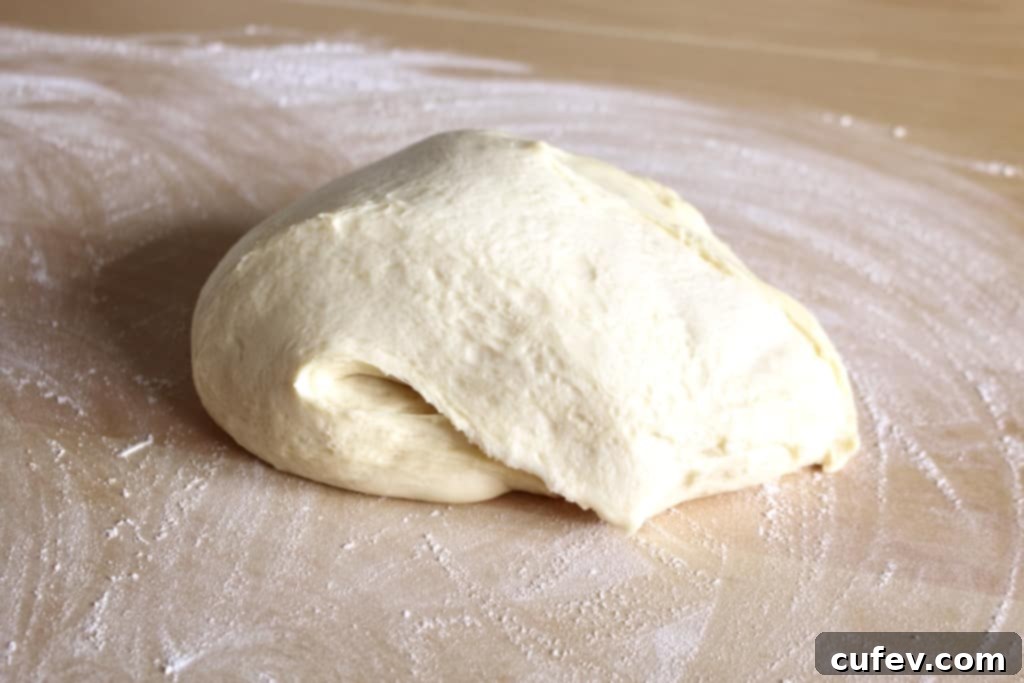
Once your dough has completed its first rise, gently punch it down to release the trapped air. Turn the dough out onto a lightly floured surface. Using a rolling pin, carefully roll the dough evenly to a thickness of about ½ inch (1.3 cm). It’s important to maintain a consistent thickness for even frying. Avoid rolling it too thin, as this can result in dense, rather than fluffy, doughnuts. For perfectly classic doughnut shapes, use a 3-inch (8 cm) round cookie cutter. If you don’t have one, the rim of a drinking glass works just as well. For the signature doughnut hole, use a smaller cutter (I often find the larger end of an extra-large piping tip to be perfect) to cut out the center. Remember, these little centers are gold! They can be fried into delightful doughnut holes, often affectionately called “Timbits” or “Munchkins” by fans of popular doughnut chains.
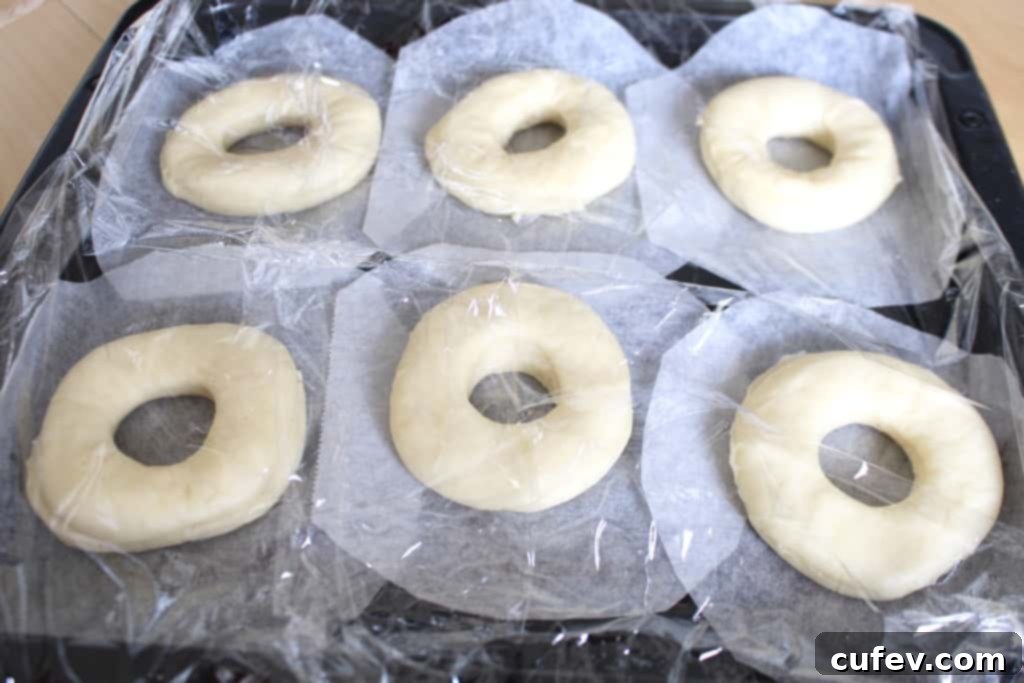
The second rise, or final proofing, is absolutely crucial for achieving those incredibly light, airy, and tender textures in your homemade doughnuts. Carefully place your cut doughnut rings and doughnut holes onto individual squares of parchment paper. This parchment paper trick is a true game-changer, making the transfer to hot oil much easier and preventing misshapen doughnuts (more on this in our tips section). Arrange these parchment-backed doughnuts on a baking sheet, cover loosely with plastic wrap or a clean kitchen towel, and place them in a warm, draft-free spot. I find a consistent temperature of around 95°F (35°C) ideal, and they typically double in size within 30 minutes. This final rise develops the flavor, enhances the texture, and creates the perfect airy structure for frying.
Mastering the Fry: Achieving Perfectly Golden, Non-Greasy Doughnuts
Frying can seem intimidating, but with the right technique and a little attention to detail, it’s straightforward and incredibly rewarding. Begin by selecting a neutral oil with a high smoke point, such as vegetable, canola, peanut, or sunflower oil. Pour about 2-3 inches of oil into a heavy-bottomed pot or Dutch oven. Heat the oil to precisely 356°F (180°C). A reliable deep-fry thermometer is essential here; maintaining the correct oil temperature is the secret to producing non-greasy, perfectly cooked doughnuts.
- Too Cool Oil: If the oil is too cool, the doughnuts will absorb too much oil, resulting in a dense, greasy texture.
- Too Hot Oil: If the oil is too hot, the doughnuts will brown too quickly on the outside, appearing cooked while remaining raw and doughy inside.
Carefully lower 2-3 doughnuts into the hot oil using the parchment paper squares. The parchment will easily detach from the dough after a few seconds, at which point you can remove it from the oil with tongs or chopsticks. Fry each doughnut for approximately one minute per side, or until it’s beautifully golden brown and puffed. A delightful visual cue of a perfectly proofed and fried doughnut is the presence of a distinct “white ring” around its middle – a proud baker’s badge of honor indicating ideal rising and frying conditions.
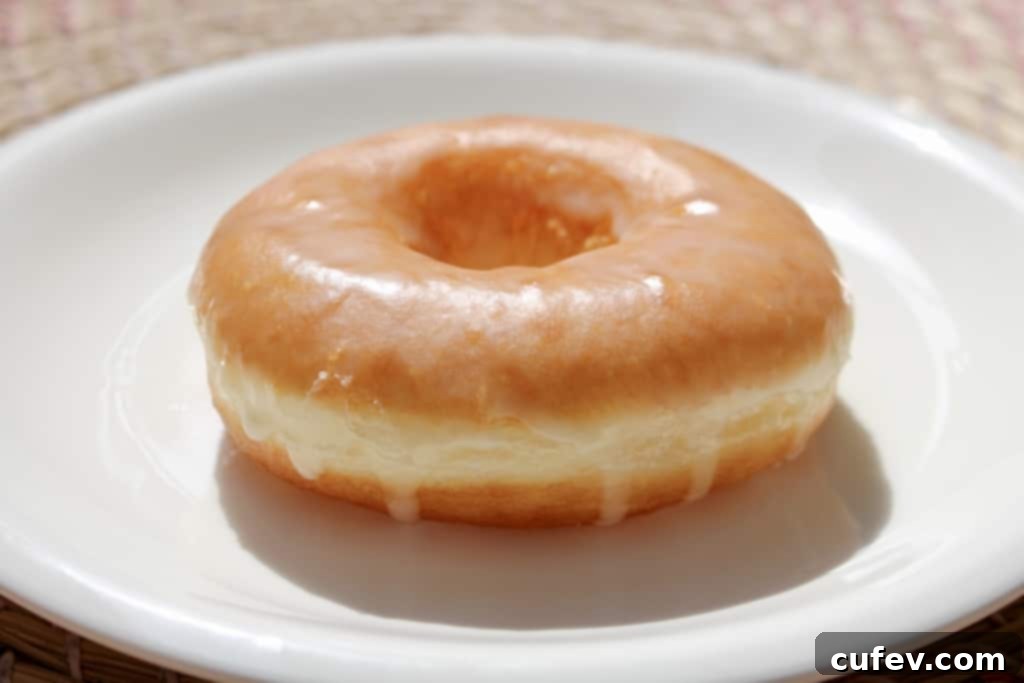
Once fried to perfection, use tongs or a slotted spoon to transfer the doughnuts to a wire rack lined with several layers of paper towels. This crucial step allows any excess oil to drain off, contributing significantly to that desirable light, non-greasy finish. Repeat the frying process with the remaining dough, being sure to monitor and adjust your oil temperature between batches if necessary to maintain consistency.
Delicious Topping Ideas for Your Homemade Doughnuts
Now comes the most exciting part: customizing your perfectly fried homemade doughnuts with a variety of delicious toppings! The possibilities are truly endless, and each topping adds its unique charm and flavor. Here are some popular and incredibly tasty ideas:
- Classic Vanilla Glaze: A simple, sweet, and always satisfying glaze. Whisk together powdered sugar, a splash of milk or water, and a touch of vanilla extract until smooth. Dip the warm doughnuts directly into the glaze for a beautifully sweet coating that sets quickly.
- Rich Chocolate Ganache & Sprinkles: For the ultimate chocolate indulgence, dip your warm doughnuts into a luscious chocolate ganache. The warmth of the doughnut will slightly melt the ganache, creating a smooth, glossy coating. Finish with colorful sprinkles for a festive touch.
- Cinnamon Sugar Coating: For a delightful crunch and warm spice, immediately after draining, toss the warm doughnuts (especially the doughnut holes!) generously in a mixture of granulated sugar and ground cinnamon. This creates an irresistible textural contrast and aromatic flavor.
- Simple Powdered Sugar: For a subtly sweet and elegantly simple finish, a generous dusting of powdered sugar is perfect. It’s light, delicate, and allows the natural flavor of the doughnut to shine.
- Custom Creations & Fillings: Don’t be afraid to experiment! Try making a maple glaze, a tangy lemon glaze, or a bright strawberry glaze. Top with crushed nuts, toasted coconut, or even a drizzle of caramel. For filled doughnuts, you can pipe pastry cream, jelly, or fruit compote into the cooled doughnuts. Go nuts with your homemade doughnuts and let your culinary creativity shine!
Essential Tips for Doughnut Making Success
To ensure your homemade doughnut experience is as smooth and successful as possible, yielding consistently light and airy results, keep these expert tips in mind:
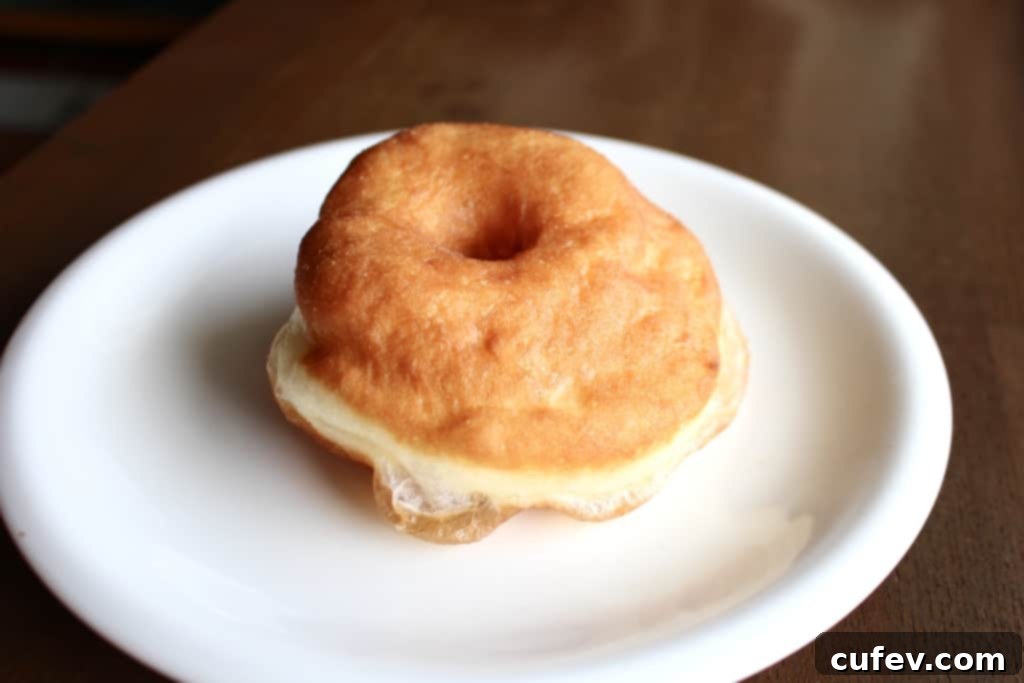
1. Let Doughnuts Rise on Individual Parchment Paper Squares: This tip is a true lifesaver that will dramatically improve your frying experience and the final shape of your doughnuts! Instead of placing all your cut doughnuts on one large sheet of parchment or directly on a surface, cut individual 4×4 inch (10×10 cm) squares of parchment paper for each doughnut. When it’s time to fry, you can simply pick up the entire square, doughnut and all, and gently drop it into the hot oil. The parchment paper will effortlessly release from the dough after a few seconds, preventing any misshapen doughnuts that often result from trying to pick up delicate, proofed dough directly. Use chopsticks or tongs to easily remove the parchment from the oil once it has detached.
2. Absolutely DO NOT Re-roll Dough Scraps: I cannot stress this enough – DO NOT reroll your doughnut scraps! While it might seem like an efficient way to minimize waste and get more doughnuts, re-rolling and cutting shapes from the scraps will inevitably lead to tough, lumpy, and unattractive doughnuts. The gluten structure in the dough gets overworked and tightened during the initial rolling and cutting, and re-working it further will result in a dense, chewy, and unpleasant texture that lacks the signature fluffiness you’re aiming for. Instead, embrace the scraps! You can gather them, gently form them into irregular shapes (these make delicious “fritters”), or simply fry them up as extra, rustic doughnut holes. They’ll still be wonderfully fluffy and delicious, just with a more homemade charm. Remember: “Dough” NOT reroll!
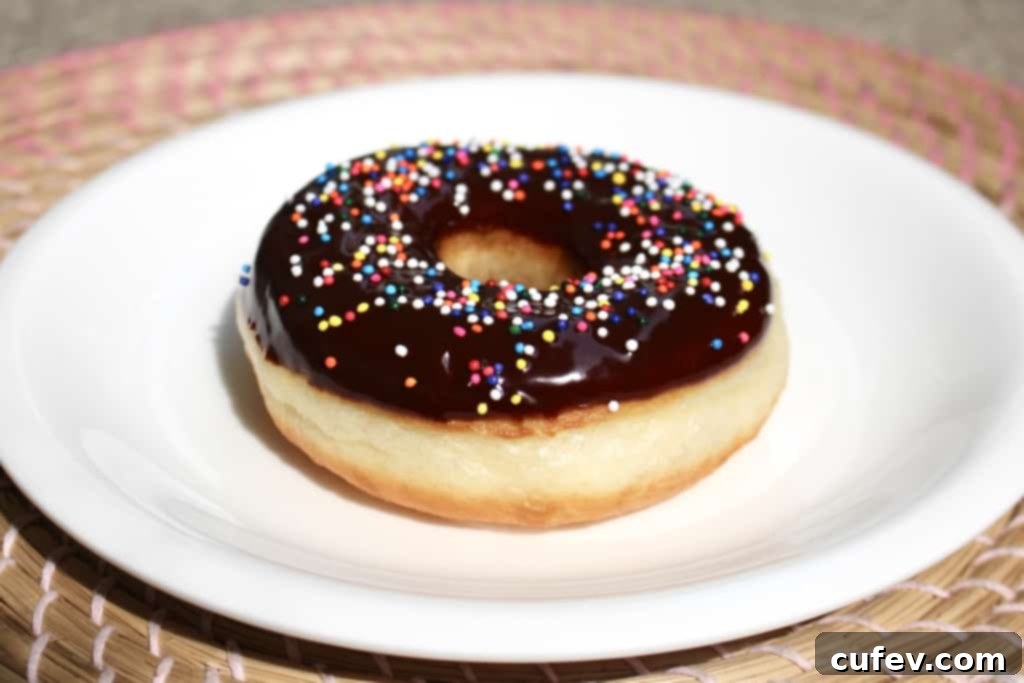
When you take that first bite into these homemade doughnuts, you’re going to be absolutely blown away by the incredible fluffy, cloud-like texture! What’s even better is that despite being fried, they don’t taste greasy or heavy. Their light and airy quality is everything a classic yeast doughnut should embody, delivering pure delight with every single mouthful. This recipe truly captures the essence of a perfect doughnut.
The Magic of Homemade: Beyond the Basic Doughnut
The true beauty of this foundational doughnut recipe is its incredible versatility. Once you’ve mastered the basic technique for creating these fluffy, airy treats, your kitchen becomes a playground for endless flavor creativity. You can explore a myriad of flavor profiles, from vibrant fruity fillings to rich, decadent chocolate glazes, or even experiment with savory variations. Imagine the delight of biting into a warm doughnut filled with homemade apple pie filling, or a zesty lemon curd adding a bright, tangy kick. The possibilities are truly limitless, making homemade doughnut making a continuously rewarding adventure for any home baker.
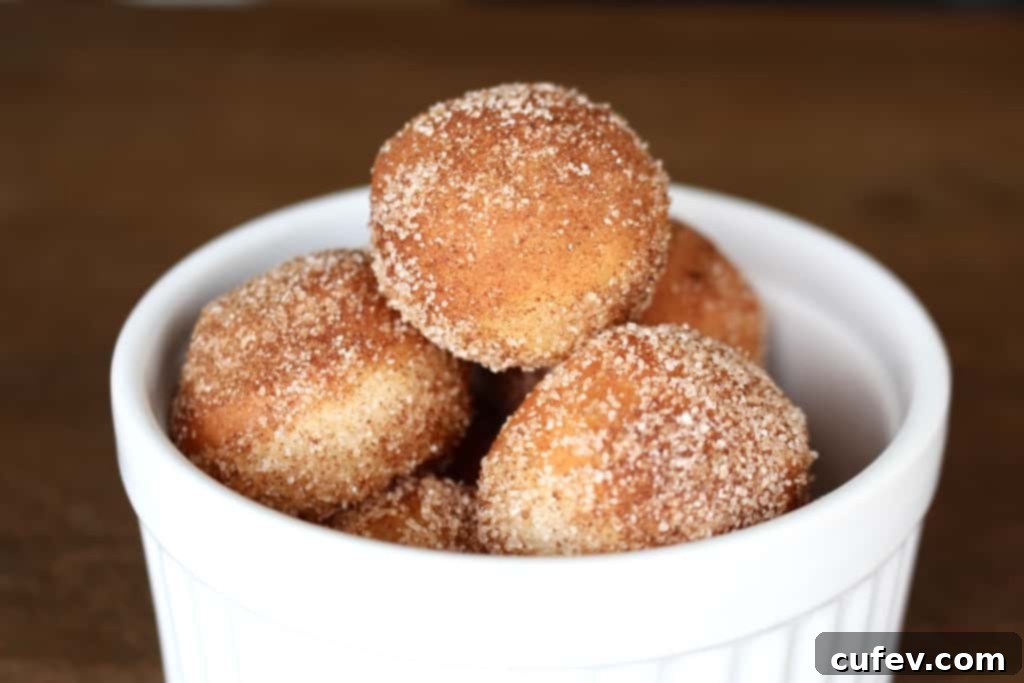
For instance, I often find that the small doughnut holes, rolled immediately after frying in a simple mixture of cinnamon sugar, are just as, if not more, popular than the larger rings! They’re perfect bite-sized treats that disappear almost instantly at any gathering, proving that even the simplest preparations can yield extraordinary results.
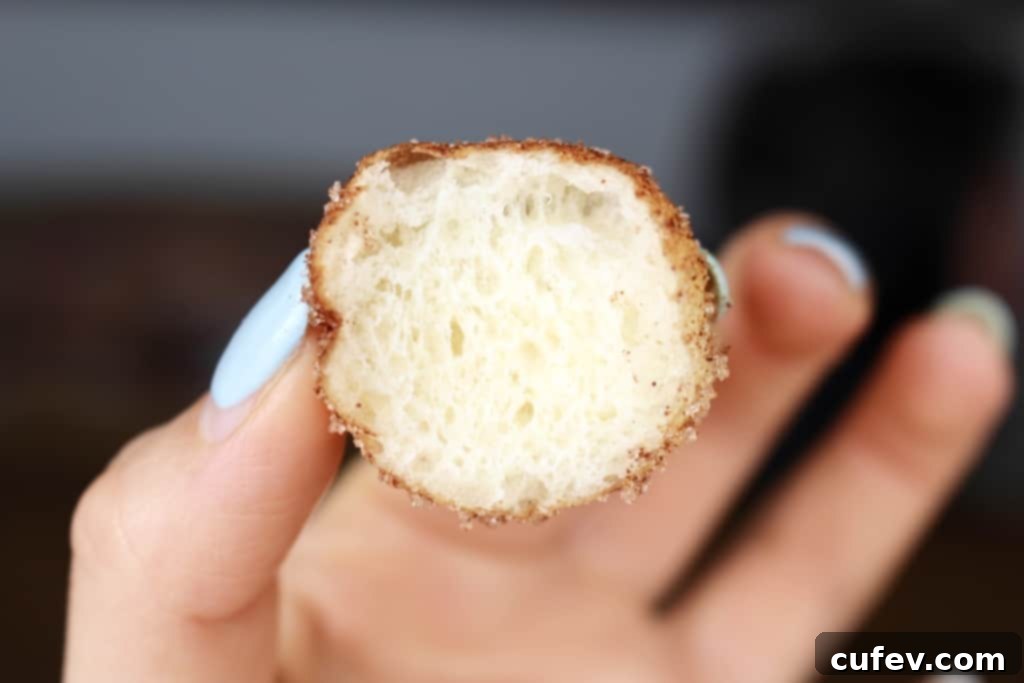
Just look at that fluff dough (pun intended, and well-deserved)! The tender, airy crumb visible in the cross-section is the ultimate testament to the careful balance of ingredients, precise kneading, and optimal proofing that this recipe provides. This is the texture that truly defines an exceptional homemade doughnut, promising a melt-in-your-mouth experience every time.
Storage and Reheating Homemade Doughnuts
Homemade doughnuts, like most freshly baked goods, are best enjoyed on the day they are made, ideally still warm from the fryer. Their texture is at its peak during this time – perfectly crisp on the outside and wonderfully fluffy on the inside. However, if you find yourself with a few delicious leftovers, they can be stored. Place them in an airtight container at room temperature for up to 2-3 days. For best results and to maintain some of their softness, avoid refrigerating them, as this can cause them to dry out and become stale faster.
To refresh slightly, a quick 10-15 second zap in the microwave can restore some of their warmth and softness, though they might not regain their initial crispness. Doughnuts with a sugar glaze tend to hold up a bit better than those simply coated in granulated sugar, as the glaze acts as a protective barrier, keeping them moist for longer. For longer storage, plain fried doughnuts can be frozen in an airtight container for up to a month and then thawed and gently reheated. Just remember, freshly made is always supreme!
Explore More Delicious Doughnut Adventures
If you’ve fallen in love with the art and joy of making fluffy homemade doughnuts, I wholeheartedly encourage you to explore other delightful variations. Each new recipe offers a unique flavor experience that’s sure to impress your family and friends. Be sure to try my blueberry cream cheese doughnuts for a sweet, fruity, and tangy twist that’s absolutely divine. Or, for a taste of seasonal comfort, indulge in the warm spiced goodness of my apple doughnuts! Happy baking, and enjoy your delicious creations!
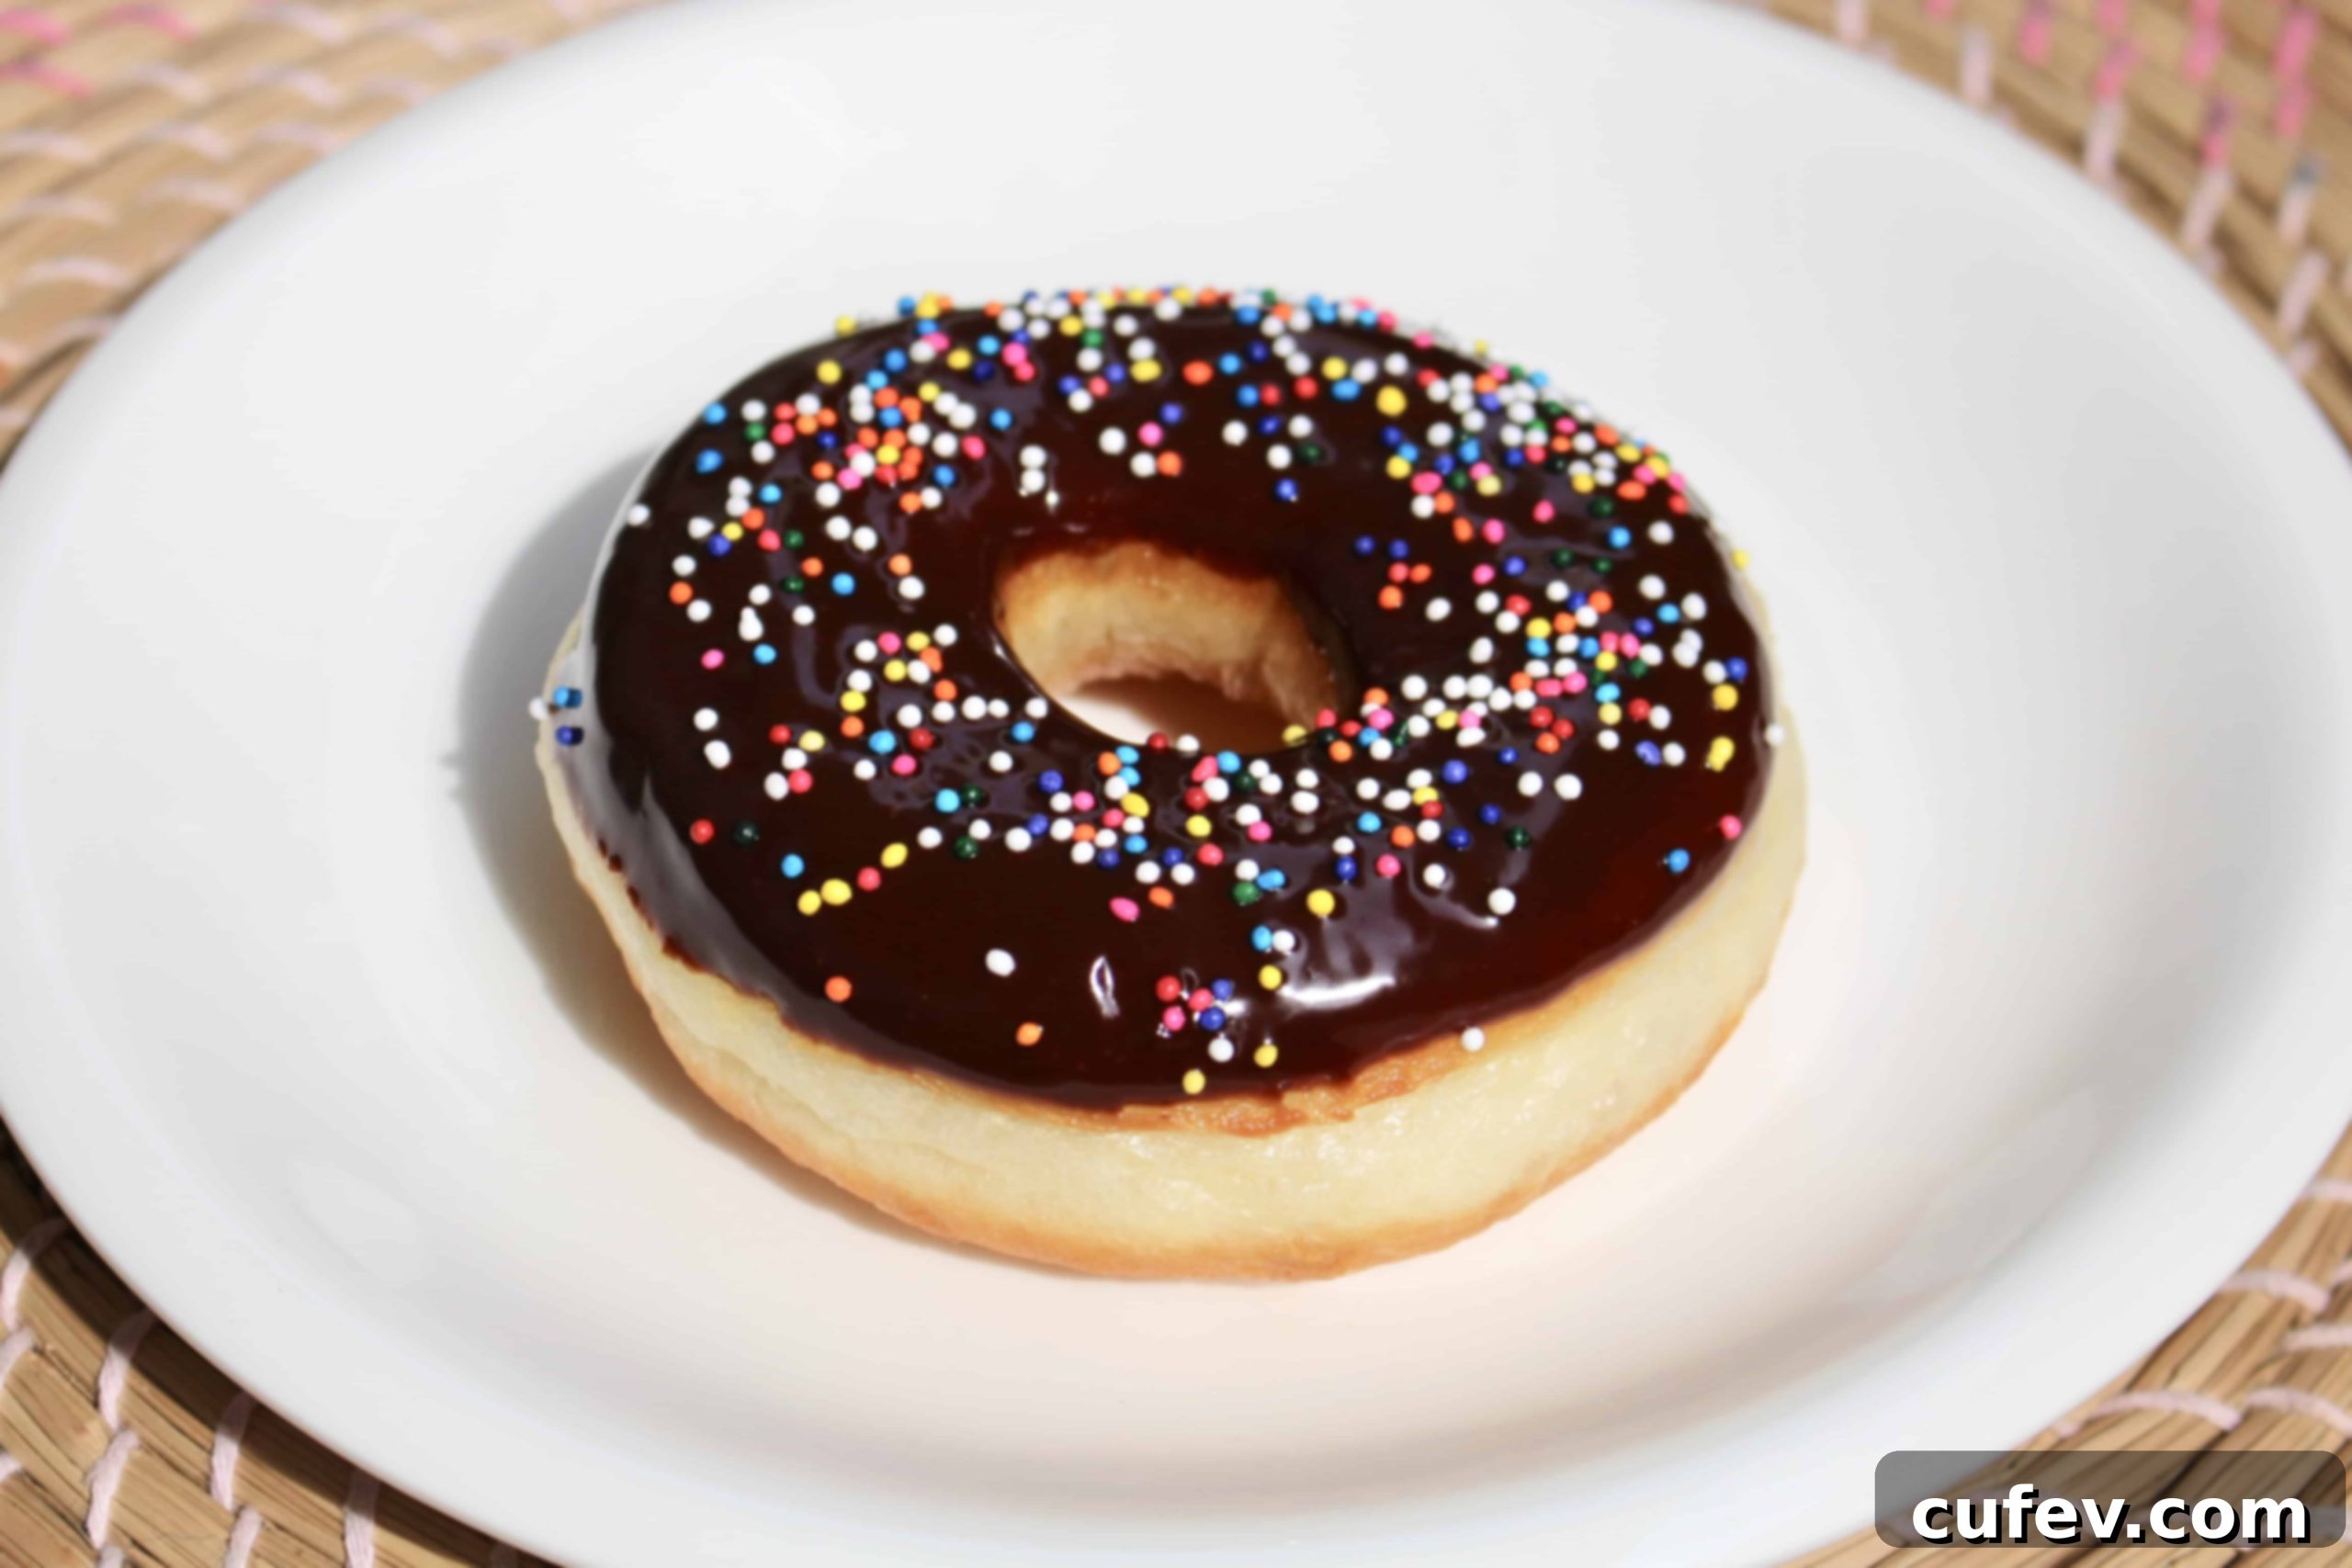
Homemade Doughnuts
Print
Pin
Rate
Equipment
-
1 bread machine with dough setting
Ingredients
- 2¼ cups bread flour
- 2½ tablespoons granulated sugar
- ½ tablespoon fine sea salt
- 1 tablespoon milk powder
- ½ tablespoon active dry yeast
- 2½ tablespoons unsalted butter
- 1 large egg
- ½ cup water
Instructions
-
Place all the ingredients into a bread machine and set it on the dough setting.
-
Take the dough out onto a floured surface and roll it out to about ½in/1.3cm. Cut out 3in/8cm circles and a smaller circle in the center. Place them on pieces of parchment paper, cover the doughnuts with plastic wrap, set it somewhere warm and let it rise again until it doubles in size.
-
Heat your oil to 356°F/180°C, fry each doughnut about a minute on each side. Take them out onto a wire rack lined with paper towels to drain any extra oil.
Nutrition

Don’t forget to save this mouth-watering image and recipe to Pinterest for later, so you can easily revisit this guide and bake these irresistible homemade treats again and again!
