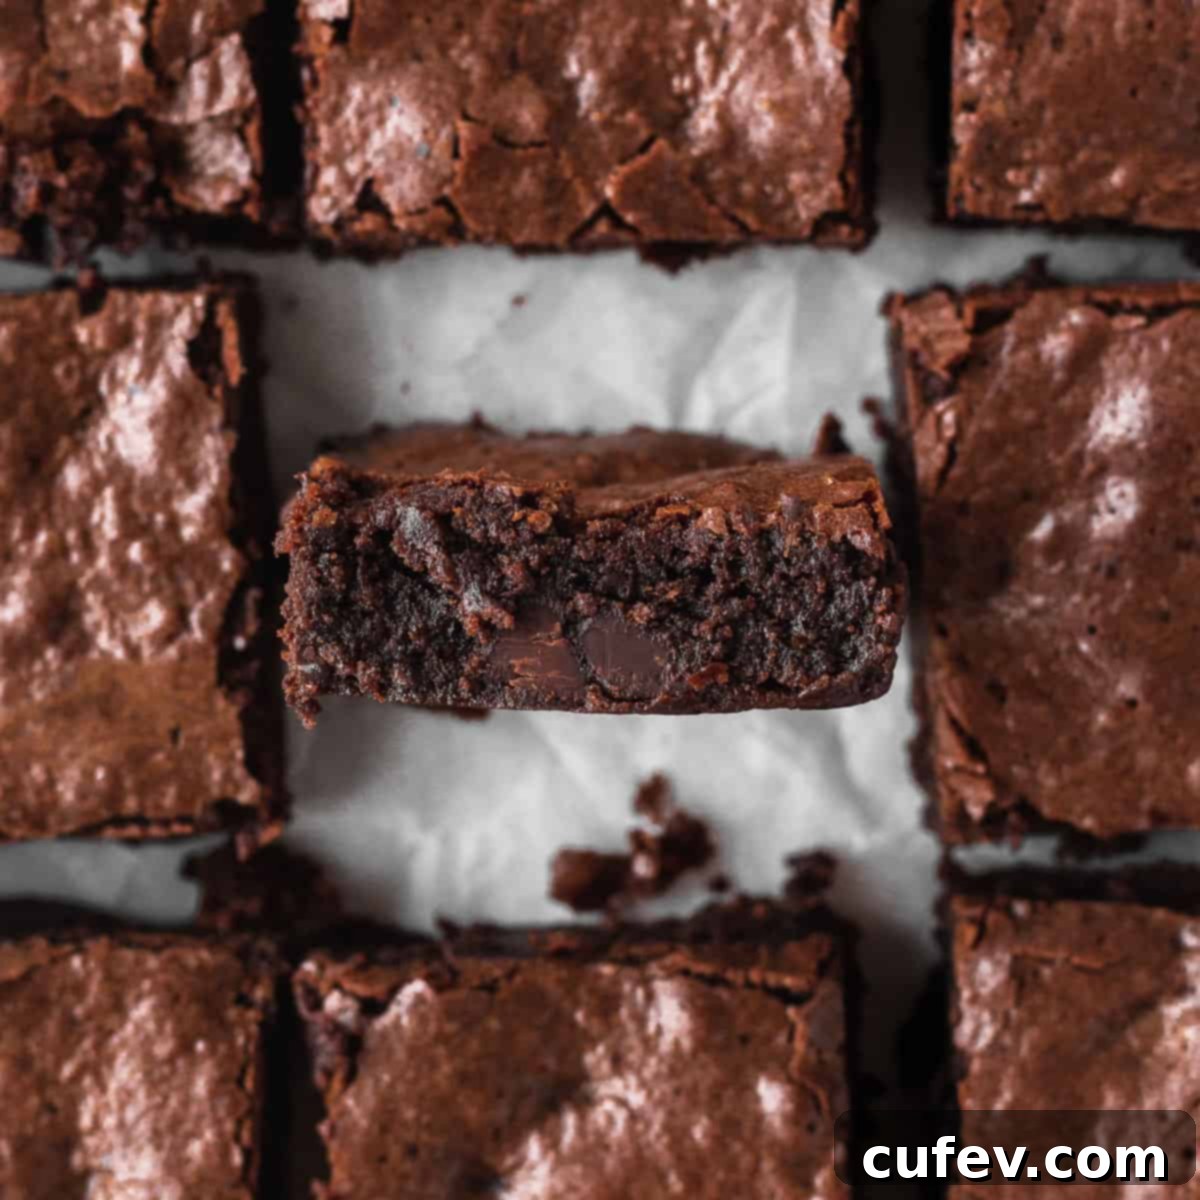
Irresistibly Fudgy Gluten-Free Brownies: Your Ultimate Guide to a Perfect Crinkly Top
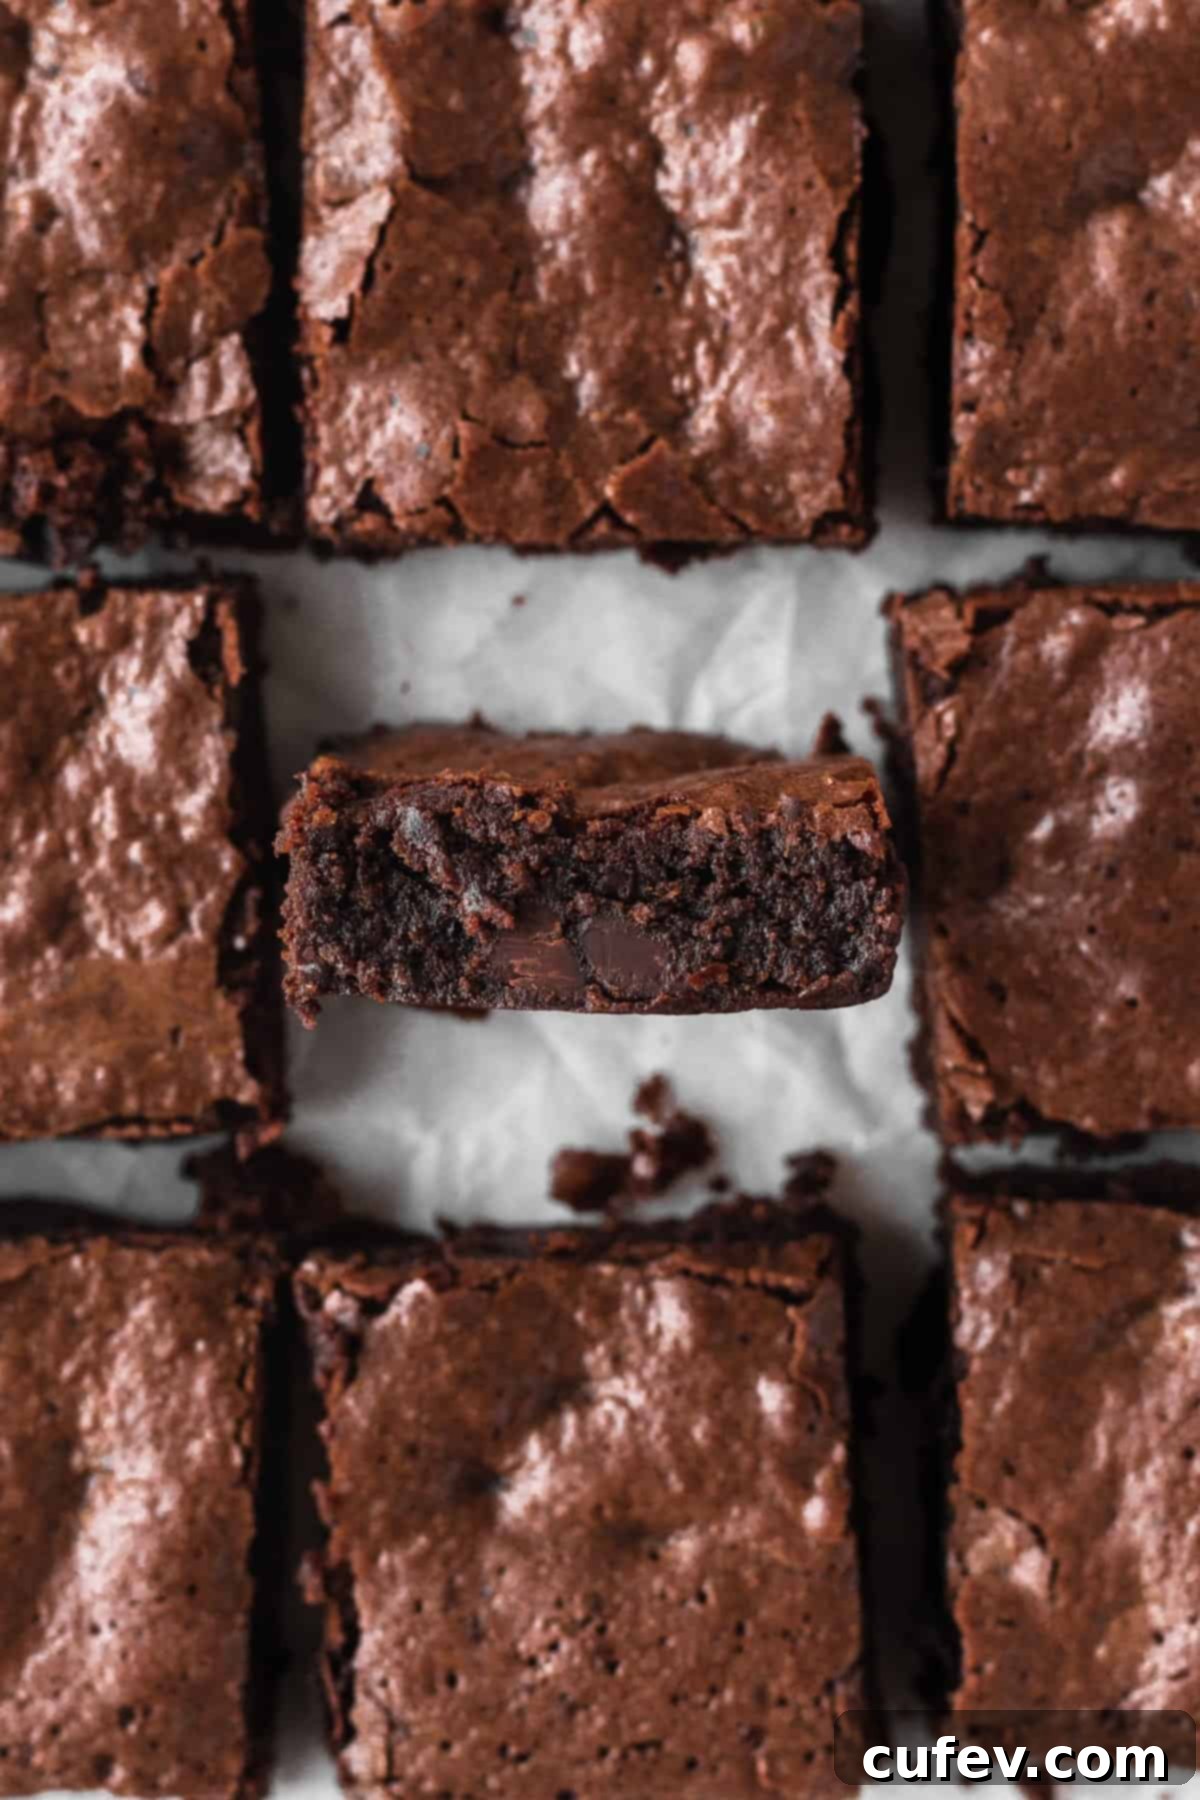
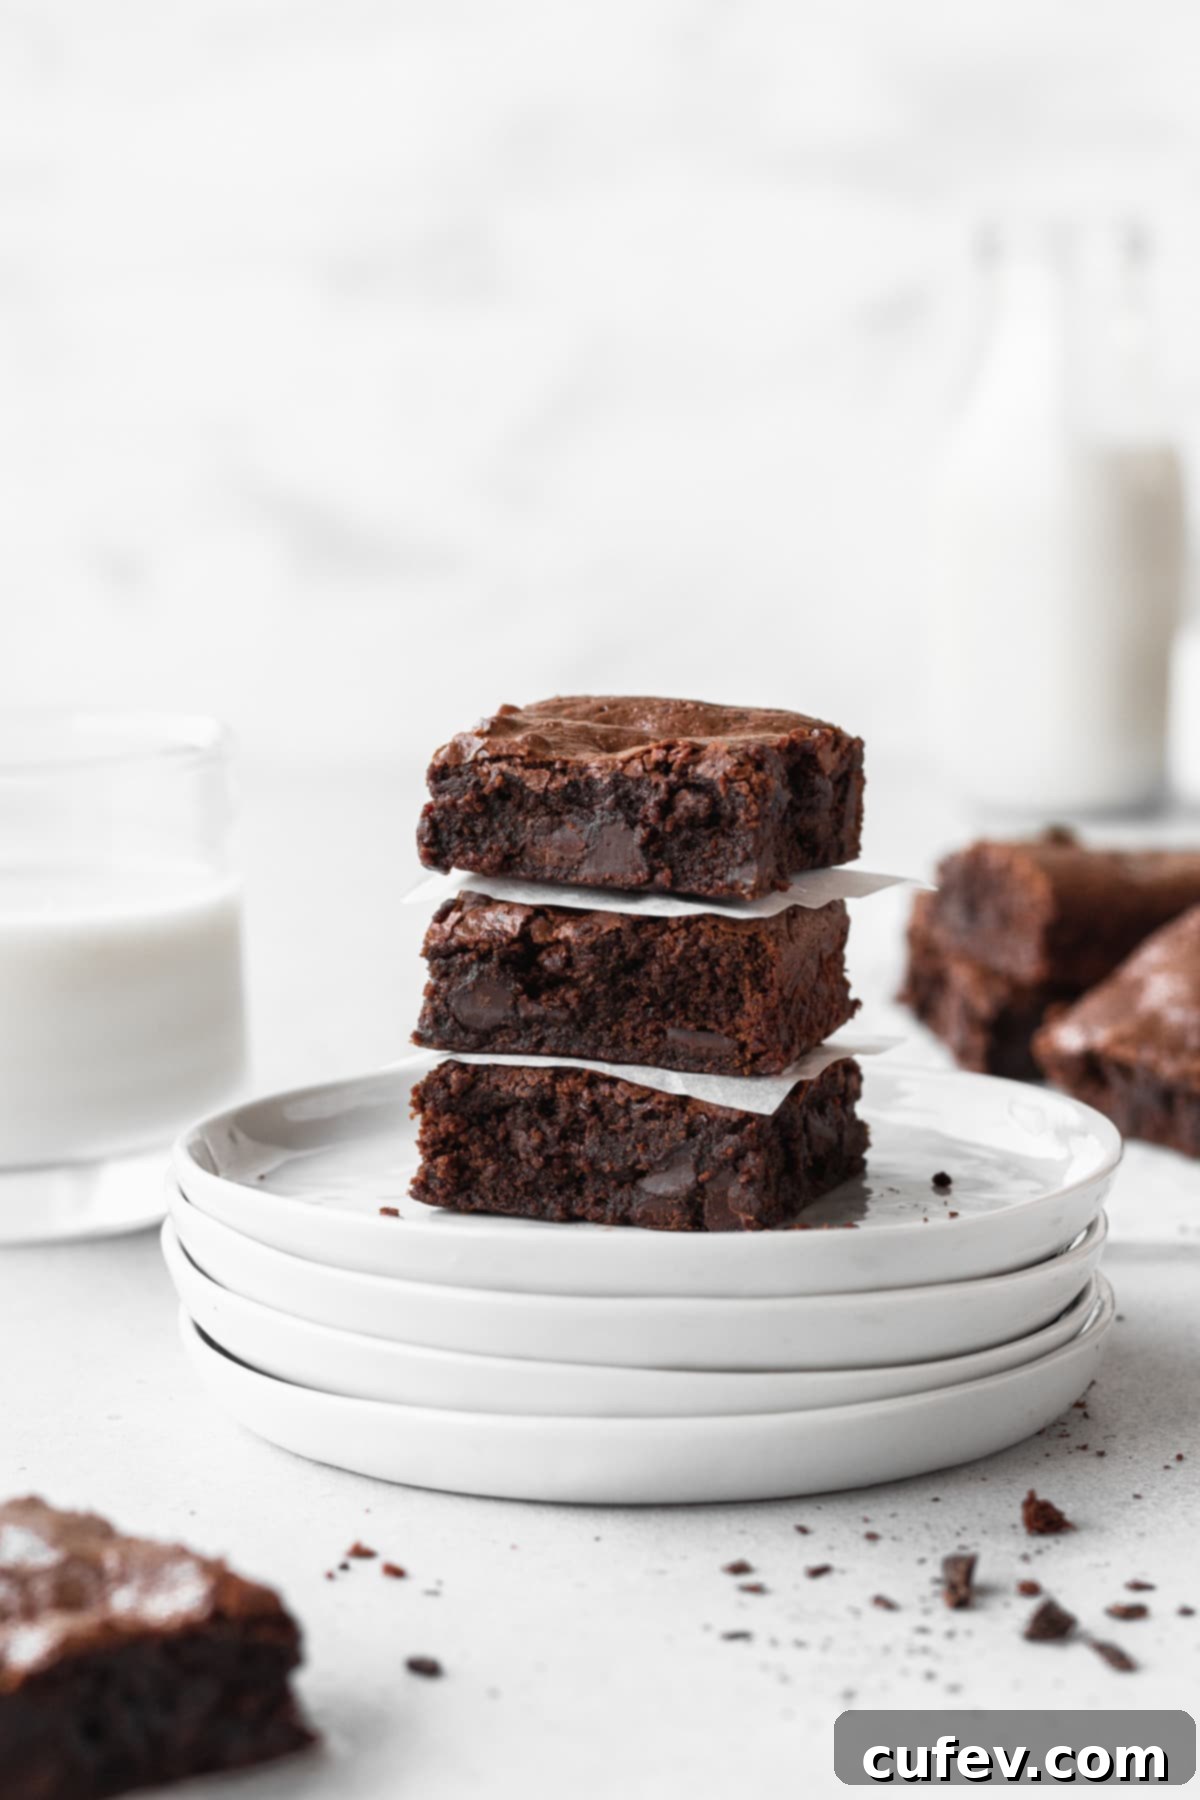
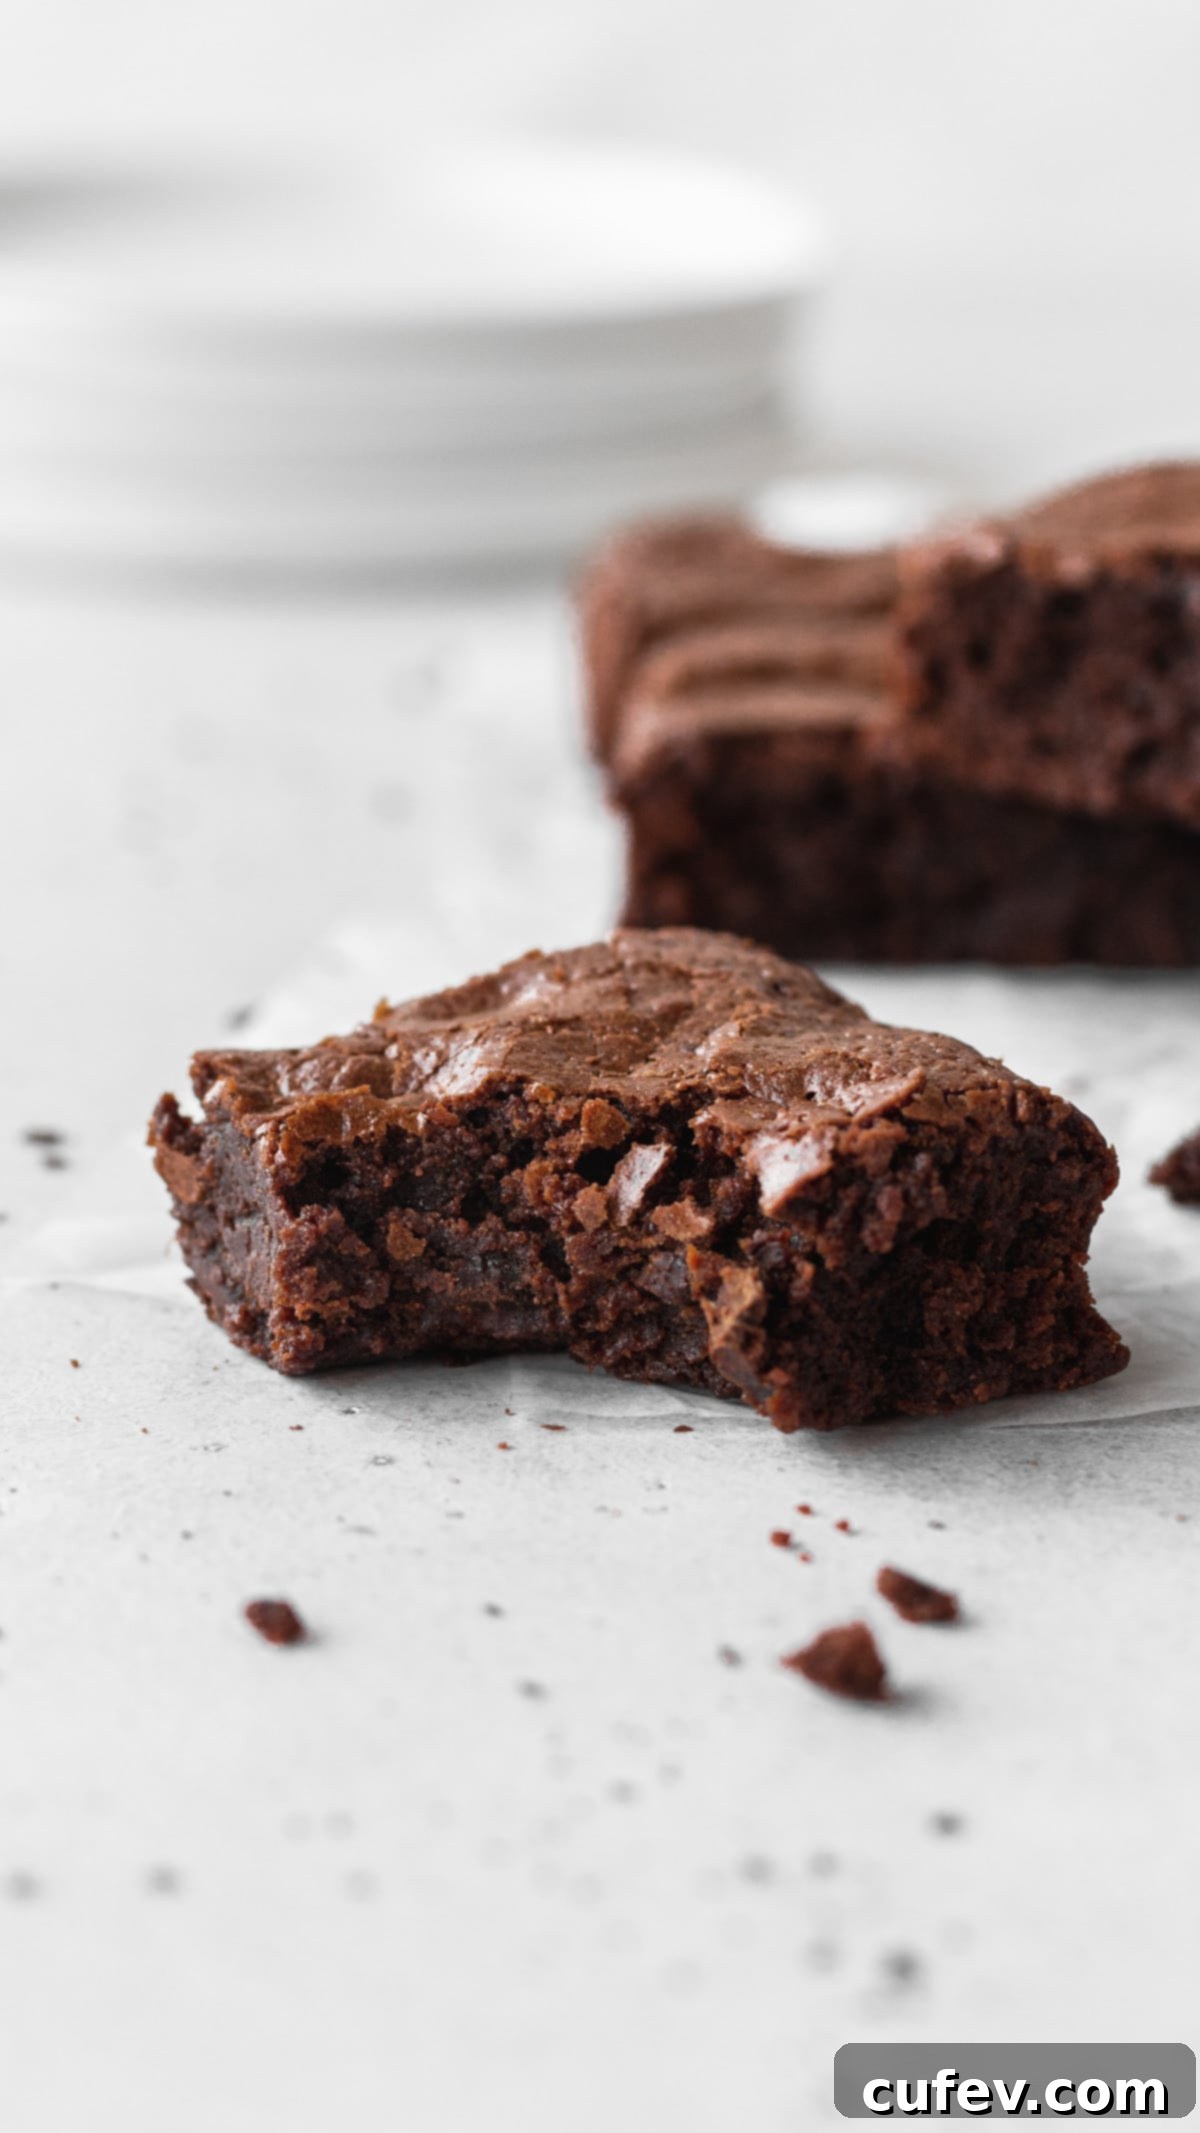
Prepare to discover your new favorite dessert: these gluten-free brownies are exceptionally thick, intensely chocolatey, and unbelievably fudgy, crowned with that coveted, perfectly crinkly top. My simple one-bowl recipe leverages the magic of melted butter and rich dark chocolate to deliver an unparalleled depth of flavor. Best of all, this incredible treat comes together in just over an hour, making it perfect for both spontaneous cravings and planned gatherings.
I’ve dedicated countless hours and many batches to meticulously testing and perfecting this recipe. My goal was to strike the ideal balance: a deeply fudgy interior contrasted with a delightful crisp, crinkly surface, all while ensuring a sweet yet profoundly intense chocolate flavor. The mission was clear – to create a gluten-free brownie that doesn’t feel like a compromise, but rather a superior indulgence. I am genuinely confident that this recipe will become your trusted, go-to solution for satisfying every brownie craving, regardless of dietary needs. It’s a true game-changer in the world of gluten-free baking, proving that you can achieve classic, decadent results without gluten.
This recipe was originally published on October 13, 2022, and has been thoroughly updated with new information, enhanced tips, and perfected techniques on September 13, 2025, to ensure the best possible gluten-free brownie experience.
Essential Ingredients for Perfect Gluten-Free Brownies
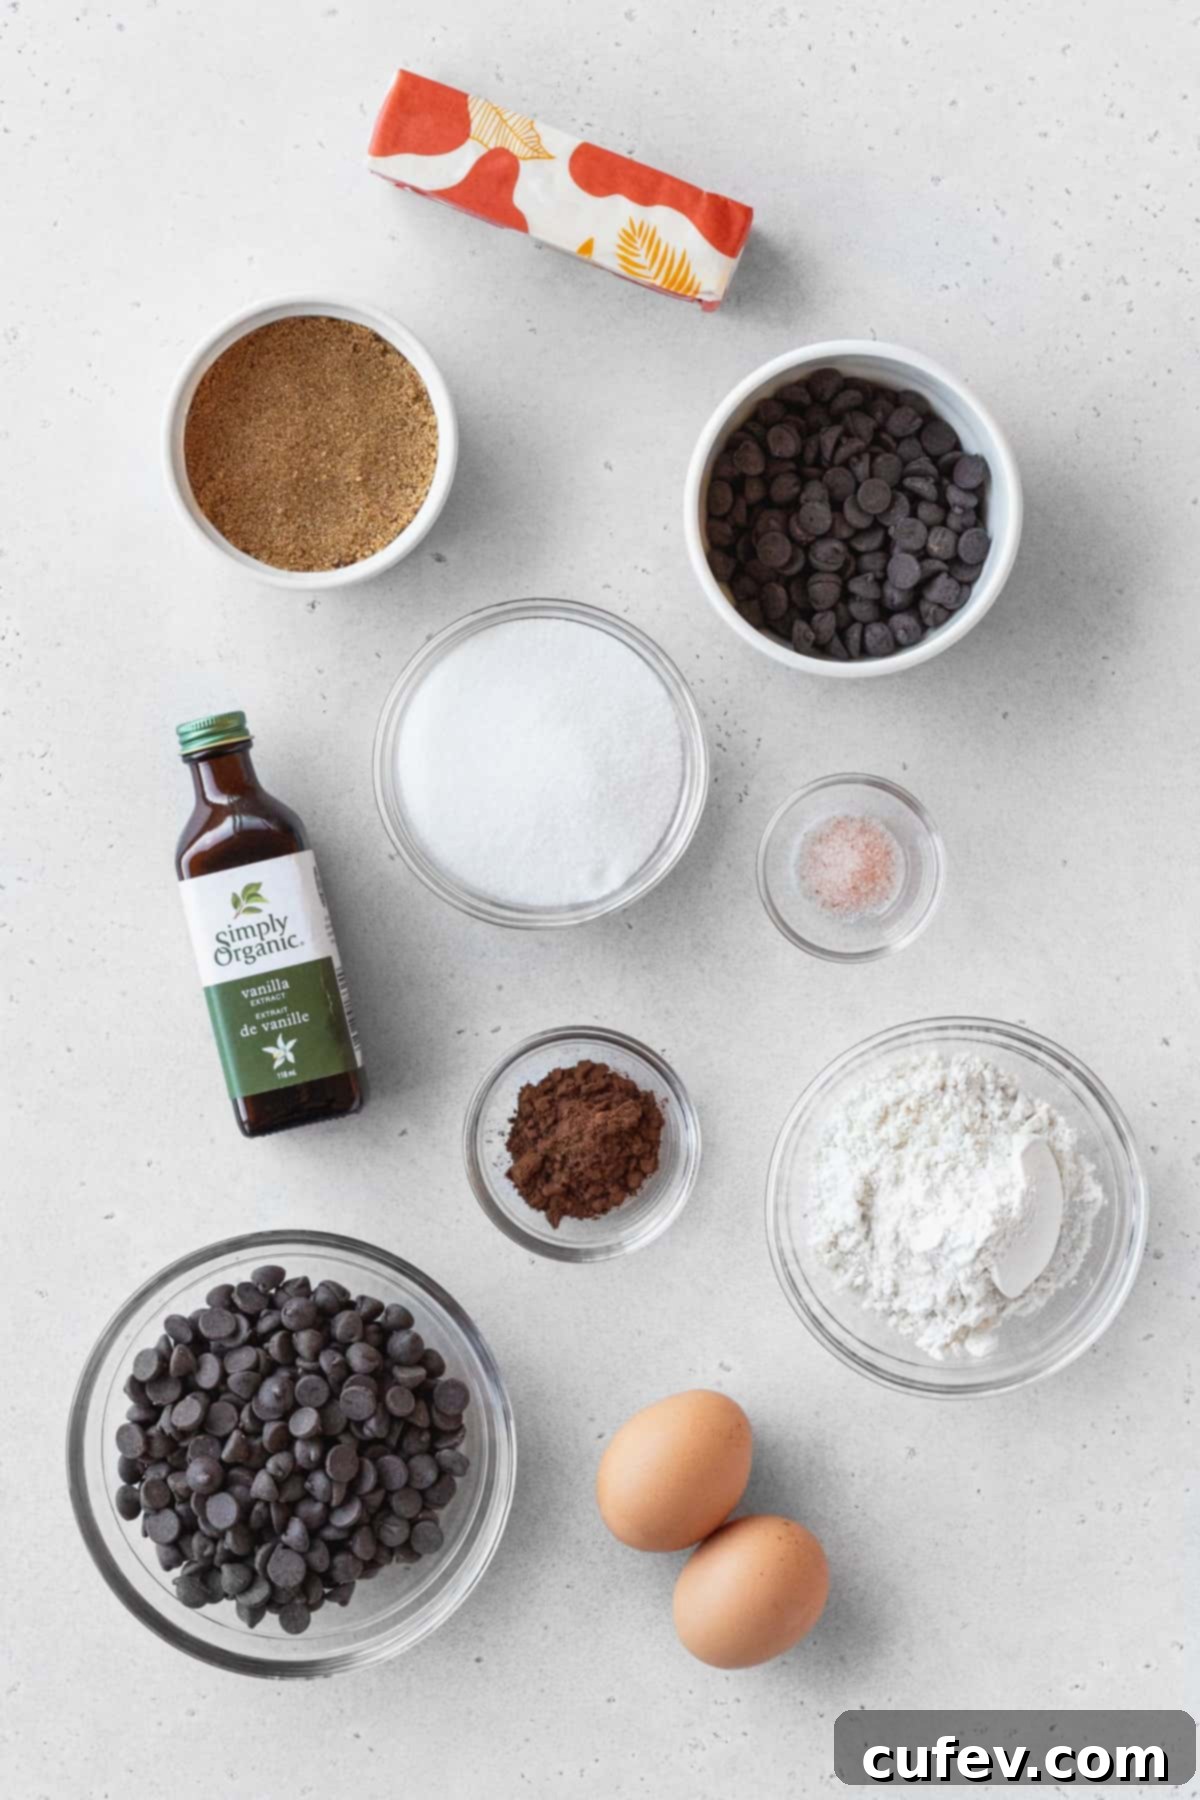
Crafting the perfect fudgy gluten-free brownies starts with understanding the role of each ingredient. Here’s a detailed look at what you’ll need and why it matters:
Butter – Butter is a cornerstone of rich, fudgy brownies. It not only contributes a luxurious flavor but also adds essential fat, which is particularly important in gluten-free baking to prevent dryness and ensure a tender crumb. Whether you prefer dairy butter for its classic taste or opt for a high-quality vegan butter stick (like Miyoko’s Kitchen or Earth Balance baking sticks) for a dairy-free version, both work beautifully in this recipe, delivering excellent results.
Dark Chocolate & Cocoa Powder – The secret to an intensely chocolatey brownie lies in using a combination of melted dark chocolate and cocoa powder. For the deepest, richest flavor, choose dark chocolate that contains around 70% cacao. This percentage offers a robust chocolate profile without being overly bitter. When it comes to cocoa powder, I highly recommend Dutch-processed cocoa powder. Its alkalized nature gives brownies a darker color and a smoother, less acidic chocolate flavor. However, if you only have natural cocoa powder or black cocoa powder on hand, they will also work, though they might yield a slightly different flavor and color profile.
Sugars – This recipe wisely employs a dual sugar strategy, using both granulated sugar and brown sugar. Granulated sugar, when dissolved in the hot melted butter and chocolate, plays a crucial role in forming that signature shiny, crinkly top crust that brownie connoisseurs adore. The quick dissolution helps create a meringue-like surface. Brown sugar, on the other hand, is key to the brownies’ fudgy and dense texture, contributing moisture and a subtle, delightful molasses flavor. Feel free to use light brown sugar if dark brown sugar isn’t available; the results will still be wonderfully fudgy.
Large Eggs – Eggs are vital for both moisture and structure in these gluten-free brownies. Large eggs contain the ideal amount of liquid and fat to bind the ingredients and create a moist, chewy texture. To ensure they incorporate smoothly into the batter without seizing the chocolate mixture, it’s essential to let your eggs come to room temperature before mixing. This also helps create a more cohesive and evenly textured batter.
Vanilla Extract – A generous amount of vanilla extract isn’t just for flavor; it actively enhances and amplifies the rich sweetness of the chocolate. Whether you use pure vanilla extract for its complex notes or vanilla bean paste for a more intense flavor and visual specks, it’s a non-negotiable ingredient for truly exceptional brownies.
Instant Coffee – While entirely optional, adding a touch of instant coffee or instant espresso powder is a trick beloved by many bakers. Coffee acts as a flavor enhancer for chocolate, intensifying its depth and complexity without making the brownies taste like coffee. It’s a subtle addition that truly makes the chocolate flavor pop. You can use regular or decaf instant coffee/espresso.
Gluten-Free 1-to-1 Flour Blend – The choice of gluten-free flour is critical for the texture of your brownies. I consistently achieve excellent results with Bob’s Red Mill 1-to-1 Baking Flour, which is formulated specifically for easy substitution in recipes. Any high-quality cup-for-cup or all-purpose gluten-free flour blend designed for baking should work. The most important characteristic to look for is that the blend includes xanthan gum. Xanthan gum acts as a binder, mimicking the elasticity and structure that gluten provides, preventing your gluten-free baked goods from becoming crumbly or dry. For a deeper dive into the world of gluten-free flours, check out my dedicated guide.
Salt – A small but mighty ingredient, salt is essential for balancing the sweetness of the brownies and enhancing all the intricate chocolate flavors. I recommend using fine sea salt or fine Himalayan pink salt for even distribution. If you’re using a different type of salt, such as kosher salt, it’s advisable to refer to a reliable salt conversion chart to ensure proper measurement and prevent over-salting.
Chocolate Chips – For an extra layer of chocolatey goodness and delightful texture, chocolate chips are a fantastic addition. They melt into pockets of warm, gooey chocolate, creating an irresistible bite. The type of chocolate chip is entirely up to your preference: semisweet for classic flavor, white chocolate for a creamy contrast, dark chocolate for maximum intensity, or milk chocolate for a sweeter profile. Feel free to mix and match!
Step-by-Step Guide: How To Make Incredibly Fudgy Gluten-Free Brownies
Creating these delightful homemade gluten-free brownies is surprisingly straightforward. Just follow these simple steps for a truly fudgy and flavorful result:
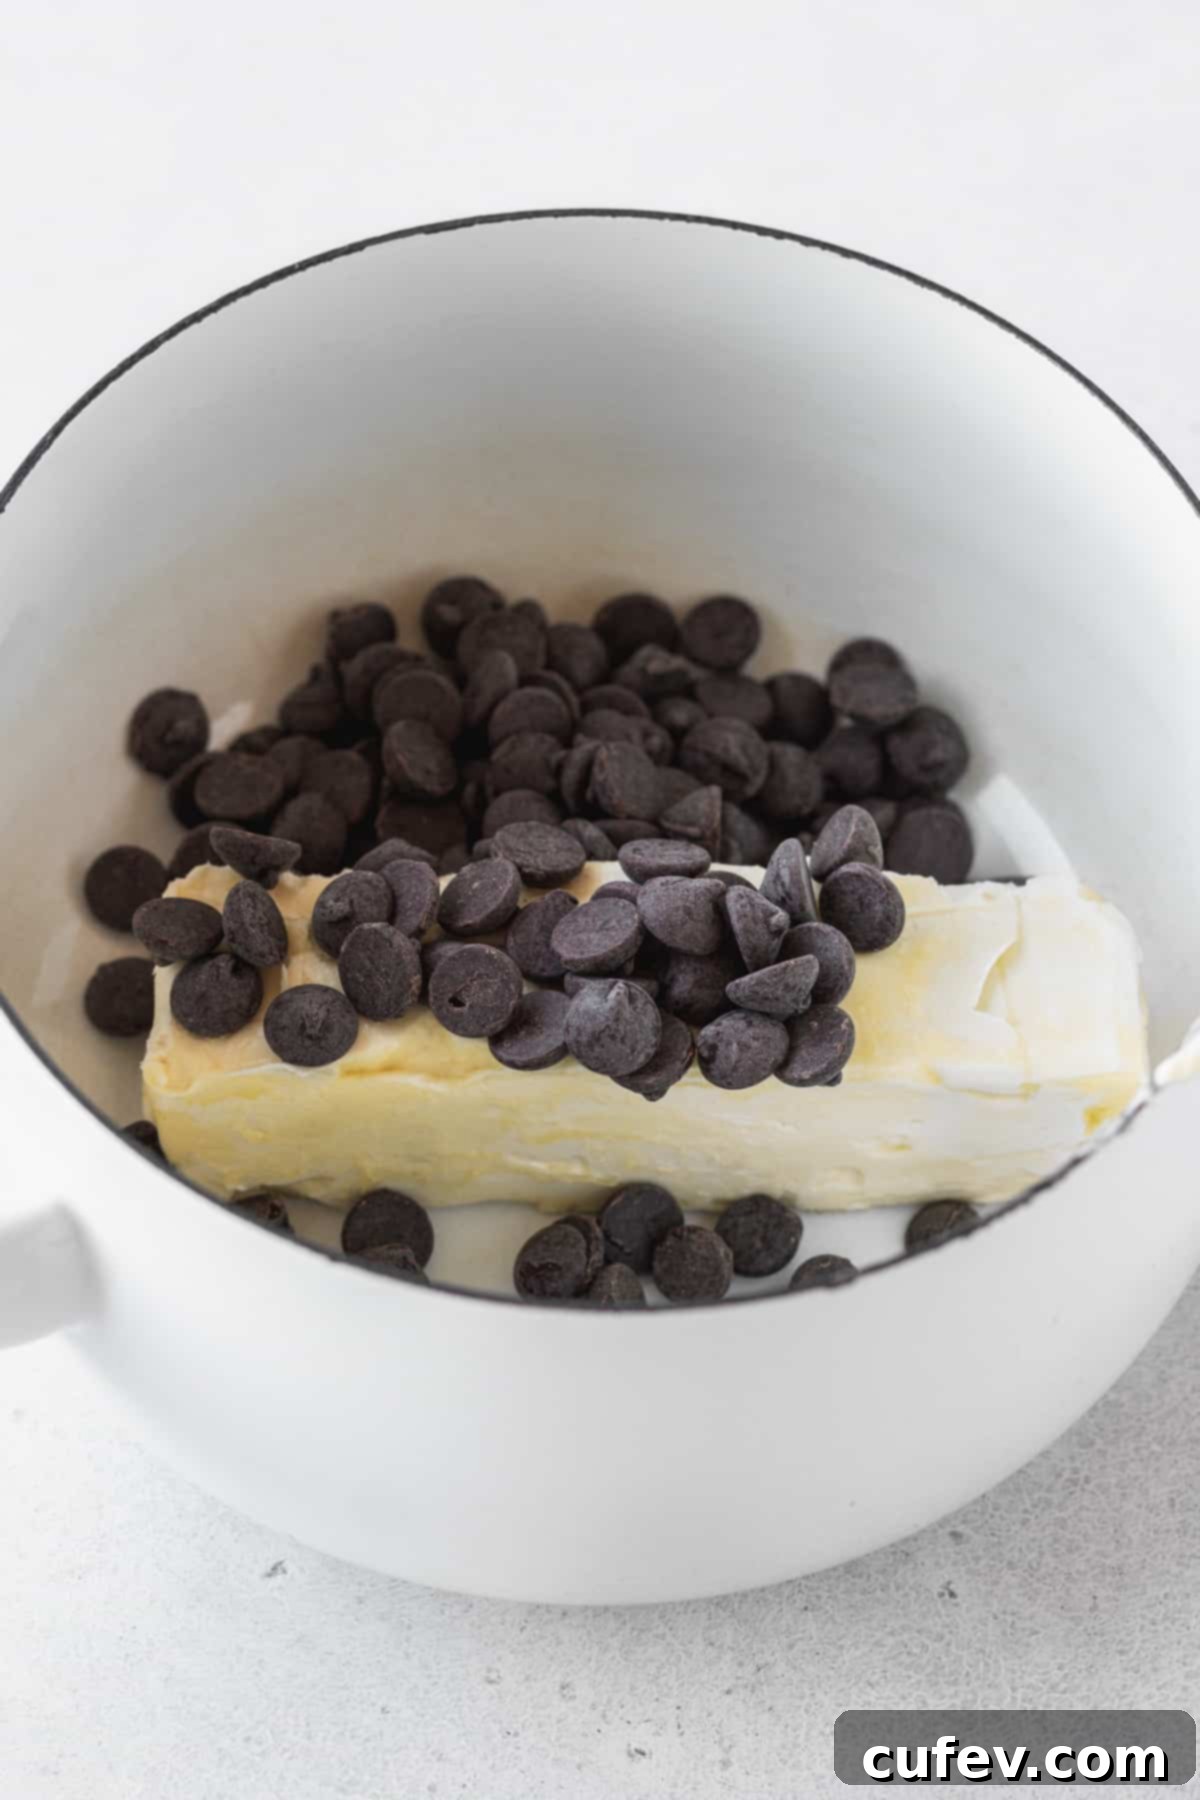
1. Melt Butter & Chocolate: In a small saucepan, gently melt the butter and dark chocolate over very low heat. This low and slow approach is key to preventing the chocolate from seizing or burning. Stir consistently with a spatula or whisk until both ingredients have transformed into a smooth, glossy, homogenous liquid. Once fully melted and combined, immediately remove the saucepan from the heat to prevent overheating.
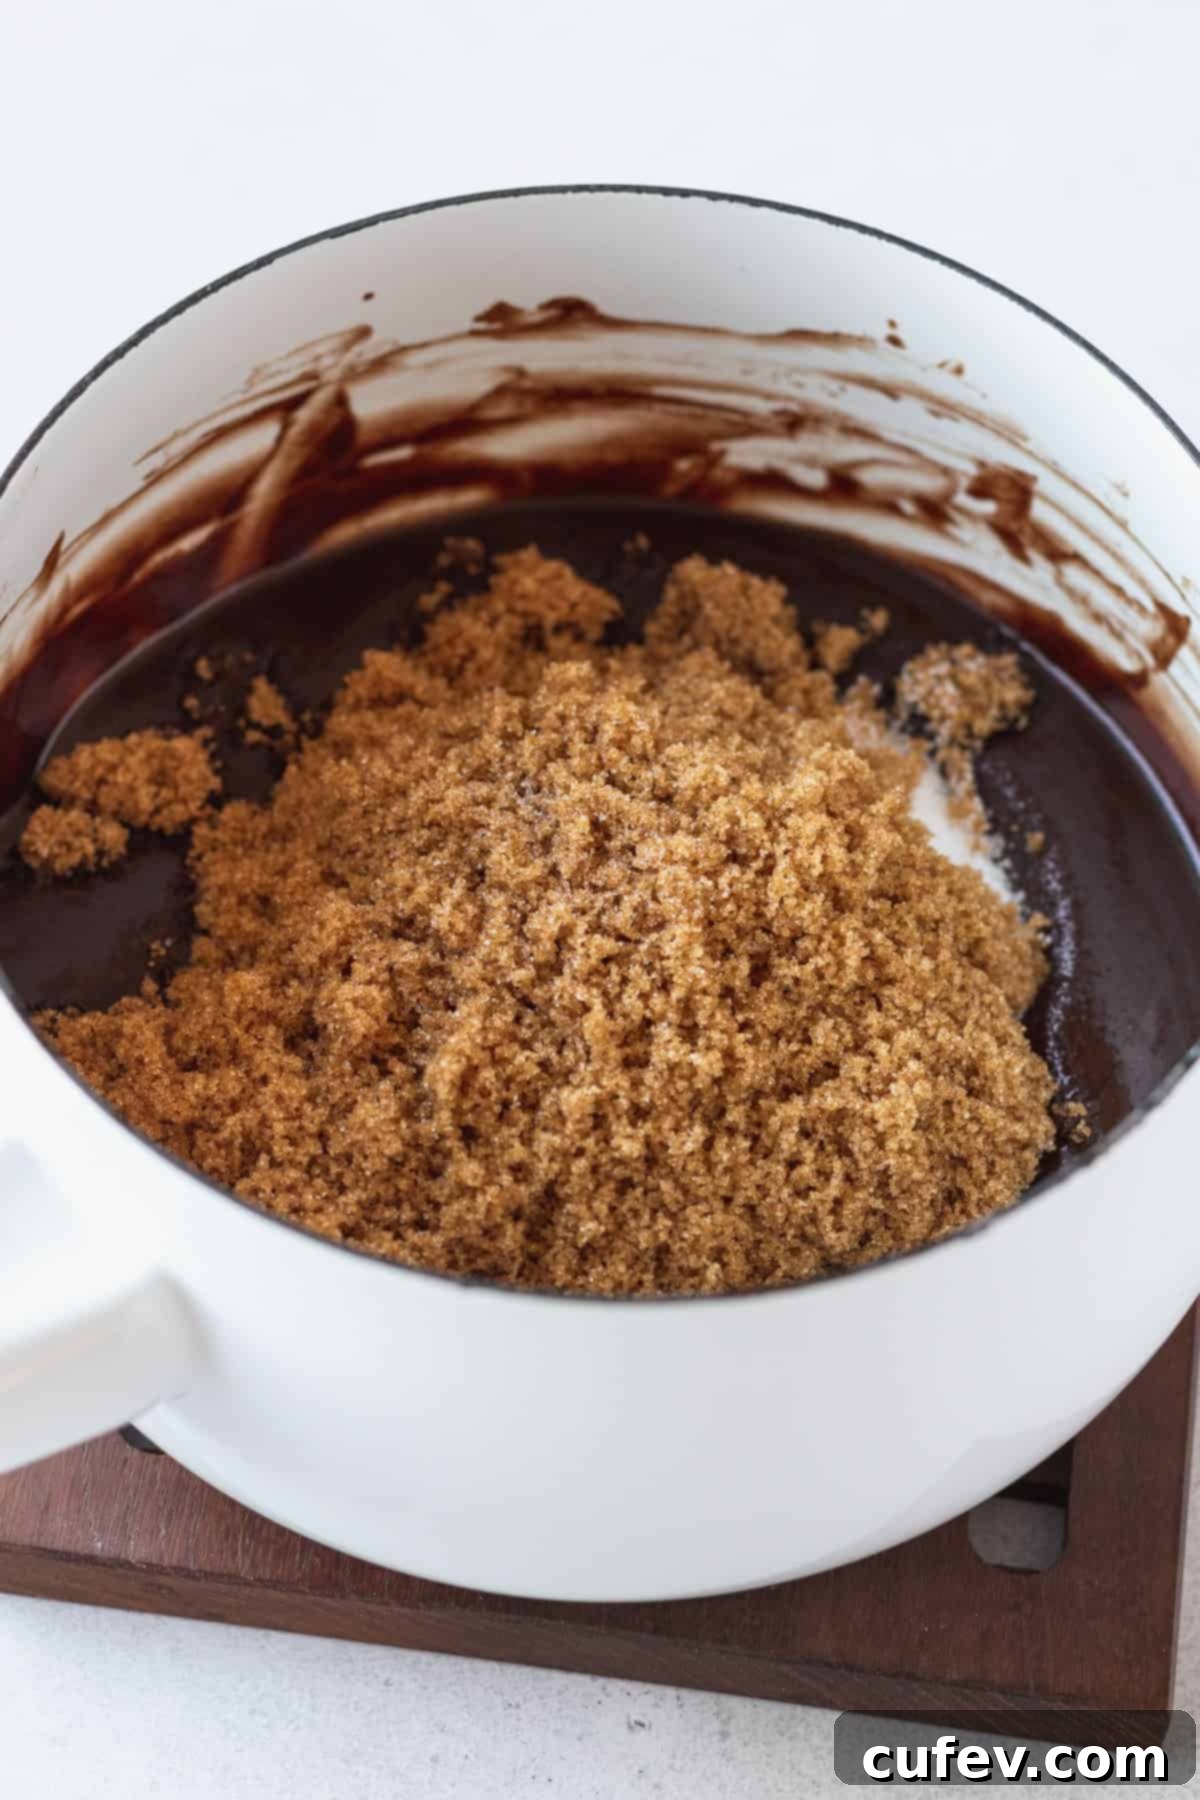
2. Incorporate Sugars & Cocoa: To the warm melted chocolate mixture, add both the granulated sugar and brown sugar, along with the cocoa powder. Whisk these ingredients together until they are fully combined and the sugars begin to dissolve. This crucial step, allowing the sugars to melt into the hot chocolate mixture, is what helps to form that beautiful, shiny, crinkly surface on your baked brownies. Adding the cocoa powder at this stage also allows it to “bloom” in the warm liquid, intensifying its rich chocolate flavors and aroma.
3. Add Eggs, Vanilla & Coffee: Whisk in one large egg at a time, ensuring each egg is fully incorporated before adding the next. This gradual addition helps to create a stable emulsion and a smooth, cohesive batter. After the eggs, stir in the vanilla extract, which enhances the chocolate notes, and the instant coffee (if using), which deepens the overall chocolate flavor without adding a coffee taste. Mix until everything is well combined and the batter is smooth and luscious.
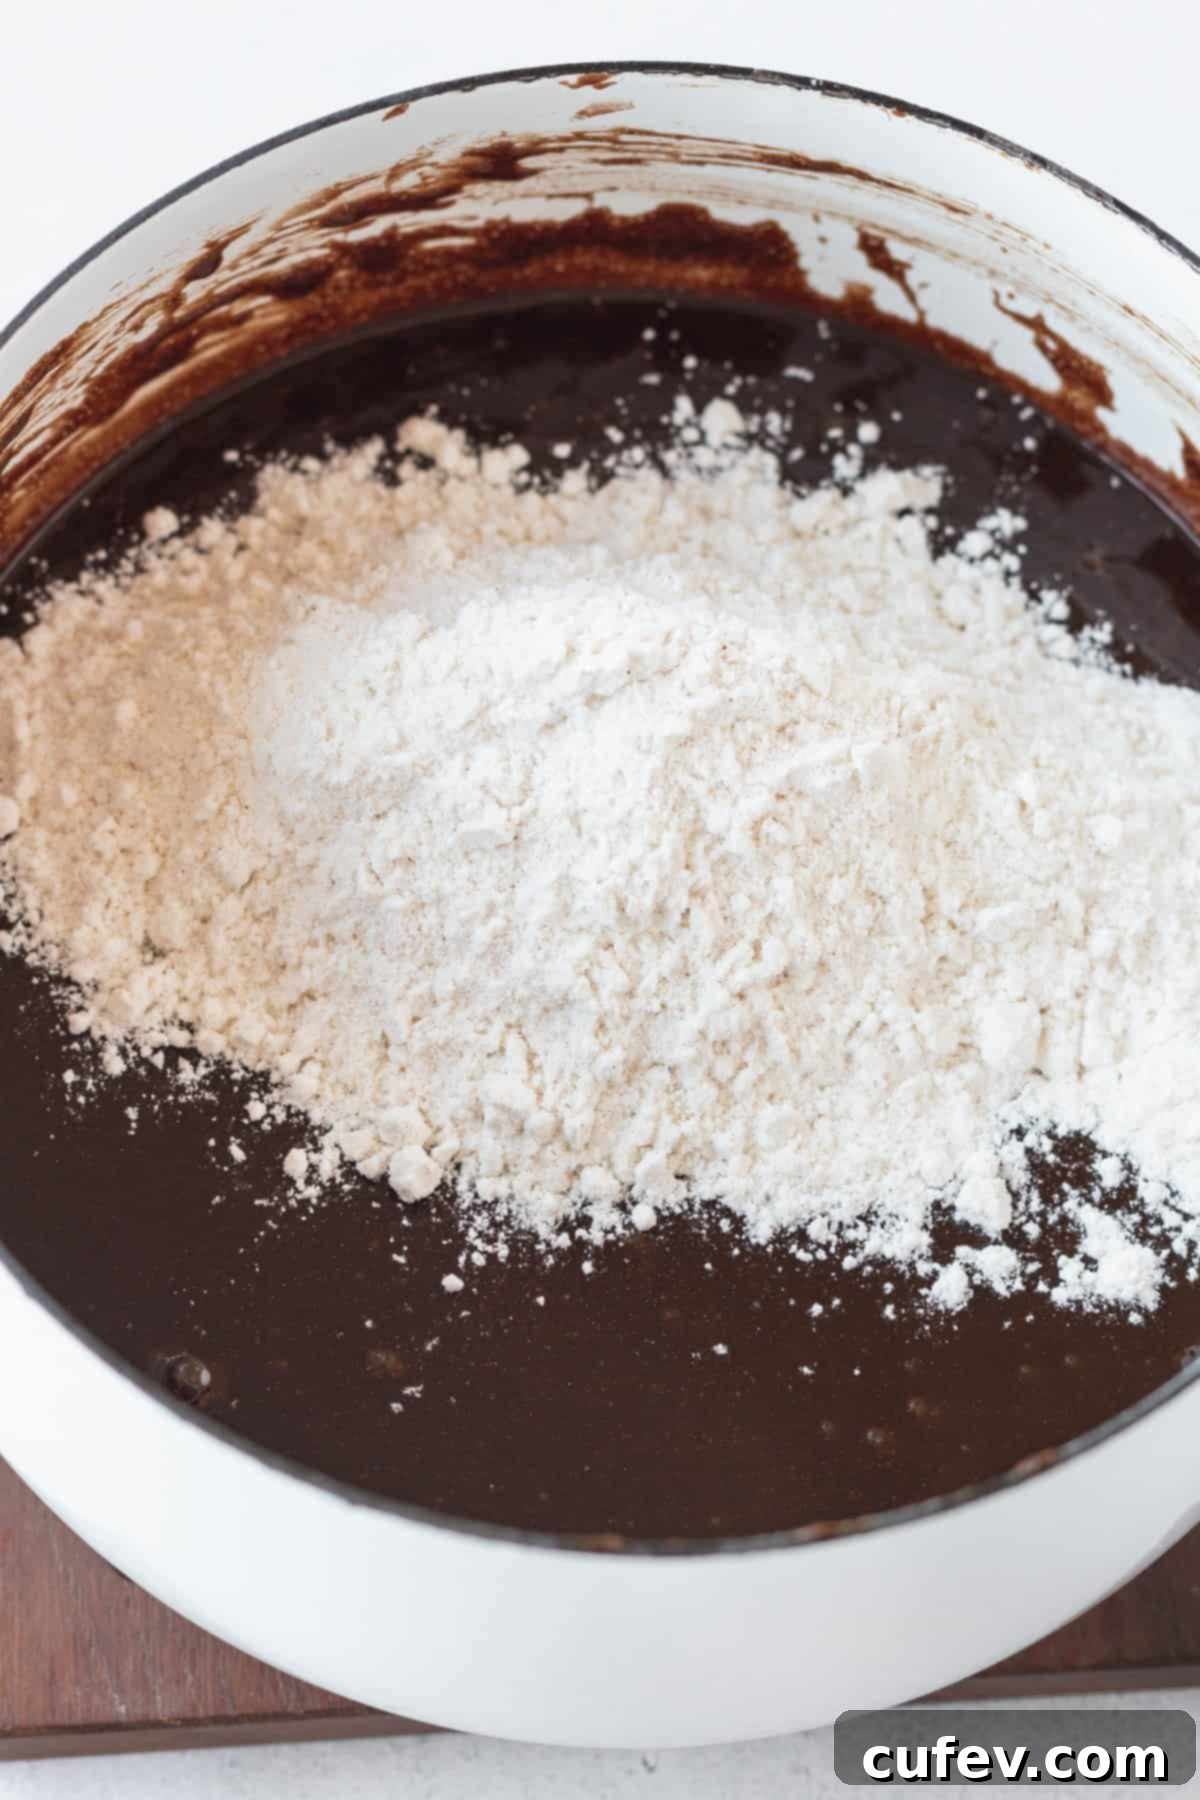
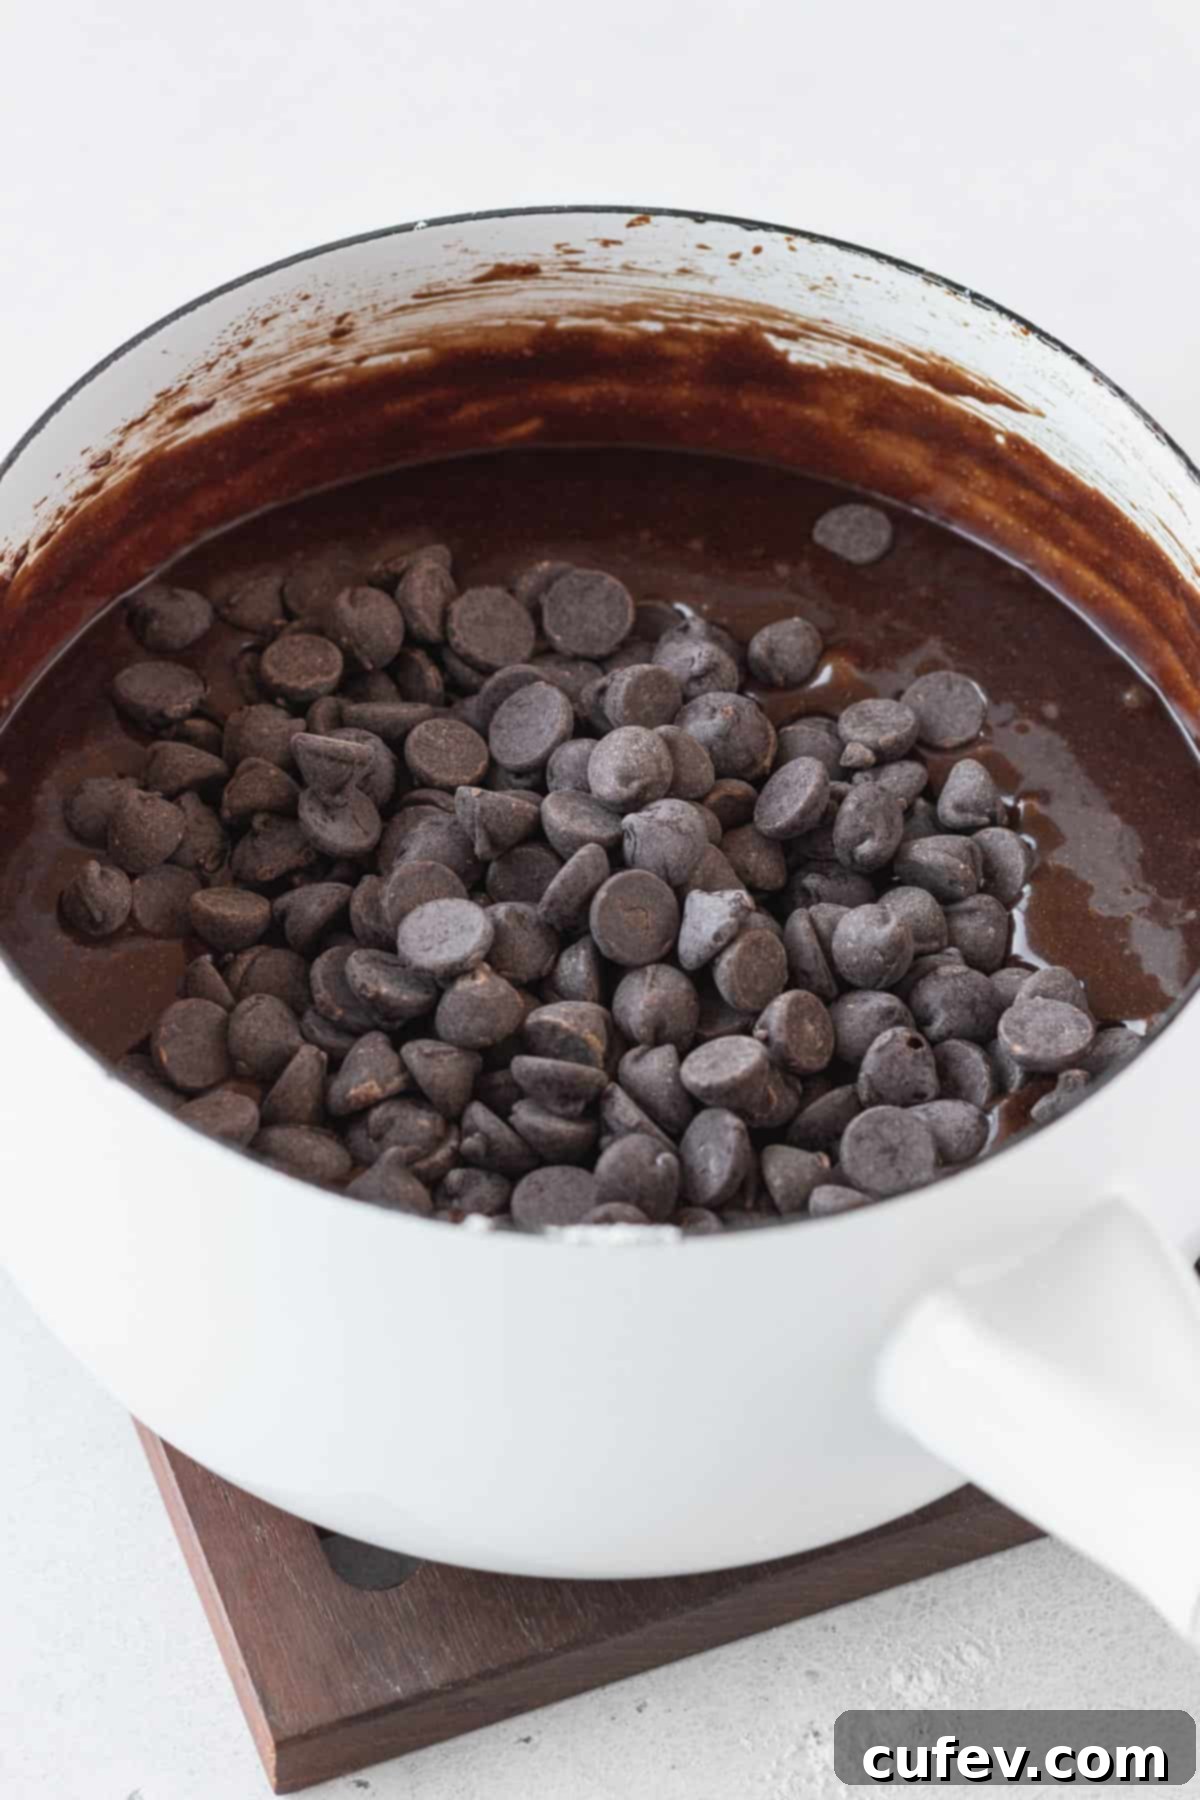
4. Fold in Dry Ingredients & Chocolate Chips: Add the gluten-free flour blend and fine salt to the wet ingredients. Gently stir the batter until it just comes together and is smooth. Avoid overmixing, as this can lead to tougher brownies. Switch from a whisk to a sturdy spatula or wooden spoon and carefully fold in the chocolate chips, ensuring they are evenly distributed throughout the rich batter. Once the chips are incorporated, set the saucepan aside and allow the brownie batter to rest for at least 20 minutes. This resting period is crucial for gluten-free baking; it gives the gluten-free flour sufficient time to fully hydrate, absorbing moisture and preventing any potentially grainy or gritty textures in your final baked brownies. This patience will be rewarded with an exceptionally smooth and tender crumb.
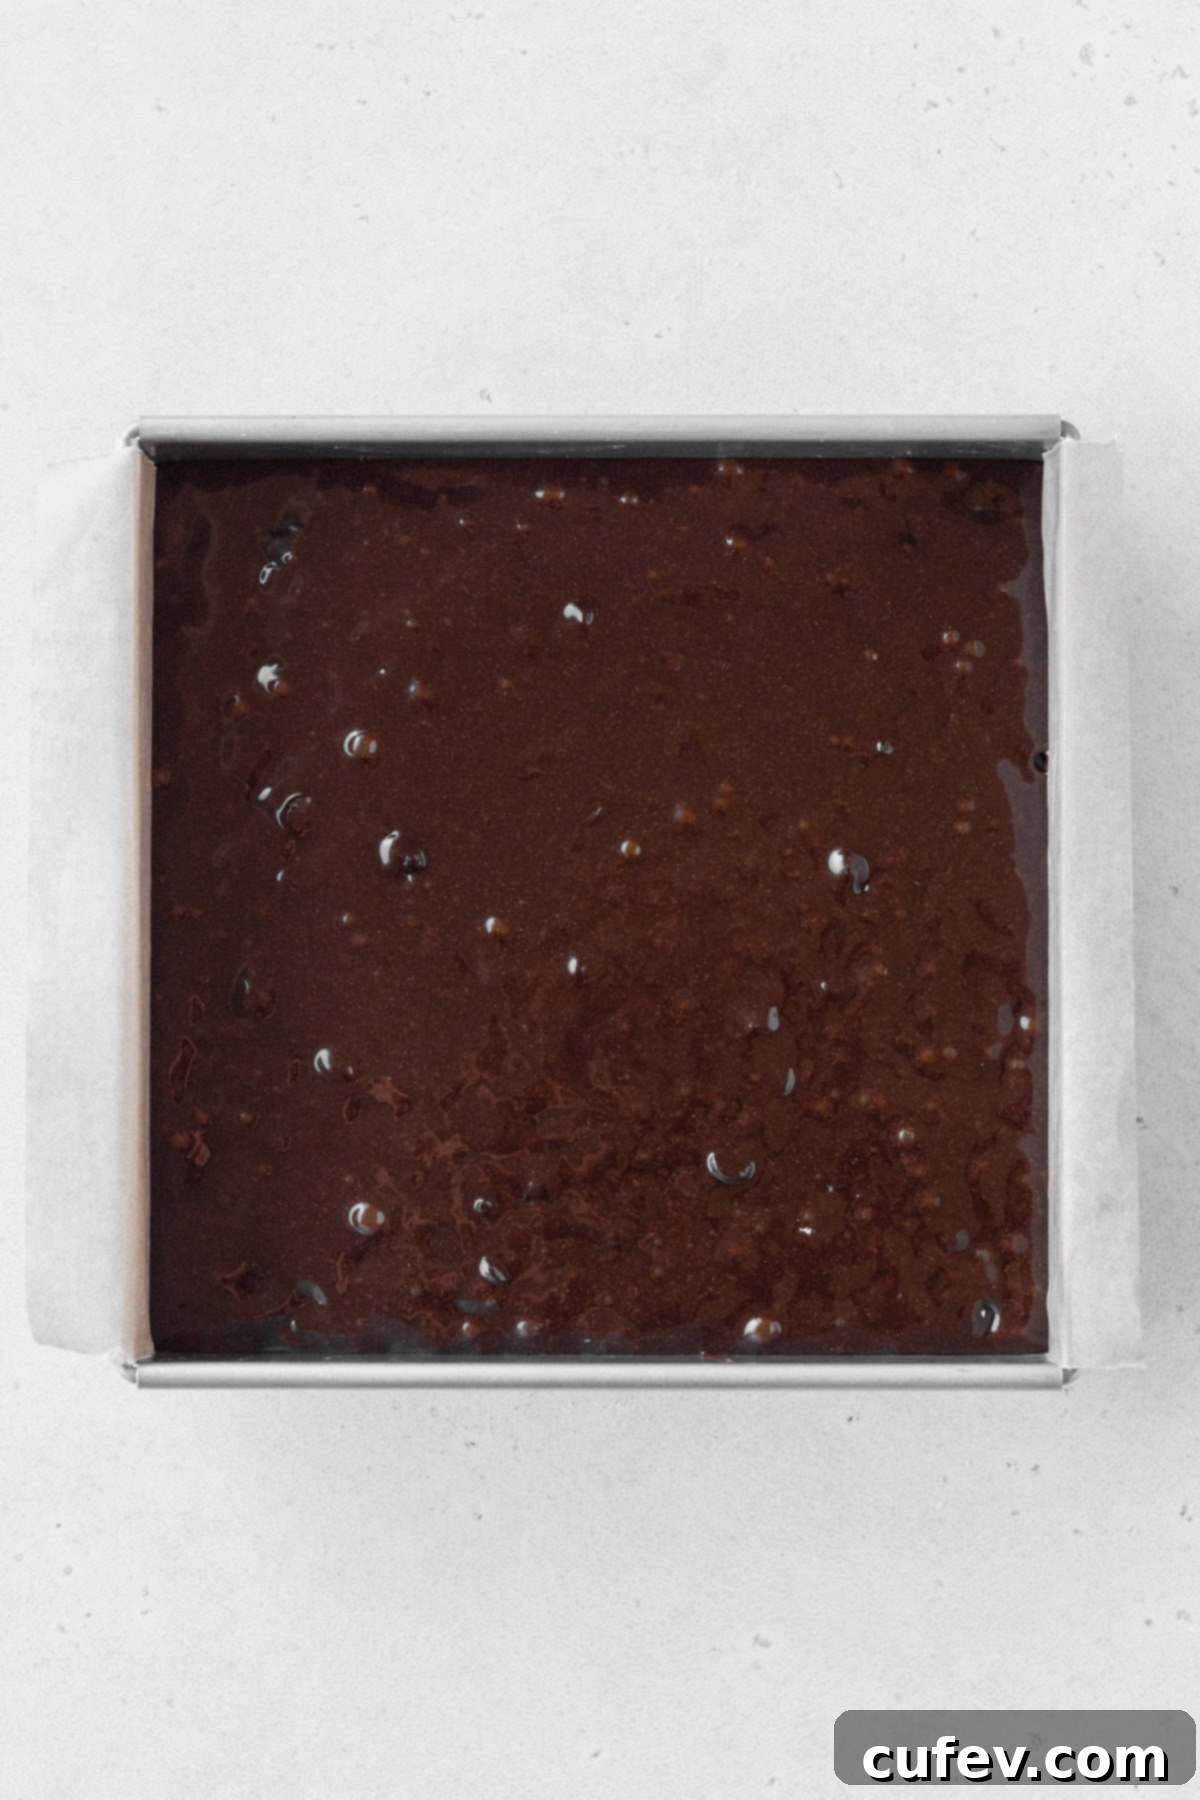
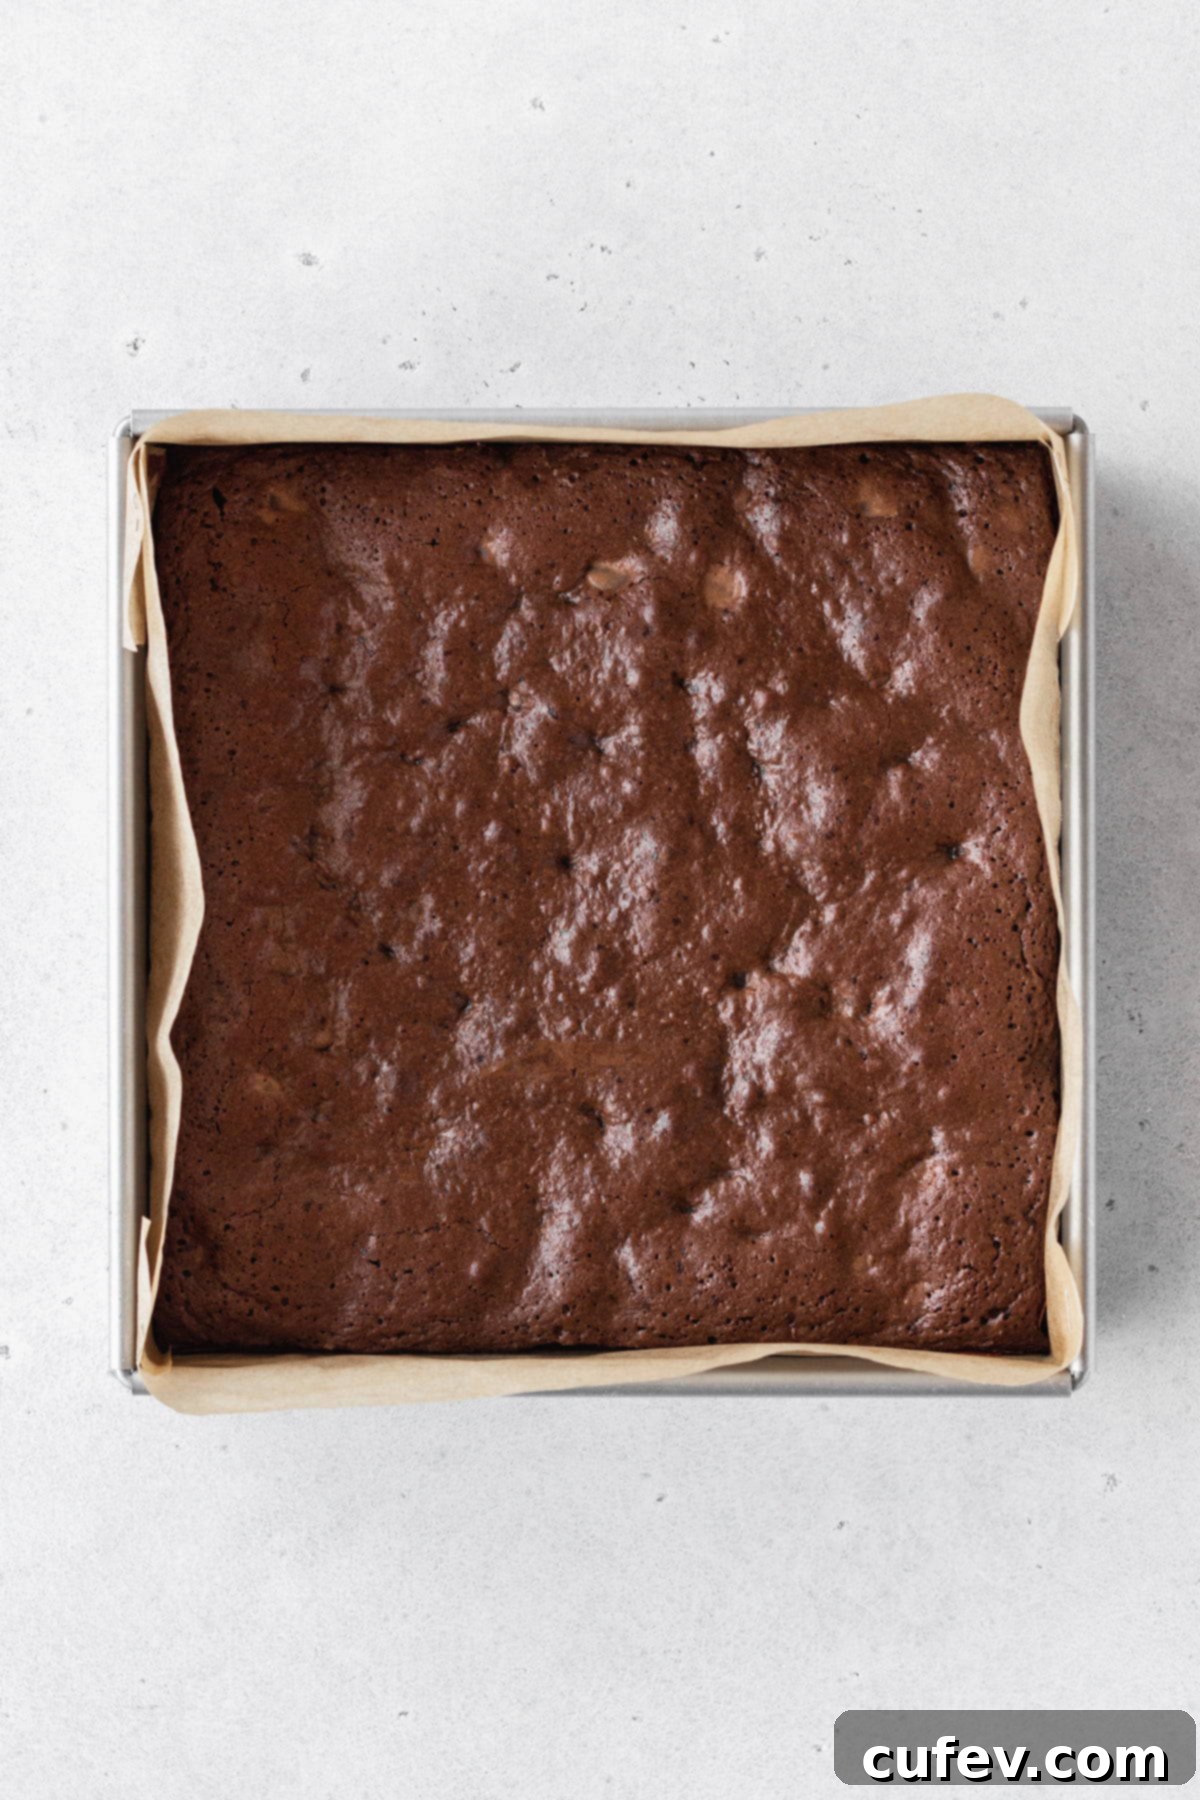
5. Prepare Pan & Bake: While your brownie batter enjoys its brief rest, take this time to preheat your oven to 350°F (180°C) and prepare your baking pan. For effortless removal and cleanup, grease an 8×8 inch square baking pan and line it with parchment paper, allowing the paper to overhang on two sides to create convenient “handles.” Pour the beautifully rested brownie batter evenly into the prepared pan. Bake for approximately 30 minutes. Your kitchen will soon be filled with the most absolutely amazing, irresistible chocolate aroma! The brownies are perfectly done when a toothpick inserted into the center comes out with a few moist crumbs attached, but not wet batter. Avoid baking until the toothpick is completely clean, as this will lead to dry brownies.
Expert Tip: How to Prevent Your Gluten-Free Brownies from Sinking
One common challenge with brownies, especially gluten-free ones, is sinking in the center after baking. To prevent this and ensure your brownies maintain their perfect shape, implement this simple yet effective trick: As soon as the brownies emerge from the oven, immediately take a knife and gently run it along the sides of the pan, between the baked brownies and the parchment paper. This swift action helps to release the brownies from the pan’s edges and minimizes the effect of thermal shock as they cool, allowing them to settle evenly and maintain that coveted flat, fudgy surface.
6. Cool Completely & Serve: The final, and arguably hardest, step is allowing your gluten-free brownies to cool completely in the pan before attempting to slice them. I know, the aroma is tantalizing, but trust me, this wait is absolutely essential! Gluten-free baked goods continue to set and firm up as they cool. Cutting into warm brownies will result in a messy, mushy texture rather than the clean, fudgy squares you desire. Patience will be rewarded with that perfect, dense, and truly fudgy texture you’ve worked so hard to achieve.
Pro Tips for Achieving the Ultimate Gluten-Free Brownies Every Time
To ensure your gluten-free brownies are consistently the absolute best they can be, keep these essential tips in mind:
Use the Right Pan: Your choice of baking pan significantly impacts the final texture of your brownies. I highly recommend using a light-colored metal square baking pan, ideally an 8×8 inch size for thick, substantial brownies. Light metal conducts heat much more efficiently and evenly than dark metal or glass pans. This even heat distribution prevents the edges and bottom of your brownies from burning while allowing the center to bake through perfectly, resulting in that desirable fudgy consistency and a consistent crinkly top. Darker pans can over-bake the edges, and glass pans tend to retain heat longer, potentially leading to uneven baking.
Cool Completely: This cannot be stressed enough, especially for gluten-free baked goods. Brownies, like many other baked treats, continue to “cook” and set as they cool. If you cut into them while they are still warm, they will likely be mushy, crumbly, and not fully set, lacking that dense, fudgy texture. Resist the urge to slice until they are completely cool, preferably at room temperature for several hours or even chilled for an hour in the refrigerator for the cleanest cuts. This patience is key to achieving their signature fudginess.
Use a Clean, Wet Knife to Cut: For beautifully neat, sharp edges on your brownie squares, always use a clean, sharp knife that has been run under hot water and then wiped slightly damp. The warmth and moisture on the blade help prevent the brownies from sticking and tearing. For truly pristine slices, wipe the knife clean and re-dampen it between each cut. This simple technique elevates the presentation of your homemade gluten-free brownies significantly.
Don’t Overmix the Batter: Once you add the gluten-free flour, mix just until combined. Overmixing can incorporate too much air, leading to a cakey texture rather than the desired dense, fudgy one. Gentle folding is key after the flour is introduced.
Parchment Paper is Your Best Friend: Lining your baking pan with parchment paper, leaving an overhang on two sides, is a game-changer. It not only prevents sticking but also creates “handles” that allow you to easily lift the entire slab of cooled brownies out of the pan. This makes slicing much simpler and ensures every brownie maintains its integrity.
Gluten-Free Brownie Recipe
Print
Pin
Rate
Ingredients
- ½ cup butter regular or vegan
- ½ cup dark chocolate chips or chopped (approx. 70% cacao)
- ½ cup granulated sugar
- ½ cup packed brown sugar (light or dark)
- 2 large eggs (at room temperature)
- 1 tablespoon pure cocoa powder (Dutch-processed preferred)
- 1½ teaspoon vanilla extract (or vanilla paste)
- ½ teaspoon instant coffee (optional, regular or decaf instant espresso)
- ½ cup gluten-free 1-to-1 flour blend (with xanthan gum, e.g., Bob’s Red Mill)
- ½ teaspoon fine salt (sea salt or Himalayan pink salt)
- ⅔ cup chocolate chips (semisweet, dark, milk, or white)
Instructions
-
In a small, heavy-bottomed saucepan, gently melt the butter and dark chocolate over very low heat. Stir continuously with a spatula to prevent the chocolate from burning or seizing. Once completely smooth and melted, immediately remove the pot from the heat.
-
To the warm chocolate mixture, add the granulated sugar, brown sugar, and cocoa powder. Whisk vigorously until all ingredients are well combined and the sugars begin to dissolve. Then, add the large eggs one at a time, whisking thoroughly after each addition until fully incorporated.
-
Stir in the vanilla extract and the instant coffee granules (if using) until they are fully blended into the rich brownie batter.
-
In a separate small bowl, briefly whisk together the gluten-free flour blend and fine salt to ensure they are evenly distributed. Add this dry mixture to the pot with the wet ingredients and mix gently until the batter is just smooth and no streaks of flour remain. Be careful not to overmix.
-
Switch to a spatula or wooden spoon and fold in the chocolate chips until they are evenly distributed throughout the batter. Set the pot aside and let the brownie batter rest at room temperature for 20 minutes. This resting period allows the gluten-free flour to properly hydrate, ensuring a smoother, less grainy texture in the final brownies.
-
While the batter rests, preheat your oven to 350°F (180°C). Grease an 8×8 inch square baking pan and line it with parchment paper, allowing some overhang on two opposite sides to create handles for easy removal.
-
Pour the rested brownie batter evenly into the prepared pan. Bake for 30 minutes. The brownies are done when a toothpick inserted into the center comes out with moist crumbs, but not wet batter. Immediately after removing the brownies from the oven, run a knife along the sides (between the brownies and the parchment paper) to help prevent them from sinking in the center as they cool.
-
Allow the brownies to cool completely in the pan before carefully lifting them out using the parchment paper handles. Once fully cooled, slice into squares with a clean, damp knife and serve.
Nutrition
Storage & Freezing Instructions for Your Gluten-Free Brownies
Ensuring your fudgy gluten-free brownies remain fresh and delicious is easy with these simple storage tips:
Storing: Once completely cooled, store your brownies in an airtight container. They will remain wonderfully fresh and fudgy at room temperature for up to 3 days. If you live in a warm or humid climate, or simply prefer a firmer brownie, you can also store them in the refrigerator for up to 5 days. For optimal freshness, place a piece of parchment paper between layers of brownies if stacking them.
Freezing: These brownies are excellent for freezing, making them perfect for meal prep or enjoying a treat whenever a craving strikes. To freeze, ensure the brownies are entirely cooled. Wrap each individual brownie square tightly with a layer of plastic wrap, followed by a layer of aluminum foil to prevent freezer burn. Once wrapped, place them in an airtight freezer-safe container or a heavy-duty freezer bag. They can be stored in the freezer for up to 3 months. To enjoy, simply thaw them at room temperature for a couple of hours, or warm gently in the microwave for a few seconds for that fresh-baked gooey texture.
Frequently Asked Questions About Gluten-Free Brownies
Absolutely! This recipe is wonderfully versatile and welcomes creative mix-ins to customize your brownies. Some fantastic ideas include a ½ cup of chopped toasted walnuts or pecans for a delightful crunch, a handful of toffee bits for extra sweetness and chew, or even crushed gluten-free pretzels for a sweet and salty twist. Always double-check the labels of any mix-ins to ensure they are certified gluten-free, especially for things like candy bars or flavored chips.
Yes, you can certainly double this recipe to fill a larger 9×13-inch baking pan, which is perfect for feeding a crowd or for larger batches. When doubling, remember to use all ingredient quantities twice. Keep in mind that a larger, thicker batch of brownies will require a longer baking time. I would recommend starting to check for doneness after about 35-40 minutes, and potentially baking for up to 50-60 minutes, or until a toothpick inserted into the center comes out with moist crumbs.
Using a 9×9-inch pan instead of an 8×8-inch pan will result in slightly thinner brownies, which means they might bake a bit faster. While the original recipe calls for 30 minutes in an 8×8 pan, I would advise checking your brownies for doneness after approximately 25 minutes if using a 9×9 pan. Continue baking in 3-5 minute increments until a toothpick inserted into the center comes out with moist crumbs, indicating they are perfectly fudgy.
Absolutely! Making these delicious gluten-free brownies dairy-free is incredibly simple. The only modification needed is to swap out the regular butter for an equal amount of high-quality vegan butter sticks. Brands like Miyoko’s Kitchen Cultured Vegan Butter or Earth Balance Vegan Butter Sticks work exceptionally well and will provide the same richness and fudginess without any dairy.
Unfortunately, I do not recommend making this specific recipe egg-free or fully vegan. The large eggs are crucial to this brownie’s success; they provide significant moisture, act as a primary binder, and contribute to the overall structure and fudgy texture. Omitting them or replacing them with typical egg substitutes in this particular recipe would likely result in brownies that are too mushy, overly dense, or lack the desired crinkly top. For truly excellent vegan or egg-free brownies, I recommend seeking out recipes specifically developed and perfected using appropriate egg alternatives.
For achieving truly fudgy gluten-free brownies with a perfect texture, my top recommendation is Bob’s Red Mill Gluten-Free 1-to-1 Baking Flour. It’s consistently reliable and yields excellent results in this recipe. Other excellent choices include Cup4Cup Wholesome Flour and King Arthur’s Gluten Free Measure for Measure Flour. The most critical factor when selecting any gluten-free flour blend for baking is to ensure that it explicitly includes xanthan gum in its ingredient list. Xanthan gum is vital; it provides the necessary elasticity and structure that gluten usually offers, preventing your baked goods from becoming crumbly or dense in an undesirable way.
Yes, you absolutely can make these brownies without adding extra chocolate chips at the end. The recipe already contains a significant amount of dark chocolate and cocoa powder, ensuring a rich chocolate flavor. The added chocolate chips simply enhance the experience by creating delightful pockets of melty chocolate in every bite. If you prefer a brownie with a consistently smooth interior or simply don’t have chips on hand, feel free to omit them without significantly impacting the fudgy texture or delicious taste.
Discover More Irresistible Gluten-Free Dessert Recipes
If you’ve fallen in love with these decadent gluten-free brownies and have a passion for chocolate, you’re in for a treat! You absolutely must try this rich and luxurious gluten-free German chocolate cake, a true showstopper, or indulge in these delightfully soft and chewy gluten-free whoopie pies, which will be right up your alley for a perfect chocolatey snack.
For those who appreciate a classic baked good with a comforting twist, this gluten-free coffee cake holds a special place as one of my all-time favorite cake recipes. It’s renowned for its incredibly soft, moist, and buttery texture, complemented by a luscious cinnamon sugar layer and a delightful crumb topping that adds the perfect amount of sweetness and crunch. It’s an ideal companion for your morning coffee or an afternoon pick-me-up.
You truly can’t go wrong with a perfectly baked cookie, and these gluten-free sugar cookies are no exception. They are baked to a soft perfection with satisfyingly crisp bottoms, making them an excellent canvas for decorating for any holiday or special occasion. And for the ultimate classic, my gluten-free chocolate chip cookies are a must-try. Similarly, my almond flour chocolate chip cookies offer a slightly different flavor profile but both recipes boast those iconic crisp edges and wonderfully soft, chewy centers that everyone loves.
Finally, if you’re planning your holiday baking or simply want to spread some festive cheer, opt for these charming gluten-free Christmas cookies. Their soft and chewy texture, infused with a refreshing vanilla mint flavor, is guaranteed to impress and delight everyone who takes a bite!
