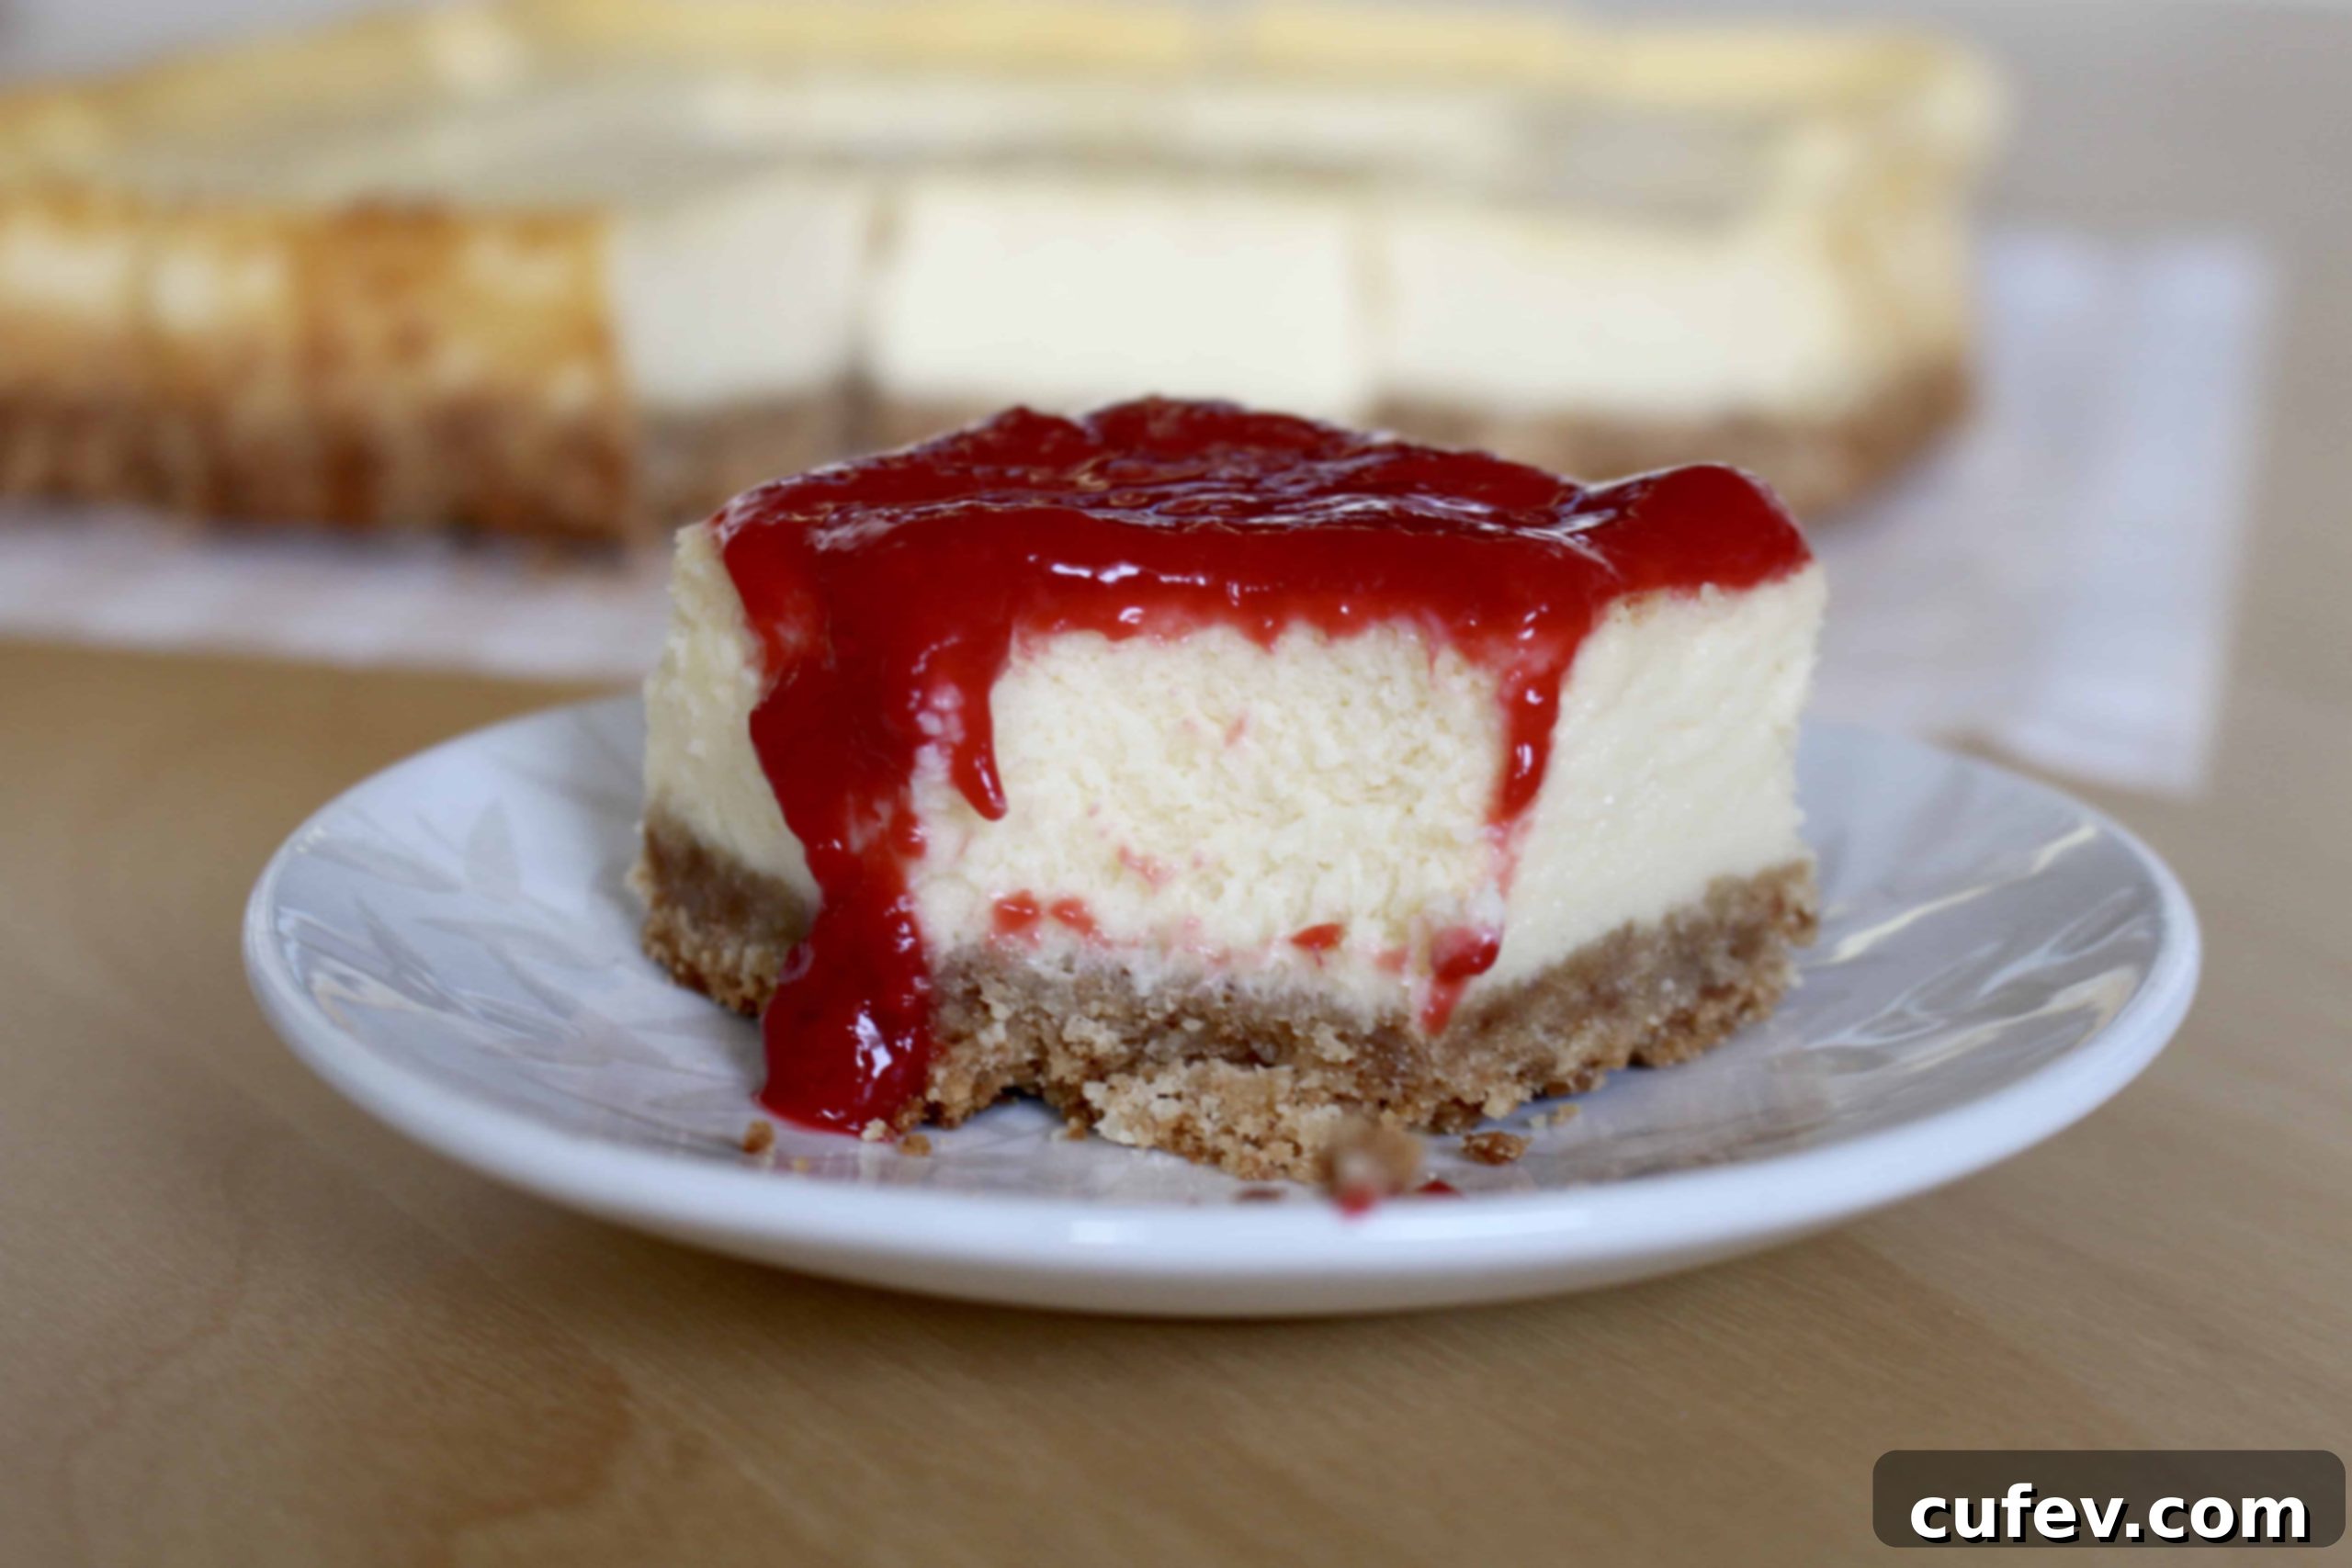
Irresistibly Creamy & Easy Homemade Cheesecake Bars: Your New Favorite Dessert Recipe
Cheesecake has always held a special place in my heart, marking itself as one of the very first “fancy” desserts I ever mastered from scratch. Growing up as a teacher’s kid meant frequently accompanying my mom to various faculty get-togethers. It was at one such memorable event that my P.E. teacher, Mr. Rabb, and his wonderful wife served a cheesecake that truly captivated my taste buds. It wasn’t just good; it was extraordinary. The rich, creamy texture and delightful flavor left such an impression that my mom was quick to request the recipe, and soon, it became a beloved staple in our own home.
Years later, when I ventured off to college, the craving for that familiar, comforting cheesecake became almost unbearable. Instead of simply asking my mom for the recipe (a logical step, I know, but youthful independence often leads to circuitous paths!), I embarked on my own culinary quest. I spent hours sifting through countless online recipes, determined to recreate the magic of my mom’s homemade cheesecake. This journey of trial and error, of subtle adjustments and taste tests, eventually led me to a recipe that is only slightly different from hers, yet incredibly delicious in its own right. The inclusion of sour cream, for instance, adds a delightful tang and contributes to a lighter, airier texture that elevates the classic. And when it comes to the crust, I’ve found that butter biscuits offer an unparalleled buttery richness, far exceeding what traditional graham crackers provide. By baking this decadent dessert in a square pan and cutting it into convenient bars, it transforms from a formal dessert into an accessible, utterly irresistible treat. And yes, I tell myself it’s a “healthy snack” as I reach for my second (or third) piece – a small indulgence worth every bite!
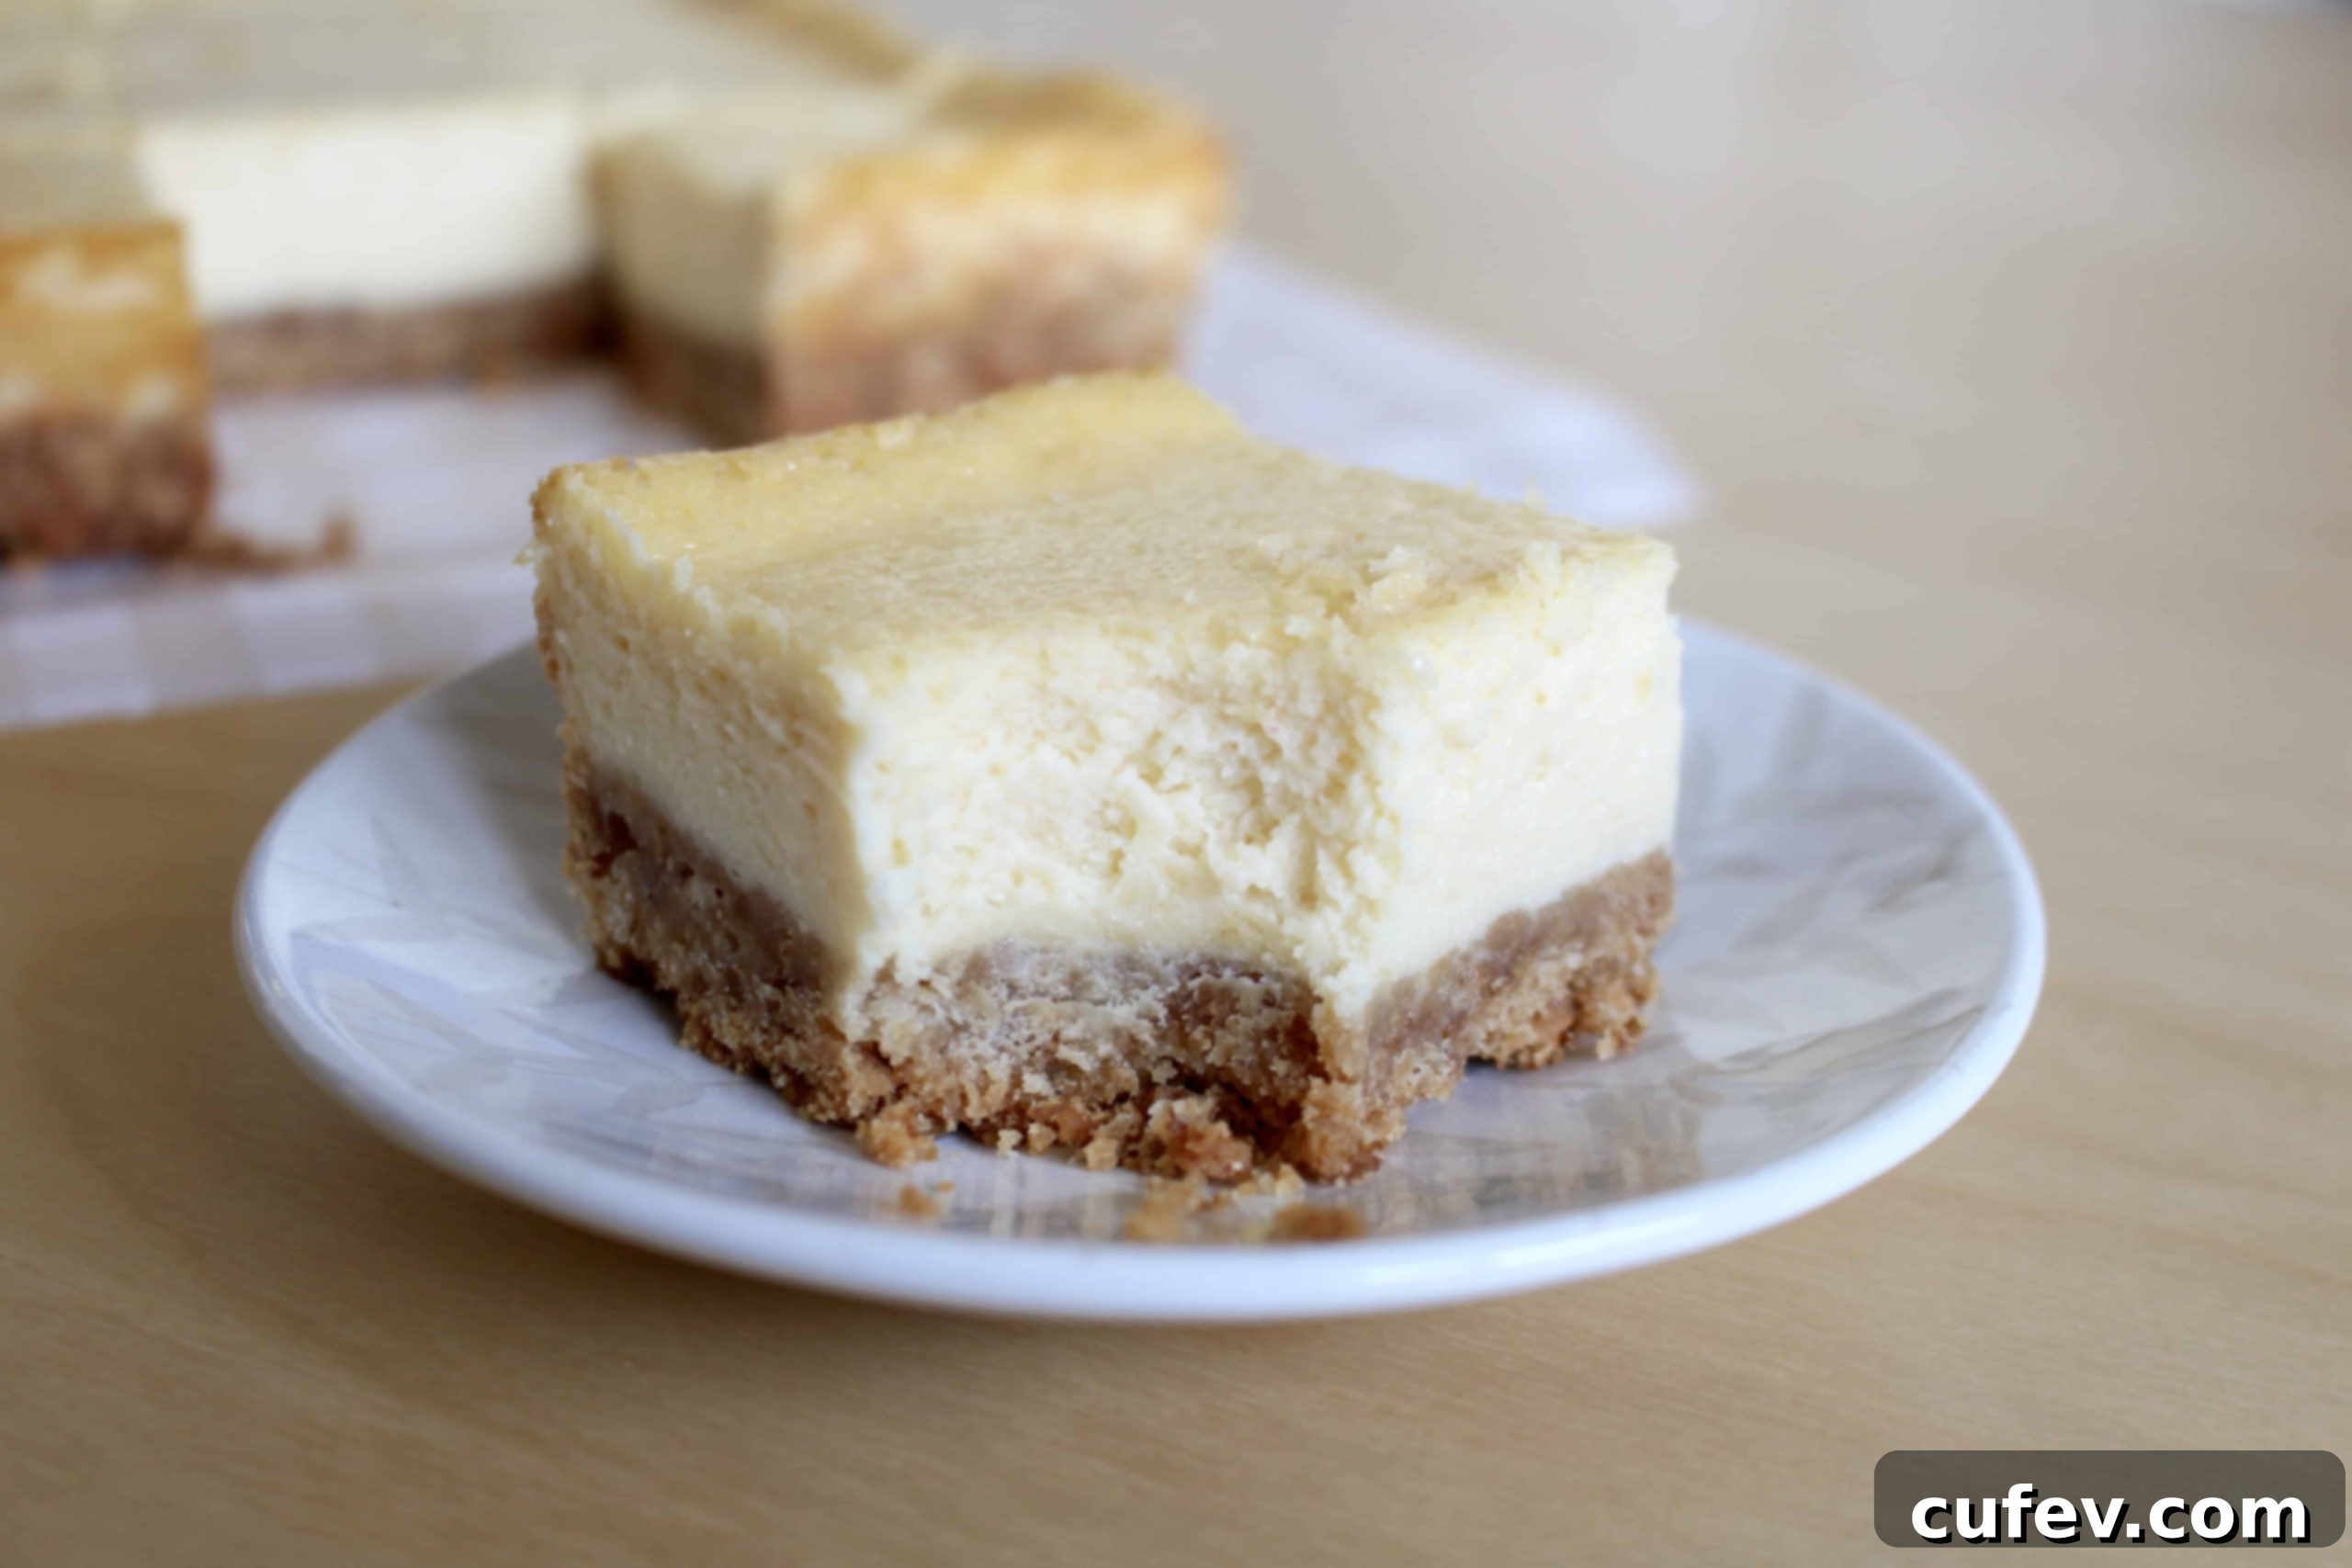
Why These Homemade Cheesecake Bars Are a Must-Try
These cheesecake bars aren’t just a dessert; they’re a celebration of simplicity and flavor. They offer the decadent taste of a classic cheesecake but with a fraction of the fuss. If you’ve been intimidated by baking a full cheesecake, this recipe is your perfect entry point into the world of creamy, dreamy desserts. It’s designed for home bakers of all skill levels, promising a stunning result without the stress.
A Journey from Childhood Memories to Homemade Perfection
My culinary journey with cheesecake began with a simple taste that blossomed into a lifelong love. This recipe is a culmination of those cherished memories and my personal quest to perfect a dessert that is both sophisticated and comforting. Each ingredient choice, from the specific crust base to the addition of sour cream, has been meticulously selected to enhance the overall experience, ensuring a cheesecake that is rich, velvety, and balanced in flavor. It’s a recipe born from nostalgia but refined for modern palates, making it an ideal treat for any occasion.
The Secret to a Superior Crust: Butter Biscuits
While graham crackers are a classic choice for cheesecake crusts, my preference for butter biscuits is a game-changer. These biscuits introduce an extra layer of buttery depth and a finer texture that graham crackers simply can’t match. The result is a crust that is not only incredibly flavorful but also perfectly crisp and sturdy, providing an ideal foundation for the luscious cheesecake filling. This small tweak significantly elevates the entire dessert, proving that sometimes, the best innovations come from unexpected ingredient swaps.
The Filling: Creamy, Tangy, and Crack-Free
The star of any cheesecake is, undoubtedly, its filling. This recipe delivers a filling that is exceptionally creamy, thanks to the perfect balance of cream cheese and heavy cream. The sour cream introduces a subtle tang that cuts through the richness, preventing the cheesecake from being overly sweet and adding a refreshing dimension. Moreover, this recipe is specifically crafted to minimize the dreaded cheesecake cracks, allowing you to achieve a beautiful, smooth top without the need for a cumbersome water bath. It’s a truly satisfying baking experience that yields professional-looking results with ease.
Crafting Your Delicious Cheesecake Bars: A Step-by-Step Guide
Preparing the Irresistible Crust
- Begin by preheating your oven to 320°F (160°C). This gentle heat is crucial for a perfectly baked cheesecake. Next, prepare your 9-inch square pan. Lining the pan with parchment paper is an absolute must. It acts as a sling, making it incredibly easy to lift the entire cheesecake out of the pan once it’s cooled and set, preventing any sticking and ensuring a clean removal.
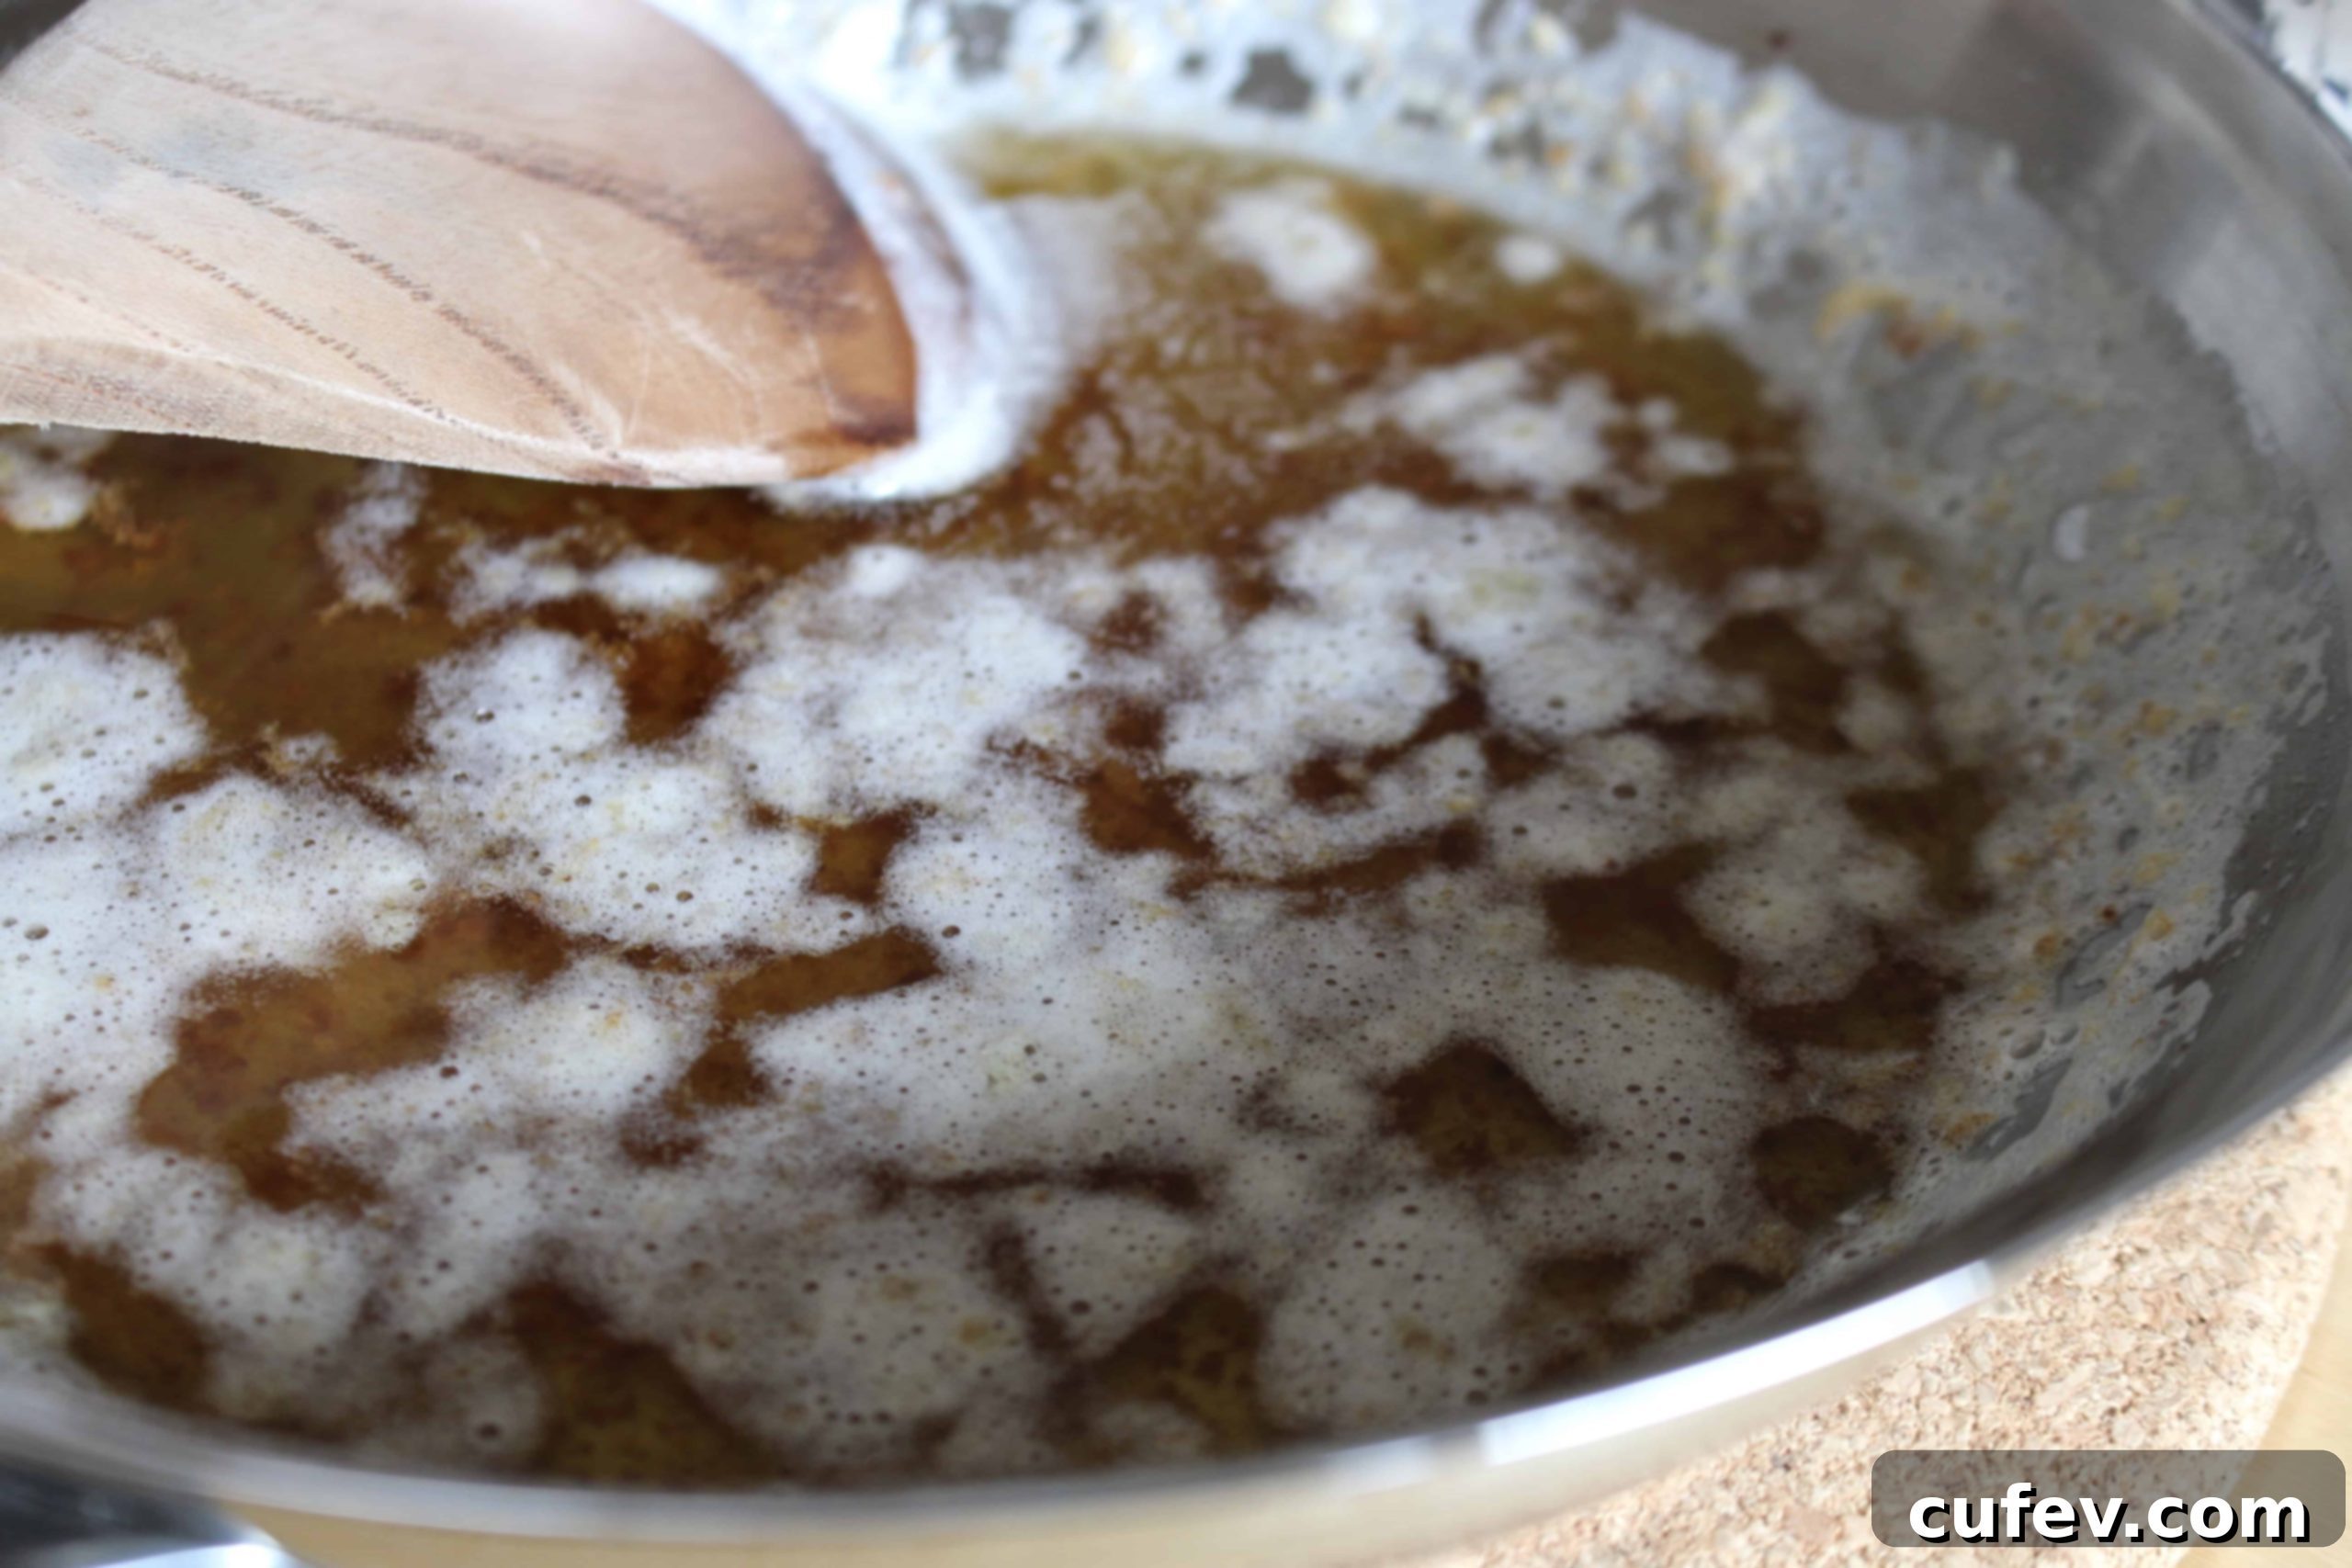
- Now, let’s create the crust. In a small skillet or saucepan, melt your butter. While a microwave works, I highly recommend browning your butter gently on the stovetop. This extra step imparts a beautiful, nutty flavor that deepens the crust’s profile and adds a layer of sophistication. Once melted (and browned, if you choose), pour the butter over your biscuit crumbs (or graham cracker crumbs, if preferred) in a bowl. Mix thoroughly until every crumb is evenly coated and soaked in that delicious butter. This ensures a cohesive and flavorful crust.
Chilling the Crust for Foundation Perfection
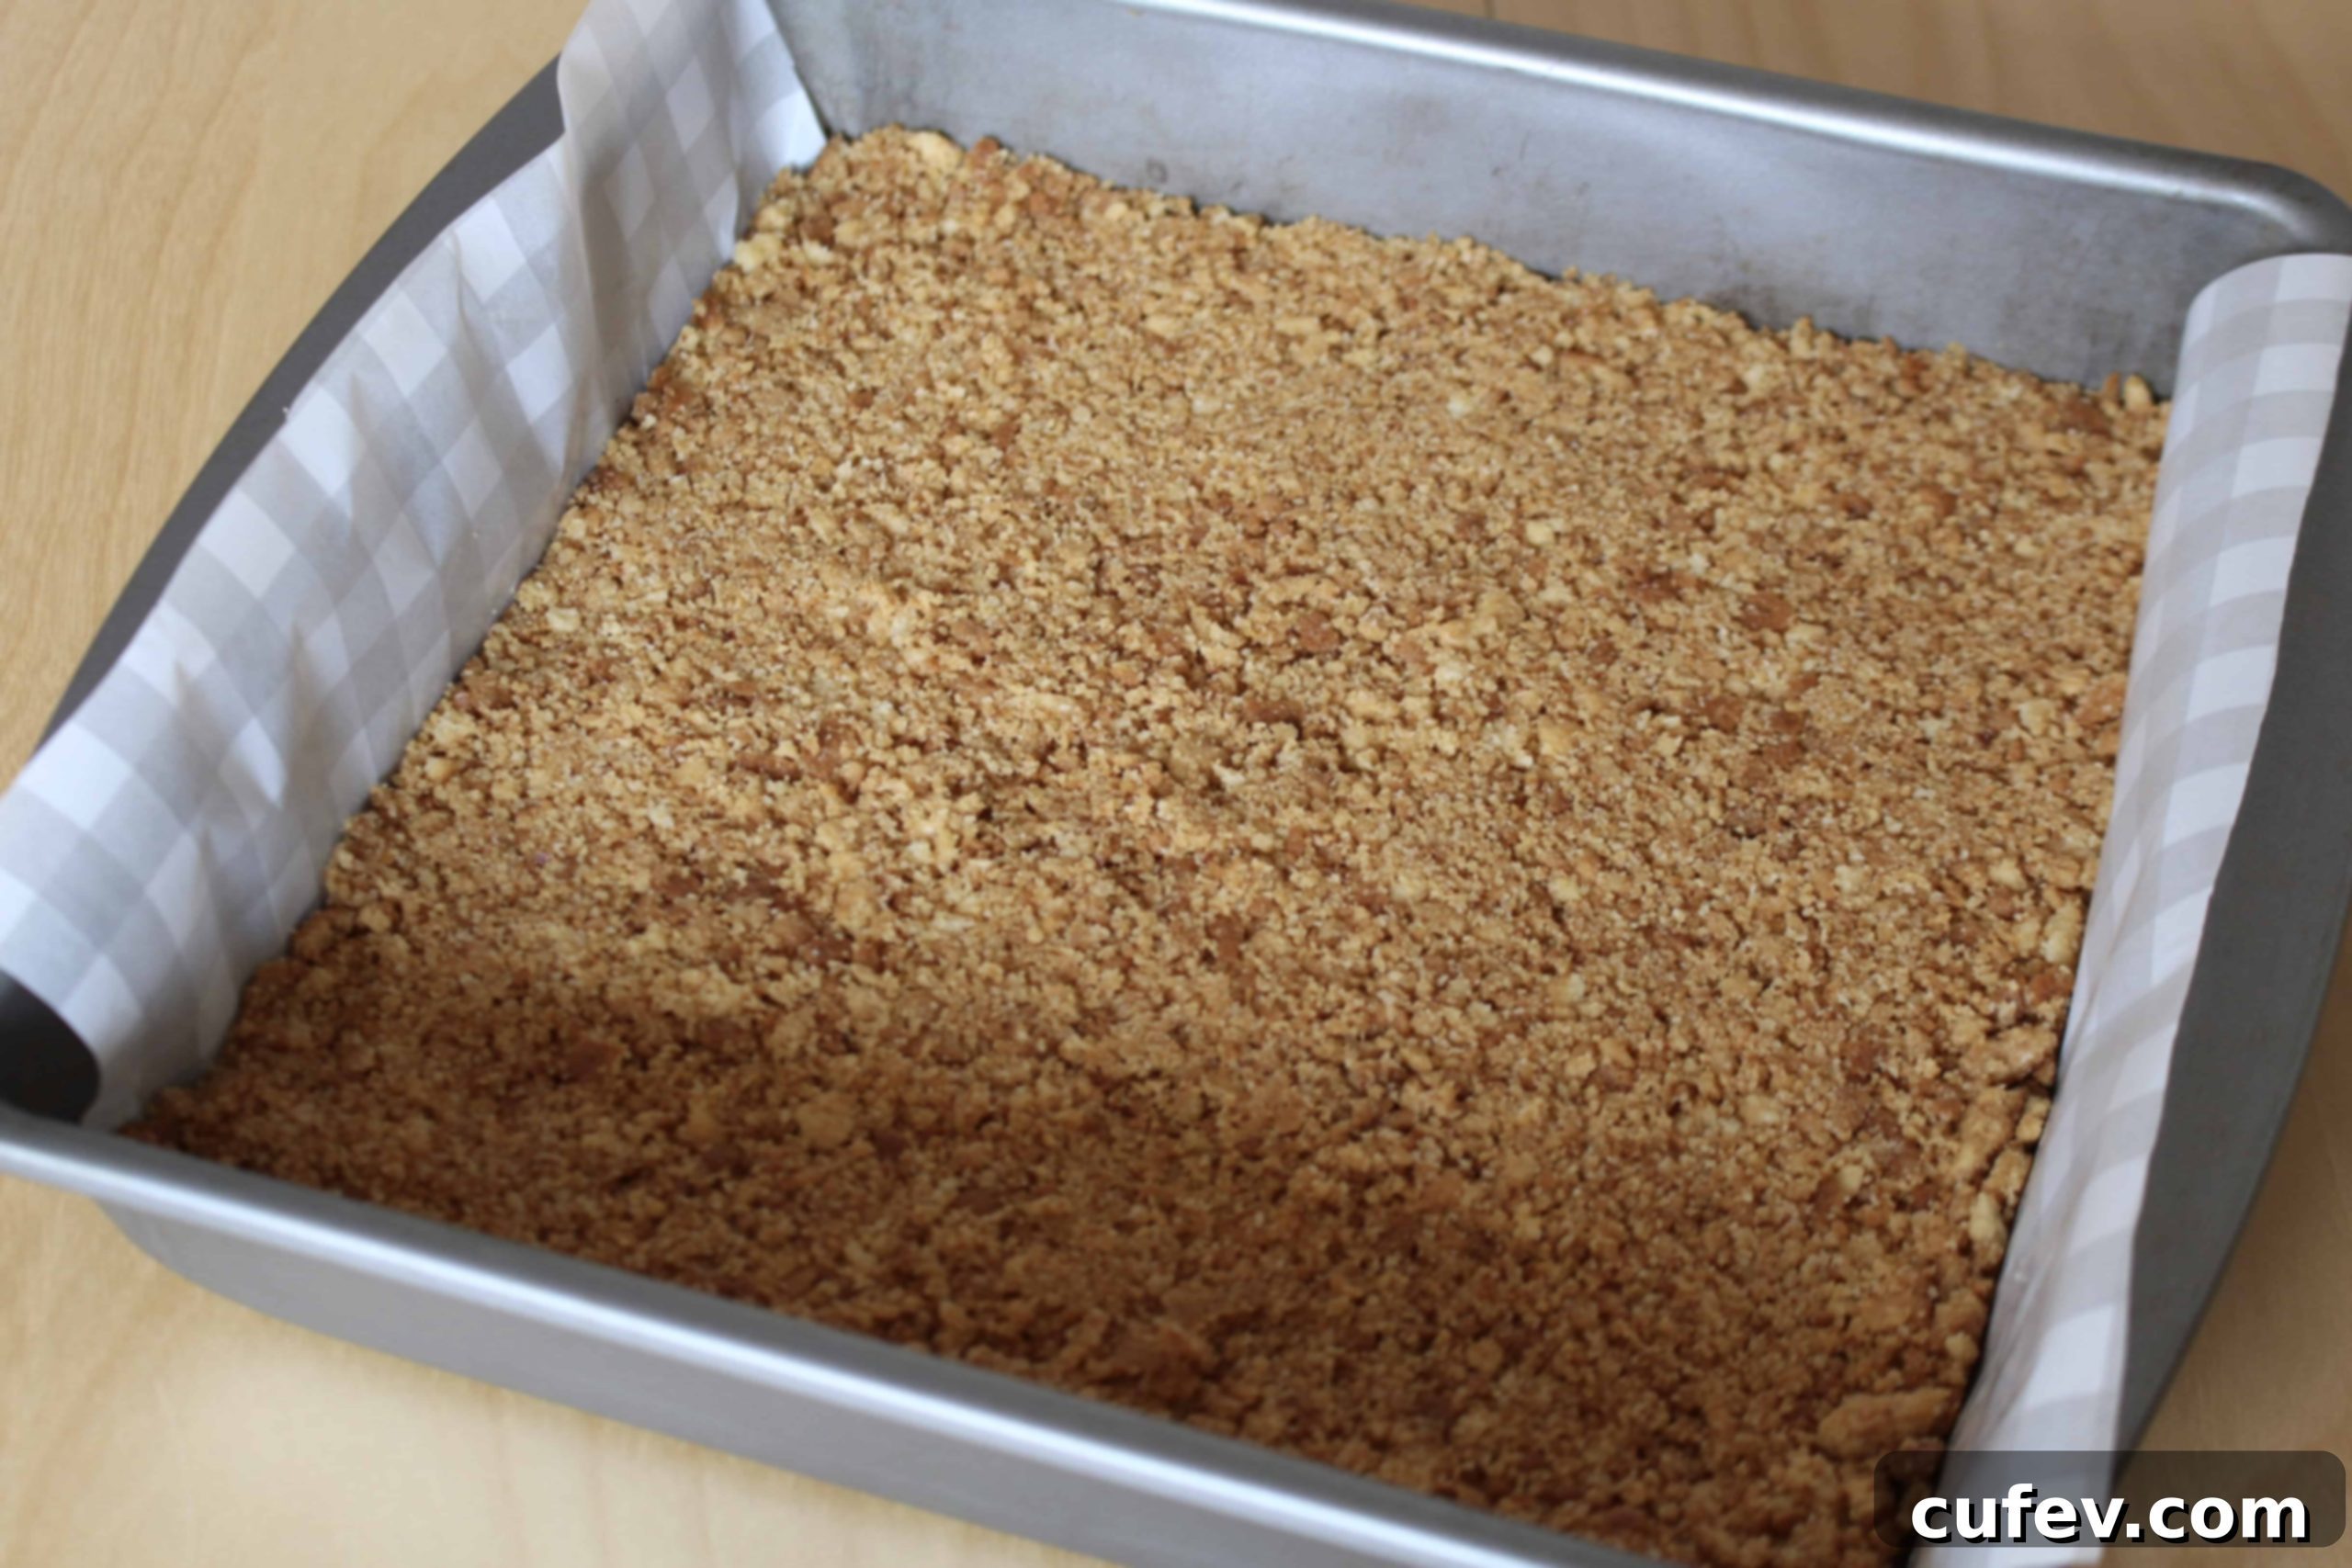
- Transfer the buttered crumbs into your prepared 9-inch square pan. Using the bottom of a glass or your fingers, firmly pack the crumbs down evenly across the bottom of the pan. The goal is a compact and solid crust that won’t crumble when cut. Once packed, place the pan in the refrigerator to chill while you prepare the cheesecake filling. Chilling the crust helps it set and become firm, preventing it from becoming soggy during baking and creating a perfectly crisp base for your bars.
Mixing the Silky Smooth Cheesecake Filling
- In a large mixing bowl, combine your softened cream cheese and sour cream. It’s essential that both ingredients are at room temperature to ensure a smooth, lump-free mixture. Use a whisk or an electric mixer on low speed to cream them together until they are completely smooth and free of any lumps. Patience here is key for a silky final texture.
- Once smooth, gradually add the granulated sugar and continue to beat until well combined and the sugar has dissolved. Scrape down the sides of the bowl as needed to ensure everything is incorporated.
- Next, incorporate the eggs and egg yolks, adding them one at a time. Mix gently after each addition, just until combined. Be careful not to overmix once the eggs are in, as overmixing can incorporate too much air, which can lead to cracks in your baked cheesecake.
- Stir in the heavy cream and vanilla extract. These ingredients add richness and depth of flavor to the filling.
- Finally, switch to a rubber spatula. Gently fold in the cornstarch and cake flour. These ingredients act as stabilizers, helping to create that characteristic smooth, creamy texture and further preventing cracks during baking. Fold until just combined, again being careful not to overmix.
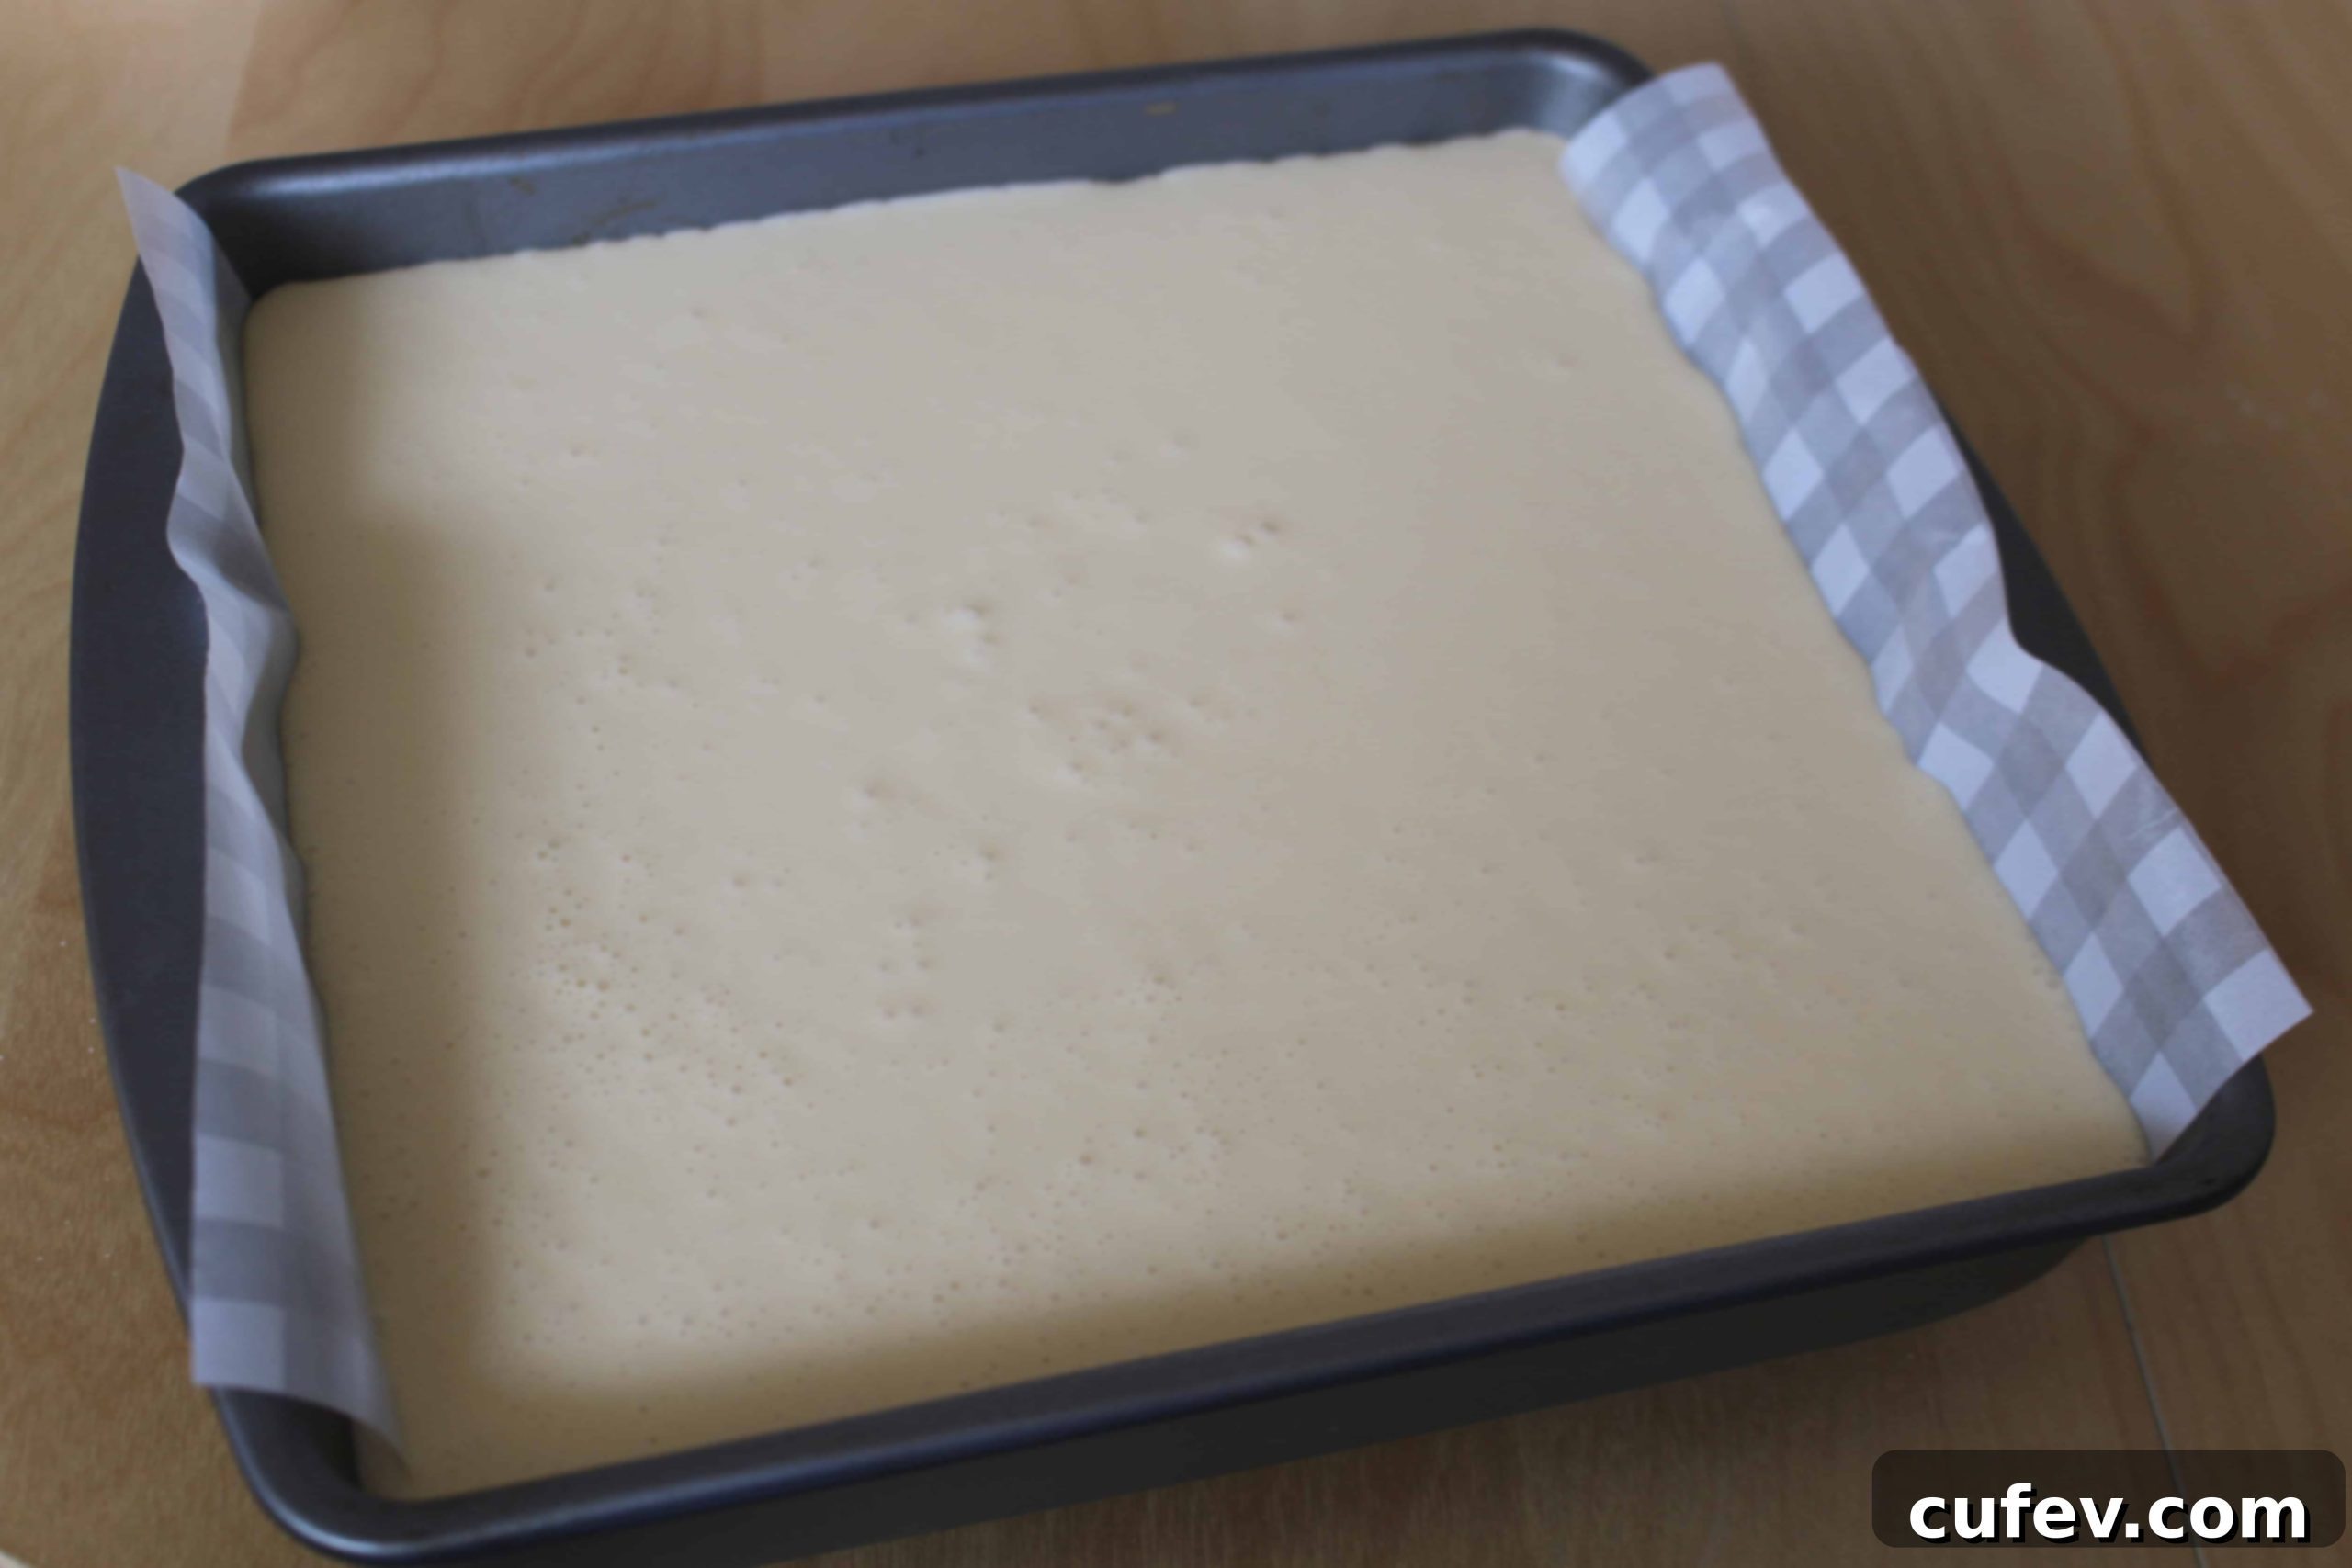
- Pour this beautifully smooth filling over your chilled crust in the prepared pan. Give the pan a few gentle taps on the counter to release any trapped air bubbles. This step is crucial for achieving a smooth, unblemished top surface on your cheesecake.
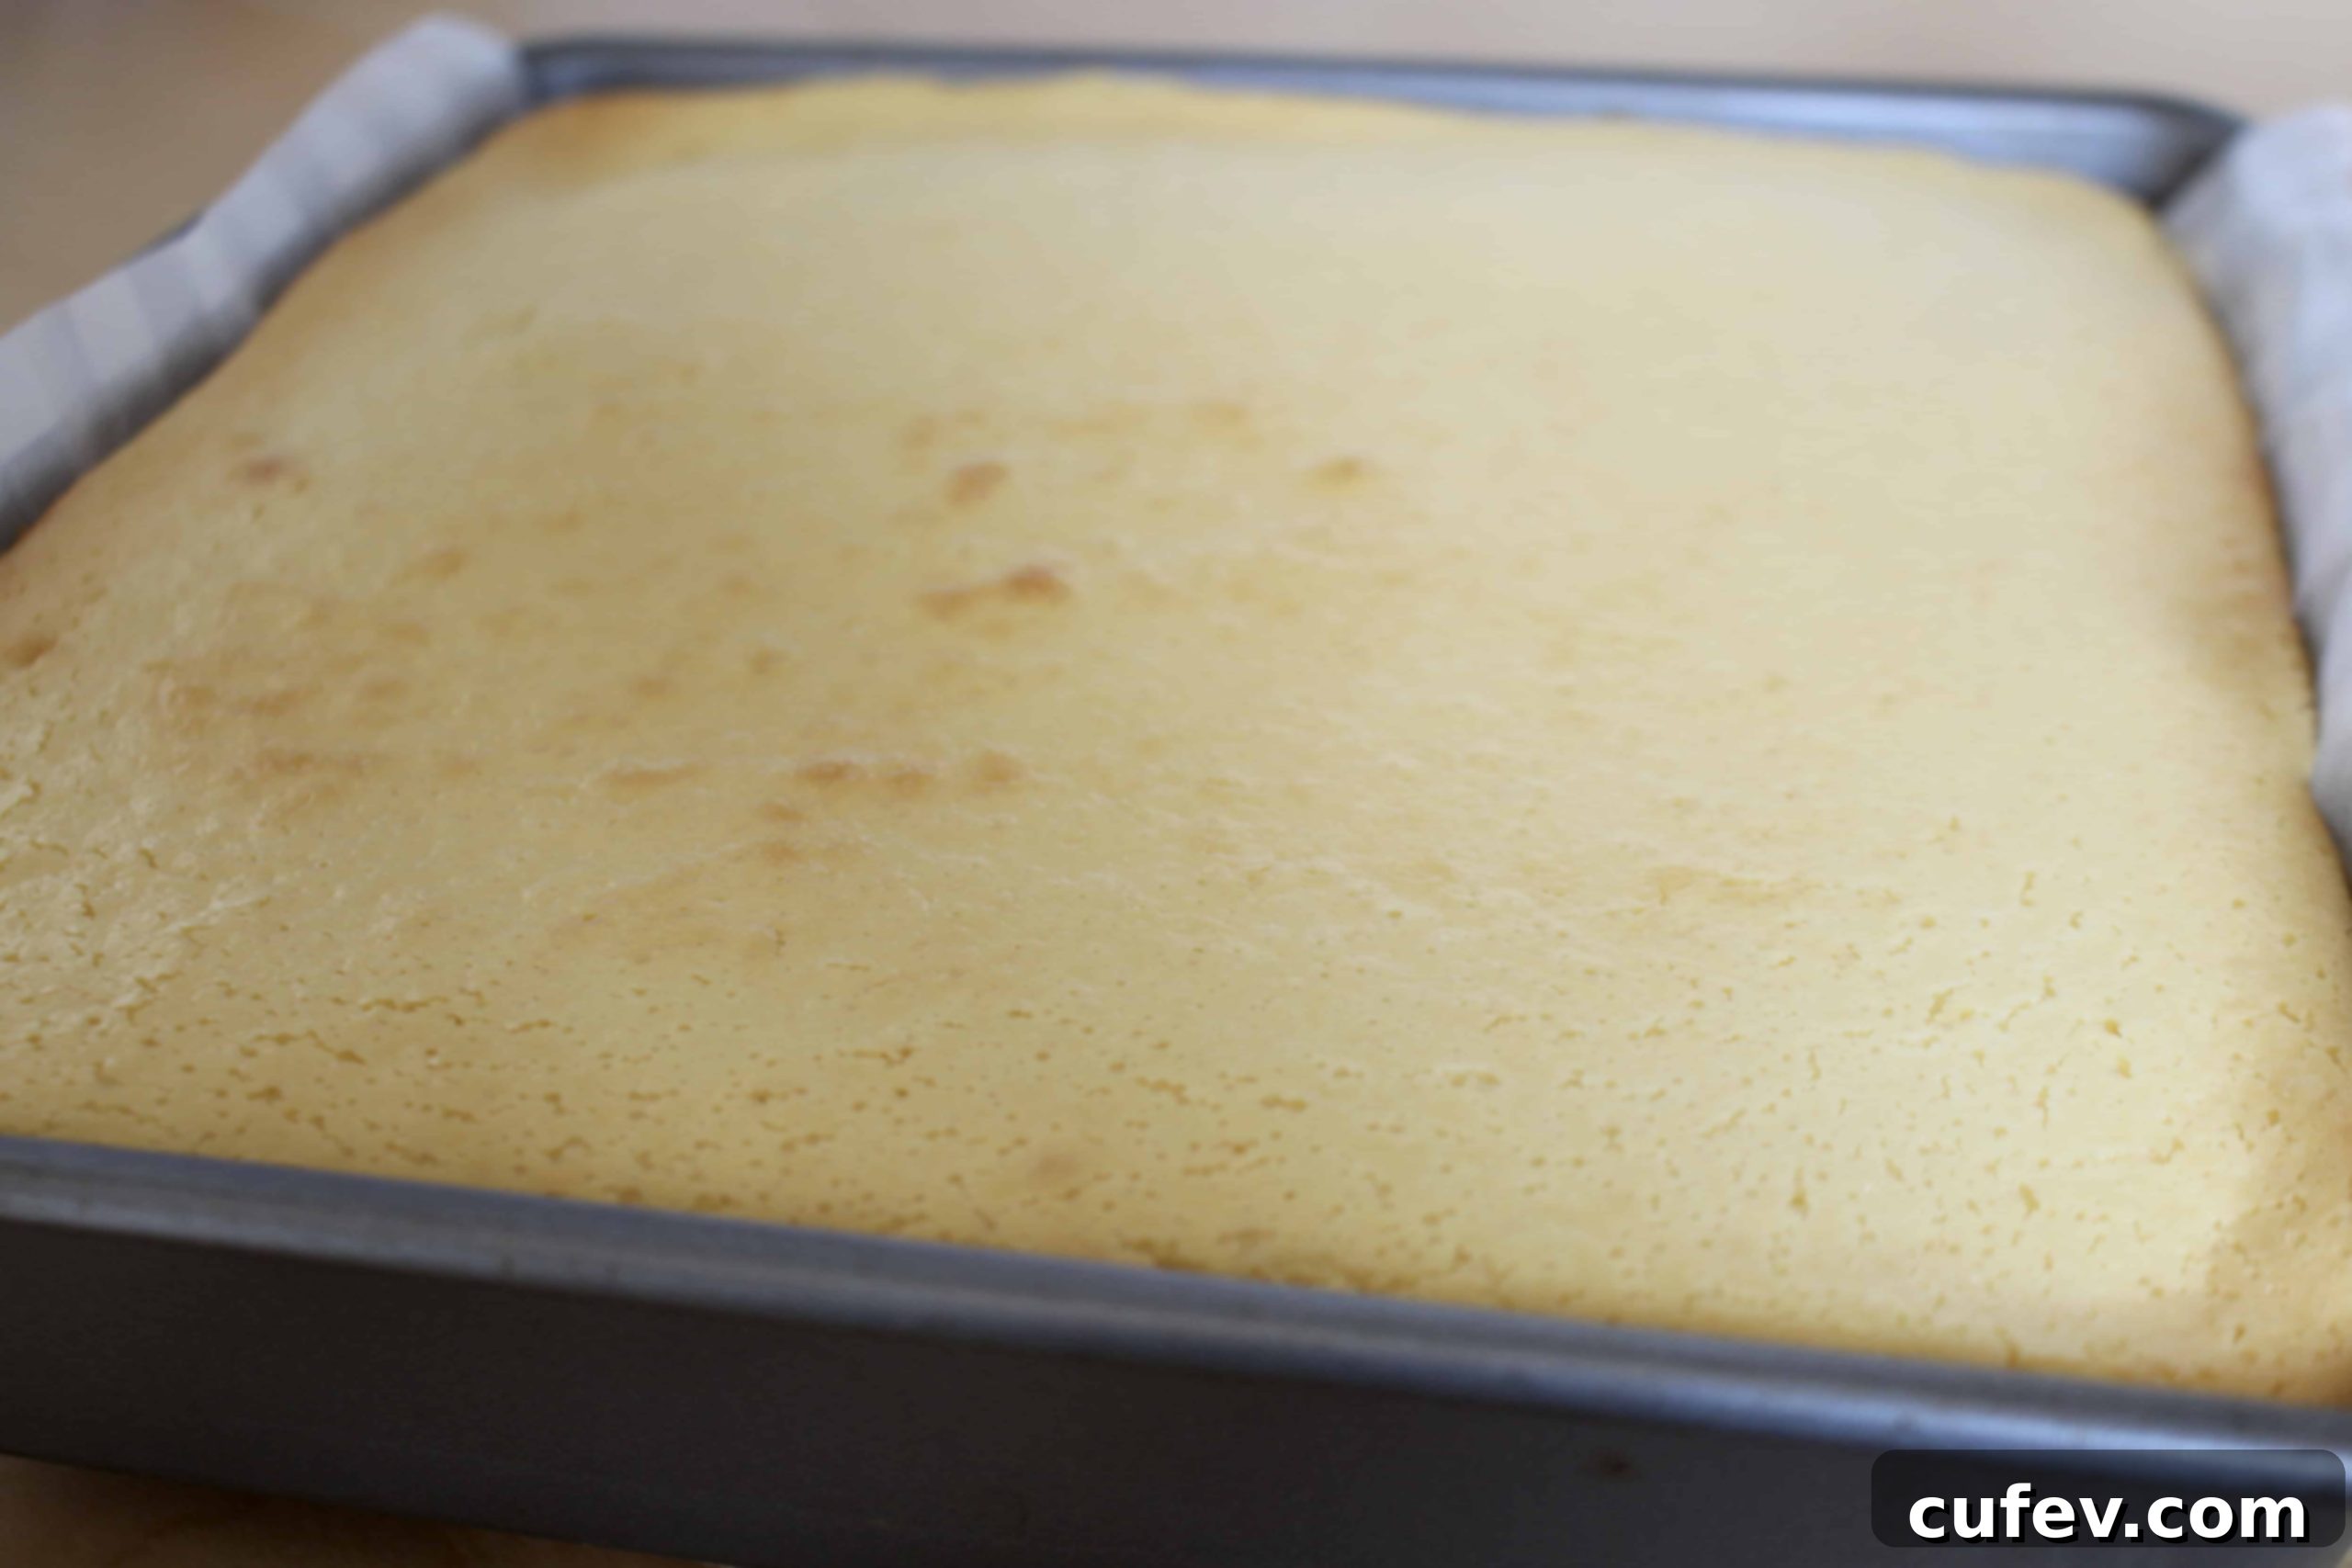
- Bake in your preheated oven at 320°F (160°C) for approximately 40 minutes. The cheesecake is ready when the edges are set and lightly golden, but the center still has a slight wobble when gently shaken. This wobbliness indicates a perfectly creamy center that will continue to set as it cools.
The Art of a Flawless Bake: No Water Bath Required!
One of the most appealing aspects of this cheesecake bar recipe is its simplicity – there’s absolutely no need for a fussy water bath! While often recommended for New York-style cheesecakes to prevent cracking, this recipe is designed to achieve a perfectly smooth, crack-free surface with just a low and slow bake. When your cheesecake emerges from the oven, it will appear slightly puffy around the edges, and as mentioned, the center will still be wonderfully wobbly. This is exactly what you want! The residual heat will continue to cook the cheesecake as it cools, resulting in that coveted dense, yet incredibly creamy texture without any unsightly fissures.

Cooling and Chilling: The Key to Perfect Slices
The cooling process is just as vital as the baking itself for achieving perfect cheesecake bars. As the cheesecake gradually cools, it will naturally sink down, forming that characteristic flat, dense top. It is absolutely crucial to allow the cheesecake to cool completely at room temperature for at least one to two hours before even thinking about chilling it in the fridge. This slow, controlled cooling helps prevent any sudden temperature shocks that can lead to cracks. Once it has reached room temperature, transfer the pan to the refrigerator and let it chill overnight. This extended chilling period allows the cheesecake to fully set, firming up its texture and intensifying its flavors, making it much easier to slice into beautiful, neat bars.
Patient Cooling for Optimal Texture
I know, the wait is excruciating! If you’re anything like me, you’ll be tempted to rush the process. I vividly recall the time I was so impatient, I tried to pull the cheesecake out of the pan moments after it reached room temperature, only to slightly mar the pristine top with my “manly claw hands” – a testament to my eagerness! Don’t make my mistake. Trust the process. The overnight chill is non-negotiable for that picture-perfect, smooth-sliced cheesecake. But even with a slight imperfection from an impatient chef, rest assured, those little “claw marks” won’t diminish the incredible taste one bit.

No worries, my claws didn’t ruin the taste.
Serving Your Masterpiece: Perfectly Portioned & Topped
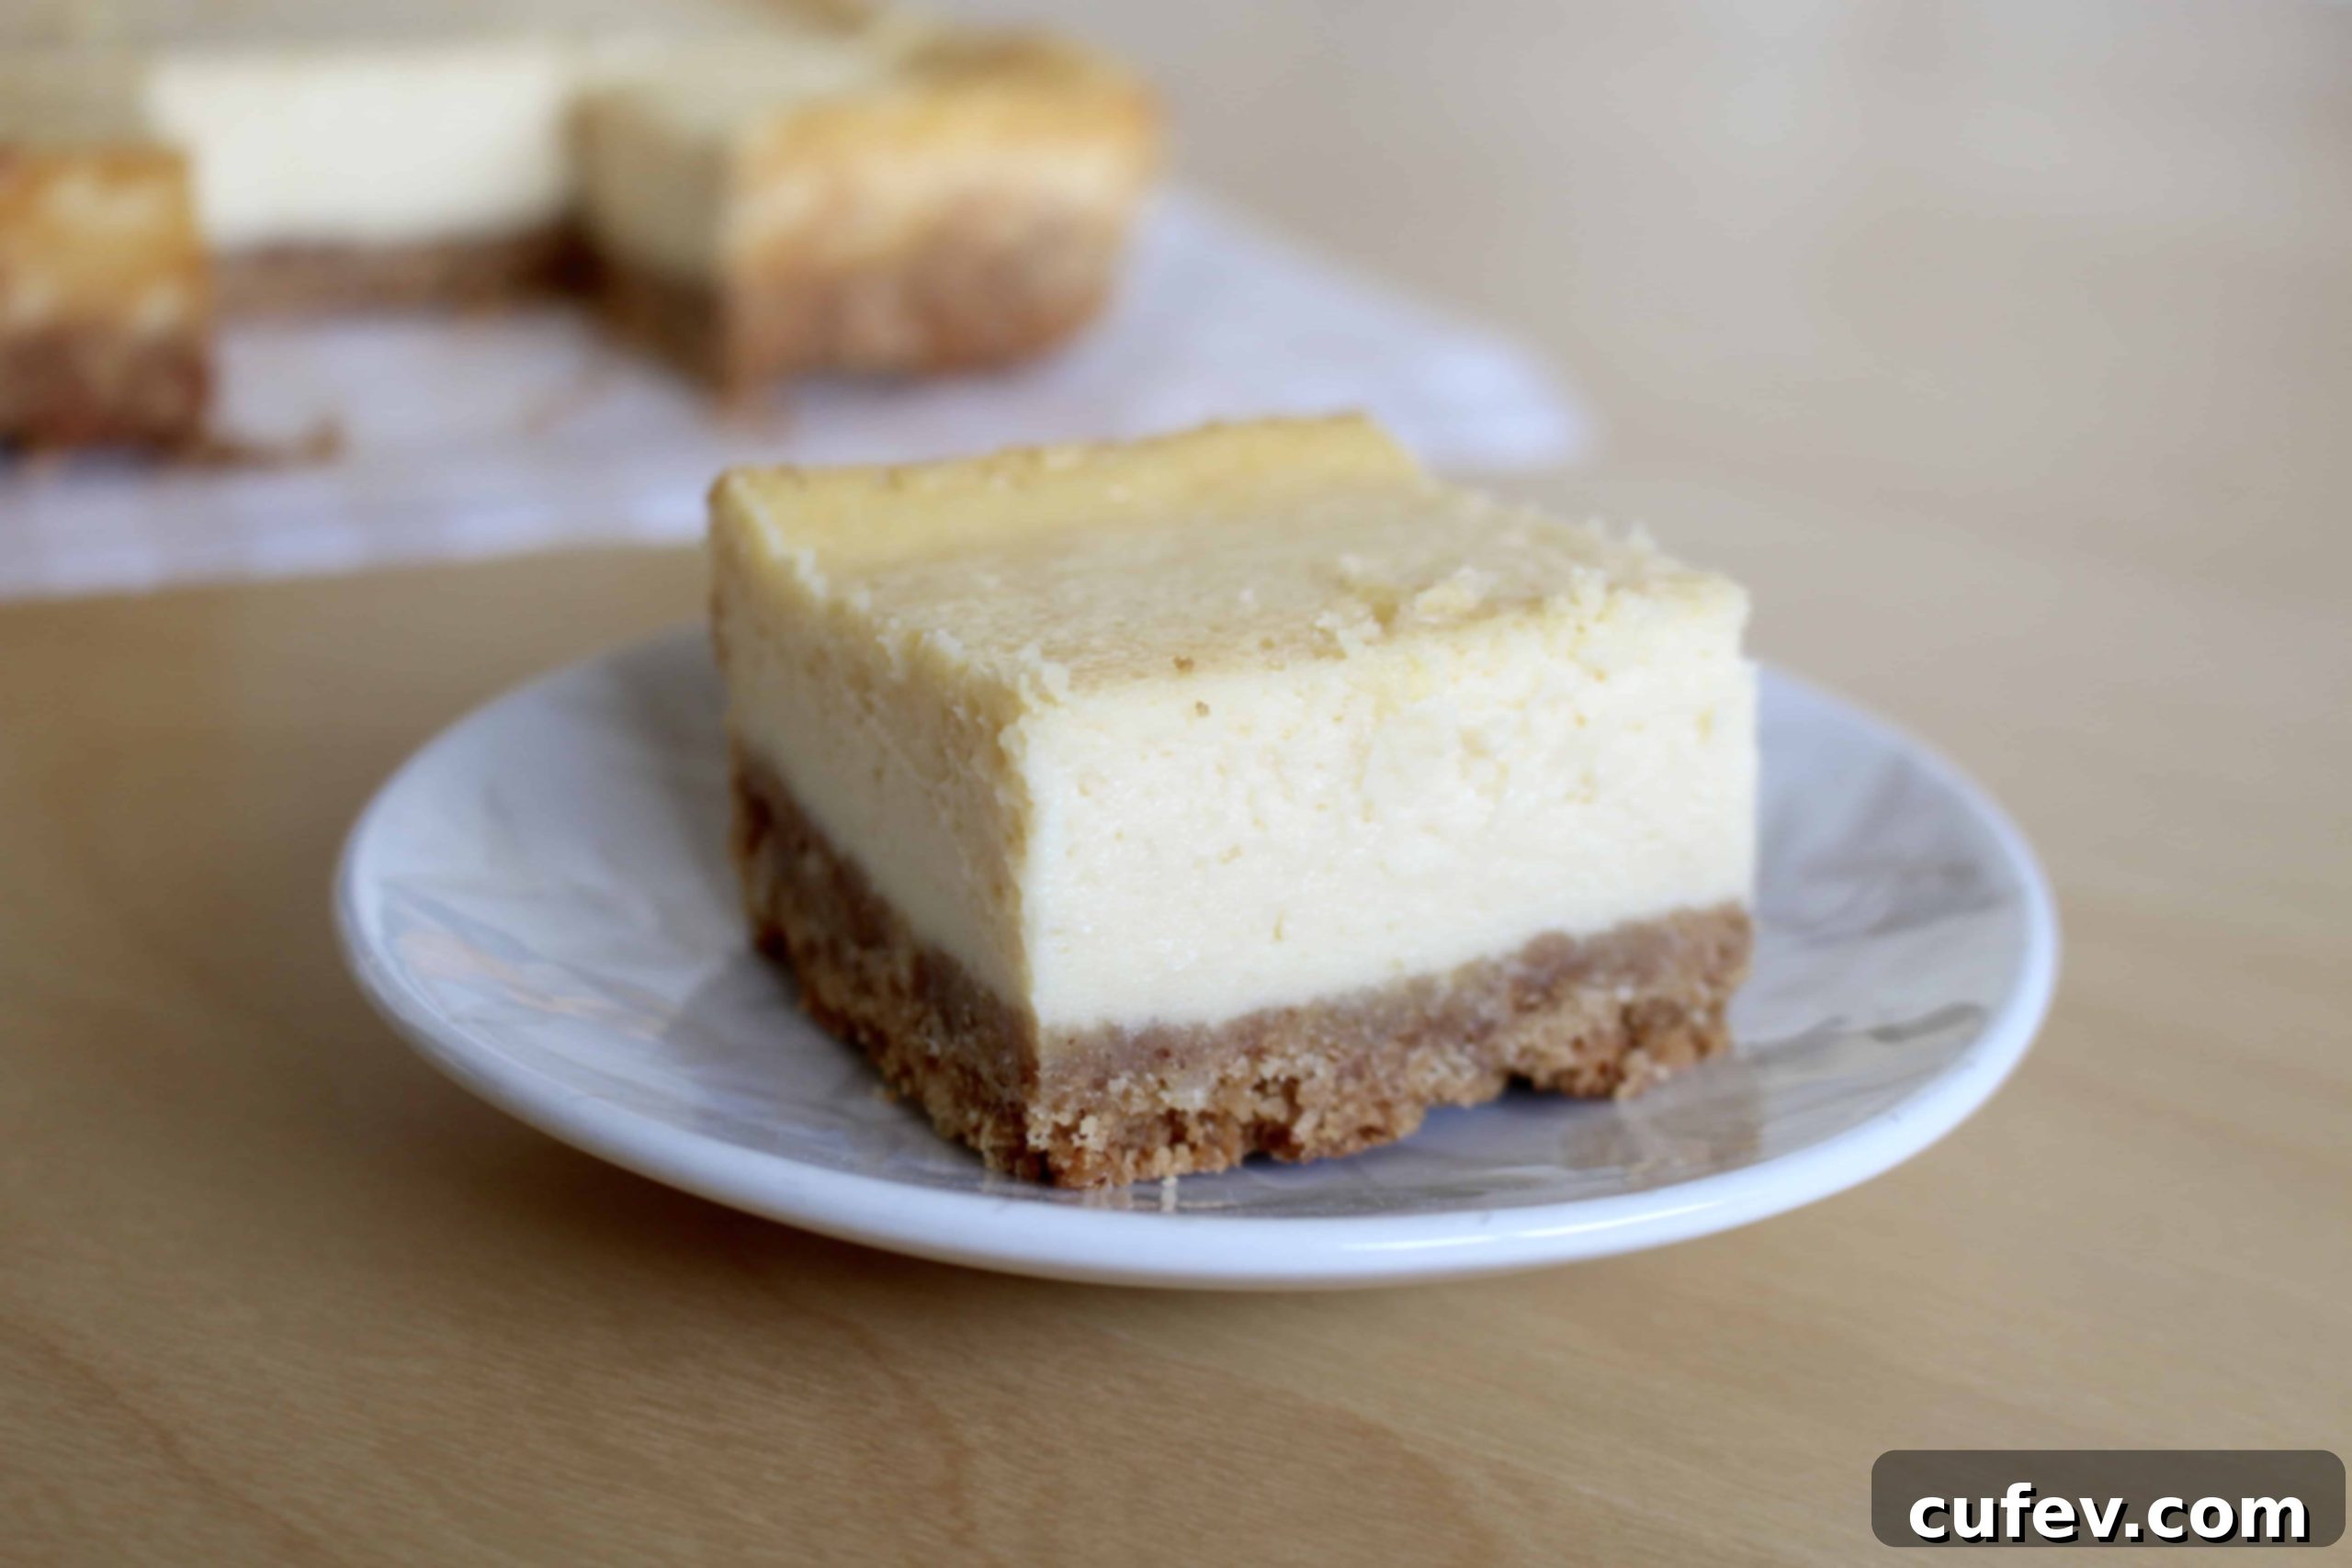
After a good night’s rest in the refrigerator, your cheesecake bars are ready to be unveiled. For optimal presentation and serving, I recommend slicing the entire cheesecake into 16 uniform pieces. Cheesecake is inherently rich and satisfying, so smaller portions ensure everyone can enjoy its deliciousness without feeling overwhelmed. To get clean, sharp cuts, run a sharp knife under hot water, wipe it clean, and then slice. Repeat this process for each cut. This simple trick makes a world of difference in how professional your bars look.
Endless Topping Possibilities
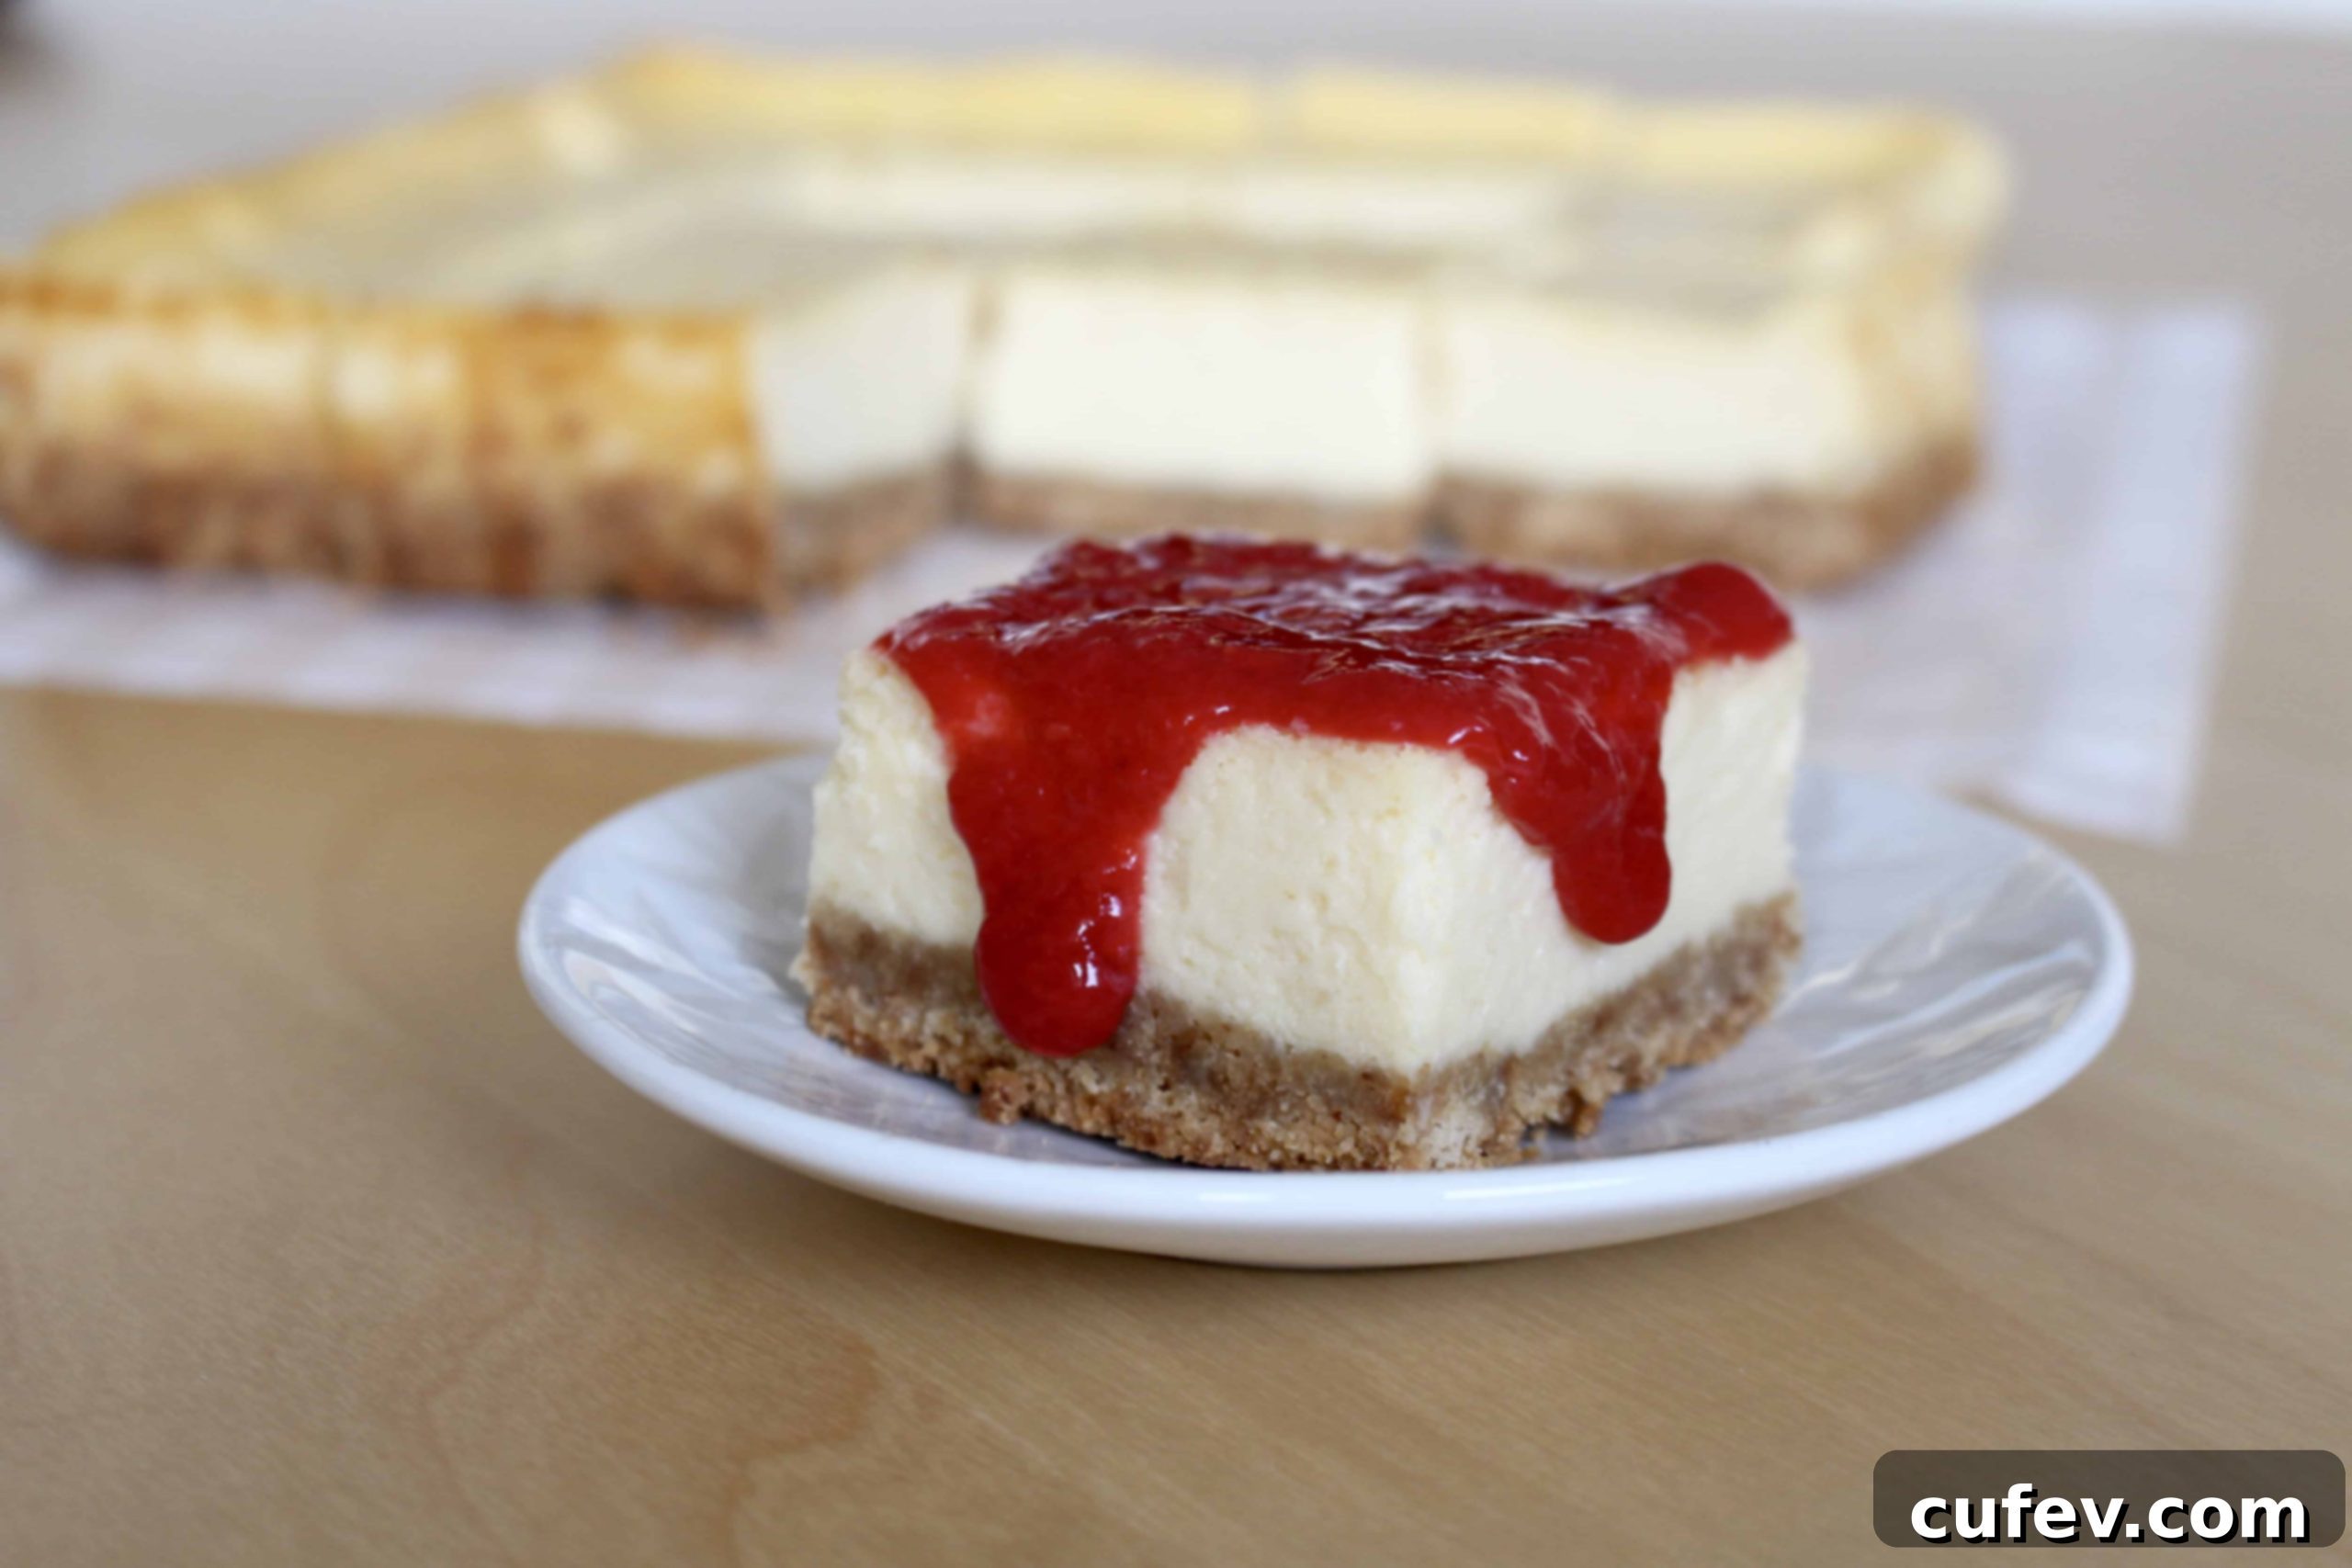
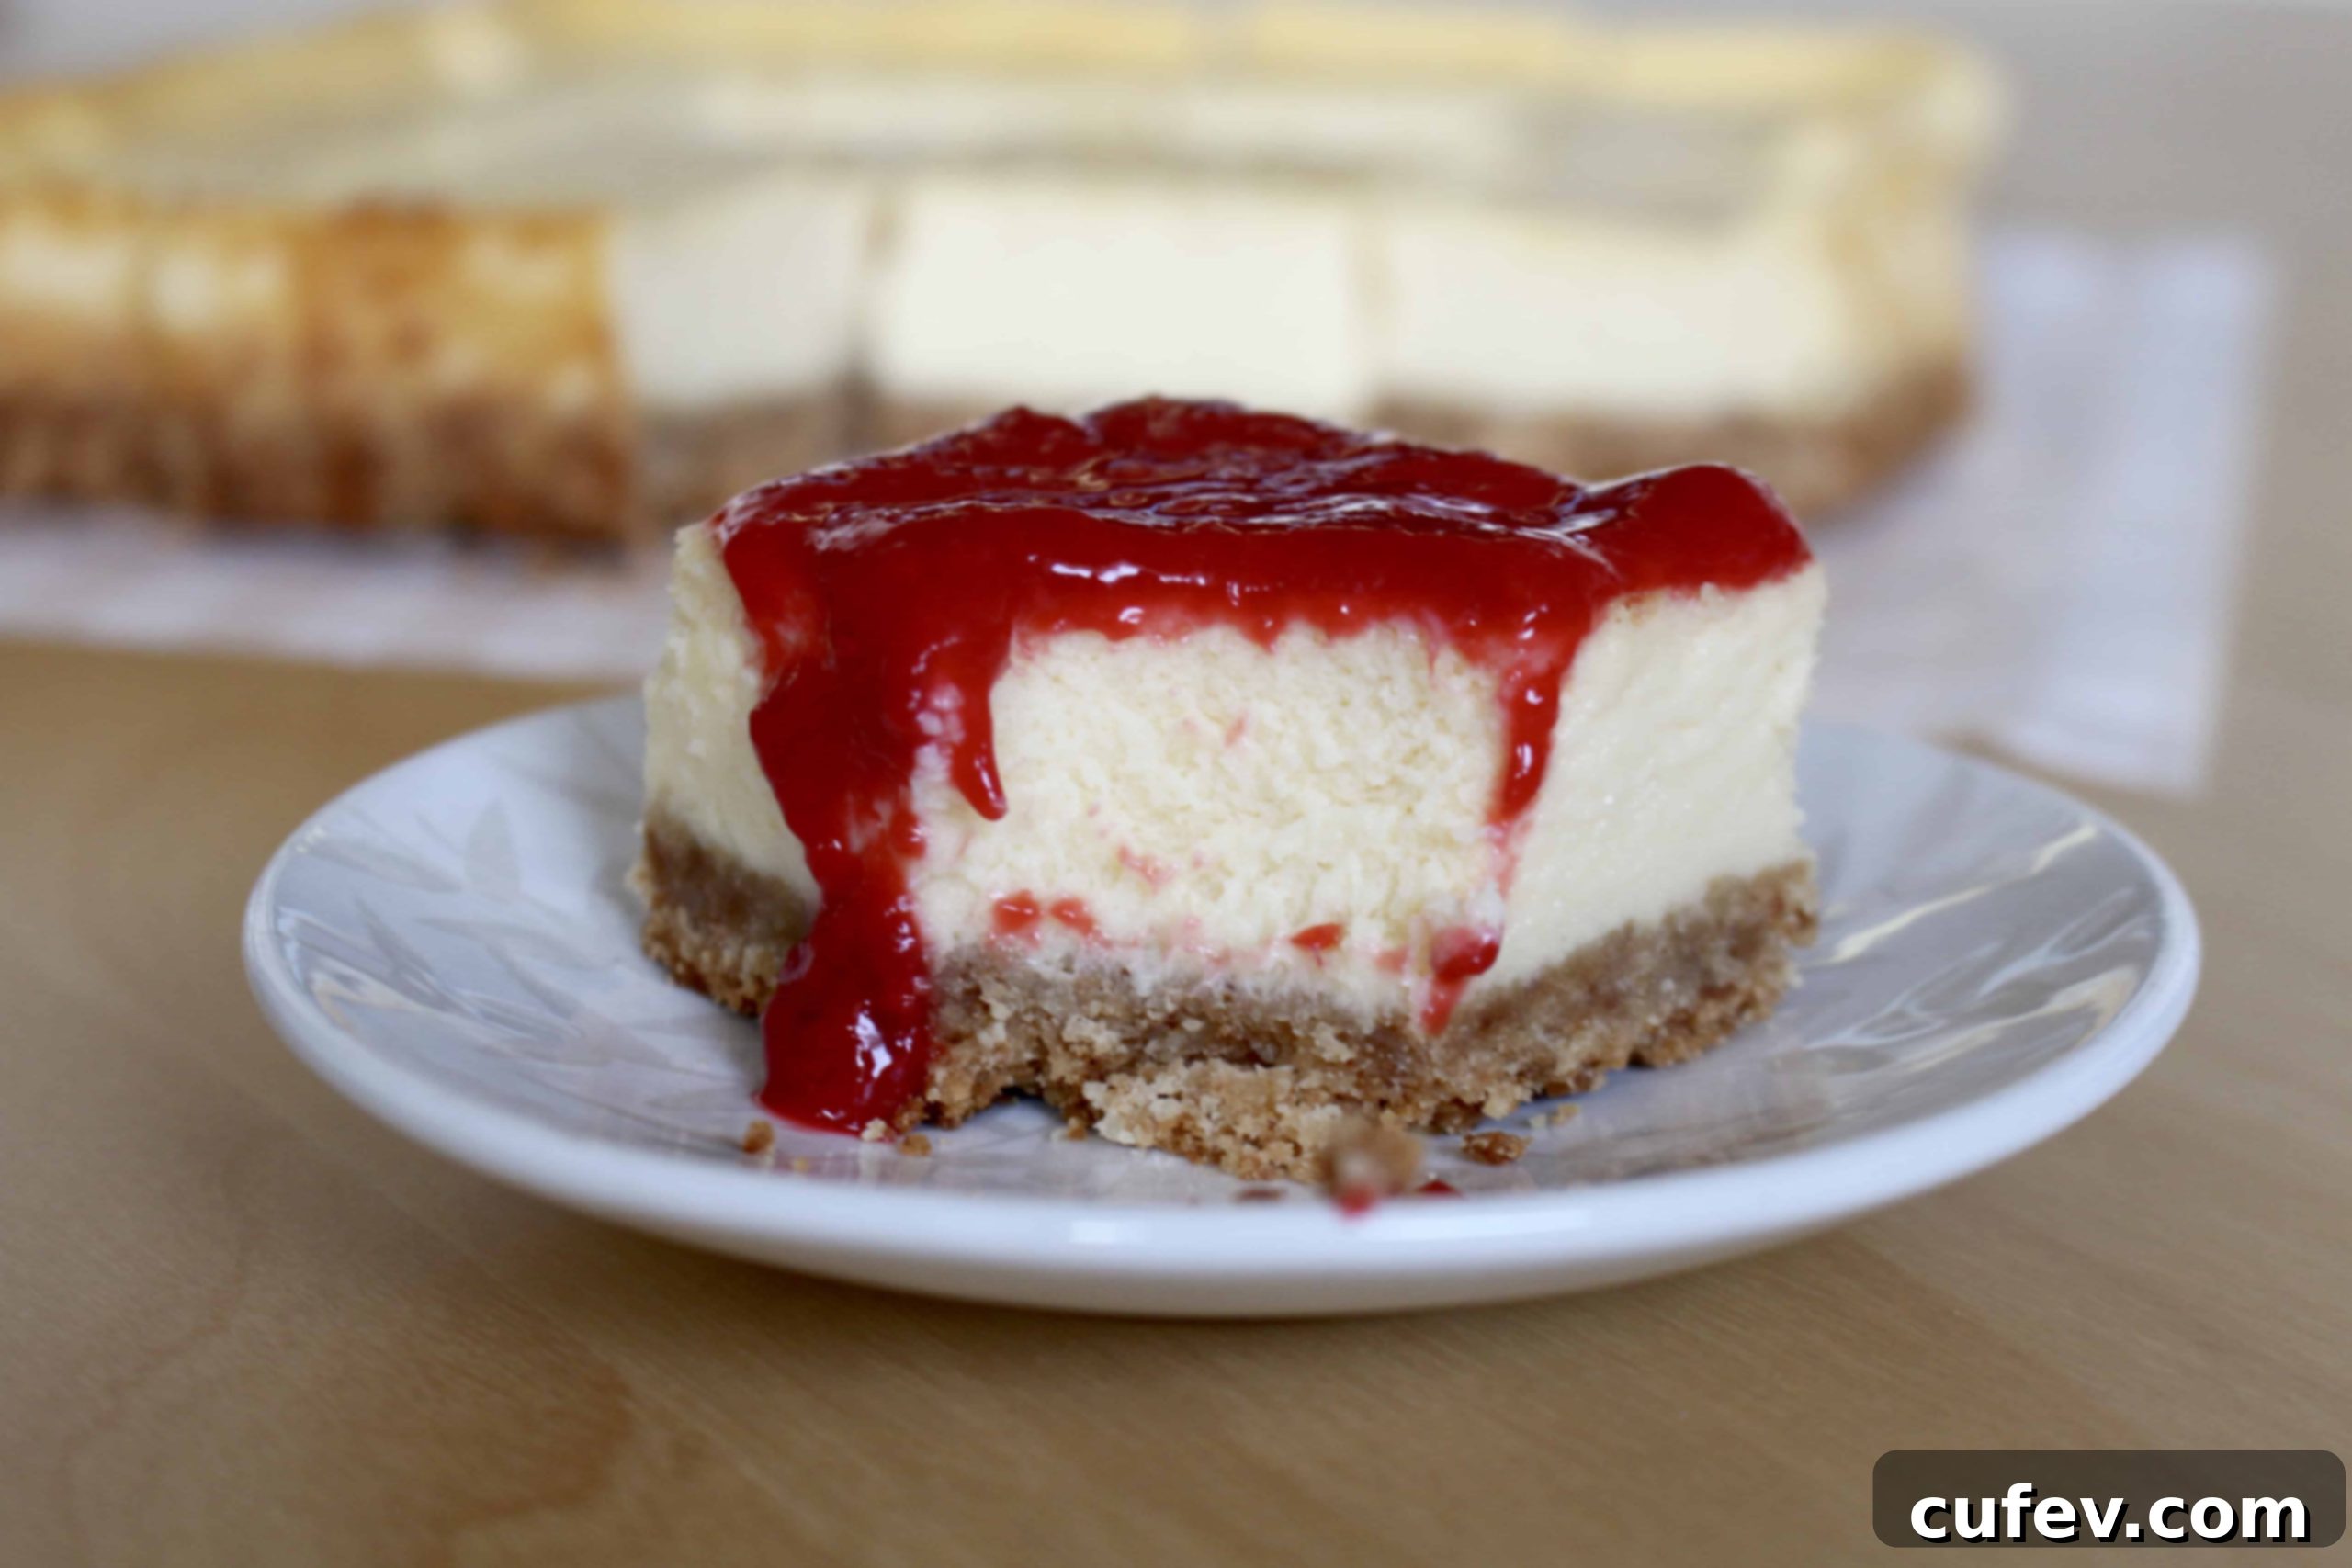
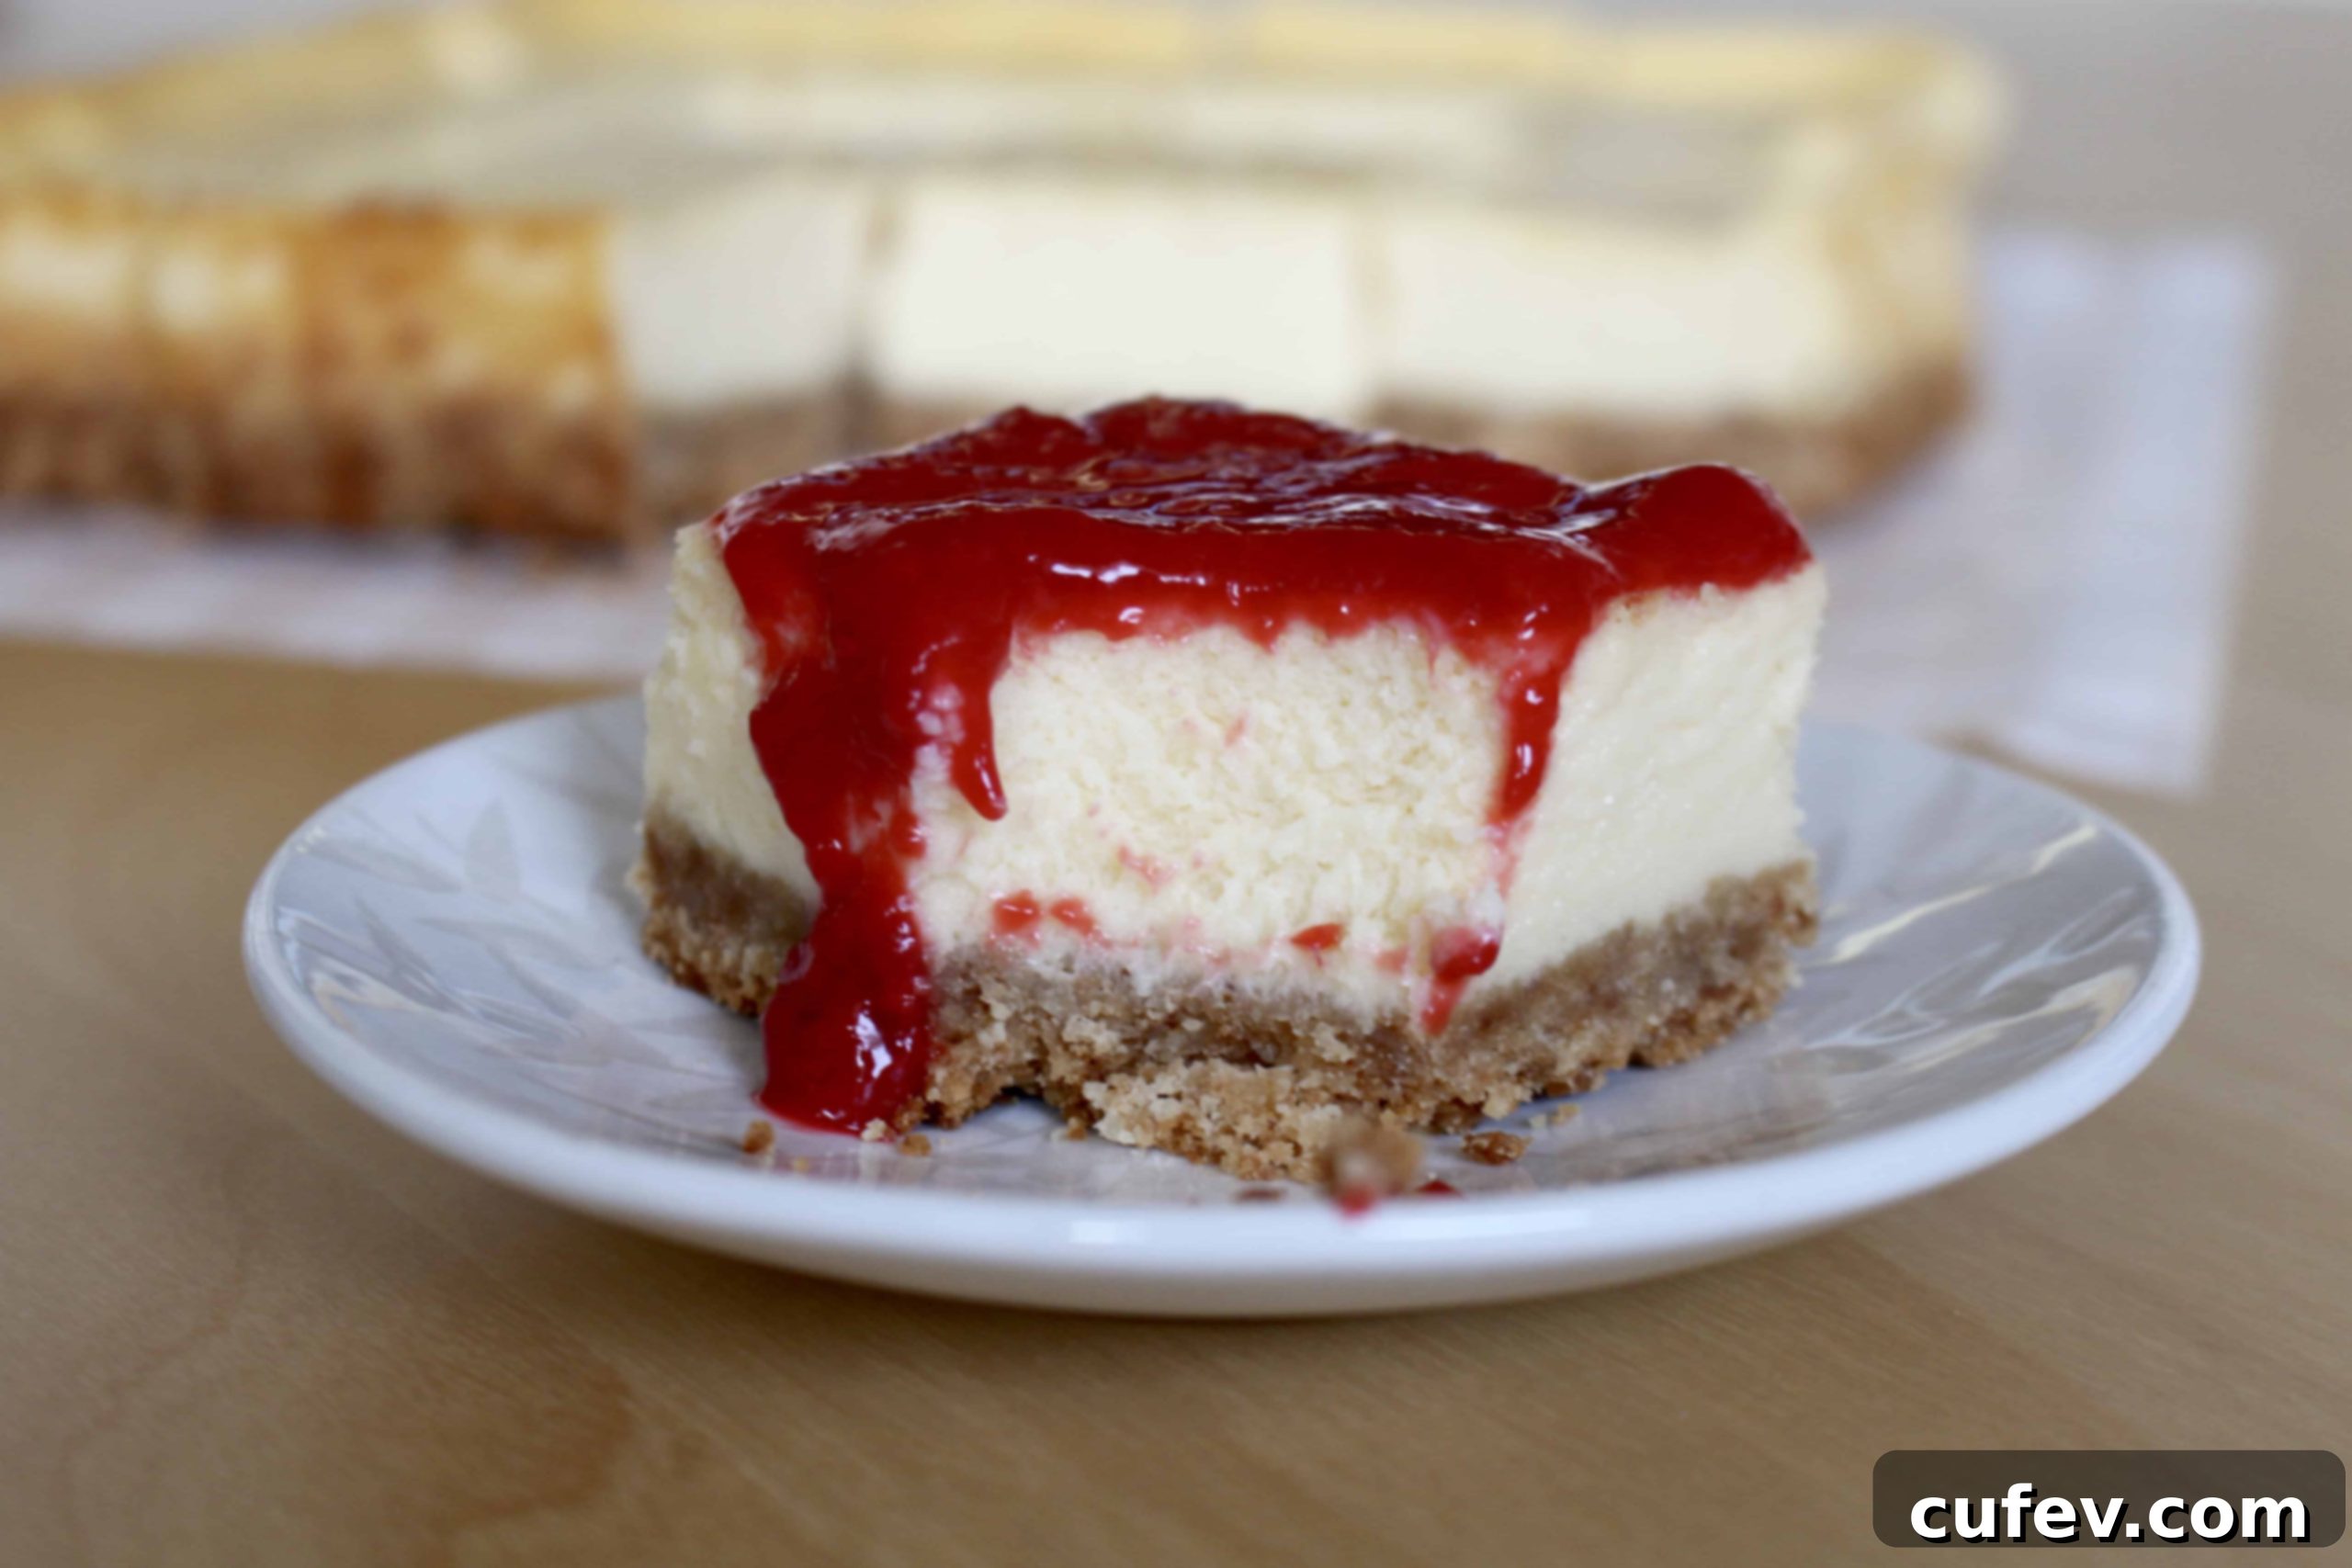
While these cheesecake bars are absolutely delicious on their own, a topping can elevate them to another level. My personal favorite is a vibrant, fresh raspberry sauce – its tartness beautifully complements the creamy sweetness of the cheesecake. But don’t stop there! Imagine drizzling them with a rich, dark chocolate fudge for an intense cocoa experience, or a sticky, sweet caramel sauce for a delightful textural contrast. For an adult twist, a splash of amaretto or a creamy Bailey’s Irish Cream sauce would be heavenly. Fresh berries, a dollop of whipped cream, or a sprinkle of toasted nuts are also fantastic choices. The possibilities are truly endless, allowing you to customize each bar to suit your mood or occasion!
More Cheesecake Delights to Explore:
- Yuzu Cheesecake: A Zesty Twist
- Honey Almond Gouda Cheesecakes: Savory & Sweet
- Blueberry Cheesecake Bites (Vegan): A Guilt-Free Indulgence
- Pumpkin Cheesecake Swirl Brownies: Seasonal Perfection
Cheesecake Squares
Print
Pin
Rate
Ingredients
Crust
- 200 g butter biscuit or graham cracker crumbs
- 100 g butter
Cheesecake Filling
- 400 g cream cheese
- ⅓ cup sour cream
- 1 cup granulated sugar
- 2 large eggs
- 2 egg yolks
- 200 ml heavy cream
- ½ teaspoon vanilla extract
- 8 teaspoons cornstarch
- 4 teaspoons cake flour
Instructions
-
Preheat your oven to 320°F/160°C. Line a 9-inch square pan with parchment paper.
-
In a small pot, melt the butter. Add the biscuit crumbs and mix until combined. Pack it into the pan and put it in the refrigerator to cool.
-
In a large bowl, use a whisk to beat together the cream cheese and sour cream until smooth. Stir in the sugar until combined. Add the eggs and egg yolks one at a time. Then add the heavy cream and vanilla. Use a spatula to fold in the corn starch and flour.
-
Pour the filling into the pan and bake for 40 minutes. Let it come to room temperature before putting it in the refrigerator to set overnight.
