Homemade Gluten-Free Granola: Your Ultimate Guide to a Healthy, Crunchy, and Delicious Breakfast
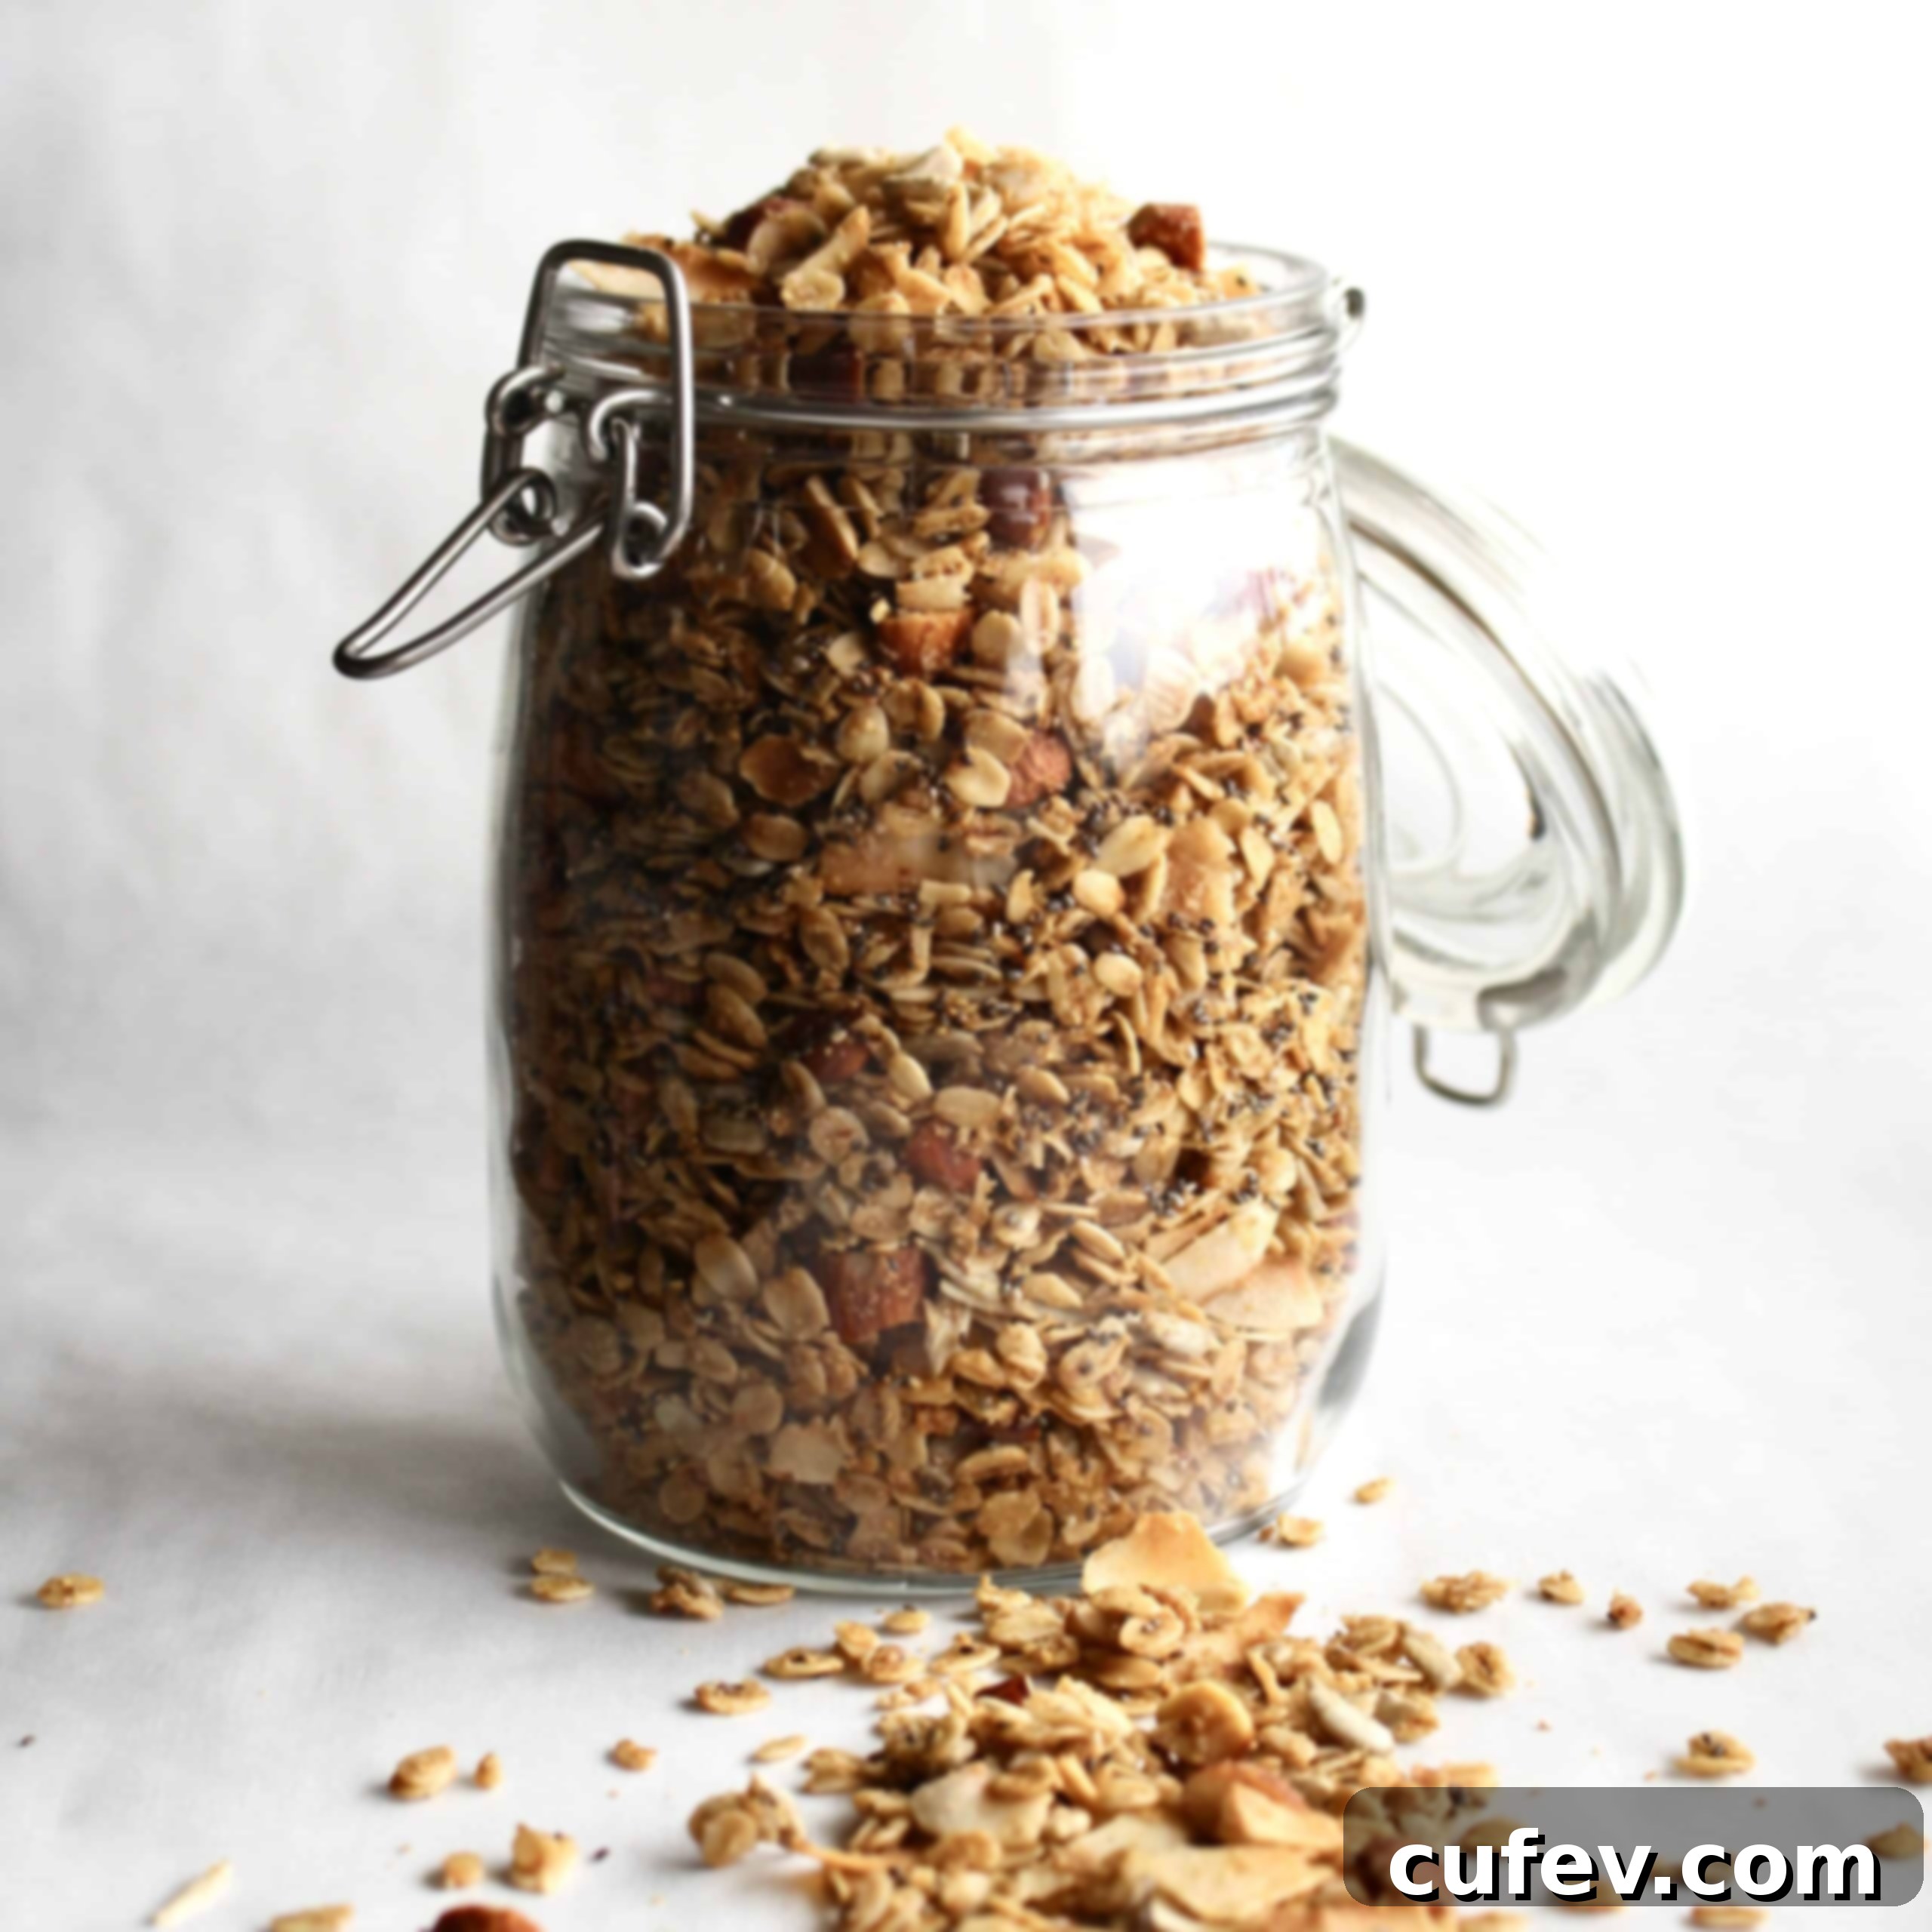
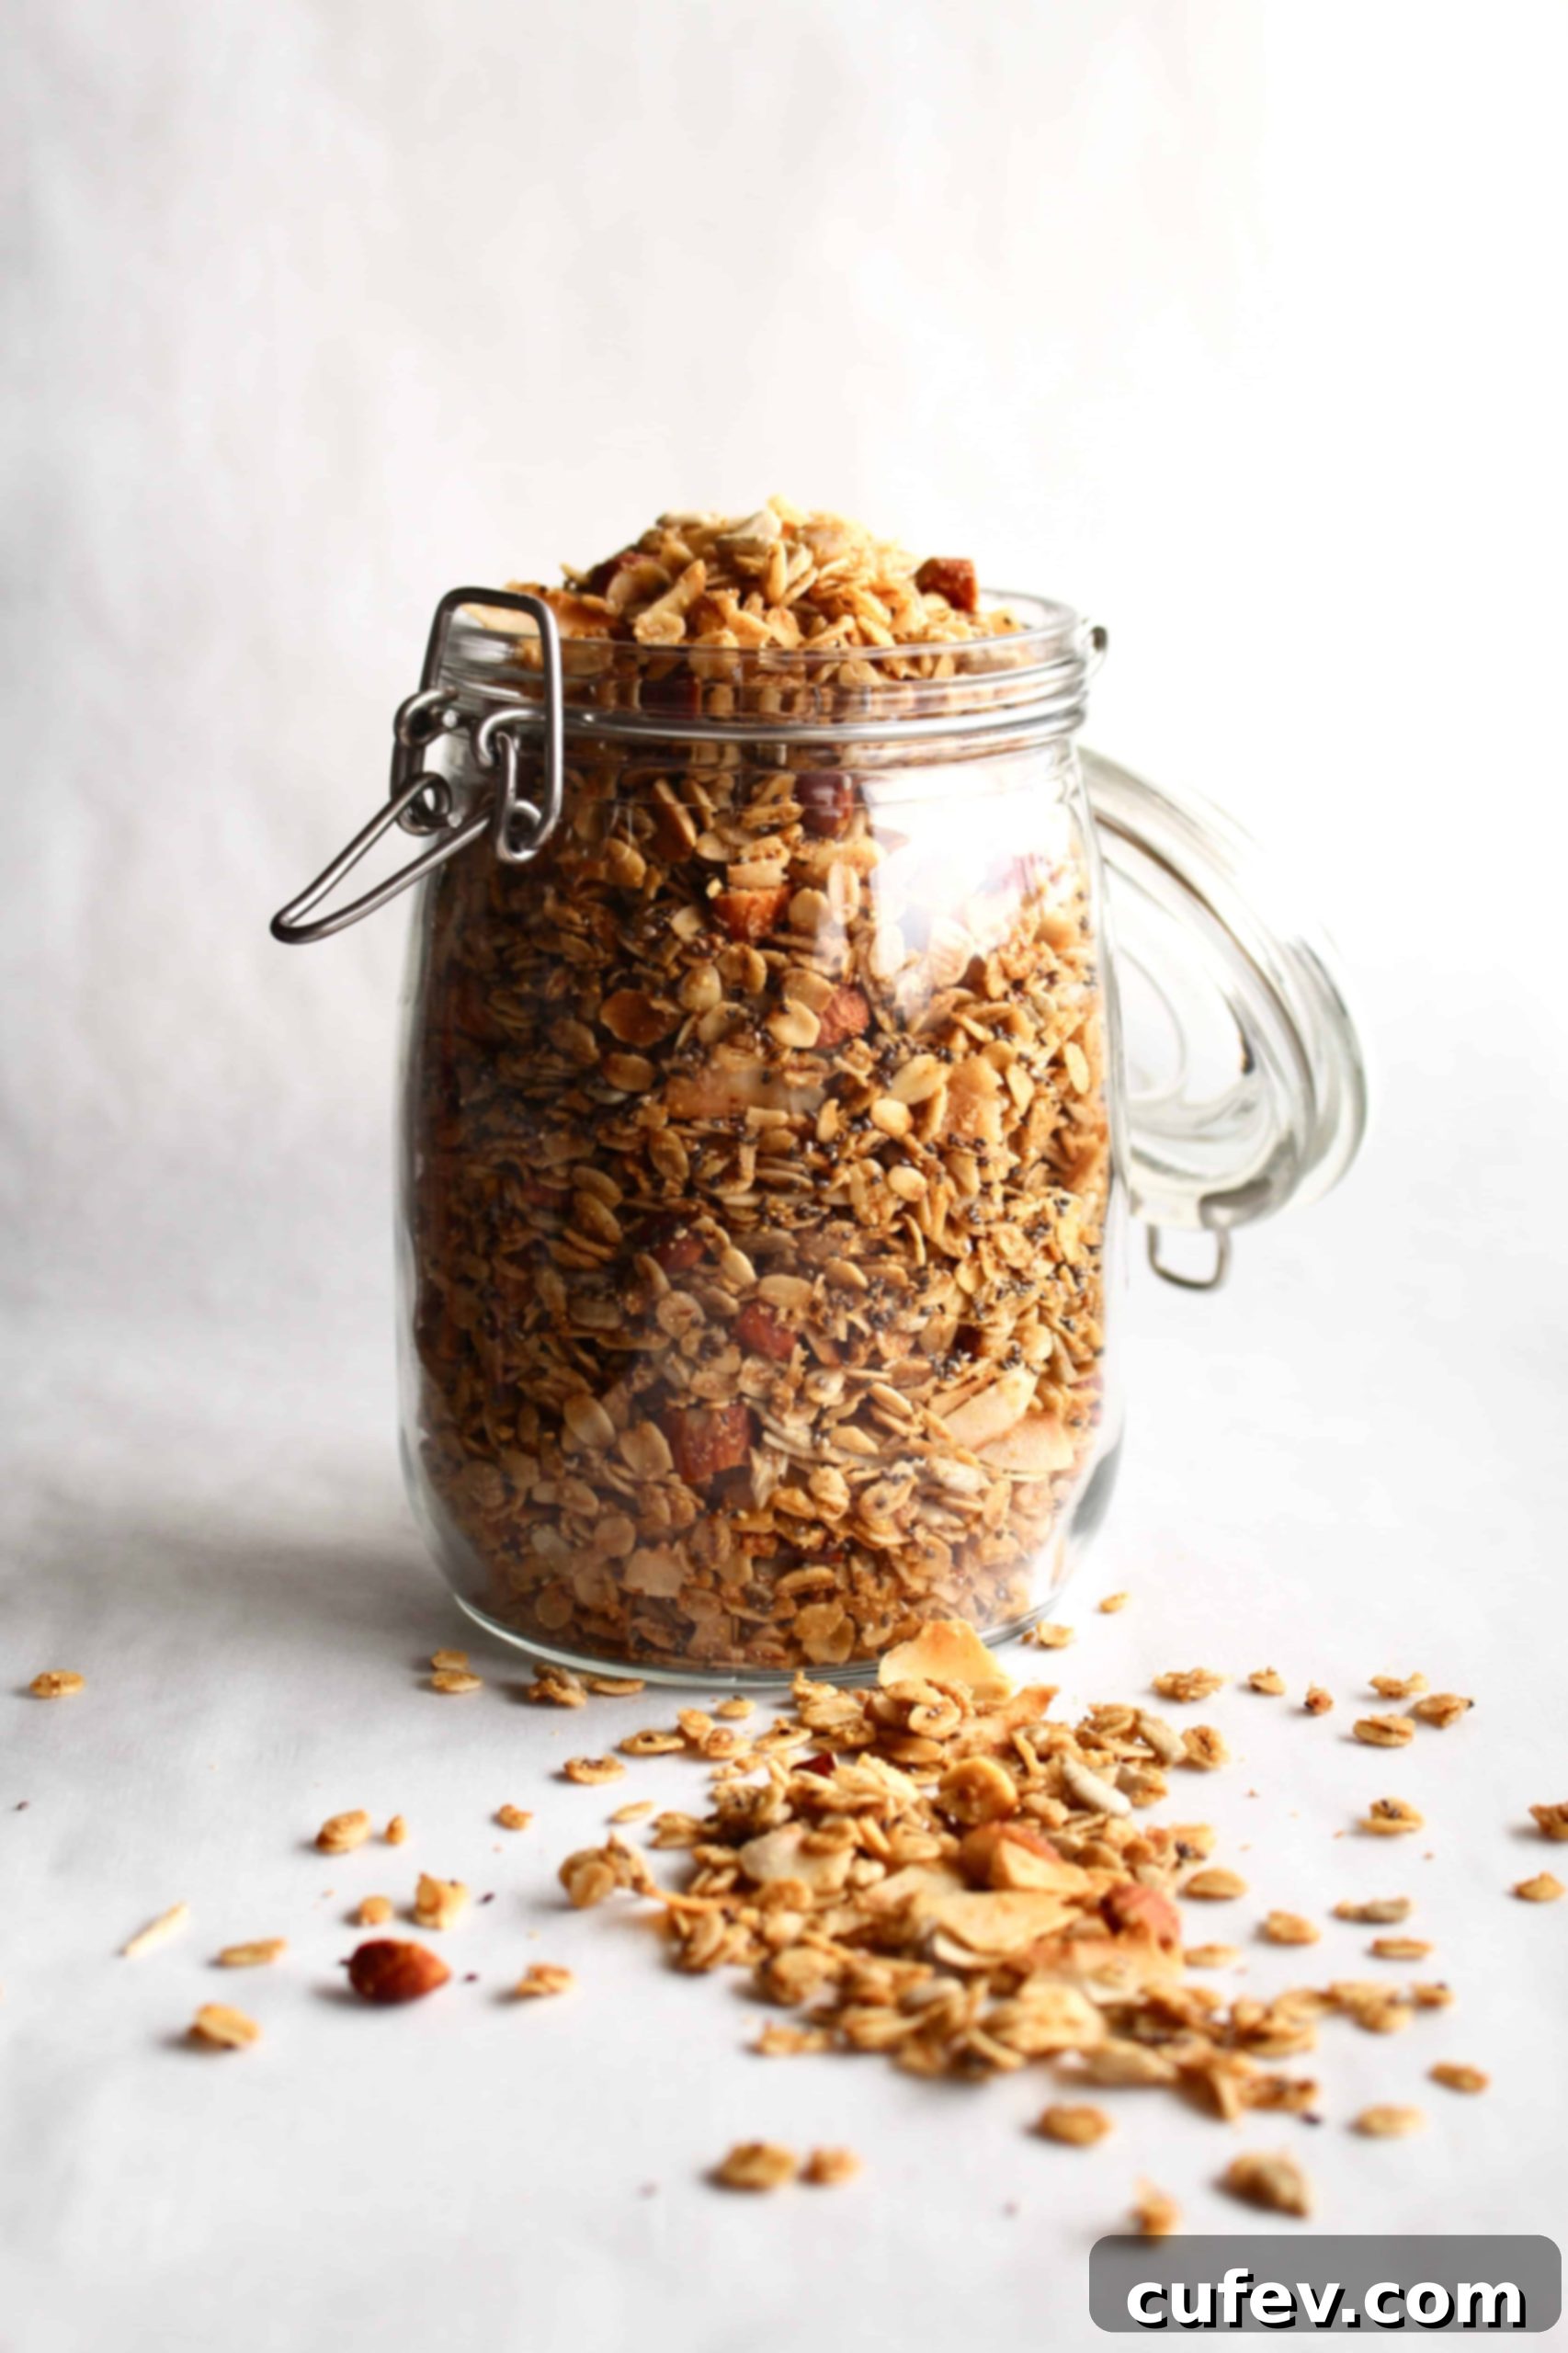
There’s nothing quite like the aroma of freshly baked granola filling your kitchen. This homemade gluten-free granola recipe is not just one of my all-time favorite breakfasts; it’s a revelation that will forever change your perception of this humble cereal. It’s surprisingly simple to prepare, yet delivers a flavor and crunch that store-bought varieties can rarely match. Once you experience the superior taste and customizable goodness of making your own, returning to pre-packaged options becomes genuinely challenging.
This post was originally published on April 30, 2019, and has been thoughtfully updated with new recipe information, enhanced tips, and expanded content on January 29, 2024, to ensure you have the most comprehensive guide to crafting the perfect batch of gluten-free granola.
While grabbing a bag of granola from the grocery store might seem convenient, these options often come with hidden drawbacks. They can be surprisingly expensive, and many are loaded with excessive amounts of refined sugar, negating their perceived “healthy” benefits. My gluten-free granola recipe offers a delightful alternative: it’s not only incredibly more delicious and satisfying, but it also boasts significant health benefits. We incorporate nutrient-dense flaxseed and chia seeds, which are powerhouses of fiber and omega-3 fatty acids. These essential nutrients are crucial for maintaining sustained energy levels, promoting digestive health, and keeping you feeling fuller and more satisfied throughout your morning or as a wholesome snack. By making it yourself, you control every ingredient, ensuring a truly wholesome and nourishing start to your day.
Essential Ingredients for Your Perfect Gluten-Free Granola
Crafting exceptional homemade granola begins with selecting quality ingredients. Here’s a detailed look at what makes this recipe truly special and nourishing:
- Gluten-Free Rolled Oats: The foundation of our granola. It’s crucial to use certified gluten-free rolled oats, also known as old-fashioned oats. Brands like Bob’s Red Mill and Stoked Oats are excellent choices, ensuring there’s no cross-contamination from gluten-containing grains during processing. Rolled oats provide the ideal texture for granola, creating those satisfying clusters and a hearty base.
- Nuts for Crunch and Flavor: We incorporate a dynamic duo of chopped almonds and unsweetened coconut flakes. Almonds add a wonderful crunch, healthy fats, and protein, while unsweetened coconut flakes offer a subtle tropical sweetness and an irresistible chewy texture when toasted. Ensure your coconut flakes are unsweetened to control the overall sweetness of the granola.
- Super Seeds for Health Benefits: A blend of sunflower seeds, ground flaxseed, and chia seeds elevates this granola to a nutritional powerhouse. Sunflower seeds contribute a mild, nutty flavor and a boost of vitamin E. Ground flaxseed is packed with omega-3 fatty acids and dietary fiber, crucial for heart health and digestion. Chia seeds, similarly, are tiny nutritional giants, rich in fiber, omega-3s, and antioxidants, helping you feel energized and full.
- Pure Maple Syrup: Our chosen sweetener for a naturally delicious and refined sugar-free granola. Maple syrup not only adds a rich, warm sweetness but also helps bind the ingredients together, contributing to those coveted granola clusters. Its distinct flavor complements the nuts and spices beautifully.
- Neutral-Flavored Oil: To achieve that perfect crispness and to help the granola toast evenly, a neutral-flavored oil is essential. Options like avocado oil, refined coconut oil, or grapeseed oil work wonderfully without imparting a strong flavor to the finished product. If you enjoy a subtle coconut essence, unrefined (virgin) coconut oil can also be used, but refined is best for a truly neutral base.
- Pure Vanilla Extract: A splash of pure vanilla extract or vanilla paste adds an aromatic depth and warmth, enhancing the overall flavor profile of the granola. Don’t underestimate the power of good quality vanilla!
- Fine Sea Salt: A pinch of fine sea salt is vital. It doesn’t just add seasoning; it acts as a flavor enhancer, bringing out the natural sweetness of the maple syrup and the nutty notes of the oats and seeds, while perfectly balancing the flavors.
- Ground Cinnamon: This warm spice infuses the granola with a comforting, slightly sweet, and aromatic quality, making it even more inviting and delicious. It’s a classic pairing with oats and maple.
Exciting Mix-in Variations to Customize Your Granola
While the base recipe is fantastic on its own, adding extra mix-ins allows you to tailor your granola to your personal preferences. Here are some delicious ideas:
- Dried Fruit: Dried cranberries are a personal favorite, offering a tart burst of flavor. However, feel free to experiment with raisins, chopped figs, apricots, or even blueberries. Remember, it’s crucial to add dried fruit *after* the granola has finished baking and cooled slightly. Dried fruits can easily burn or become unpleasantly hard when subjected to high oven temperatures for extended periods. Stir them in at the end for the best texture and flavor.
- Freeze-Dried Fruit: For a different kind of fruity sweetness and a delicate crunch, consider adding freeze-dried berries (like strawberries, raspberries, or blueberries) once the granola is completely baked and cooled. They offer intense flavor and a beautiful pop of color without adding extra moisture.
- Chocolate Chunks or Chips: If you’re craving a more decadent treat, chopped chocolate chunks or your favorite chocolate chips can be folded into the granola once it has cooled completely. The residual warmth might slightly melt the chocolate, creating delicious pockets, but adding it to fully cooled granola prevents it from melting entirely and coating everything, which can sometimes lead to a less crunchy result. Dark chocolate, milk chocolate, or even white chocolate chips are all fantastic options.
- Other Nuts: Feel free to swap or add other nuts like pecans, walnuts, or cashews for added variety in flavor and texture. Ensure they are unsalted and chop larger nuts if desired.
- Additional Seeds: Pumpkin seeds (pepitas) are another excellent addition, offering a distinct flavor and nutritional benefits. Sesame seeds can also provide a unique, subtle crunch.
- Spices: Beyond cinnamon, consider a touch of nutmeg, ginger, or even a tiny pinch of cardamom for an extra layer of warmth and complexity.
Step-by-Step Guide: How to Make Irresistible Gluten-Free Granola
Making homemade granola is incredibly straightforward and rewarding. Follow these simple steps to create your perfect batch:
Step 1: Prepare Your Workspace and Oven. Begin by preheating your oven to 320°F (160°C). This ensures the oven is at the correct temperature for even baking from the start. While the oven preheats, line a large baking sheet with parchment paper. Parchment paper is essential for preventing sticking and making cleanup a breeze. Set the prepared baking sheet aside.
Step 2: Whisk the Wet Ingredients. In a spacious mixing bowl, combine the liquid components: maple syrup, your chosen neutral oil (avocado, refined coconut, or grapeseed), pure vanilla extract, fine sea salt, and ground cinnamon. Whisk these ingredients thoroughly until they are well combined and form a uniform, aromatic liquid mixture. This ensures that the flavors are evenly distributed throughout your granola.
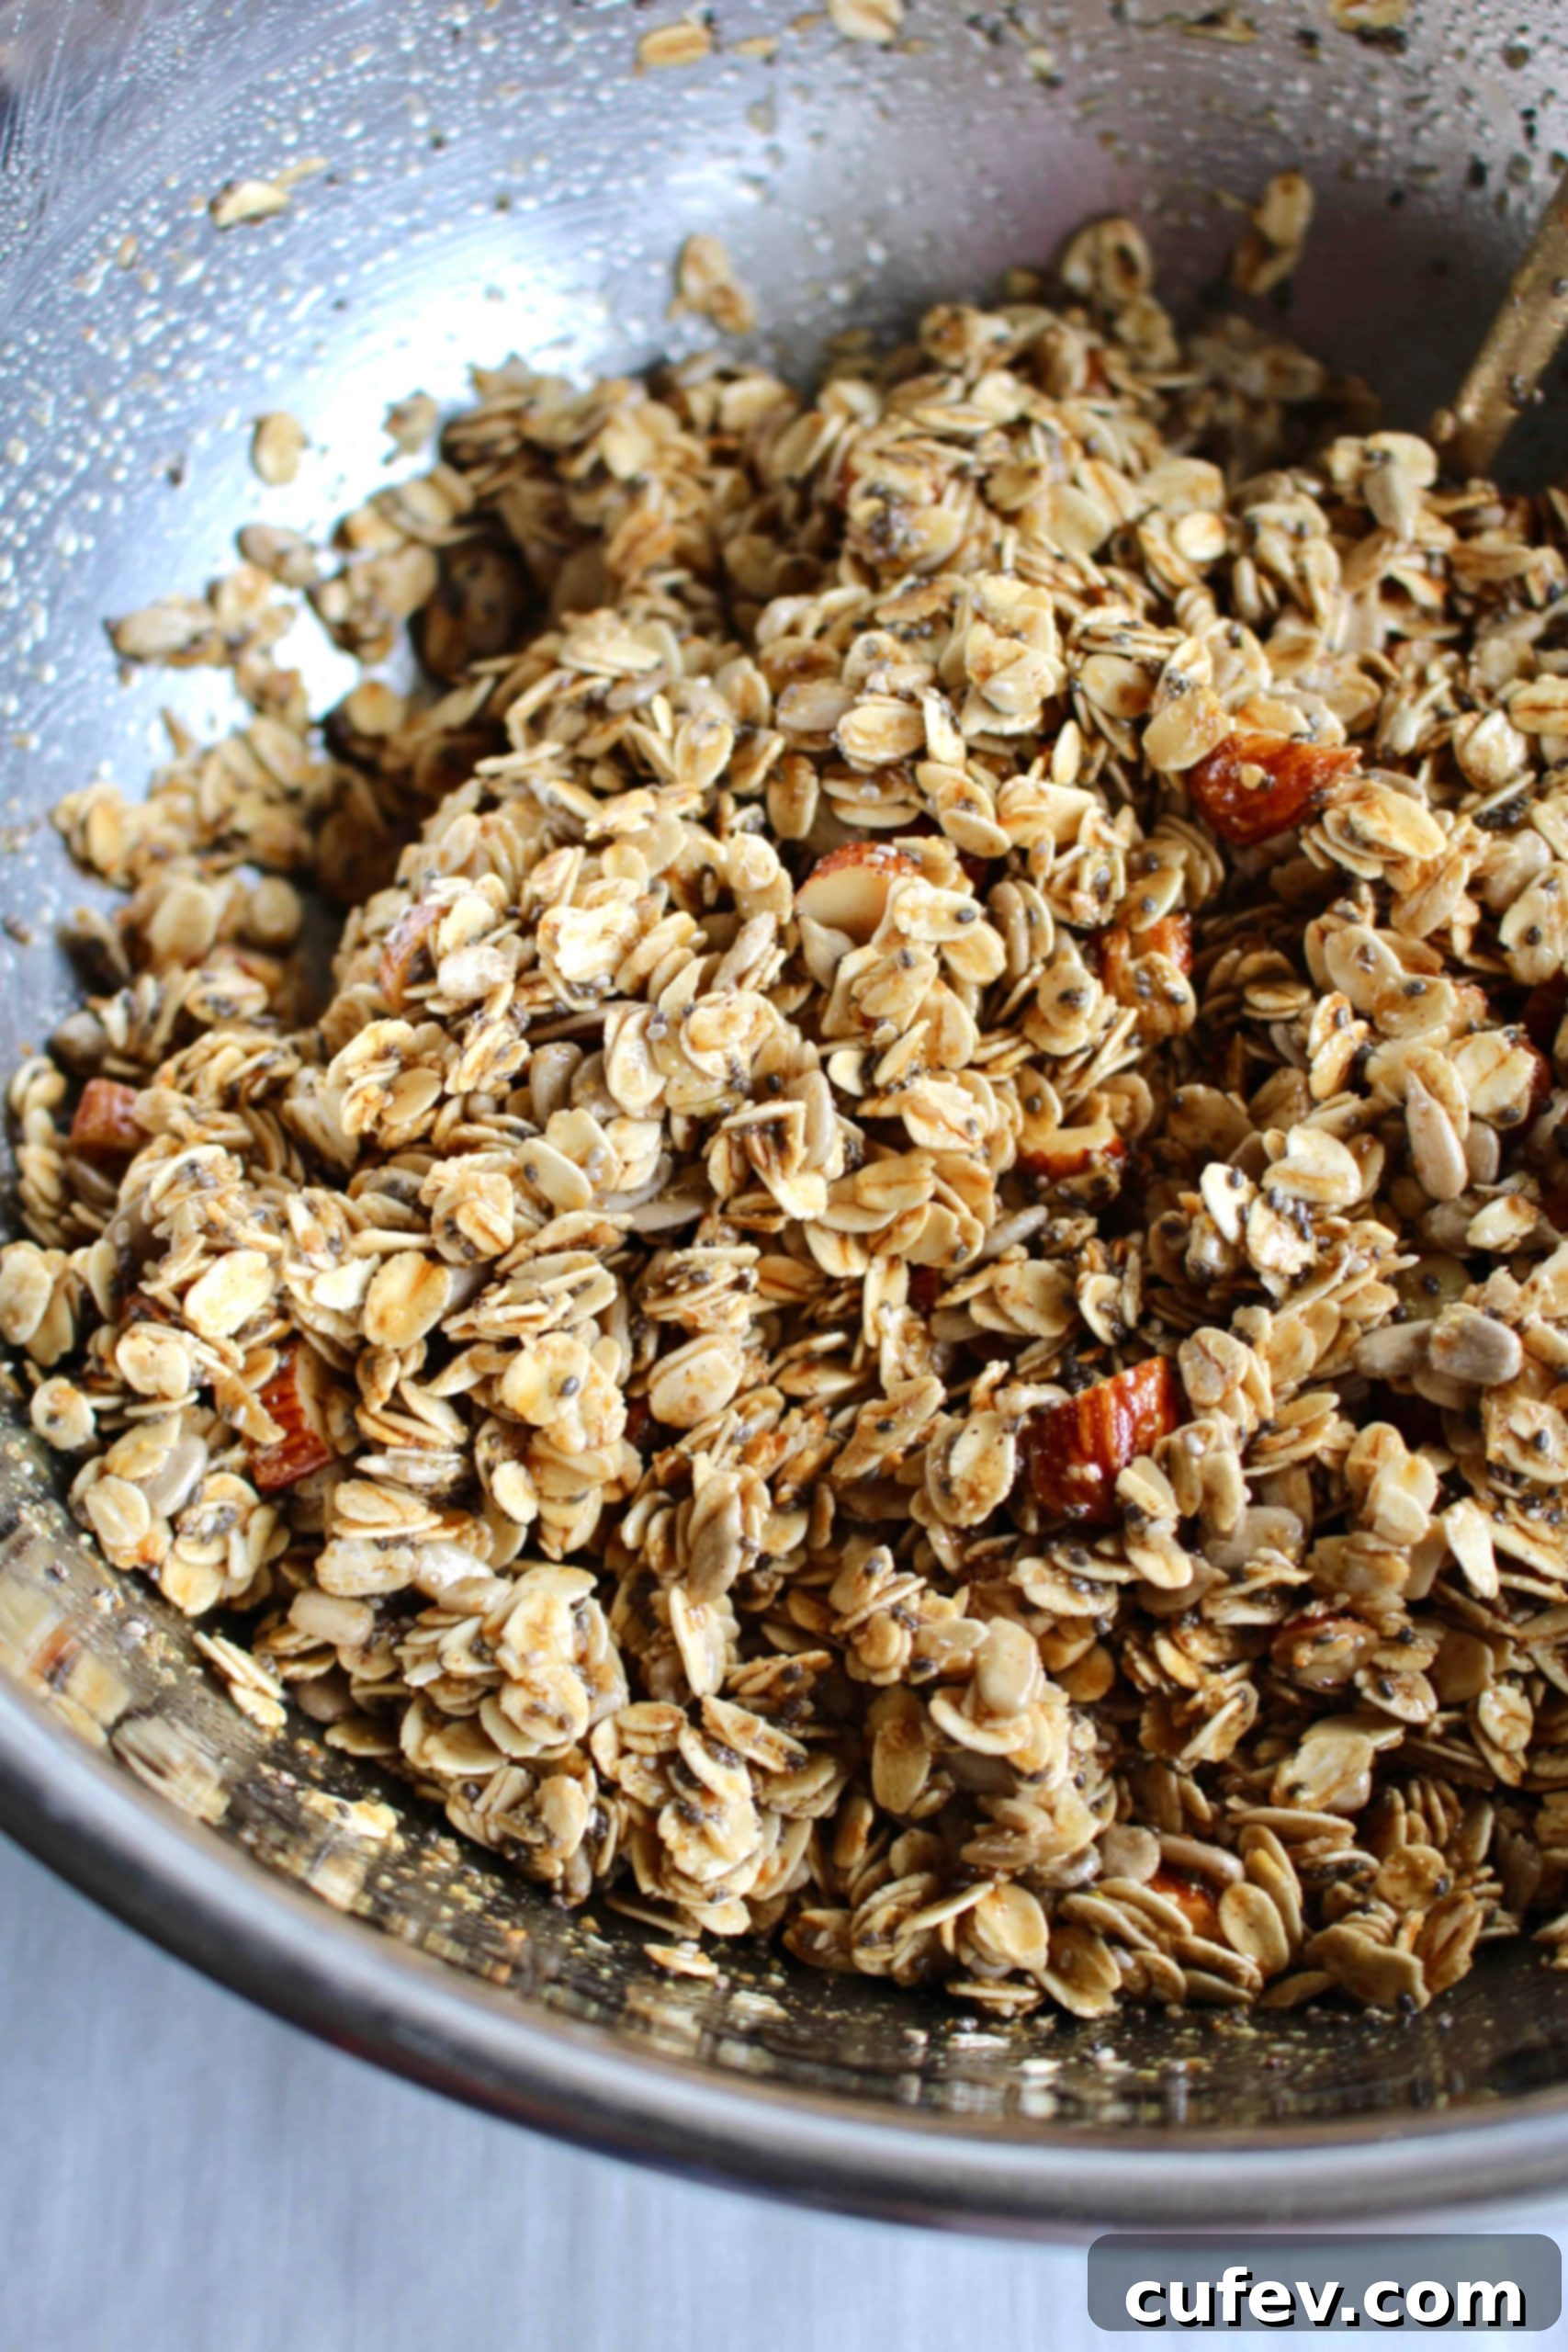
Step 3: Combine Dry and Wet Ingredients. To the bowl with the wet mixture, add your dry base ingredients: gluten-free oats, sunflower seeds, chopped almonds, ground flaxseed, and chia seeds. Using a sturdy spoon or spatula, stir everything together meticulously. Continue mixing until all the dry ingredients are uniformly coated in the luscious maple syrup mixture. Every oat flake and seed should have a glistening, sticky coating, which is key for developing flavor and crunch.
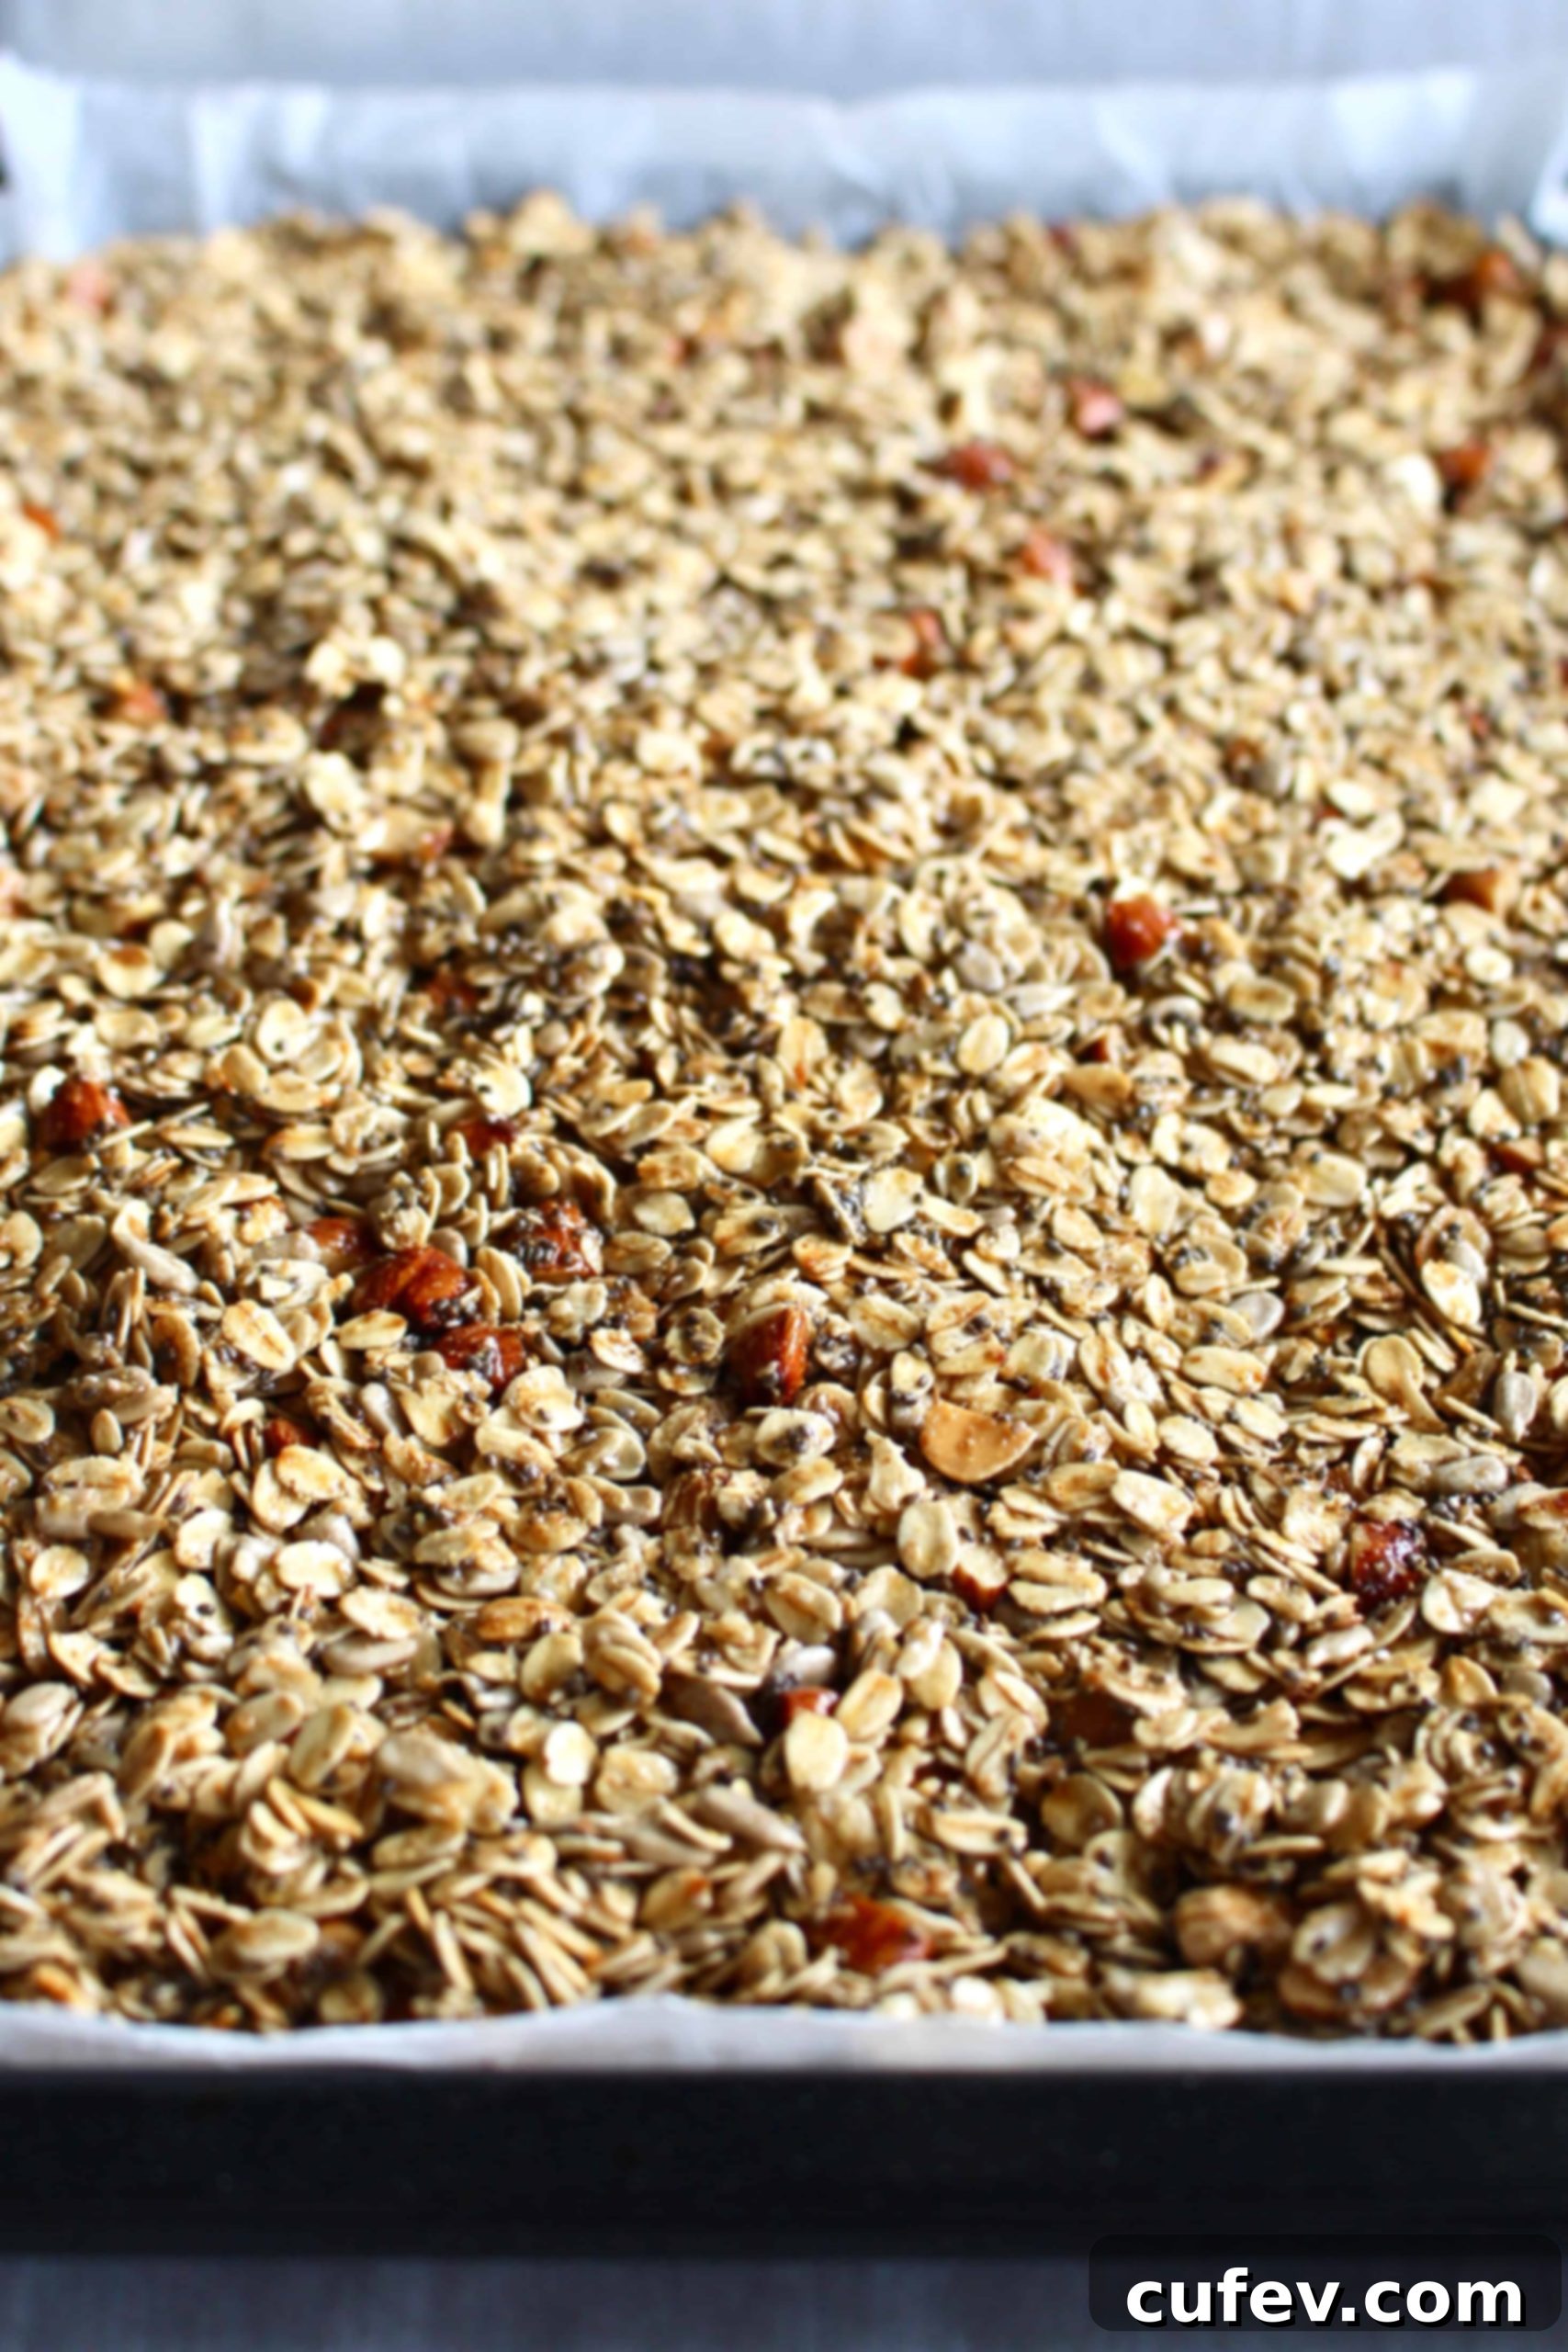
Step 4: Initial Bake for the Oat Mixture. Pour the thoroughly mixed granola onto the parchment paper-lined baking sheet. Spread the mixture out into a single, even layer. This uniform distribution is crucial for consistent baking and to encourage crispness. Avoid piling it too high, as this can lead to uneven cooking. Place the baking sheet into the preheated oven and bake for an initial 10 minutes. This initial baking period allows the oats and nuts to begin toasting and absorbing the flavors.
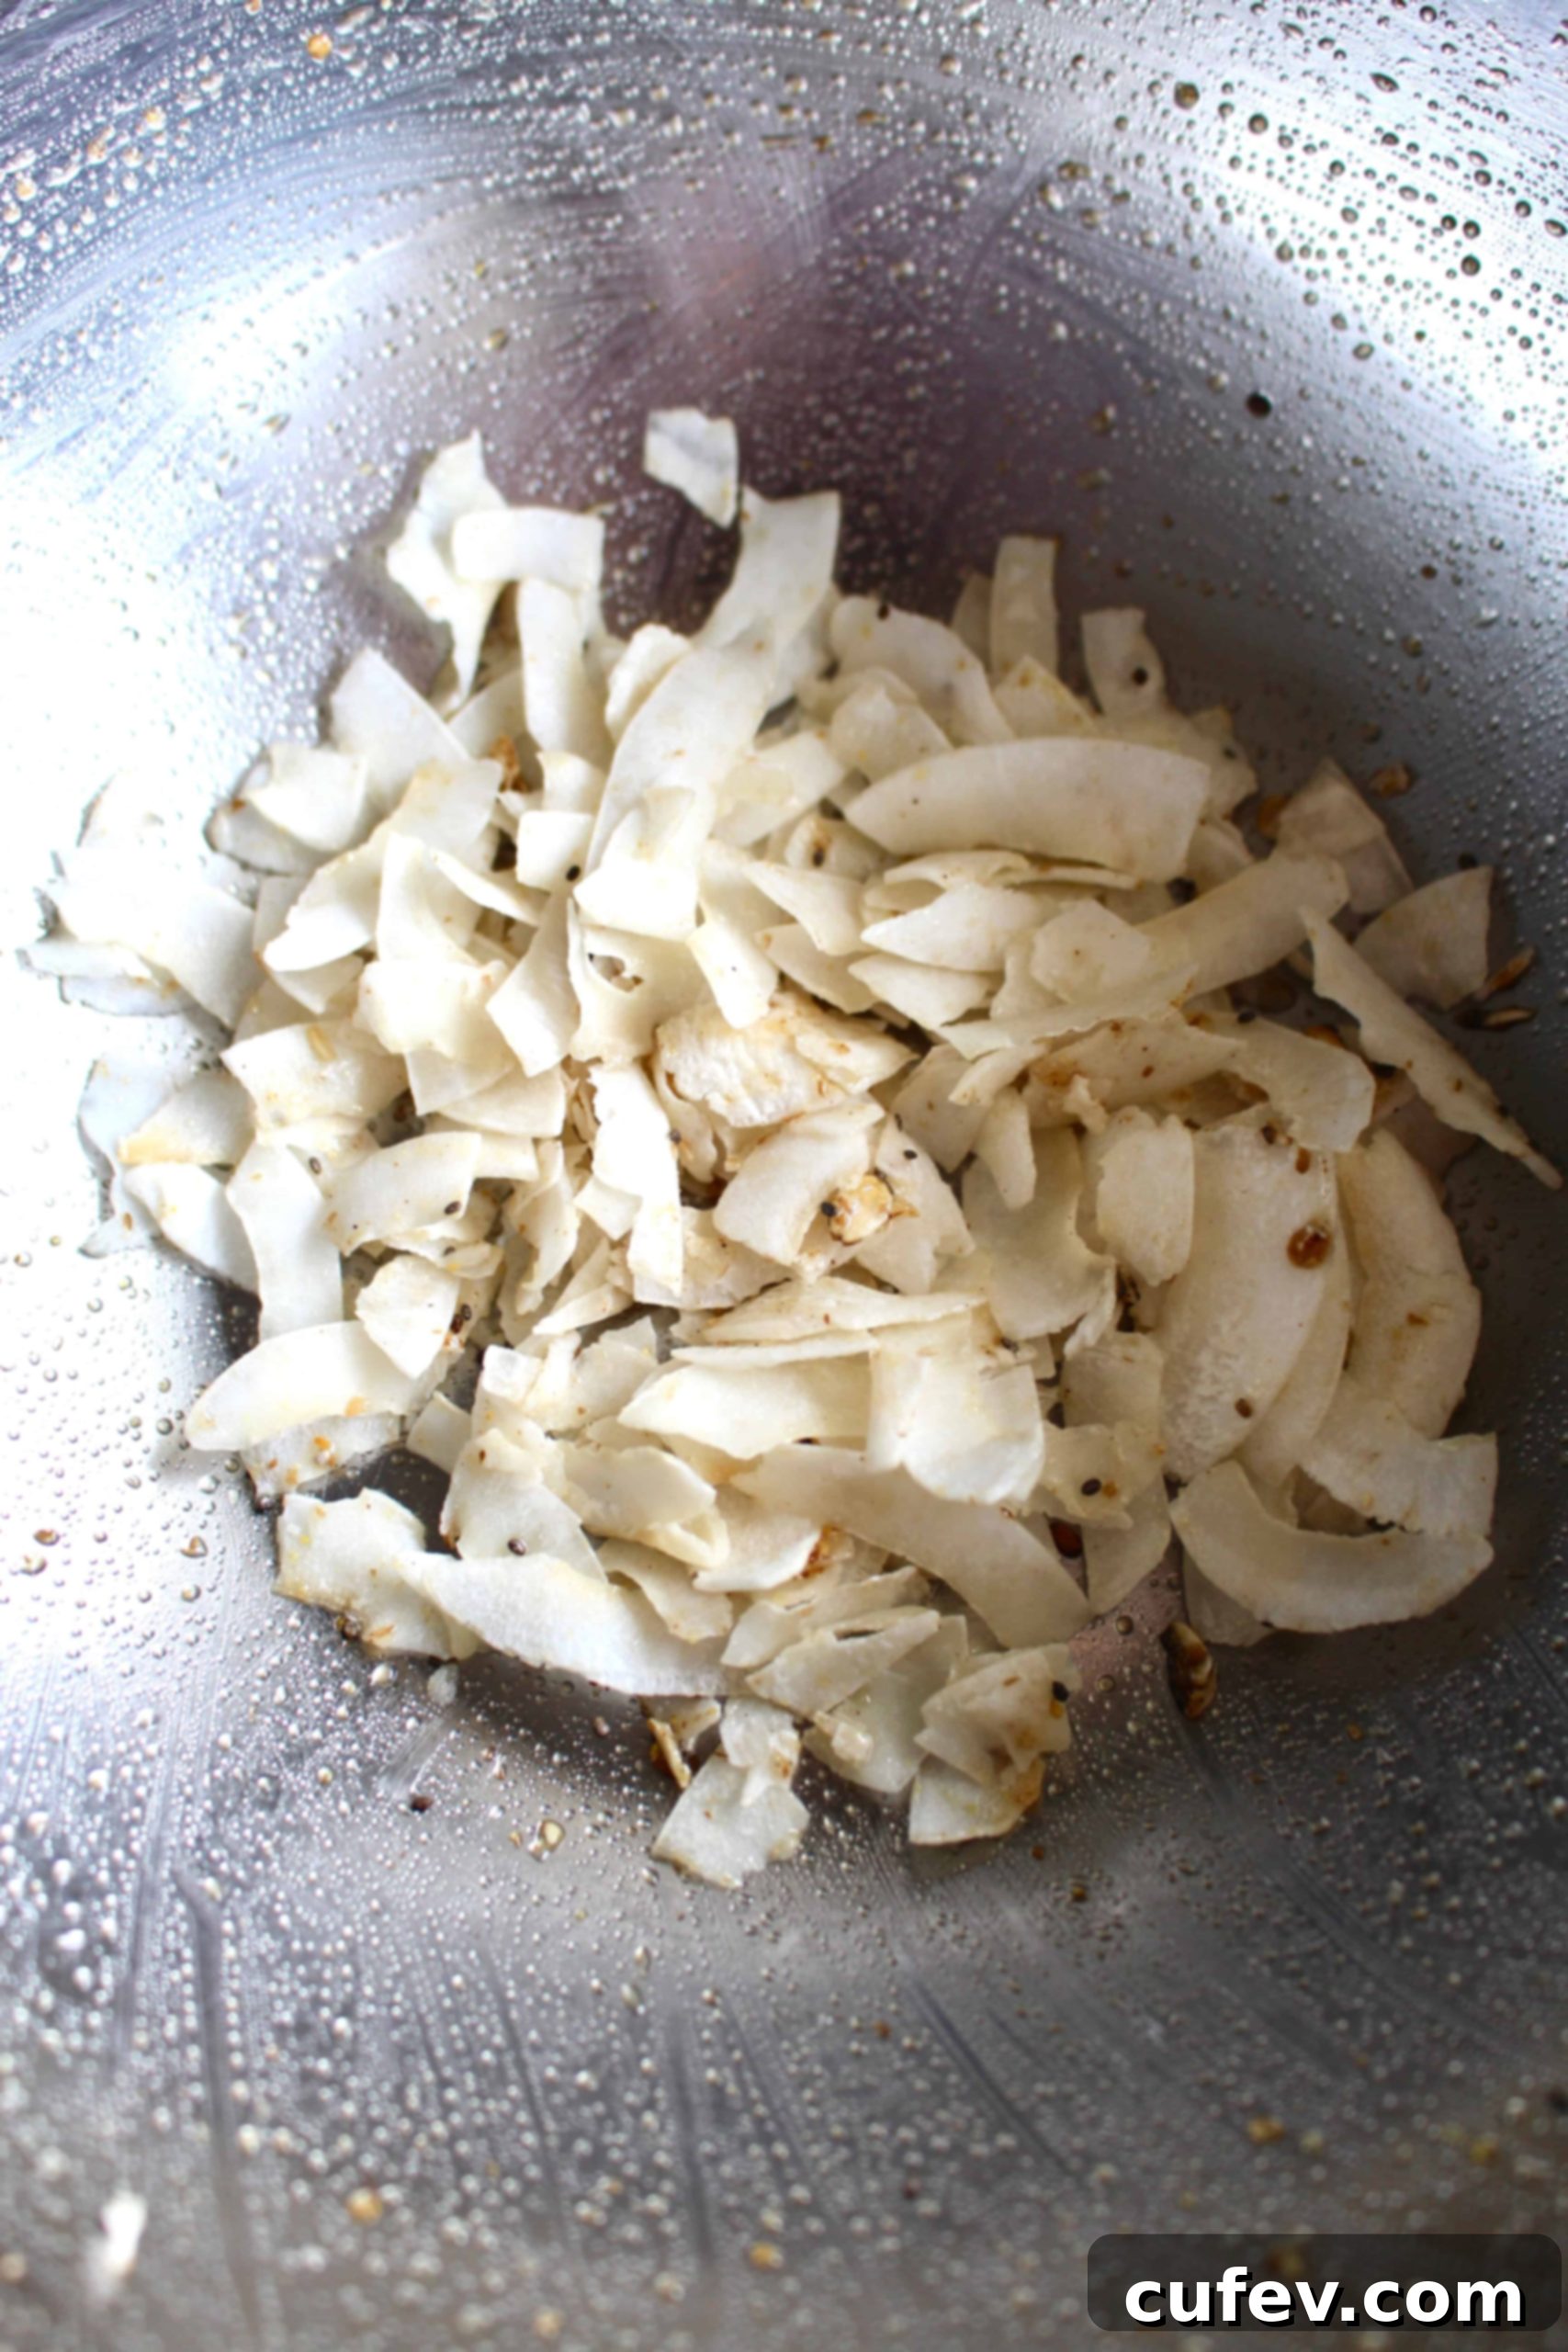
Step 5: Prepare and Add the Coconut. While the oats and nuts are having their initial bake, take the unsweetened coconut flakes and add them to the same bowl you used for mixing (no need to wash it, the leftover maple mixture will be perfect). Toss the coconut flakes in the bowl to coat them lightly with any remaining maple syrup residue. This quick step ensures the coconut gets a hint of sweetness and helps it toast beautifully without burning prematurely.
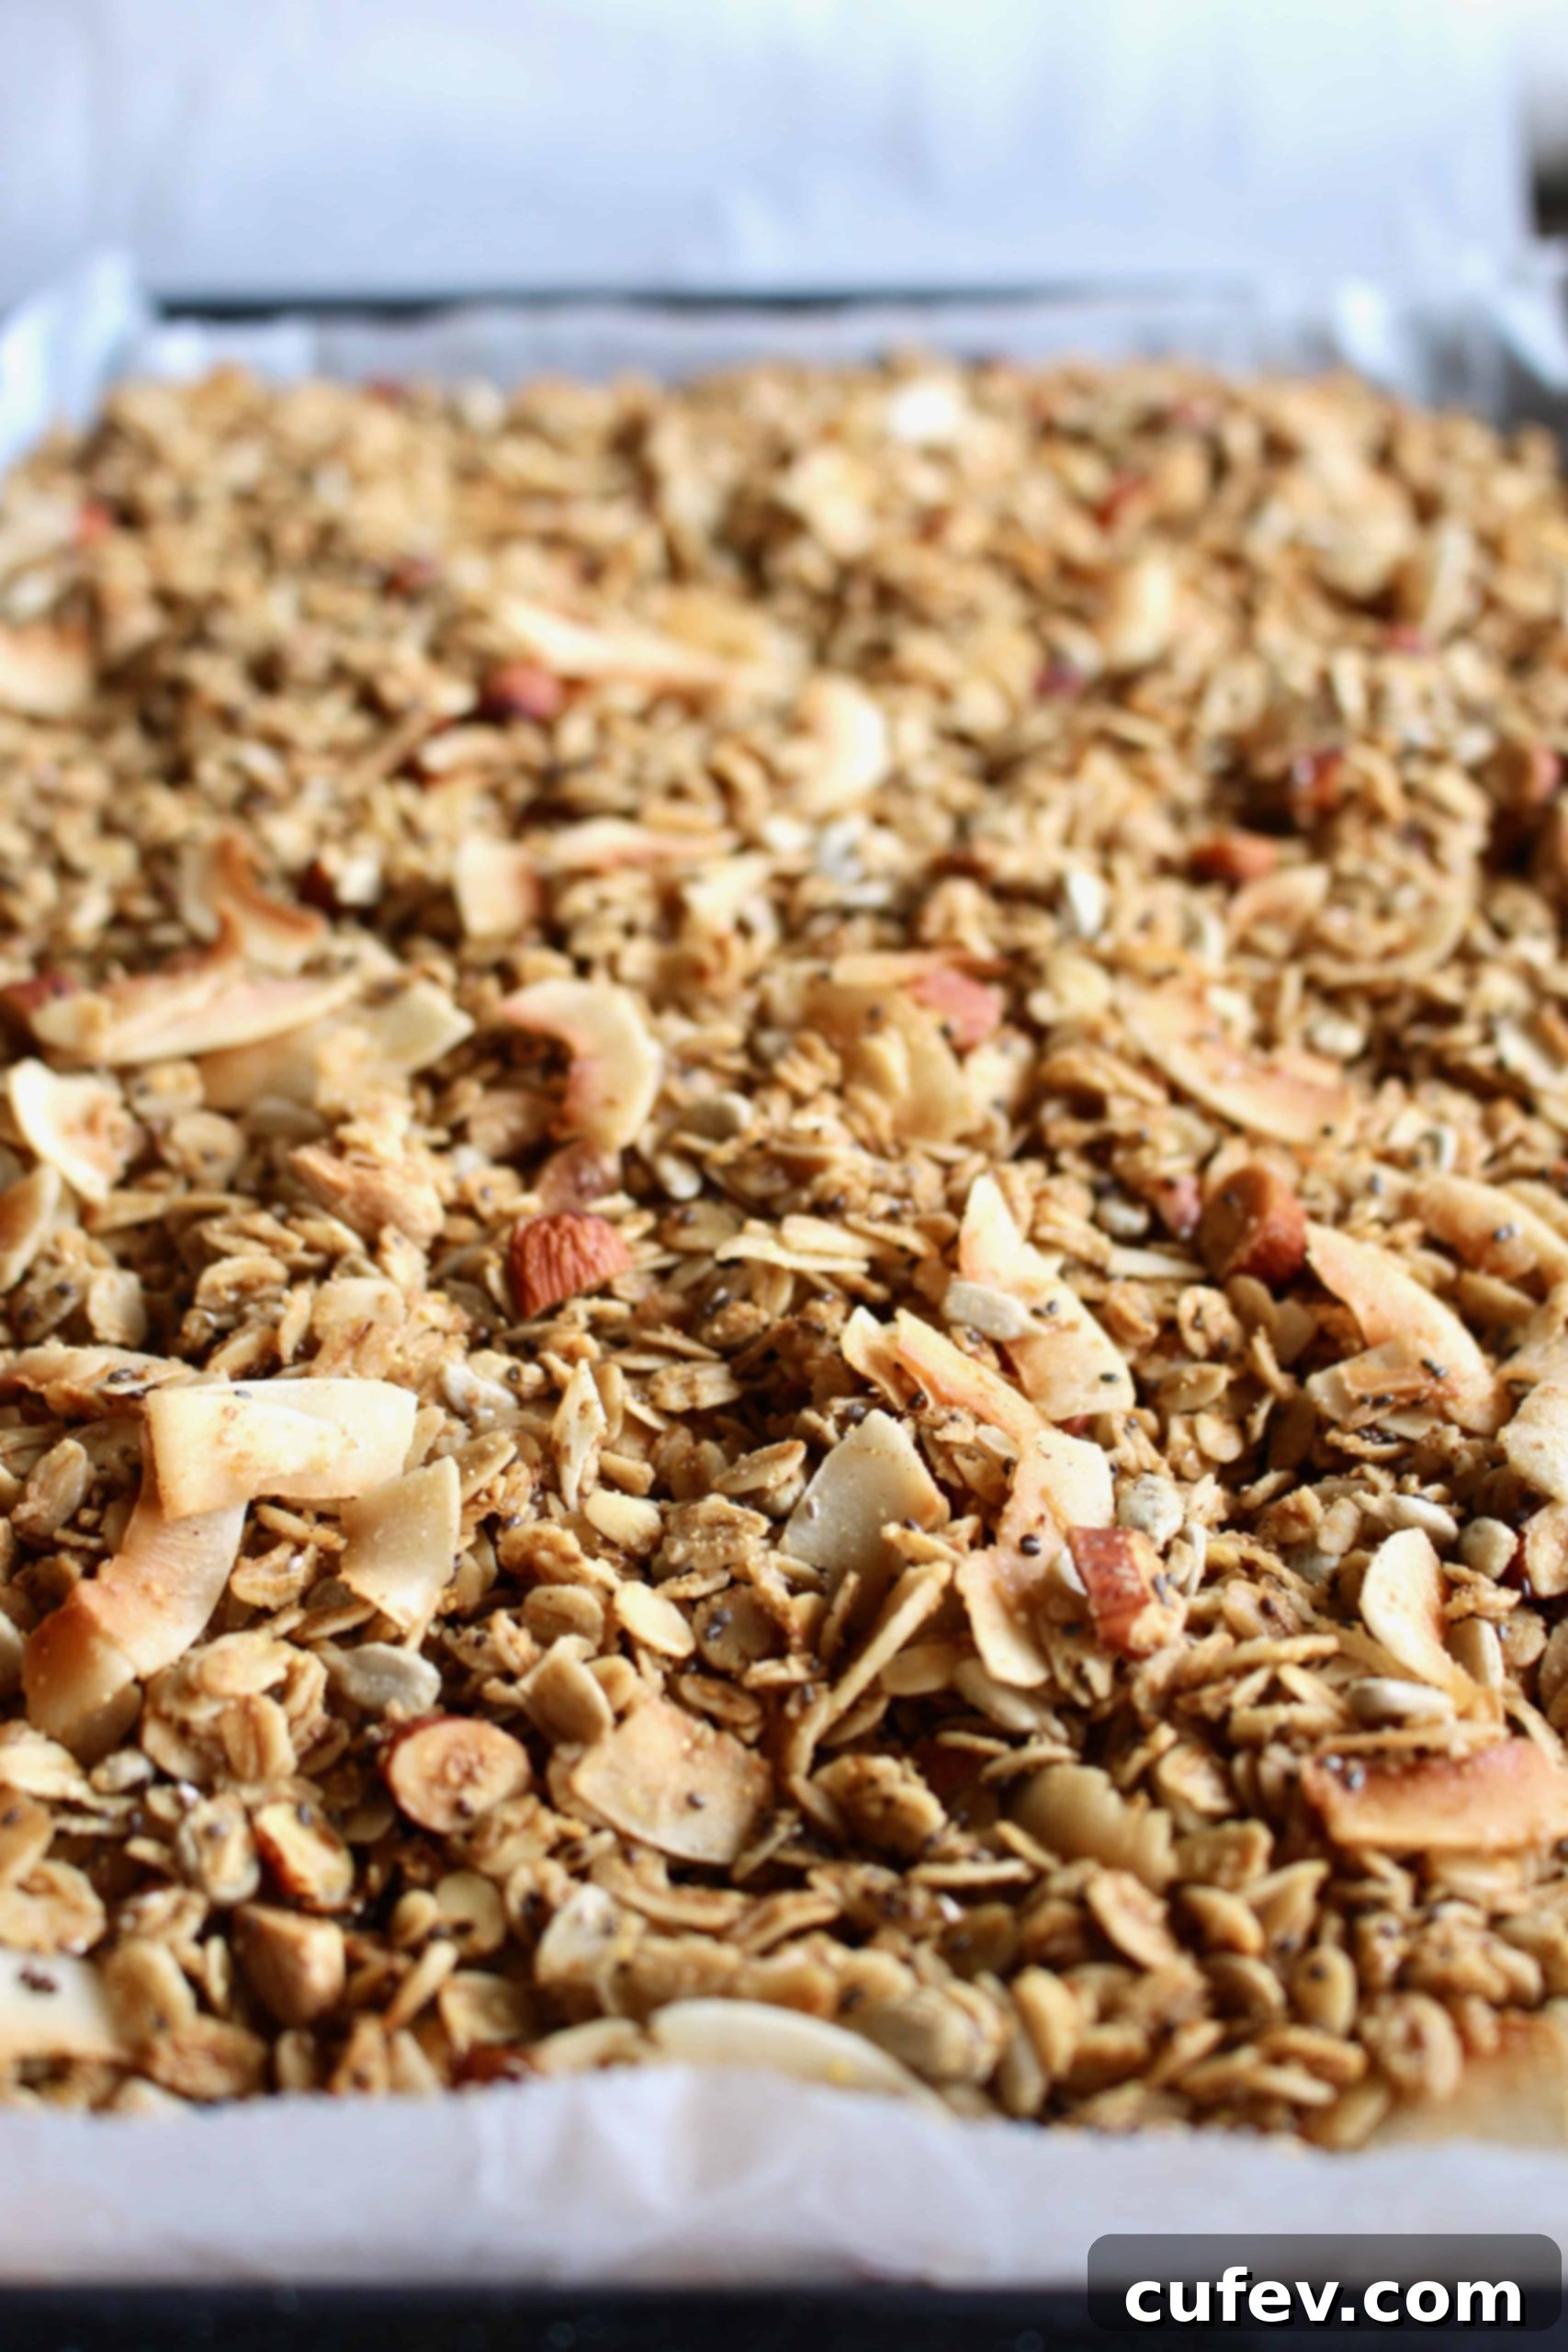
Step 6: Incorporate Coconut and Final Bake. After the initial 10 minutes, carefully remove the baking sheet from the oven. Scatter the coated coconut flakes evenly over the partially baked granola. Using a spatula, gently toss the entire mixture on the baking sheet to distribute the coconut and ensure even baking. Spread it back into an even layer. Return the baking sheet to the oven and bake for an additional 30 minutes. During this final baking phase, make sure to toss the granola every 10 minutes. This regular tossing is crucial for achieving uniform golden-brown perfection and preventing any parts from burning, especially the delicate coconut flakes. Once the granola is golden brown and fragrant, remove it from the oven.
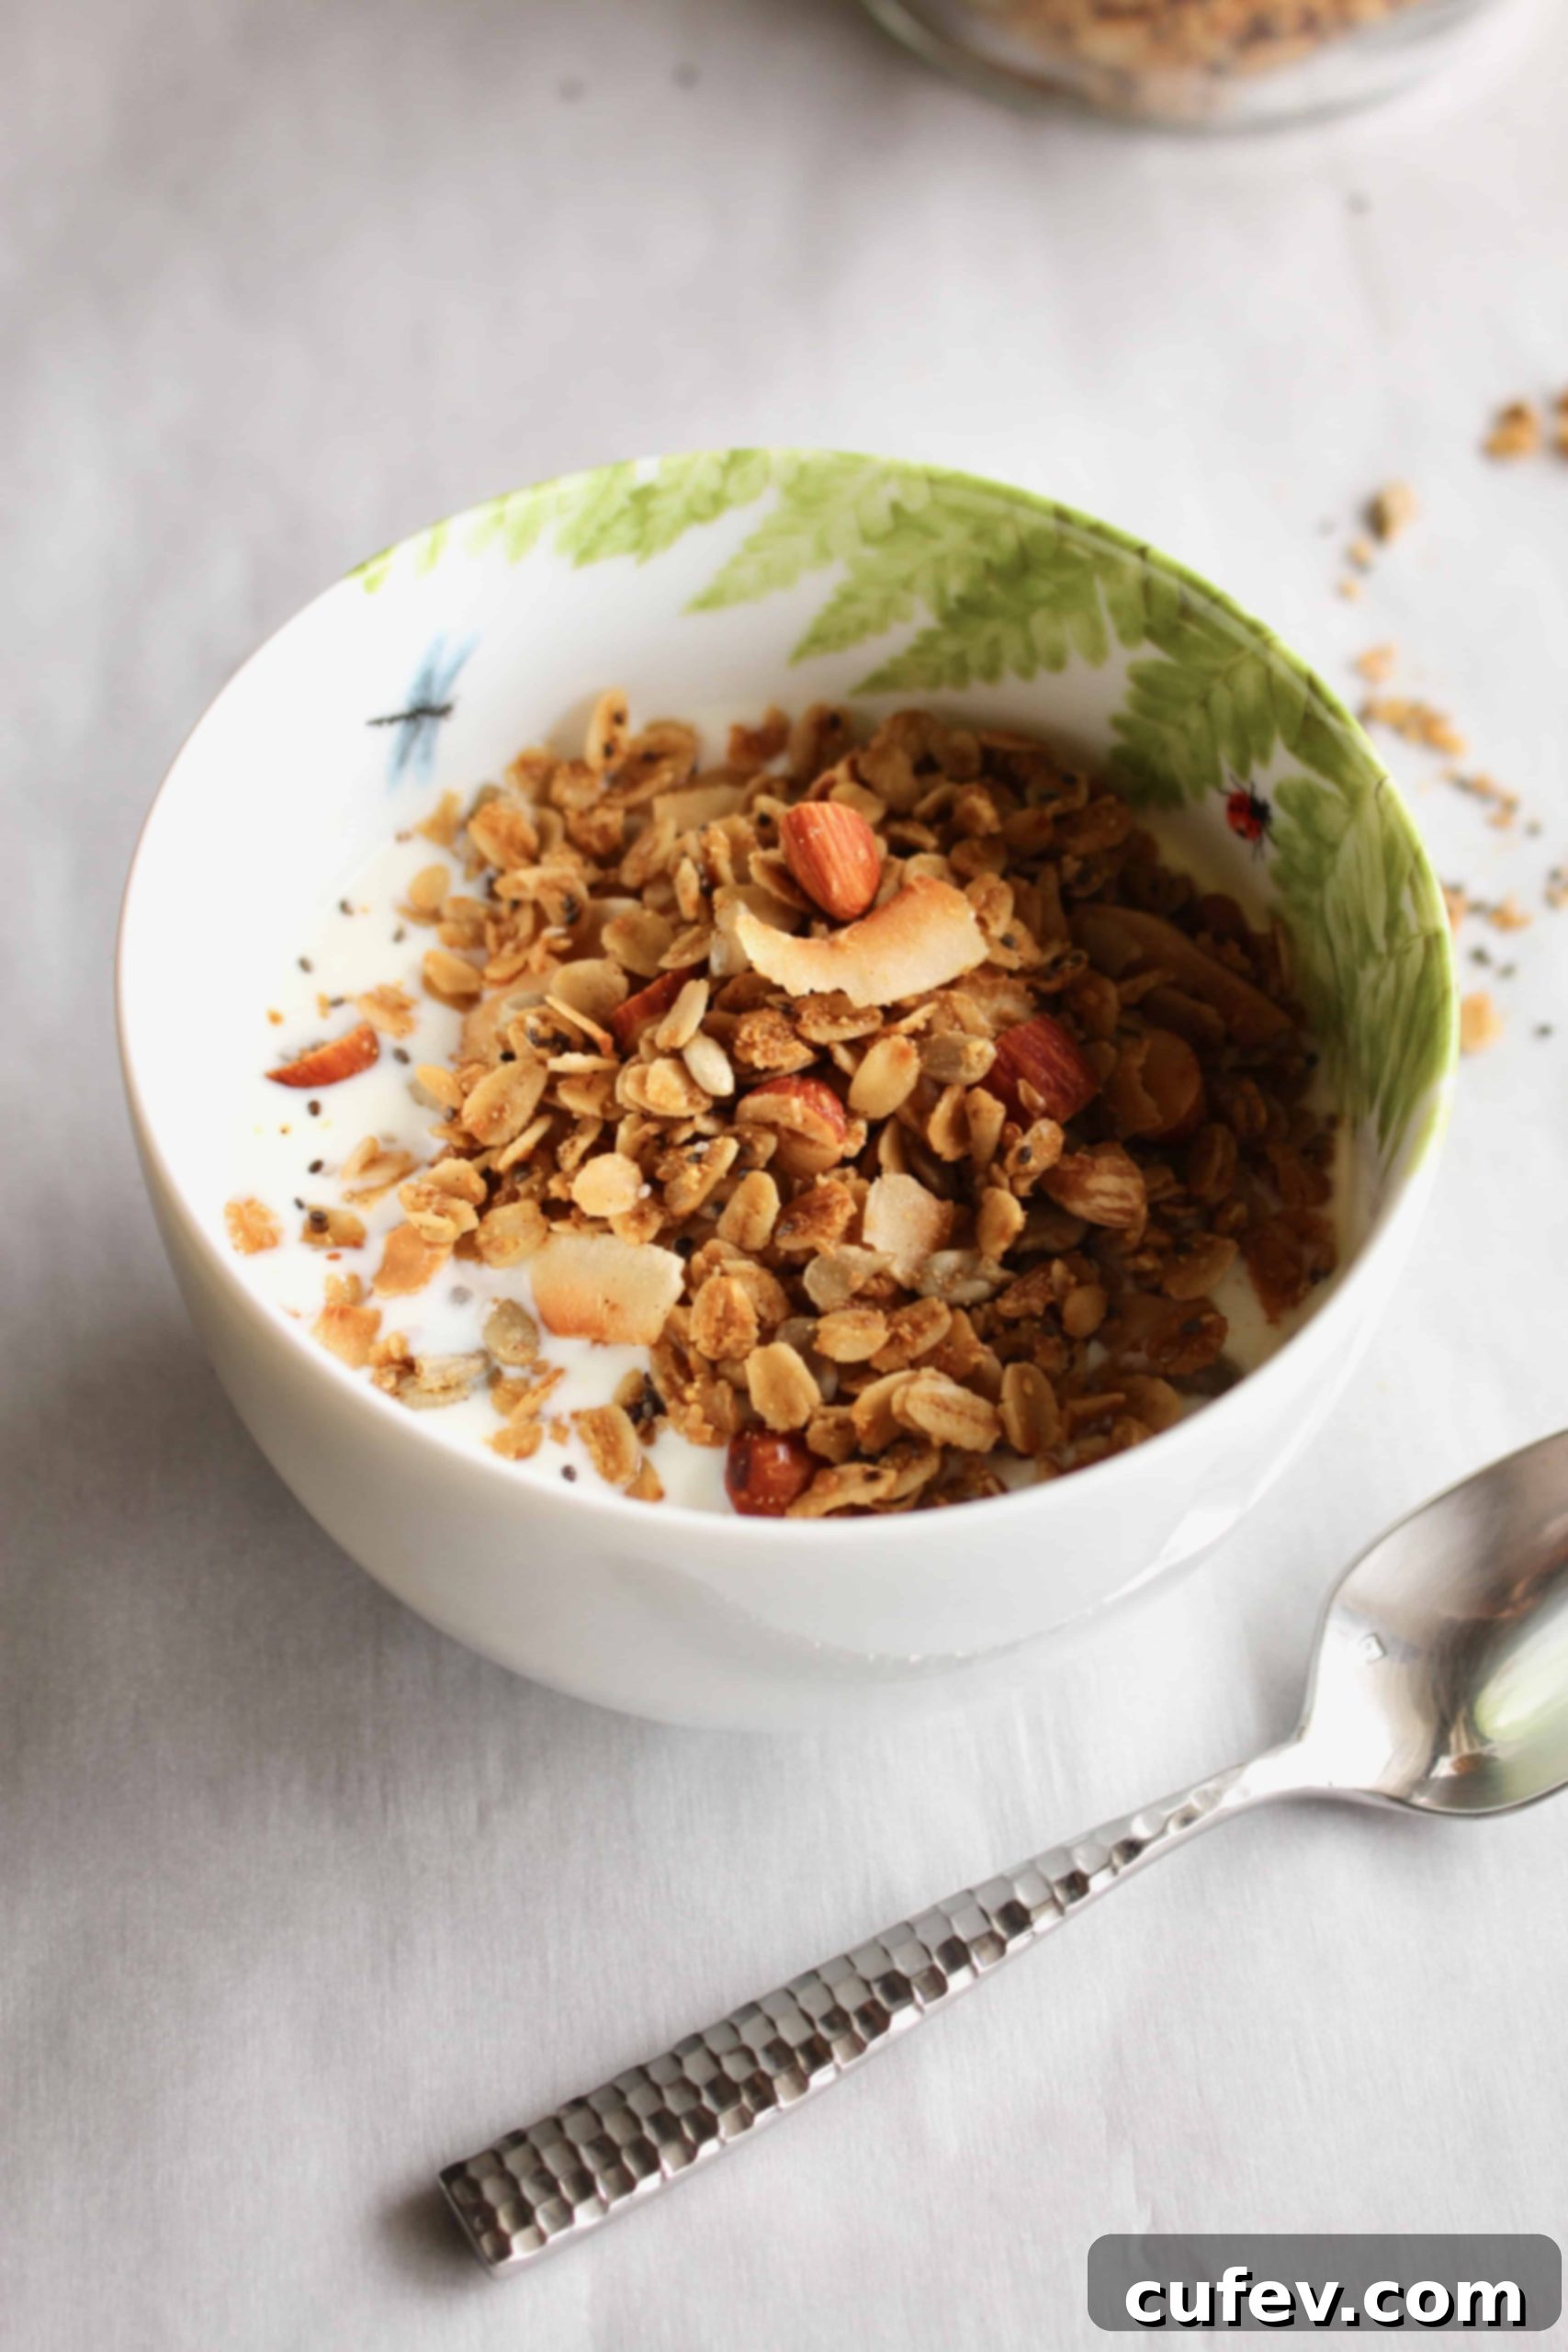
Step 7: Cool Completely. This is perhaps the most critical step for achieving that signature crunchy granola texture. Immediately after removing the granola from the oven, give it one final toss on the hot baking sheet. Then, spread it out again into an even layer and resist the urge to eat it warm! Allow the granola to cool completely on the baking sheet at room temperature. As it cools, it will crisp up and harden into delightful clusters. This process can take anywhere from 1 to 2 hours, depending on your kitchen’s temperature and humidity. Patience here is key to maximum crunch!
Expert Tips for Making the Best Gluten-Free Granola
Achieving perfectly crunchy, flavorful homemade granola is easy with a few key techniques. Here are my top tips for success:
Prevent Coconut from Burning: Unsweetened coconut flakes have a lower moisture content and tend to toast much faster than oats and other nuts. If added at the very beginning, they will likely turn dark and bitter. To prevent this, hold off on adding the coconut until the oats and nuts have had at least a 10-minute head start in the oven. This way, everything finishes baking to a beautiful golden brown simultaneously.
Toss the Granola Regularly: Don’t skip the step of taking the granola out of the oven and tossing it every 10 minutes during the second baking phase. This ensures that all sides of the oats, nuts, and seeds are exposed to the heat, promoting even browning and preventing any individual pieces from burning or sticking to the parchment paper. It’s a small effort that makes a huge difference in the final texture and appearance.
Allow for Complete Cooling: This is arguably the most crucial tip for achieving that satisfying crunch! While the aroma of warm, freshly baked granola is incredibly tempting, resist the urge to dig in right away. Nuts and oats remain somewhat soft and chewy when hot. As the granola cools completely on the baking sheet, the sugars in the maple syrup harden, and the moisture evaporates, resulting in a wonderfully crisp and crunchy texture. Give it at least an hour, or even two, to cool down fully.
Use a Large Baking Sheet: For the best results, use a large baking sheet (approximately 13×18 inches or similar). This allows you to spread the granola mixture into a thin, even layer. Overcrowding the baking sheet can lead to steamed granola rather than toasted, resulting in a softer texture and uneven cooking. If you don’t have a large enough sheet, bake in two batches on separate sheets.
Don’t Forget the Salt: A common mistake in baking is under-salting. A touch of fine sea salt not only enhances the flavors of the nuts and oats but also balances the sweetness of the maple syrup, preventing the granola from tasting bland or overly sweet. It truly makes all the other flavors sing!
Know Your Oven: Ovens can vary significantly in temperature. Keep a close eye on your granola, especially during the last 15-20 minutes of baking. If your oven has hot spots, you might need to rotate the baking sheet halfway through. The granola should be golden brown and smell fragrant, but not burnt.
