Homemade Kashiwa Mochi (柏餅): A Traditional Japanese Sweet Recipe for Festivals & Everyday Delight
If you’ve ever dreamt of crafting authentic Homemade Kashiwa Mochi (柏餅 or 柏もち), your culinary journey begins here! This delightful recipe, requiring just 6 simple ingredients and approximately 20 minutes of active preparation, yields a batch of wonderfully chewy, gluten-free mochi treats that are sure to captivate your taste buds and become a cherished favorite. With its smooth, sweet red bean paste filling encased in tender mochi and wrapped in a symbolic oak leaf, Kashiwa Mochi offers a taste of Japanese tradition right in your home.
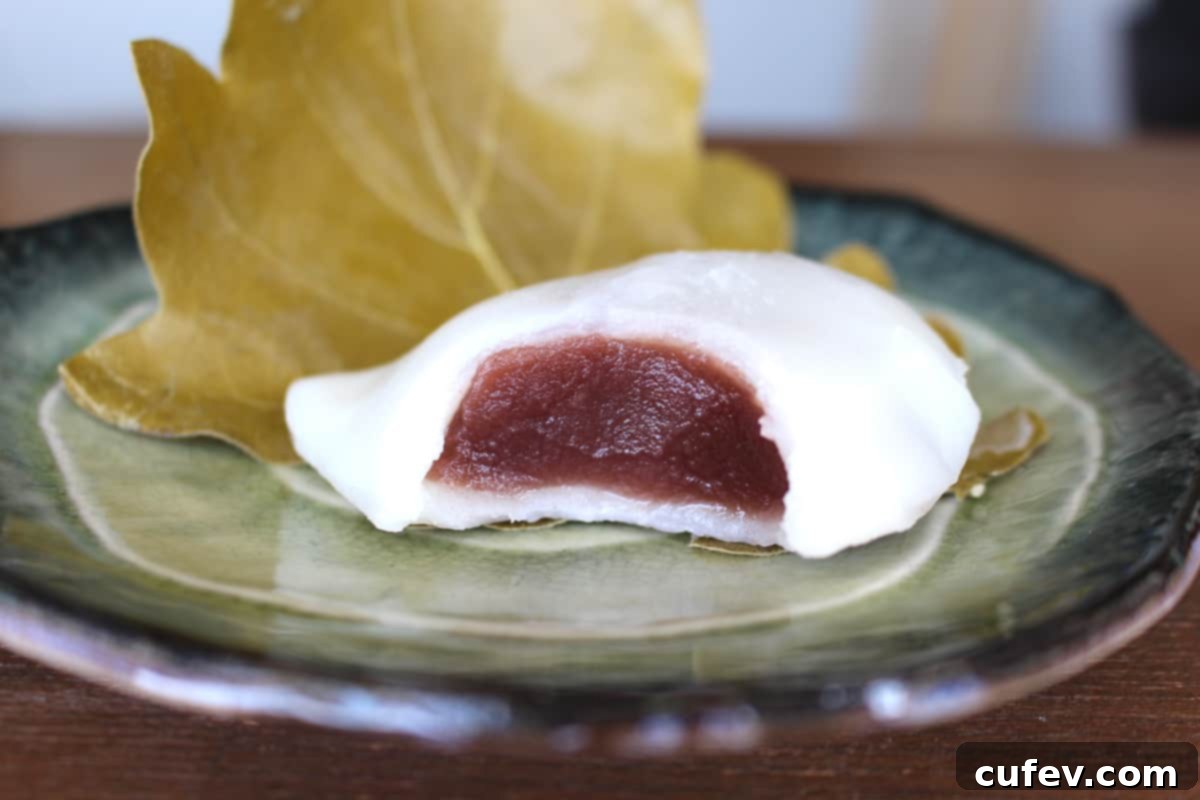
This comprehensive guide to making Kashiwa Mochi was originally published on May 5, 2016, and has been thoroughly updated on April 24, 2023, with fresh photos, detailed instructions, and expanded information to ensure your success in creating this beloved Japanese dessert. Whether you’re celebrating a special occasion or simply craving a unique and wholesome sweet, this recipe is designed to guide you through every step with ease.
Table of contents
- What Is Kashiwa Mochi?
- What is Kodomo no Hi (Children’s Day)?
- The Historical Roots of Kashiwa Mochi on Children’s Day
- Recipe Overview & Highlights
- Essential Ingredients for Kashiwa Mochi
- Step-by-Step Guide: How To Make Kashiwa Mochi
- Creative Variations for Your Mochi
- Serving & Enjoying Your Kashiwa Mochi
- Expert Tips for Mochi-Making Success
- Frequently Asked Questions About Kashiwa Mochi
- More Japanese & Japanese-Inspired Dessert Recipes
What Is Kashiwa Mochi?
Kashiwa Mochi is a quintessential traditional Japanese sweet, lovingly crafted from a tender, glutinous rice cake known as mochi, filled with a delicate sweet red bean paste (anko), and distinctively wrapped in a fresh or rehydrated oak leaf (kashiwa leaf). This unique presentation is not merely aesthetic; it carries profound cultural significance, making Kashiwa Mochi a symbol of prosperity and continuity.
While Kashiwa Mochi is most famously associated with Kodomo no hi (子供の日), or “Children’s Day,” in Japan, its delightful taste makes it a cherished snack that can be savored year-round. Its gentle sweetness, soft chewiness, and subtle earthy aroma from the oak leaf create a truly unique sensory experience. For many, including myself, it stands out as one of the most comforting and enjoyable Japanese desserts of all time.
Imagine biting into a cloud-like texture that gently gives way to a smooth, sweet interior. The mochi itself has a mild, subtly sweet flavor, acting as the perfect canvas for the rich and earthy notes of the red bean paste. The kashiwa leaf, though not eaten, imparts a wonderfully fresh, slightly grassy fragrance that enhances the overall enjoyment, adding to the anticipation before each bite. It’s a dessert that connects you to generations of Japanese tradition and offers a moment of pure, simple pleasure.
What is Kodomo no Hi (Children’s Day)?
For many in the US, May 5th is synonymous with Cinco de Mayo, but in Japan, this date marks a deeply significant national holiday known as Kodomo no Hi, or Children’s Day. This joyous occasion is dedicated to celebrating the healthy growth, happiness, and overall well-being of all children across the nation. It’s a day filled with family gatherings, special foods, and meaningful traditions.
Historically, Kodomo no Hi was also referred to as Tango no Sekku (端午の節句), traditionally recognized as the “Boy’s Festival.” On this day, families with sons would display samurai helmets (kabuto) and armor, along with Koinobori (carp streamers) flying high above their homes. These symbols represent strength, courage, and determination, wishing boys a strong and successful future. However, it’s important to note that the happiness of girls is also celebrated with Hinamatsuri (雛祭り), or “Girl’s Day,” on March 3rd, ensuring that all children are honored.
One of the most cherished ways families celebrate Kodomo no Hi is by eating Kashiwa Mochi. The tradition behind wrapping mochi in kashiwa (oak) leaves is particularly beautiful and symbolic. Oak trees are known for their resilience; their old leaves do not fall until new sprouts emerge in the spring. This characteristic elegantly symbolizes the continuity of generations and the prosperity of descendants. Eating Kashiwa Mochi therefore represents a wish for the family line to continue and flourish, embodying hopes for future generations’ health and success. This makes the Kashiwa Mochi not just a delicious treat, but a sweet emblem of family heritage and future blessings.
The Historical Roots of Kashiwa Mochi on Children’s Day
The tradition of enjoying Kashiwa Mochi on Children’s Day is steeped in history, tracing its origins back to the vibrant Edo period in Japan, specifically to the early 1600s. During this era, Children’s Day primarily centered around celebrating boys and praying for their robust growth and auspicious futures. It was a deeply held belief that consuming Kashiwa Mochi would bestow strength and health upon young boys, safeguarding them as they matured into adulthood.
The symbolism of the oak tree, from which the distinctive kashiwa leaves are harvested, plays a crucial role in this tradition. The oak is revered as a potent emblem of strength, longevity, and resilience. Its enduring nature, especially how it retains its old leaves until new ones bud, powerfully signifies the continuity of family lines and the prosperity of future generations. Therefore, by eating mochi wrapped in these revered oak leaves, it was believed that boys would inherit the tree’s powerful attributes, growing to be strong, steadfast, and resilient, much like the mighty oak itself.
As centuries passed, this cherished custom of eating Kashiwa Mochi on Children’s Day gradually expanded beyond specific regions, becoming a nationwide phenomenon. Families across Japan embraced this sweet ritual, coming together to enjoy the treat as a collective celebration. While the holiday itself has beautifully evolved to encompass and celebrate the healthy development of all children, regardless of gender, the tradition of partaking in this beloved Japanese sweet remains an integral and heartwarming part of the annual festivities, symbolizing enduring hopes and wishes for all young ones.
Recipe Overview & Highlights
Prepare to enchant your loved ones and delight your palate with these uniquely delicious homemade Kashiwa Mochi treats. You’ll certainly be glad you dedicated a little time to this rewarding culinary endeavor!
Beyond their irresistible flavor and beautiful presentation, this Kashiwa Mochi recipe offers several appealing advantages:
- Quick & Easy Process: Despite their sophisticated appearance, the journey of making these red bean mochi is surprisingly straightforward, engaging, and genuinely enjoyable. With minimal active cooking time, it’s a project that even allows for enthusiastic participation from children, making it a perfect family activity!
- Allergen-Friendly Goodness: These delightful adzuki bean mochi are naturally crafted to be gluten-free, dairy-free, soy-free, nut-free, and corn-free. This broad allergen-friendly profile means they are a safe and delicious choice for almost everyone, accommodating a wide range of dietary needs without compromising on taste.
- Wholesome & Nutritious Treat: While undeniably a dessert, these traditional Japanese mochi boast a surprisingly virtuous composition. Primarily made from rice and beans, which together form a complete protein, and lightly sweetened with regular granulated sugar, they offer a more wholesome option than many processed sweets. Every ingredient is easily recognizable and pronounceable, completely free from mysterious artificial preservatives, colors, or unidentifiable components, ensuring a treat you can feel good about enjoying.
Essential Ingredients for Kashiwa Mochi
As promised, crafting this simple yet authentic Kashiwa Mochi recipe requires only a select handful of ingredients. Here’s a detailed look at what you’ll need to gather:
- Joshinko Rice Flour (上新粉): This specific type of rice flour is derived from non-glutinous rice, which is finely milled after being soaked and steamed, then dried and ground into a delicate powder. It is crucial for giving mochi its characteristic firm yet tender texture and slightly elastic bite. If Joshinko is difficult to find, you may substitute it with regular glutinous rice flour or Mochiko Sweet Rice Flour, though the final texture may vary slightly, becoming a bit chewier.
- Mochi Flour (もち粉): Distinct from Joshinko, Mochi Flour (also known as Mochiko) is specifically made from glutinous sweet rice. The process involves soaking glutinous rice overnight, steaming it, traditionally pounding it into a smooth paste, and then drying and grinding it into a fine powder. This flour is absolutely essential for achieving the iconic soft, chewy, and elastic consistency that defines true mochi. There are no direct substitutes for Mochi Flour if you want to replicate the authentic texture.
- Granulated Sugar: A fundamental ingredient used to sweeten the mochi dough, it perfectly balances the earthy undertones imparted by the oak leaf and the robust flavor of the red bean paste. For those aiming to reduce sugar intake, natural sweeteners such as honey, maple syrup, or agave nectar can be used as alternatives, adjusted to your preferred sweetness level.
- Water: Essential for hydrating the flours and binding them together, water helps create a pliable and smooth dough. For the purest flavor, filtered water is recommended. You can also experiment by substituting a portion of the water with other liquids like milk or even coconut water to introduce subtle new flavors.
- Anko (Sweet Red Bean Paste): This delectable paste, made from azuki beans that are boiled, mashed, and sweetened with sugar, is the heart of Kashiwa Mochi. Anko provides a rich, earthy sweetness that beautifully complements the mochi. While high-quality store-bought anko offers great convenience, you are certainly welcome to prepare your own homemade version for an extra touch of freshness. If anko is unavailable or you prefer a different filling, consider alternatives like creamy peanut butter, rich Nutella, or even vibrant fresh fruit for a modern twist.
- Potato Starch: This finely milled starch is used generously for dusting both your hands and work surface. Its primary role is to prevent the sticky mochi dough from adhering, making it much easier to handle and shape. If potato starch is not readily available, cornstarch or tapioca starch are excellent, equally effective substitutes.
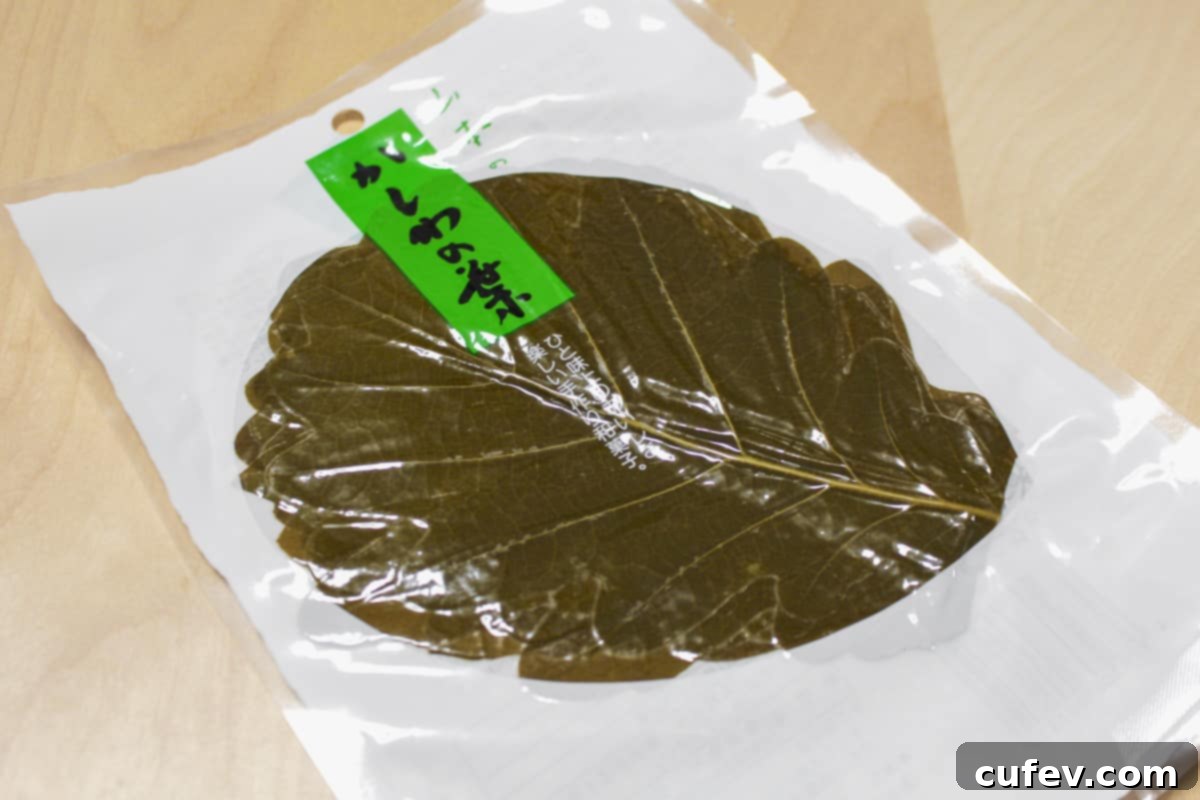
- Kashiwa Leaves: These distinctive oak tree leaves are the traditional and symbolic wrapper for Kashiwa Mochi. Beyond their cultural significance (representing generational prosperity), they impart a subtle, unique earthy aroma to the mochi and crucially help to keep the dessert fresh and moist. If authentic kashiwa leaves are hard to source, viable substitutes include bamboo leaves, banana leaves, or even carefully cut pieces of parchment paper, though the flavor contribution will be absent.
Step-by-Step Guide: How To Make Kashiwa Mochi
Crafting this red bean mochi recipe is surprisingly simple and comes together with minimal fuss. Follow these detailed steps to create your perfect Kashiwa Mochi:
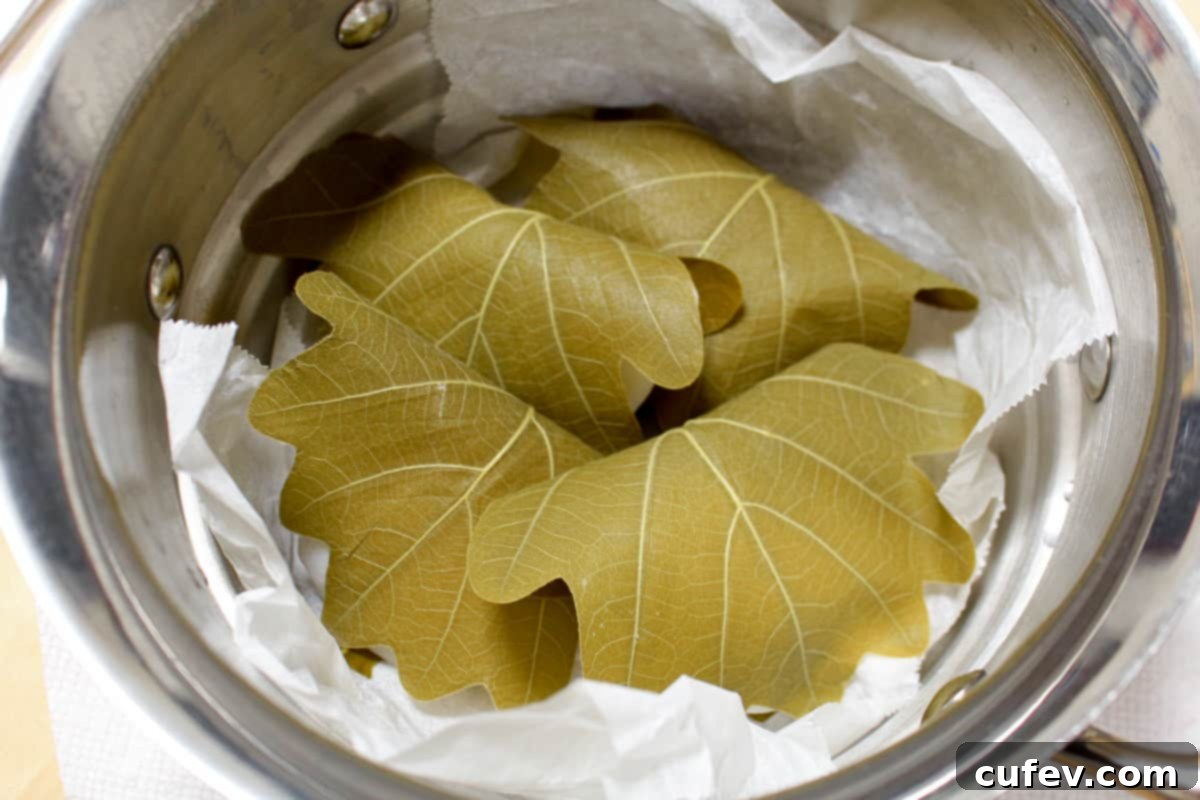
Step 1: Prepare Kashiwa Leaves. Your kashiwa leaves will typically be sold either dried or vacuum-packed. If you’re using dried leaves, they must be thoroughly rehydrated by boiling them gently in hot water for a few minutes until pliable, then drained. Vacuum-packed leaves are easier; they simply require a quick rinse under running water and a gentle pat dry with a paper towel. Once prepared, set these symbolic leaves aside, ready for their crucial role later in the assembly process.
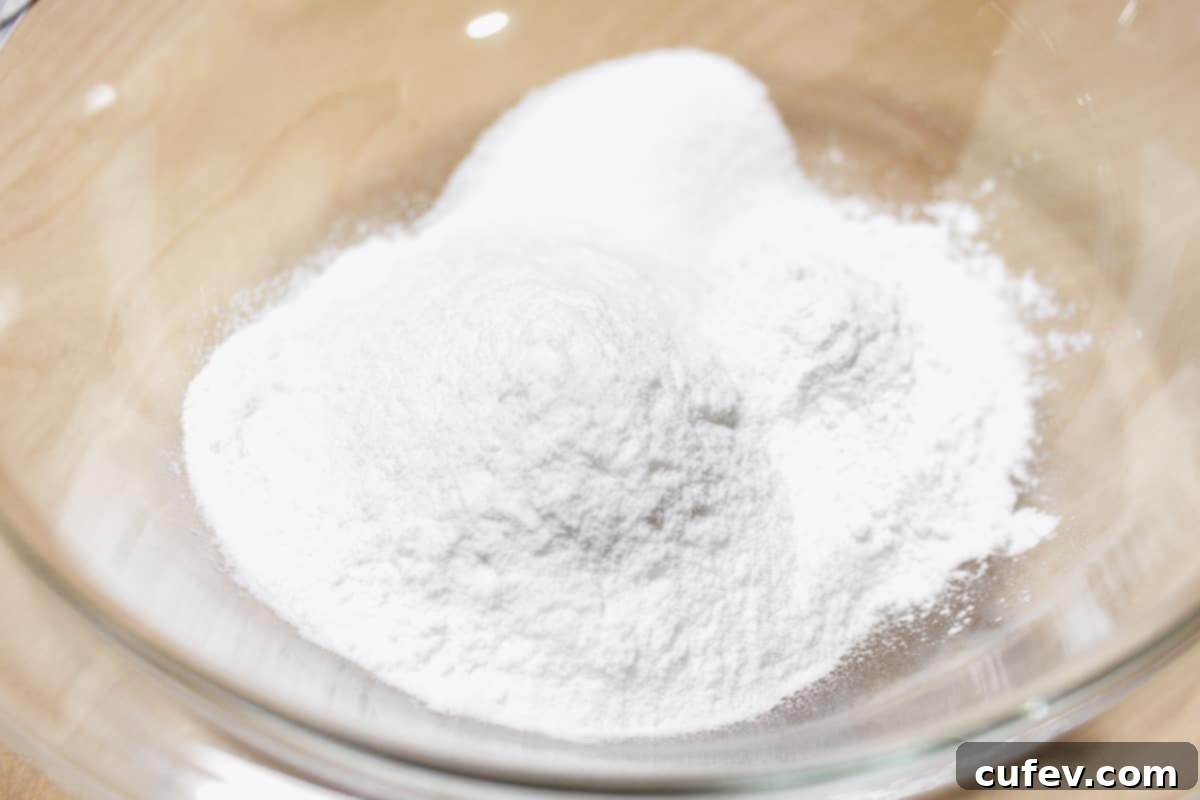
Step 2: Combine Dry Ingredients. In a spacious mixing bowl, meticulously combine the joshinko rice flour, mochi flour, and granulated sugar. Whisk or stir these dry components thoroughly to ensure an even distribution, which is key for a consistent mochi dough.
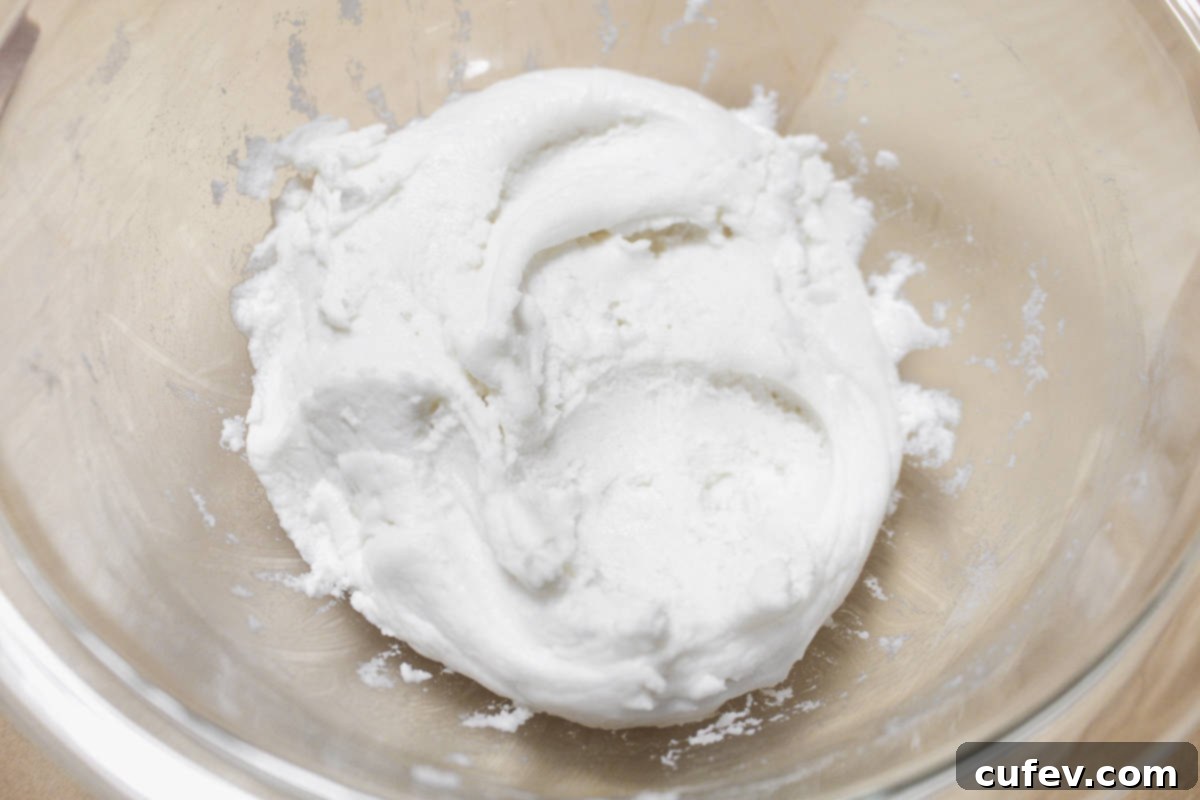
Step 3: Create Mochi Paste. Begin slowly adding the water to your dry ingredient mixture. Stir continuously as you pour, gradually incorporating the liquid until a thick, uniform paste begins to form. Continue mixing until there are no dry pockets of flour and the paste is smooth and cohesive. This initial paste will be somewhat thick, but it will transform beautifully during steaming.
Step 4: Steam the Mochi Dough. Prepare your steamer by lining the basket with either a piece of cheesecloth or parchment paper. Carefully transfer the prepared mochi paste into the lined steamer basket. Cover the steamer securely and allow the paste to steam for approximately 20 minutes. It’s important to keep the parchment paper or cheesecloth lining in place, as it will be reused for a final steaming step later.
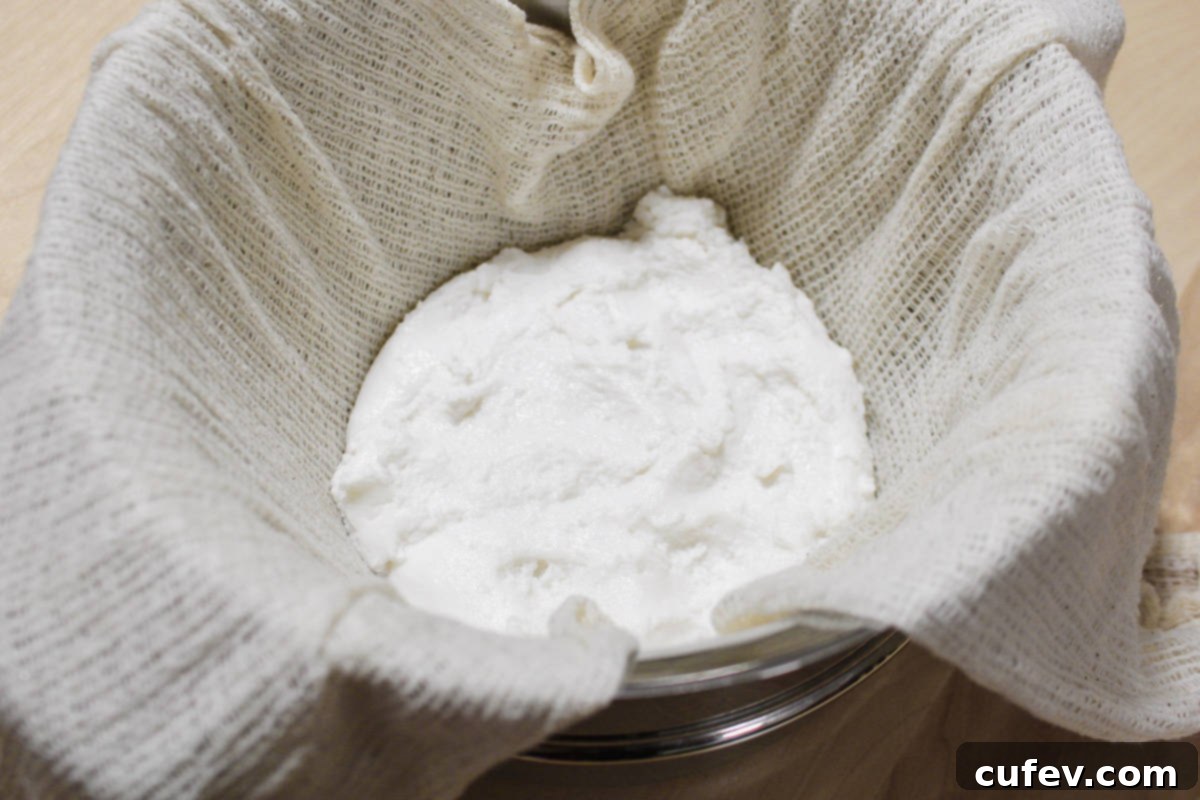
Step 5: Divide Anko Filling. While your mochi dough is steaming, take this time to prepare the sweet red bean paste (anko). Divide the entire portion of anko into 8 equal parts. Roll each part into a smooth, compact ball. These will be the delicious centers of your Kashiwa Mochi.
Step 6: Knead and Portion Mochi. Once the mochi is finished steaming, it will be very hot and sticky. Carefully remove it from the steamer. Using rubber gloves, a damp tea towel, or frequently dipping your hands in ice water to prevent burns, knead the hot mochi until it comes together into a cohesive, elastic ball. This kneading process develops the mochi’s characteristic chewiness. Once kneaded, divide the large mochi ball into 8 equal pieces, ready for shaping.
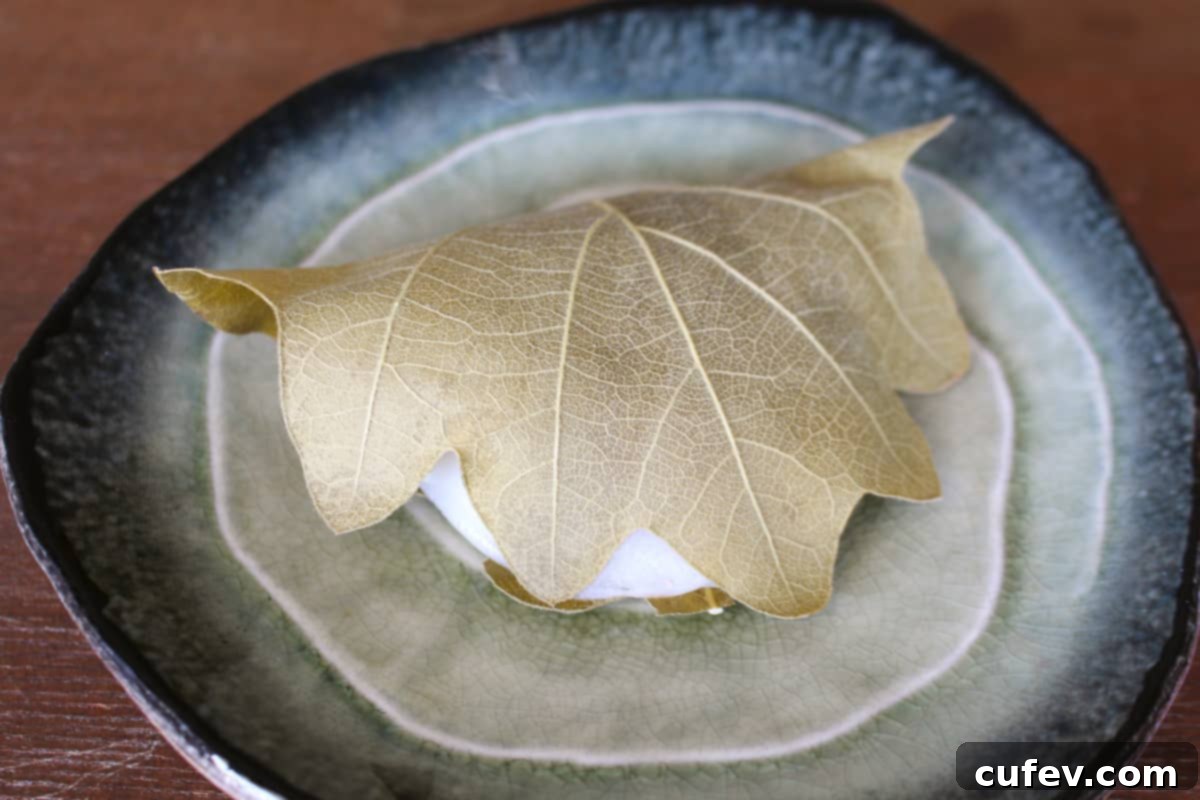
Step 7: Assemble the Kashiwa Mochi. Lightly dust your clean work surface and your hands with potato starch or cornstarch to prevent sticking. Take one piece of the prepared mochi dough and flatten it gently into an oval shape, ensuring it’s thin enough to wrap around the filling. Place one of the pre-rolled red bean paste balls directly in the center of the flattened mochi. Carefully bring the edges of the mochi dough over the anko ball, completely enclosing it and pinching the seams firmly to ensure it’s fully sealed. Finally, place the assembled mochi onto the shiny side of a prepared kashiwa leaf and fold the leaf over, encasing the mochi. Repeat for all remaining mochi pieces.
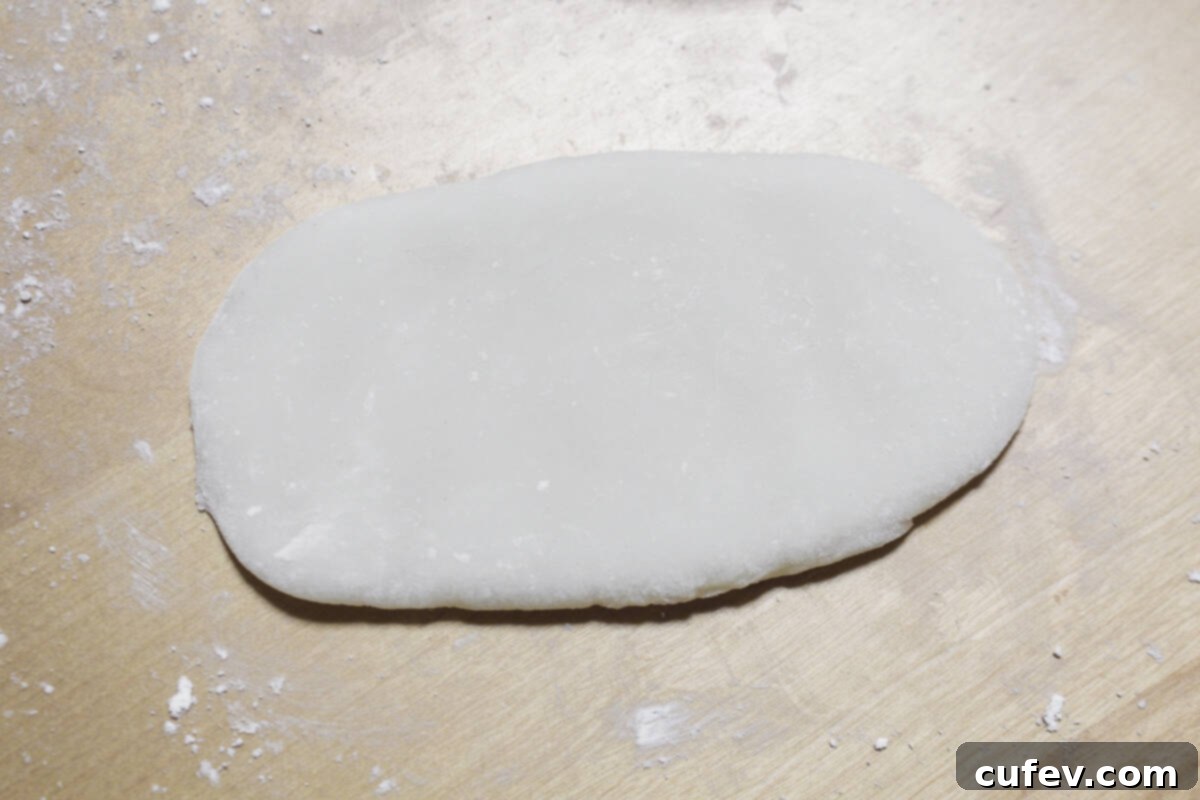
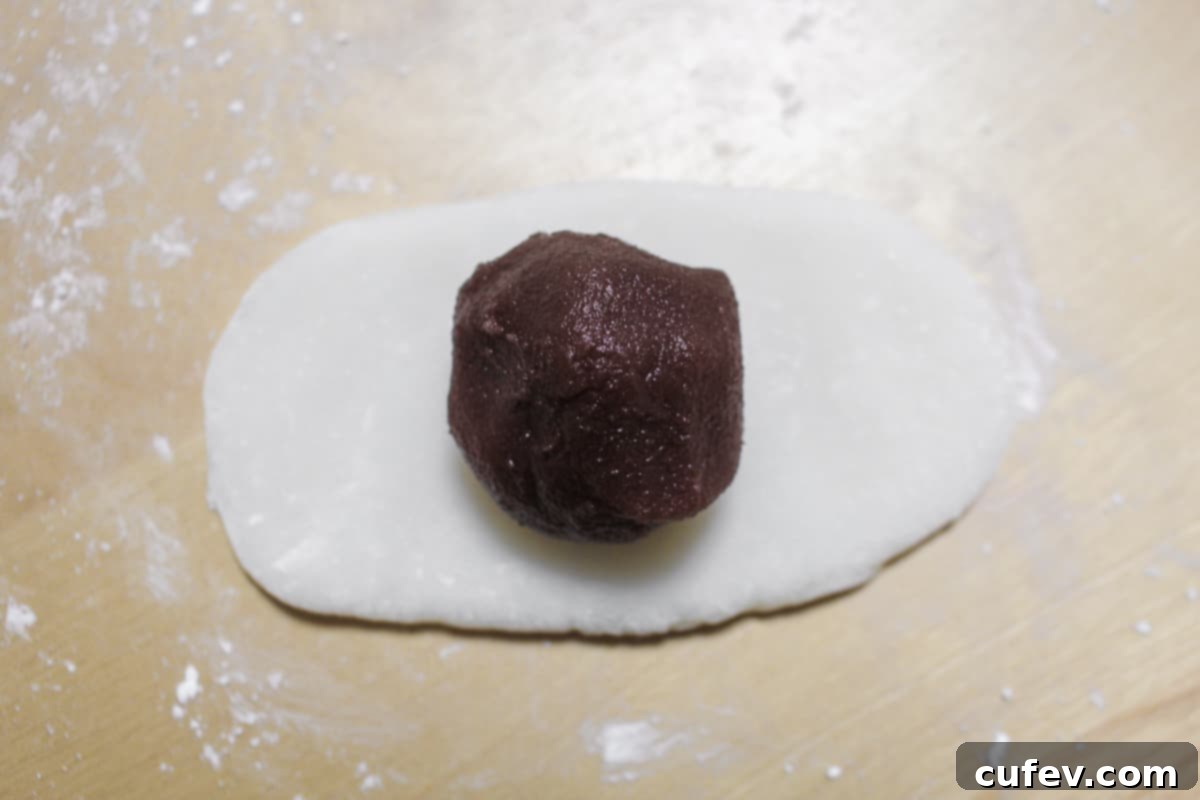
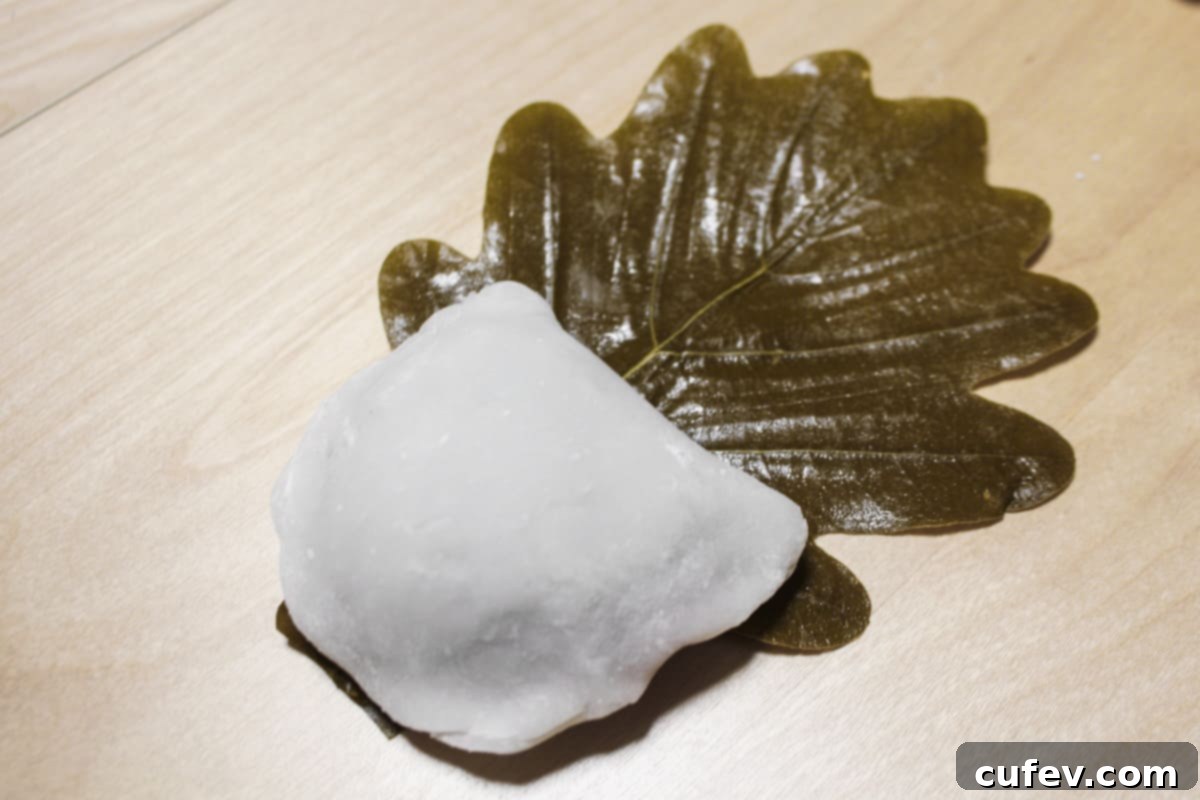
Step 8: Final Steam and Cool. Although your Kashiwa Mochi might appear complete and enticing at this stage, a final short steaming step is essential to set their shape and ensure optimal texture. Carefully place the Kashiwa Mochi, still wrapped in their leaves, back into the steamer (using the same parchment paper or cheesecloth lining). Steam them for an additional 5 minutes. Depending on the size of your steamer, you may need to steam them in batches to avoid overcrowding. Once steamed, remove them and, crucially, let them cool completely to room temperature before serving. This cooling period allows the mochi to firm up to the perfect, desirable consistency.
Creative Variations for Your Mochi
Kashiwa Mochi is a versatile sweet, offering numerous avenues for creativity! Here are some fun and optional variations you can explore to infuse your unique twist into this traditional Japanese delicacy:
- Matcha Kashiwa Mochi: For green tea enthusiasts, adding a teaspoon or two of vibrant matcha powder to the mochi dough will not only impart a beautiful, natural green hue but also a subtle, earthy, and slightly bitter flavor that perfectly complements the sweet anko. For an extra layer of matcha goodness, consider mixing a small amount of matcha powder into your red bean filling.
- Chocolate Mochi: Indulge your inner chocoholic by incorporating some high-quality cocoa powder into your mochi dough. This creates a rich, chocolatey foundation for your mochi. You can then fill these chocolate mochi with traditional anko, or for a truly decadent treat, opt for a creamy chocolate ganache, a dollop of Nutella, or even finely chopped chocolate pieces that melt slightly with the warmth of the mochi.
- Flavorful Fillings: While anko is classic, don’t limit yourself! Experiment with other fillings like sweet white bean paste (shiroan), mashed sweet potato (beniimo an), or even contemporary fillings such as cream cheese, fruit preserves, or a mix of nuts and seeds for added texture and nutrition.
- Textural Toppings: Beyond the mochi dough itself, you can add intriguing textures. Try sprinkling on some fragrant kinako (roasted soybean flour) for a nutty flavor and soft coating. Alternatively, roll the finished mochi in finely chopped nuts (like pistachios or almonds), colorful sprinkles for a festive look, or mini chocolate chips for an added crunch and burst of sweetness.
- Fruity Freshness: For a lighter, more refreshing variation, consider incorporating fresh fruit. Small pieces of strawberry, kiwi, or mandarin orange can be placed alongside or embedded within the anko filling before wrapping, adding a burst of fresh flavor and vibrant color.
Serving & Enjoying Your Kashiwa Mochi
These exquisite homemade Kashiwa Mochi are perfectly suited for celebrating significant spring festivals, most notably Kodomo no Hi, Children’s Day, in Japan, where they symbolize family prosperity. However, their delicate flavor and satisfying texture make them a delightful treat for many other occasions.
Kashiwa Mochi serves as an excellent companion for your afternoon tea or coffee, alongside other Japanese or Western sweets. Imagine them paired with delicate gluten-free chocolate chip cookies, elegant matcha financiers, or even traditional finger sandwiches for a sophisticated spread. Their subtle sweetness and unique texture create a harmonious balance with warm beverages.
Given their light and refreshing nature, Kashiwa Mochi are also fantastic for packed lunches, picnics, or as a delightful snack on the go. The protective oak leaves not only lend a traditional touch but also play a practical role in keeping the mochi fresh and shielded, making them ideal for outdoor enjoyment. Depending on the season, they can transform into a lovely, light post-dinner treat. Consider serving a beautiful platter of these red bean mochi after a hearty Japanese meal, such as a savory vegan katsu curry or a comforting vegan Japanese cream stew, to round off a traditional Japanese feast with a touch of authentic sweetness. Their versatility ensures they’re a welcome addition to any gathering, big or small.
Expert Tips for Mochi-Making Success
Achieving perfectly tender and chewy Kashiwa Mochi requires attention to detail. Here are some expert tips to ensure your recipe is a resounding success:
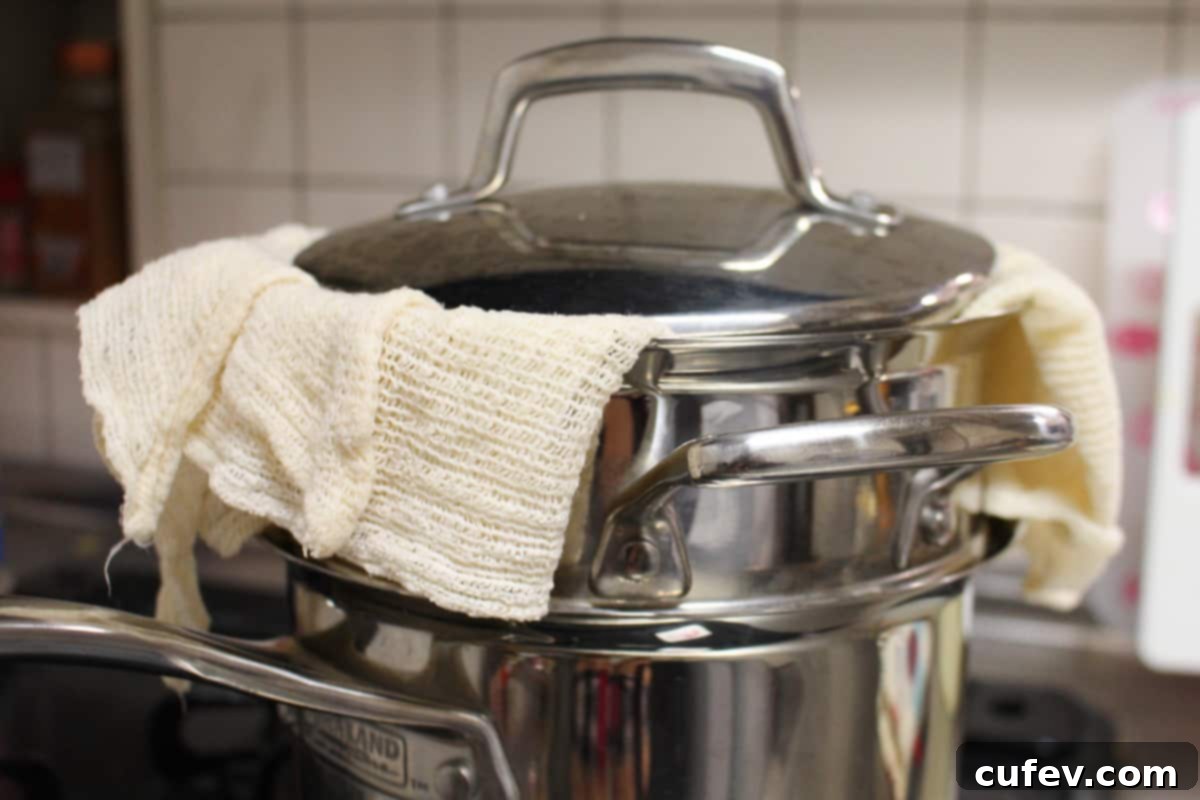
- Prevent Soggy Mochi: To avoid water drips from the steamer lid making your mochi soggy, always line the steamer basket with parchment paper or cheesecloth *and* place a piece of clean cheesecloth or a tea towel under the lid of your steamer. This will absorb any condensation.
- Patience is Key for Cooling: Kashiwa Mochi are quite soft and delicate when warm. For the best texture and to prevent them from falling apart, allow them to cool completely before eating. This firming-up process is crucial for that desirable chewy consistency.
- Accurate Measurement with a Scale: For consistent results, especially when working with flours, invest in a kitchen scale. Precise measurement of rice flour and mochi flour is paramount to achieve the correct dough consistency and texture. Volume measurements can be less accurate.
- Hot Water for Optimal Dough: When mixing your dough, use hot water (not boiling, but comfortably hot to touch). Hot water helps the rice flours to absorb liquid more efficiently and evenly, leading to a smoother, more elastic, and easier-to-work-with dough.
- Handle with Care: Mochi dough can become tough and less pliable if over-handled. Similar to pastry dough, be gentle and avoid overworking the dough during kneading and shaping. Aim for just enough manipulation to achieve a smooth, cohesive ball.
- Quality Ingredients Matter: The taste and texture of your Kashiwa Mochi are greatly influenced by the quality of your ingredients. Opt for fresh, high-quality flours and, if possible, a premium anko filling. Freshly made anko can elevate the flavor significantly.
- Keep Dough Moist: Mochi dough dries out quickly, becoming stiff and difficult to shape. Always keep any unused portions of mochi dough covered with a damp cloth or plastic wrap while you are shaping individual pieces.
- Non-Stick Work Surface: Mochi dough is notoriously sticky. Always use a non-stick surface (like parchment paper, a silicone mat, or a well-dusted counter) when shaping the mochi dough to prevent it from tearing or sticking excessively. Generously dust your hands with potato or cornstarch too!
- Proper Storage: To maintain freshness and quality, properly store your finished Kashiwa Mochi. Place them in an airtight container and keep them in the refrigerator for up to 1-2 days. When you’re ready to enjoy them, allow the mochi to come to room temperature for a few minutes to regain their ideal soft and chewy texture.
Frequently Asked Questions About Kashiwa Mochi
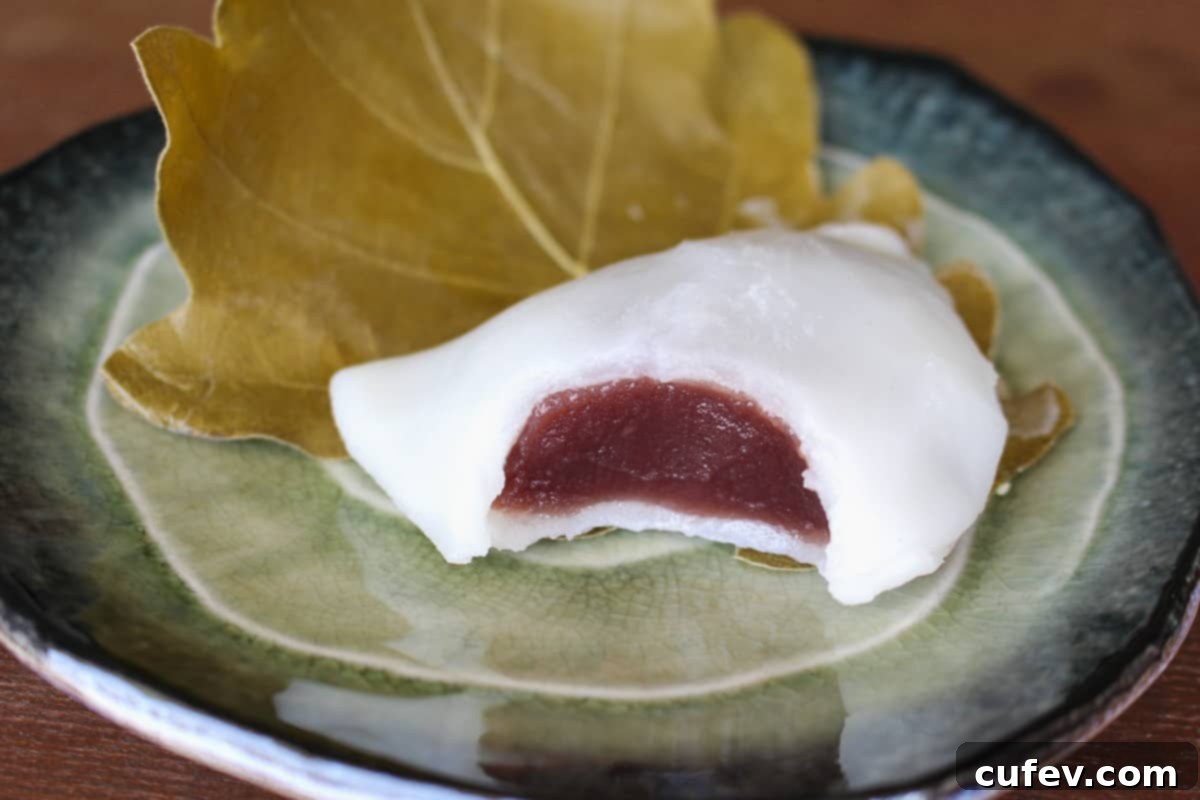
Imagine embarking on a culinary fairytale with every bite of Kashiwa Mochi. First, your teeth sink into a wonderfully soft, yet resilient and chewy cloud of mochi dough. This tender exterior gently yields to reveal a lush, smooth filling of sweet red bean paste, which offers an earthy and satisfying sweetness without being cloying. As these delightful flavors mingle, a faint, clean, and subtly woody aroma from the encompassing oak leaf subtly dances on your palate, creating a sensation reminiscent of a peaceful walk through an enchanted forest. In essence, Kashiwa Mochi is a harmonious blend of delicate sweetness, comforting chewiness, and an unexpected, delightful hint of nature, making each bite a truly magical experience.
No, the oak leaf (kashiwa leaf) that wraps the mochi is not meant to be eaten. It serves several important purposes: it’s a decorative element, a protective wrap that helps keep the mochi fresh and prevents sticking, and, most importantly, it imparts a subtle, fresh, earthy fragrance and flavor to the mochi dough. The leaf itself has a rather tough and fibrous texture and is not palatable, so it should be carefully unwrapped and discarded before you enjoy the mochi.
Both are rice flours, but they come from different types of rice and have distinct properties essential for mochi. Joshinko (上新粉) is made from non-glutinous short-grain rice. It gives mochi its firm, slightly chewy, and resilient texture. Mochiko (もち粉), on the other hand, is made from glutinous sweet rice. It is responsible for the characteristic soft, elastic, and super chewy consistency of mochi. Using a combination of both is often preferred in Kashiwa Mochi to achieve a balanced texture that is both soft and firm, preventing it from being overly sticky or too dense.
Yes, you can prepare Kashiwa Mochi a day or two in advance. Store them in an airtight container in the refrigerator to keep them fresh. Mochi is best enjoyed at room temperature, so take them out of the fridge about 30 minutes to an hour before serving to allow the dough to soften and return to its optimal texture. While they are delicious on the day they are made, they hold up well for a short period.
Mochi dough can be quite sticky! To prevent it from adhering to your hands and work surface, generously dust both with potato starch or cornstarch. You can also use rubber gloves, which help a lot, or keep a small bowl of ice water nearby to lightly dampen your fingers periodically. Working on a silicone mat or parchment paper also significantly reduces sticking.
Thank you for exploring this detailed guide on how to create delicious Kashiwa Mochi right in your own kitchen! I sincerely hope this post has ignited your inspiration to try your hand at crafting this traditional Japanese sweet treat. Remember, the art of mochi-making, like all culinary pursuits, benefits from practice, so feel encouraged to experiment with various fillings and flavors to discover your personal favorite. Most importantly, embrace the process, have fun with it, and savor every moment of your homemade Kashiwa Mochi!
More Japanese & Japanese-Inspired Dessert Recipes
If you loved making Kashiwa Mochi, you’ll surely enjoy these other wonderful Japanese and Japanese-inspired dessert recipes:
- Sakura Mochi: Another delightful springtime favorite, Sakura Mochi is distinctively pink and wrapped in a beautiful cherry blossom leaf. It’s traditionally enjoyed in March to celebrate Hinamatsuri, the Girl’s Day festival, and offers a unique floral aroma.
- Shiratama Dango: These soft, chewy rice dumplings are incredibly easy to make and offer endless topping possibilities. My personal favorite way to enjoy them is with a generous dusting of sweetened kinako (roasted soybean flour) for a nutty, aromatic finish.
- Matcha Dessert Collection: Are you a connoisseur of matcha desserts? Dive into these recipes, which are among my top ways to incorporate the distinctive flavor of green tea into sweets:
- These delightful Matcha Cupcakes with White Chocolate Frosting offer a perfect blend of earthy matcha and sweet, creamy frosting.
- For a chewy, chocolatey treat, try these Matcha Oreo Blondies, combining the best of both worlds.
- And for a truly show-stopping dessert, this elegant Matcha Cake is a must-try, boasting layers of delicate green tea flavor.
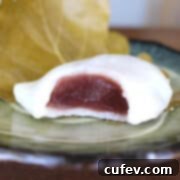
Homemade Kashiwa Mochi Recipe
Print
Pin
Rate
Ingredients
- 2 cups joshinko rice flour (上新粉), for firm yet tender mochi
- ⅓ cup mochiko flour (もち粉), for chewy elasticity
- ¼ cup granulated sugar
- 1½ cups hot water
- 1½ lbs sweet red bean paste (anko)
- potato starch or corn starch (for dusting)
- 19 kashiwa leaves, dried or vacuum packed (see notes for preparation)
Instructions
-
Prepare the kashiwa leaves: If using dried leaves, rehydrate them by boiling in water until pliable, then drain and cool. If using vacuum-packed leaves, simply rinse them with water and pat dry with a paper towel. Set aside.
-
Combine dry ingredients: In a large bowl, thoroughly mix the joshinko rice flour, mochi flour, and granulated sugar. Gradually pour in the hot water, stirring continuously until a thick, uniform paste forms.
-
Steam the mochi dough: Line your steamer basket with parchment paper or cheesecloth. Carefully transfer the mochi paste into the lined steamer. Cover and steam for 20 minutes until translucent and cooked through. Keep the lining in place.
-
Prepare anko balls: While the mochi is steaming, divide the sweet red bean paste into 8 equal portions. Roll each portion into a smooth, compact ball.
-
Knead and portion mochi: Carefully remove the hot mochi from the steamer. Using gloves or damp hands, knead the hot mochi until it comes together in a smooth, elastic ball. Divide the kneaded mochi into 8 equal pieces.
-
Assemble the mochi: Lightly dust your work surface and hands with potato starch. Take one piece of mochi dough and flatten it into an oval. Place one red bean paste ball in the center, then carefully wrap the mochi dough around it, sealing all sides completely.
-
Wrap and final steam: Place each assembled mochi onto the shiny side of a kashiwa leaf and fold the leaf over. Return the wrapped mochi to the steamer (using the same lining) and steam for an additional 5 minutes. Allow them to cool completely before eating for the best texture.