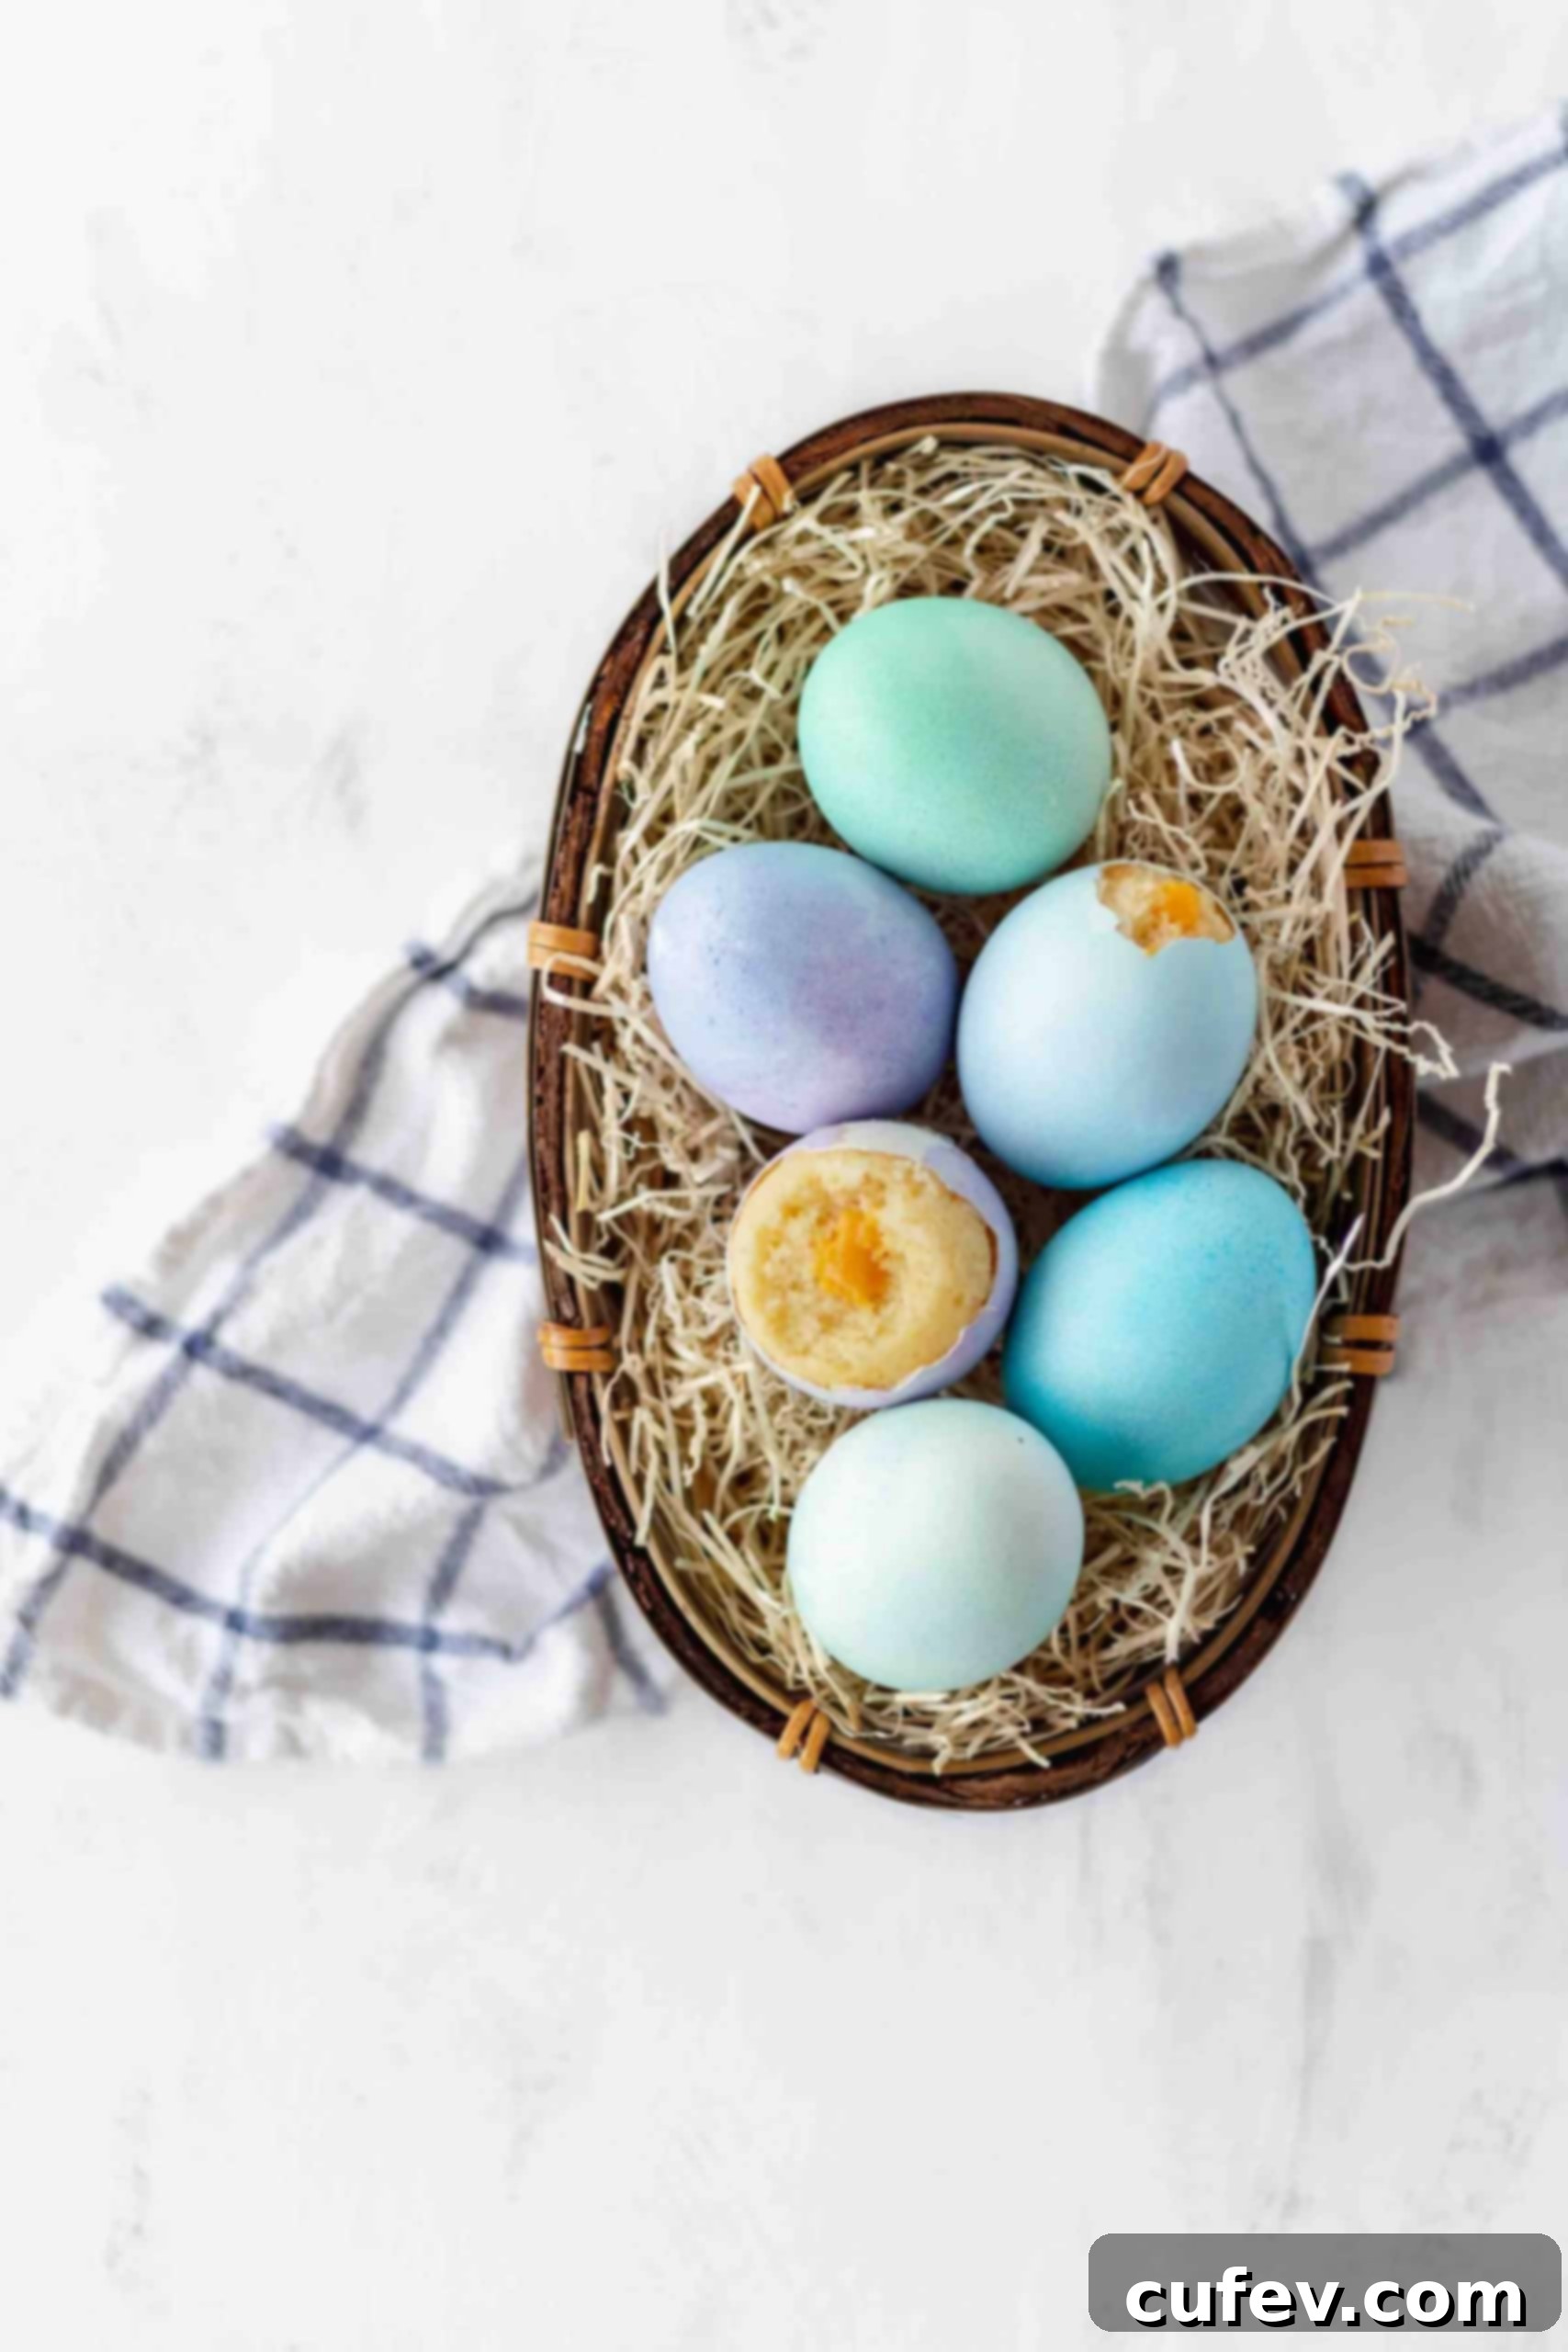
Easter Egg Cupcakes: Delicious Vanilla Treats Baked Inside Real Eggshells with a Surprise Carrot Yolk
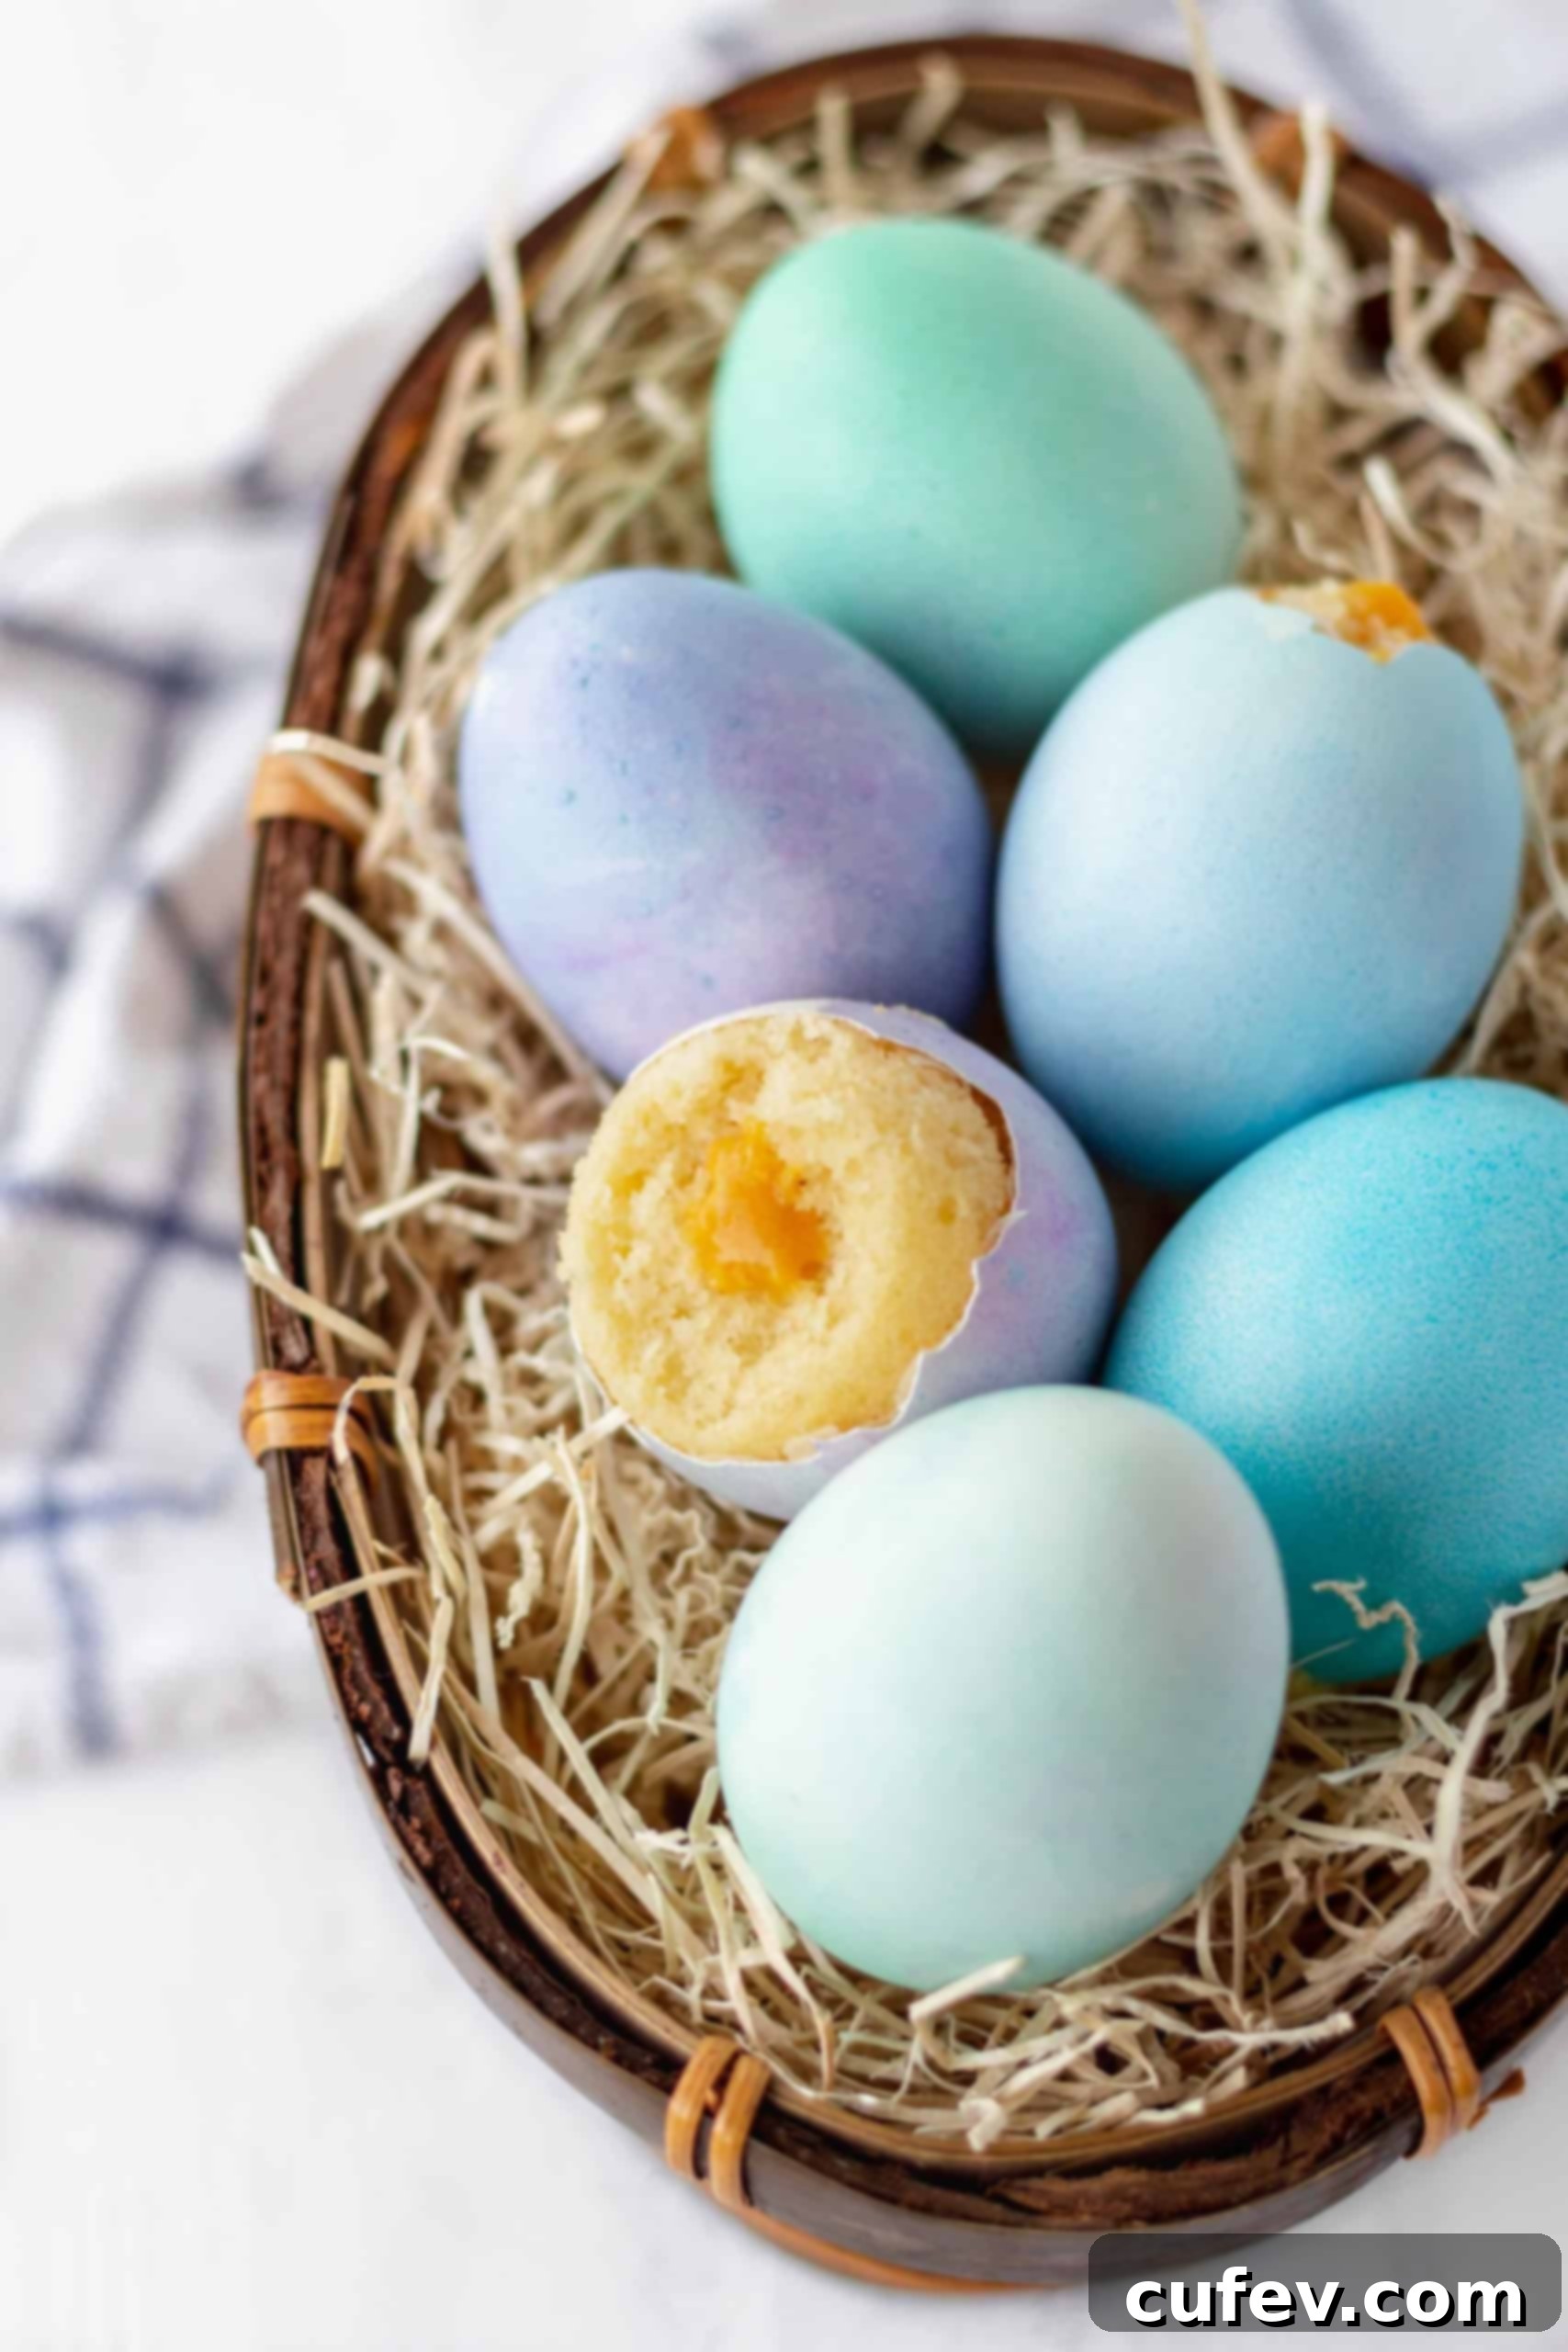
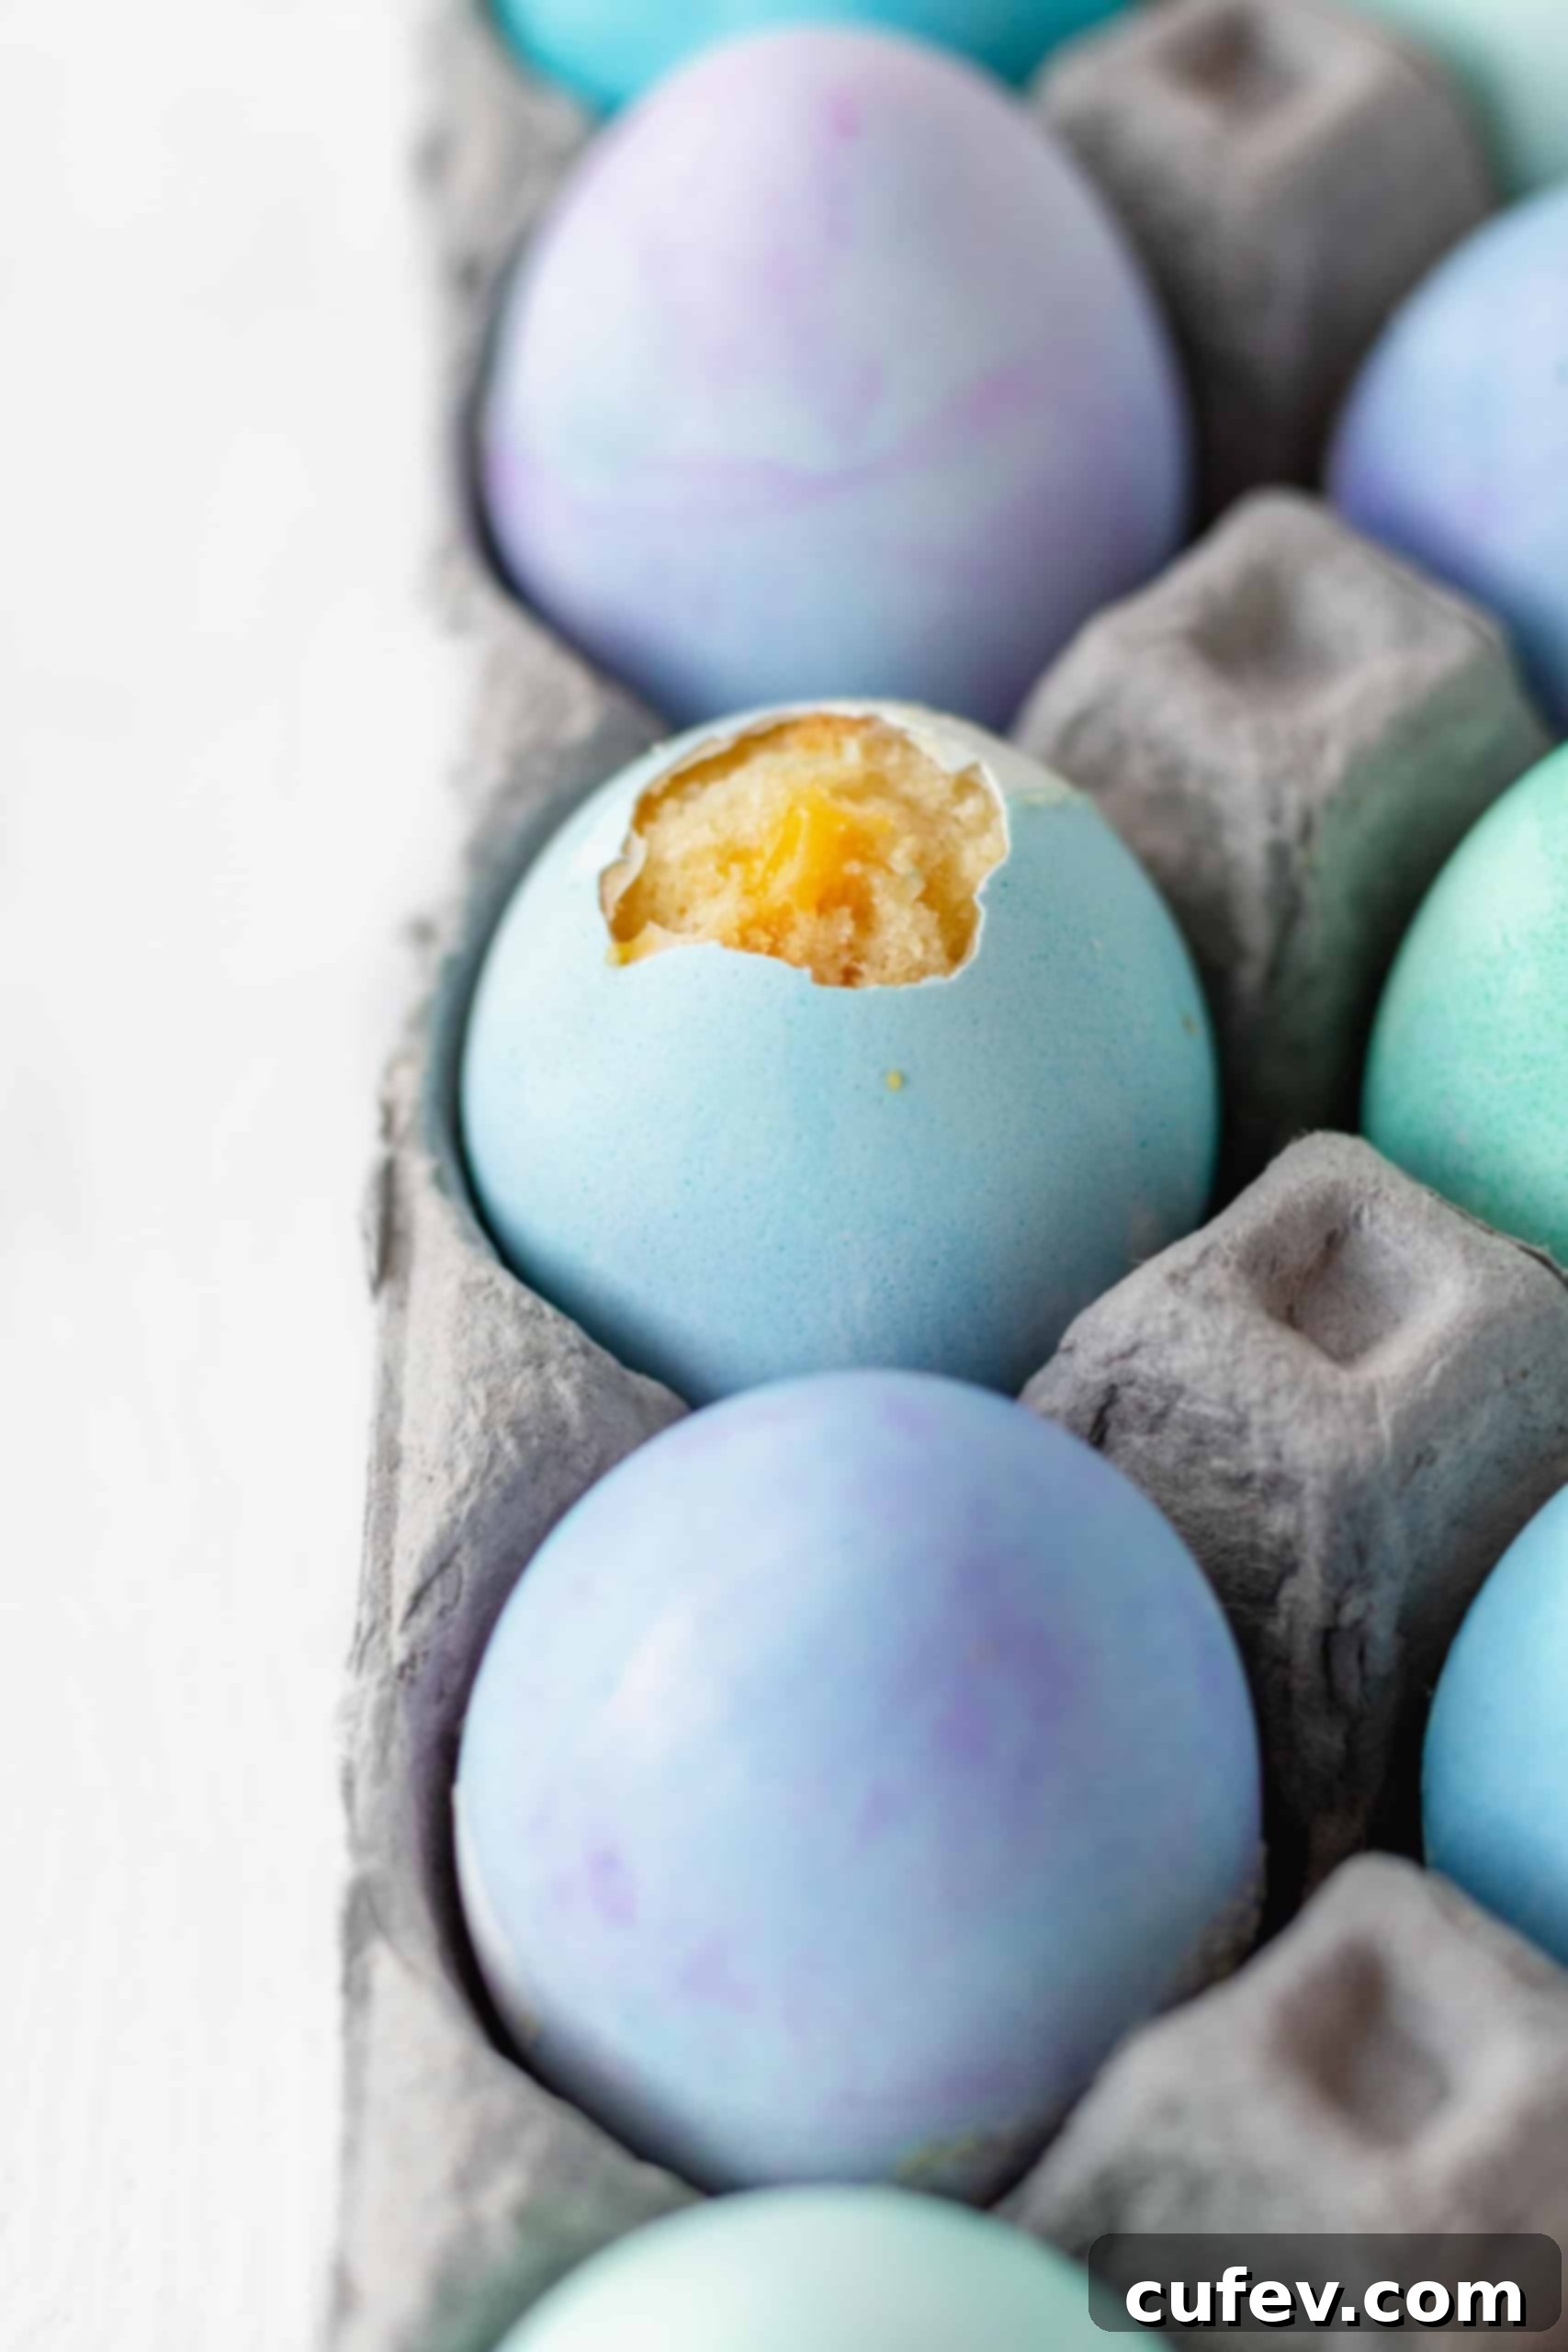
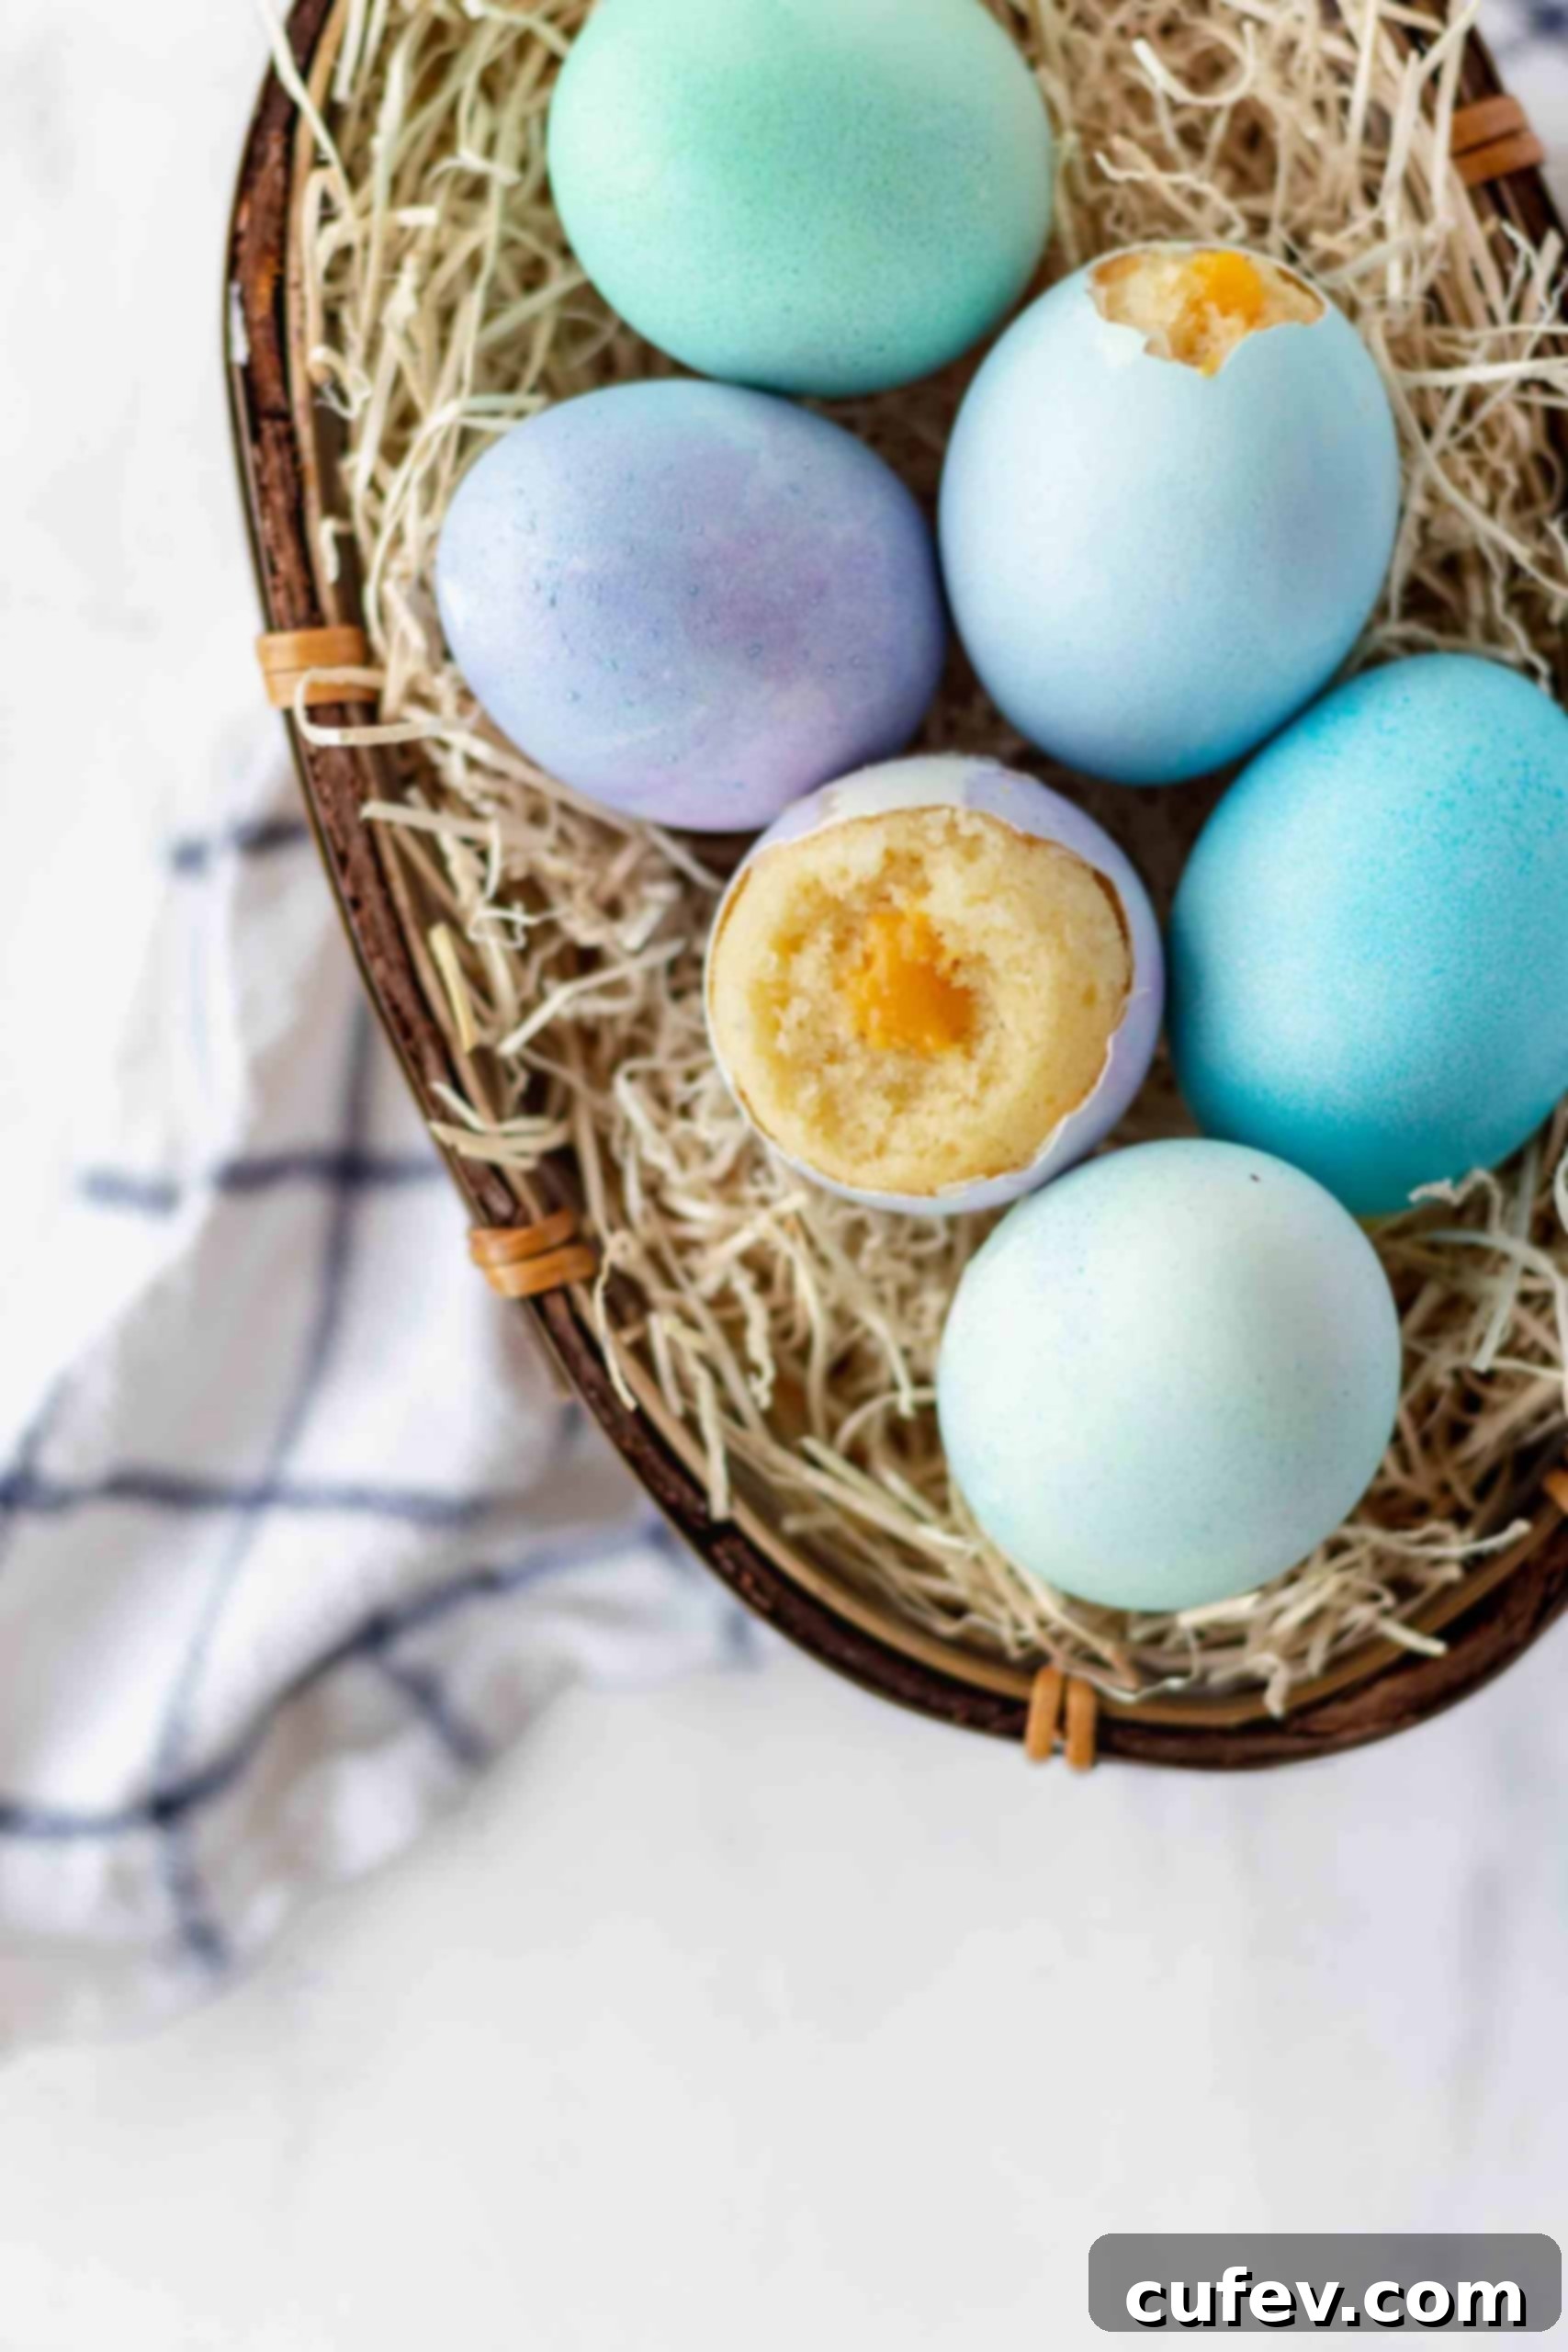
Prepare for an unforgettable Easter surprise with these incredible eggshell cupcakes! Imagine gifting a basket of beautifully dyed eggs, only for your loved ones to crack one open and discover a fluffy vanilla cupcake inside. But the magic doesn’t stop there – each cupcake boasts a delightful, soft “yolk” made from silky carrot curd. It’s a truly enchanting treat that merges traditional Easter egg hunts with irresistible baking. These creative cupcakes are not only a festive Easter dessert but also make an absolutely brilliant and harmless prank for April Fools, especially if you opt to skip the dyeing process and serve them unassumingly in a standard egg carton!
The Magic of Eggshell Cupcakes for Easter
Move over, traditional chocolate eggs and bunnies! This Easter, elevate your celebration with something truly unique: fluffy vanilla cakes baked directly inside real eggshells. It’s a whimsical twist on holiday baking that promises to delight and surprise everyone who tries them. Picture the joy and amazement as someone gently taps open a seemingly ordinary dyed Easter egg, only to reveal a perfectly baked, tender cupcake nestled within. This isn’t just a dessert; it’s an experience, a magical moment that will create lasting memories for both children and adults.
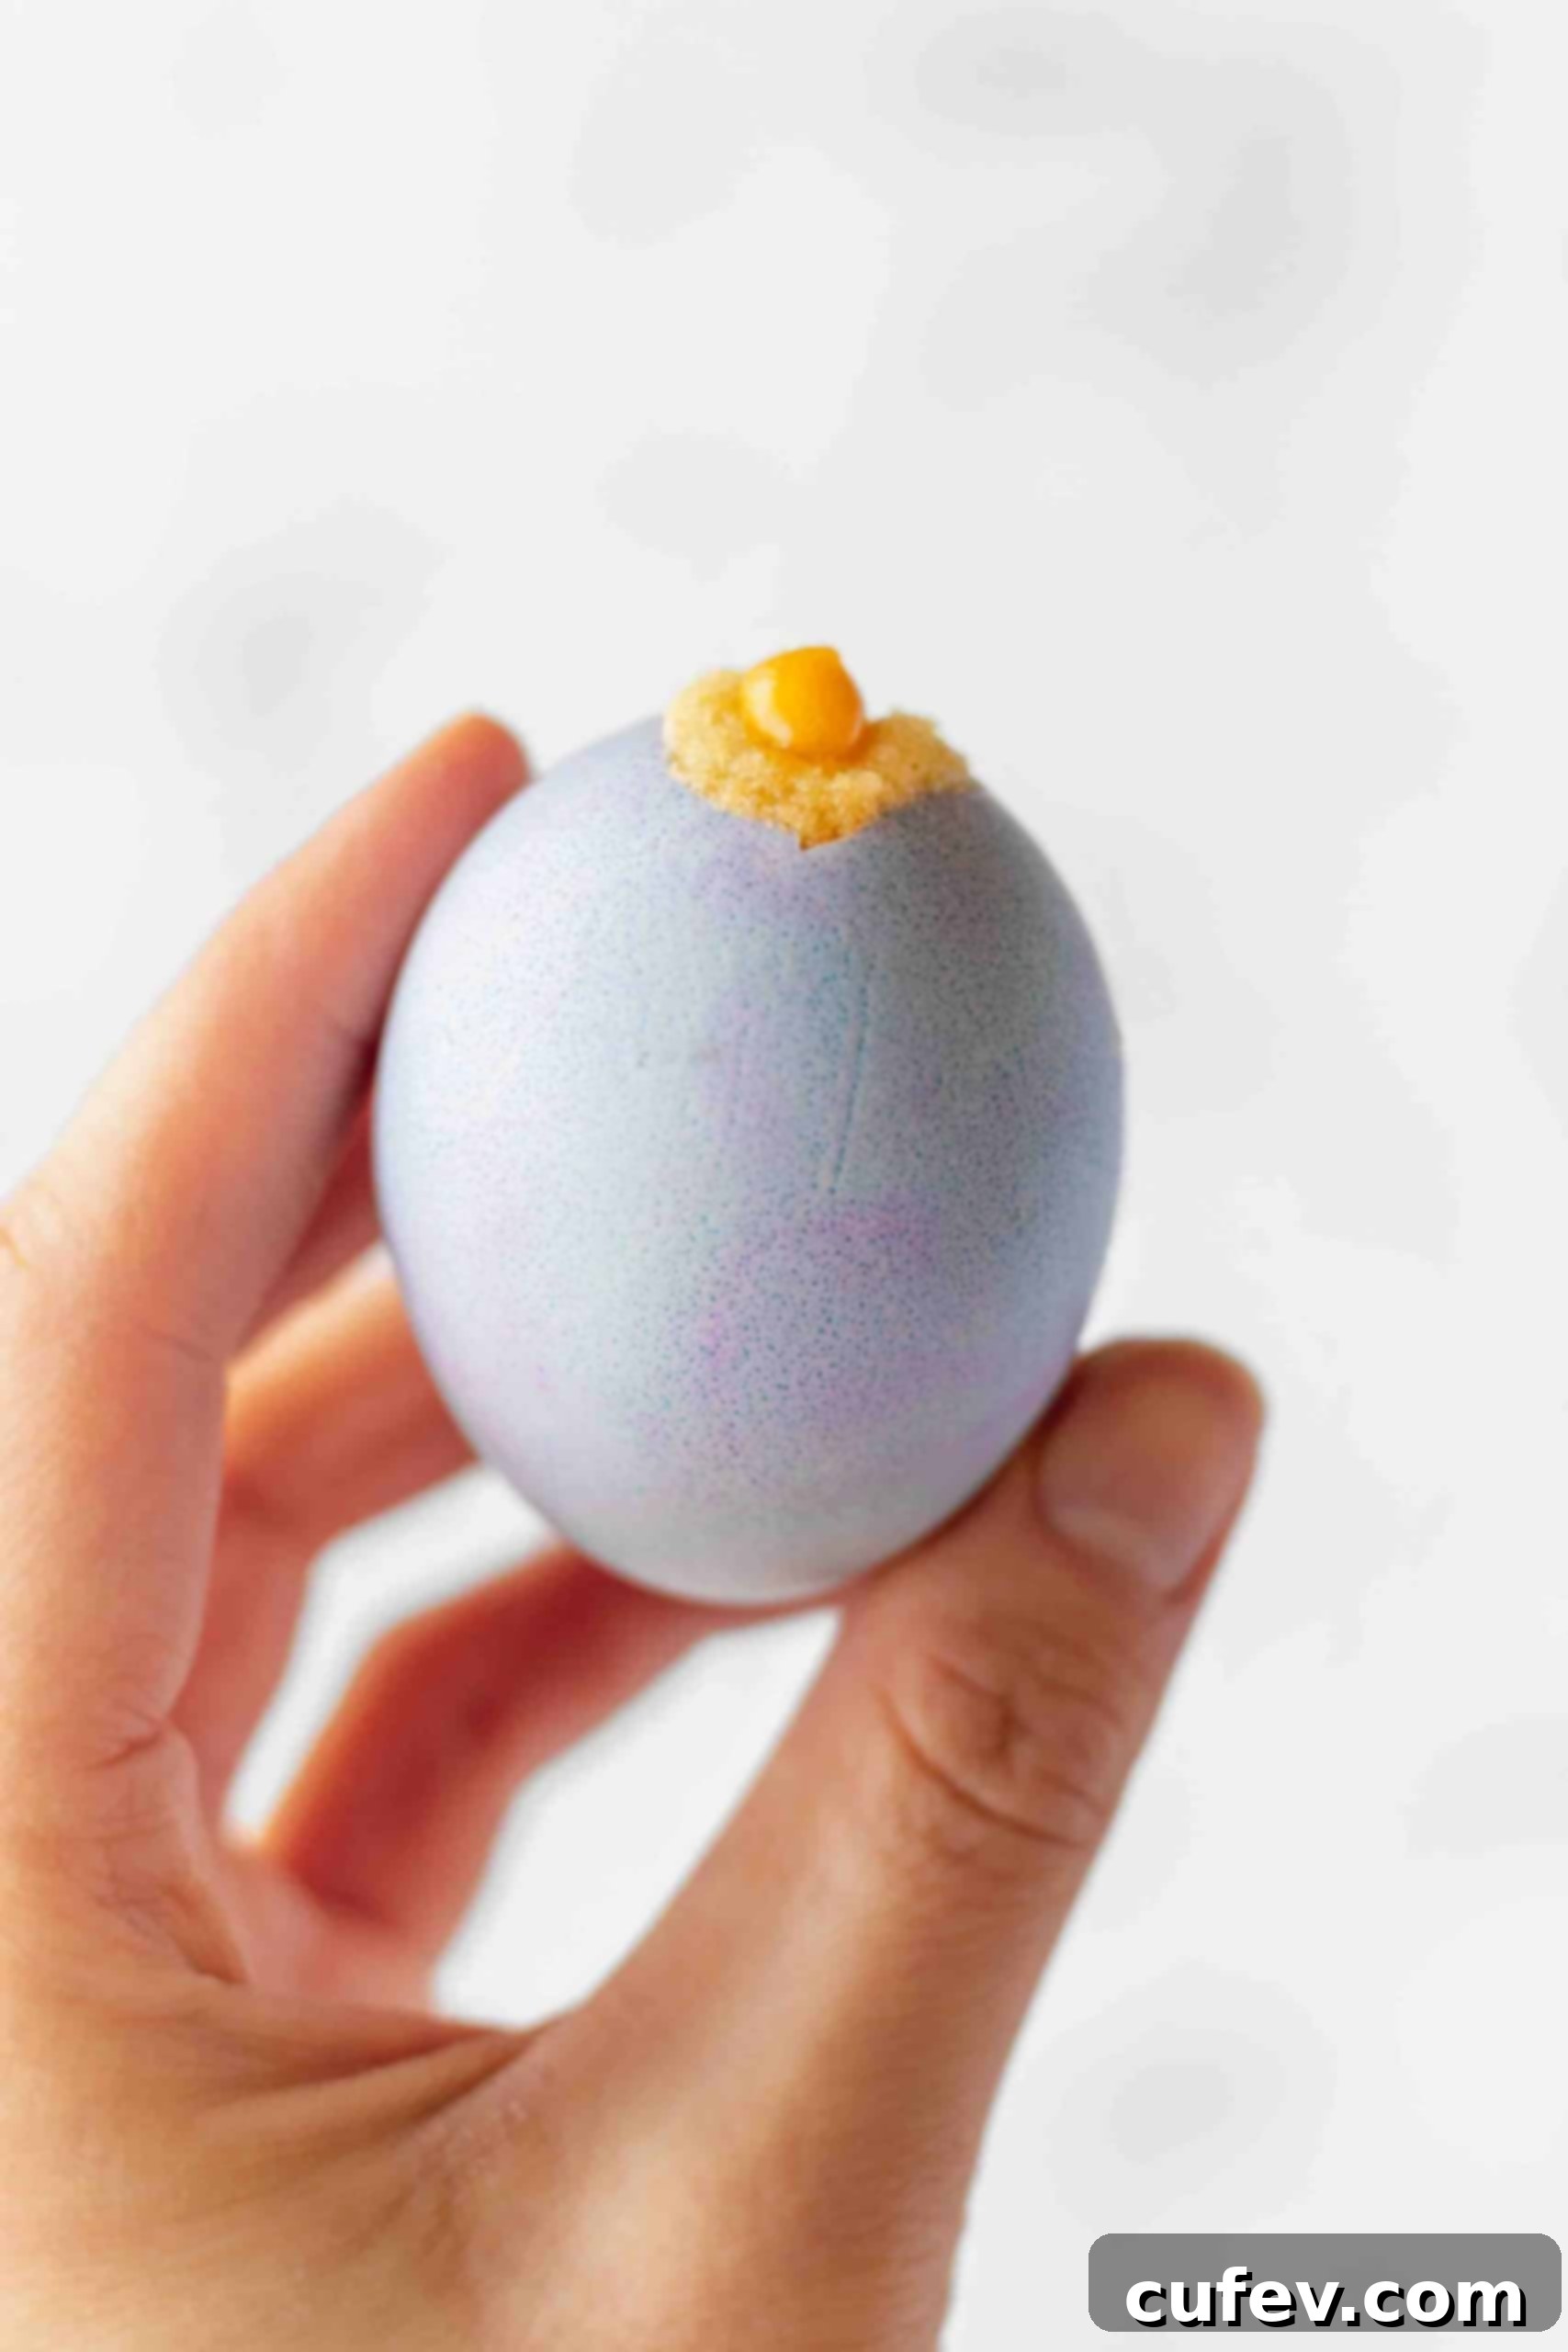
What makes these Easter egg cupcakes even more special is the hidden “yolk.” We’re not just baking cakes in shells; we’re meticulously piping a luscious, vibrant carrot curd into the center of each vanilla cupcake. This creamy, tangy carrot curd perfectly mimics the rich color and soft texture of a real egg yolk, adding another layer of visual intrigue and delicious flavor to every bite. This unique combination makes it the ultimate treat to share this Easter Sunday, offering a culinary adventure far beyond the usual holiday sweets.
Crafting Your Easter Masterpiece: Dyeing the Eggshells
Preparing these unique eggshell cupcakes begins with transforming plain eggshells into colorful Easter treasures. There are two primary methods for dyeing your eggshells, depending on when you choose to empty their contents. Both methods allow for creative expression, so choose the one that best suits your style!
- Traditional Dip Dye Method (Before Emptying): If you plan to dye your eggs *before* carefully emptying their contents, the classic dip dye method is ideal. Gather your food coloring, a splash of vinegar, and hot water. Mix your desired colors in separate bowls. Gently submerge each egg into the dye solution using a spoon or a wire egg dipper. The longer the egg stays in the dye, the more intense the color will be. Be mindful not to leave them in for too long, as you don’t want to cook the raw egg inside. This method yields beautifully uniform and vibrant shells, perfect for a traditional Easter display.
- Painting Method (After Emptying): For those who prefer to empty the eggshells first, painting them offers more control and precision. Create a thicker dye mixture by combining food coloring with a small amount of vinegar. Using a small paintbrush, carefully paint your designs, patterns, or solid colors onto the clean, empty eggshells. This method avoids the risk of getting dye inside the shell and allows for intricate artwork. You can achieve beautiful pastel hues or bold, striking colors, making each cupcake shell a miniature work of art.
Whichever method you choose, ensure your dyed eggshells are fully dry before proceeding to the next steps. This will prevent any color transfer and ensure your final product is pristine.
The Essential Prep: Emptying and Cleaning Eggshells
Properly preparing your eggshells is crucial for successful eggshell cupcakes. This process requires a delicate touch but is straightforward once you get the hang of it.
- Creating the Opening: Begin by carefully selecting your eggs. Use a thumbtack, a sturdy pin, or the very tip of a sharp knife to create a tiny hole on one end of the egg. Work slowly and gently, gradually enlarging this hole until it’s just large enough to comfortably fit a small piping tip – approximately ¼ to ½ inch in diameter. Patience is key here to avoid cracking the entire shell.
- Emptying the Contents: Once the hole is made, invert the egg over a bowl and allow the contents to drain out. You might need to gently shake the egg or use a skewer to break the yolk and help it flow freely. Don’t feel pressured to empty all your eggs at once! If you’re making a large batch, you can spread this task over a few days, using the fresh egg whites and yolks for other delicious recipes like omelets, frittatas, scrambled eggs, meringues, or custards. This way, nothing goes to waste, and you get to enjoy more culinary creations!
- Thorough Cleaning: After emptying, it’s imperative to thoroughly clean the eggshells for hygiene and food safety. Rinse each shell meticulously under cool running water, making sure to flush out any residual egg white. Once rinsed, place all the empty shells into a bowl filled with a saltwater solution (about 1 tablespoon of salt per cup of water). Allow them to soak for approximately 30 minutes. This saltwater bath helps to sanitize the shells and eliminate any lingering odors.
- Drying the Eggshells: Finally, remove the shells from the saltwater and place them, hole-side down, on a clean kitchen towel or a wire rack. Allow them to air dry completely, ideally overnight. Ensure they are bone-dry before you proceed with baking, as any moisture could interfere with the cupcake batter and baking process.
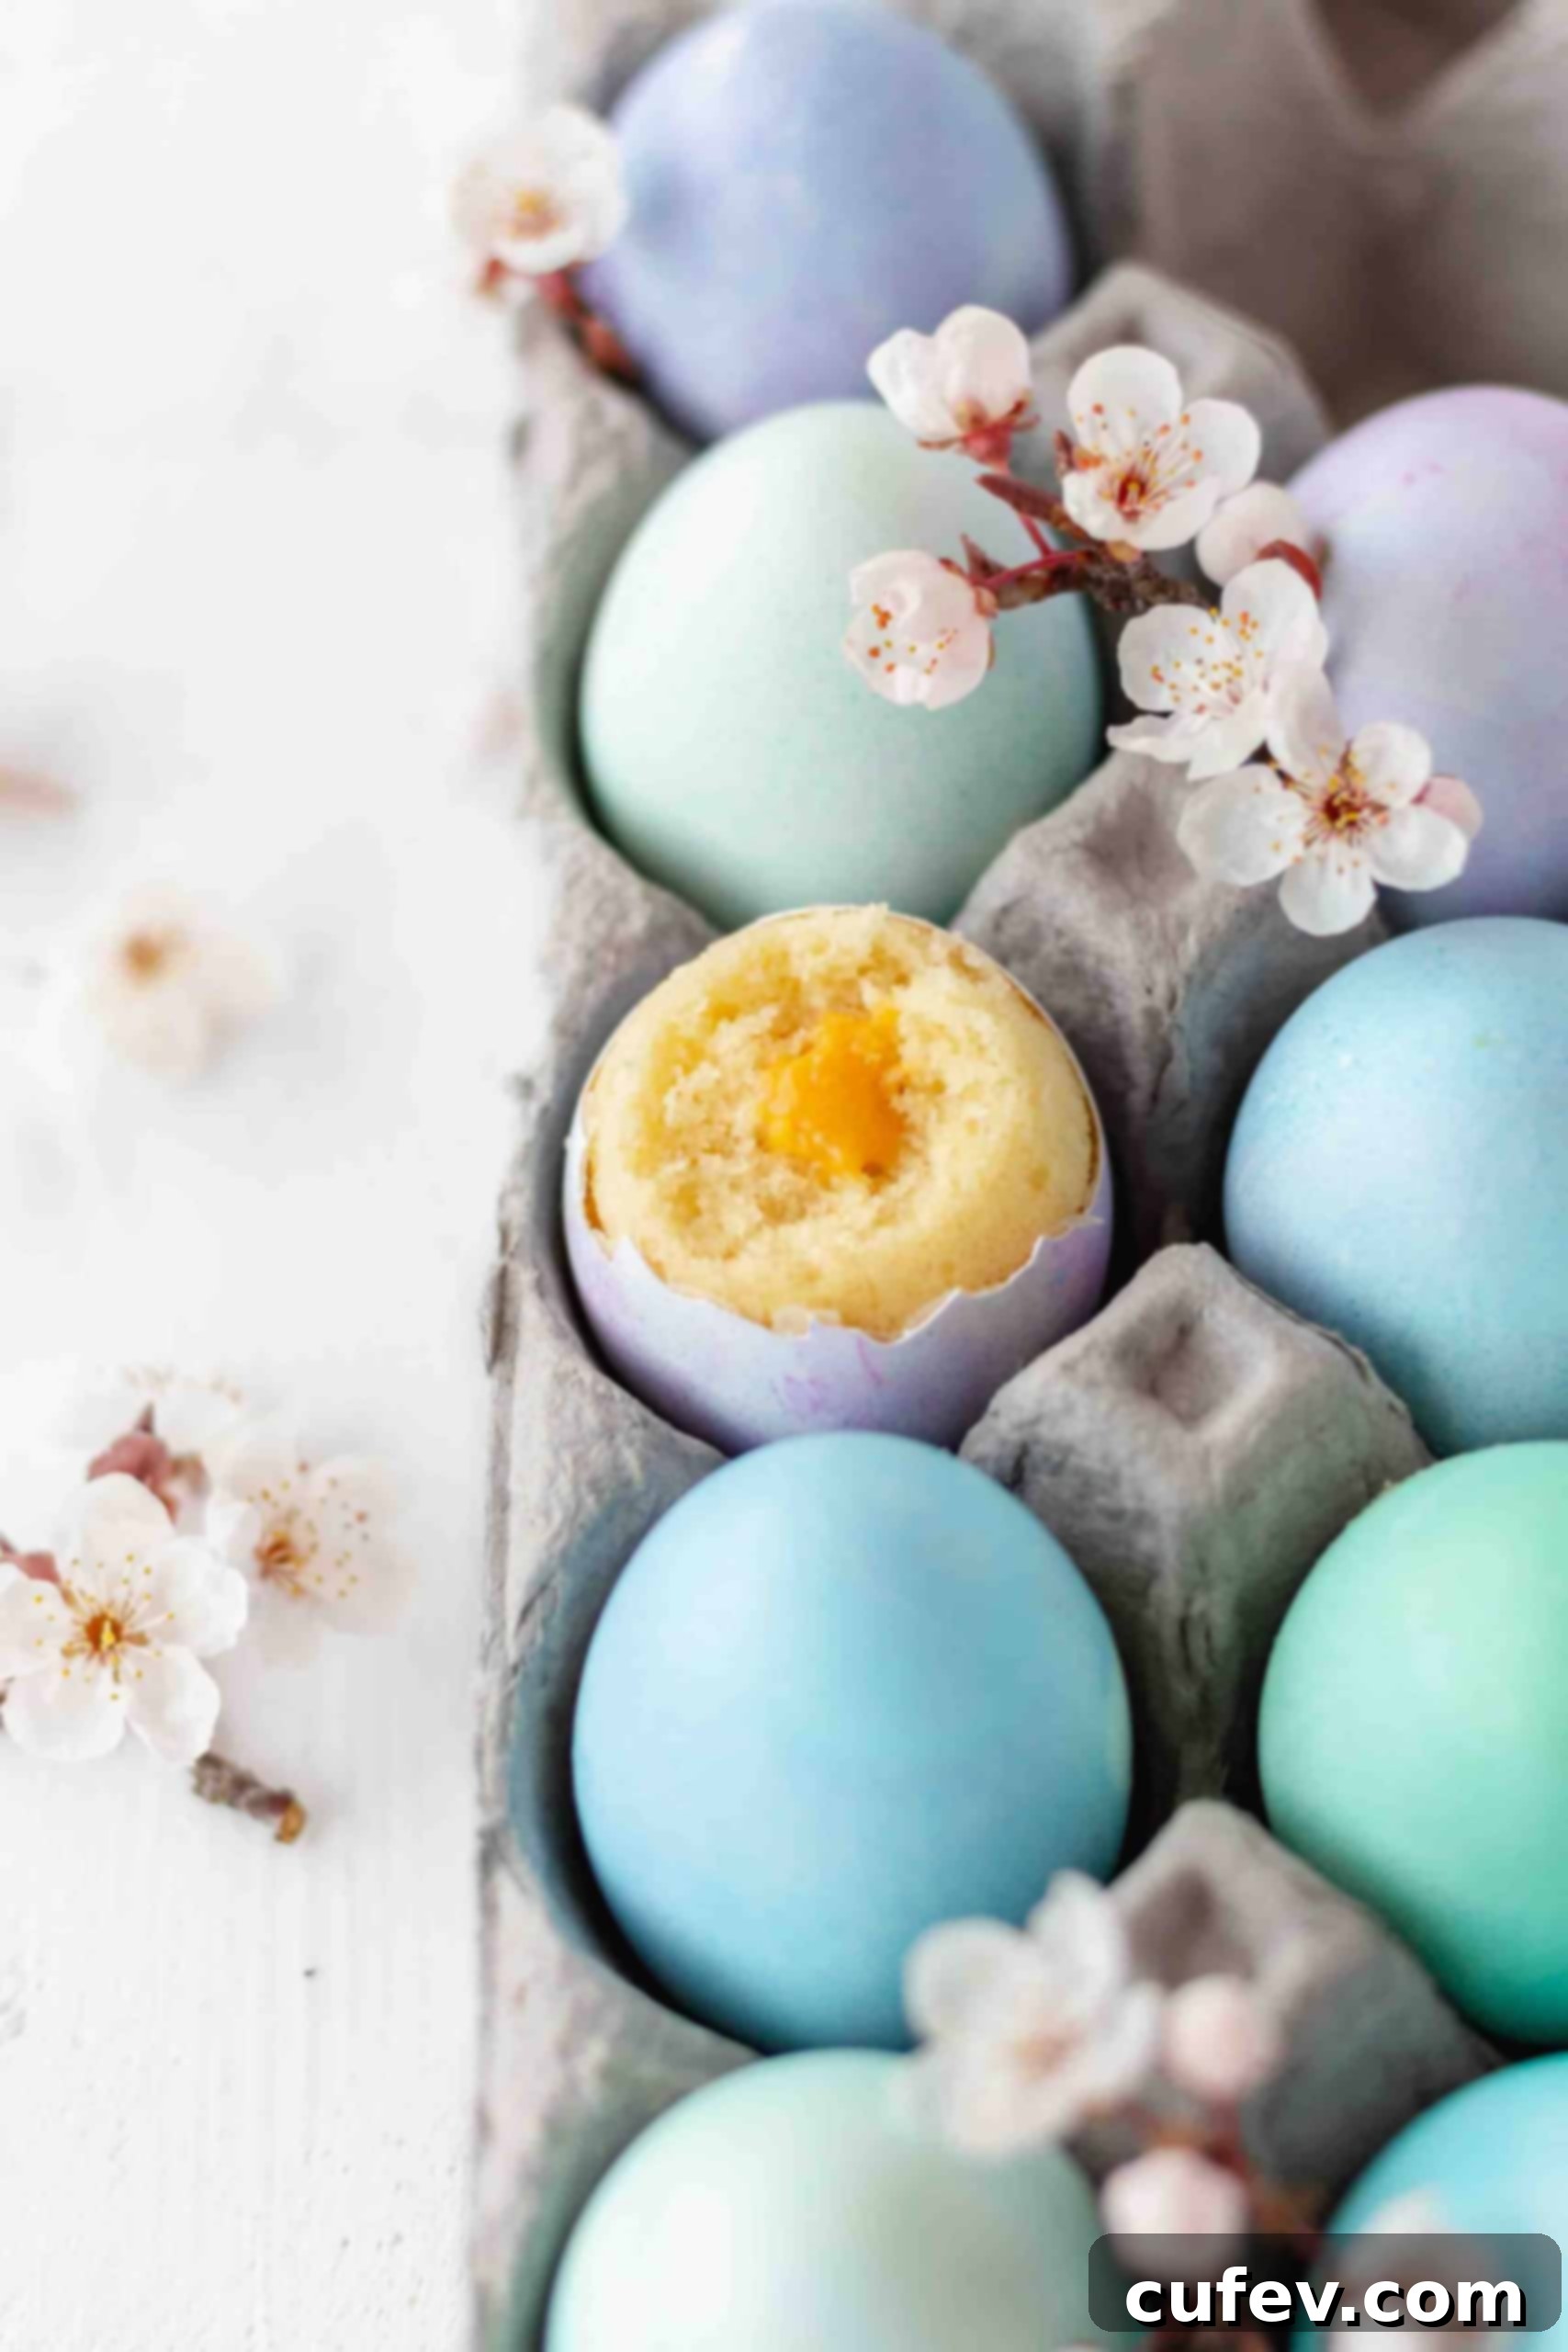
Baking Delight: How to Bake Easter Cupcakes in Eggshells
With your eggshells clean, dry, and perhaps beautifully dyed, it’s time for the exciting part: baking! This unique method requires a few specific steps to ensure your eggshell cupcakes turn out perfectly.
- Setting Up Your Baking Pan: First, preheat your oven to the temperature specified in your cupcake recipe (typically around 340°F/170°C). Then, prepare a mini muffin pan. To keep the delicate eggshells stable and upright during baking, line the bottom of each well with a small piece of crumpled parchment paper or aluminum foil. This clever trick creates a snug nest for each eggshell, preventing it from wobbling or tipping over. Carefully place one eggshell, hole side up, into each prepared muffin well.
- Preparing the Cupcake Batter: Now, prepare your favorite vanilla cupcake recipe. For this recipe, a sturdy yet fluffy vanilla batter works best. If you’re short on time or prefer convenience, a good quality box cake mix is absolutely fine and will still yield delicious results! The key is to have a batter that is smooth and pipeable. Once your batter is ready, transfer it into a piping bag fitted with a small round piping tip. This allows for precise filling and minimizes mess.
- Filling and Baking: Carefully pipe the cupcake batter into each eggshell, filling them only about halfway. This is a critical step, as overfilling can cause the batter to overflow significantly during baking, making cleanup difficult and potentially ruining your dyed shells. Place the muffin pan with the filled eggshells into your preheated oven and bake for approximately 16-18 minutes, or until a toothpick inserted into the center of a cupcake comes out clean. Baking times may vary slightly depending on your oven and the exact batter consistency, so keep a close eye on them.
- Cooling and Cleaning: Once baked, immediately transfer the eggshells to a wire rack and allow them to cool enough to handle comfortably. You might notice some cake batter has inevitably spilled over the edges, especially if your shells weren’t perfectly uniform. Use a small, sharp knife to carefully slice off any excess baked cake from the top rim of the eggshell. Then, gently wipe down the outside of the eggshells with a slightly damp paper towel to clean off any stray cake crumbs. If you dyed your eggs, be extra careful during this step, as aggressive cleaning might remove some of the dye.
At this point, you could certainly stop, peel back the shell, and enjoy your delightful vanilla egg cupcakes as is. They are wonderfully delicious on their own, offering a soft texture and sweet flavor. However, to truly elevate them into a show-stopping Easter treat with that iconic “yolk” surprise, we continue to the next step!
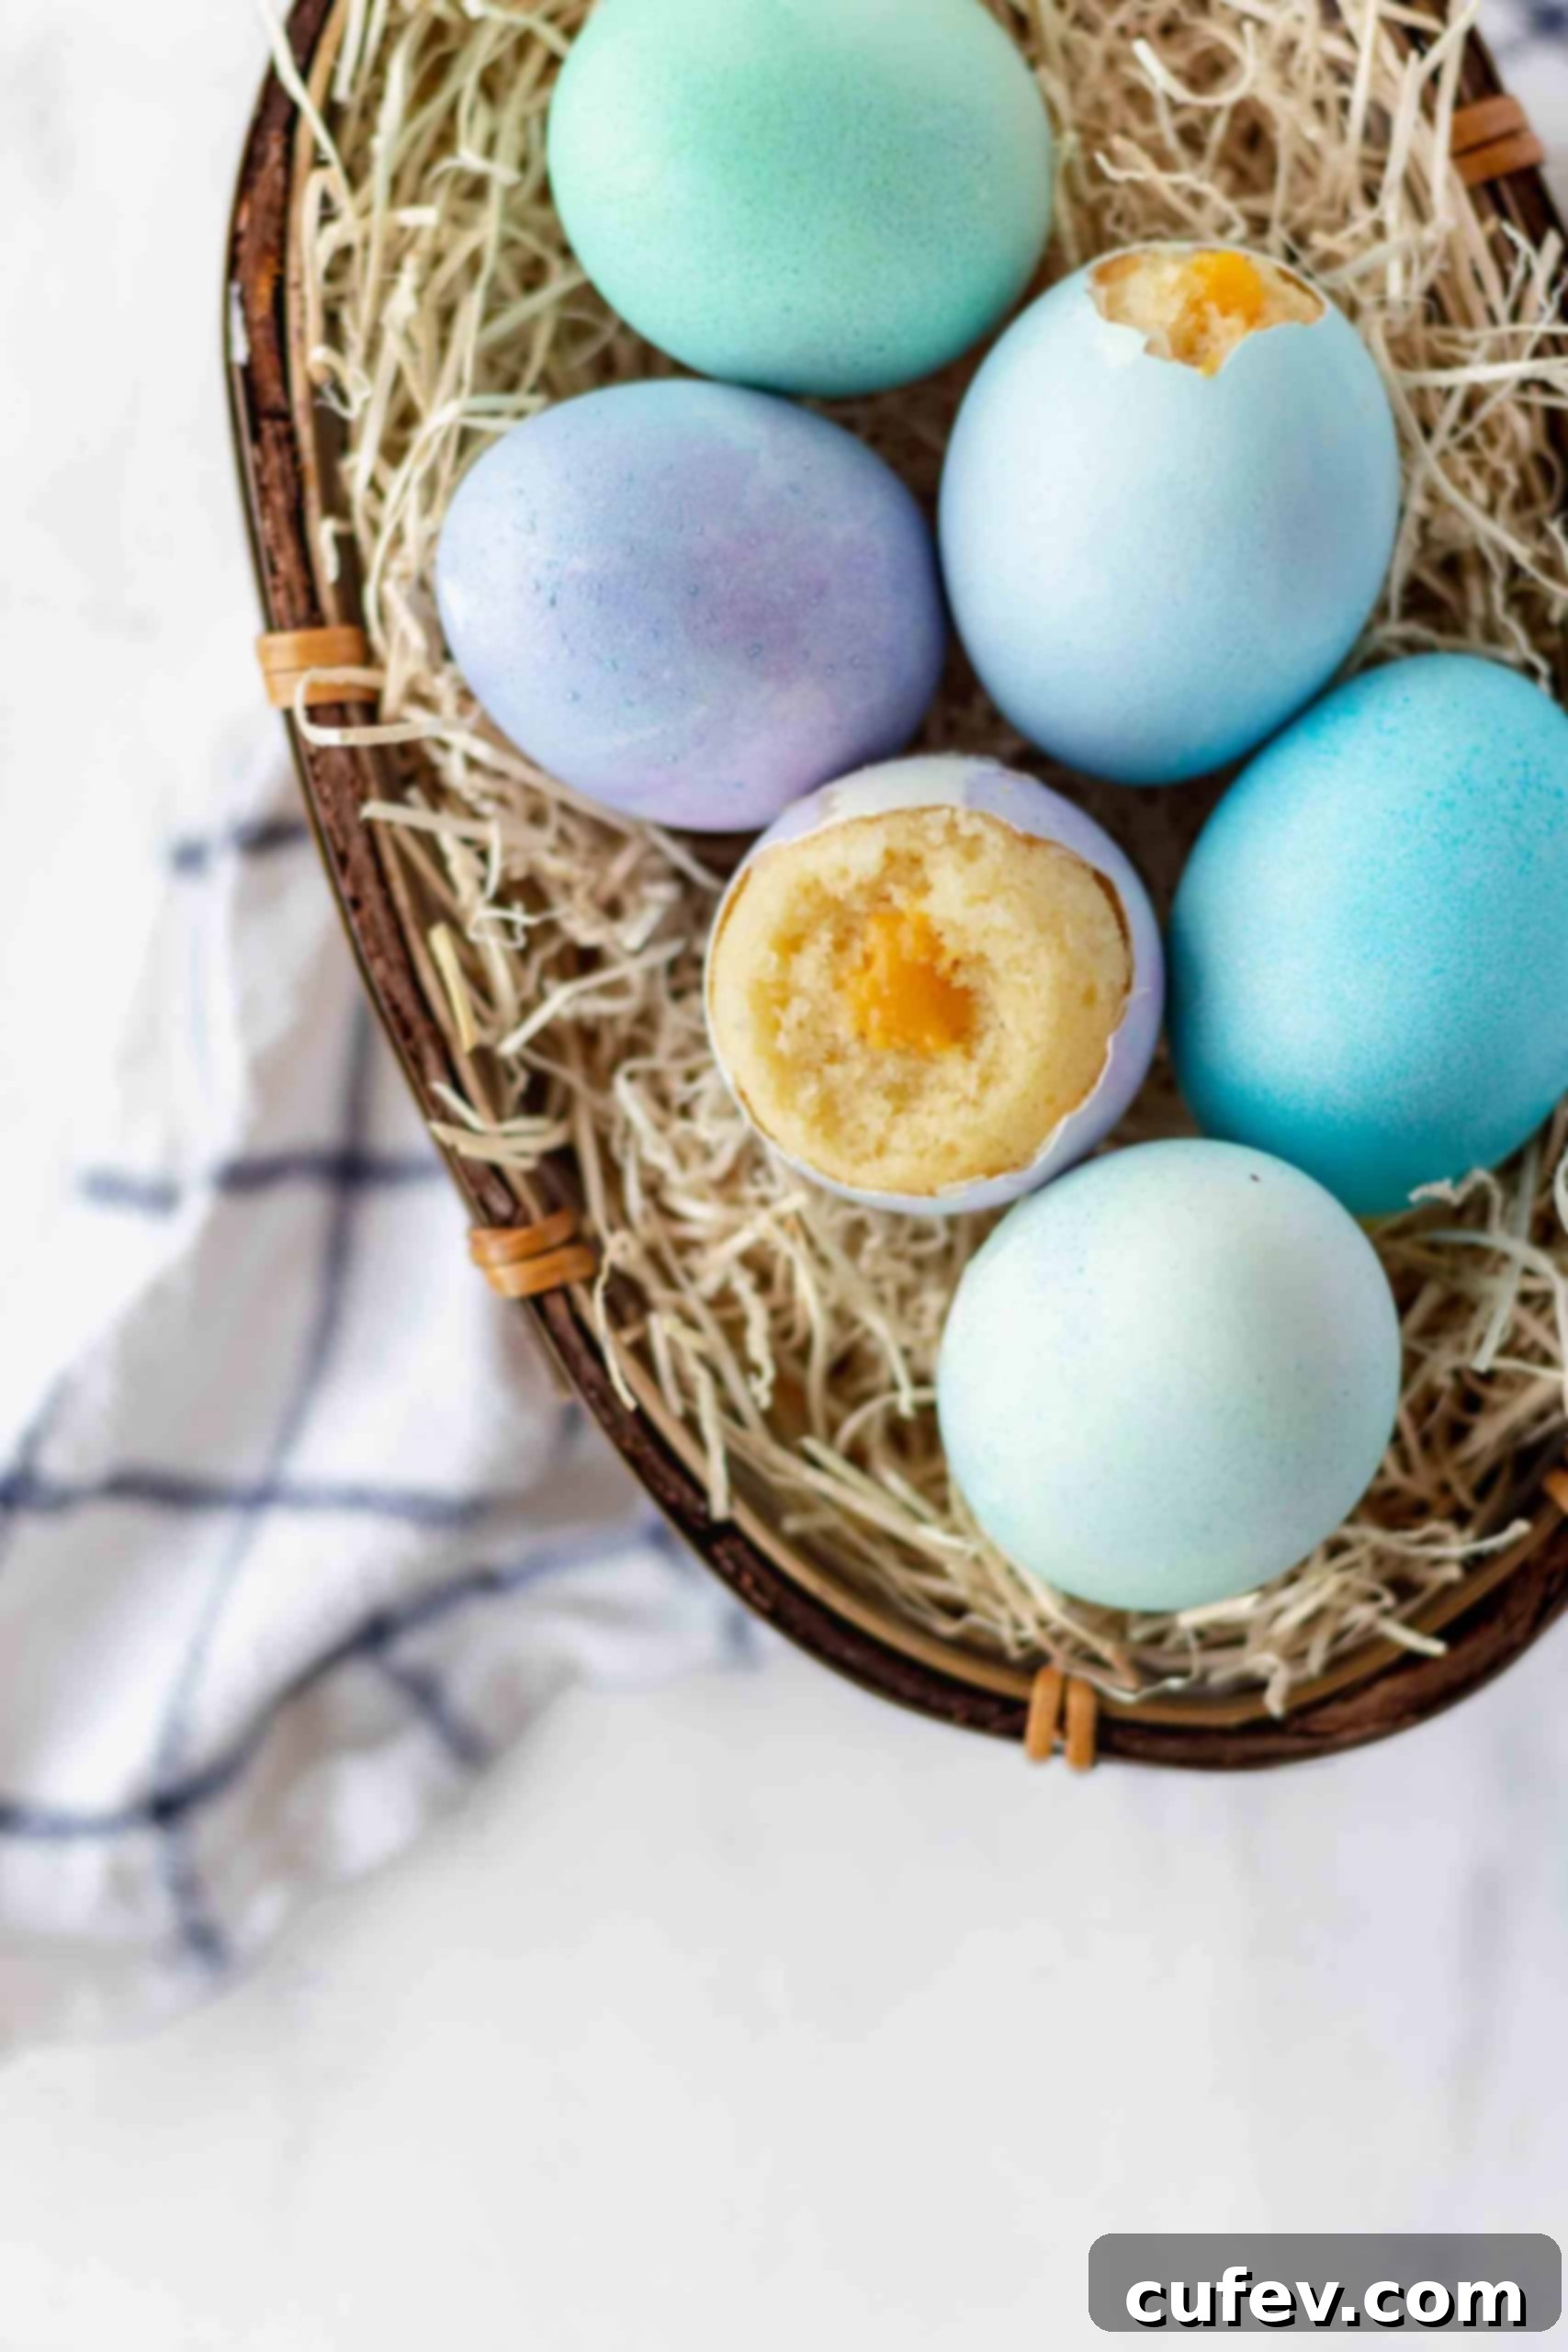
The Golden Surprise: Adding the Carrot Curd Yolk
No Easter egg cupcake would be complete without a vibrant, creamy “yolk” at its heart! This is where the magic truly unfolds, transforming a simple cupcake into an extraordinary replica of an egg.
While classic frosting is always an option for cupcakes, for these eggshell delights, we recommend a silky, tangy curd to mimic the texture and appearance of a real yolk. Our preferred choice is a luscious carrot curd. Its naturally bright orange hue and subtly sweet, earthy flavor complement the vanilla cupcake beautifully, creating a harmonious and delightful taste experience. The carrot curd adds a refreshing tang that cuts through the sweetness of the cake, making each bite balanced and exciting.
However, if carrot isn’t your preference, don’t fret! These cupcakes are incredibly versatile. You can easily swap out the carrot curd for other delicious alternatives. Lemon curd offers a zesty, bright flavor, while passion fruit curd provides an exotic, tropical twist. For those who prefer ultimate convenience, feel free to purchase your favorite brand of high-quality curd from the store – no judgment here, the goal is deliciousness and fun! You could even experiment with a thick custard or a light, airy pastry cream for a different texture.
Once your curd of choice is ready, place it into a piping bag fitted with the skinniest round piping tip you have. A small, fine tip ensures you can accurately fill the cupcake without damaging the cake structure. To create the “yolk” cavity, gently insert a toothpick or a thin chopstick into the center of each baked and cooled cupcake. Wiggle it around to create a small, neat hole deep enough to hold a generous amount of curd. Then, carefully insert the piping tip into the hole and slowly pipe in as much curd as you desire. The more curd you pipe, the larger and more impressive your “yolk” will appear when someone bites into the cupcake!
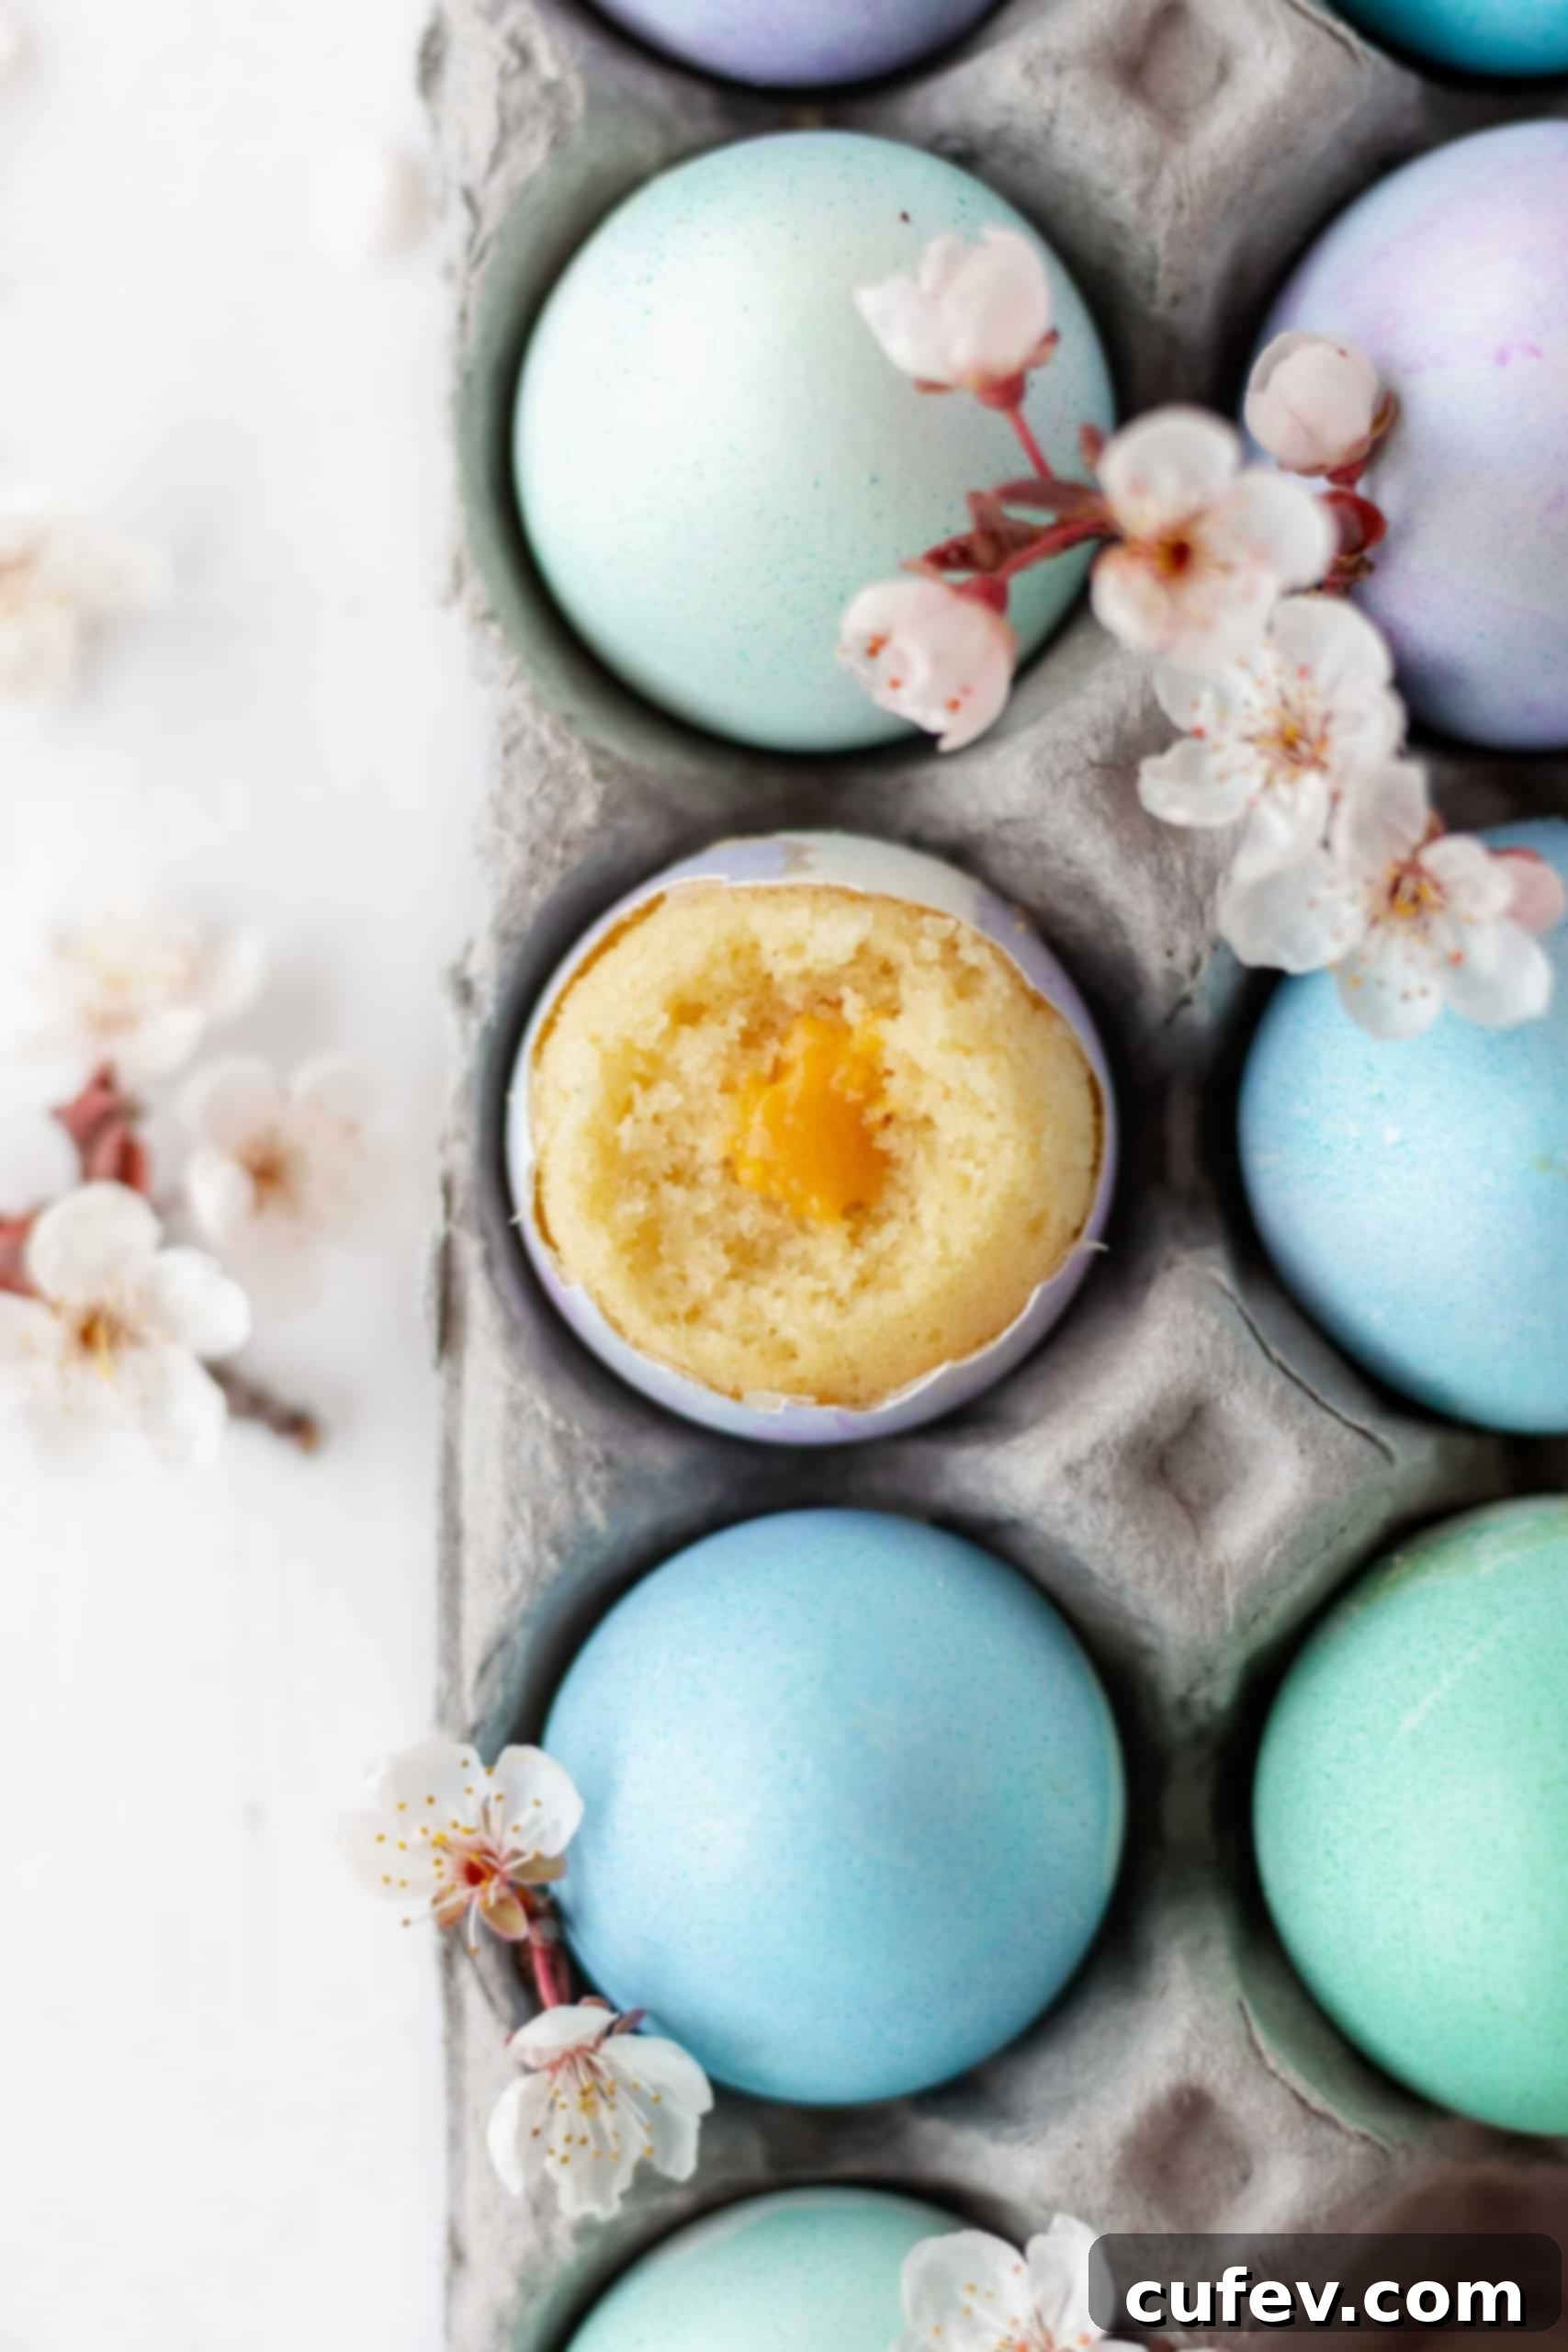
Pro Tips for Perfect Eggshell Cupcakes Every Time
To ensure your Easter eggshell cupcakes are a resounding success and genuinely impress your guests, keep these invaluable tips in mind:
- Mastering the Fill: Don’t Overfill Your Eggshells! This is perhaps the most crucial tip. The exact amount of cake batter needed will vary slightly depending on your specific cupcake recipe and the size of your eggshells. However, eggshells tend to cause batter to overflow more easily than traditional cupcake liners. The safest and most effective approach is to perform a small baking test before committing to the entire batch. Fill just one eggshell halfway with your batter and bake it. Observe if the batter expands too much, too little, or just perfectly. Adjust the amount of batter you pipe into the remaining eggshells accordingly. A slight underfill is always better than an overfill, as excess batter can create a messy exterior and potentially ruin your dyed shells.
- Generosity with the Yolk: Pipe in More Carrot Curd Than You Think is Enough! Once the cupcakes are baked and cooled, and you’re ready to add that delightful “yolk,” be generous with your curd. The vanilla cake is surprisingly absorbent and can hold more filling than you might initially assume. Don’t be shy; keep piping until you feel a slight resistance. The more luscious curd you incorporate, the more vibrant and satisfying your “yolk” will look and taste when your guests bite into the cupcake. A larger, more prominent yolk makes for an even more dramatic and surprising reveal!
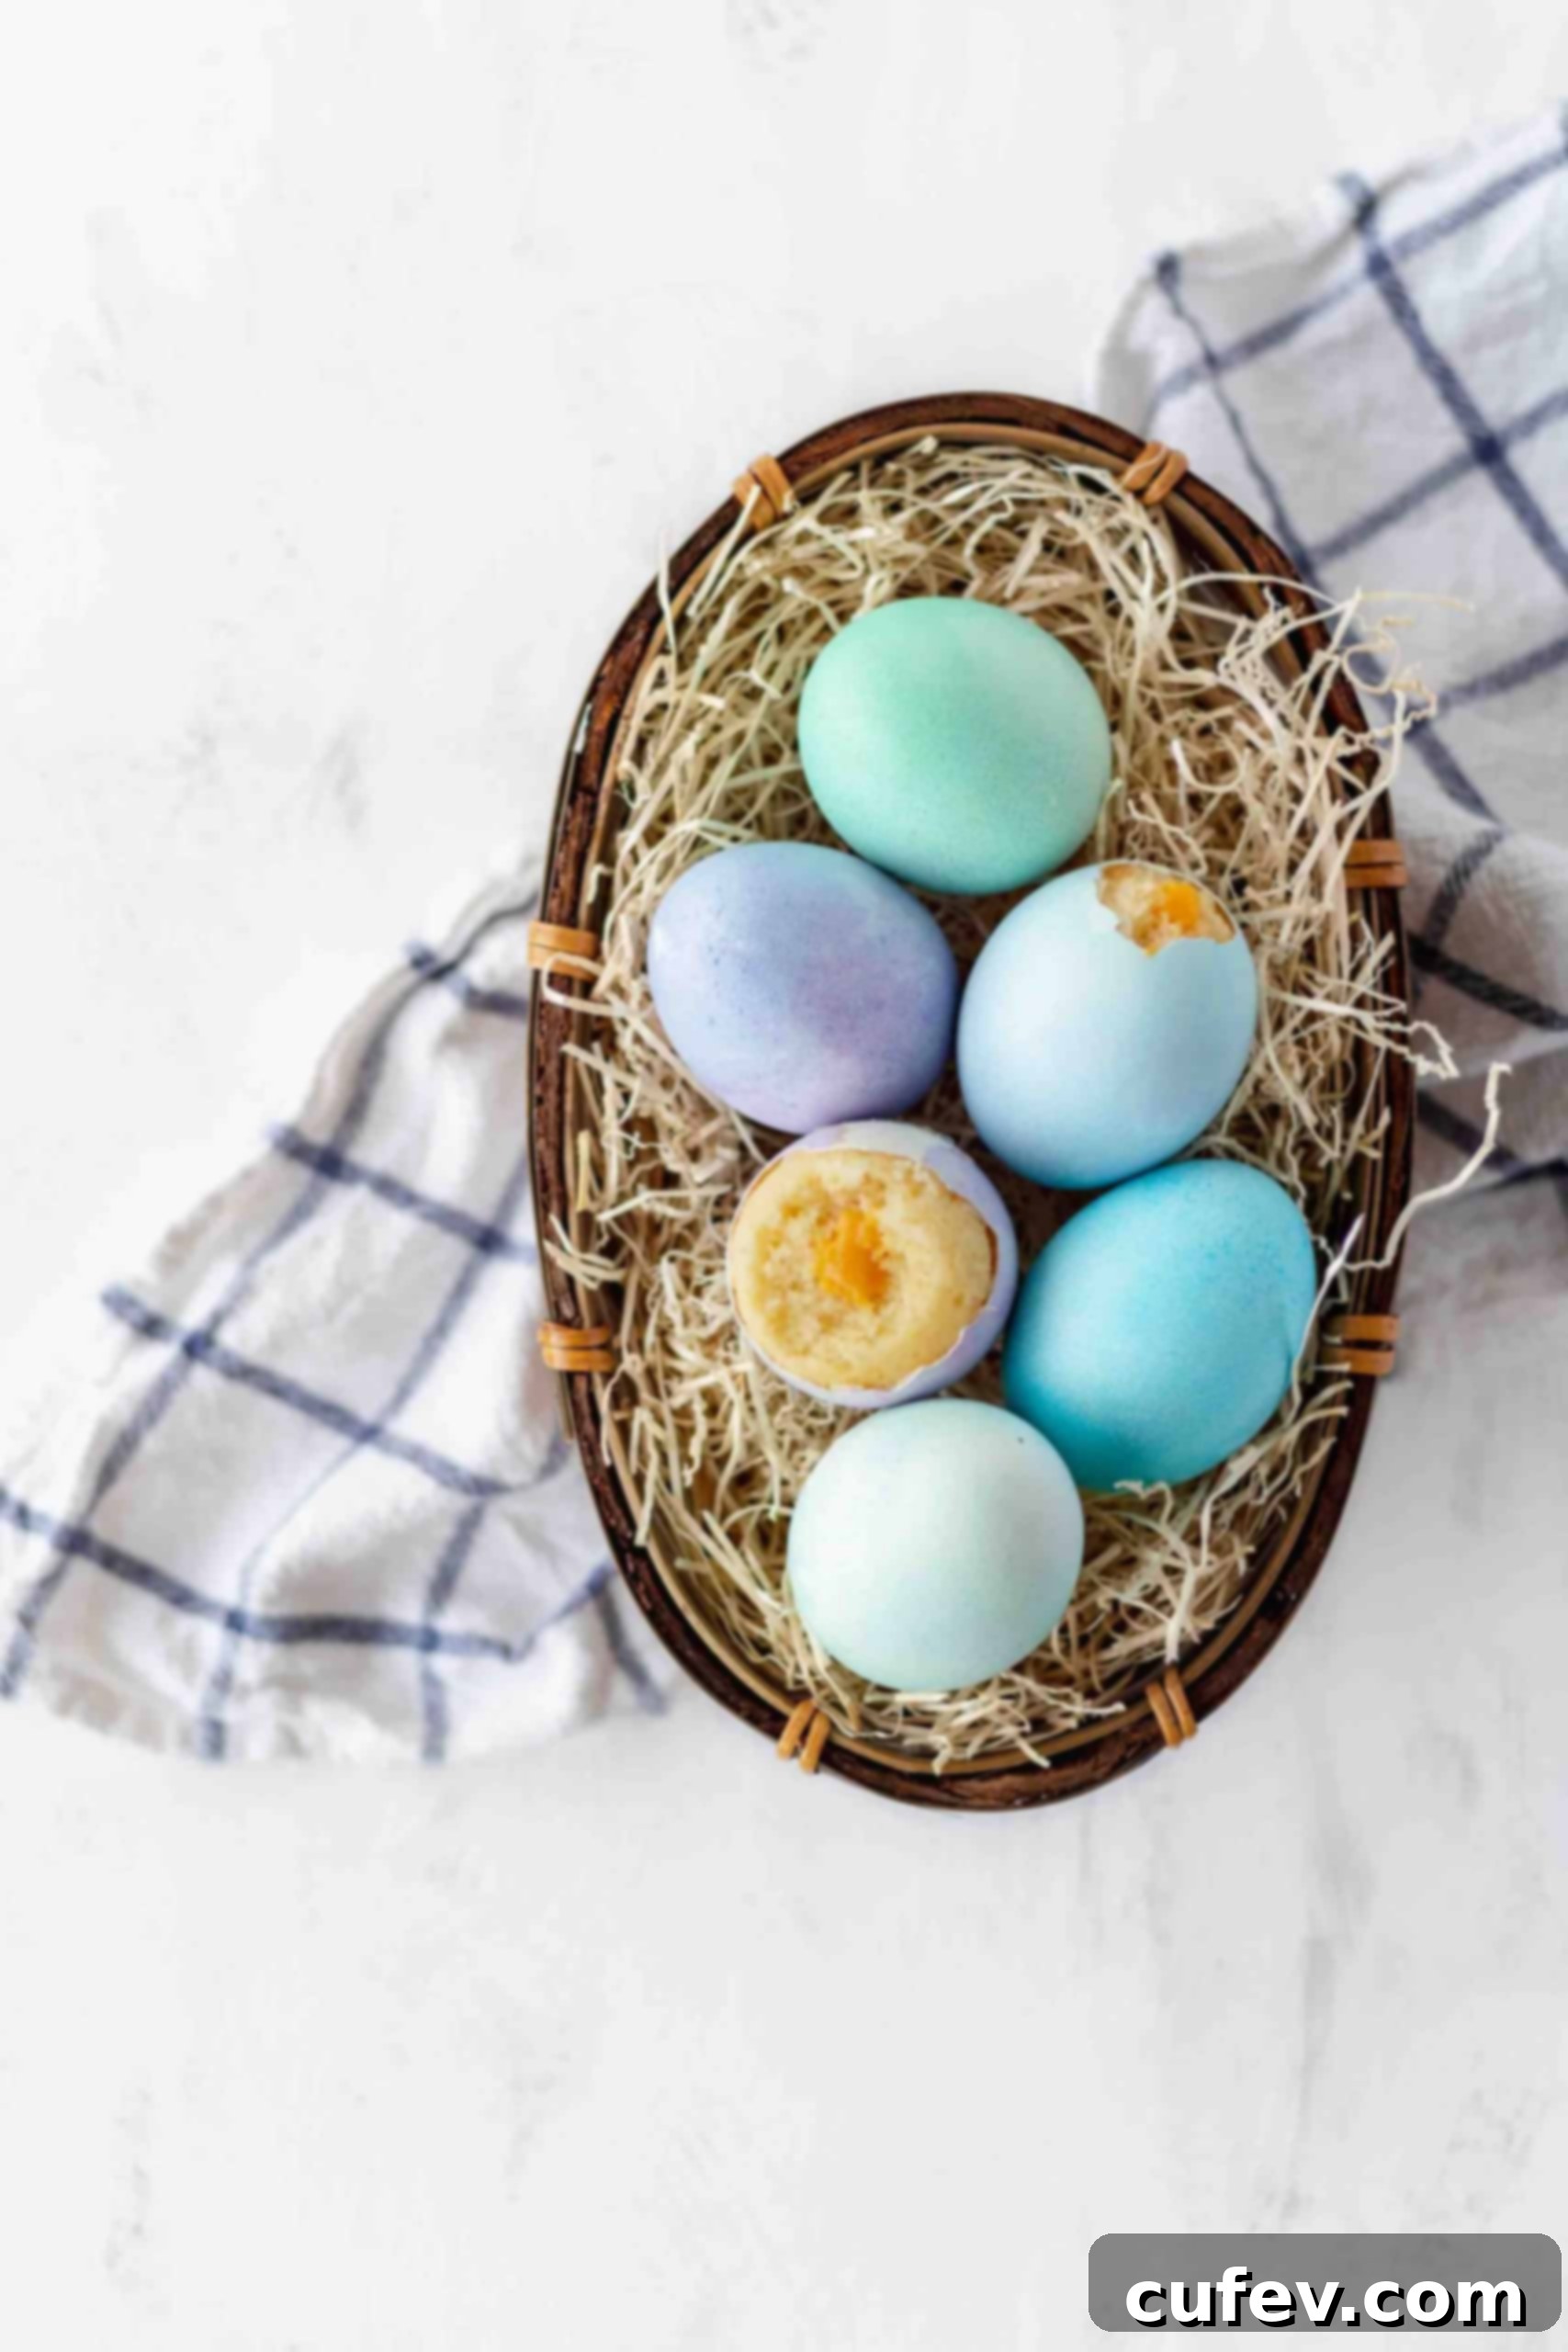
- The Big Reveal: Serve Them with the Hole Faced Down! The true magic of these Easter eggshell cupcakes lies in the element of surprise. Whether you’re serving them to wide-eyed children or discerning adults, you want to maximize the “wow” factor. Presenting the eggshells with the small opening faced down ensures that their true nature remains a secret until the moment they are cracked open. This simple presentation trick maintains the illusion of a normal Easter egg, adding a delightful layer of suspense and excitement to the reveal. It’s that little extra sprinkle of magic that makes these treats truly unforgettable!
- Choose Your Eggs Wisely: Opt for standard large eggs. Jumbo eggs might be too big for a mini muffin pan, and smaller eggs might be too delicate or hold too little batter. Ensure the eggs are clean before you start the emptying process.
- Storage: Store your finished eggshell cupcakes in an airtight container in the refrigerator due to the curd filling. They are best enjoyed within 2-3 days for optimal freshness and texture.
More Festive Easter Desserts to Explore!
If you love getting creative in the kitchen for Easter, here are some other delightful dessert ideas to complete your holiday spread:
- Easter egg sugar cookies
- Easter bird’s nest cookies
- Carrot cake cupcakes with lemon frosting
- Carrot loaf cake with brigadeiro frosting
Easter Cupcakes Baked in Eggshells
Print
Pin
Rate
Ingredients
- 1 cup / 200g granulated sugar
- 1¾ cups / 175g cake flour
- 1½ teaspoons baking powder
- ½ teaspoon baking soda
- ½ teaspoon fine sea salt
- ¼ cup / 57g unsalted butter, softened
- 2 large eggs
- ⅓ cup / 75g unsweetened greek yogurt
- ¼ cup / 60ml olive oil
- 2 teaspoons vanilla extract
- ⅔ cup / 160ml whole milk
- Half a batch carrot curd
Instructions
-
Preheat your oven to 340°F/170°C. Prepare a mini muffin pan by lining each well with crumpled parchment paper or aluminum foil, then carefully place an empty, cleaned eggshell, hole side up, into each well.
-
In a large bowl, whisk together the granulated sugar, cake flour, baking powder, baking soda, and fine sea salt until well combined. Add the softened unsalted butter and mix until the mixture resembles fine, moist sand. Set aside.
-
In a separate medium bowl, combine the large eggs, unsweetened Greek yogurt, olive oil, and vanilla extract. Whisk these wet ingredients until smooth. Pour this wet mixture into the dry ingredients and mix with a spatula or spoon until just combined and no streaks of flour remain. Be careful not to overmix.
-
Gradually add the whole milk to the batter, stirring gently until fully incorporated and the batter is smooth.
-
Transfer the cupcake batter into a piping bag fitted with a small round piping tip. Carefully fill each eggshell halfway with batter. Bake for 16-18 minutes, or until a toothpick inserted into a cupcake comes out clean. Immediately transfer the baked eggshells onto a wire rack to cool completely. Once cool enough to handle, use a sharp knife to gently slice off any cake that may have spilled over the edges. Clean the eggshells with a damp paper towel if needed.
-
Once the cupcakes are completely cool, gently insert a toothpick or thin chopstick into the center of each cake and wiggle it around to create a small cavity for the filling.
-
Place the prepared carrot curd into a clean piping bag fitted with the skinniest round piping tip. Insert the tip into the hole you created in each cupcake and pipe the curd until the cavity is full, creating a vibrant “yolk.” Serve immediately or chill until ready to present.
SAVE TO PINTEREST FOR LATER
