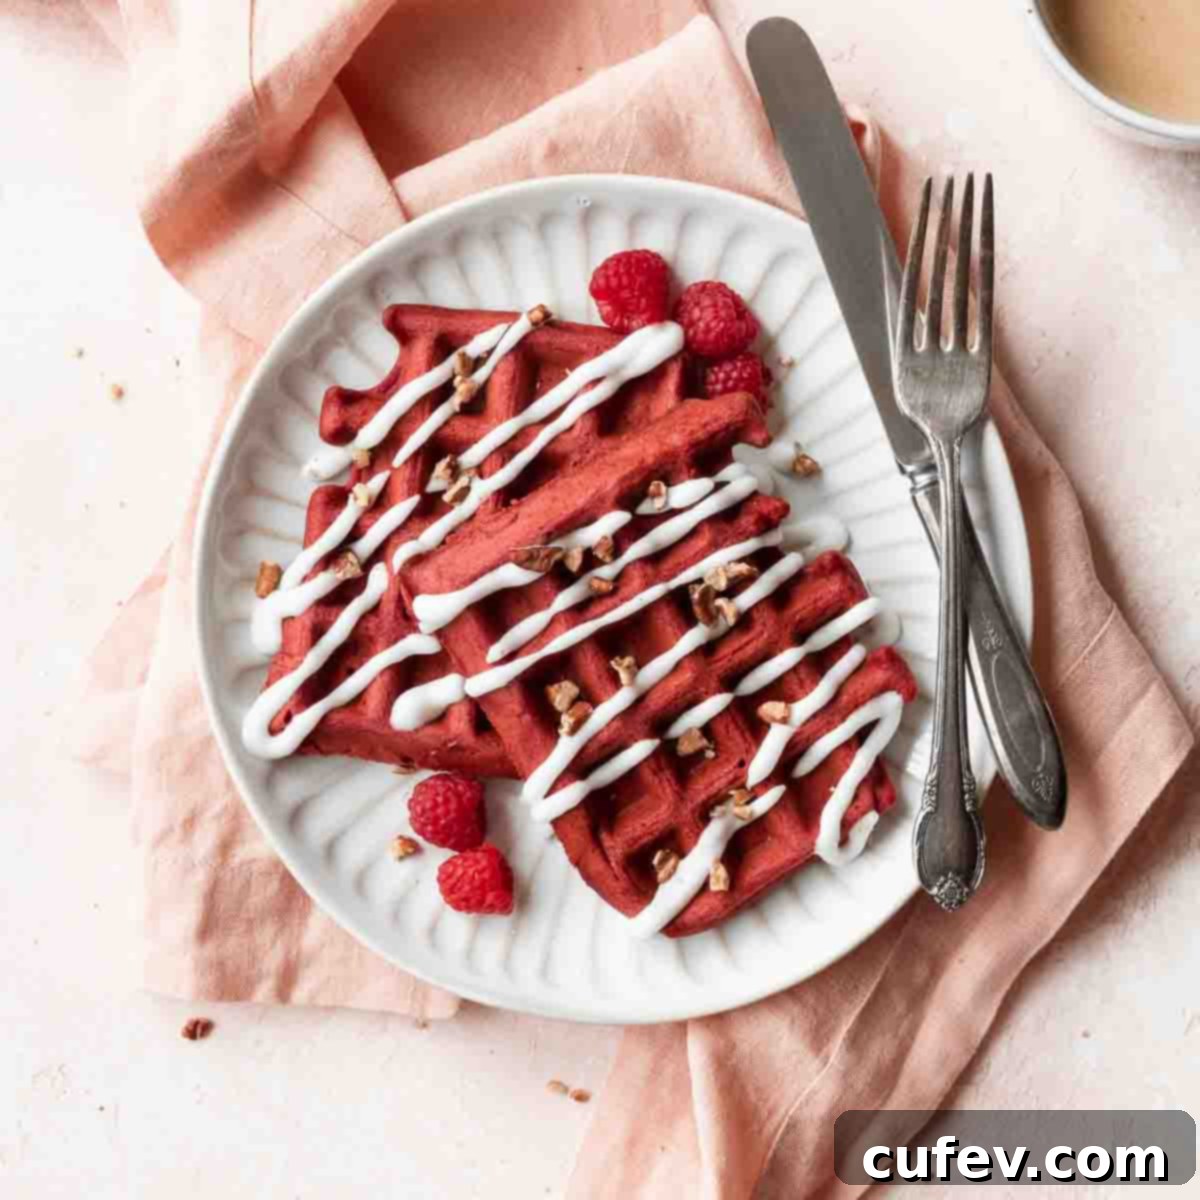
Decadent Red Velvet Waffles with Tangy Cream Cheese Glaze: The Ultimate Breakfast Treat
Elevate your morning with these irresistible Red Velvet Waffles! Imagine fluffy, tender waffles with a perfectly crisp exterior, infused with that iconic red velvet flavor – a delicate balance of vanilla and a hint of cocoa, all brought to life with a stunning crimson hue. Crowned with a luscious, tangy cream cheese glaze, this red velvet waffle recipe promises to transform any breakfast or brunch into an extra special, memorable occasion. Whether you’re celebrating a holiday, a birthday, or simply treating yourself, these vibrant waffles are sure to impress both your eyes and your taste buds.
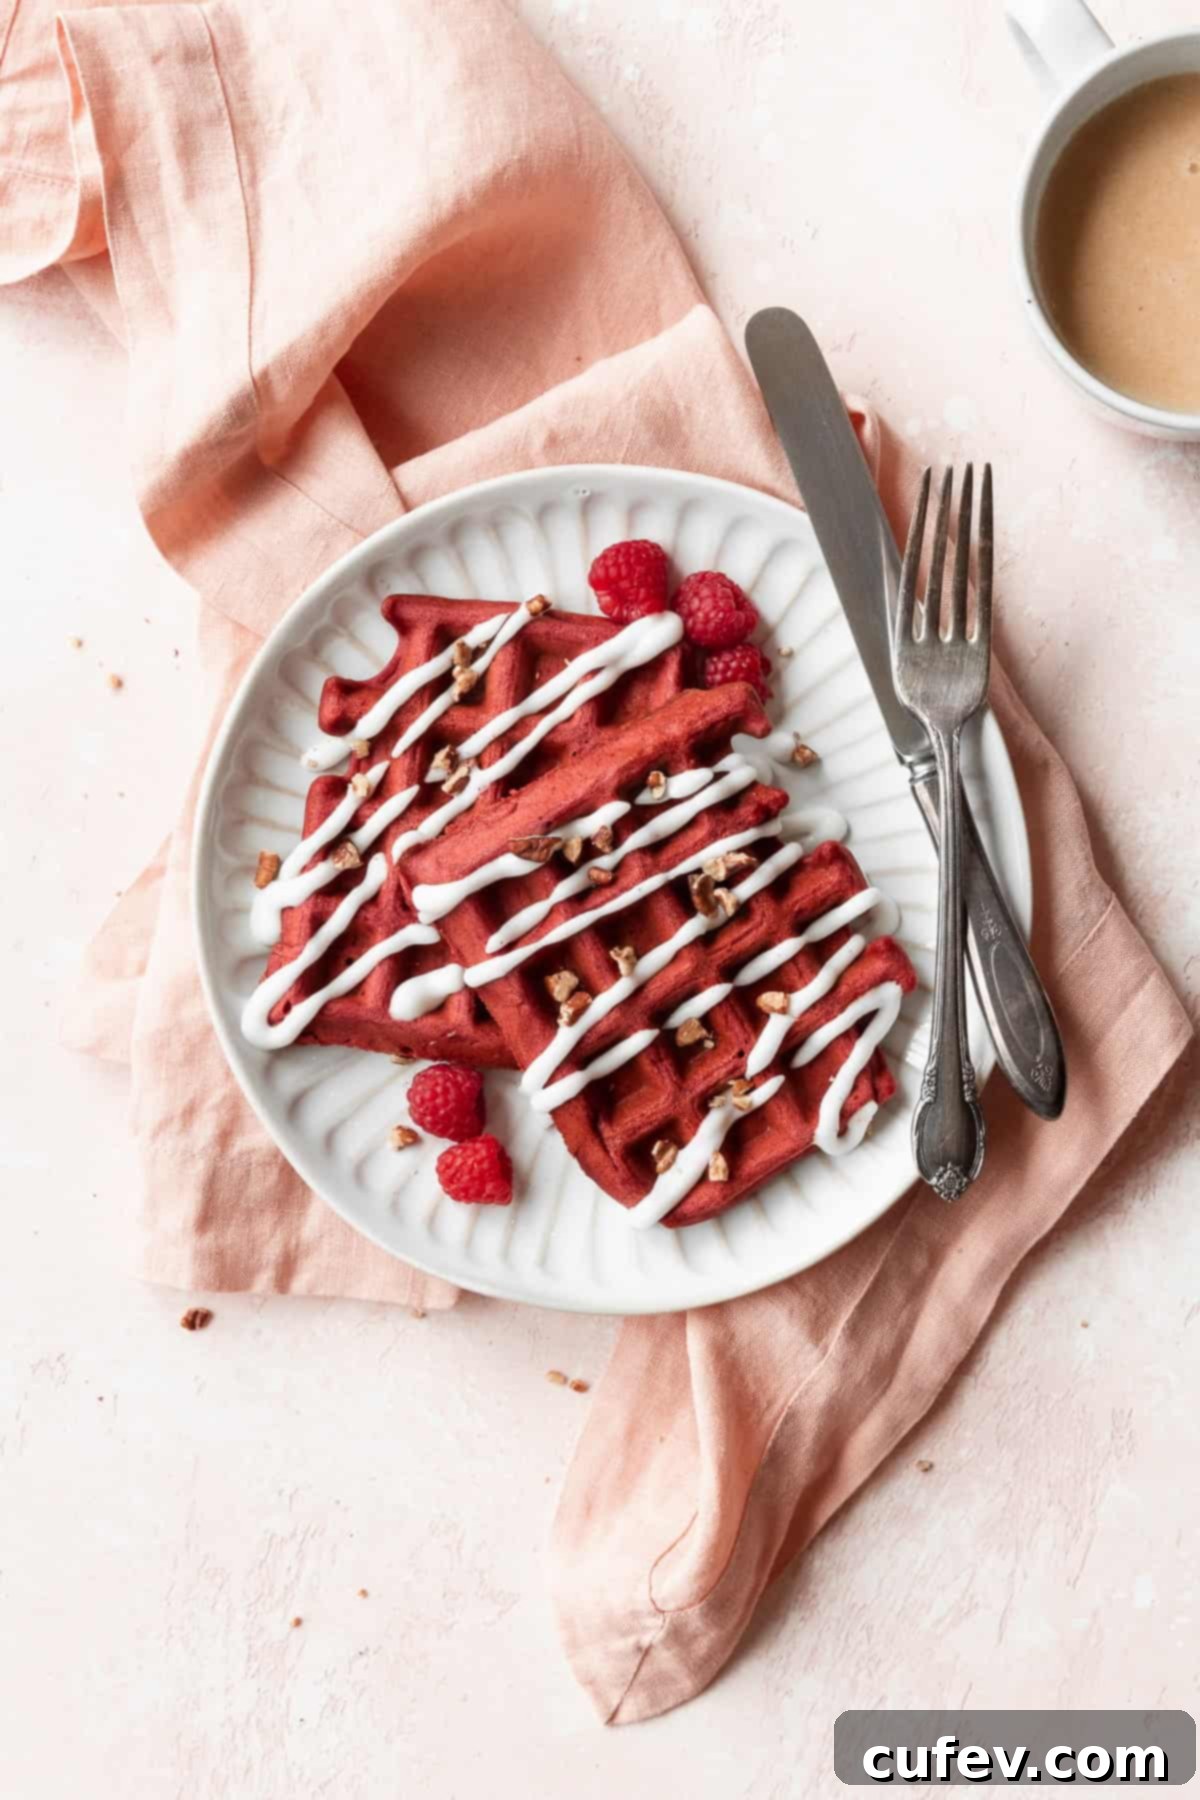
This post was originally published on June 27, 2023, offering a delightful twist on a classic. It was updated with new recipe information, enhanced tips, and expanded content on February 8, 2024, to ensure the most perfect red velvet waffle experience.
Essential Ingredients for Perfect Red Velvet Waffles
Crafting these extraordinary red velvet waffles requires a few key components, each playing a vital role in achieving their signature taste, texture, and vibrant color. Gather these ingredients, and you’ll be well on your way to a truly special breakfast.
Red Velvet Waffle Ingredients
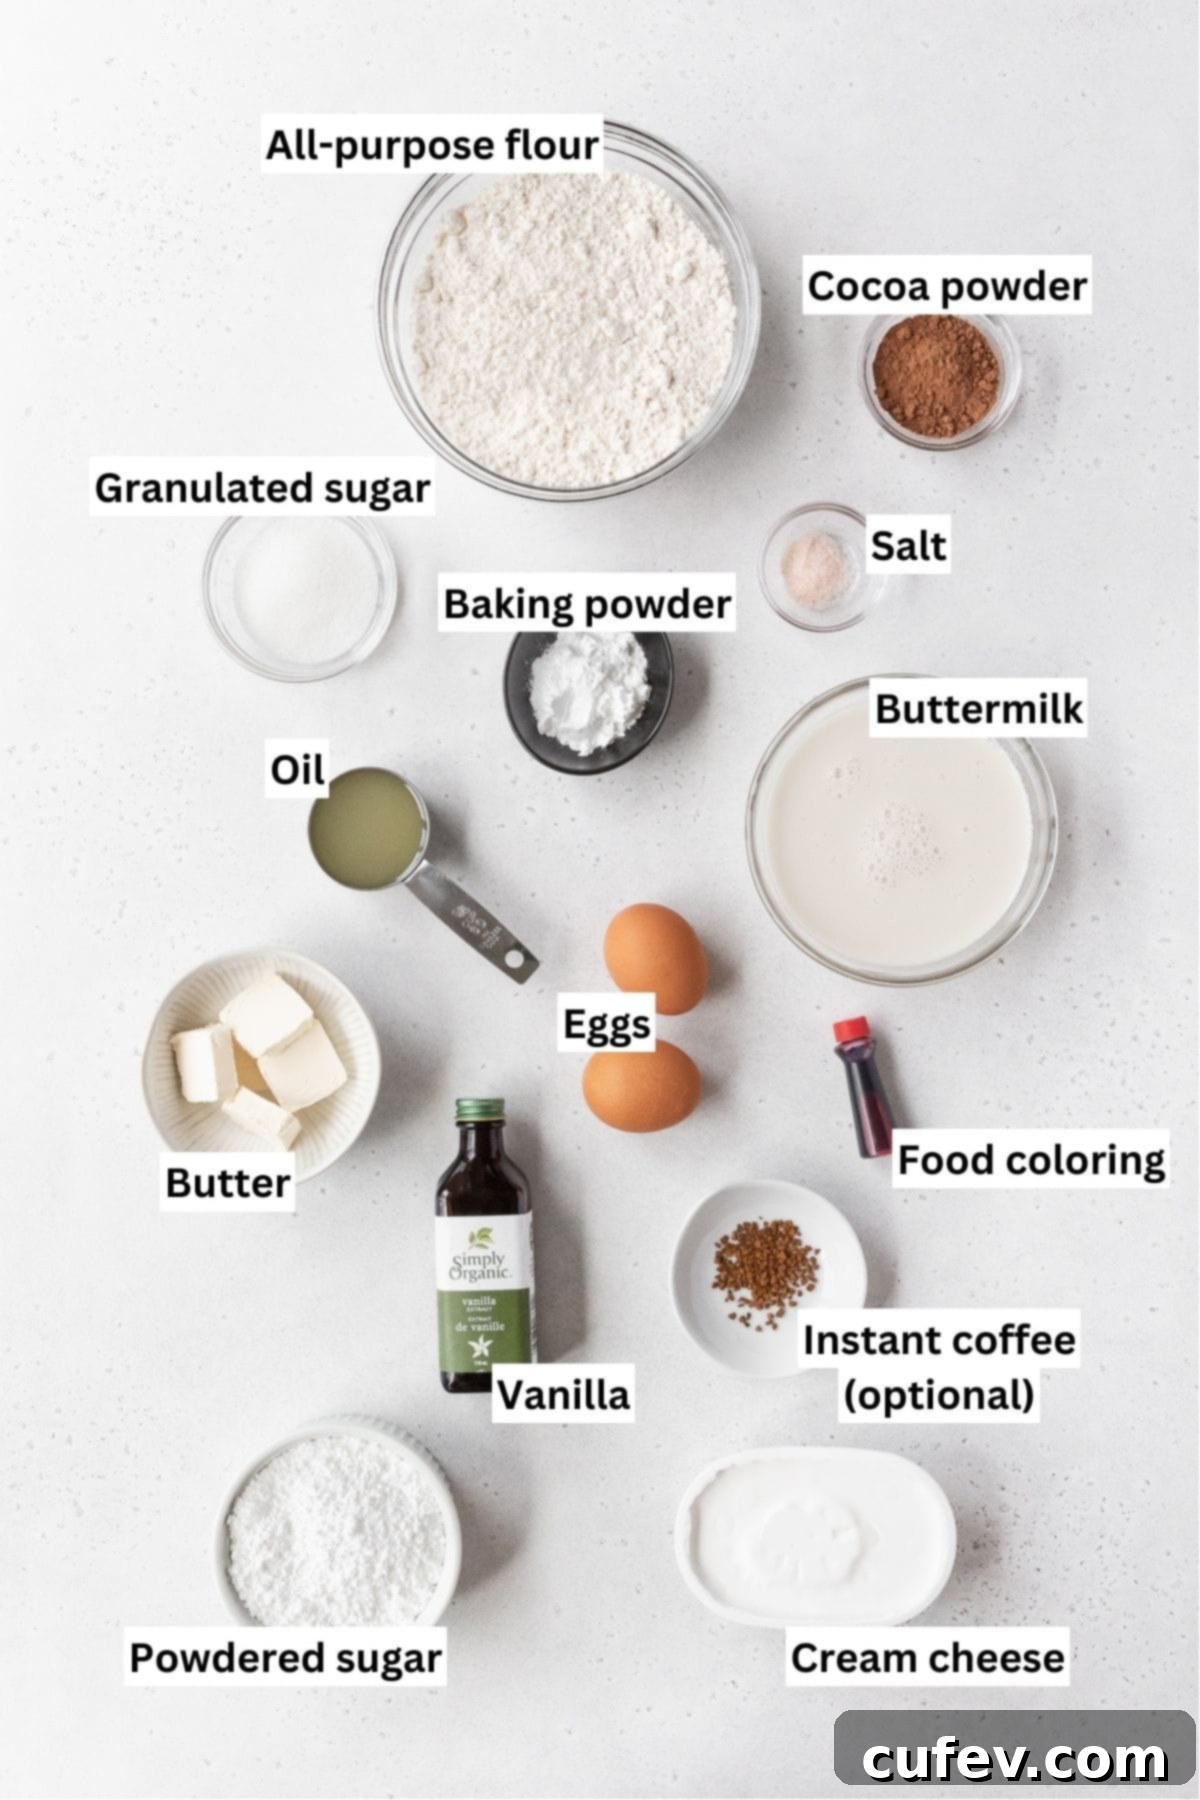
To make this delightful red velvet waffle recipe from scratch, you’ll need the following:
- All-Purpose Flour: The foundation of our waffles, flour provides the necessary structure and contributes to their wonderfully fluffy and light texture.
- Granulated Sugar: This fine white sugar adds just the right amount of sweetness to the batter. Crucially, it also aids in the caramelization process during cooking, creating that desirable crispy, golden-brown exterior that makes waffles so enjoyable.
- Natural Cocoa Powder: Essential for the classic red velvet flavor profile, natural cocoa powder imparts a subtle yet distinct chocolate taste. It also helps to deepen the red color of the waffles, complementing the food coloring for that rich, iconic hue.
- Fine Sea Salt: A pinch of salt is crucial for enhancing all the other flavors in the batter, balancing the sweetness and bringing out the depth of the chocolate and vanilla.
- Baking Powder: A non-negotiable leavening agent for waffles, baking powder reacts when heated and moistened to produce carbon dioxide bubbles. This reaction is what gives waffles their impressive lift, ensuring they are incredibly fluffy and airy, perfectly filling the grids of your waffle maker.
- Large Eggs: Eggs serve multiple purposes in this recipe. They act as a binding agent, holding the batter together, and contribute to the waffles’ overall structure. Additionally, eggs provide richness and help achieve that light, tender, and fluffy texture we all crave in a perfect waffle.
- Buttermilk: This is arguably the star ingredient that truly distinguishes these waffles from ordinary ones made with mixes or just-add-water batters. Buttermilk’s acidity tenderizes the gluten in the flour, resulting in a more tender crumb. Its fat content promotes browning and ensures the waffles cook to a beautiful crispness, while its signature tang perfectly balances the chocolate flavor.
- Melted Butter: Incorporating melted butter into the batter adds unparalleled richness and flavor. It blends smoothly into the mixture and, like buttermilk, contributes significantly to the waffles’ ability to crisp up wonderfully when cooked on the hot iron.
- Neutral Flavored Oil: In addition to butter, a neutral oil like avocado, grapeseed, or light olive oil adds extra moisture and helps create an even crispier texture. It also helps prevent the waffles from sticking to the iron.
- Pure Vanilla Extract: Vanilla is a quintessential flavor in red velvet, providing warm, aromatic notes that are comforting and familiar. For the best and most authentic flavor, always opt for pure vanilla extract.
- Instant Coffee or Espresso Powder (Optional): While not strictly necessary, adding a small amount of instant coffee or espresso powder is a baker’s secret weapon. Coffee remarkably complements and intensifies the chocolate flavor in any baking recipe, deepening its richness without imparting a coffee taste to the final product.
- Red Food Coloring: This is what gives these waffles their signature, vivid red coloring. For the most vibrant results, liquid red food coloring is generally recommended. If you’re using gel food coloring, remember that it’s much more concentrated, so you’ll only need a fraction of the amount to achieve a deep, striking red.
Decadent Cream Cheese Glaze Ingredients
No red velvet dish is complete without a smooth, tangy cream cheese topping. This glaze perfectly complements the waffles’ rich flavor:
- Full-Fat Cream Cheese: Using full-fat cream cheese is key to achieving the richest, most decadent glaze. Its creamy texture and characteristic tang are essential for the authentic red velvet experience. Ensure it’s softened to room temperature for a lump-free glaze.
- Powdered Sugar (Confectioners Sugar): This finely milled sugar dissolves beautifully into the other glaze ingredients, ensuring a silky-smooth, pourable consistency. It provides the perfect sweetness without any gritty texture.
- Vanilla Extract: Just like in the waffles, vanilla adds a warm, sweet, and comforting note to the glaze, enhancing its overall flavor profile.
- Milk: A small amount of milk is used to thin out the glaze to your desired consistency. You can adjust the amount, adding a little at a time, until you achieve a glaze that is easily drizzle-worthy but still thick enough to coat the waffles beautifully. Whole milk is recommended for richness, but any milk will work.
Smart Ingredient Substitutions and Adaptations
While the original recipe is crafted for optimal flavor and texture, sometimes dietary needs or ingredient availability call for substitutions. Here are some reliable swaps:
- Flour Alternatives: If you’re looking to make these waffles gluten-free, a 1-to-1 gluten-free all-purpose flour blend can be directly substituted for regular all-purpose flour. Be sure to follow the specific resting time recommendations for gluten-free batters, usually around 30 minutes, to allow the flours to hydrate properly.
- Coffee Enhancers: Instead of instant coffee, you can use espresso powder to similarly complement and enhance the chocolate flavor. Espresso powder often has a finer grind and more concentrated flavor. If you’re sensitive to caffeine but still want the flavor boost, feel free to use decaffeinated instant espresso or coffee powder.
- Homemade Buttermilk: While store-bought buttermilk is ideal for its consistent acidity and thickness, it’s incredibly easy to make a reliable substitute at home. You can create “sour milk” by adding an acidic agent to regular milk. Directions for this homemade buttermilk are provided in the “Recipe Success Tips” section below.
- Dairy-Free Options: For those avoiding dairy, you can substitute plant-based milk (like almond or soy) with vinegar to create a dairy-free “buttermilk.” Use vegan butter and a good quality vegan cream cheese for the glaze to make the entire recipe dairy-free.
Step-by-Step: How to Make Decadent Red Velvet Waffles
Making these red velvet waffles is a straightforward process, similar to other waffle recipes, and incredibly rewarding. With just a few simple steps, you’ll have a rich, colorful batter ready for your waffle maker. Here’s a detailed guide to achieve waffle perfection:
Crafting the Fluffy Red Velvet Waffles
Follow these steps to create your delicious waffle batter and cook them to golden perfection:
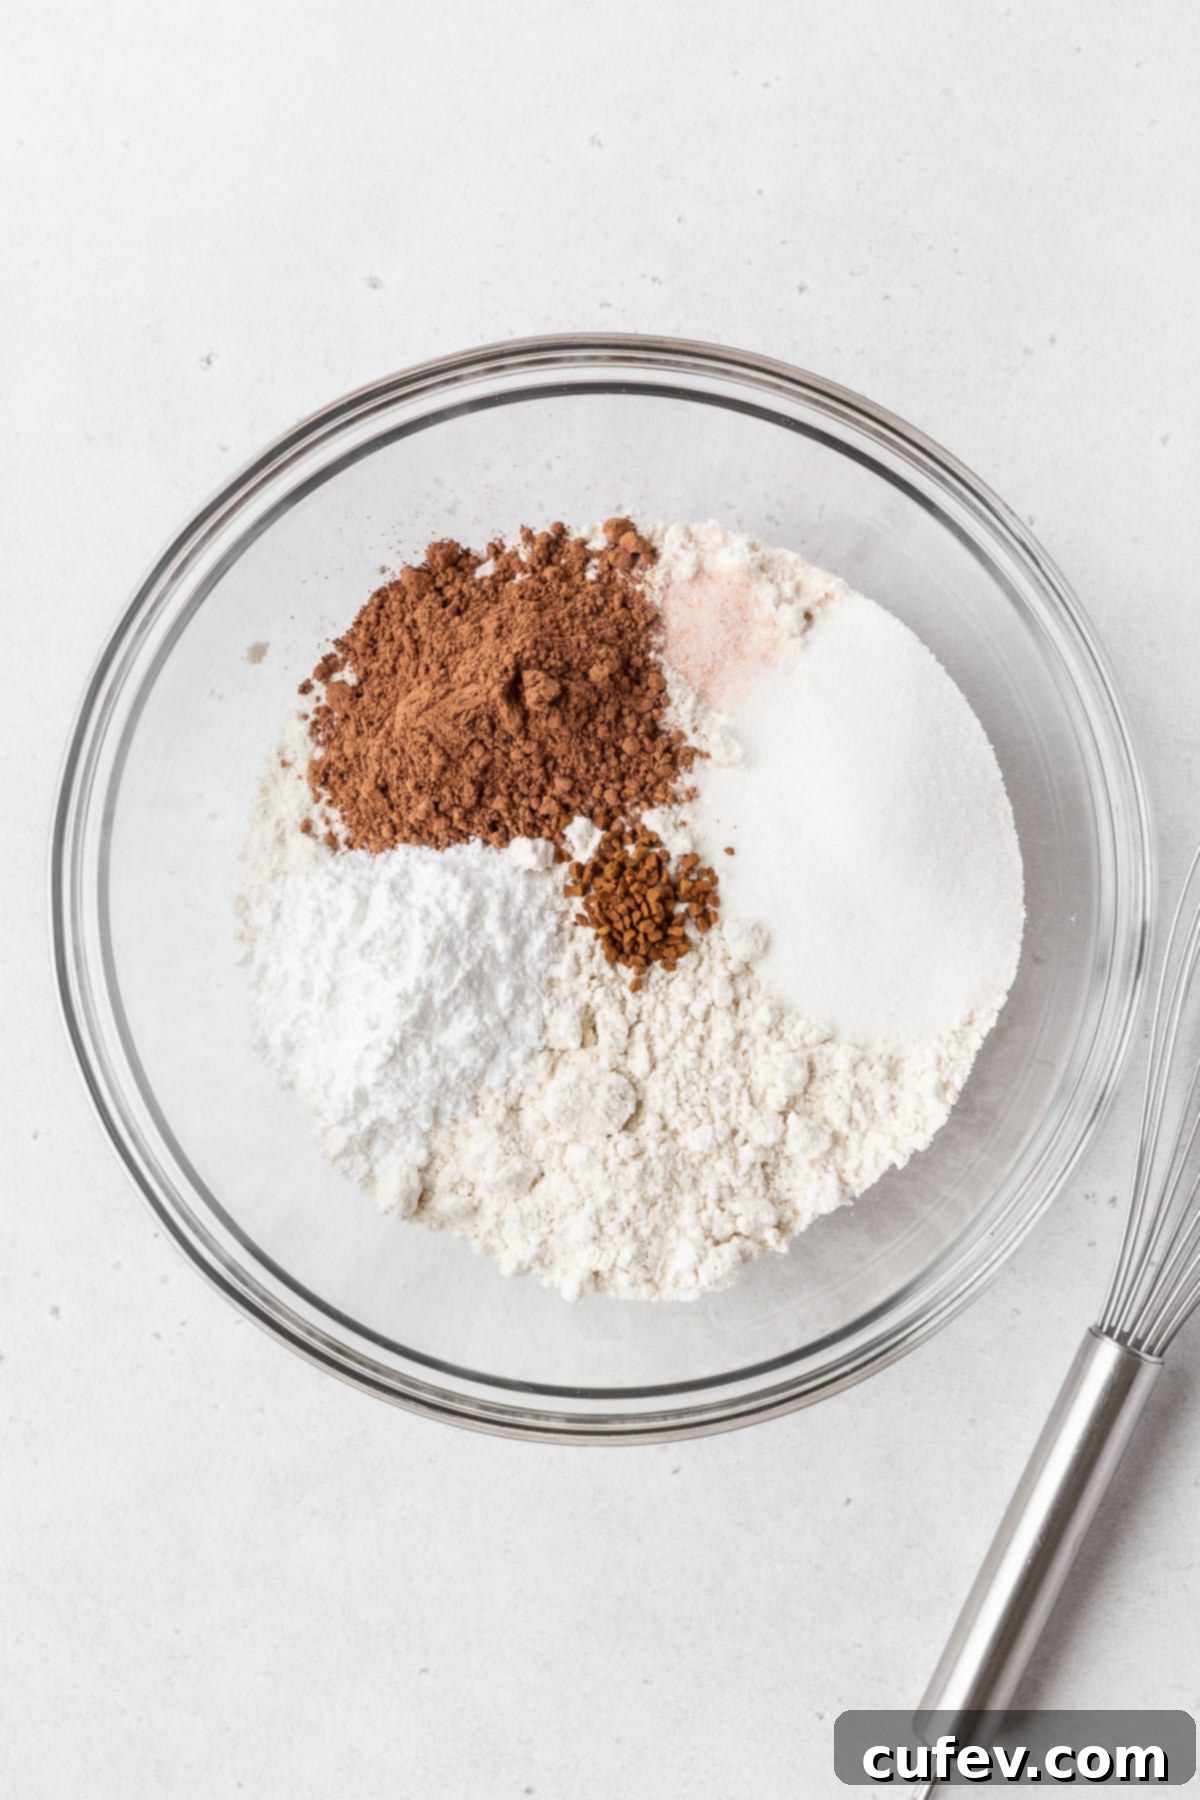
- Step 1: Combine Dry Ingredients. In a large mixing bowl, thoroughly whisk together all the dry ingredients: all-purpose flour, granulated sugar, cocoa powder, salt, and baking powder. Whisking ensures that the leavening agents and flavorings are evenly distributed, leading to a consistently fluffy waffle.
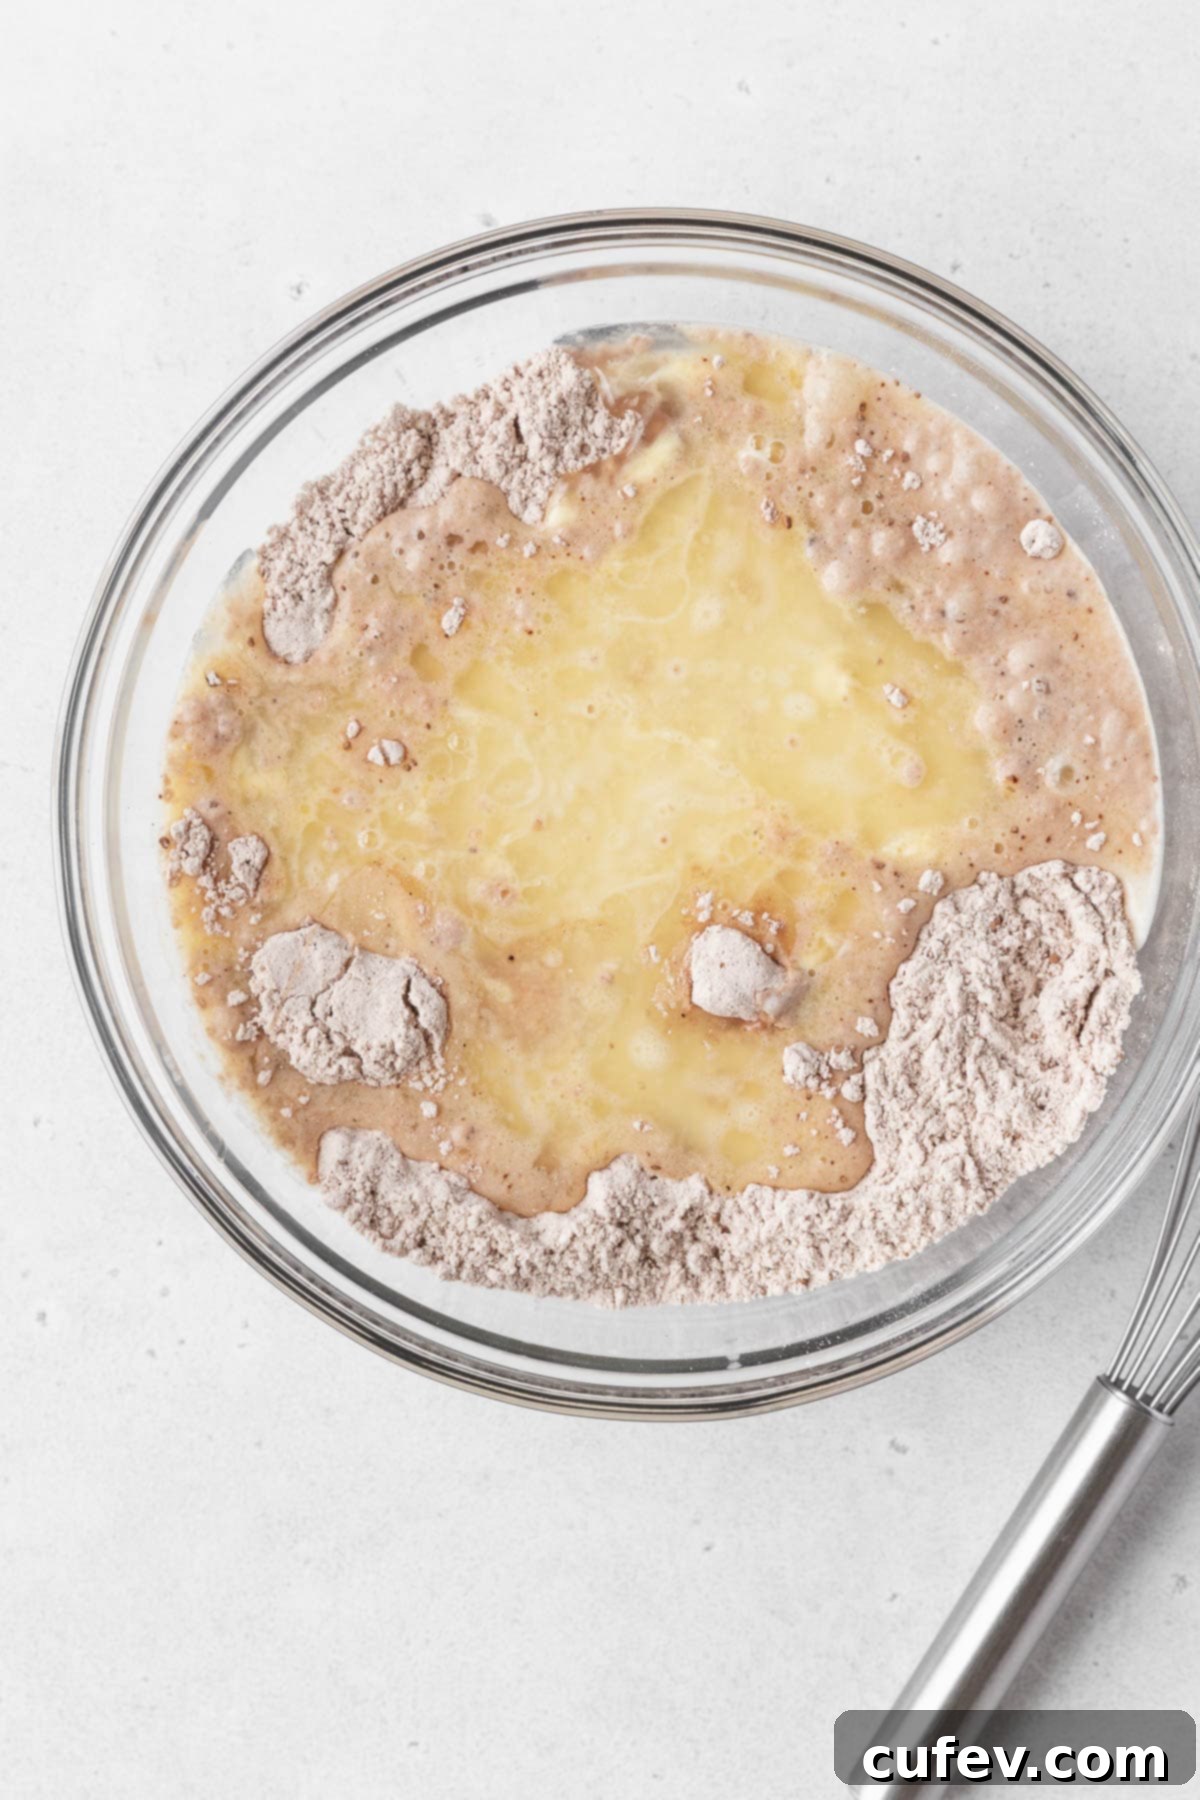
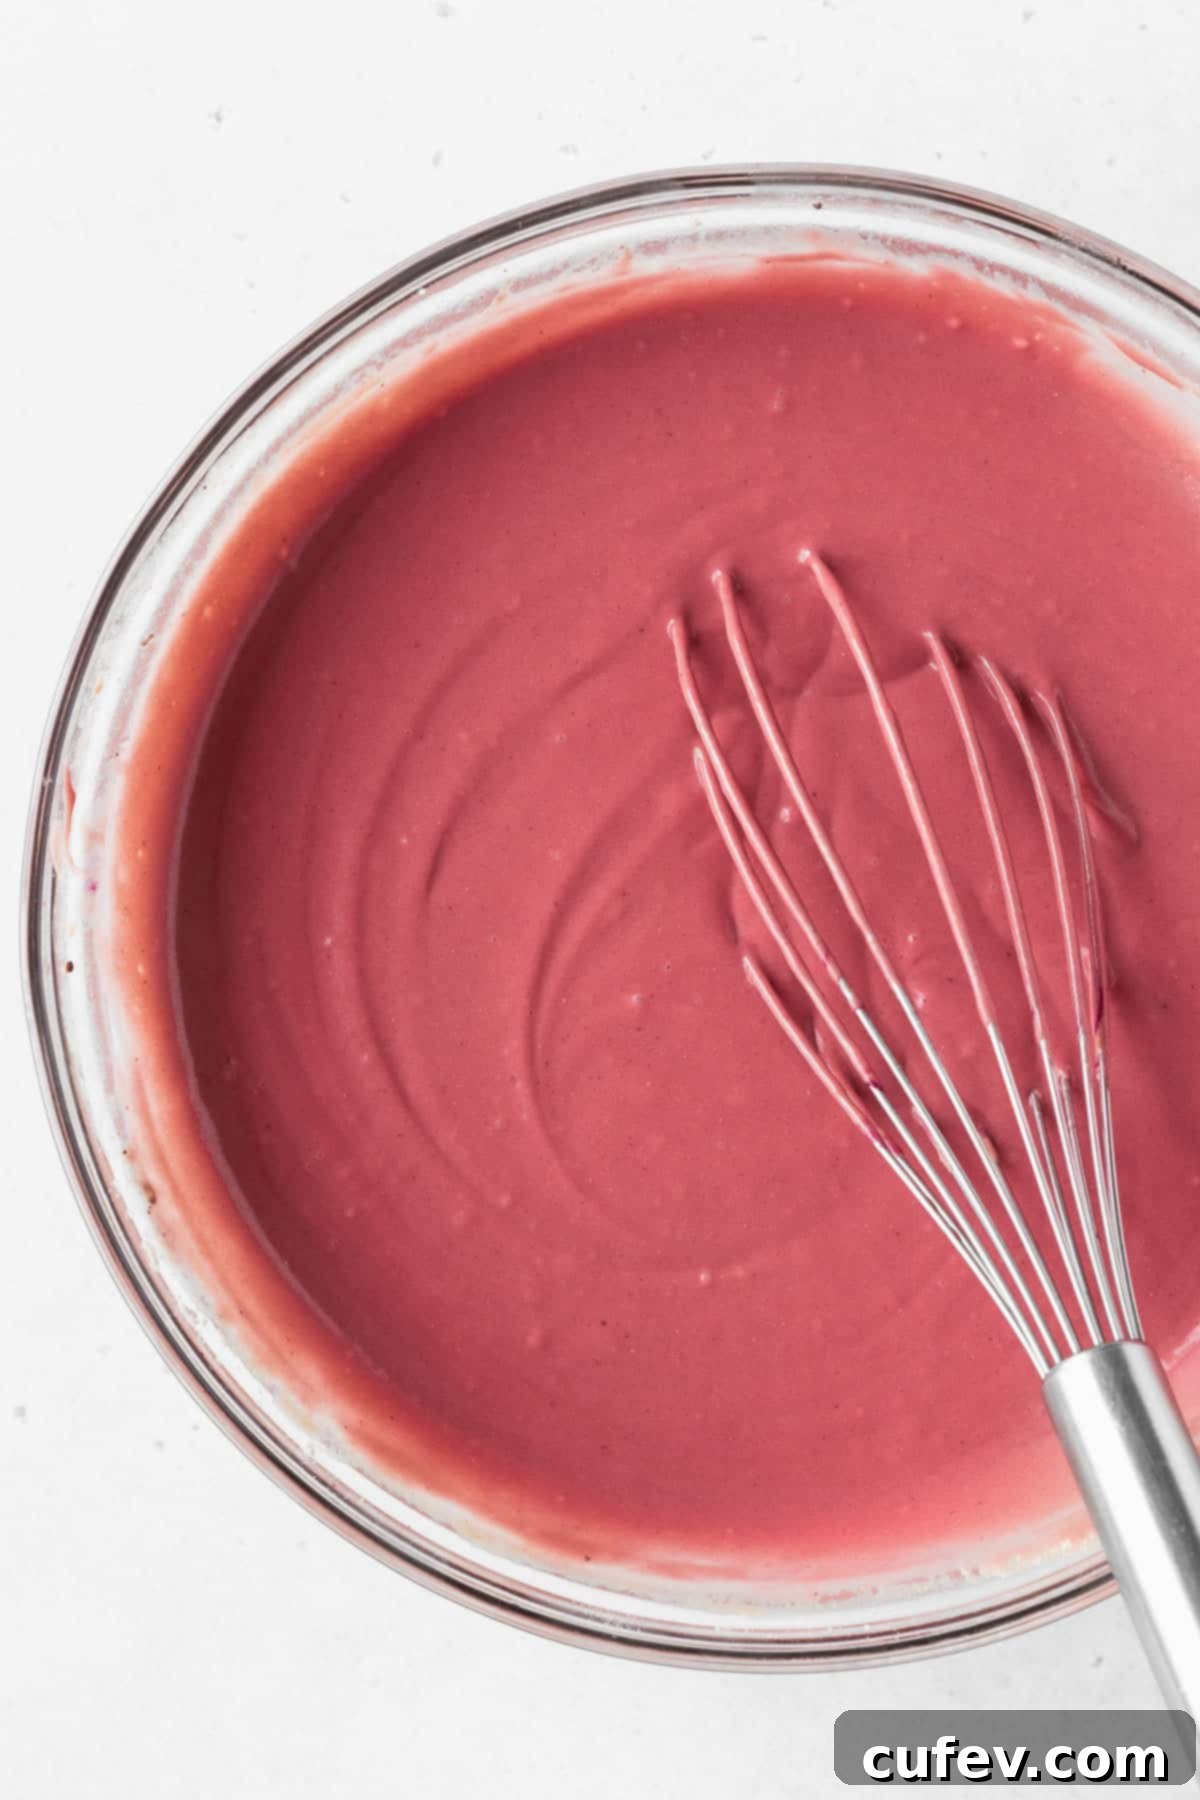
- Step 2: Incorporate Wet Ingredients. Add all of the wet ingredients—eggs, buttermilk, melted butter, oil, vanilla extract, instant coffee (if using), and red food coloring—to the bowl with the dry ingredients. Whisk everything together gently until a smooth, vibrant red batter forms. Be careful not to overmix; a few small lumps are perfectly fine and often result in a more tender waffle. If you are using gluten-free flour, allow the batter to rest for at least 30 minutes. This resting period allows the gluten-free flours to properly hydrate, preventing a gritty texture and ensuring a better rise.
- Step 3: Prepare the Waffle Iron. Preheat your waffle iron thoroughly. This is a critical step for achieving crispy waffles. While it’s preheating, lightly spray or grease the cooking plates with a neutral-flavored oil or non-stick cooking spray. A well-oiled, hot surface ensures a beautiful golden crust and prevents sticking.
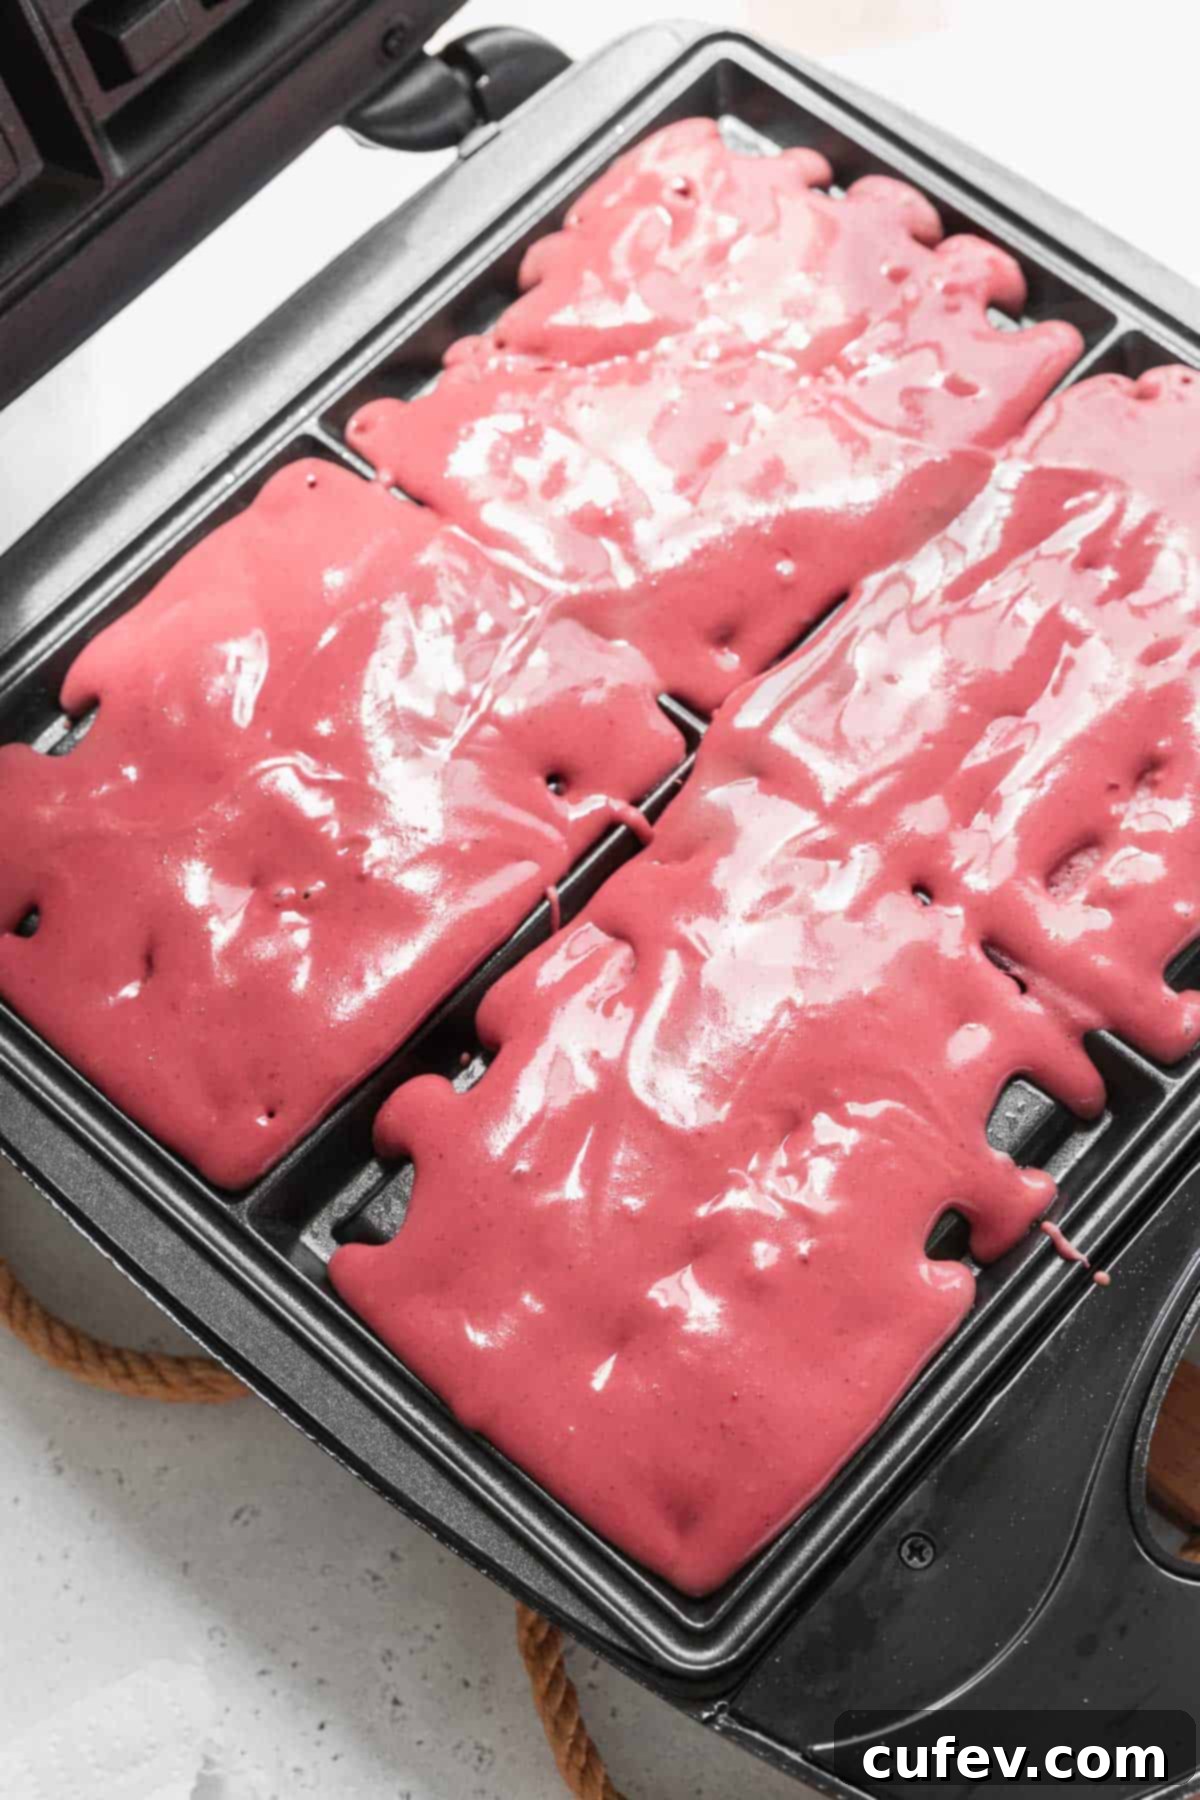
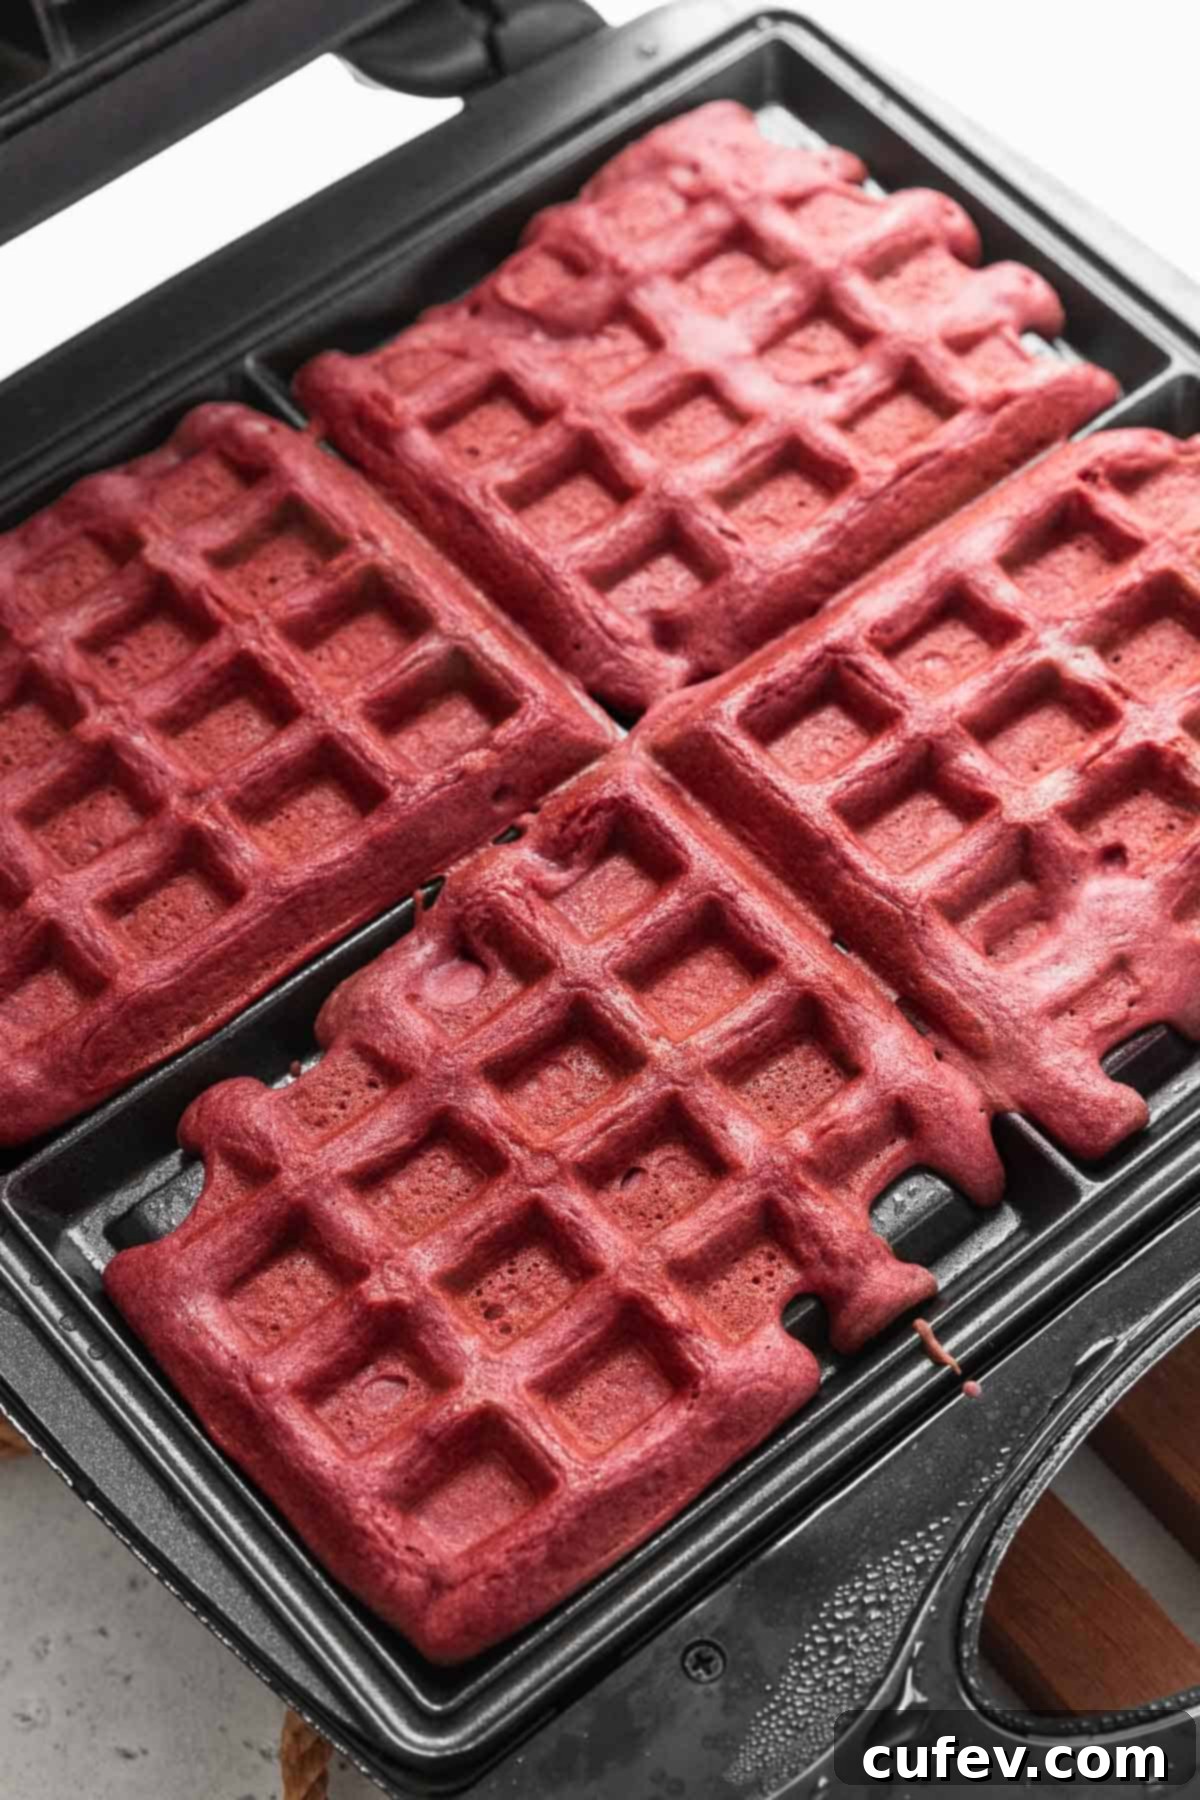
- Step 4: Cook the Waffles. Once your waffle iron is hot and ready (most irons have an indicator light), pour approximately ⅓ cup of the red velvet waffle batter onto the center of the preheated iron for each waffle. The exact amount will depend on the size and depth of your specific waffle maker; adjust as needed after your first waffle. Close the lid and cook until the waffles are golden brown and crisp, typically about 5 to 6 minutes, or until steam stops escaping and the indicator light (if available) signals completion. Resist the urge to open the waffle maker too early, as this can prevent proper browning and crisping.
- Step 5: Maintain Crispness. As each waffle finishes cooking, immediately remove it from the iron and place it on a wire cooling rack. This allows air to circulate around the waffle, preventing steam from accumulating and making the waffle soggy. Do not stack cooked waffles on a plate, as they will lose their crispness quickly.
Optional Tip: Keeping Waffles Warm. If you’re cooking a large batch and want to serve them all warm, you can place the wire cooling rack with cooked waffles in an oven preheated to 200°F (93°C). This will keep them warm without making them soggy.
Preparing the Luscious Cream Cheese Glaze
This glaze is incredibly simple to make and is the perfect finishing touch for your red velvet waffles:
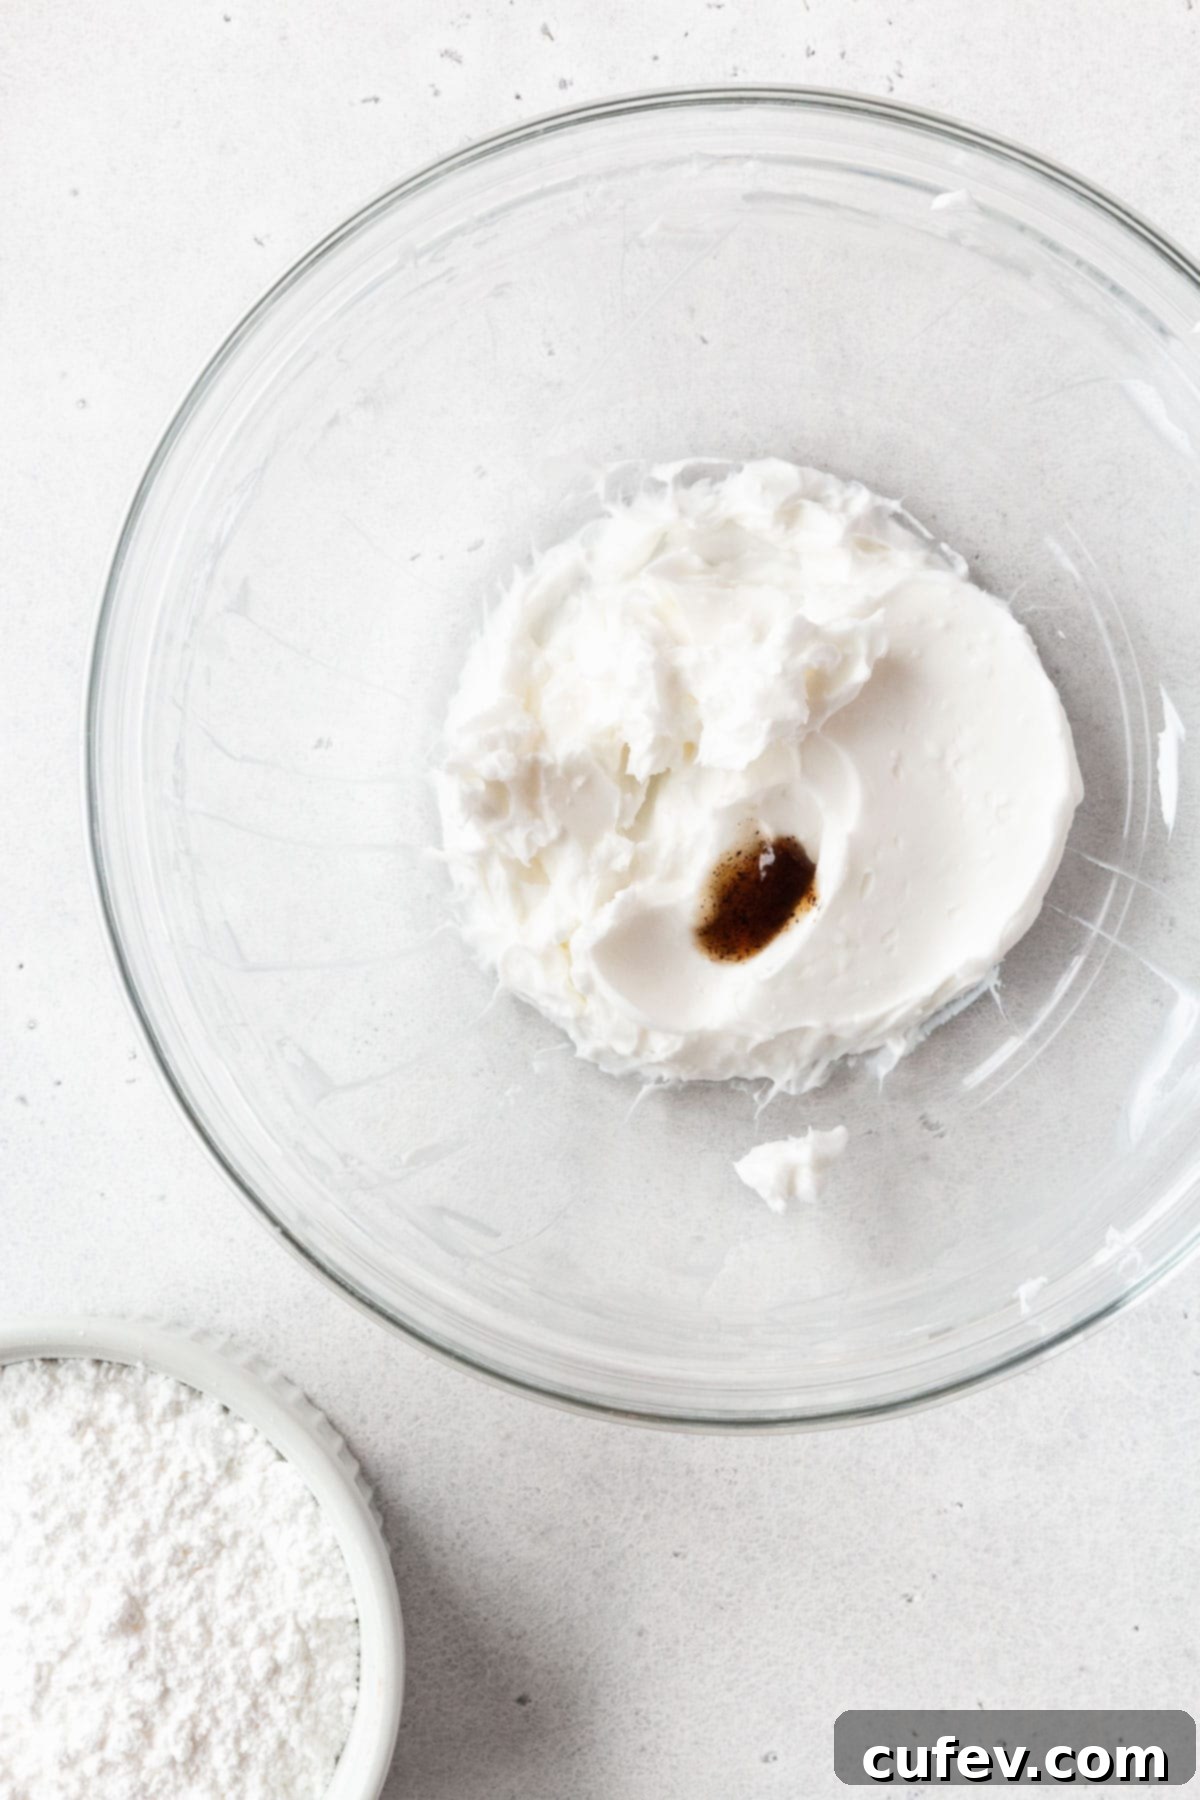
- Step 1: Combine Glaze Ingredients. In a medium bowl, combine the softened cream cheese, powdered sugar, and vanilla extract. Use a hand mixer or a stand mixer fitted with the paddle attachment to beat all the ingredients together until the mixture is smooth and completely free of lumps. Ensure your cream cheese is at room temperature for the best results.
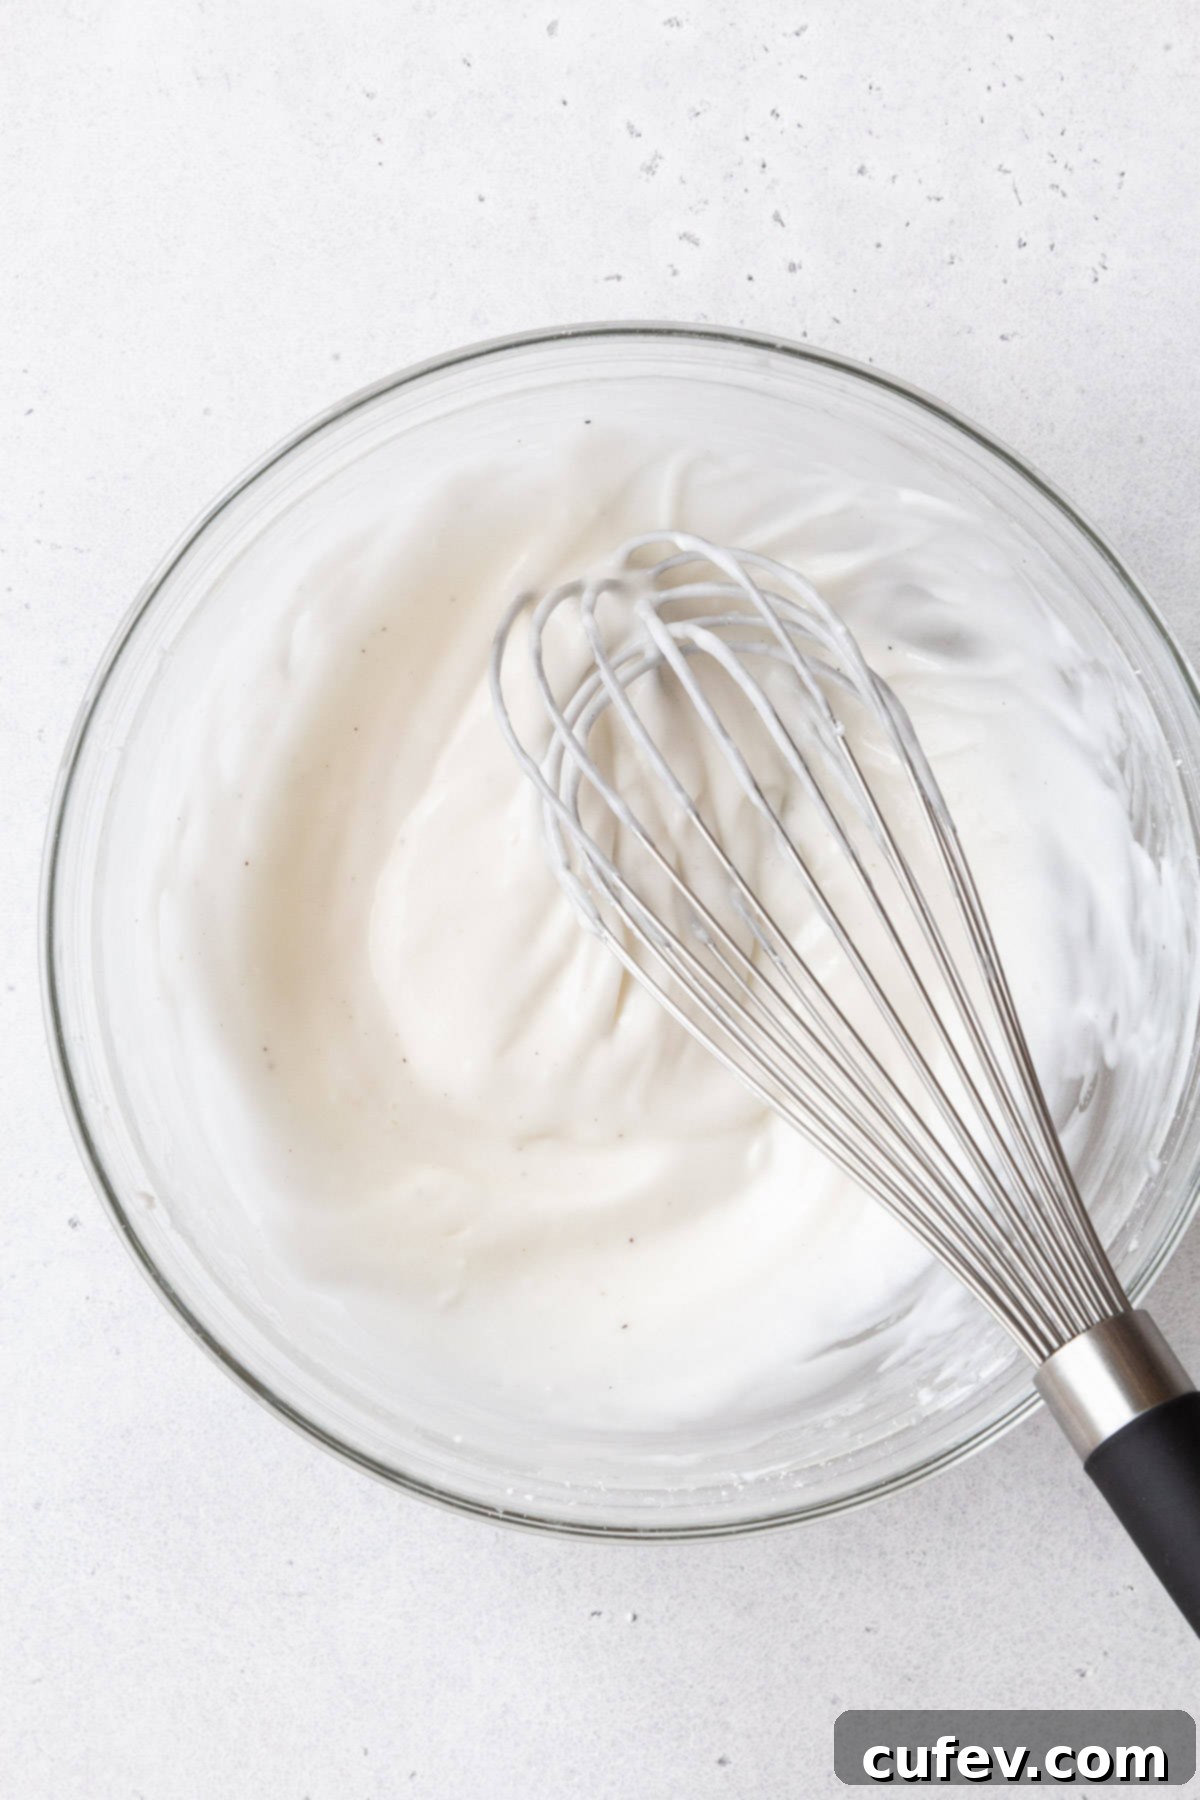
- Step 2: Adjust Consistency. Gradually add milk, starting with 2 tablespoons, and beat until the glaze reaches your desired consistency. If you want a thinner glaze for easy drizzling, add an additional tablespoon (or more, if needed) of milk, a teaspoon at a time, until it flows smoothly but still coats a spoon. For a thicker, more spreadable glaze, use less milk.
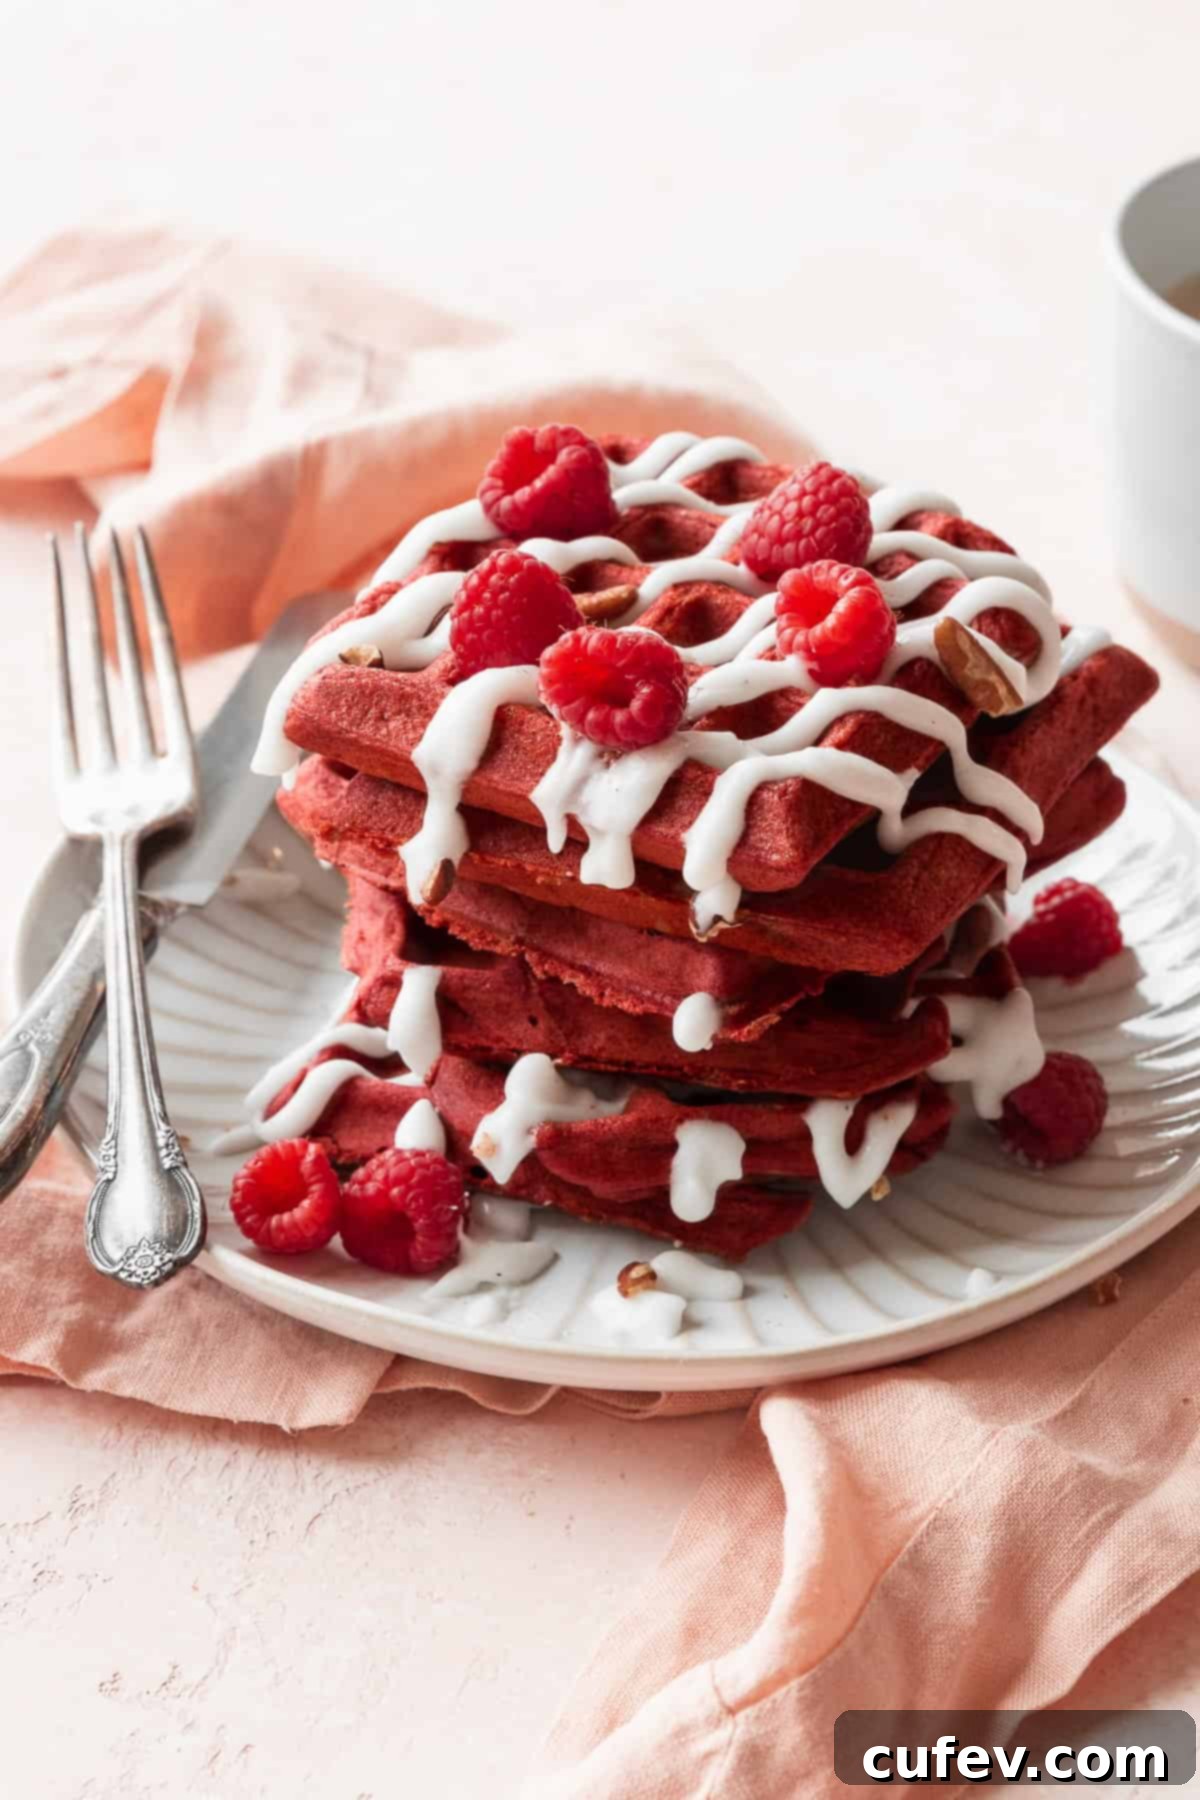
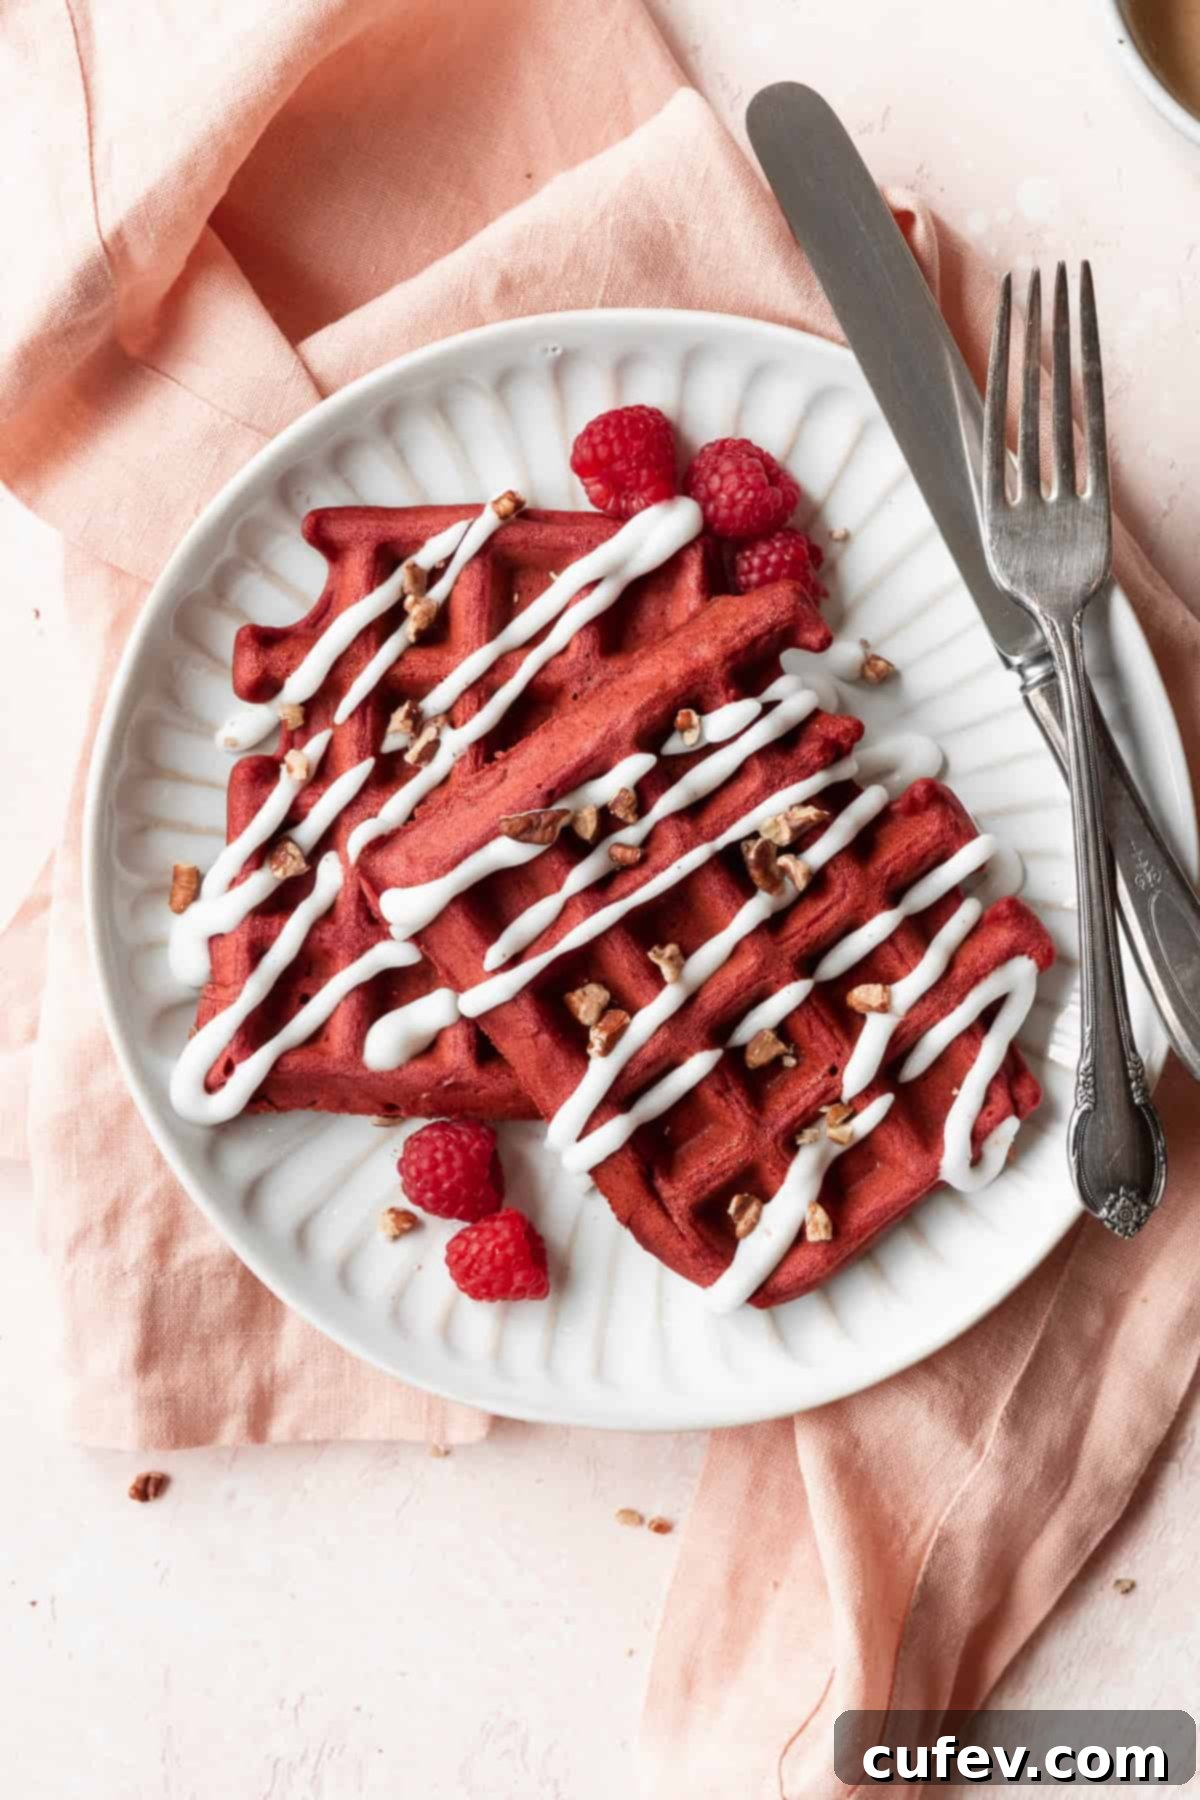
- Step 3: Drizzle and Serve. Just before serving, generously drizzle the finished cream cheese glaze over each warm red velvet waffle. The warm waffles will slightly melt the glaze, creating an even more delightful experience.
Expert Tips for Waffle Perfection
Achieving the perfect red velvet waffle is easy with these helpful tips and tricks:
- Homemade Buttermilk (Sour Milk) is Easy! Don’t have buttermilk on hand? No problem! You can easily make your own “sour milk” substitute. For every cup of buttermilk needed, add 2 tablespoons of white vinegar or lemon juice to a 1-cup measuring cup. Then, fill the rest of the cup to the line with whole milk or 2% milk. Stir gently and let it sit for 5-10 minutes, or until the milk has slightly curdled and thickened. Alternatively, you can mix plain yogurt and milk in a 1:1 ratio and let it sit for 5 minutes before using it in the recipe. The acidity is key for tender waffles!
- Always Preheat Your Waffle Maker. This is perhaps the most crucial step for crispy, fluffy waffles. Preheating ensures the waffle iron is hot enough to instantly cook the batter’s surface, creating a crisp exterior that locks in the fluffy interior. A cold waffle maker will result in soft, chewy, or even soggy waffles, and the batter is more likely to spill out. Most waffle makers will have an indicator light or sound when they’ve reached the optimal temperature.
- Cool Waffles on a Wire Rack. To prevent your perfectly cooked waffles from becoming soggy, always transfer them to a wire cooling rack immediately after they come off the waffle iron. This allows air to circulate around all sides, preventing steam from getting trapped underneath and turning your crispy waffles into a limp disappointment. Never stack them on a plate directly after cooking.
- Adjust Batter Amount as Needed. The capacity of waffle irons varies significantly. After cooking your first waffle, observe if it completely fills the grids without overflowing. Adjust the amount of batter you pour for subsequent waffles accordingly. Having a few different-sized measuring cups handy can make sizing your portions effortless.
- Don’t Overmix the Batter. Overmixing develops gluten in the flour, which can lead to tough, chewy waffles instead of light and fluffy ones. Mix the wet and dry ingredients only until they are just combined. A few small lumps in the batter are perfectly acceptable and often preferable.
- Bring Ingredients to Room Temperature. For a smooth, evenly mixed batter and consistent cooking, it’s best if wet ingredients like eggs and buttermilk are at room temperature. This helps them combine more easily with the other ingredients, preventing lumps and ensuring a uniform batter.
- Quality Food Coloring Matters. For the most vibrant and appealing red color, invest in a good quality liquid or gel food coloring. Gel food coloring provides a more intense hue with less liquid, which is beneficial for maintaining batter consistency.
- Simplify Cleanup with Foil. To make post-breakfast cleanup a breeze, place a sheet of aluminum foil or an aluminum baking sheet underneath your waffle maker. This simple trick will catch any drips or overflow of batter, saving your countertop from sticky messes.
- Freeze Extra Waffles for Later. These waffles are so delicious, you’ll want to enjoy them again and again! Cooked waffles can be stored in an airtight container in the refrigerator for 2-3 days, or in a freezer-safe bag for up to 3 months. When freezing, separate waffles with parchment paper to prevent sticking. They reheat beautifully in a toaster or toaster oven, offering a convenient, homemade breakfast without the morning prep. Say goodbye to store-bought freezer waffles!
Exciting Red Velvet Waffle Variations
While delicious on their own, these red velvet waffles are also a fantastic canvas for creativity! Top them with your favorite pancake or waffle toppings, or try one of these exciting variations to customize your breakfast experience:
- Double Chocolate Delight: For an extra dose of chocolatey goodness, mix ½ cup of mini chocolate chips (dark, milk, or white) directly into the waffle batter before cooking. For an even more indulgent finish, sprinkle additional chocolate chips over the top of the cooked waffles just before drizzling with the cream cheese glaze.
- Fresh Fruit Medley: Brighten up your red velvet waffles by topping the glazed creations with your favorite fresh fruits. Sliced strawberries, ripe bananas, plump blueberries, or a colorful mix of berries all pair beautifully with the rich flavors and creamy glaze. A sprinkle of fresh mint can add an elegant touch.
- Sweet and Savory Maple Bacon: Elevate your cream cheese glaze by stirring in 3 tablespoons of pure maple syrup. This maple-infused glaze adds a wonderful depth of flavor. Serve the waffles alongside crispy bacon, or crumble crispy bacon bits directly over the top for a delightful sweet and savory combination.
- Dessert-Style Indulgence: Transform these breakfast treats into a decadent dessert! Serve warm red velvet waffles topped with a generous scoop of vanilla bean ice cream or a dollop of freshly whipped cream. Finish with a drizzle of the cream cheese glaze and a swirl of chocolate syrup for an ultimate sweet ending.
- Fun Waffle Sticks: If you have a square waffle maker, cook the waffles as usual, then cut them into easy-to-hold sticks. These “waffle sticks” are perfect for dipping into a bowl of cream cheese glaze, making them a fun and kid-friendly variation that’s great for parties or a playful breakfast.
- Citrus Zest Infusion: Add a bright, aromatic note by incorporating 1 teaspoon of orange or lemon zest into the waffle batter with the wet ingredients. The subtle citrus hint will beautifully complement the red velvet flavor.
- Nutty Crunch: For added texture and flavor, fold in ½ cup of chopped pecans, walnuts, or toasted almonds into the batter. You can also sprinkle chopped nuts over the top of the glazed waffles.

Red Velvet Waffle Recipe
Print
Pin
Rate
Ingredients
Red Velvet Waffles
- 2¼ cups all-purpose flour
- 3 tablespoons granulated sugar
- 2 tablespoons natural cocoa powder
- ½ teaspoon fine salt
- 4 teaspoons baking powder
- 2 large eggs
- 1¾ cups buttermilk
- 2 tablespoons melted butter
- 2 tablespoons oil
- 2 teaspoons vanilla extract
- ½ teaspoon instant coffee optional
- 1 oz red food coloring
Cream Cheese Glaze
- 4 oz cream cheese
- ⅔ cup powdered sugar
- ½ teaspoon vanilla extract
- 2-3 tablespoons whole milk
Instructions
Make the Red Velvet Waffles
-
In a bowl, whisk together all the dry ingredients.
-
Add all of the wet ingredients and whisk together until a batter forms. Let the batter rest for 30 minutes if using gluten-free flour.
-
Preheat the waffle iron and spray or grease with oil.
-
Pour about ⅓ cup of batter on the waffle iron for each waffle. This will depend on the size of your waffle iron. Cook until golden, about 5 to 6 minutes.
-
Take the cooked waffles and place them on a wire rack to keep crisp.
Make the Cream Cheese Glaze
-
Mix all ingredients together with a hand or stand mixer.
-
Add additional milk if needed to thin the glaze for drizzling.
-
Drizzle the desired amount of glaze on top of each waffle just before serving.
Notes
Freeze: Cooked waffles can be kept in a freezer-safe container in the freezer for up to 3 months. Separate waffles with parchment paper to prevent sticking.
Reheating: Reheat refrigerated or frozen waffles in the toaster on a low to medium setting. For frozen waffles, use the frozen setting on your toaster or flip and rotate waffles and toast a second time.
Gluten-Free: To make gluten-free, use 1-to-1 flour (333 g if using Bob’s Red Mill 1-to-1 baking flour) and let the mixed batter rest for 30 minutes before cooking.
Nutrition
Storage and Reheating Instructions
These delightful red velvet waffles are fantastic fresh, but they also store and reheat beautifully, making them perfect for meal prep or enjoying later:
- Storing Cooked Waffles: Once cooled, leftover red velvet waffles can be stored in an airtight container in the refrigerator for up to 2-3 days. Make sure they are completely cool before storing to prevent condensation, which can make them soggy.
- Freezing Waffles: For longer storage, cooked waffles freeze exceptionally well. Arrange completely cooled waffles in a single layer on a baking sheet and freeze until solid. Once frozen, transfer them to a freezer-safe bag or container, separating layers with parchment paper to prevent sticking. They can be stored in the freezer for up to 3 months.
- Reheating Waffles: To restore their crispness, reheat refrigerated or frozen waffles in a toaster or toaster oven.
- For refrigerated waffles, toast on a low to medium setting until heated through and crisp.
- For frozen waffles, use the frozen setting on your toaster if available, or toast on a medium setting. You may need to flip and rotate the waffles and toast them a second time to ensure they are fully heated and crispy. Avoid using a microwave for reheating, as it will make them soft and chewy.
- Cream Cheese Glaze Storage: The cream cheese glaze can be stored separately in an airtight container in the refrigerator for up to 5 days. If it thickens too much, you can whisk in a tiny bit of milk to reach your desired drizzling consistency before serving.
Dietary Adaptations for Everyone to Enjoy
This red velvet waffle recipe can be easily adapted to suit various dietary needs without sacrificing flavor or texture:
- Gluten-Free Red Velvet Waffles: To make these waffles suitable for a gluten-free diet, simply substitute a 1-to-1 gluten-free all-purpose flour blend for the regular all-purpose flour. It’s important to use a blend specifically designed for baking. Follow the recipe directions as listed, but be sure to allow the mixed gluten-free batter to rest for at least 30 minutes before cooking. This allows the various flours in the blend to fully hydrate, preventing a gritty texture and ensuring a tender, well-structured waffle.
- Dairy-Free Red Velvet Waffles and Glaze: To create a delicious dairy-free version, several simple substitutions can be made:
- For the buttermilk, use a plant-based milk (such as unsweetened almond, soy, or oat milk) and follow the instructions for making homemade sour milk (directions are in the “Recipe Success Tips” section) by adding a tablespoon of apple cider vinegar or lemon juice per cup.
- Substitute vegan butter or a neutral-flavored plant-based oil (like avocado or grapeseed oil) for the melted butter.
- For the cream cheese glaze, use a high-quality vegan cream cheese alternative. Many brands offer excellent dairy-free cream cheese that performs beautifully in glazes. Adjust the amount of plant-based milk in the glaze to achieve your desired drizzling consistency.
- Vegan Options: Combine the dairy-free adaptations with an egg substitute to make these waffles completely vegan. You can use flax eggs (1 tablespoon ground flaxseed mixed with 3 tablespoons water per egg, let sit for 5 minutes) or a commercial egg replacer according to package directions.
Frequently Asked Questions (FAQs)
Yes, there’s a significant difference between pancake and waffle batter, and using one in place of the other will almost certainly lead to disappointing results. Waffle batter is typically richer, containing more sugar and fat (often from butter, oil, or buttermilk). This higher fat and sugar content is crucial for promoting caramelization and achieving the signature crispy outer layer that encapsulates a fluffy interior. Additionally, waffle batter is usually thicker to prevent it from leaking out of the waffle iron and to create a more defined grid pattern. Pancake batter, being thinner and with less fat and sugar, will not caramelize as effectively in a waffle maker and will likely produce soft, flimsy waffles, or even spill out the sides due to its thinner consistency.
Waffles lack crispiness for a few common reasons, but fortunately, they are all easily remedied.
- Undercooking: If waffles aren’t cooked long enough, they won’t have time to develop a crisp crust. Always cook until golden brown and the steam subsides.
- Cold Waffle Maker: Cooking waffles on a waffle maker that hasn’t been properly preheated is a primary culprit for non-crispy results. A hot iron instantly cooks the exterior, creating a crisp barrier. Always allow your waffle maker to fully preheat (wait for the indicator light/sound) before adding batter.
- Insufficient Fat or Sugar: The fat (from butter, oil, and buttermilk) and sugar in the batter are key for caramelization, which creates crispness. Ensure your recipe has enough of these ingredients.
- Stacking Too Soon: Immediately after cooking, waffles release steam. If stacked on top of each other, this steam gets trapped, making them soggy. Always place cooked waffles on a wire cooling rack to allow air circulation and preserve their crispness.
- Waffle Iron Temperature Setting: If your waffle maker has adjustable heat settings, select a setting that gets hot enough to cause the batter to sizzle when it’s poured in. A sufficiently hot iron facilitates the evaporation of moisture from the batter, creating steam that helps puff up the waffle and results in a crispy, not soggy, finish.
By addressing these points, you can consistently achieve deliciously crispy waffles every time!
While it’s best to use waffle batter immediately for optimal fluffiness (as the baking powder starts reacting once wet), you can prepare the dry ingredients ahead of time and store them in an airtight container. When ready to cook, whisk in the wet ingredients. If you must make the entire batter ahead, refrigerate it in an airtight container for up to 1-2 days. You may lose some of the rise, and you might need to whisk it gently again before cooking. For best results, allow the batter to come to room temperature for about 15-20 minutes before pouring into the waffle iron.
Most modern waffle makers have an indicator light that signals when the waffle is done. If yours doesn’t, or if you prefer a more tactile check, listen for the steam. Waffles are typically done when the steam escaping from the sides of the waffle maker significantly reduces or stops altogether. You can also gently lift the lid (after about 4-5 minutes) to check for a golden-brown color and a firm, crisp texture.
More Irresistible Breakfast Recipes to Explore
If these Red Velvet Waffles have sparked your appetite for delicious morning treats, you’re in luck! Here are some more fantastic breakfast and brunch recipes from our kitchen that you’re sure to love:
- For the Waffle Enthusiasts: If you’re craving more waffle goodness, be sure to try our Gluten-Free Waffles! They boast an incredibly light and airy texture, and the batter comes together effortlessly in just one bowl, proving that gluten-free can be utterly delicious.
- Pancake Perfection: Are you more of a pancake person? We’ve got you covered with these super easy options: our speedy Muffin Mix Pancakes are perfect for a quick breakfast, and our wholesome Oatmeal Pancakes offer a hearty and nutritious start to your day.
- Homemade Donuts Dreams: If you’ve always dreamed of making your own bakery-quality donuts, now’s your chance! Try our light and fluffy Homemade Doughnuts or indulge in these delightful Blueberry-Filled Doughnuts. The dough for both can be easily prepared in a bread machine, making the process surprisingly simple and enjoyable.
- Muffin Mania: For those who adore a classic muffin, our recipes are a must-try. Our tender Blueberry Muffins are bursting with juicy berries, and our aromatic Cranberry Orange Muffins offer a wonderful citrusy tang—both are incredibly fluffy and utterly delicious!
