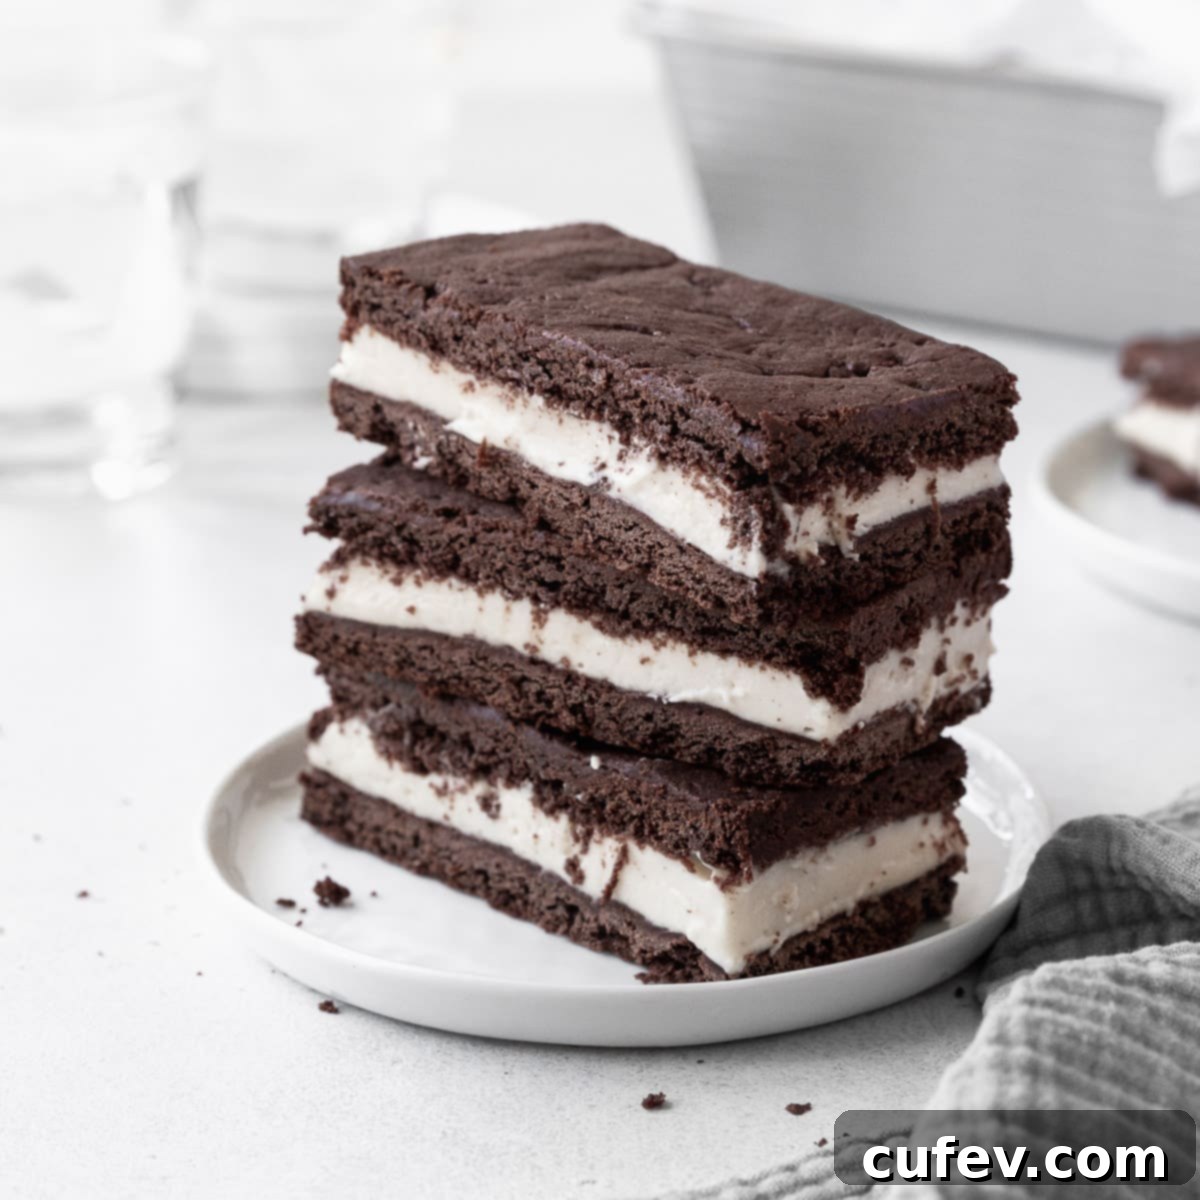
Delicious & Easy Gluten-Free Ice Cream Sandwiches: A Dairy-Free & Vegan Delight
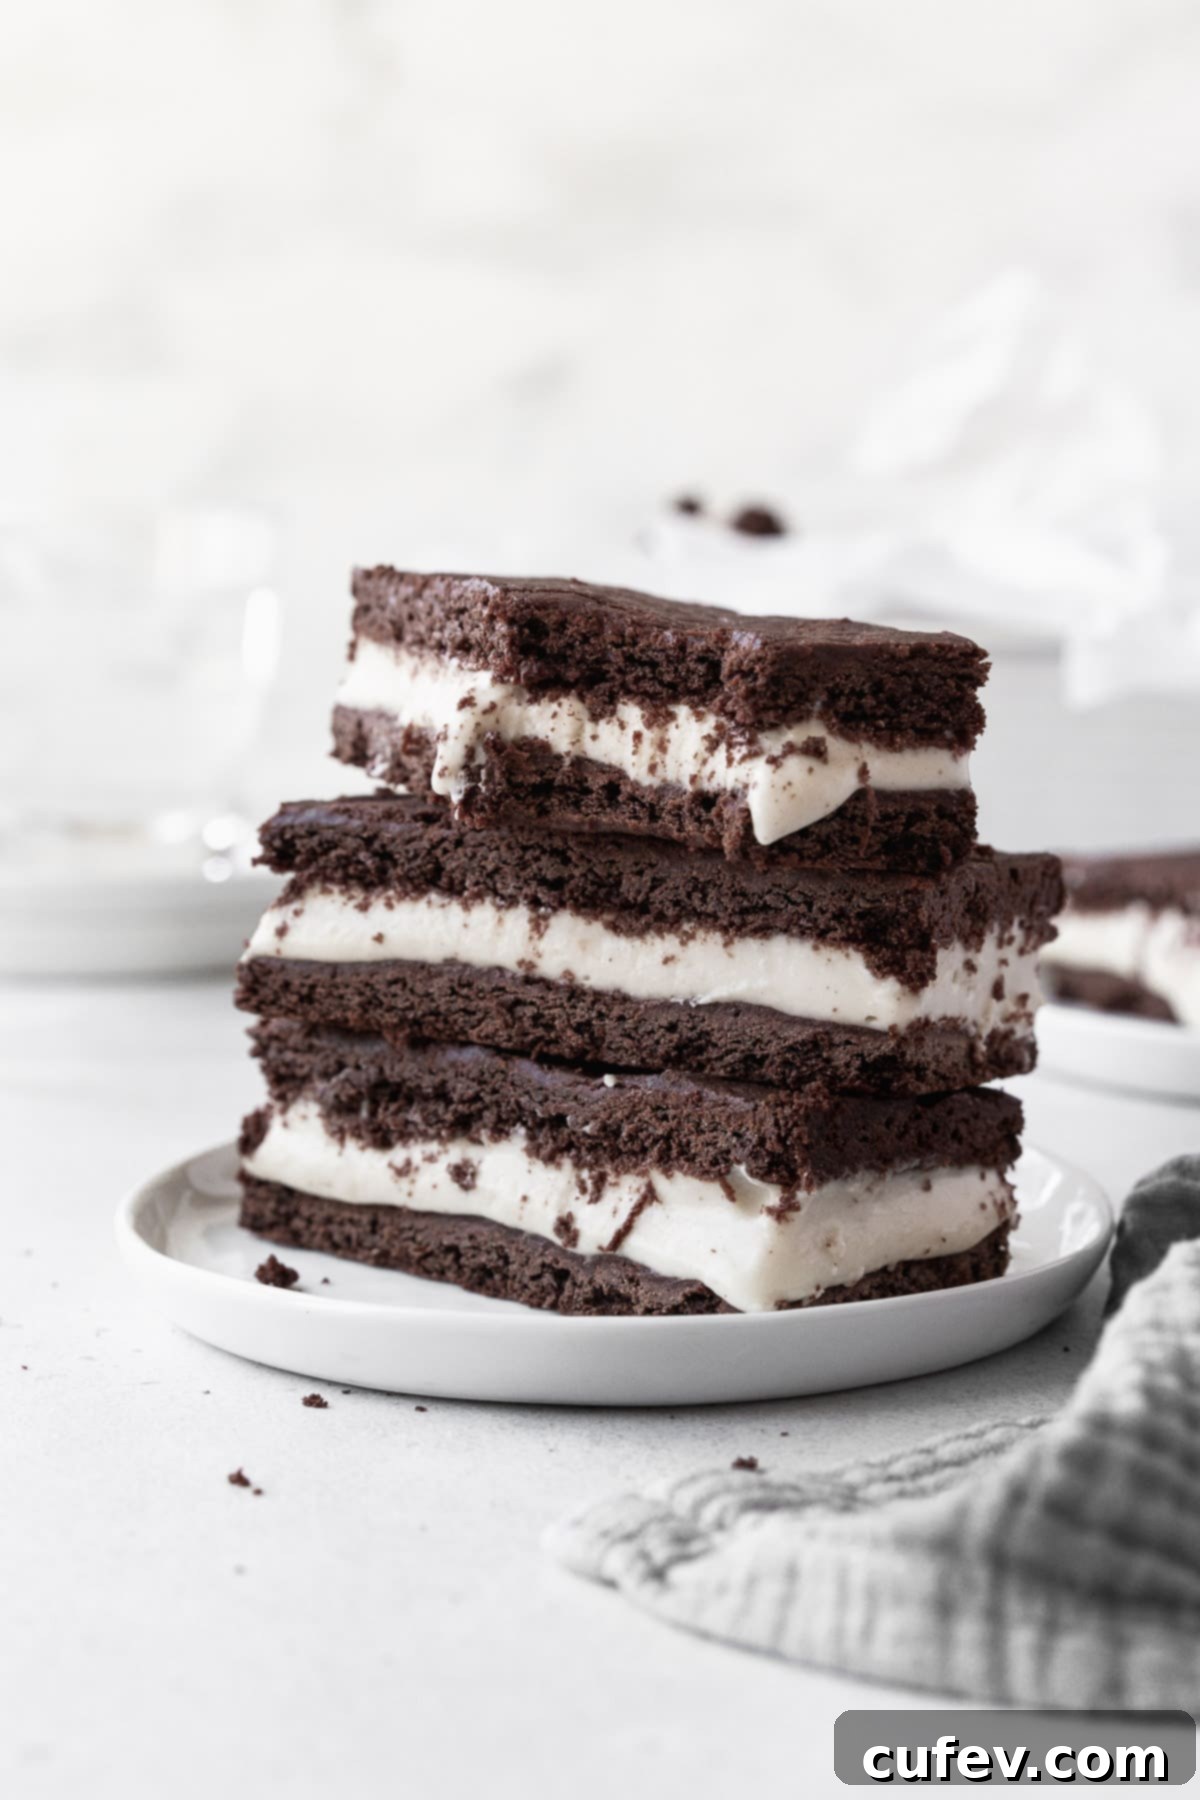
Prepare to rediscover everything you adore about classic ice cream sandwiches, now crafted without gluten! These homemade cookie sandwiches are a truly delightful and allergy-friendly rendition of a beloved summer treat. Naturally dairy-free and vegan, they offer a creamy, chocolaty indulgence that everyone can enjoy without worry or compromise on flavor.
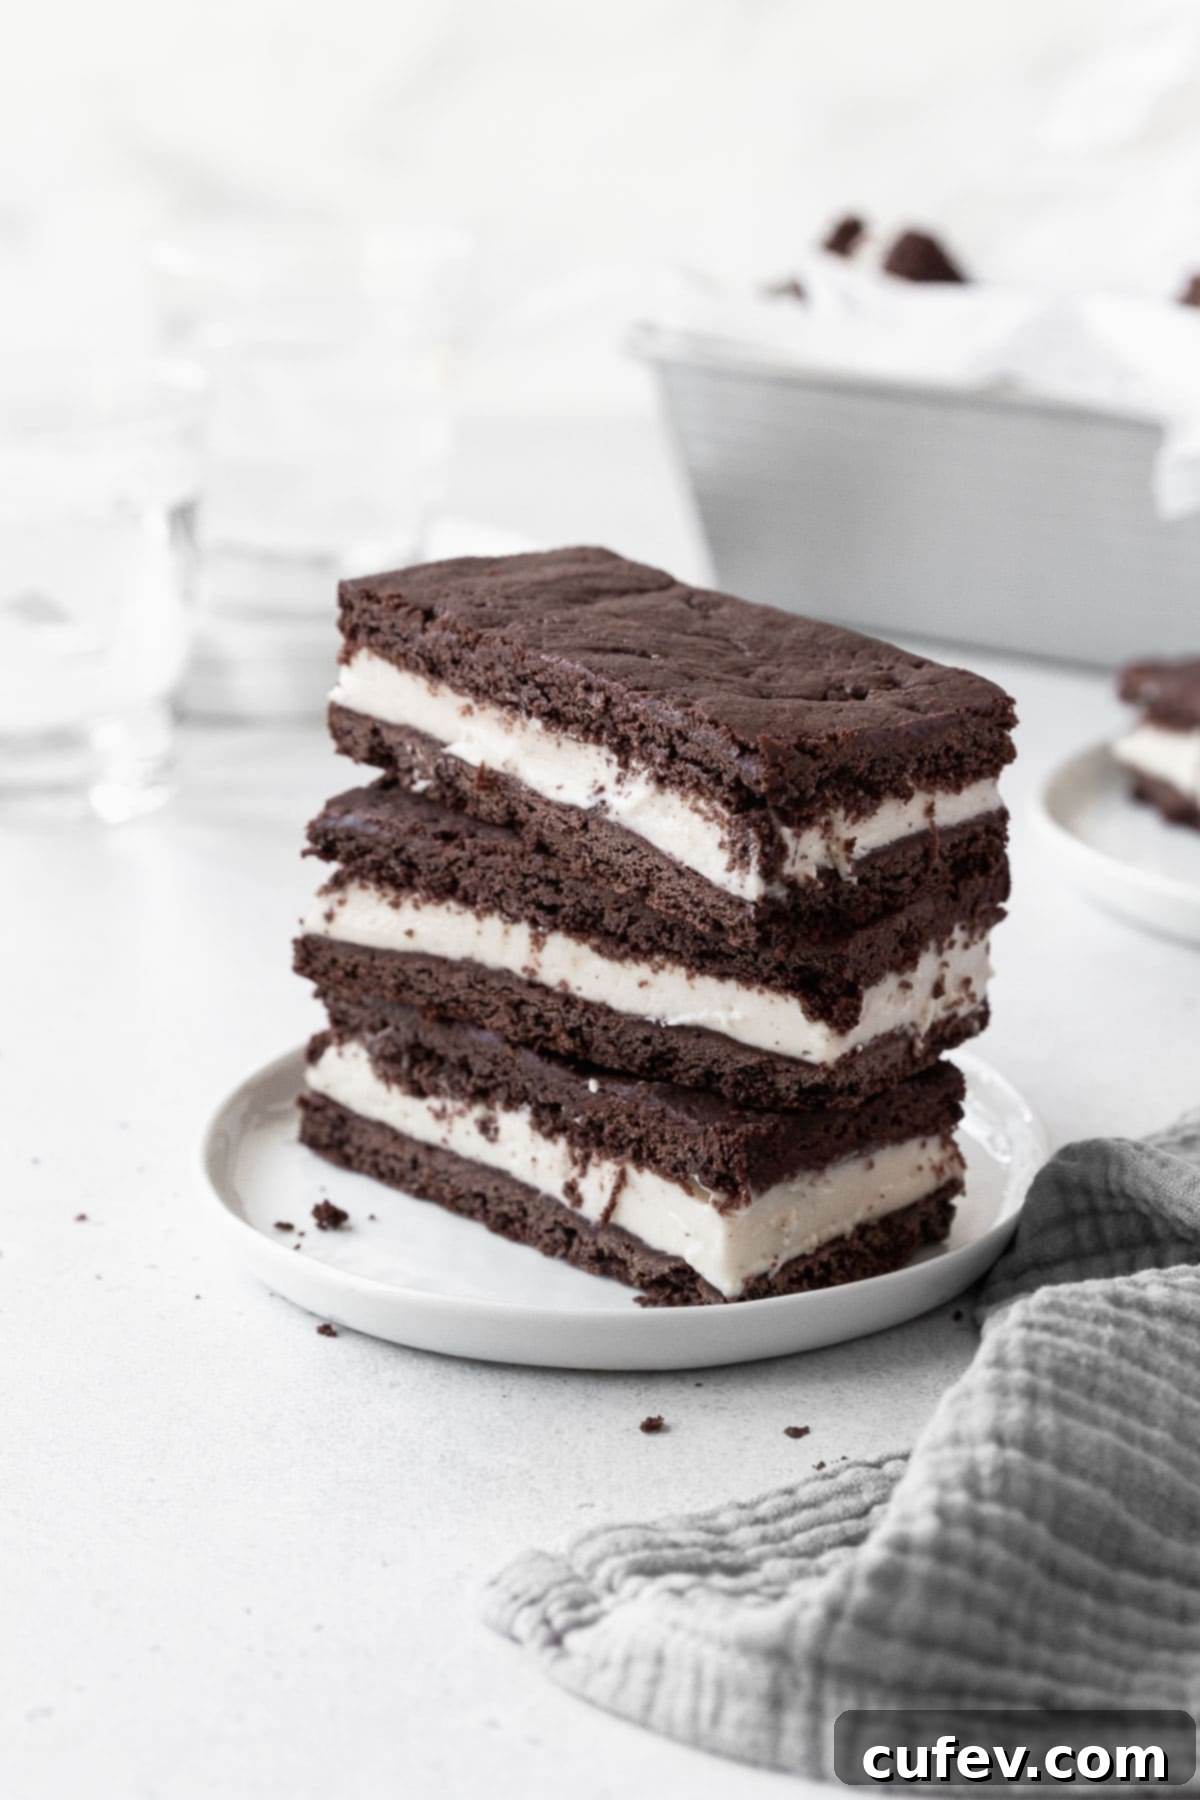
This post is sponsored by Nature’s Charm, a brand committed to providing delicious plant-based alternatives. All text and opinions expressed are my own, reflecting my genuine enthusiasm for their products in creating this recipe.
Why You’ll Love These Gluten-Free Ice Cream Sandwiches
These ice cream sandwiches are more than just a dessert; they’re a solution for dietary needs and a source of pure joy. Here’s why this recipe will quickly become a household favorite:
- Perfectly Allergy-Safe. Carefully designed to be free from common allergens, this recipe contains no dairy, gluten, nut products, or corn. This makes our homemade ice cream sandwich recipe an outstanding option for friends and family navigating various food sensitivities, ensuring everyone can partake in the sweet fun without a second thought. It’s a truly inclusive treat!
- A Timeless Summer Treat. Re-ignite cherished childhood memories or create entirely new ones with a cool, refreshing treat that perfectly embodies the spirit of summer. These sandwiches are ideal for any occasion – whether served at a bustling picnic, enjoyed poolside on a sunny afternoon, or simply savored as an everyday indulgence. Their classic appeal makes them a hit with all ages.
- Family-Friendly and Delicious. The rich, chocolaty cookies and creamy vanilla ice cream are so authentically delicious that even the pickiest eaters (and adults!) will never suspect they are gluten-free and vegan. Parents will love that they can offer their children a favorite treat that aligns with their dietary needs, while grown-ups can enjoy a nostalgic dessert without any dietary concerns.
- Incredibly Versatile. While the classic combination of chocolate cookie and vanilla ice cream is always a winner, this recipe is a fantastic canvas for culinary creativity. Enjoy it as-is for a traditional experience, or delve into a world of different flavor combinations (check out my list below for inspiring ideas!) to satisfy any specific craving or mood.
Is All Ice Cream Gluten-Free? Understanding Hidden Gluten
Many assume that ice cream, being primarily made of milk, cream, sugar, and flavorings, is inherently gluten-free. However, this isn’t always the case, especially with pre-made or store-bought varieties. While the foundational ingredients are naturally gluten-free, the journey from basic ingredients to a finished commercial product often involves additions that introduce gluten.
Common culprits include:
- Thickeners and Stabilizers: Some commercial ice creams use gluten-containing starches or gums to achieve a desired texture and prevent ice crystal formation.
- Mix-ins: The most obvious source of gluten is often found in popular mix-ins like cookie dough pieces, brownie chunks, cheesecake bits, or crushed cookies.
- Flavorings and Syrups: Certain flavor extracts or syrups can contain gluten, though this is less common.
- Cross-Contamination: Even if ingredients are technically gluten-free, shared equipment in manufacturing facilities can lead to cross-contamination, making the product unsafe for those with celiac disease or severe gluten sensitivity.
To ensure you are consuming genuinely gluten-free ice cream, it is crucial to diligently check the ingredient label for any wheat-derived ingredients, barley, rye, or oats that are not certified gluten-free. Look for products specifically labeled “gluten-free,” which indicates they meet regulated standards. Alternatively, making your own homemade gluten-free ice cream, as detailed in this recipe, gives you complete control over the ingredients and guarantees its safety.
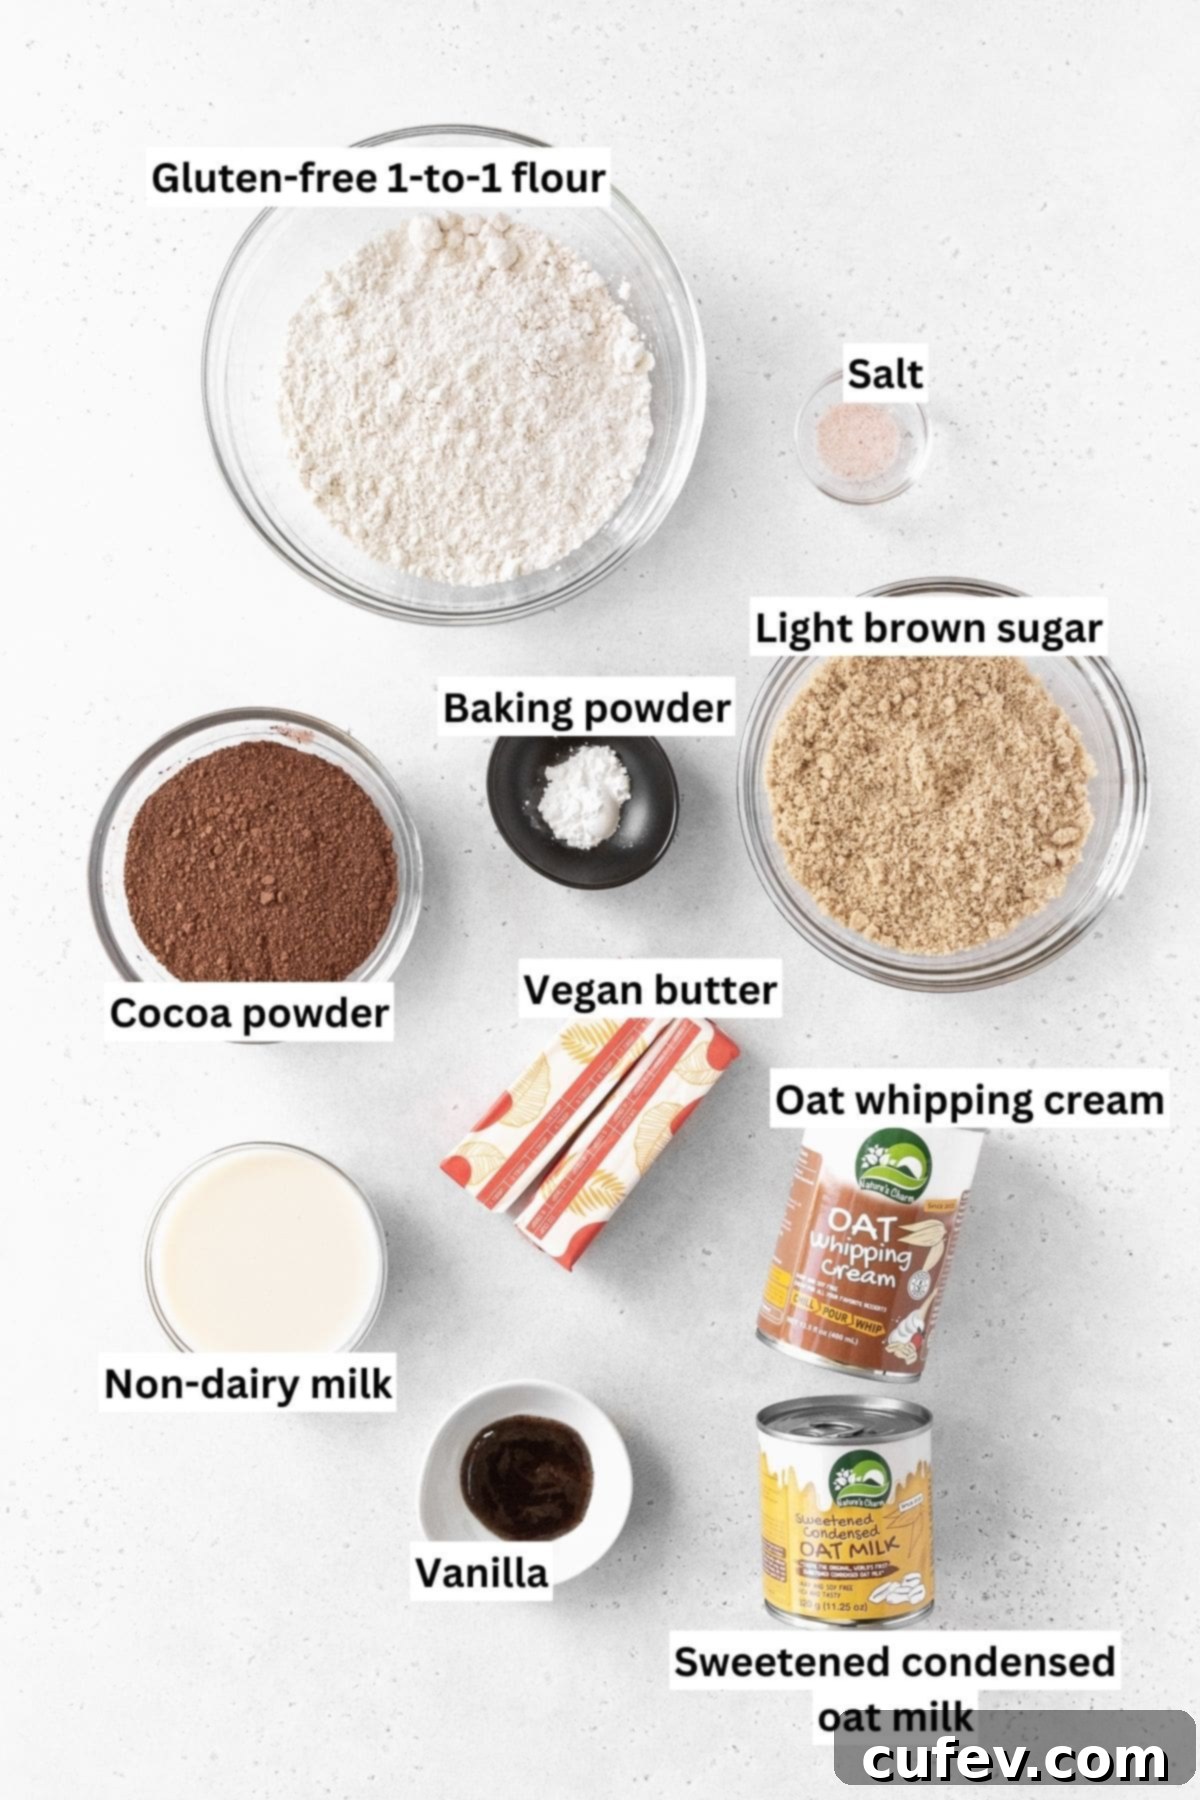
Key Ingredients for Our Vegan Ice Cream Sandwiches
Crafting these delectable vegan and gluten-free ice cream sandwiches requires a few specific ingredients, each playing a vital role in achieving the perfect flavor and texture. Here’s what you’ll need:
- 1-to-1 Gluten-Free Flour – This specialized flour blend is formulated to directly replace traditional all-purpose flour in recipes, often containing a mix of gluten-free grains and a binder like xanthan gum. This ensures the cookies have the right structure and texture. My personal favorite brands for consistent, excellent results are Bob’s Red Mill and King Arthur’s Measure for Measure Flour.
- Dutch Process Cocoa Powder – For deep, rich chocolate cookies that have a beautiful dark color and mellow flavor, Dutch process cocoa powder is absolutely essential for this recipe. Unlike natural cocoa, Dutch process cocoa has been treated to reduce its acidity, resulting in a smoother, less bitter chocolate taste. You can readily find this type of cocoa powder at most major grocery store chains and conveniently online at Amazon.
- Vegan Butter – It’s crucial for the vegan butter to be softened to room temperature. This allows it to cream beautifully with the sugar, creating a light and airy base for our chocolate cookie dough, which is key for a tender cookie.
- Light Brown Sugar – Beyond just sweetness, light brown sugar contributes significantly to the depth of flavor in the chocolate cookie base. Its molasses content also provides essential moisture, resulting in a chewy, irresistible cookie texture.
- Dairy-Free Milk – To keep our recipe dairy-free, any plant-based milk will work wonderfully. Almond, coconut, or oat milk are all excellent choices that blend seamlessly into the cookie dough without overpowering the other flavors.
- Pure Vanilla Extract – For an authentic and robust flavor profile that complements the rich chocolate and creamy ice cream, always opt for pure vanilla extract. It makes a noticeable difference compared to imitation vanilla.
- Sweetened Condensed Oat Milk – This innovative ingredient from Nature’s Charm forms the rich and sweet base for our dairy-free, no-churn ice cream. Oat milk provides a wonderful creaminess without any dairy, making it perfect for a smooth and luscious frozen filling. I highly recommend and prefer Nature’s Charm Brand for its superior quality and taste.
- Oat Milk Whipping Cream – Another star product from Nature’s Charm, this oat milk whipping cream is pivotal for achieving the ideal creamy and airy texture in our ice cream. When whipped, it incorporates just the right amount of lightness, ensuring your ice cream isn’t too dense. Like the condensed milk, Nature’s Charm is my preferred brand for its exceptional performance.
Smart Substitutions for Your Recipe
While this recipe is carefully designed to be gluten-free, dairy-free, and vegan, sometimes you might need to make adjustments based on availability or specific dietary needs. Here are some smart substitutions you can consider:
- Flour Alternatives – If gluten restrictions are not a concern for you or your guests, you can certainly make the chocolate wafer cookies using regular all-purpose flour. However, please remember that making this substitution will mean the recipe will no longer be gluten-free. For those still needing a gluten-free option but perhaps without a 1-to-1 blend, ensure any gluten-free flour used is specifically designed for baking and includes xanthan gum for proper structure.
- Cocoa Powder Choices – To intensify the chocolate experience and add an extra chocolaty kick to these dairy-free ice cream sandwiches, consider using dark chocolate cocoa powder. This will result in a deeper, more intense chocolate flavor, though it might also introduce a slight bitterness that pairs wonderfully with the sweet ice cream.
- Condensed Milk Swap – If Nature’s Charm sweetened condensed oat milk is unavailable or you have a preference for another plant-based option, sweetened condensed coconut milk can work as a fantastic substitute. This will maintain the dairy-free and vegan integrity of the ice cream while offering a subtle coconut flavor that many find appealing.
- Whipping Cream Alternative – Similarly, if oat milk whipping cream isn’t on hand, you can successfully use full-fat coconut whipping cream in its place. Ensure the can of coconut cream has been chilled overnight, then carefully scoop out only the thick, solidified cream from the top, leaving the liquid behind. This will whip up beautifully, providing a rich, creamy texture, though it will have a more distinct coconut flavor.
How to Make Gluten-Free Ice Cream Sandwiches
Crafting these homemade gluten-free and dairy-free ice cream sandwiches is a rewarding process, combining simple techniques to achieve truly spectacular results. Follow these steps carefully to create your delicious treats!
How to Make the Gluten-Free Sandwich Cookies
The foundation of a great ice cream sandwich is a perfectly soft, chocolaty cookie. While these cookies require a few steps, the techniques are straightforward, and the delicious outcome is absolutely worth the effort!
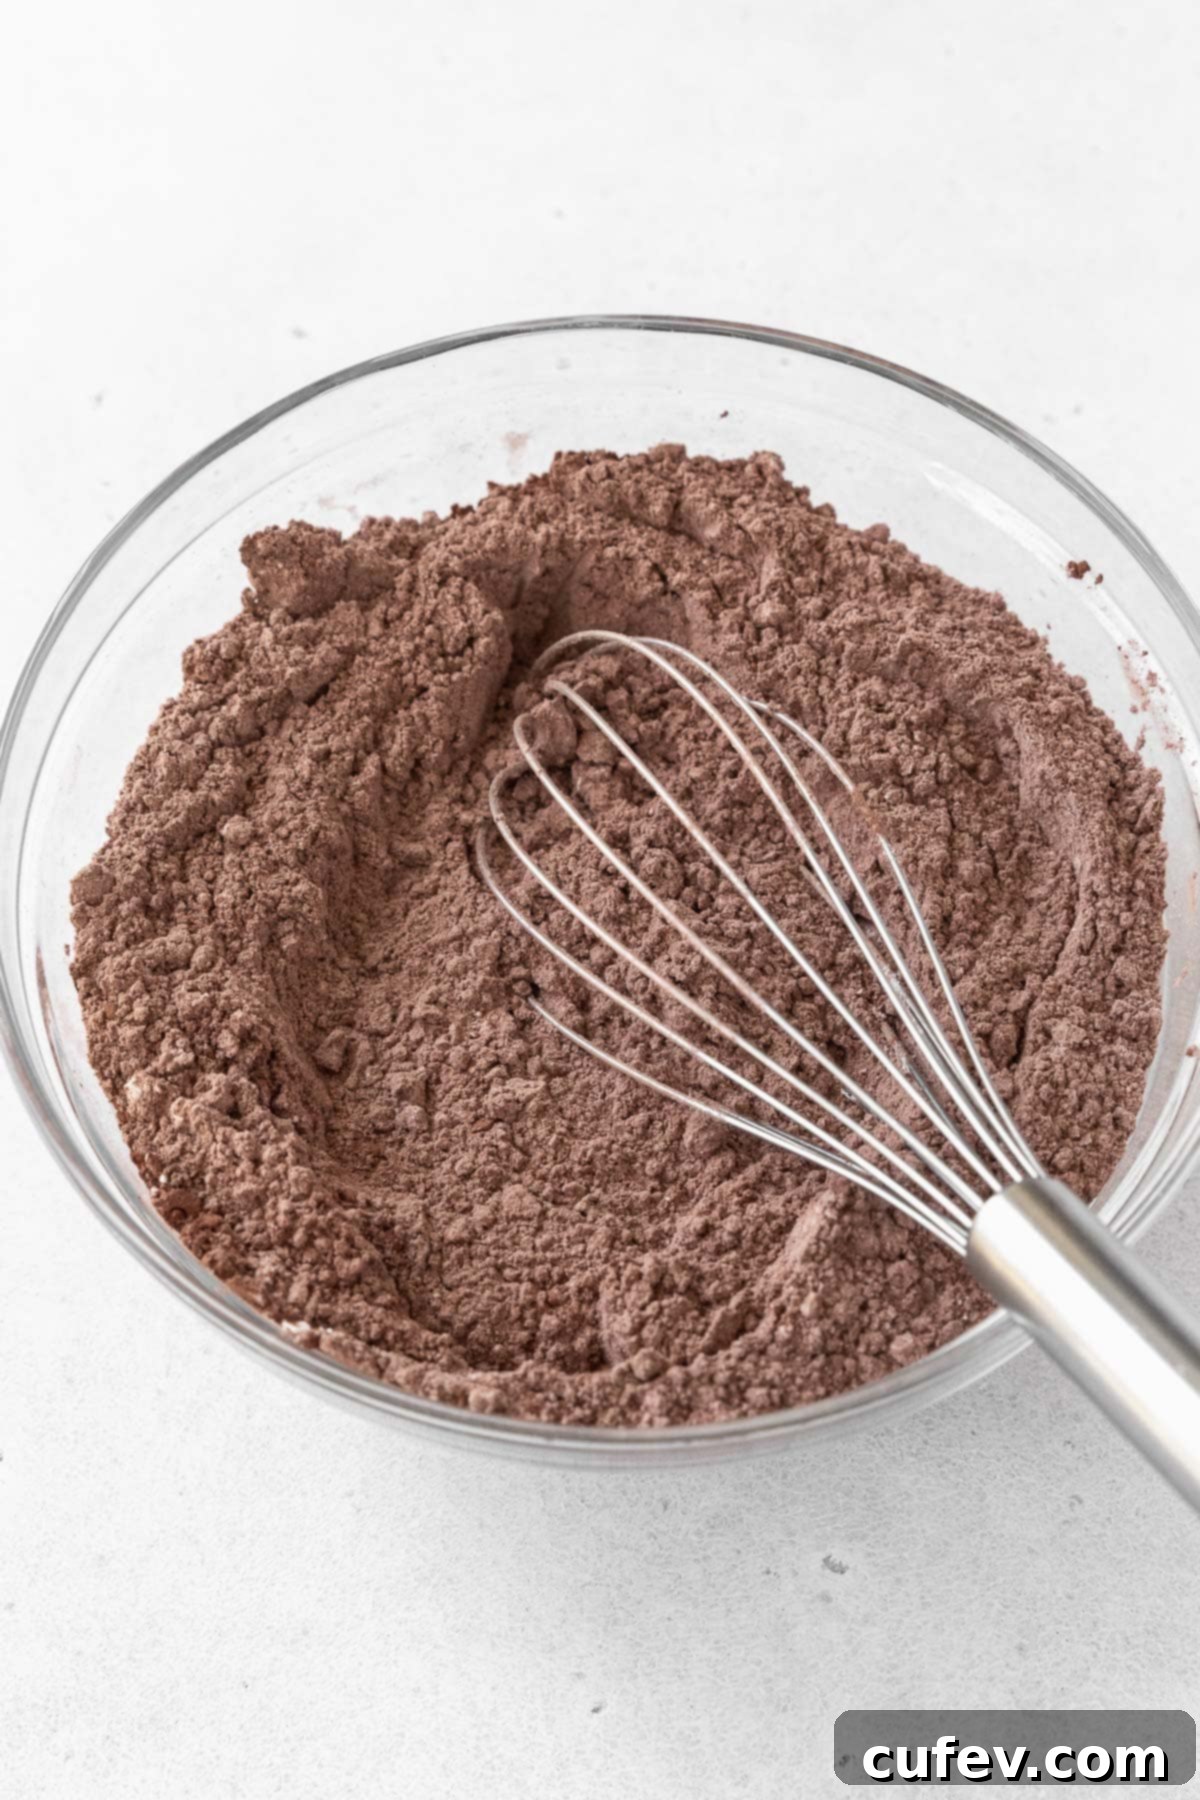
Step 1: Combine Dry Ingredients. In a large mixing bowl, thoroughly whisk together the 1-to-1 gluten-free flour, Dutch process cocoa powder, fine salt, and baking powder. Whisking ensures that all ingredients are evenly distributed, particularly the leavening agent. Set this mixture aside.
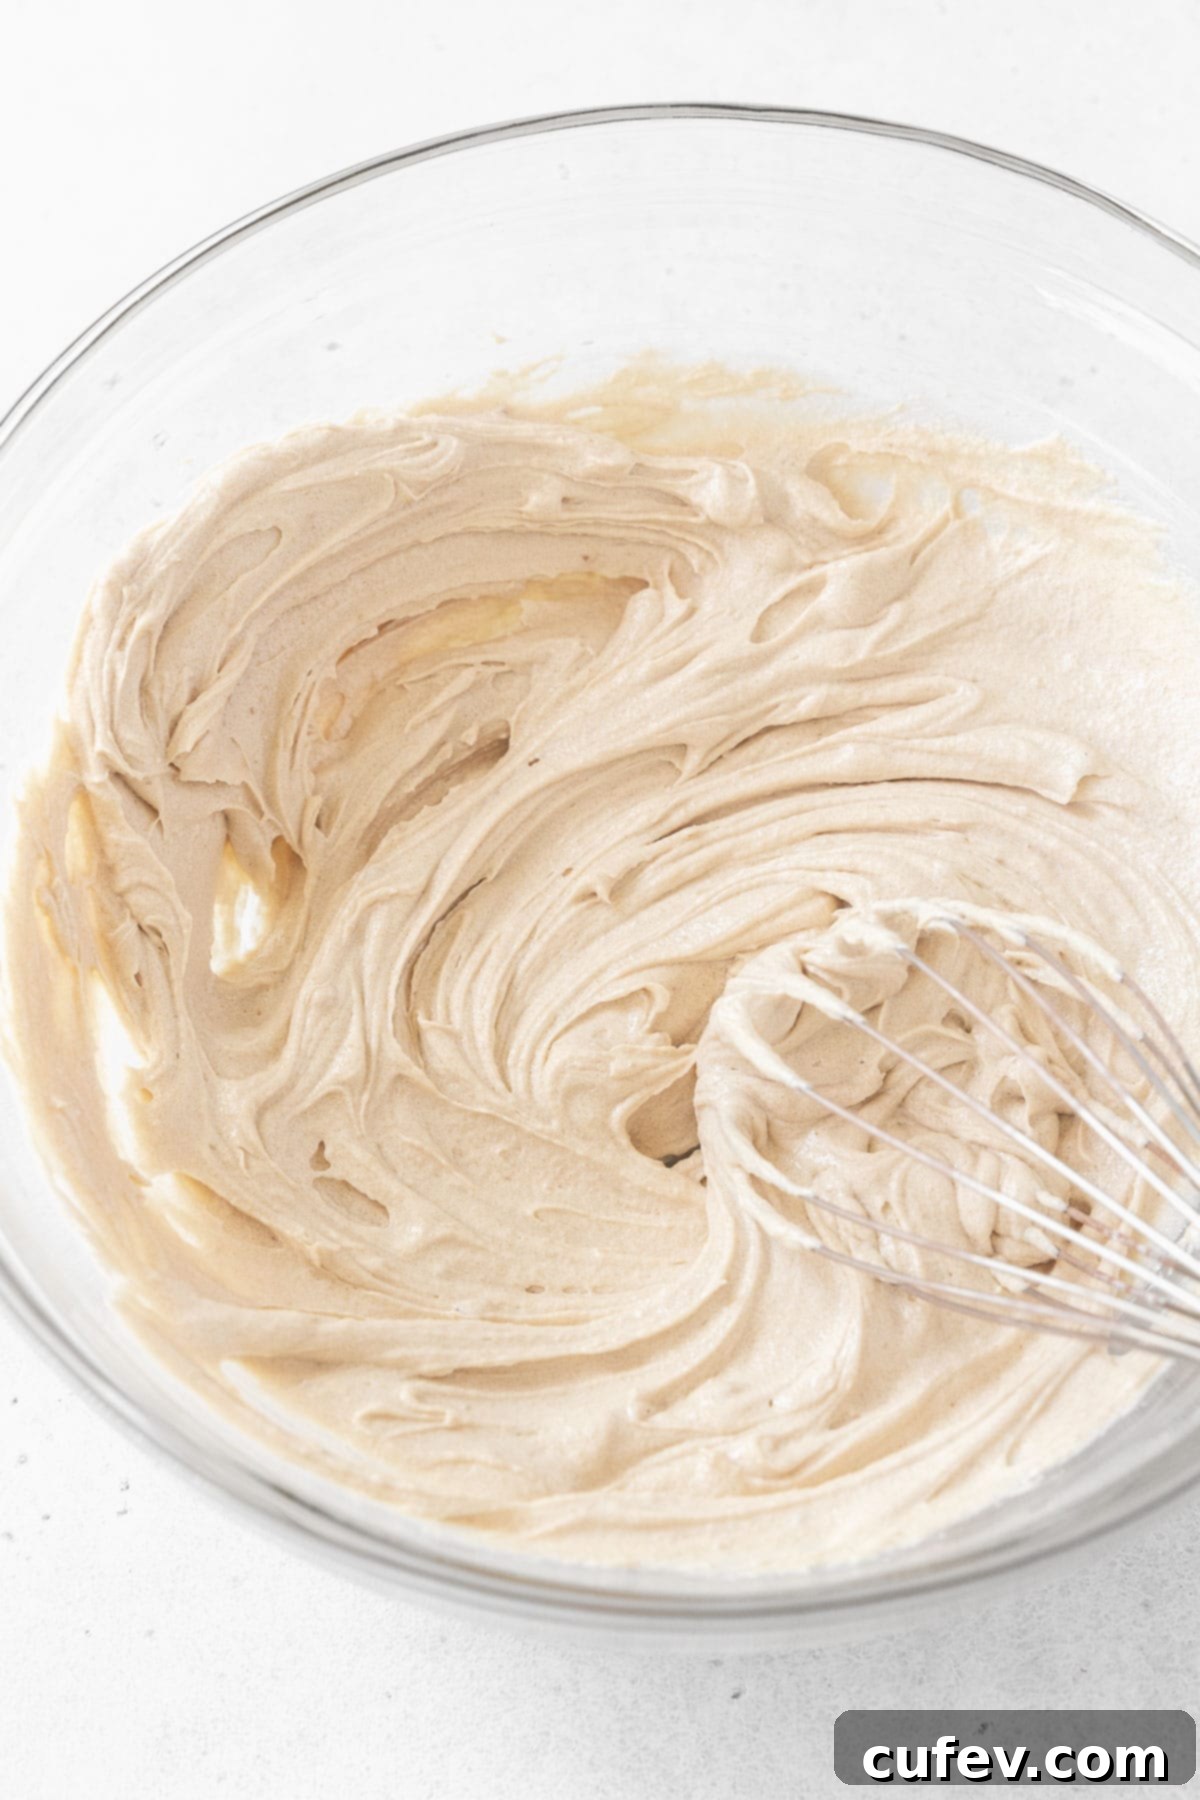
Step 2: Cream Vegan Butter and Sugar. In a separate large bowl, or the bowl of a stand mixer fitted with the paddle attachment, beat the softened vegan butter and light brown sugar together. Continue beating on medium-high speed for about 3 minutes until the mixture is light, fluffy, and noticeably paler in color. This creaming process incorporates air, which contributes to the cookies’ tender texture. Add the pure vanilla extract and beat again briefly to combine.
Step 3: Incorporate Dairy-Free Milk. With the mixer running on low speed, slowly pour in the dairy-free milk. Continue to beat until it is fully incorporated into the creamed butter and sugar mixture, creating a smooth, cohesive wet base.
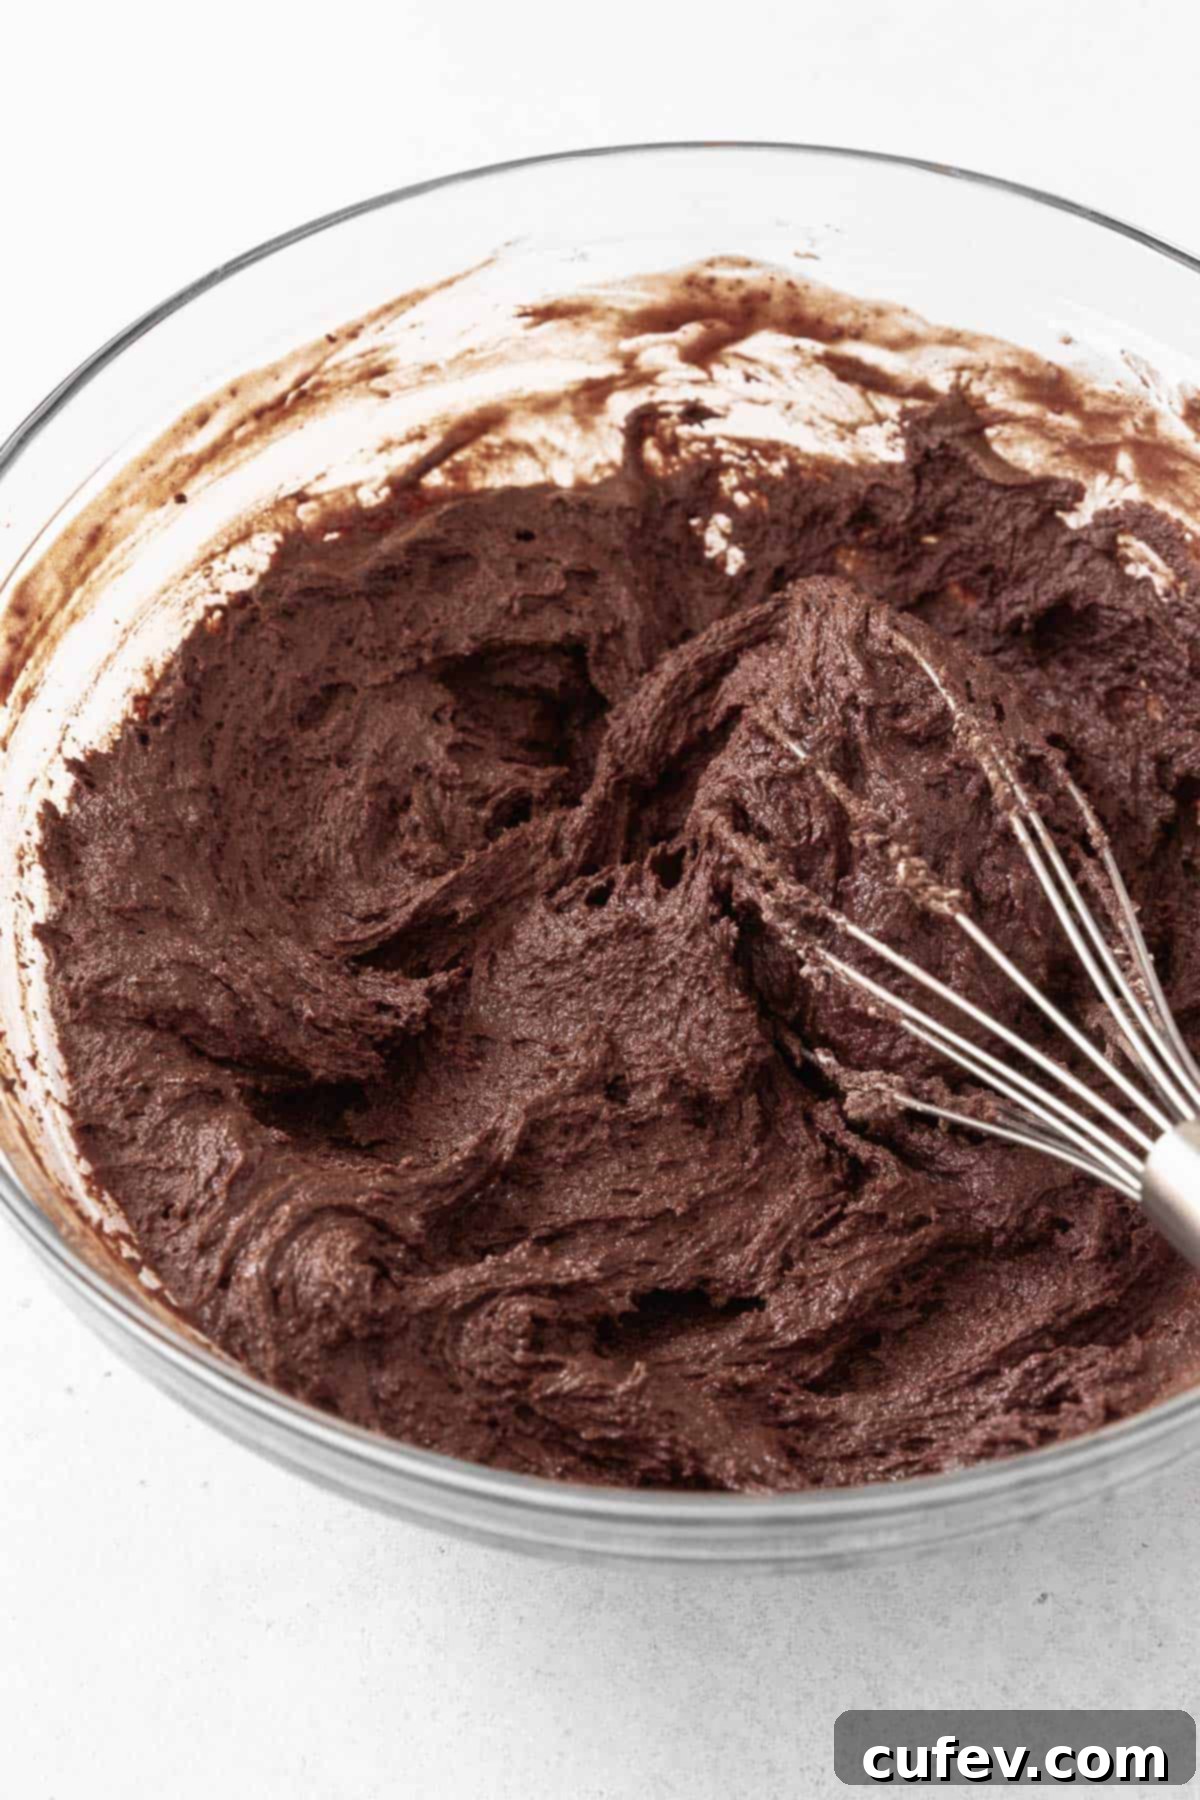
Step 4: Combine Wet and Dry Ingredients. Add half of the dry ingredient mixture to the wet ingredients and beat on low speed until just combined. Use a silicone spatula to scrape down the sides and bottom of the bowl, ensuring no dry pockets remain. Then, add the remaining half of the dry ingredients and beat again until a uniform dough forms. Be careful not to overmix, as this can lead to tougher cookies.
Step 5: Rest the Dough. Cover the bowl containing the chocolate cookie dough with plastic wrap and let it rest at room temperature for 30 minutes. This resting period allows the gluten-free flour to fully hydrate, resulting in a more manageable dough that is less sticky and bakes with a better, more tender texture.
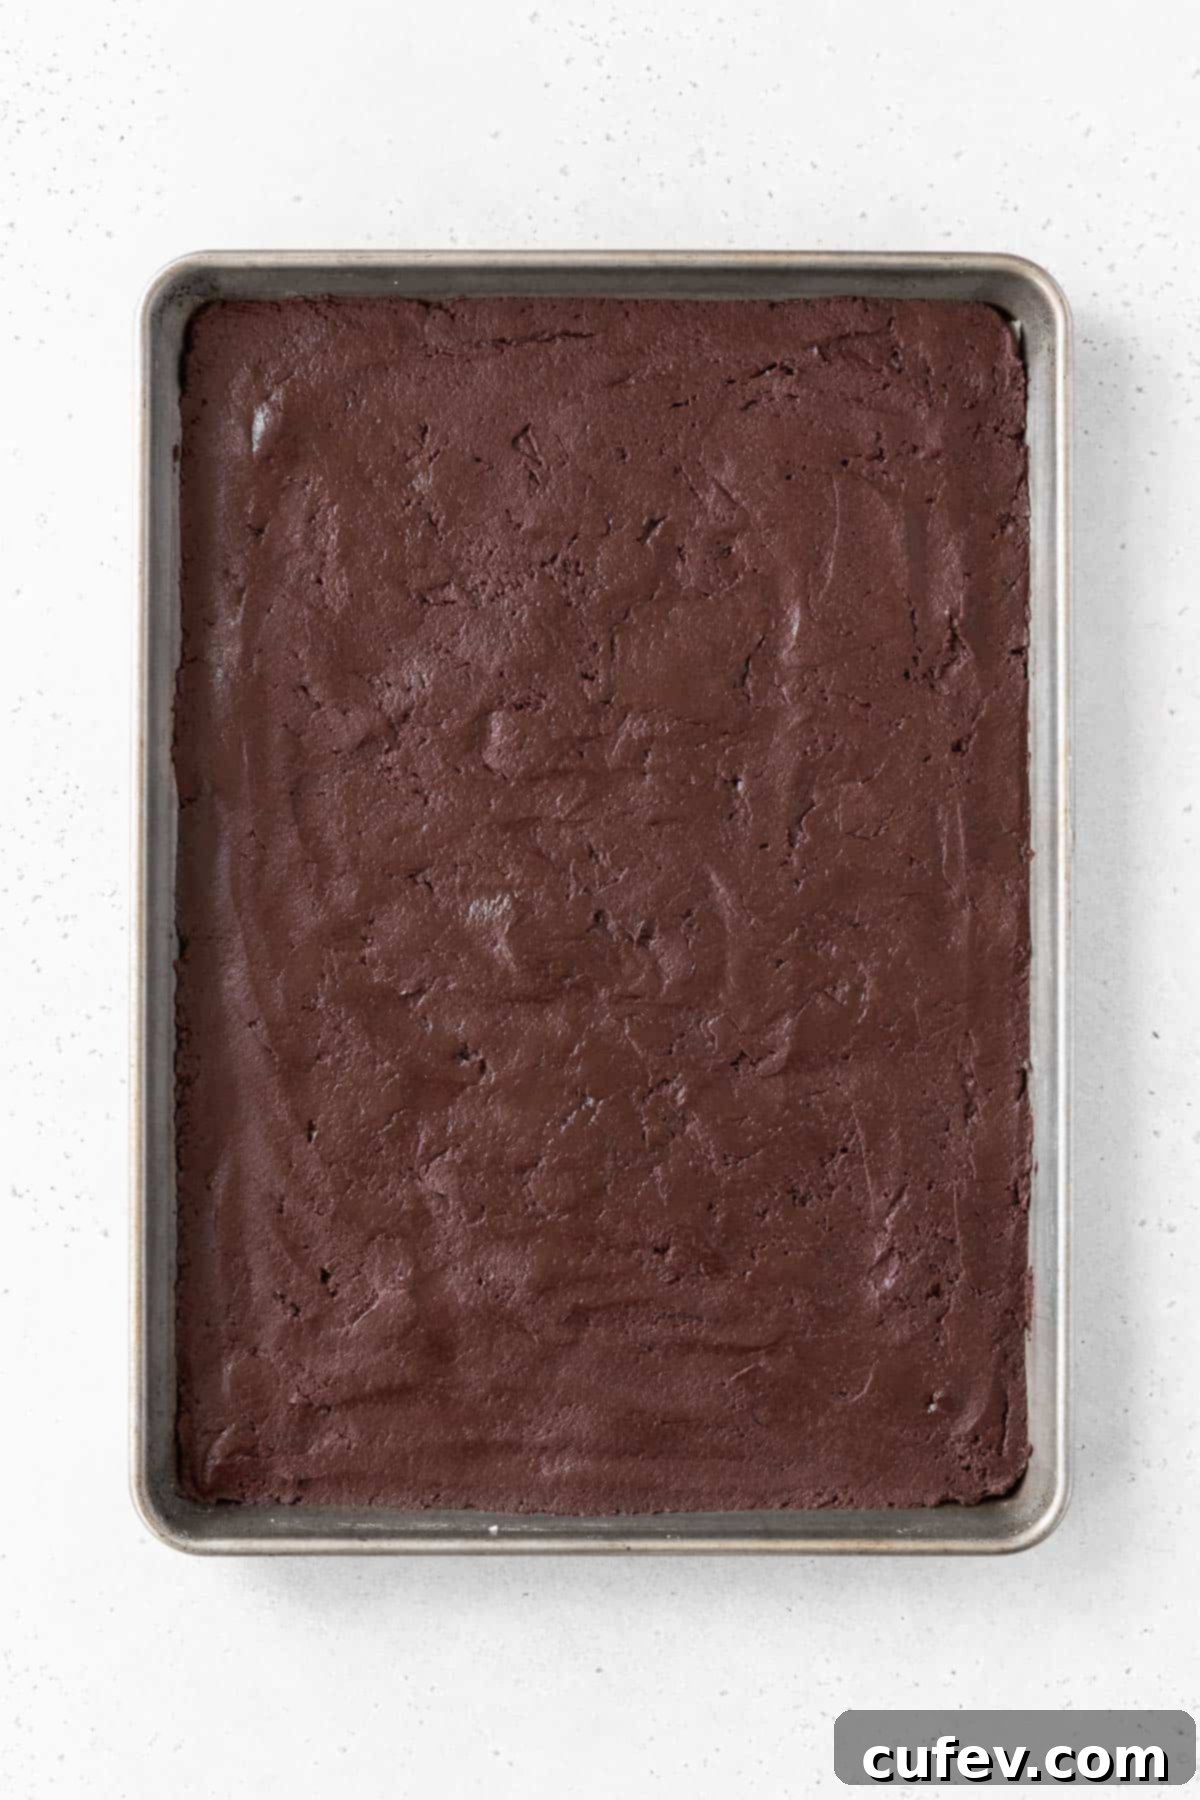
Step 6: Prepare for Baking. While the dough rests, preheat your oven to 350°F (175°C). Prepare a half-sheet baking pan (typically 13 x 18 inches) by lightly greasing it, then lining it completely with parchment paper. The parchment paper is crucial for easy removal and cleanup.
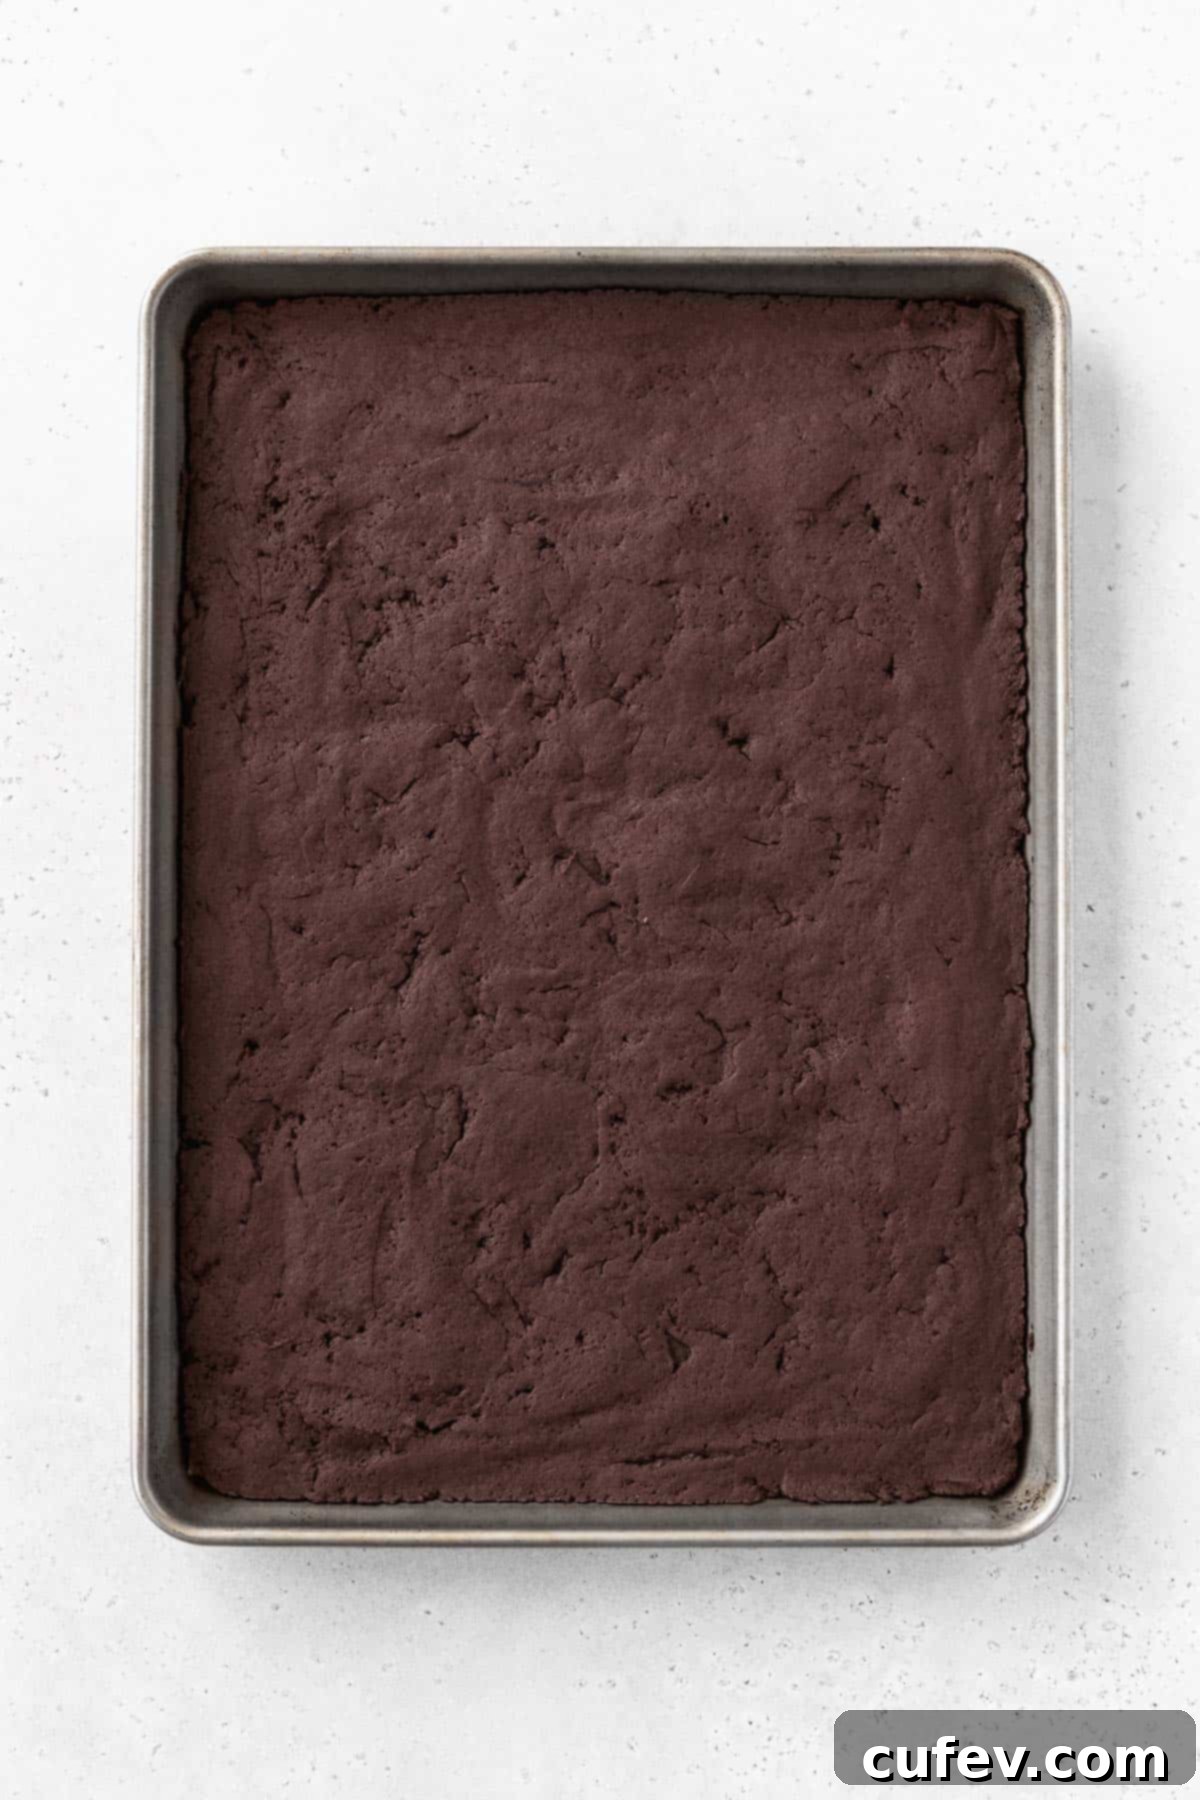
Step 7: Spread and Bake the Cookie Base. Using an offset spatula or the back of a spoon, evenly spread the rested cookie base mixture over the prepared parchment paper on the baking pan. Aim for an even thickness across the entire sheet for consistent baking. Bake for 10-12 minutes, or until the cookie is set and cooked through. It will be soft to the touch. Once baked, let it cool completely on the baking sheet before carefully transferring it to the freezer to chill while you prepare the ice cream. Cooling it in the freezer helps it firm up for easy handling and assembly.
How to Make the Gluten-Free & Dairy-Free Ice Cream
This no-churn ice cream recipe is incredibly simple yet yields a wonderfully creamy and smooth result, thanks to our plant-based ingredients.
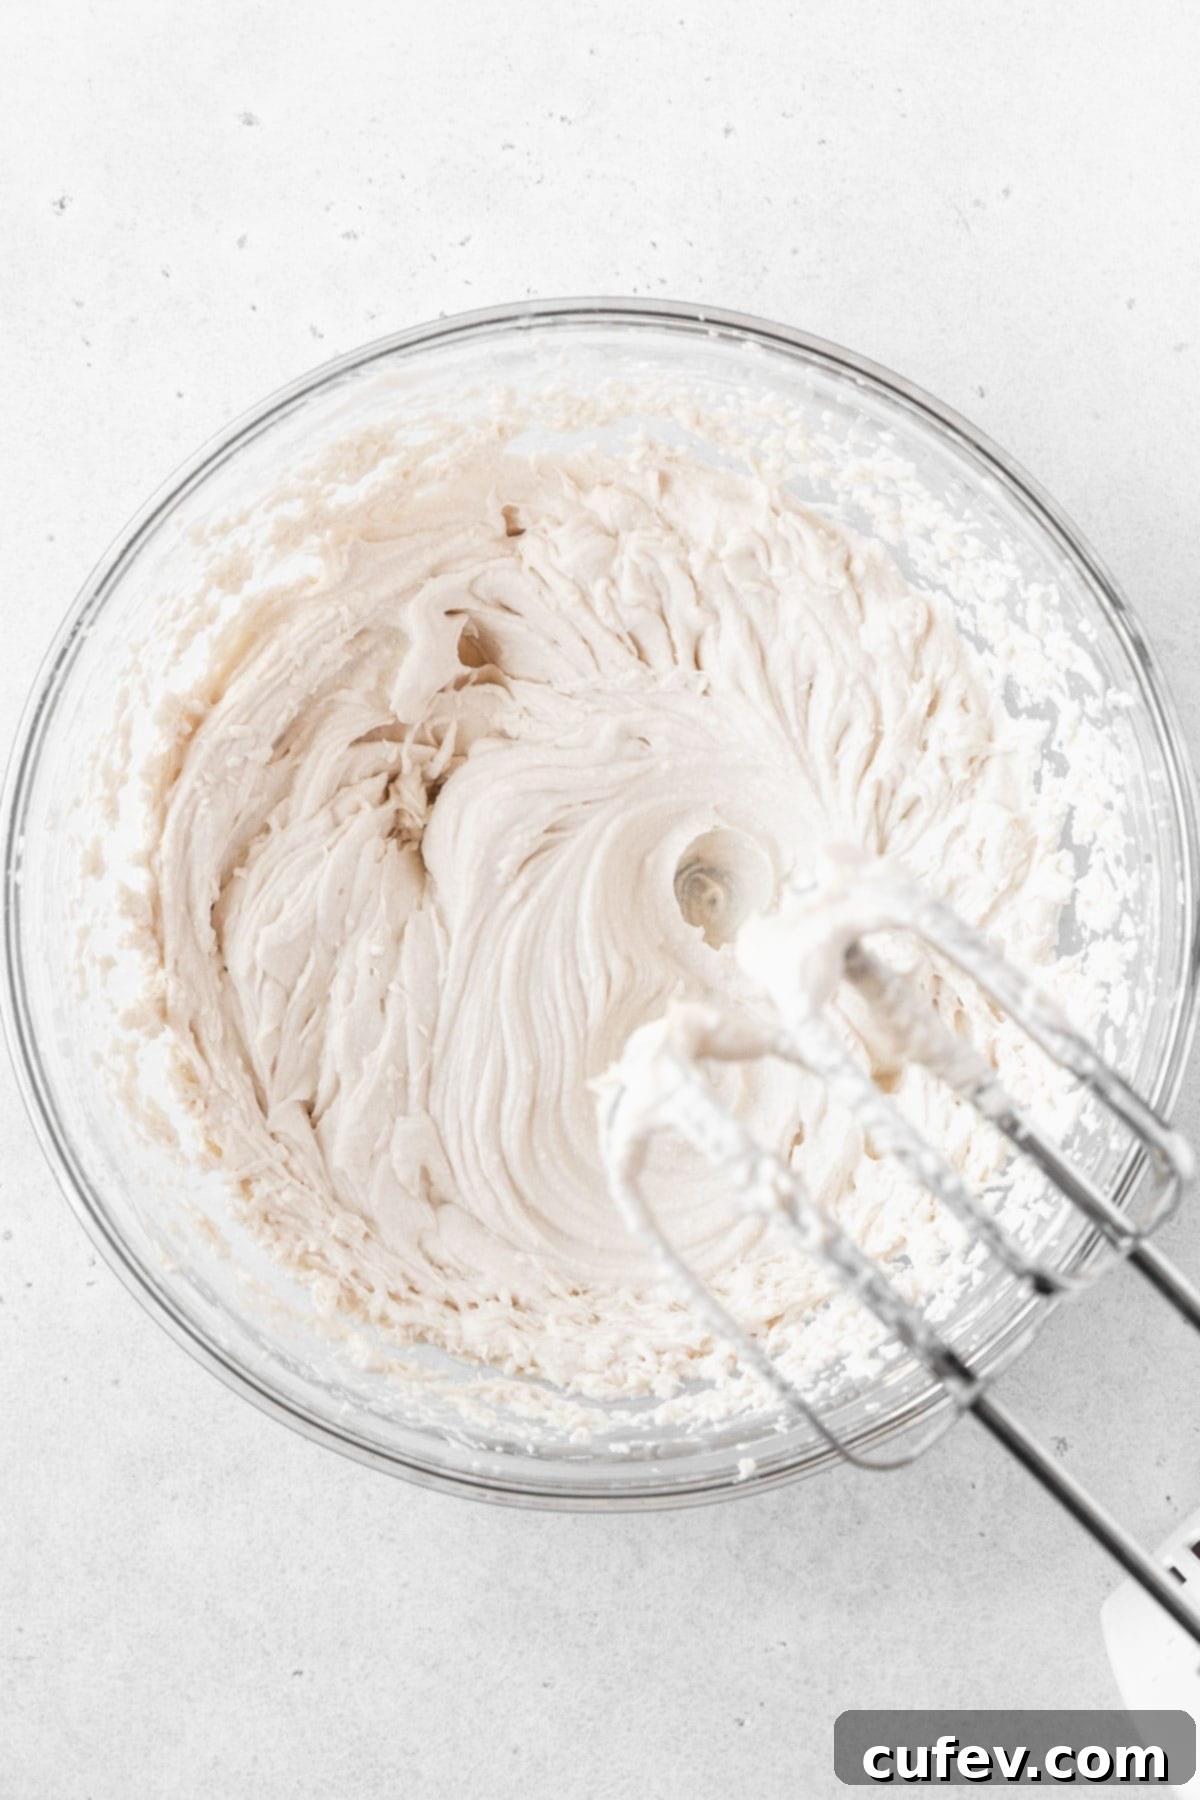
Step 1: Whip the Oat Cream. In a large bowl, using an electric hand mixer or a stand mixer, beat the thoroughly chilled (preferably overnight) oat whipping cream for 5 minutes on high speed. The cream should become thick and form soft to medium peaks. This aeration is key for a light and fluffy ice cream texture.
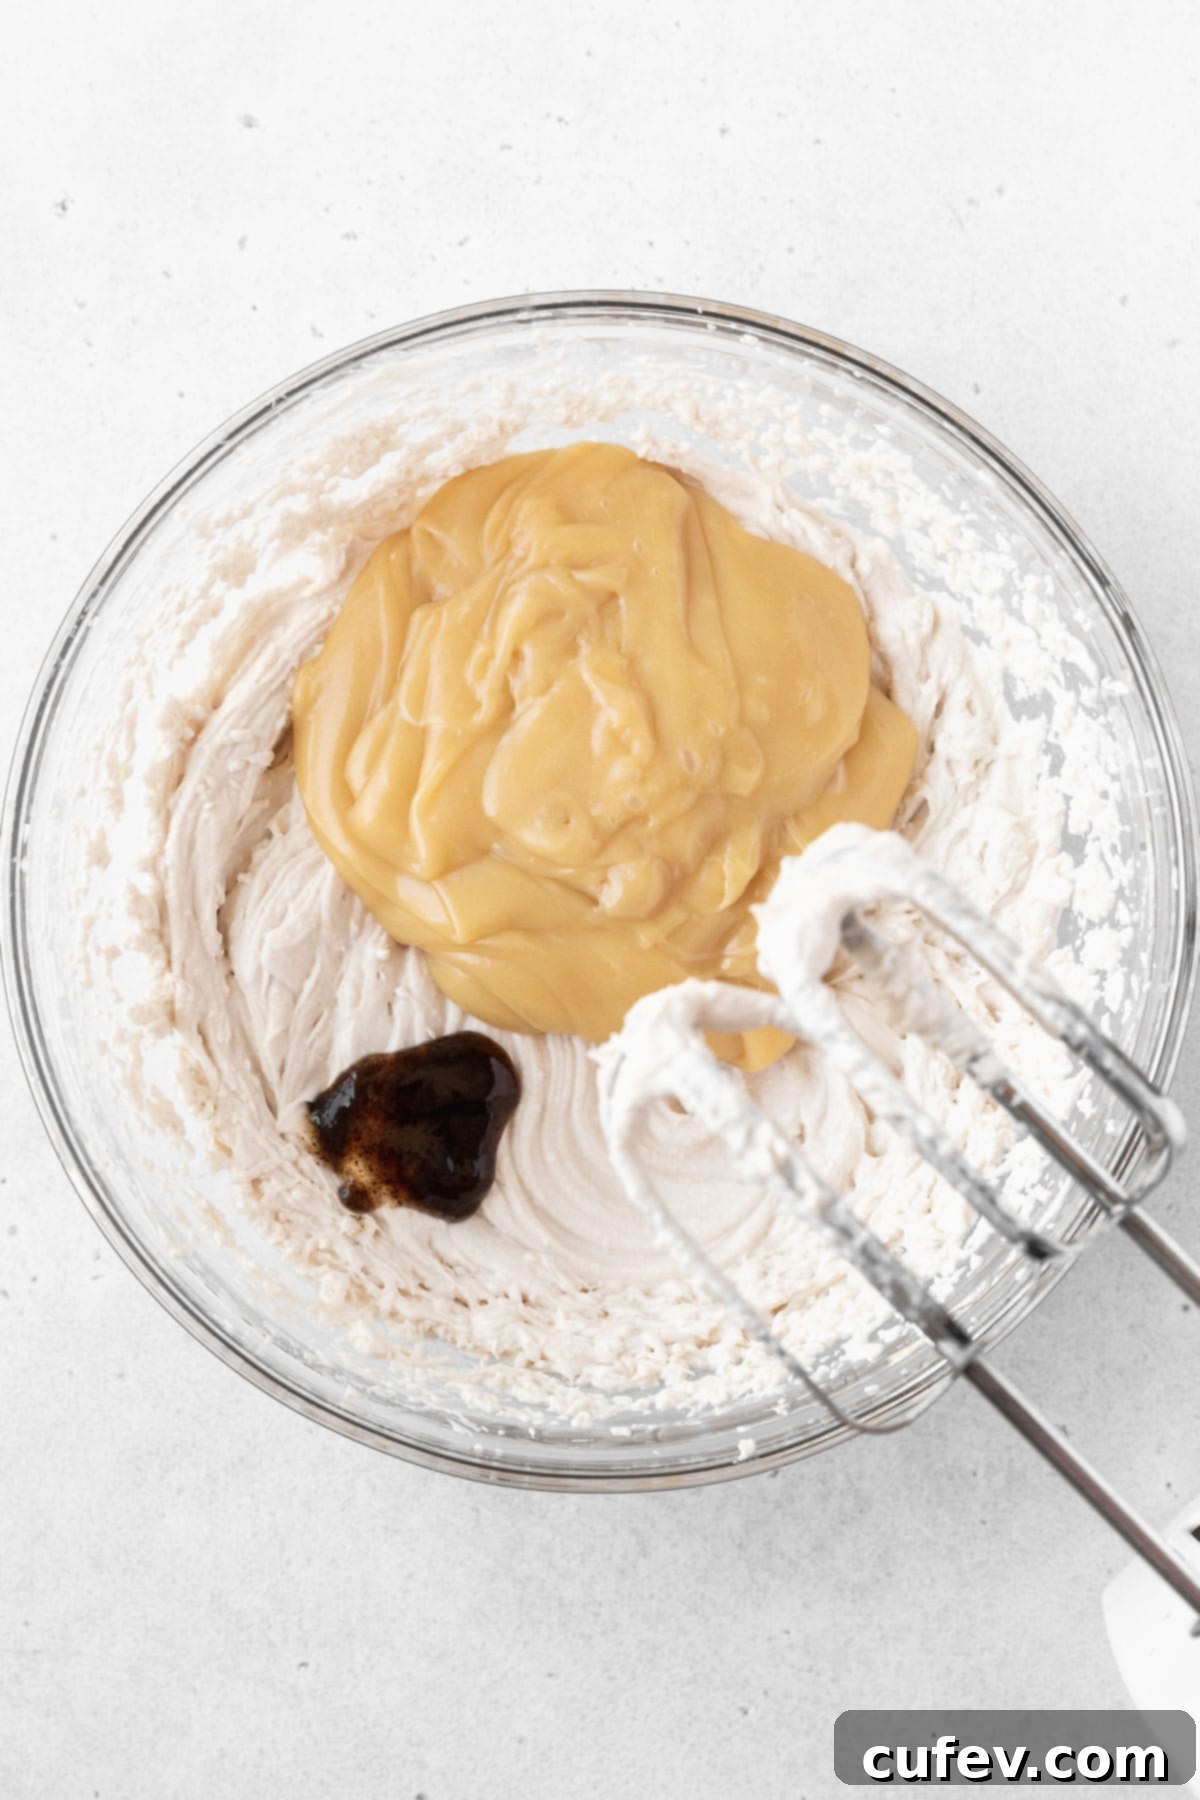
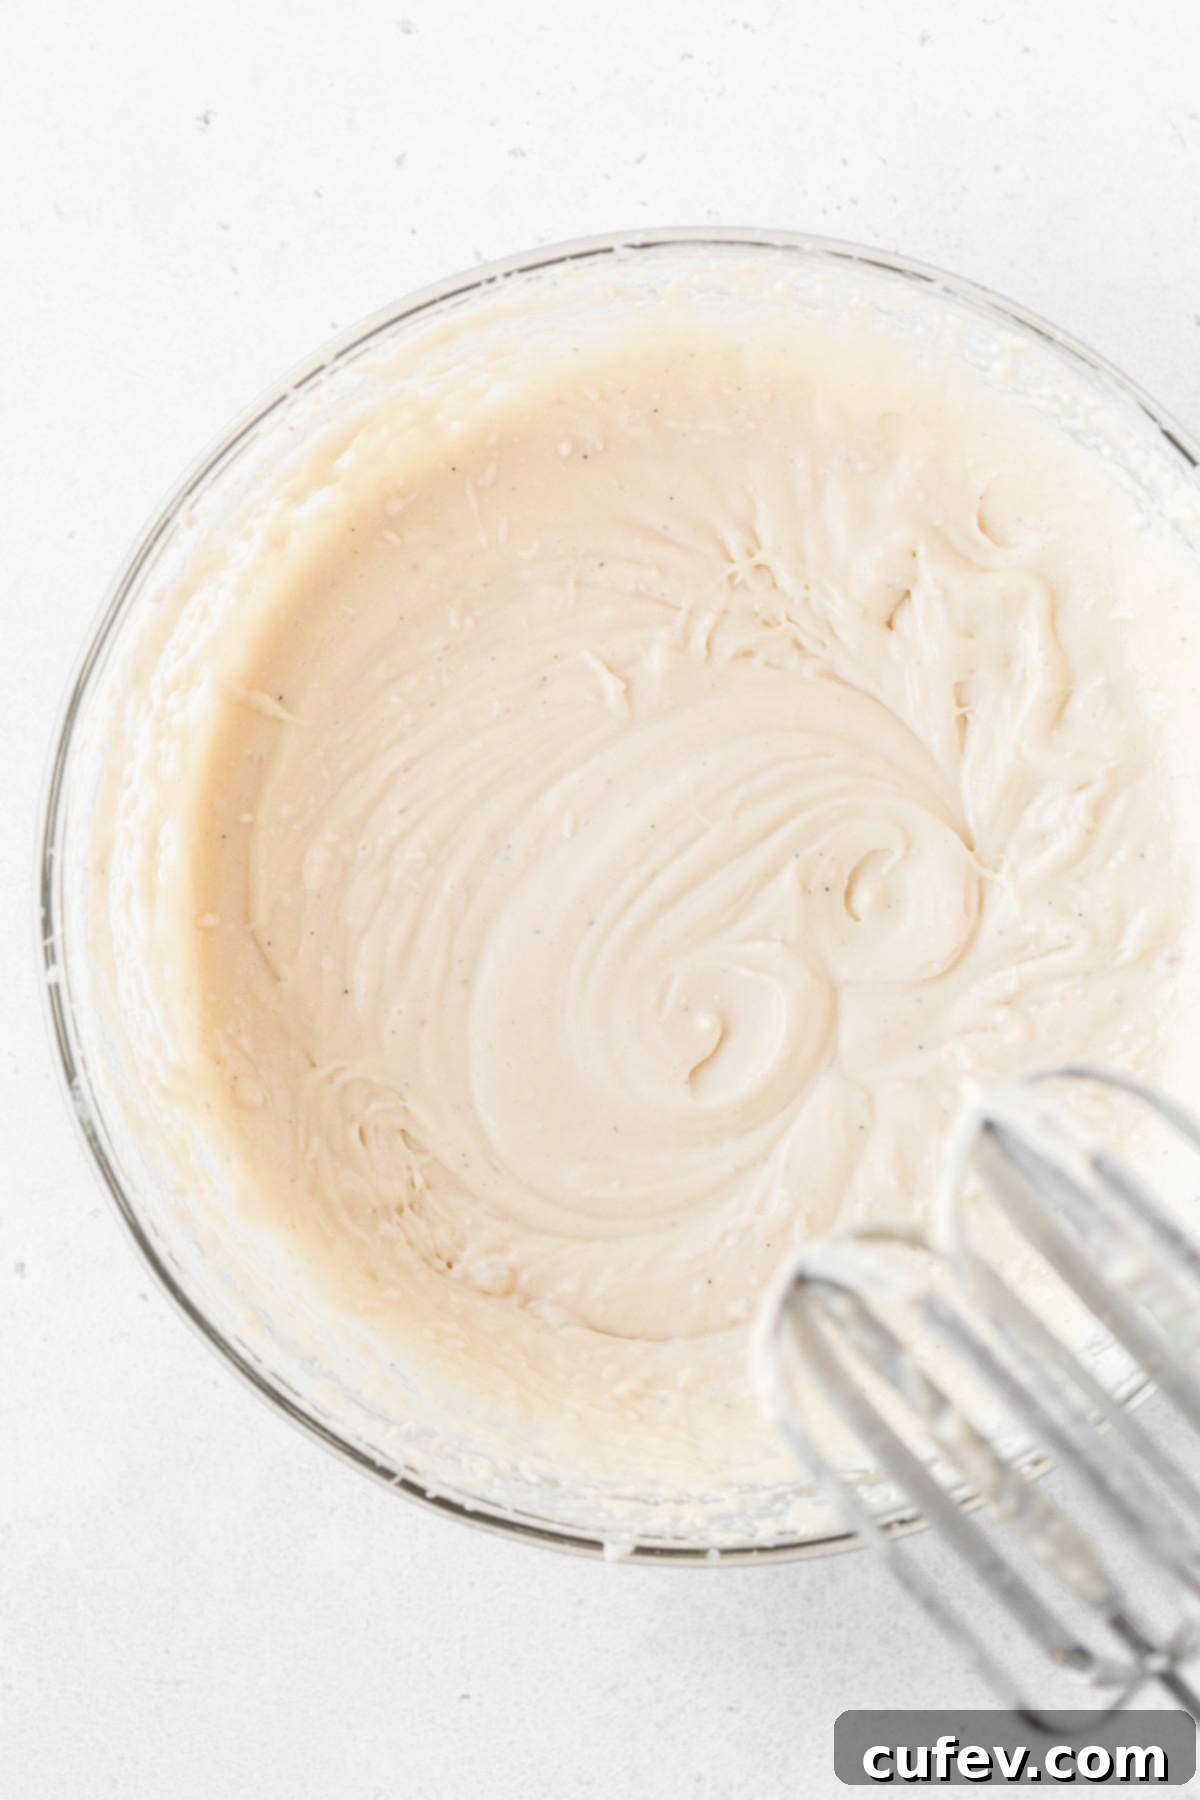
Step 2: Combine and Chill. Add the sweetened condensed oat milk and pure vanilla extract to the whipped oat cream. Continue to beat until the mixture is smooth, well combined, and creamy. Transfer the ice cream base to a freezer-safe container, cover it, and let it chill in the freezer for at least 1 hour, or until it thickens to the consistency of softened ice cream. This initial chill will make it easier to spread.
Assembling the Gluten-Free Ice Cream Sandwiches
Now for the exciting part – bringing it all together to create your delicious ice cream sandwiches!
Step 1: Prepare the Cookie Layers. Retrieve the baked cookie base from the freezer. Using a sharp knife or a pizza cutter, carefully cut the large cookie sheet in half, creating two rectangles, each approximately 9 x 13 inches. This ensures you have two equal layers for your sandwich.
Step 2: Spread the Ice Cream. Place one of the cookie rectangles onto a clean surface or back on the parchment-lined baking sheet. Evenly spread the semi-firm ice cream base over this cookie layer, making sure to reach the edges. An offset spatula works wonderfully for achieving a smooth, consistent layer.
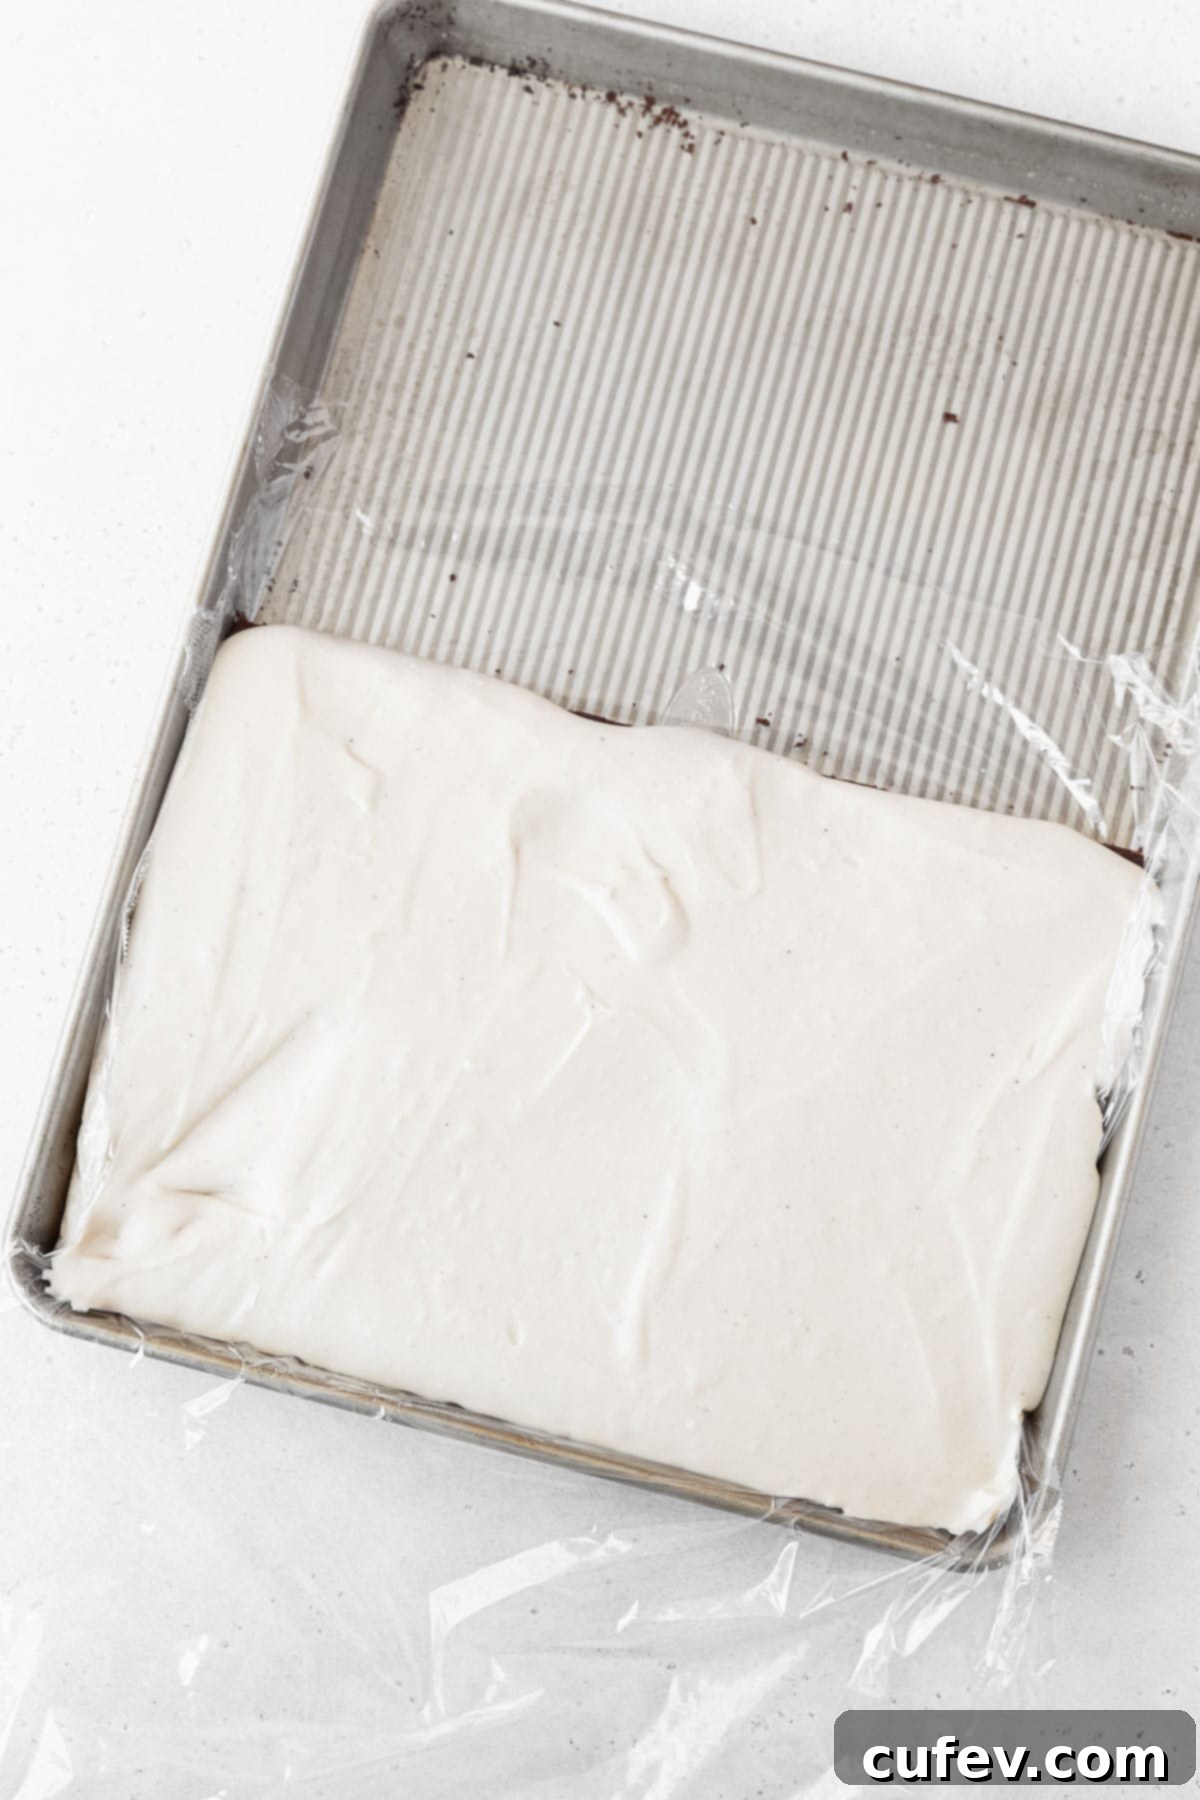
Step 3: Layer and Freeze. Gently place the second cookie layer on top of the ice cream, pressing down lightly to secure it. Wrap this large ice cream sandwich tightly with plastic wrap, ensuring no air gaps. Return the entire assembly to the freezer and allow it to freeze completely, which will take approximately 6 hours or ideally, overnight. This crucial step ensures the ice cream is firm enough to be cleanly cut.
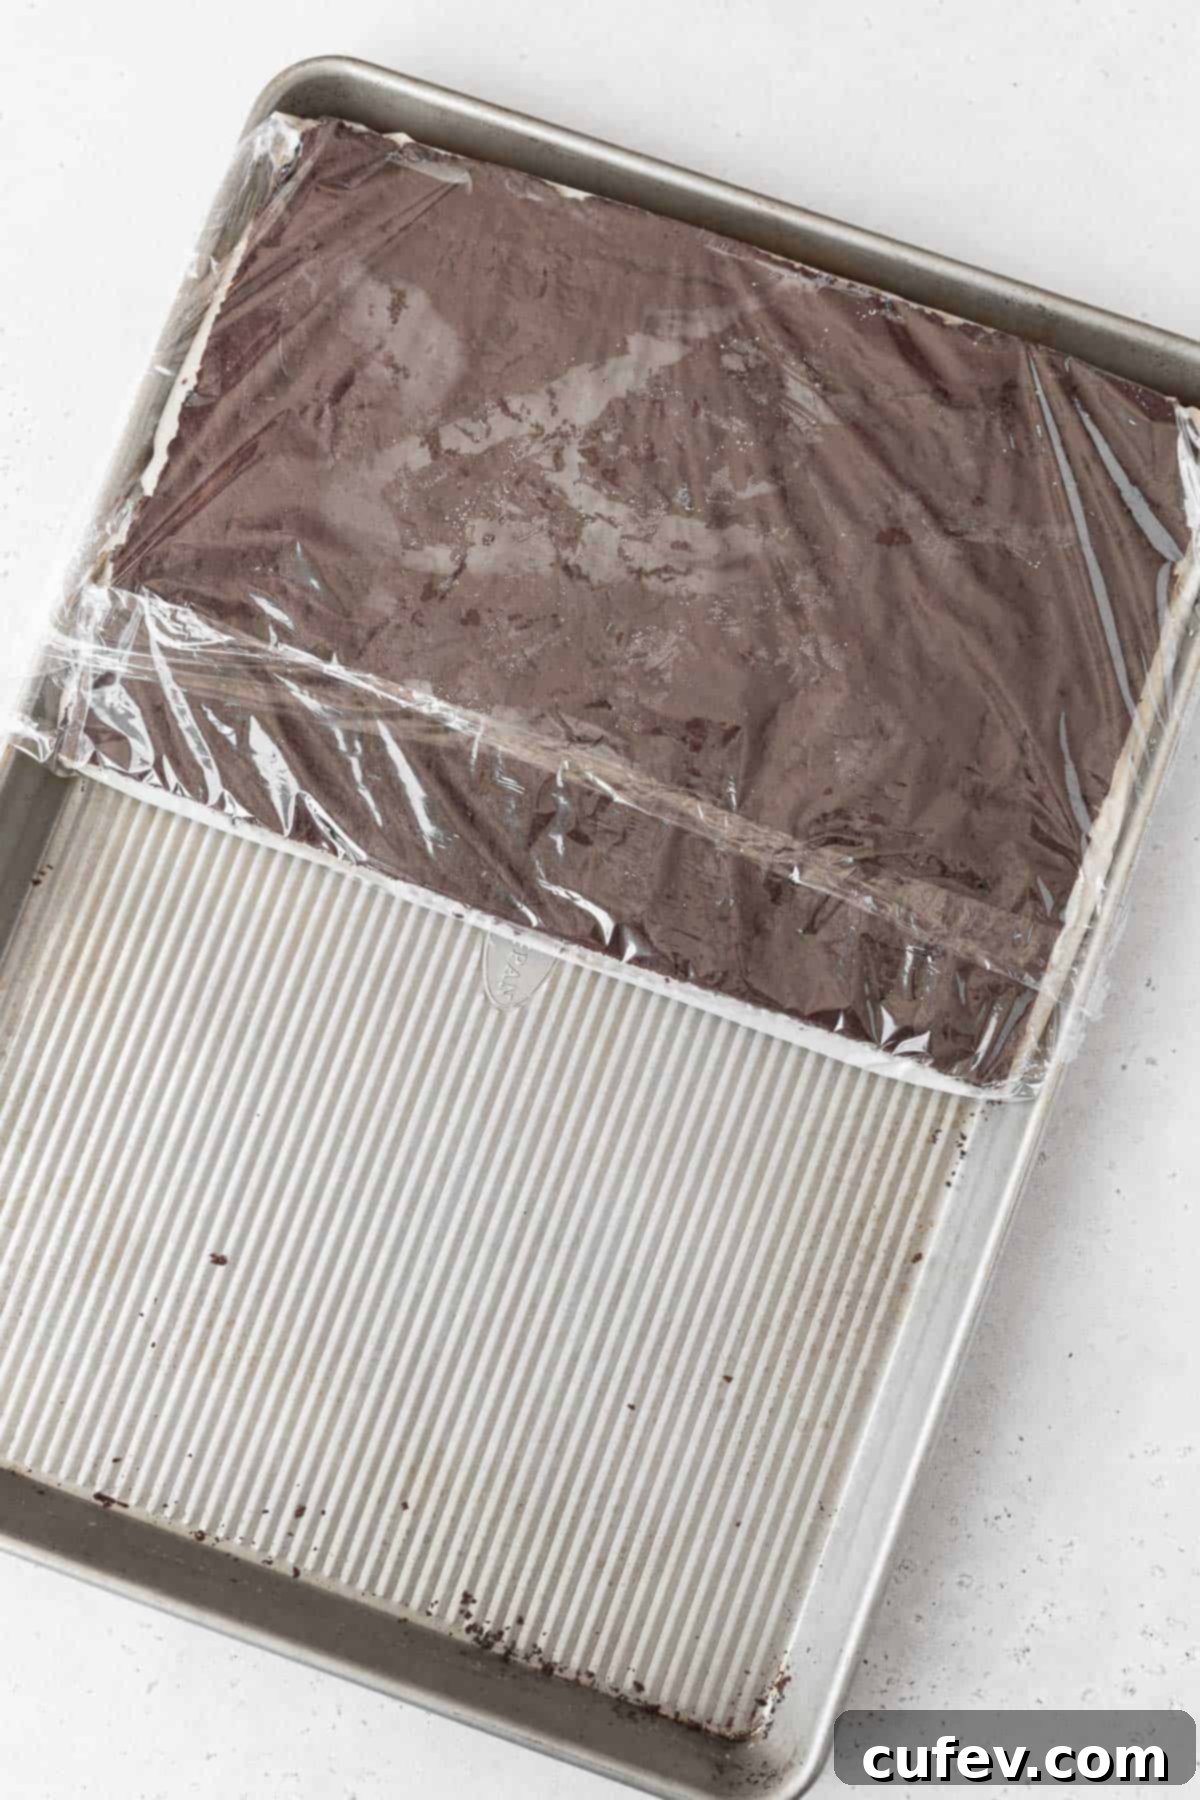
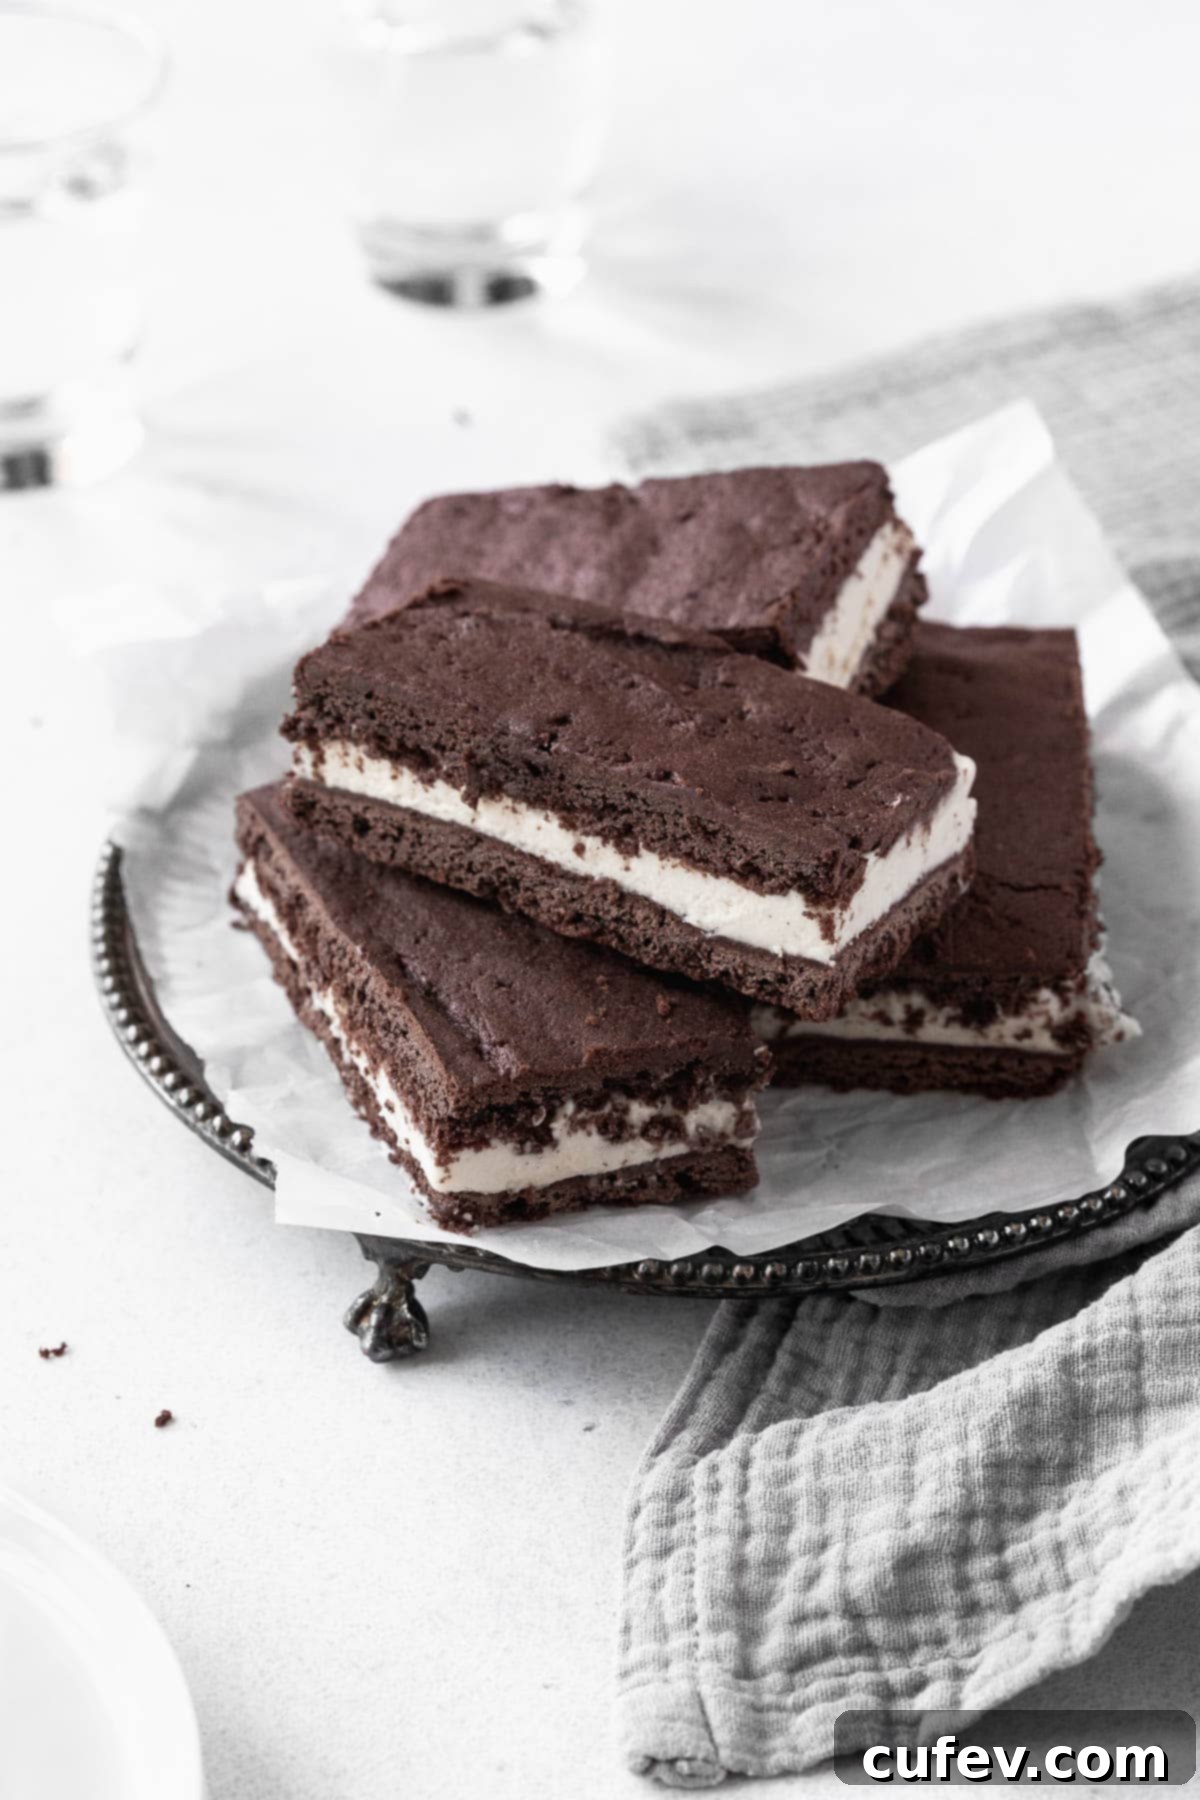
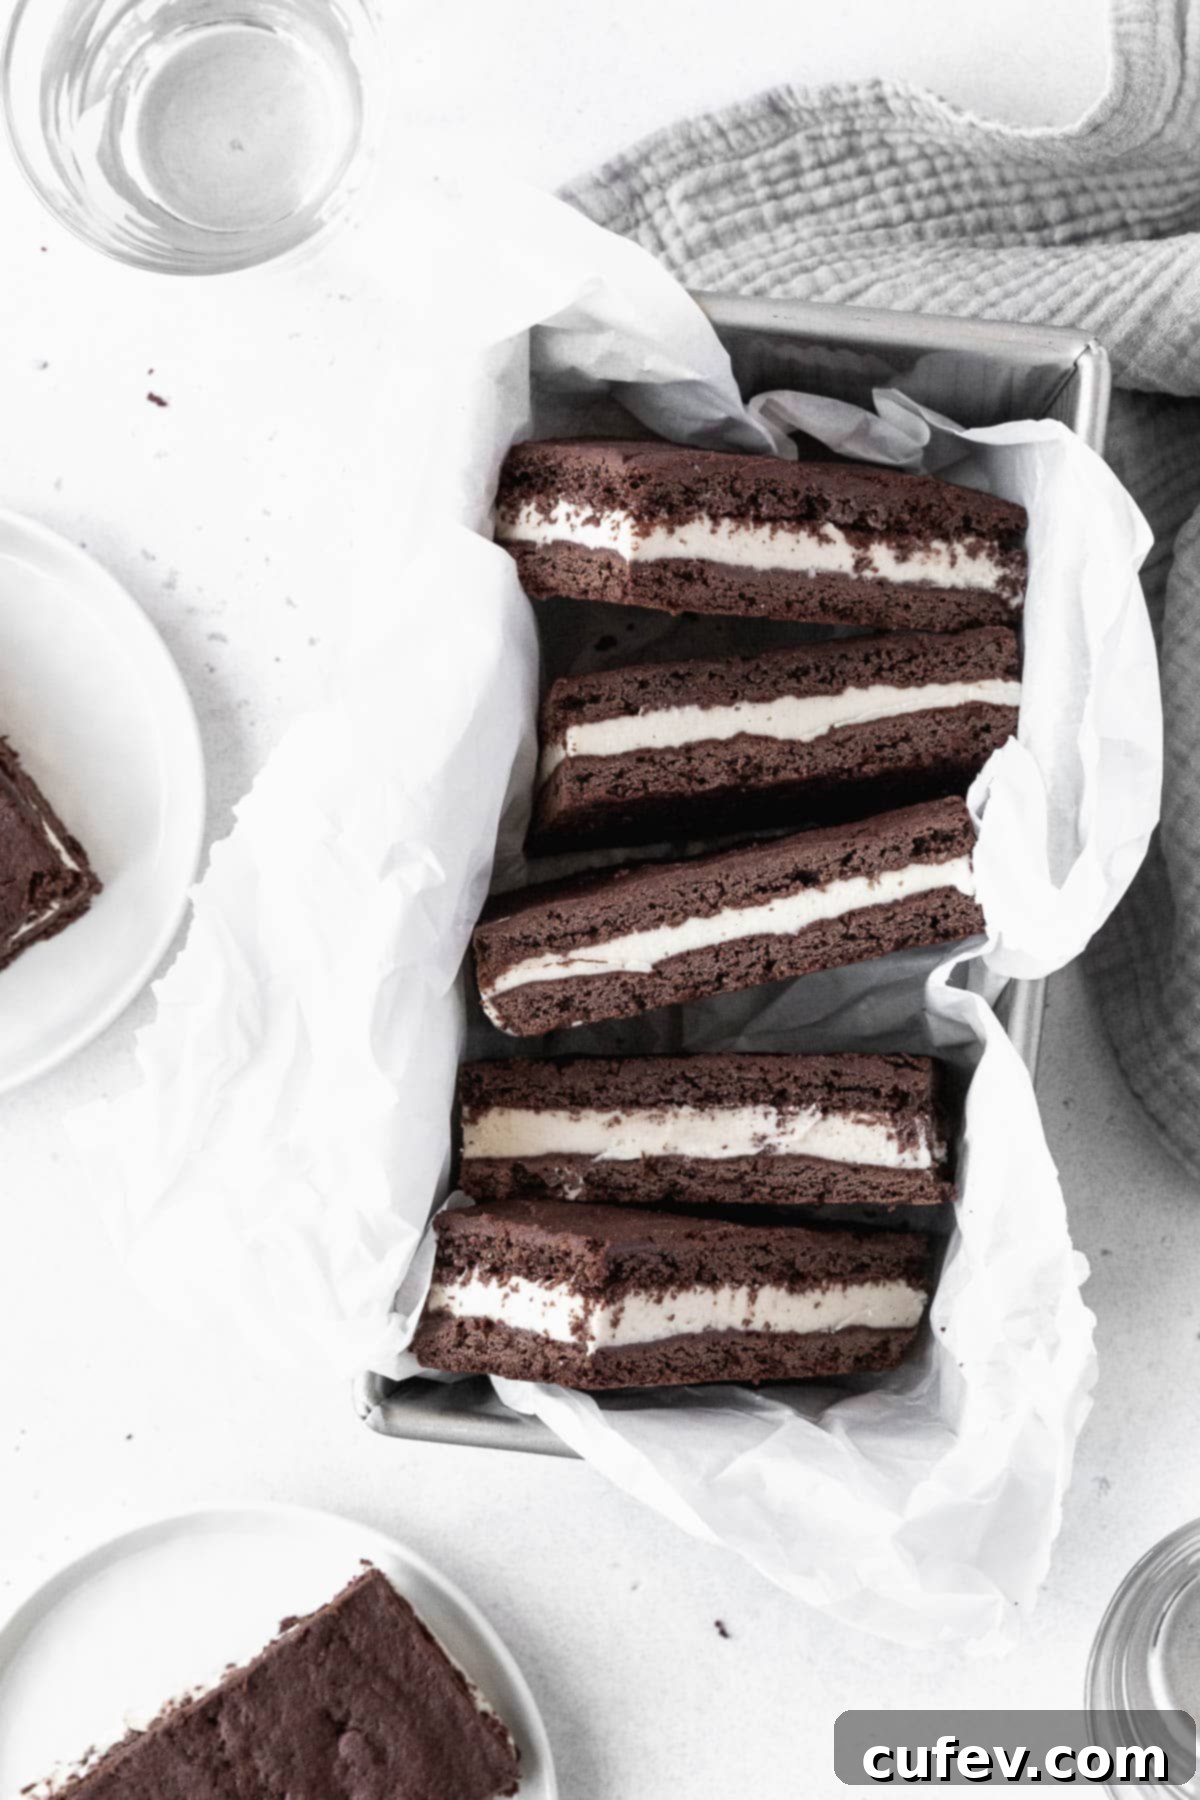
Step 4: Cut into Individual Sandwiches. Once completely frozen, take the large ice cream sandwich out of the freezer. Remove the plastic wrap and place it on a sturdy cutting board. Using a sharp, thin-bladed knife (running it under hot water and wiping it clean between cuts can help prevent sticking and create cleaner edges), cut the large sandwich into individual, desired-sized pieces, typically bars. Each cut reveals a beautiful layer of chocolate cookie and creamy ice cream.
Step 5: Store for Enjoyment. For optimal freshness and to prevent freezer burn, wrap each individual ice cream sandwich tightly in plastic wrap. Store these wrapped sandwiches in an airtight bag or a freezer-safe container. They can be kept in the freezer for up to 2 months, ready to be enjoyed whenever a craving strikes!
Recipe Success Tips for Perfect Gluten-Free Ice Cream Sandwiches
Achieving the perfect texture and flavor for your homemade gluten-free ice cream sandwiches is easy with a few key tips:
- Ensure Oat Whipping Cream is Well Chilled. This is perhaps the most critical step for the ice cream. Chilling the oat whipping cream, ideally overnight, is essential. Cold cream whips up more easily, resulting in stiffer peaks and a stable, airy base for your dairy-free ice cream. This creates a light and creamy vanilla ice cream that holds its shape beautifully.
- Use a Mixer for Best Results. Whether you have a powerful stand mixer or a reliable electric hand mixer, using one will significantly ease the process of making both the cookie base and the ice cream. It ensures ingredients are thoroughly combined and properly aerated, leading to optimal texture.
- Don’t Overmix the Cookie Dough. While the 1-to-1 gluten-free flour blend is forgiving, overmixing any cookie dough can lead to a tougher texture. Mix only until the ingredients are just combined and no dry streaks remain.
- Parchment Paper is Your Best Friend. Lining your baking sheet with parchment paper for the cookie base is non-negotiable. It prevents sticking, ensures easy removal of the baked cookie, and makes cleanup a breeze.
- Freeze After Assembly for Firmness. Once you’ve assembled your large ice cream sandwich, freezing it completely is vital. This allows the ice cream to firm up properly within the cookie layers, ensuring that when you cut it, the sandwiches hold their shape and don’t become a messy delight.
- Slice with a Warm, Sharp Knife. For clean, professional-looking cuts when dividing your frozen ice cream sandwich slab, use a very sharp knife. For even better results, run the knife under hot water for a few seconds and wipe it dry before each cut. This slight warmth helps glide through the frozen layers more smoothly.
- Traditional Dairy Option. If dietary restrictions for dairy are not a concern, you can adapt this recipe to a traditional version. Simply substitute the vegan butter for unsalted dairy butter, sweetened condensed oat milk for regular sweetened condensed milk, and oat whipping cream for heavy whipping cream. Remember, by making these substitutions, your ice cream sandwiches will no longer be dairy-free or vegan.
Can You Make Gluten-Free Ice Cream Sandwiches with Store-Bought Ice Cream?
Absolutely! While this recipe provides an incredible homemade dairy-free ice cream, you can certainly expedite the process by using store-bought gluten-free ice cream. This is a fantastic option if you’re short on time or simply prefer a particular flavor.
Here’s how to do it effectively:
- Choose Wisely: First and foremost, make sure to start with a brand of ice cream that is explicitly labeled “gluten-free.” As discussed earlier, not all ice creams are free from gluten due to various additives or mix-ins. Double-check the ingredient list and certifications.
- Soften Correctly: Take your chosen gluten-free ice cream out of the freezer and let it soften at room temperature for 15-30 minutes, or until it reaches a spreadable consistency, similar to soft-serve. You want it pliable enough to spread evenly without melting completely.
- Dairy-Free Option: To maintain the dairy-free nature of this recipe when using store-bought ice cream, simply follow the above tips with a store-bought dairy-free or vegan ice cream. Many brands offer excellent plant-based ice creams made from almond, oat, coconut, or cashew milk that would work perfectly.
- Flavor Pairings: Consider how the store-bought ice cream flavor will complement the rich chocolate cookies. Classic vanilla is always a winner, but mint chocolate chip, coffee, or even a berry-flavored dairy-free ice cream could be delightful variations.
- Proceed as Directed: Once your store-bought ice cream is softened, you can continue with the assembly steps of this recipe as directed, spreading it onto one of the cookie layers and freezing until firm.
Creative Recipe Variations for Endless Fun
While these gluten-free and non-dairy ice cream sandwiches are already a guaranteed hit, you can easily elevate them with exciting variations to suit any taste or occasion. Get creative and make them your own!
- Add Chocolate Chips: For an extra layer of chocolatey texture and crunch, stir mini chocolate chips into the prepared ice cream base just before chilling and assembling the cookies. If keeping this recipe dairy-free and vegan, ensure you use high-quality vegan or dairy-free chocolate chips. Dark chocolate chips often fit the bill!
- Decorate with Sprinkles: Add a burst of color and a playful touch by dipping the sides of your individual ice cream sandwiches into rainbow or chocolate sprinkles. This is especially fun for parties or for engaging kids in the kitchen. Make sure to use vegan-friendly sprinkles, as some brands contain confectioner’s glaze or other non-vegan ingredients.
- Explore New Flavors: The homemade ice cream base is a perfect canvas for flavor experimentation.
- Mint Chocolate: Add a teaspoon of mint extract to the ice cream base for a refreshing mint chocolate sandwich. You could also stir in some mini chocolate chips for “mint chip” flavor.
- Strawberry Swirl: For a fruity twist, stir in a few tablespoons of freeze-dried strawberry powder for natural color and intense berry flavor. Alternatively, gently fold in a swirl of homemade strawberry jam or pureed fresh strawberries.
- Cherry Delight: Fold in some chopped maraschino cherries or a spoonful of cherry pie filling for a sweet, fruity element and a delightful textural contrast.
- Coffee Kick: Incorporate a teaspoon of instant espresso powder or coffee extract into the ice cream base for a sophisticated coffee-flavored treat.
- Orange Zest: Grate in the zest of one orange into the cookie dough for a subtle citrus note that perfectly complements the chocolate.
Storage Directions for Freshness
Proper storage is key to keeping your vegan ice cream sandwiches delicious and fresh for as long as possible. Follow these simple steps to ensure they remain a delightful treat:
- Individual Wrapping: Once the assembled ice cream slab has been cut into individual sandwiches, it’s crucial to wrap each one tightly in plastic wrap. This barrier protects them from freezer burn and helps maintain their texture and flavor.
- Airtight Container: After wrapping, place the individually wrapped sandwiches into a larger freezer-safe airtight container or a heavy-duty freezer bag. This provides an additional layer of protection against odors from other freezer items and further prevents ice crystal formation.
- Freezer Lifespan: When stored correctly using these methods, your homemade gluten-free and dairy-free ice cream sandwiches can maintain their quality and taste for up to 2 months in the freezer. Beyond this, they may start to develop freezer burn, affecting their texture.
- Serving Tip: For the best eating experience, remove the ice cream sandwiches from the freezer a few minutes before serving to allow the ice cream to soften just slightly, making them easier to bite into and enjoy.
More Ice Cream and Sandwich Dessert Recipes to Enjoy
If you loved these gluten-free ice cream sandwiches, be sure to explore more delightful and allergy-friendly dessert recipes from my kitchen!
- Mango Sorbet (2 Ingredients!)
- Creamy Vegan Matcha Ice Cream
- Chewy Coconut Oatmeal Cookie Sandwiches
- Spooky Halloween Cookies – quick and easy!
Thank you so much for stopping by and taking the time to explore this delicious gluten-free ice cream sandwich recipe! I genuinely hope you loved creating and tasting these delightful treats as much as I do. For more mouth-watering dairy-free, gluten-free, and/or vegan dessert inspiration and culinary adventures, make sure to follow me on Pinterest, Facebook, and Instagram. You can also get all of my newest content, exclusive tips, and seasonal recipes delivered straight to your inbox by signing up for my email newsletter — I promise not to spam you, only to share deliciousness!
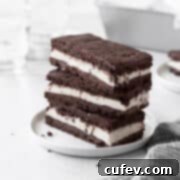
Gluten-Free Ice Cream Sandwiches
Print
Pin
Rate
Ingredients
Chocolate Cookie Base
- 2 cups gluten-free 1-to-1 flour
- 1 cup cocoa powder
- ½ teaspoon fine salt
- 1 teaspoon baking powder
- 1 cup vegan butter softened
- 1 cup light brown sugar
- ½ cup dairy-free milk
- 2 teaspoons vanilla extract
Ice Cream
- 1 can Nature’s Charm sweetened condensed oat milk
- 1 can Nature’s Charm oat whipping cream chilled overnight
- 1 teaspoon vanilla extract
Instructions
-
In a large bowl, whisk together the gluten-free flour, cocoa powder, salt, and baking powder. Set aside.
-
In the bowl of a stand mixer or a large bowl with an electric hand mixer, beat together vegan butter and light brown sugar until fluffy, about 3 minutes. Add the vanilla and beat again. Slowly add the dairy-free milk while continuing to beat.
-
Add half of the dry ingredients, beat again, and scrape the bowl with a silicone spatula before adding the other half and beating again. Once the mixture comes together, cover the bowl and let it rest for 30 minutes.
-
Preheat the oven to 350°F (175°C). Grease and line a half-sheet baking pan (13×18 inch) with parchment paper. Spread the rested cookie base mixture evenly over the parchment paper and bake for 10-12 minutes. Let it cool completely before letting it chill in the freezer while preparing the ice cream.
-
In a large bowl, beat the chilled oat whipping cream for 5 minutes. Add the sweetened condensed oat milk, vanilla, and beat until smooth. Let it chill in the freezer for 1 hour, until it thickens to the texture of softened ice cream.
-
Take the cookie base out of the freezer, and cut it in half so it creates two 9×13 inch rectangles. Evenly spread the ice cream base on one of the cookie layers. Top with the second cookie layer and wrap the large ice cream sandwich with plastic wrap and keep it in the freezer until completely frozen, about 6 hours or overnight. Take it out of the freezer once frozen, take the wrap off, and cut it into 12 pieces. Wrap each ice cream sandwich with plastic wrap and store in an airtight bag or container in the freezer until ready to serve.
