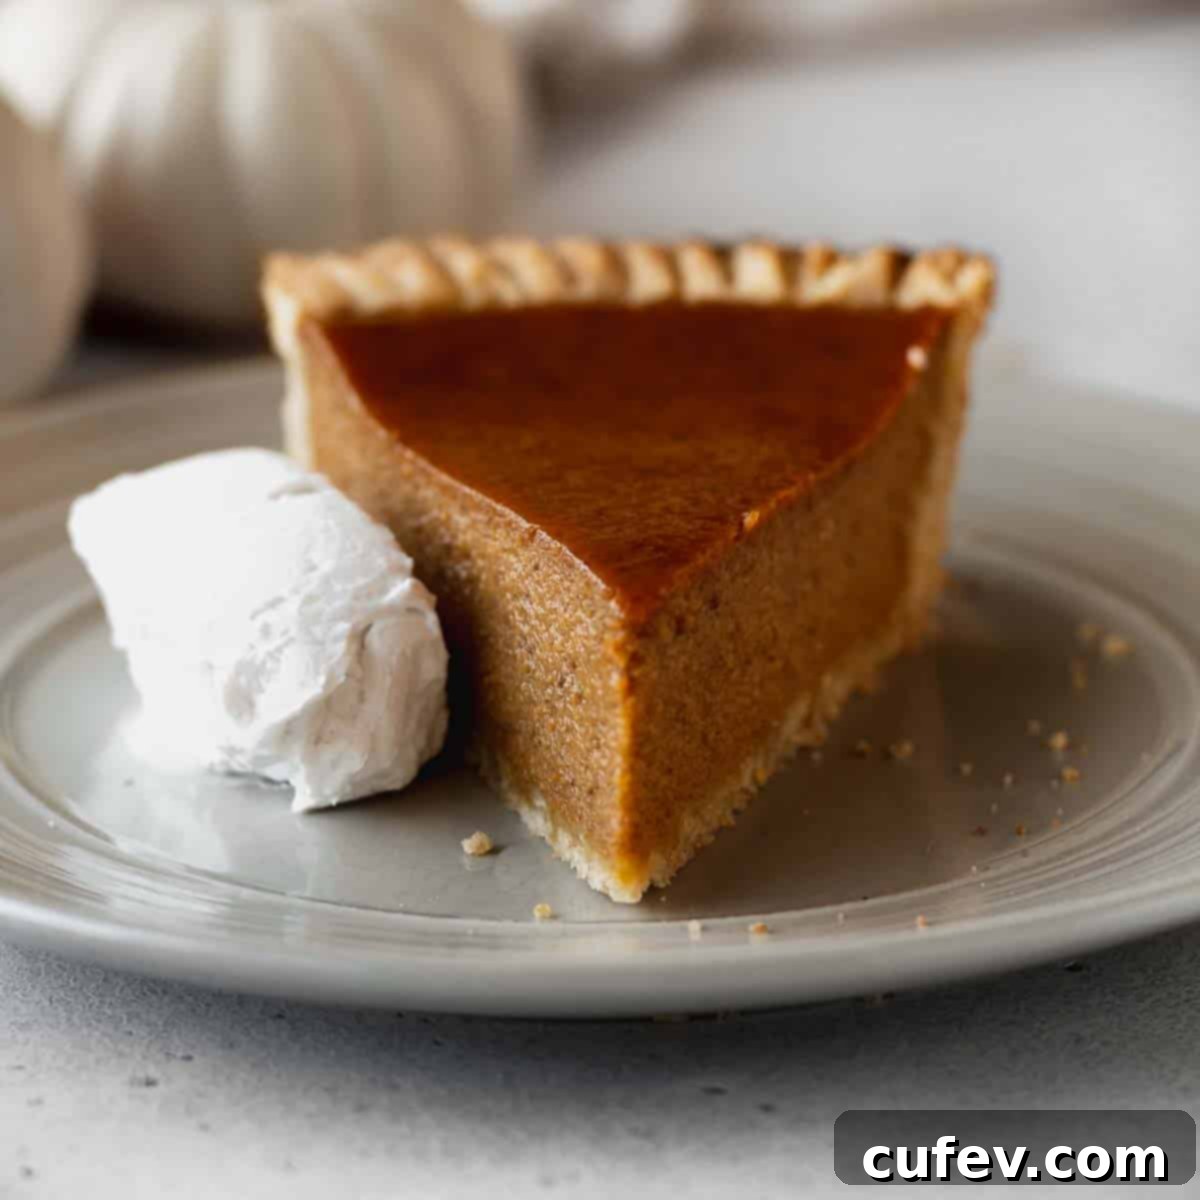
The Ultimate Dairy-Free Pumpkin Pie: Creamy, Spiced & Perfectly Cracked-Free for Fall
Indulge in the quintessential taste of autumn with this extraordinary dairy-free pumpkin pie recipe. Crafted for both seasoned bakers and newcomers, this recipe promises a rich, velvety-smooth filling that beautifully captures the essence of fall without a trace of dairy. We achieve this delectable texture and flavor by utilizing sweetened condensed coconut milk and a precise combination of whole eggs and egg yolks – a secret weapon against common pie woes like cracking or watery fillings. Prepare to impress everyone with a pie that’s not only incredibly delicious but also impeccably smooth.
As a passionate pumpkin pie enthusiast and dedicated recipe developer, I’ve spent countless hours meticulously testing and refining this recipe. My goal was to create a dairy-free pumpkin pie that doesn’t just “pass” but truly shines, offering a perfectly spiced and incredibly creamy experience. I can confidently assure you that this pie will exceed all your expectations. Its rich flavor and luscious texture are so convincing, no one will even guess it’s completely dairy-free!
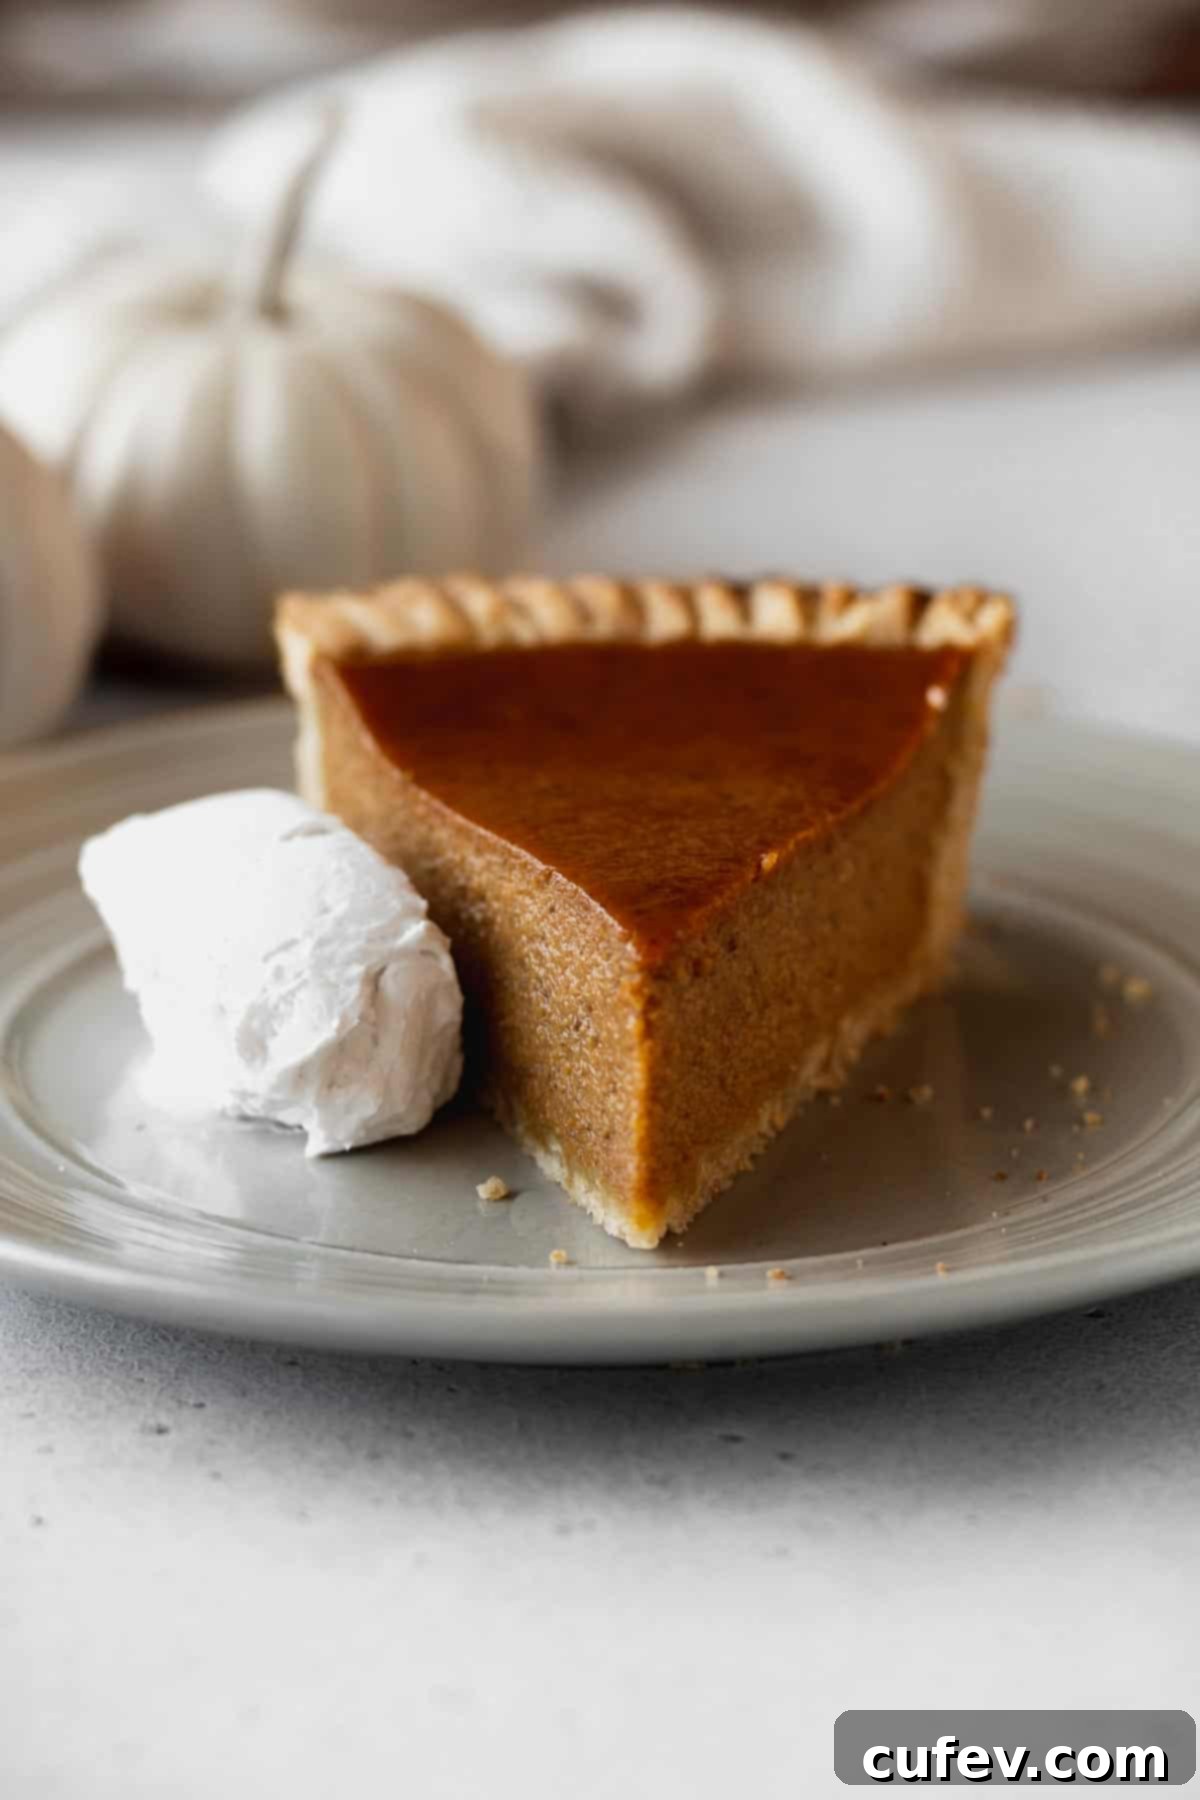
This cherished recipe was originally shared on November 7, 2021, and has been thoughtfully updated with fresh insights and enhanced details on September 10, 2025, to ensure the most delightful baking experience.
Essential Ingredients for Your Dairy-Free Pumpkin Pie
Crafting a truly exceptional dairy-free pumpkin pie starts with understanding its core components. While the ingredient list might appear straightforward, each plays a vital role in achieving that perfect balance of flavor and texture. Here are some detailed notes on the key ingredients that will make your pie unforgettable:
Dairy-Free Pie Crust: The foundation of any great pie is its crust. You have the flexibility to choose between a convenient store-bought dairy-free crust or to create a homemade one from scratch. While my recipe includes instructions for a fantastic homemade crust (found in the recipe card), the star of this particular dessert is undoubtedly the filling. If time is a constraint, don’t hesitate to opt for a quality store-bought pie crust – just be sure to meticulously check the ingredients list to confirm it contains no butter or other dairy products. A crisp, flaky crust provides a delightful contrast to the smooth filling, elevating the entire experience.
Canned Pumpkin Purée: This is the heart of your pumpkin pie! It is absolutely crucial to use pure canned pumpkin purée, not pumpkin pie filling. Pumpkin pie filling comes pre-sweetened and pre-spiced, which will throw off the carefully balanced flavors of this recipe. Look for brands that offer a thick, rich purée, such as E.D. Smith pure pumpkin, which I’ve found consistently delivers excellent results. If your chosen pumpkin purée appears excessively watery, a simple trick is to strain it. Place a coffee filter or cheesecloth over a fine-mesh strainer and let the purée sit for about an hour to remove any excess moisture. This step is key to preventing a watery pie filling and ensuring a dense, flavorful result.
Vegan Sweetened Condensed Milk: This ingredient is a game-changer for dairy-free pumpkin pie. It not only contributes essential sweetness and a luxurious richness to the filling but also acts as a superb thickening agent, outperforming traditional evaporated milk in terms of texture. I’ve personally tested both sweetened condensed coconut milk and sweetened condensed oat milk, and both yield fantastic results, delivering a creamy consistency without compromising flavor. Don’t worry about a strong coconut taste; it subtly blends into the pumpkin and spices.
Eggs and Egg Yolks: The magic behind this pie’s unparalleled richness and its crack-free surface lies in the specific use of eggs. This recipe calls for two whole large eggs combined with two additional egg yolks. The extra egg yolks are paramount for several reasons: they impart an exceptional richness and an incredibly creamy mouthfeel to the filling. Furthermore, by reducing the proportion of egg whites (which contain more water) relative to yolks, we significantly minimize the chances of the pie cracking during the baking and cooling process. This ensures a beautifully smooth, unblemished surface every time.
Pumpkin Pie Spice: For a vibrant and aromatic pumpkin pie, the freshness of your pumpkin pie spice cannot be overstated. Spices lose their potency over time, so ensure your blend hasn’t been languishing in the back of your spice cabinet since last year’s holiday season. A fresh, high-quality pumpkin spice blend—typically a mix of cinnamon, nutmeg, ginger, cloves, and allspice—will provide that warm, inviting flavor profile that defines a classic pumpkin pie. If you’re feeling adventurous, you can even mix your own for peak freshness and customization.

Crafting Your Perfect Dairy-Free Pumpkin Pie: A Step-by-Step Guide
Embark on the journey to create the ultimate dairy-free pumpkin pie with these straightforward and detailed steps. We’ll begin with preparing the pie crust, which requires crucial chilling time, before moving on to assembling the rich and creamy filling.
Mastering the Dairy-Free Pie Crust
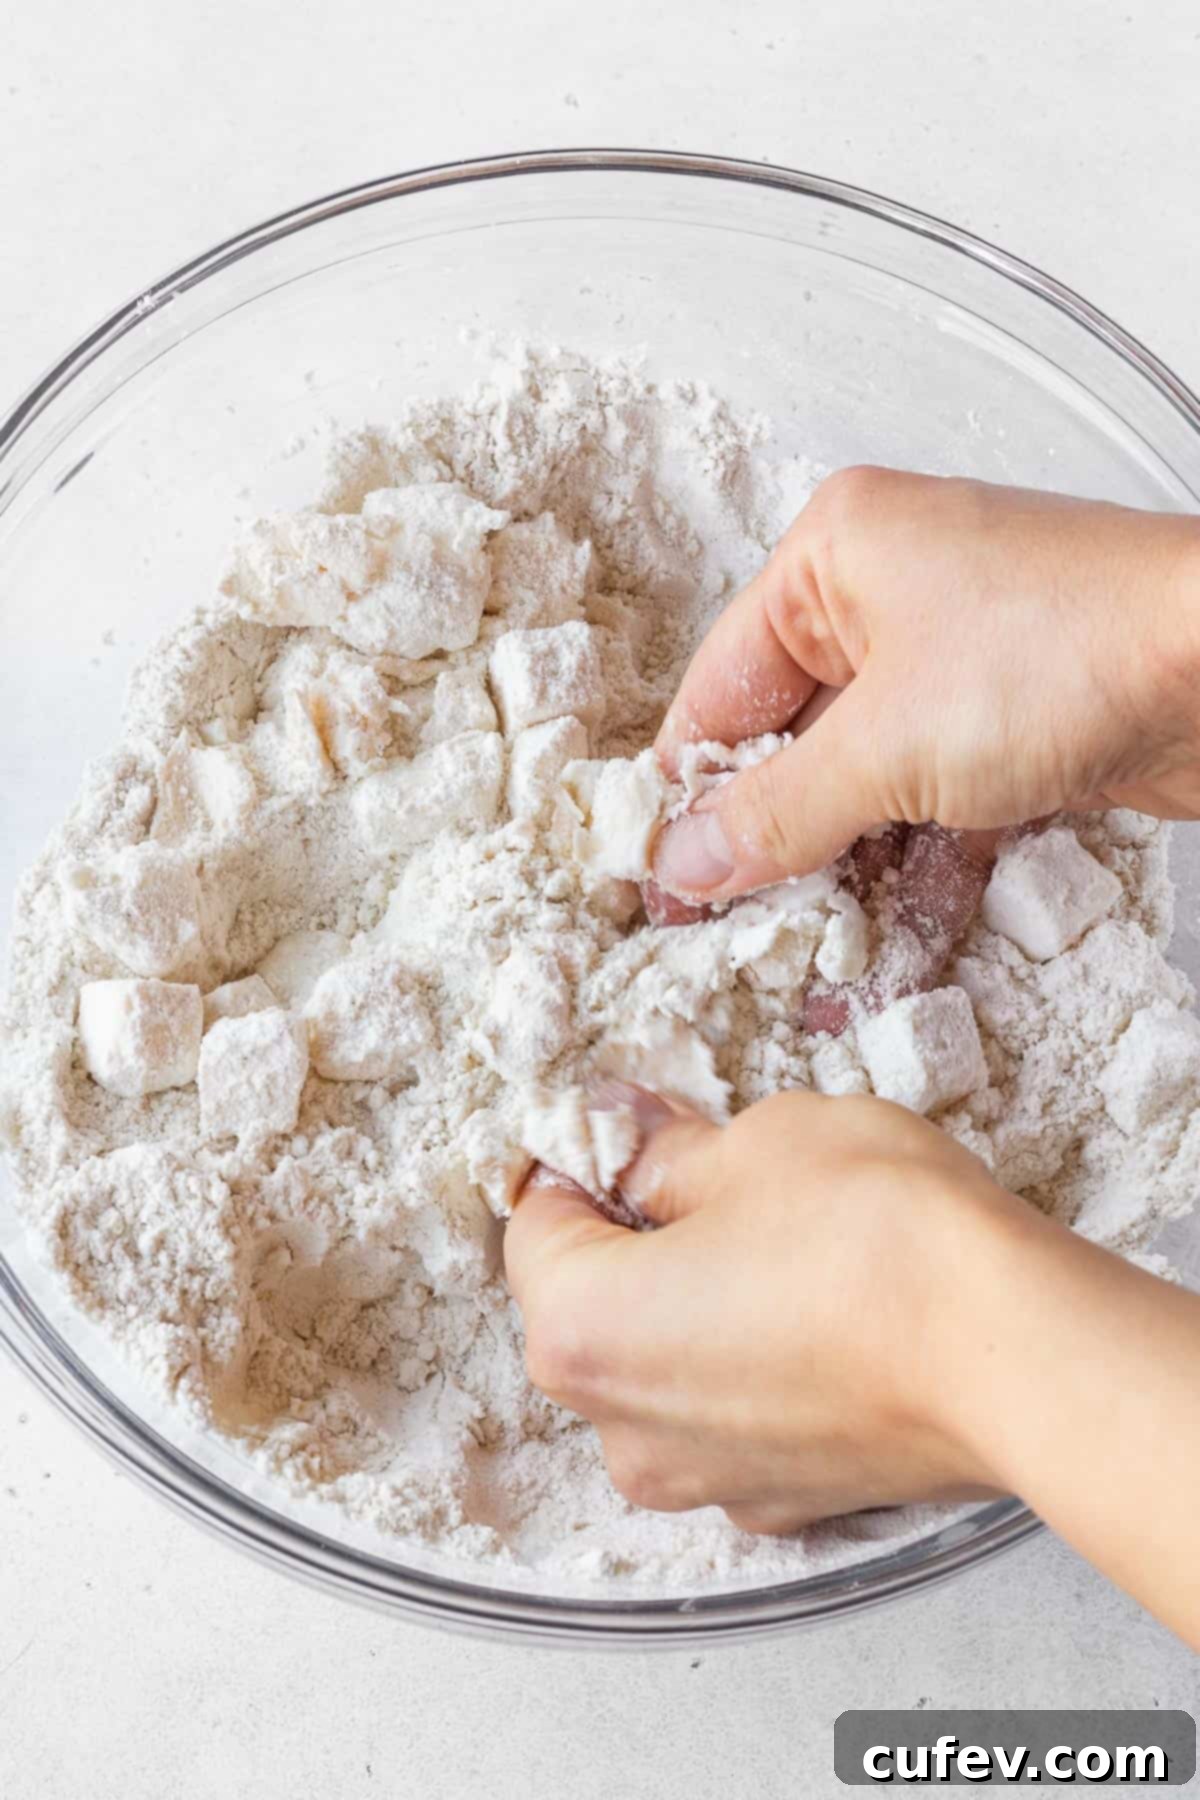
A phenomenal pumpkin pie starts with an equally phenomenal crust – crisp, flaky, and golden. Begin by combining all your dry ingredients (flours, cornstarch, sugar, salt, and baking powder) in a large bowl. Next, introduce the cubed, chilled vegan butter and shortening. Using your fingertips, gently pinch and work these fats into the dry mixture until it resembles coarse crumbs with some pea-sized pieces remaining. This technique is essential for creating those coveted flaky layers in your crust. Gradually add the ice-cold water, one tablespoon at a time, mixing just until the dough barely comes together. Be careful not to overwork the dough, as this can lead to a tough crust.
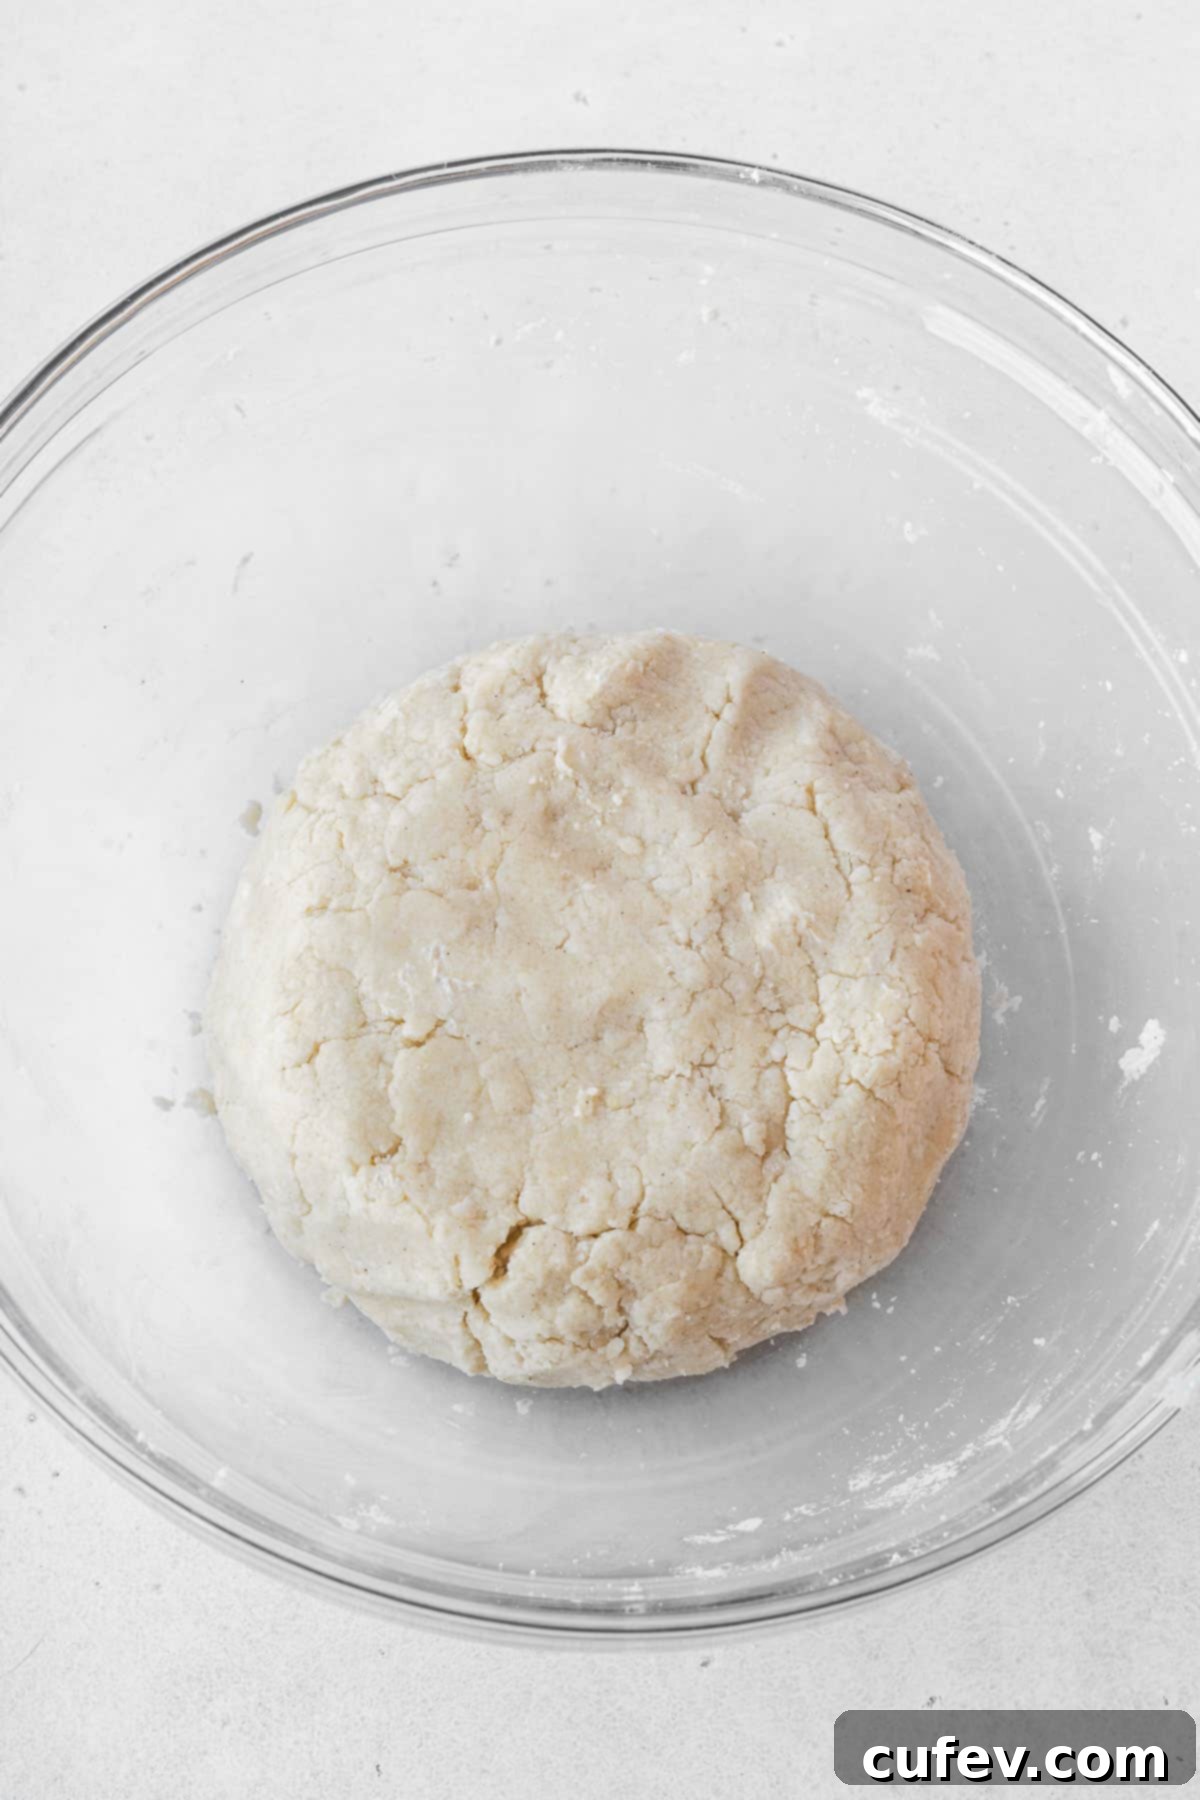
Once the dough forms, gently shape it into a flat, round disk. Wrap it tightly in plastic wrap and place it in the refrigerator to chill for at least one hour. This chilling period is vital; it allows the flour to fully hydrate, and more importantly, ensures the fats firm up again. Cold fat is the secret to a beautifully crisp and flaky crust that won’t shrink excessively during baking. For added convenience, you can prepare the dough a day or even several days in advance and store it in the freezer, ready to be defrosted and rolled when you’re ready to bake.
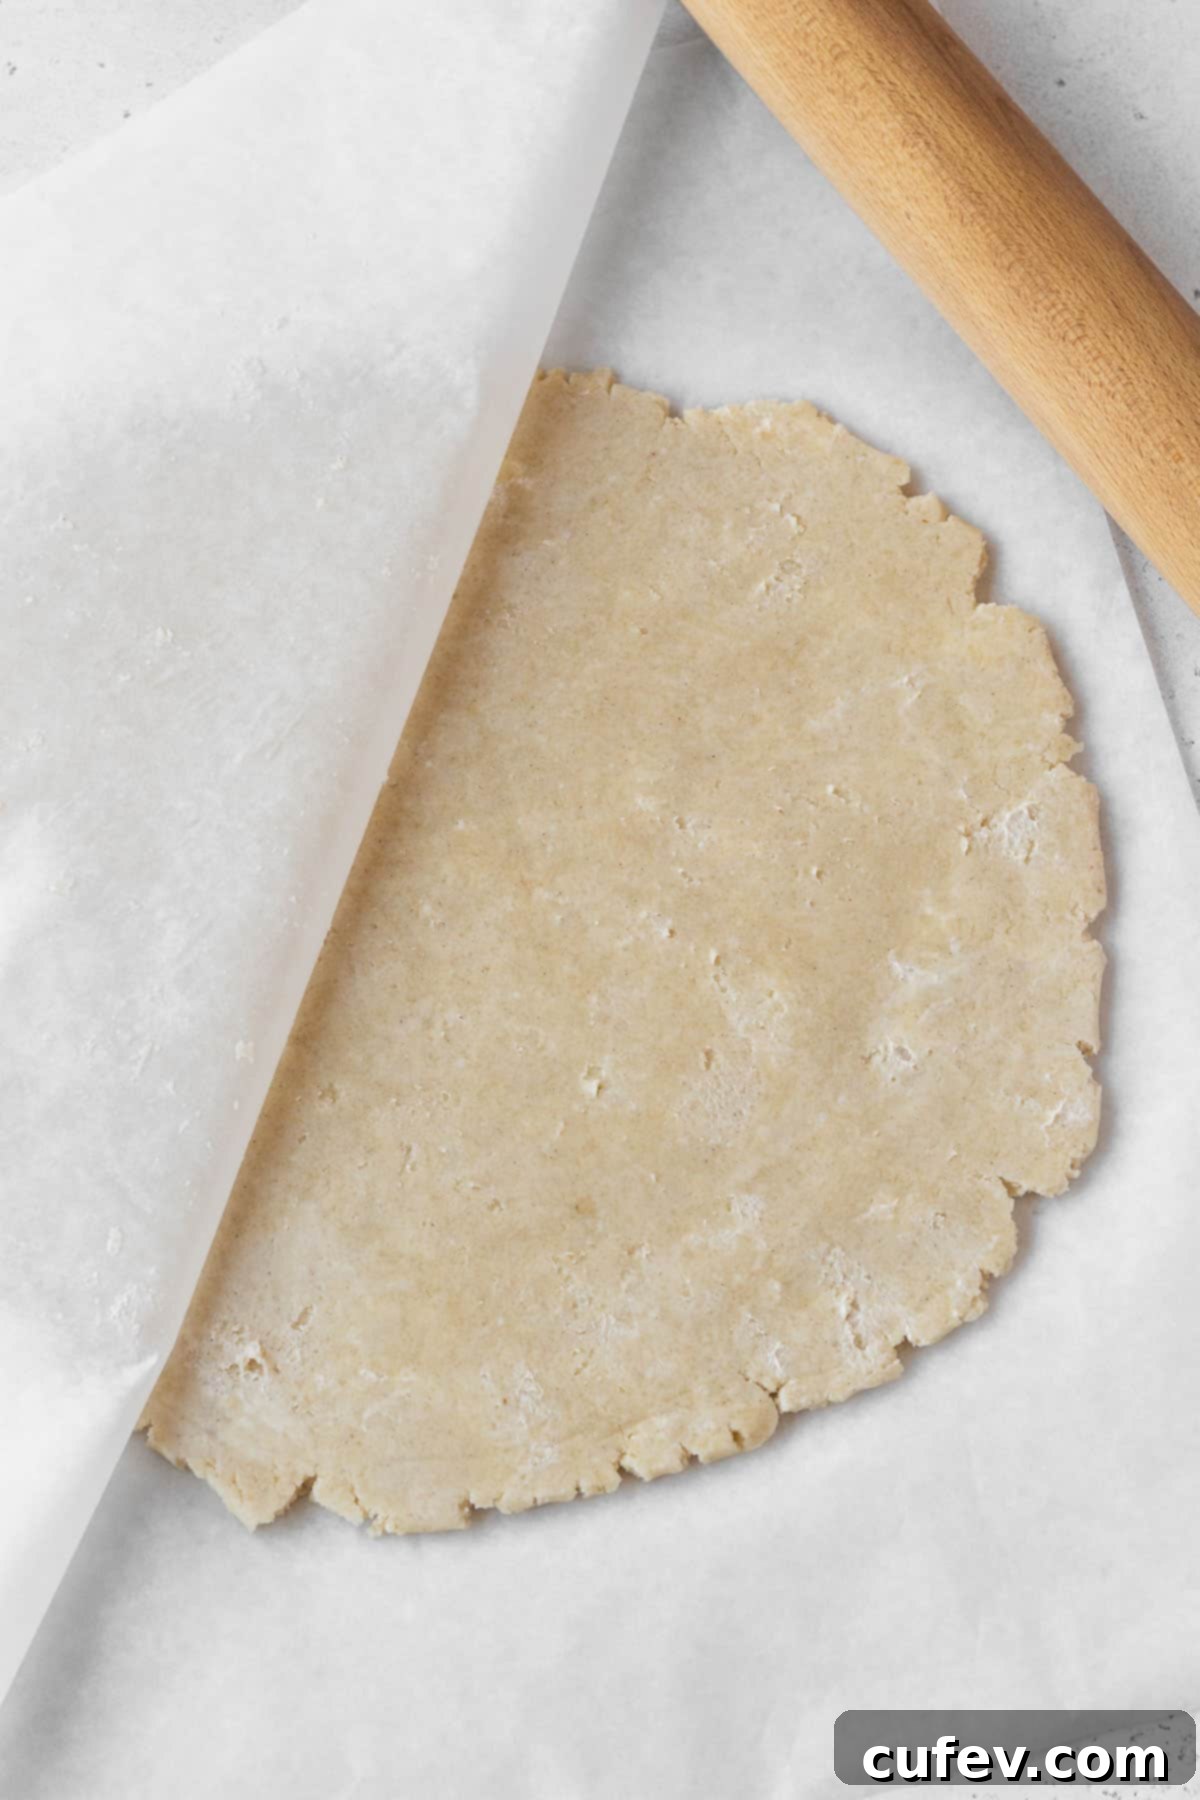
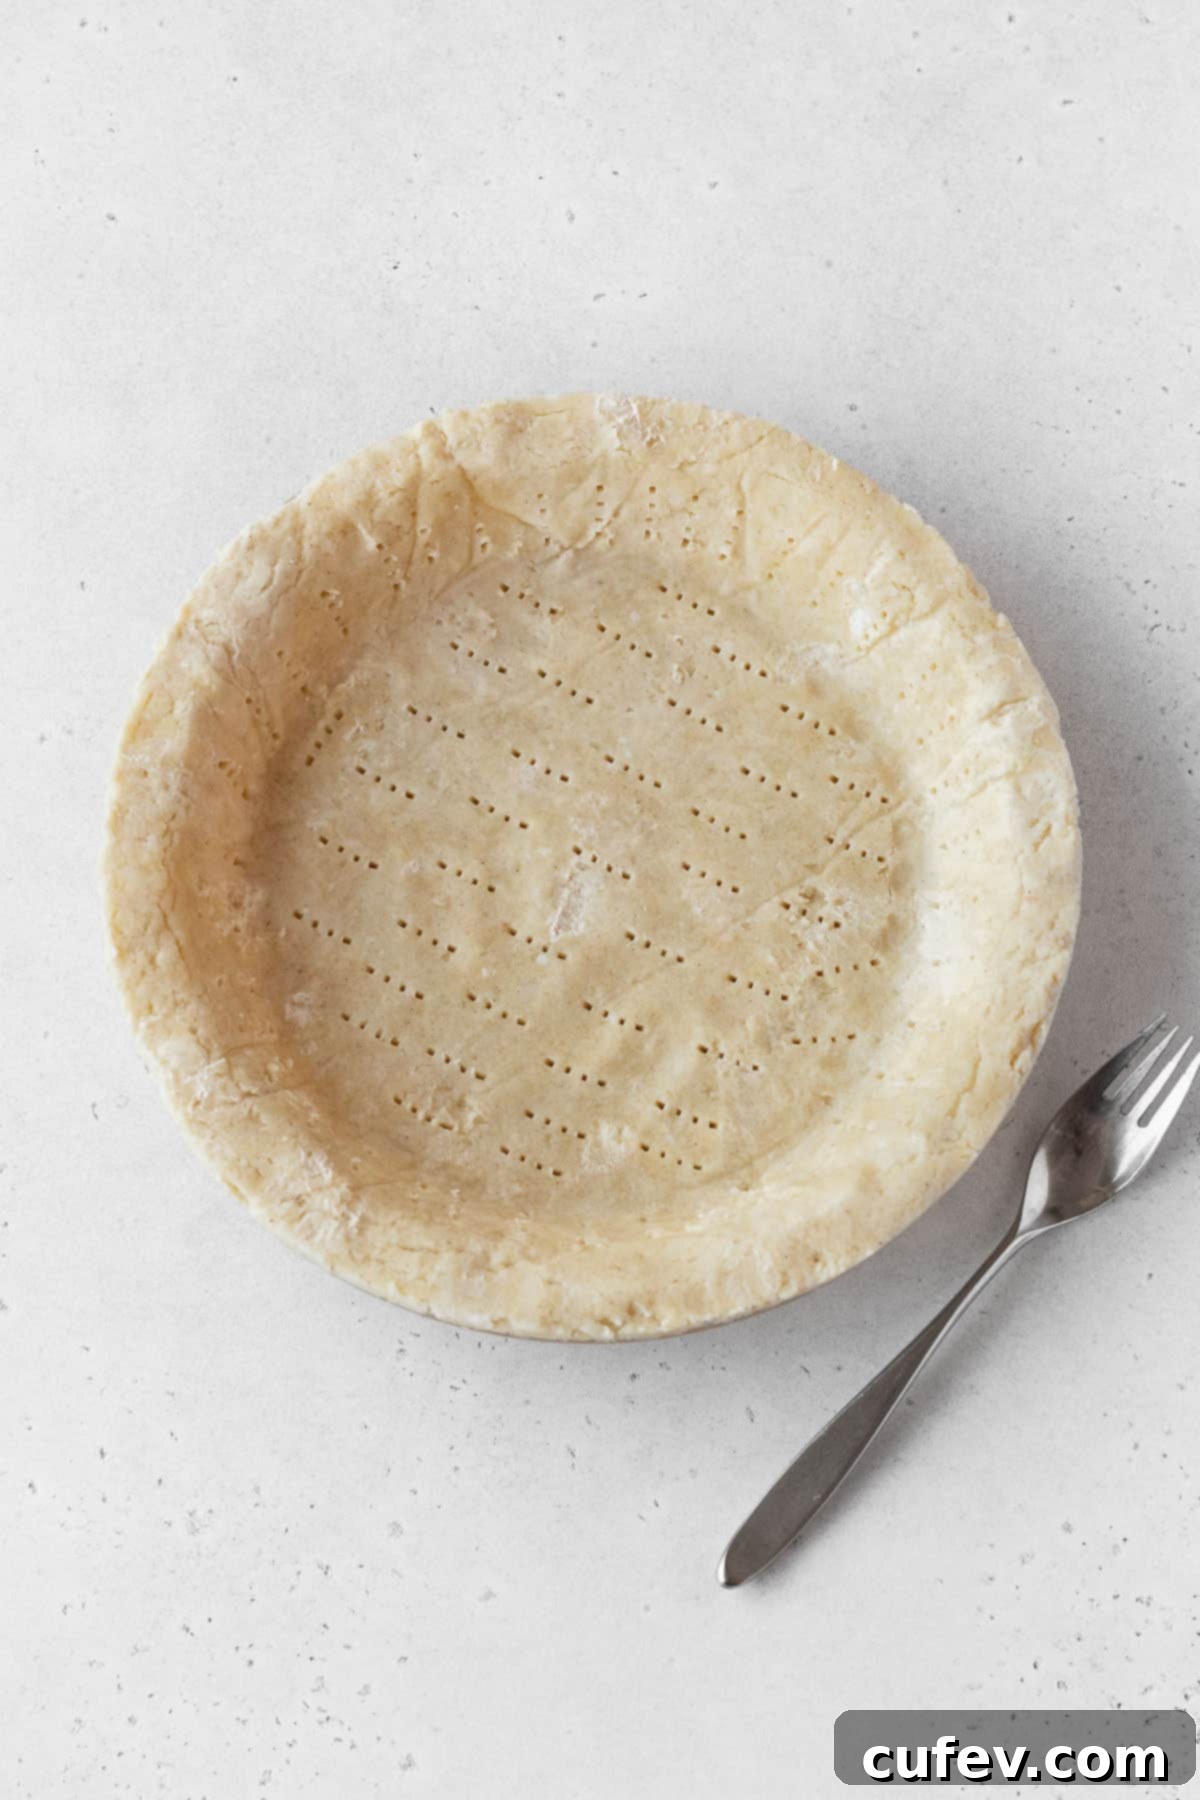
When you’re ready to transform your dough into a pie, lightly flour a piece of parchment paper and roll out the chilled dough into a uniform 12-inch circle. Carefully transfer the rolled dough into a 9-inch pie plate, gently pressing it into the contours without stretching. Ensure there are no trapped air bubbles between the dough and the plate for an even bake. Trim the excess dough from the edges with scissors or a knife, leaving about a 1/2-inch overhang, which you can then crimp or decorate as desired. Prick the bottom and sides of the crust thoroughly with a fork to prevent bubbling. Immediately place the prepared pie crust back into the freezer while your oven preheats. This crucial step helps the fat stay cold and firm, preventing shrinkage and ensuring a crisp crust.
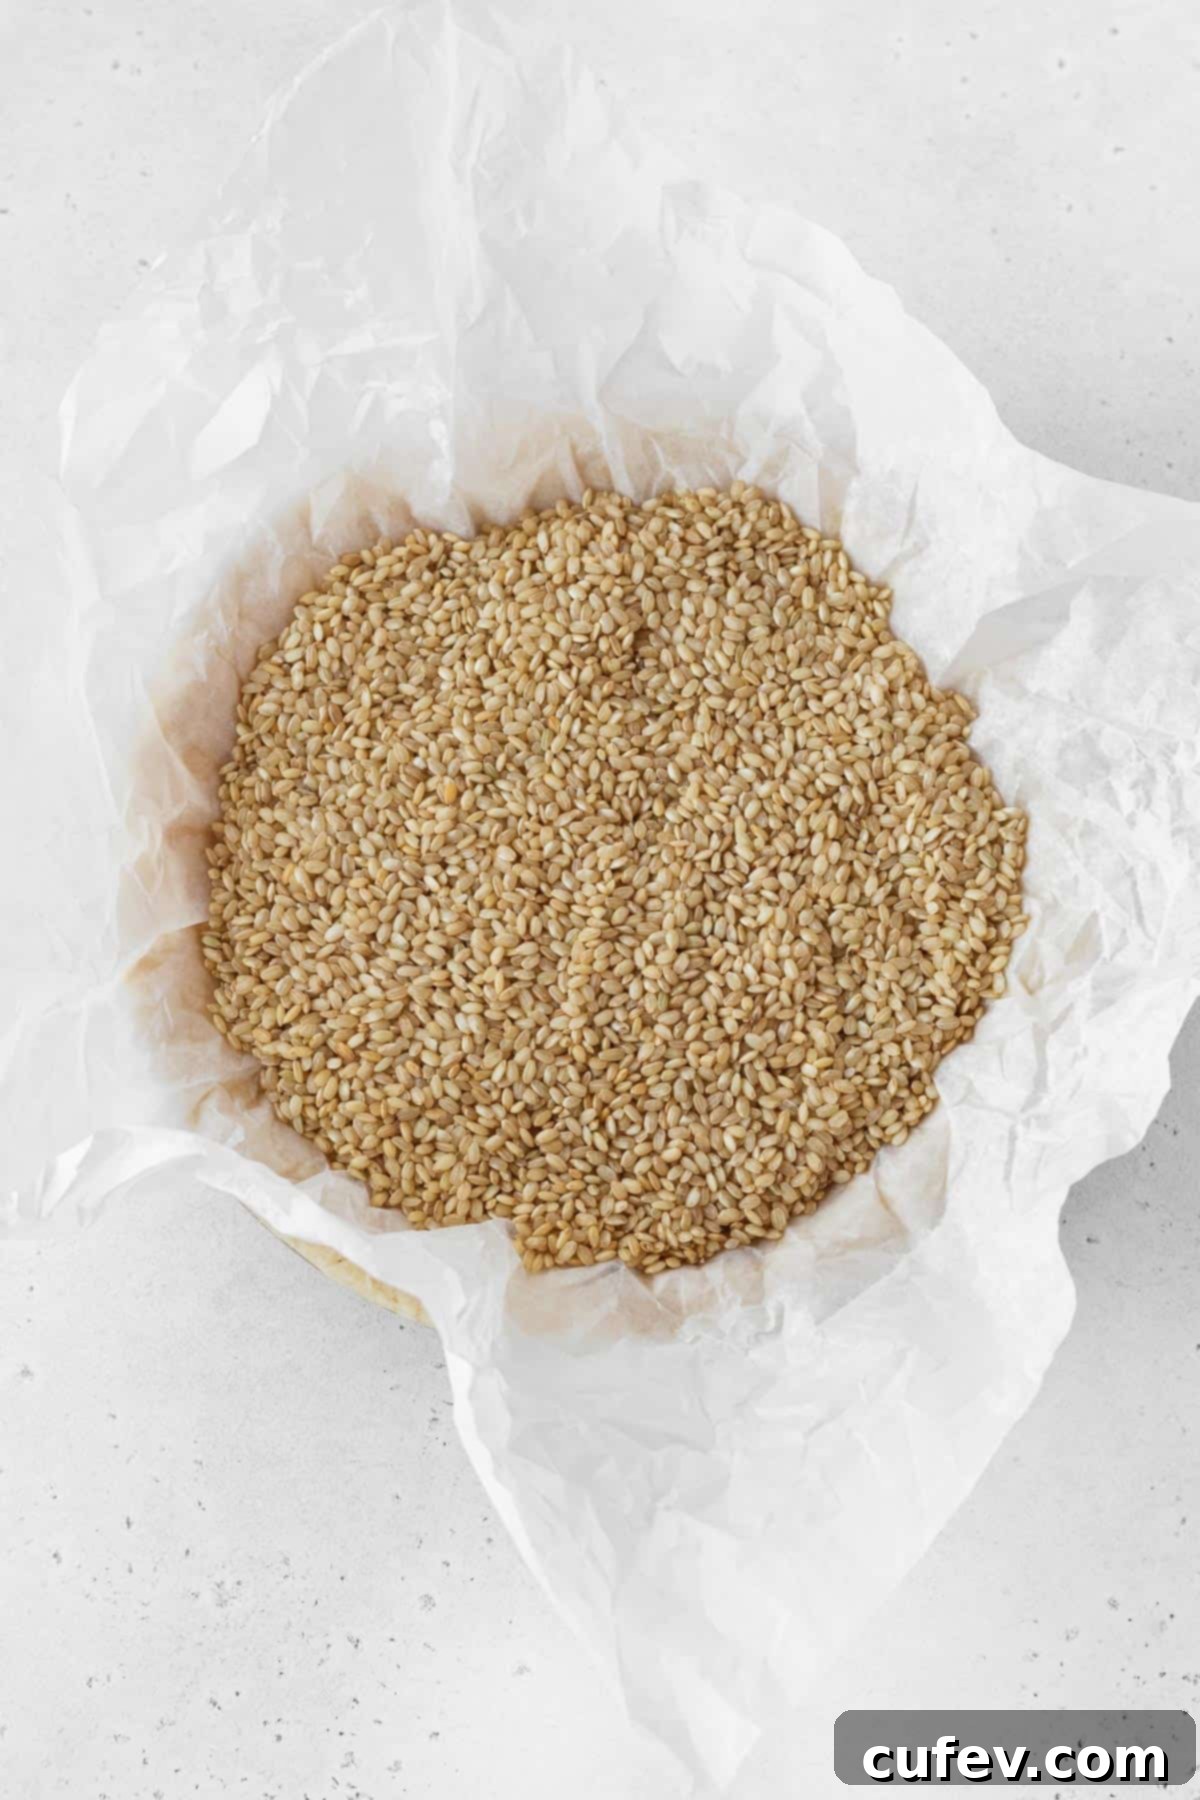
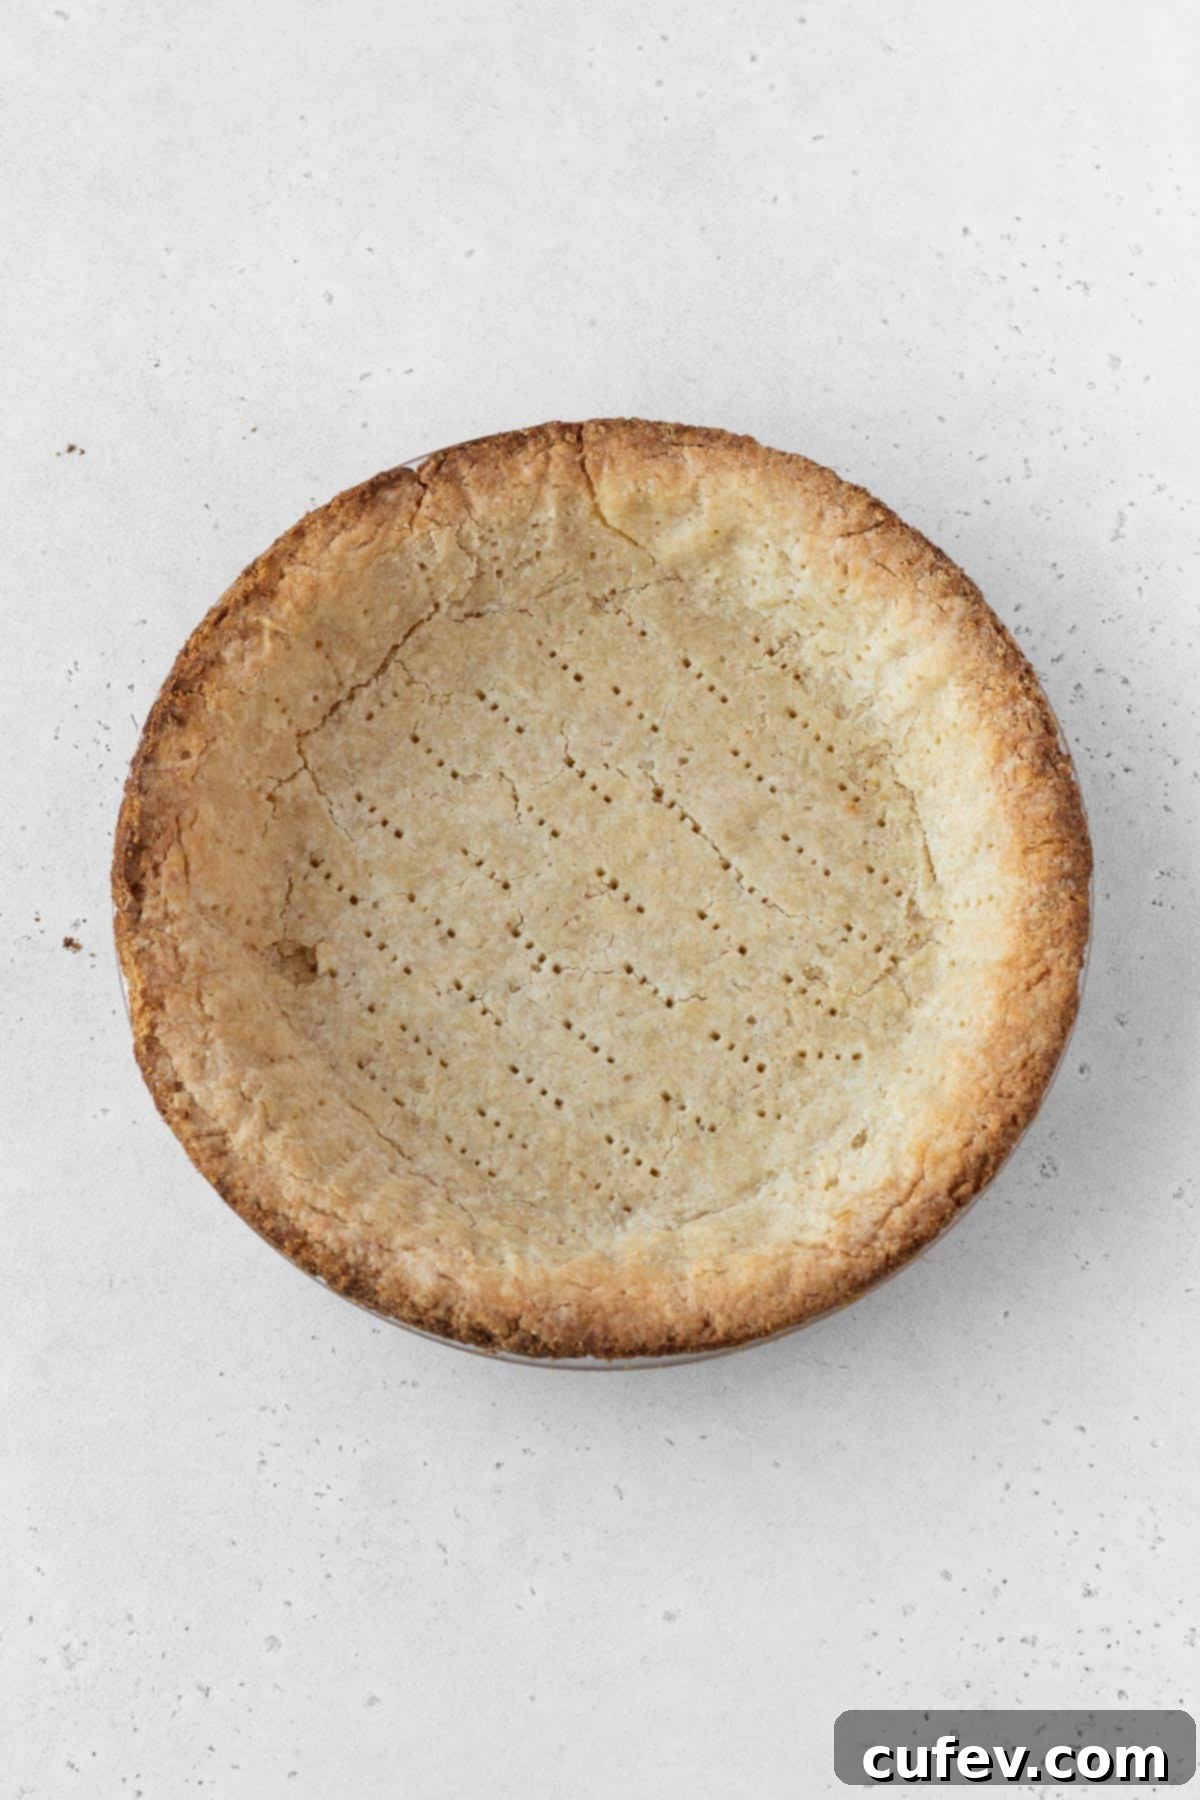
Preheat your oven to 425°F (220°C). Retrieve the chilled pie crust from the freezer. Line the inside of the crust with a piece of crumpled parchment paper (crumpling it first helps it fit the shape better), then fill it generously with pie weights, dry beans, or uncooked rice. These weights are crucial for blind baking, preventing the crust from bubbling up or shrinking excessively. Bake the crust for 15 minutes. After this initial bake, carefully remove it from the oven, lift out the pie weights and parchment paper, and return the crust to the oven for another 10 minutes. This two-stage blind baking process ensures the crust bakes through completely and crisps up beautifully, creating a robust barrier against the moisture of the filling and preventing the dreaded soggy bottom. Once baked, let the crust cool completely before adding the filling.
Crafting the Silky-Smooth Dairy-Free Pumpkin Pie Filling
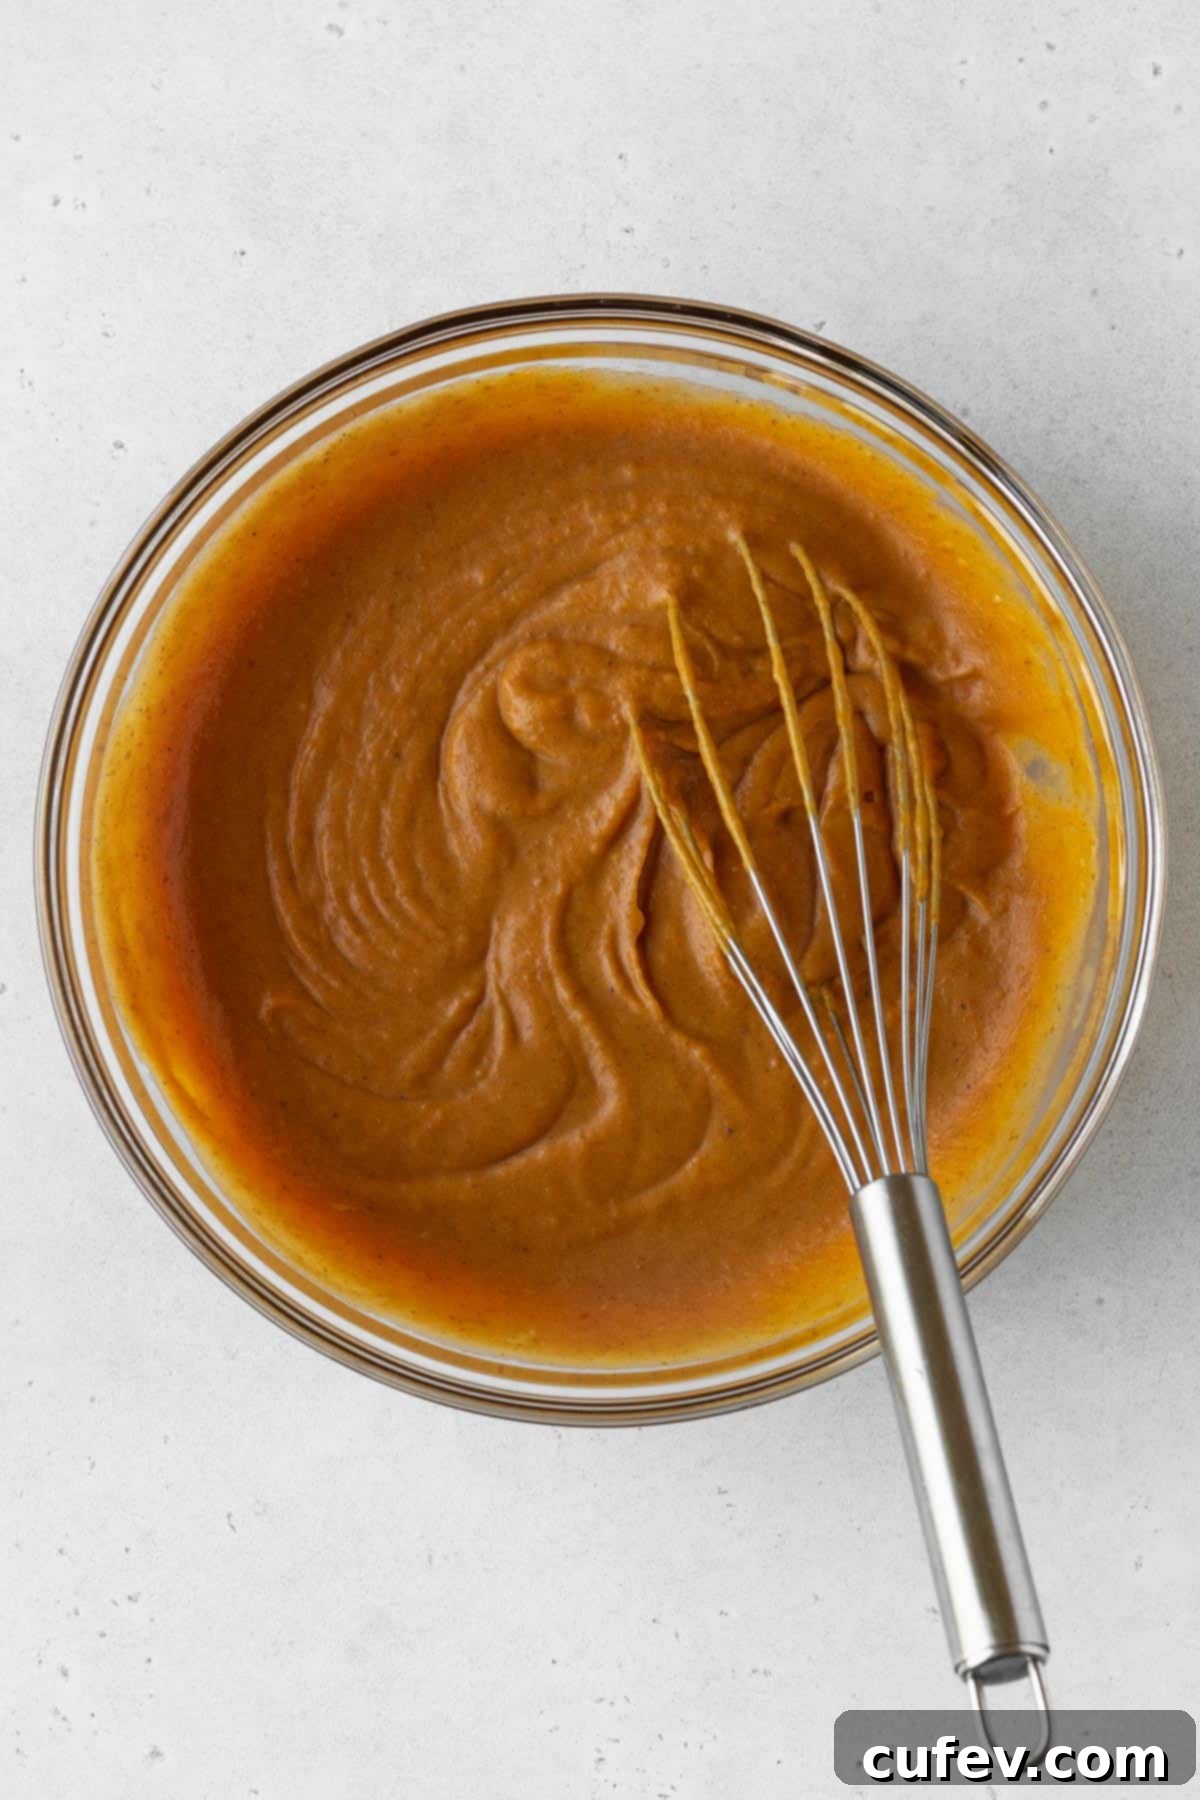
While your perfectly blind-baked crust cools to room temperature, it’s time to prepare the star of the show: the exquisite pumpkin filling. In a large mixing bowl, combine all the filling ingredients – the pure canned pumpkin purée, non-dairy sweetened condensed milk, whole eggs, extra egg yolks, fresh pumpkin pie spice, and fine salt. Whisk everything together thoroughly until the mixture is completely smooth and evenly combined, with no streaks of spice or pumpkin visible. Ensure all ingredients are at room temperature before mixing for optimal blending and even baking. The smooth consistency at this stage contributes directly to the final silky texture of your pie.
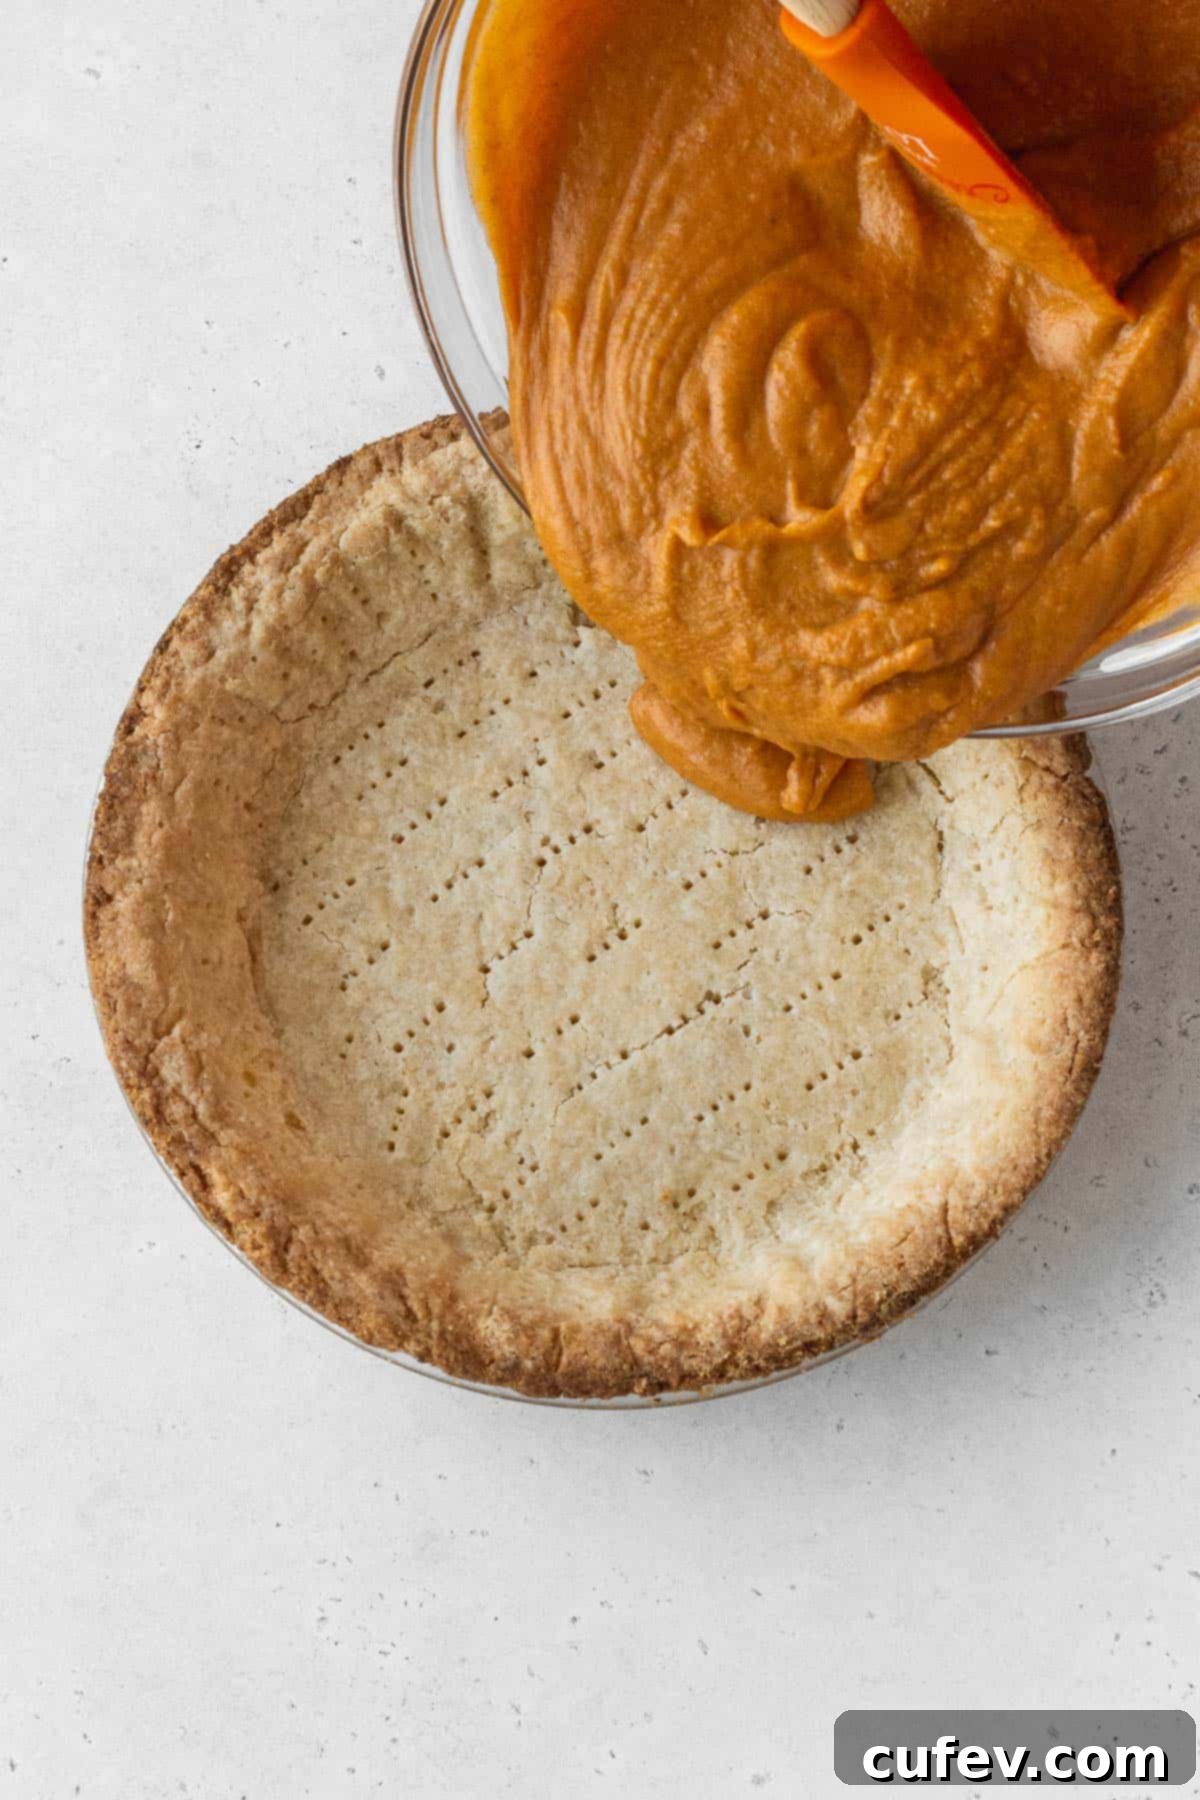
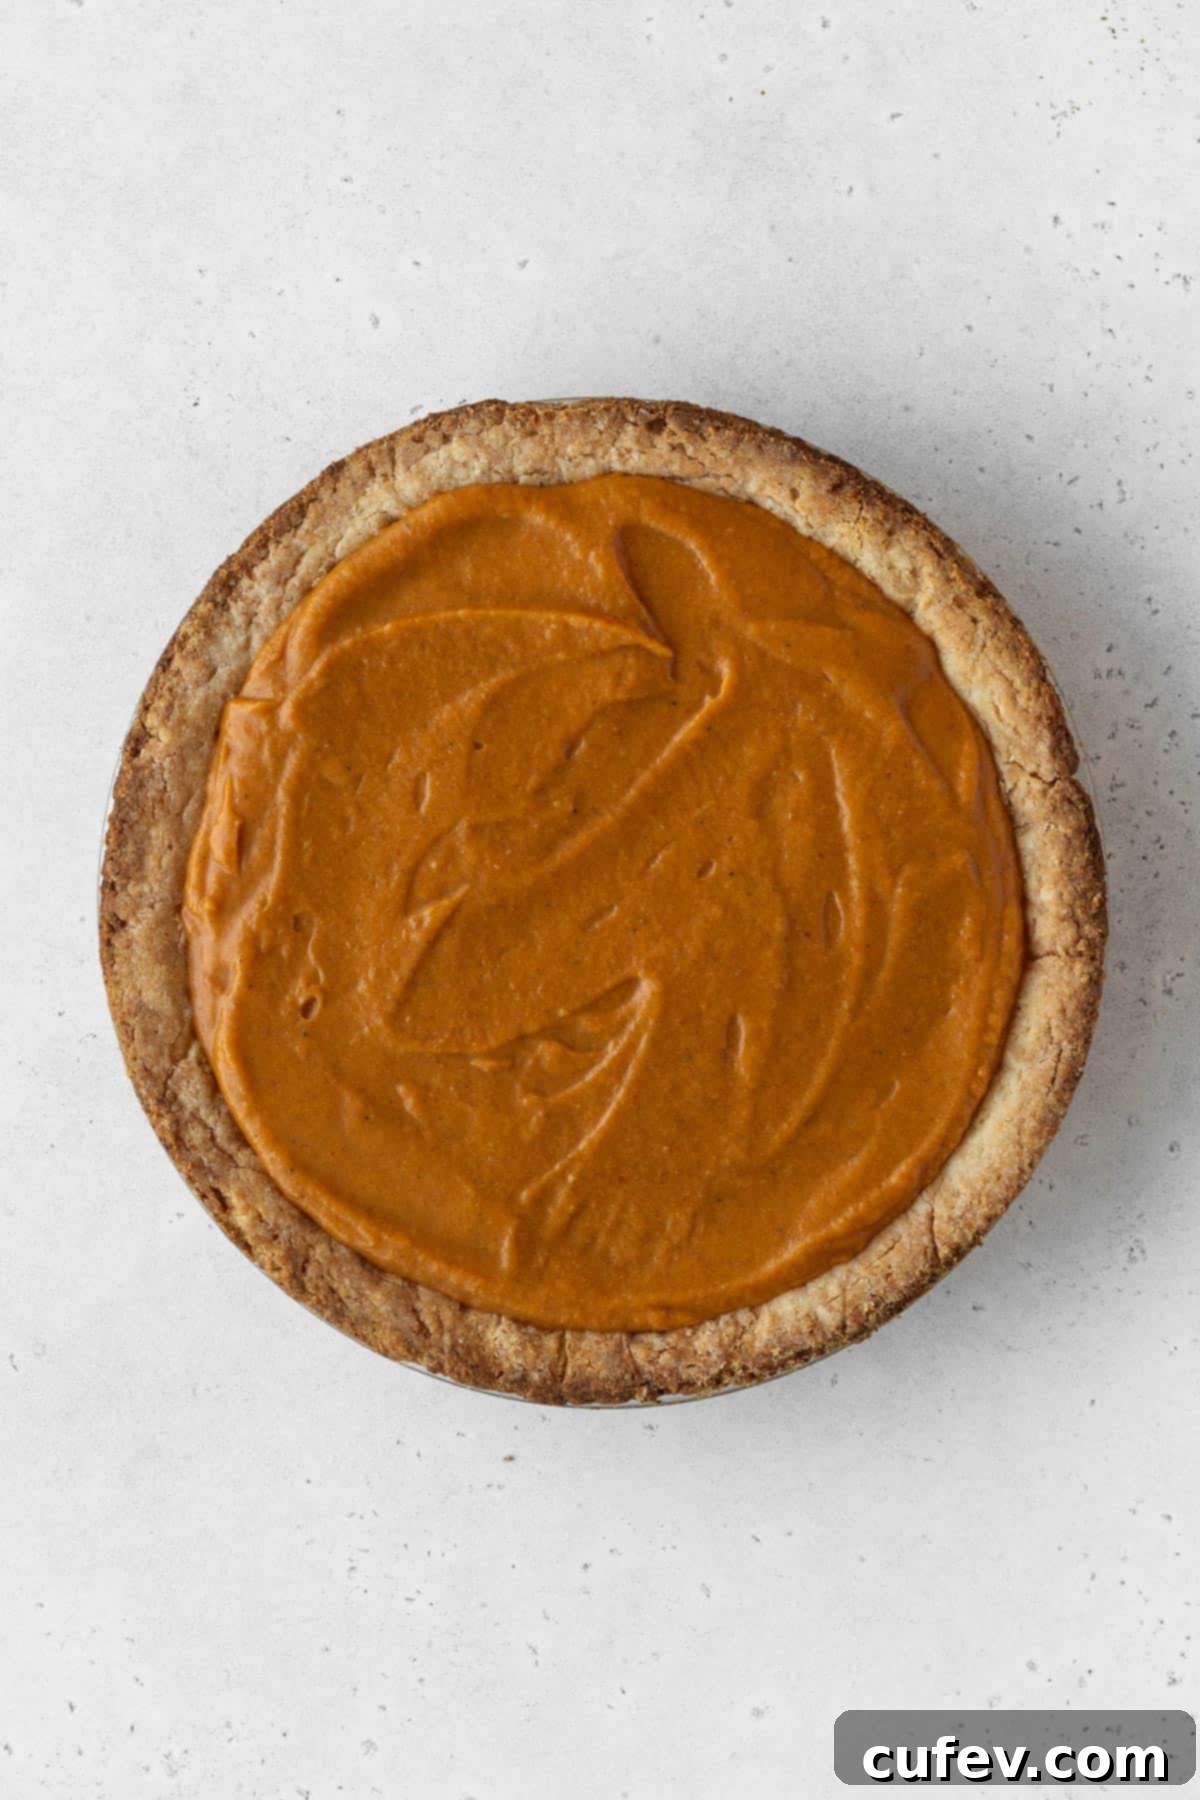
Once the crust is cool and the filling is ready, gently pour the pumpkin mixture into the pre-baked pie shell. To prevent the delicate edges of your crust from burning, carefully cover them with aluminum foil or a silicone pie crust protector. Place the pie into a preheated oven at 425°F (220°C) and bake for an initial 15 minutes. This high heat helps to set the outer edges of the pie quickly. Without opening the oven door (to prevent temperature fluctuations that can cause cracking), lower the oven temperature to 320°F (160°C) and continue baking for approximately 35-37 minutes. The pie is perfectly done when the center is still slightly jiggly but not liquid, and a thin, sharp knife inserted about an inch from the crust comes out mostly clean, perhaps with a few moist crumbs clinging to it. This indicates the filling is set but not overbaked.
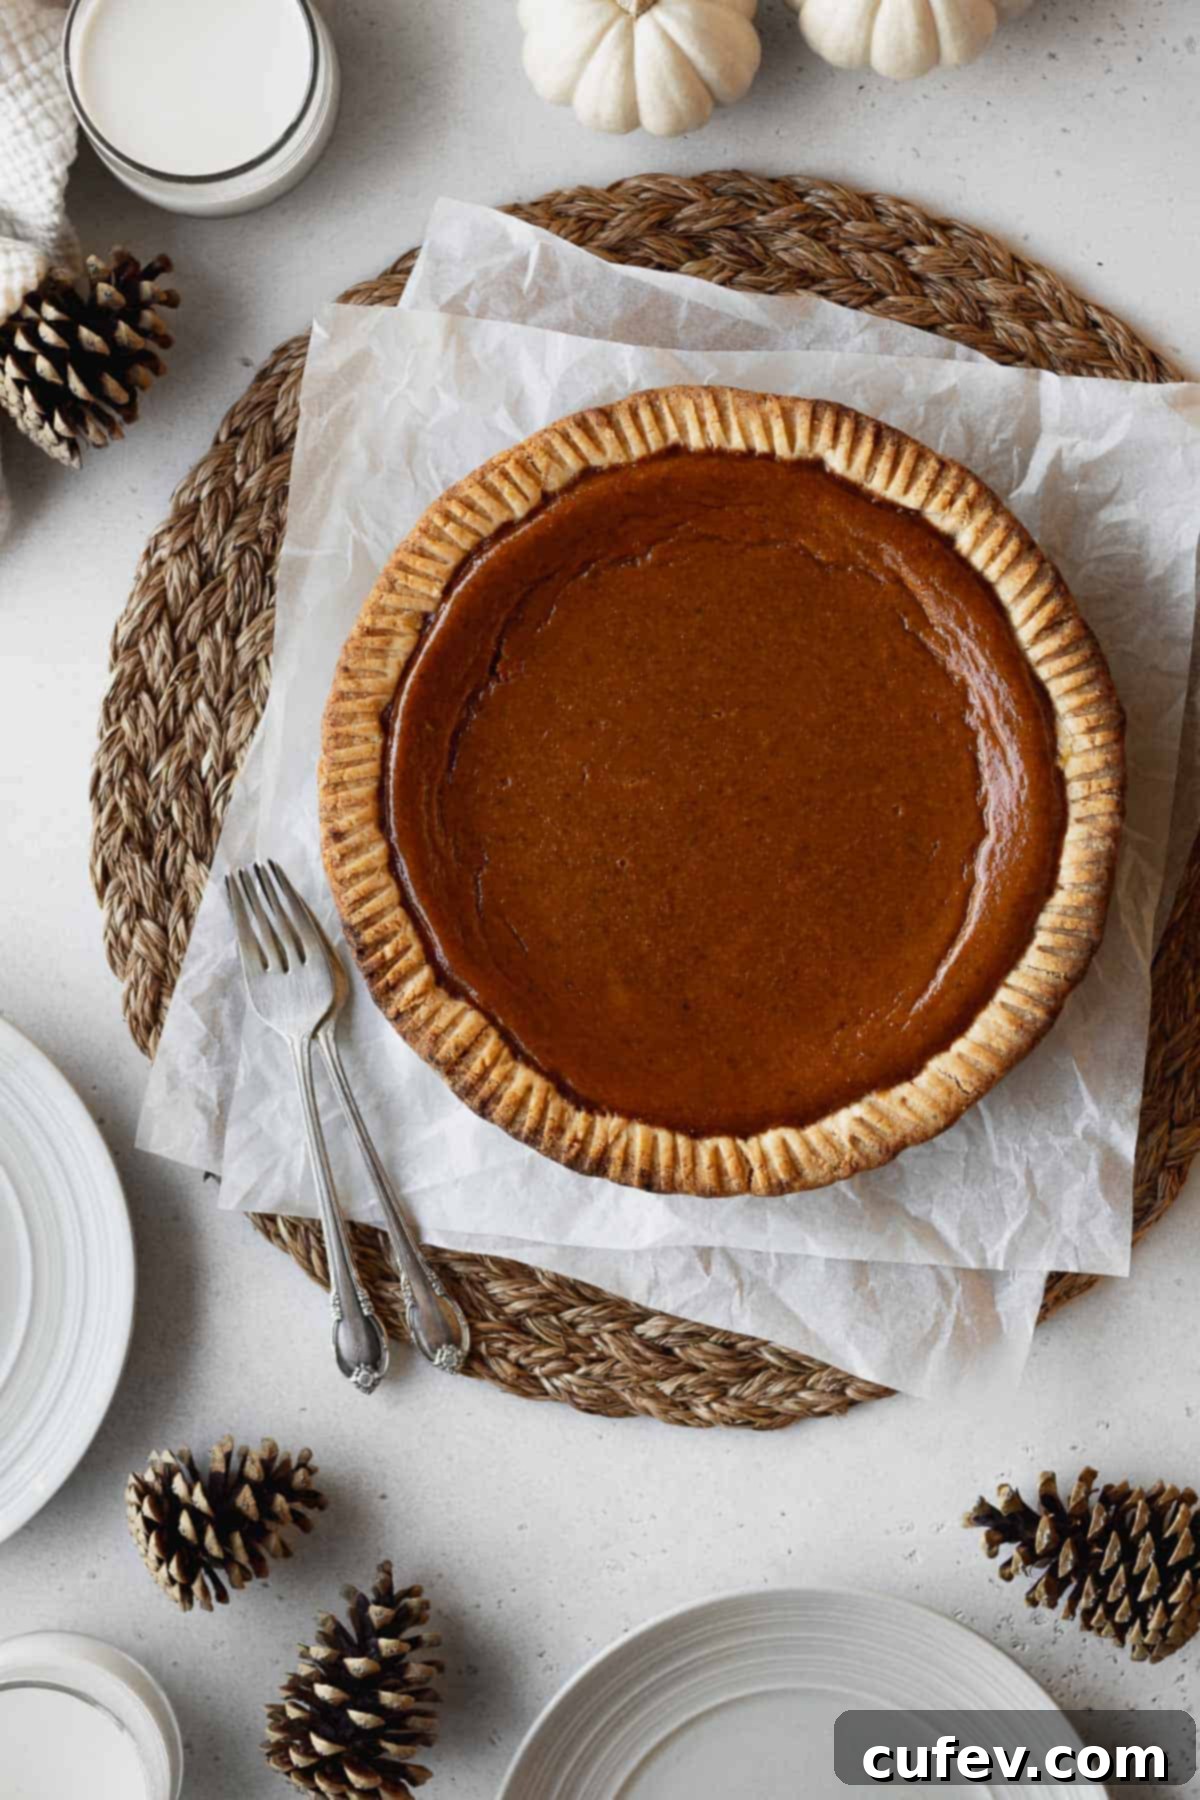
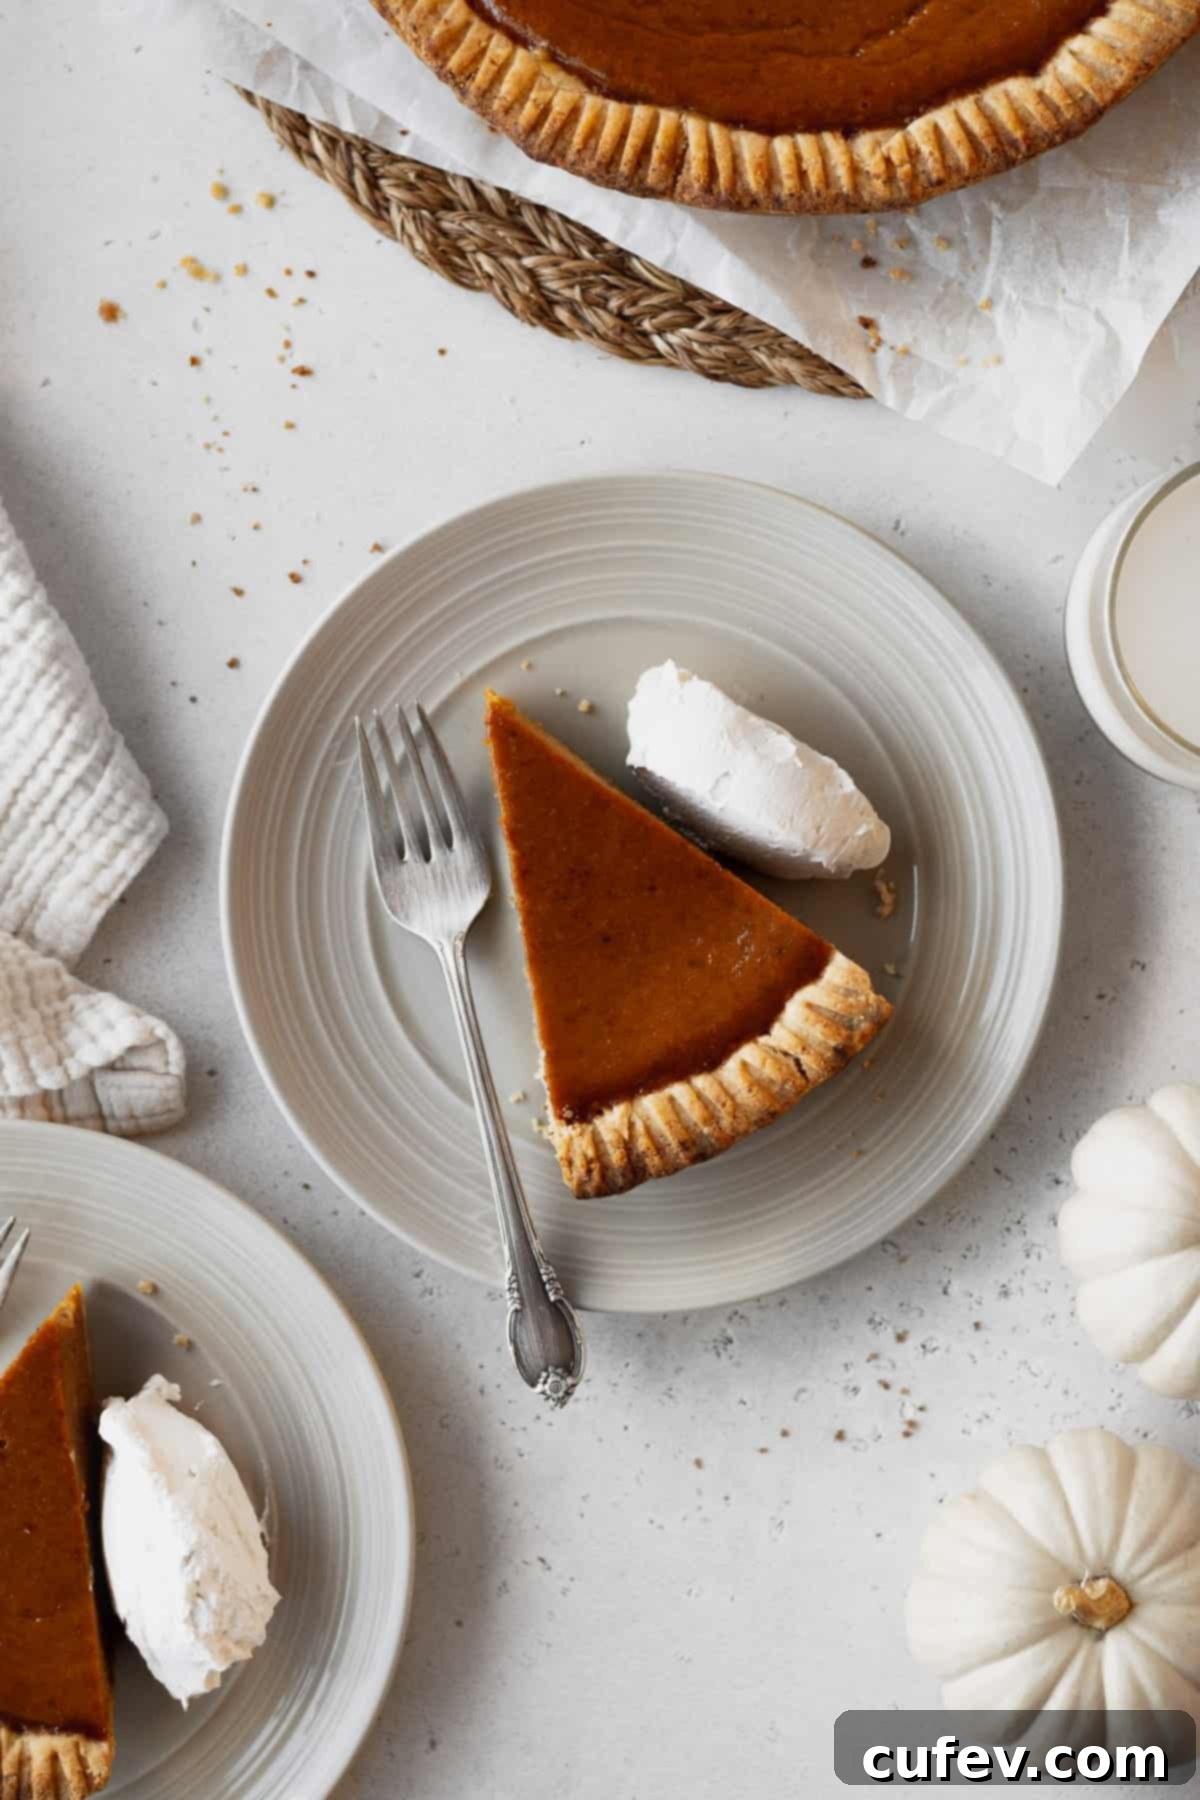
Once baked to perfection, remove the pie from the oven and carefully transfer it to a wire rack. It is absolutely essential to let the pie cool completely on the counter before attempting to slice or serve it. Patience is key here; cutting into a warm pumpkin pie will result in a runny, liquid filling as it hasn’t had adequate time to set and firm up. As it cools, the pie will continue to cook slightly and solidify into that desirable firm, yet creamy, texture. For optimal freshness and texture, store your cooled pumpkin pie in the refrigerator. Ideally, leave it uncovered initially to prevent condensation from forming on the surface, which can make the top layer slightly watery. Once fully chilled, you can loosely cover it.
Expert Tips for a Flawless Dairy-Free Pumpkin Pie
Achieving pumpkin pie perfection is easier with a few insider tricks. Follow these pro tips to ensure your dairy-free pumpkin pie turns out beautifully every single time:
Use Chilled Ingredients for the Pie Crust: This is arguably the most critical tip for a truly flaky and crisp pie crust. Ensure your vegan butter, shortening, and even your flour mixture are thoroughly chilled before you begin. Ice-cold water is non-negotiable. Cold fats create pockets of steam during baking, which separate the layers of dough, resulting in that desirable flakiness. If the fats melt prematurely, you’ll end up with a tough, dense crust.
Use Room Temperature Ingredients for the Filling: In contrast to the crust, the filling benefits immensely from room temperature ingredients. Eggs, pumpkin purée, and condensed milk that are at room temperature will combine much more smoothly and evenly. This leads to a more uniform filling texture and ensures the pie bakes consistently without curdling or developing an uneven set. Cold ingredients can cause lumps and may require longer baking times, increasing the risk of overbaking and cracking.
Chill the Pie Dough Before Baking: After you’ve rolled out and fitted your pie dough into the plate, a final chill in the freezer for 10 to 15 minutes is a must. This hardens the fats one last time, preventing the crust from shrinking away from the edges of the pie plate when it hits the heat of the oven. It also helps to maintain the definition of any decorative crimping you’ve added.
Blind Bake the Pie Crust: Don’t skip this step! Blind baking the crust before adding the filling is the ultimate defense against a soggy bottom. It allows the dough to partially or fully bake and crisp up, creating a barrier that prevents the pumpkin filling’s moisture from turning the crust soft and unappetizing. This ensures a wonderfully crisp bite with every forkful.
Don’t Overbake the Pie: Pumpkin pies are notoriously delicate when it comes to baking duration, and overcooked eggs are the primary culprit behind surface cracks. To achieve a perfectly smooth, unblemished surface, bake the pie only until the center exhibits a slight jiggle, much like a perfectly set custard, but is no longer liquid. The edges will be set, and a knife inserted near the crust should come out mostly clean. Overbaking dries out the filling, causing it to contract and crack upon cooling.
Let it Cool Completely: The setting process of a pumpkin pie continues long after it comes out of the oven. As the pie cools, the internal structure of the filling stabilizes and firms up. Cutting into a warm pie will result in a messy, unset slice. Allow the pie to cool completely on a wire rack at room temperature, then chill it in the refrigerator for several hours (or overnight) before slicing. This patience will be rewarded with perfectly firm, clean slices and a truly enjoyable texture.
Creamy Dairy-Free Pumpkin Pie Recipe
Print
Pin
Rate
Ingredients
Pie Crust
- 2 cups all-purpose flour
- ½ cup almond flour
- 2 tablespoons cornstarch
- 2 tablespoons granulated sugar
- 1 teaspoon fine salt
- ½ teaspoon baking powder
- ½ cup vegan butter cubed and chilled
- ½ cup shortening cubed and chilled
- 6 tablespoons ice cold water
Filling
- 15 oz canned pumpkin purée (ensure it’s not pumpkin pie filling)
- 11.25 oz non-dairy sweetened condensed milk (coconut or oat milk based)
- 2 large eggs (room temperature)
- 2 egg yolks (room temperature)
- 2 teaspoons pumpkin pie spice (fresh for best flavor)
- ½ teaspoon fine salt
Instructions
Prepare the Dairy-Free Pie Crust
-
In a large bowl, whisk together the all-purpose flour, almond flour, cornstarch, granulated sugar, fine salt, and baking powder until well combined.
-
Add the cold, cubed vegan butter and shortening. Use your fingers to pinch and work the fats into the flour mixture until it resembles coarse meal with some small, pea-sized pieces of fat remaining.
-
Gradually add the ice-cold water, 1 tablespoon at a time, mixing gently until the dough just comes together. Be careful not to overmix.
-
Shape the dough into a flat, circular disk, wrap it tightly in plastic wrap, and refrigerate for at least 1 hour (or up to 2 days) to chill thoroughly.
-
On a lightly floured piece of parchment paper, roll out the chilled dough into a roughly 12-inch circle. You can place another piece of parchment paper on top to prevent sticking.
-
Carefully transfer the rolled dough into a 9-inch glass pie plate. Gently lift the edges of the dough and settle it into the plate, pressing down lightly to ensure no air bubbles are trapped underneath.
-
Trim any excess dough from the edges using scissors or a knife, leaving about a ½-inch overhang. Crimp or decorate the edges as desired. Prick the bottom and sides of the pie crust thoroughly with a fork. Place the pie plate in the freezer for 10-15 minutes while your oven preheats.
-
Preheat your oven to 425°F (220°C). Remove the pie plate from the freezer, line it with a large piece of crumpled parchment paper, and fill it to the brim with pie weights (or dry beans/uncooked rice).
-
Bake the weighted crust in the preheated oven for 15 minutes. Remove it from the oven, carefully lift out the parchment paper and weights, and return the crust to the oven for another 10 minutes to bake until lightly golden. Remove and let cool completely.
Make the Creamy Filling
-
While the crust cools, preheat your oven to 425°F (220°C) again.
-
In a large bowl, whisk together the pumpkin purée, non-dairy sweetened condensed milk, whole eggs, egg yolks, pumpkin pie spice, and fine salt until the mixture is perfectly smooth and uniform.
-
Pour the pumpkin mixture into the cooled, blind-baked pie crust. Gently tent the edges of the pie crust with aluminum foil or a silicone protector to prevent burning. Bake the pie for 15 minutes at 425°F (220°C). Without opening the oven door, lower the temperature to 320°F (160°C) and continue baking for another 35-37 minutes. The pie is done when the center is still slightly jiggly but no longer liquid; a thin knife inserted about an inch from the crust should come out mostly clean.
-
Remove the pie from the oven and let it cool completely on a wire rack at room temperature. Then, transfer it to the fridge to chill for at least 4 hours, or preferably overnight, before slicing and serving for the best texture. Store any leftovers in the fridge.
Nutrition
Storage and Freezing Instructions for Dairy-Free Pumpkin Pie
Ensuring your dairy-free pumpkin pie remains fresh and delicious is simple with these storage and freezing guidelines:
Refrigerating: For immediate enjoyment, leftover slices of pumpkin pie should be stored in an airtight container or covered tightly with plastic wrap in the refrigerator. They will maintain their quality for up to 2-3 days. Pumpkin pies can sometimes “weep,” meaning moisture rises to the surface. If you notice any excess moisture, gently blot it away with a clean paper towel before serving to preserve the pie’s ideal texture.
Freezing a Whole Pie: If you’re planning to bake ahead for a special occasion or simply want to save a whole pie, consider baking it in a disposable pie pan. This makes freezing and thawing much easier. Once the pie has cooled completely to room temperature, wrap it very tightly in at least two layers of plastic wrap, followed by a layer of heavy-duty aluminum foil. For an extra layer of protection against freezer burn, place the entire wrapped pie into a large freezer-safe bag. When you’re ready to enjoy it, transfer the frozen pie to the refrigerator and allow it to defrost slowly for about 24 hours.
Freezing Individual Slices: To enjoy your dairy-free pumpkin pie one slice at a time, individual portions can be frozen with ease. Wrap each slice tightly in several layers of plastic wrap, then enclose it in a layer of aluminum foil. Place the wrapped slices in a freezer-safe bag or an airtight container. To defrost, simply move a slice to the refrigerator and let it thaw for at least 12 hours. This method is perfect for meal prepping desserts or ensuring you always have a comforting treat on hand.
Frequently Asked Questions About Dairy-Free Pumpkin Pie
Yes, classic pumpkin pie recipes typically include dairy in the form of evaporated milk, and sometimes butter in the crust. To make this recipe completely dairy-free, we ingeniously substitute evaporated milk with a vegan sweetened condensed milk, ensuring all the richness and flavor without any dairy components.
No, eggs are not dairy. This is a common misconception, partly because eggs are often merchandised near dairy products in grocery stores. Dairy strictly refers to products derived from the milk of mammals, such as cows, goats, or sheep, and includes items like milk, cheese, butter, and yogurt. Eggs, on the other hand, are poultry products and belong to a different food group entirely.
Unfortunately, no. Coconut creamer is not an appropriate substitute for sweetened condensed coconut milk in this recipe. Sweetened condensed coconut milk plays a dual role: it acts as the primary dairy-free alternative to evaporated milk found in traditional pumpkin pies, providing thickness and structure to the filling, and it also contributes the essential sweetness. Coconut creamer lacks the concentrated sugar content and thickness required for both the flavor and the structural integrity of the pie filling.
Not at all! While sweetened condensed coconut milk is used, the robust flavors of pumpkin and pumpkin pie spice largely mask any overt coconut taste. The coconut milk primarily contributes to the richness and creamy texture. If you are particularly sensitive to coconut flavors or prefer an alternative, Nature’s Charm produces an excellent sweetened condensed oat milk that also works wonderfully in this recipe, offering a neutral flavor profile.
Absolutely! The filling itself is naturally gluten-free. To make the entire pie gluten-free, you will only need to adjust the pie crust. Simply substitute a high-quality gluten-free measure-for-measure flour blend for the all-purpose flour in the crust recipe, following the exact same steps. Alternatively, for utmost convenience, you can easily find and use a store-bought gluten-free pie crust, often located in the freezer aisle of most grocery stores.
While this recipe is dairy-free, it is not vegan due to the use of eggs and egg yolks. The eggs are absolutely essential for both the unique flavor and the specific silky, crack-free texture of this particular pie, and unfortunately, they cannot be swapped out without significantly altering the outcome. However, if you are looking for a delicious plant-based option, I highly recommend trying my dedicated vegan pumpkin pie recipe, which is crafted specifically for a completely egg-free and dairy-free experience!
Yes, you can certainly prepare this pie ahead of time! A fully baked pie can be made a day in advance and stored in the refrigerator, allowing its flavors to meld beautifully. For longer-term planning, you can make just the pie dough up to a month ahead. Wrap the dough tightly in a few layers of plastic wrap and store it in an airtight freezer bag in the freezer. When you’re ready to bake, transfer it to the refrigerator to defrost for 12-24 hours before rolling it out.
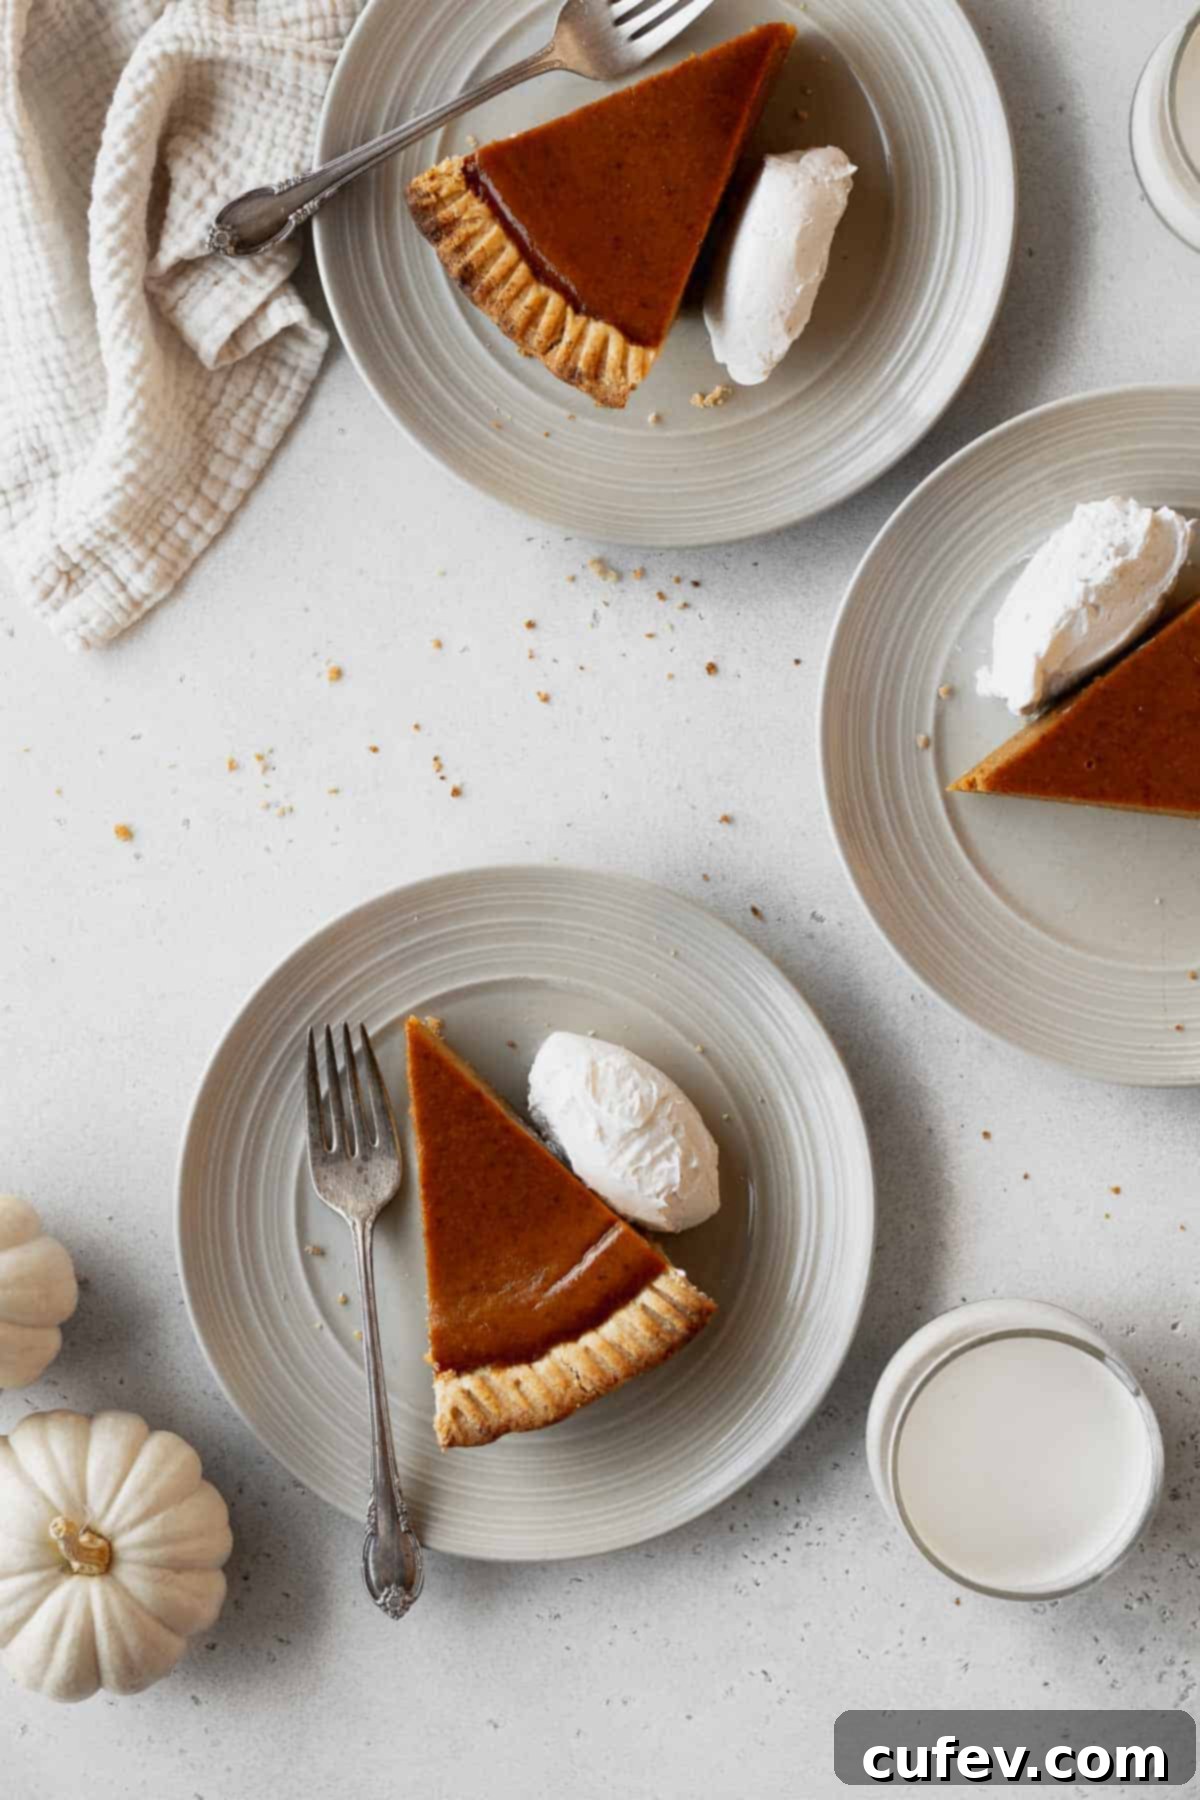
Elevate your dairy-free pumpkin pie experience with delightful toppings! A generous dollop of homemade coconut whipped cream is a classic choice, offering a light, airy contrast to the rich filling. Alternatively, a scoop of your favorite dairy-free vanilla ice cream or even a drizzle of dairy-free caramel sauce makes for an indulgent treat. For an extra touch of texture and nutty flavor, consider sprinkling some toasted pecans or a dash of cinnamon on top.
Explore More Delicious Dairy-Free Fall & Thanksgiving Recipes
If you’ve fallen in love with this dairy-free pumpkin pie, you’re in for a treat! Discover more delightful recipes perfect for the fall season and Thanksgiving feast:
Craving even more pumpkin goodness? Dive into my gluten-free pumpkin bread! It’s incredibly moist, perfectly spiced, and truly a comforting autumnal bake.
For a warm and hearty starter, try my luxurious creamy pumpkin soup! Enhance the experience by topping it with my irresistible cornbread croutons for a delightful textural contrast.
No Thanksgiving table is complete without a classic cornbread, and my gluten-free dairy-free cornbread is a must-try! It’s famously moist, incredibly fluffy, perfectly sweet, and bursting with authentic corny flavor.
Are you a fellow Brussels sprouts enthusiast? My roasted Brussels sprouts recipe takes this humble vegetable to new heights with the addition of crispy bacon, crunchy pecans, and sweet dried cranberries, making it an exciting and flavorful side dish!
For those looking to try something unique and incredibly savory, my rice stuffing with jackfruit offers a fantastic vegan alternative that’s packed with an abundance of rich, complex flavors.
