Rich & Moist Chocolate Mocha Cake: The Perfect Recipe with Coffee Buttercream
Birthdays are truly special occasions, aren’t they? A time for celebration, reflection, and, of course, delicious cake! This past Monday marked my 27th birthday, and what better way to celebrate than by indulging in a homemade masterpiece? I’m talking about this incredibly rich, moist, and utterly decadent **Chocolate Mocha Cake** – a recipe I simply couldn’t wait to share with all of you.
I actually baked this beauty on Sunday, with grand plans of posting the recipe right away to kick off my birthday week. But as many of you probably know, birthdays have a magical way of making productivity vanish. One moment you’re meticulously planning your blog post, and the next you’re embracing the sweet procrastination that comes with “It’s my birthday, I deserve this!” Before I knew it, days slipped by, filled with work, birthday festivities, and simply enjoying the moment. So, here I am, a little late to the party, welcoming another weekend, but as they say, better late than never! At least I’m still within my birthday month, making this the perfect time to unveil the secrets behind this show-stopping **mocha cake recipe**.
Baking my own birthday cake has become a cherished tradition. There’s something incredibly satisfying about creating a dessert from scratch that perfectly embodies the joy of the occasion. And for my 27th, I envisioned a cake that combined the deep allure of chocolate with the invigorating kick of coffee, all enveloped in a silky-smooth **coffee buttercream frosting**. This isn’t just any cake; it’s a testament to flavor, texture, and a little bit of baking magic that I’m thrilled to guide you through.
Crafting the Perfect Chocolate Mocha Cake Layers
Creating the foundation for this delicious **Chocolate Mocha Cake** begins with careful preparation. First, set your oven to preheat to a precise 338°F (170°C). This temperature ensures an even bake, resulting in a tender crumb. While your oven heats, prepare two 8-inch cake pans by greasing them thoroughly and lining their bottoms with parchment paper. This crucial step prevents sticking and makes for easy removal, preserving the integrity of your beautiful cake layers.
Next, we’ll bring our dry ingredients together. In a medium-sized bowl, whisk together the cake flour, Dutch-processed cocoa powder, fine sea salt, baking soda, and baking powder. Using cake flour results in a softer, more tender cake, while Dutch-processed cocoa gives a rich, deep chocolate flavor without being overly bitter. Sifting these ingredients together can help eliminate lumps and ensure they are thoroughly combined, leading to a uniform cake texture. Set this bowl aside.
In a separate, larger bowl, it’s time to combine the wet ingredients that contribute to the cake’s incredible moisture and flavor. Whisk together the granulated sugar, light brown sugar (which adds a lovely molasses note and extra moisture), canola oil (for tenderness), sour cream (a secret weapon for moisture and richness), milk, brewed coffee (the ‘mocha’ in our cake, which also wonderfully enhances the chocolate flavor), and pure vanilla extract. Ensure these are well-combined before moving to the next step.
Now, gently incorporate the dry ingredients into the wet mixture. The key here is to mix until *just* combined. Overmixing can develop the gluten in the flour, leading to a tough cake. A few streaks of flour are acceptable, as they will disappear during baking. Divide the batter evenly between your two prepared 8-inch cake pans. You can use a kitchen scale for perfect equality, which helps ensure both layers bake uniformly.
Bake the cakes for approximately 30 to 35 minutes, or until a wooden skewer inserted into the center comes out clean. Keep an eye on them, as oven temperatures can vary. Once baked, let your cake layers cool in their pans for about 10 minutes. This allows them to firm up slightly before you attempt to remove them. After 10 minutes, carefully invert the cakes onto a wire rack to cool completely. Patience is a virtue here; attempting to frost warm cakes will result in a melted mess!
Achieving Perfectly Level Cake Layers
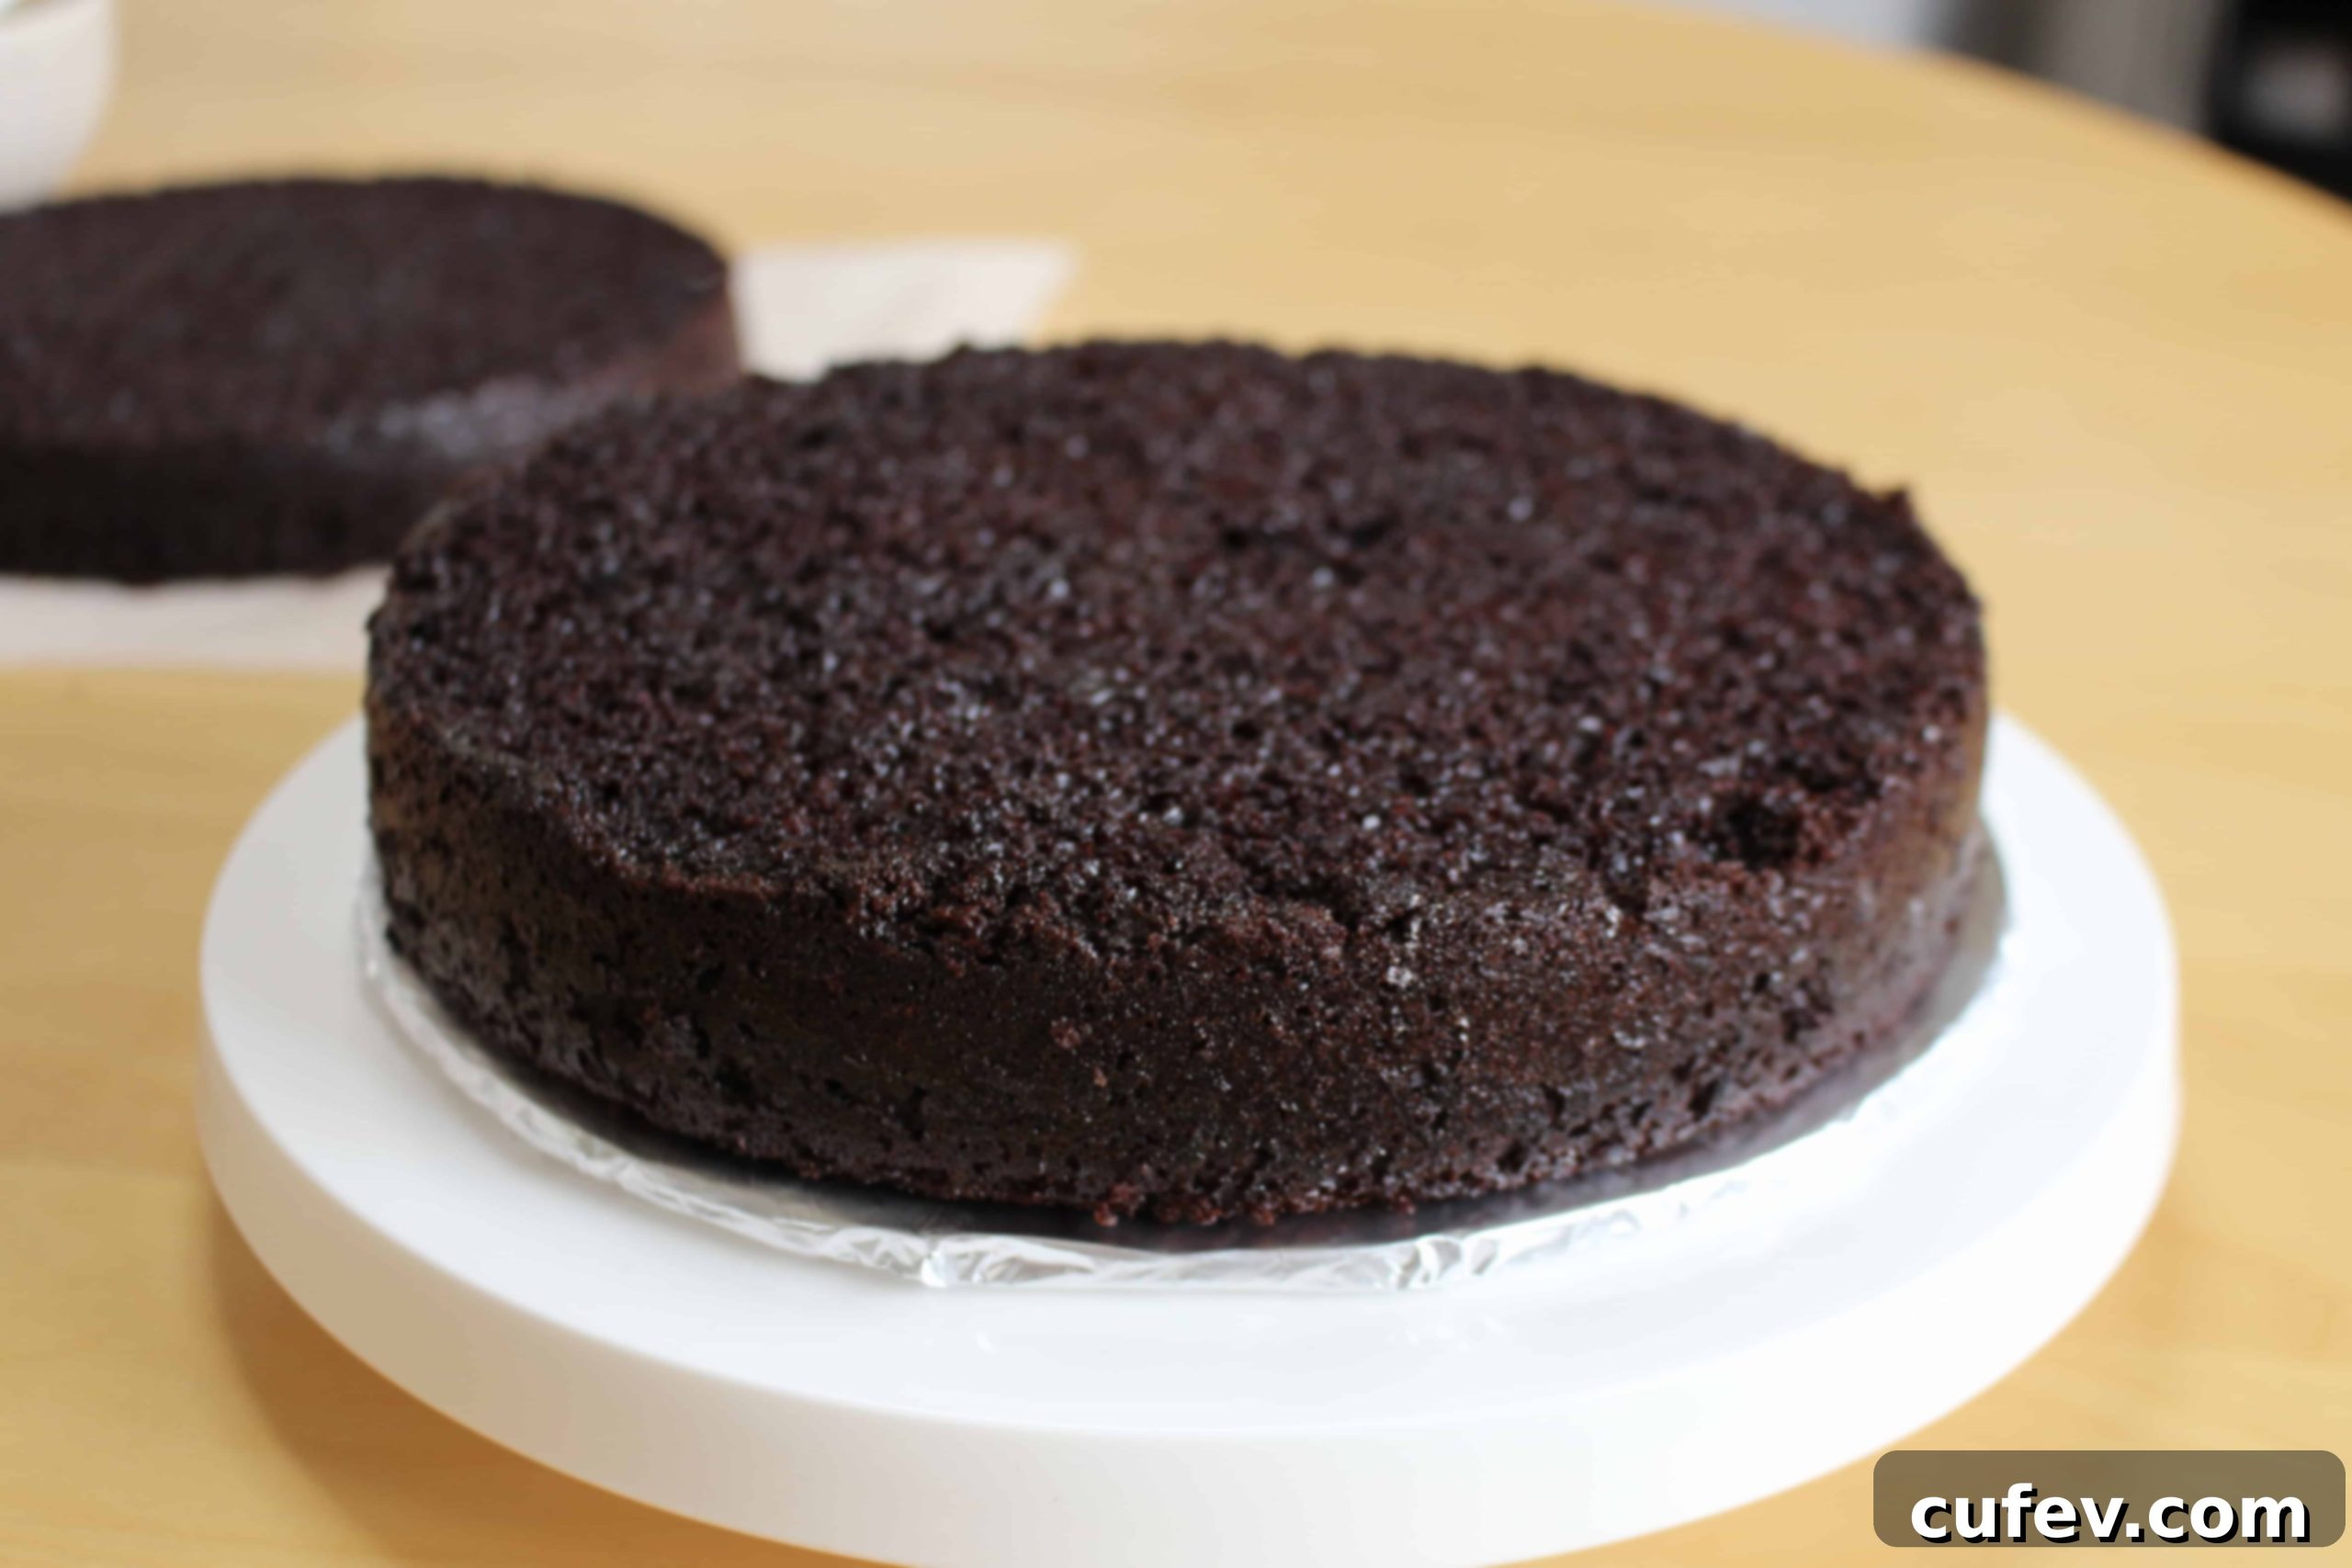
Once your cake layers have cooled entirely, it’s time for a step that truly elevates the professionalism of your finished **layer cake**: leveling. Most homemade cakes bake with a slight dome on top. While charming, these domes can make stacking and frosting difficult, leading to a wobbly or uneven final product. To achieve those picture-perfect, even layers, we’ll carefully slice these domes off.
My personal approach, which might seem a little meticulous but is undeniably effective, involves using a ruler and a long, sharp serrated knife. I place the ruler alongside the cake to gauge the desired height, making small, even marks all the way around the cake. This ensures a consistent cutting line. Then, using a gentle sawing motion with the serrated knife, I slowly and steadily slice through the cake, following these marks. It might feel like a delicate operation, requiring a steady hand and a bit of patience, but trust me, the effort pays off immensely.
You might wonder, “Is being this ‘anal’ about cake leveling really necessary?” My answer is a resounding yes! This precision step ensures that when you assemble your cake, each layer sits perfectly flat on top of the other, creating a stable structure and a visually stunning presentation. When you finally slice into your **Chocolate Mocha Cake**, you’ll be rewarded with beautifully even layers of cake and frosting, making every bite a delight for both the eyes and the palate. If you don’t have a ruler, you can use a cake leveling tool or simply eyeball it carefully, rotating the cake as you slice.
The Secret to Extra Moisture: Amaretto Simple Syrup
To ensure our **Chocolate Mocha Cake** is not only rich but also incredibly moist, we’ll introduce a simple yet transformative step: a delicate simple syrup. This syrup infuses extra moisture and a subtle layer of flavor into the cake layers, preventing them from drying out and enhancing the overall experience.
For this particular recipe, I chose to infuse the simple syrup with amaretto. In a small bowl, combine granulated sugar and amaretto liqueur. Stir diligently until the sugar is completely dissolved, creating a clear, fragrant syrup. Once the cake layers are completely cool and leveled, gently brush this amaretto simple syrup over the top of each layer. Use a pastry brush to ensure even coverage, allowing the cake to absorb the sweet, nutty liquid.
Initially, I contemplated making a coffee-infused simple syrup, given that this is a **chocolate mocha cake**. A coffee syrup would certainly complement the existing flavors beautifully. However, I found myself drawn to the nostalgic warmth of amaretto. As a child, I have such fond memories of the delightful aroma of amaretto coffee wafting through the house. That heartwarming scent always brings a smile to my face, and I couldn’t resist incorporating that personal touch into this celebratory cake. The sweet almond notes of amaretto pair exquisitely with both chocolate and coffee, adding a sophisticated depth to each bite without overpowering the primary flavors.
Luscious Coffee Buttercream Frosting
No **Chocolate Mocha Cake** would be complete without a truly exceptional frosting, and this **coffee buttercream** is exactly that. It’s light, fluffy, intensely flavorful, and perfectly complements the rich cake layers. Start by preparing your espresso concentration: in a small bowl, combine instant espresso powder with a touch of warm water. Stir until the espresso is fully dissolved, creating a potent coffee essence. Set this aside to cool slightly.
In a large mixing bowl, begin by creaming the unsalted butter until it becomes light, fluffy, and pale in color. This step is crucial for achieving that signature airy texture of a perfect buttercream. Ensure your butter is at room temperature before you start; this makes it much easier to cream smoothly and helps prevent a lumpy frosting. If your butter is too cold, the frosting will be hard to mix; if too warm, it might be greasy.
Next, gradually add the sifted confectioner’s sugar (also known as powdered sugar). Sifting is important to remove any lumps, ensuring your buttercream is smooth and silky. Start on a low speed to avoid a sugar cloud, then gradually increase the speed, beating until the sugar is fully incorporated and the mixture is well combined. Finally, pour in the vanilla extract and the cooled, concentrated espresso mixture. Continue to beat on medium-high speed until all ingredients are thoroughly combined and the buttercream is wonderfully smooth, light, and spreadable. The espresso will give the buttercream a beautiful, subtle coffee flavor that sings in harmony with the chocolate cake, enhancing the “mocha” experience.
Assembling and Decorating Your Mocha Masterpiece
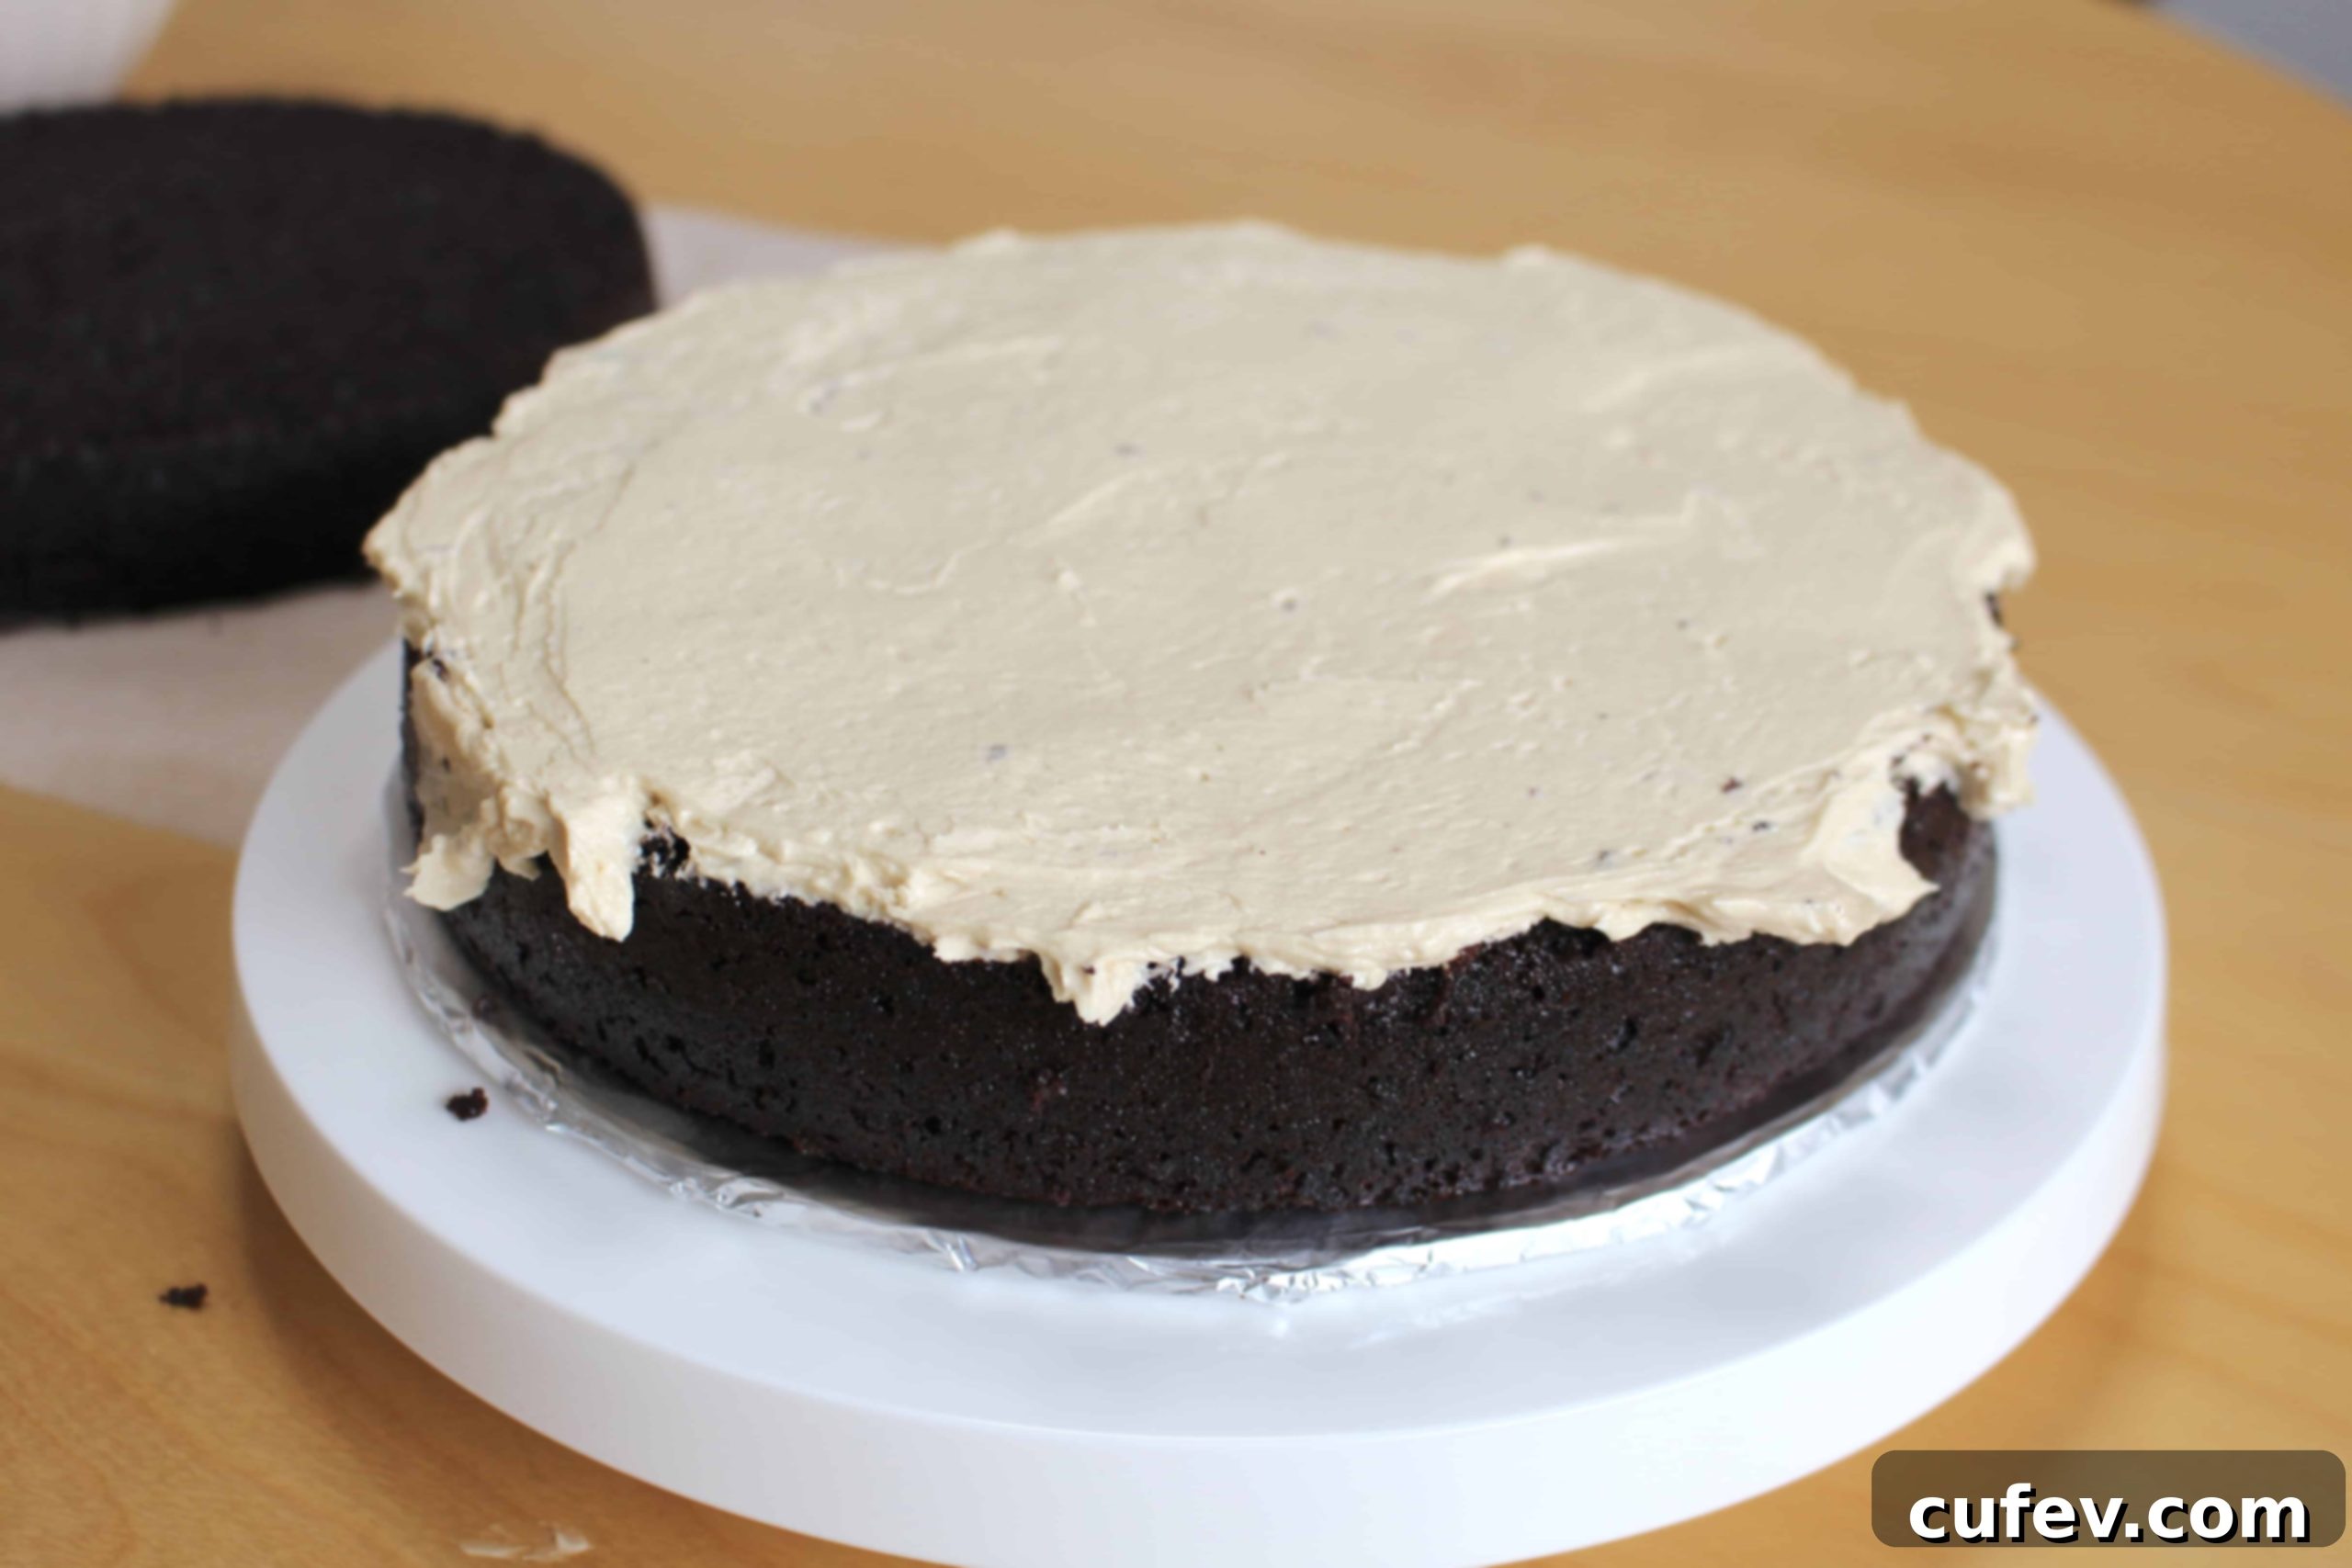
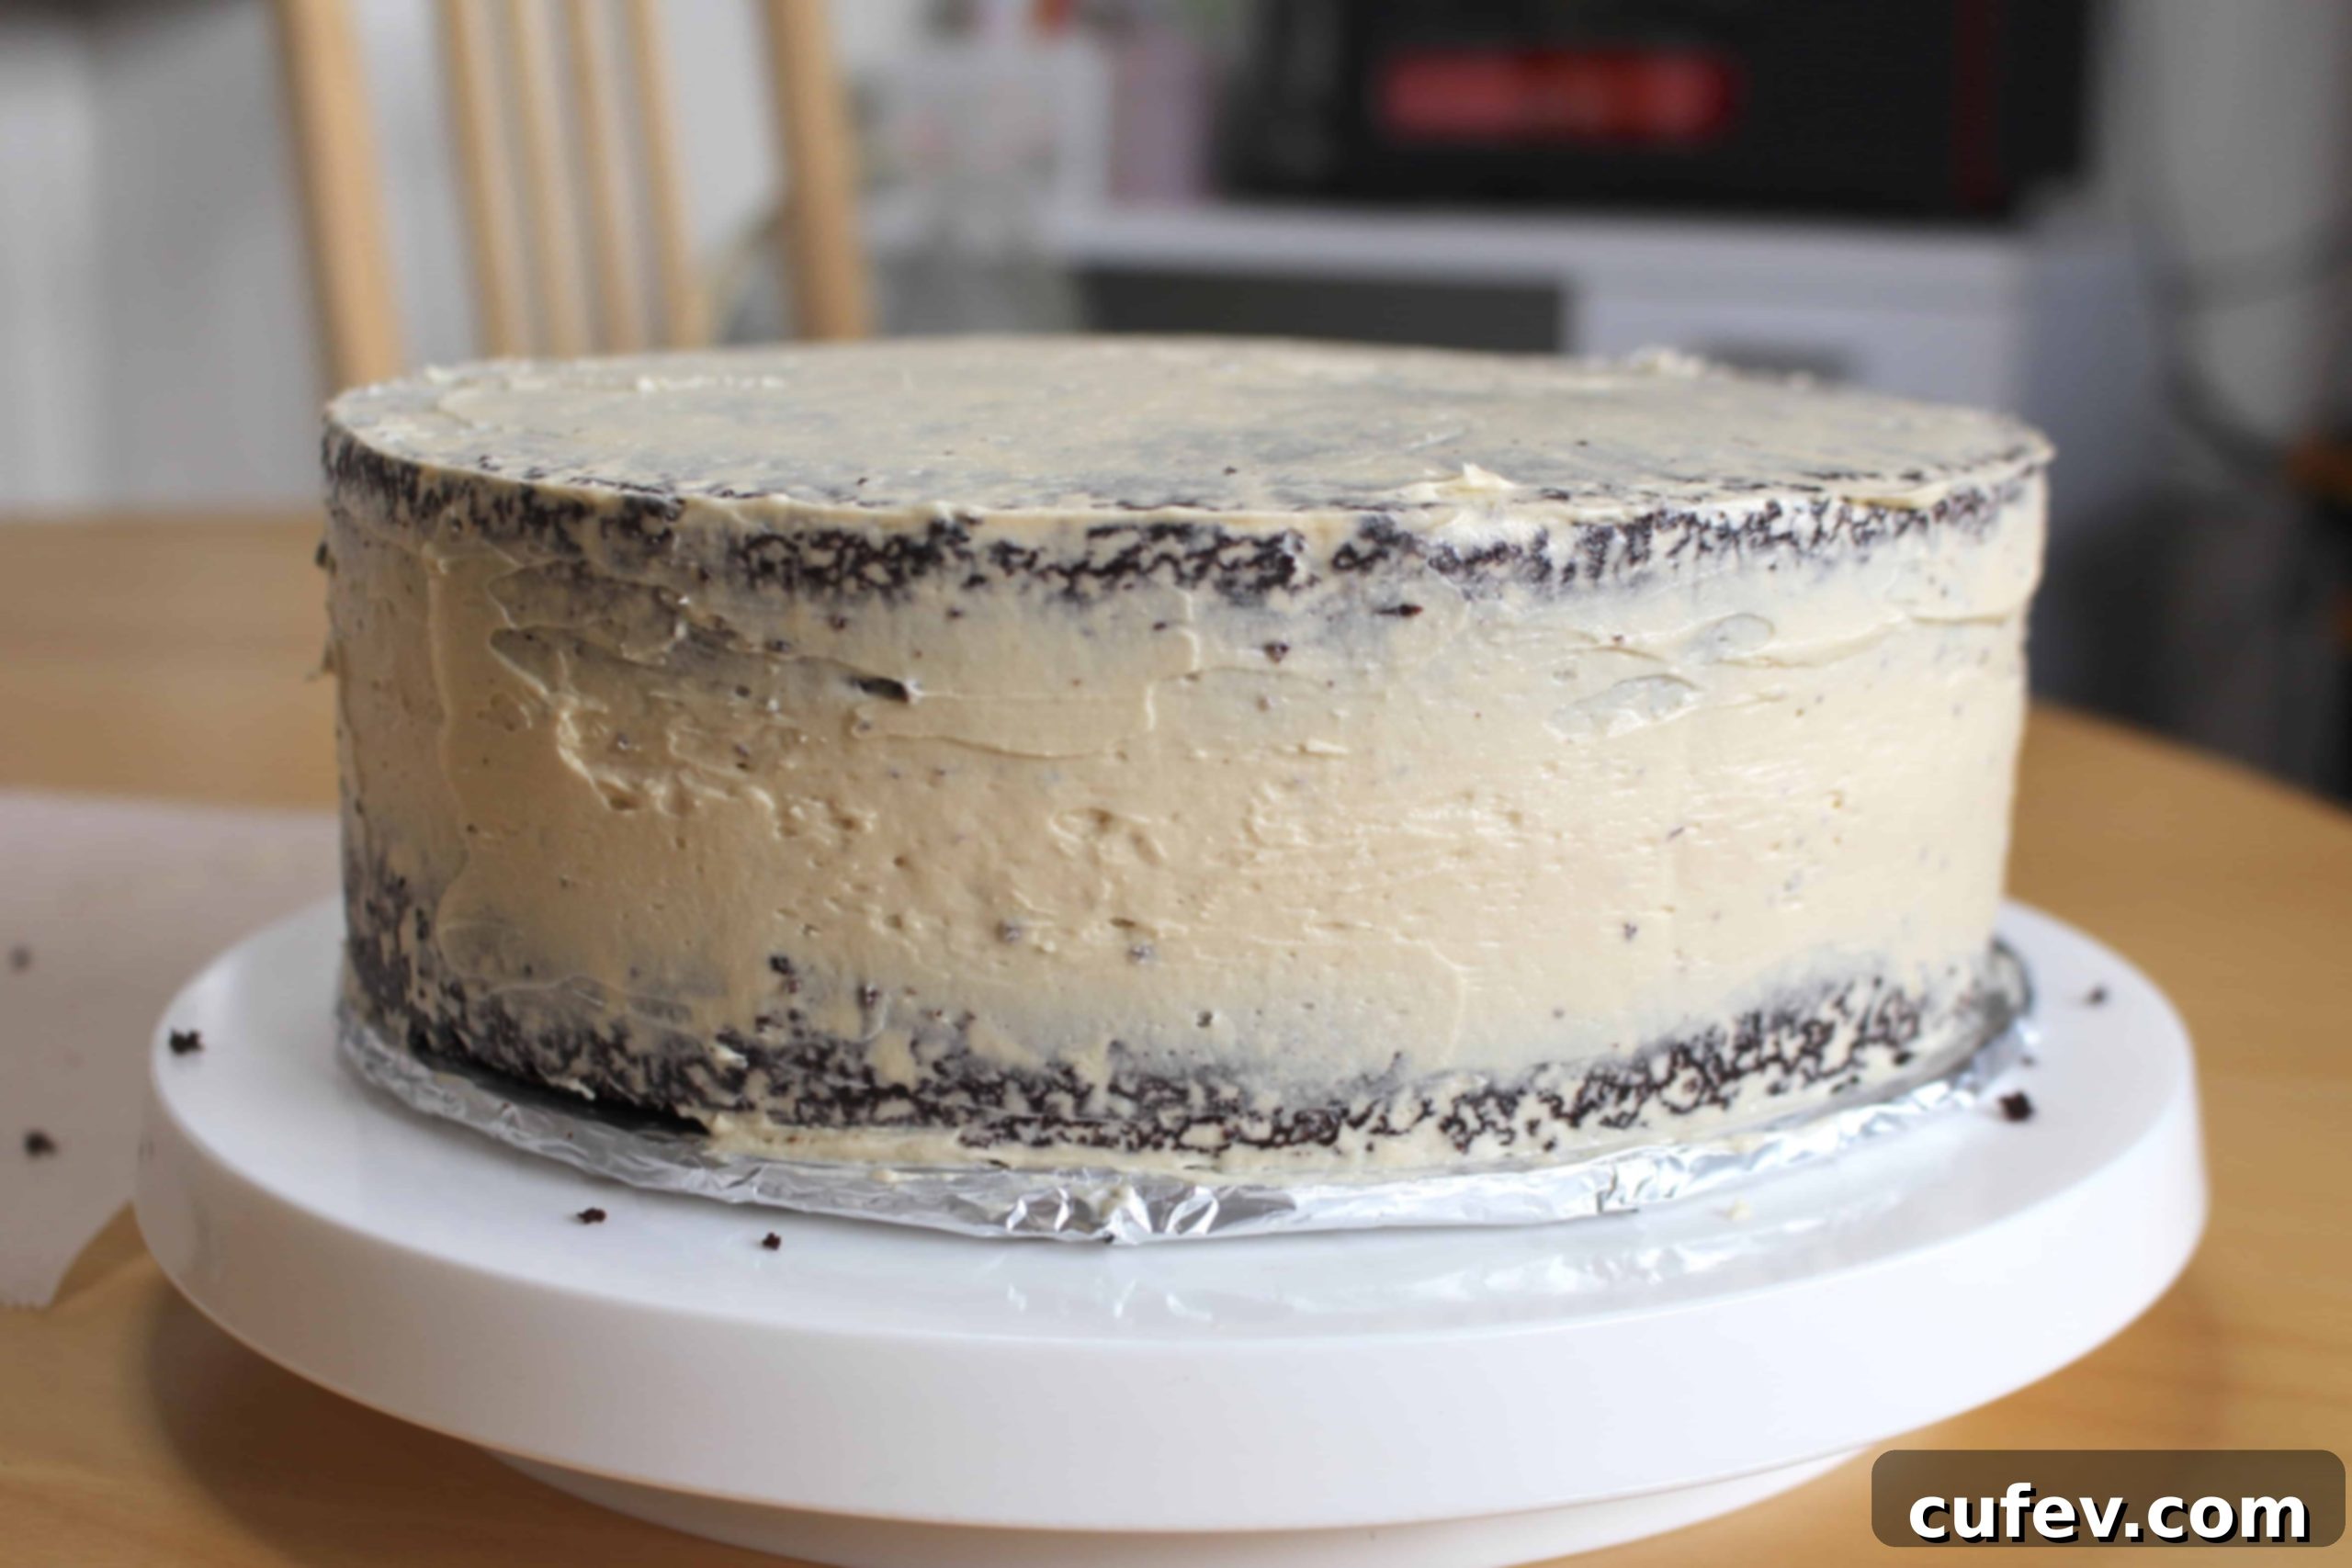
With your perfectly leveled, syrup-soaked cake layers and luscious **coffee buttercream** ready, it’s time for the exciting part: assembly! Place your first cake layer onto a cake stand, serving plate, or a cake turntable for easier frosting. Evenly spread a generous layer of the coffee buttercream frosting over the top. Then, carefully place the second cake layer on top, aligning it as best as possible. At this stage, your cake might still look a bit rustic, and that’s perfectly fine!
The next critical step for a professional-looking cake is the crumb coat. This thin layer of frosting serves as a primer, sealing in any loose crumbs and creating a smooth, stable surface for your final layer of frosting. Using an offset spatula, apply a very thin coating of the **coffee buttercream** all over the top and sides of the assembled cake. Don’t worry about perfection here; the goal is simply to trap all those stray crumbs. Once coated, transfer the cake to the refrigerator to chill for at least an hour, or until the crumb coat is firm to the touch. This chilling time is essential, as it prevents crumbs from mixing into your final frosting layer and provides a solid foundation for a flawless finish.
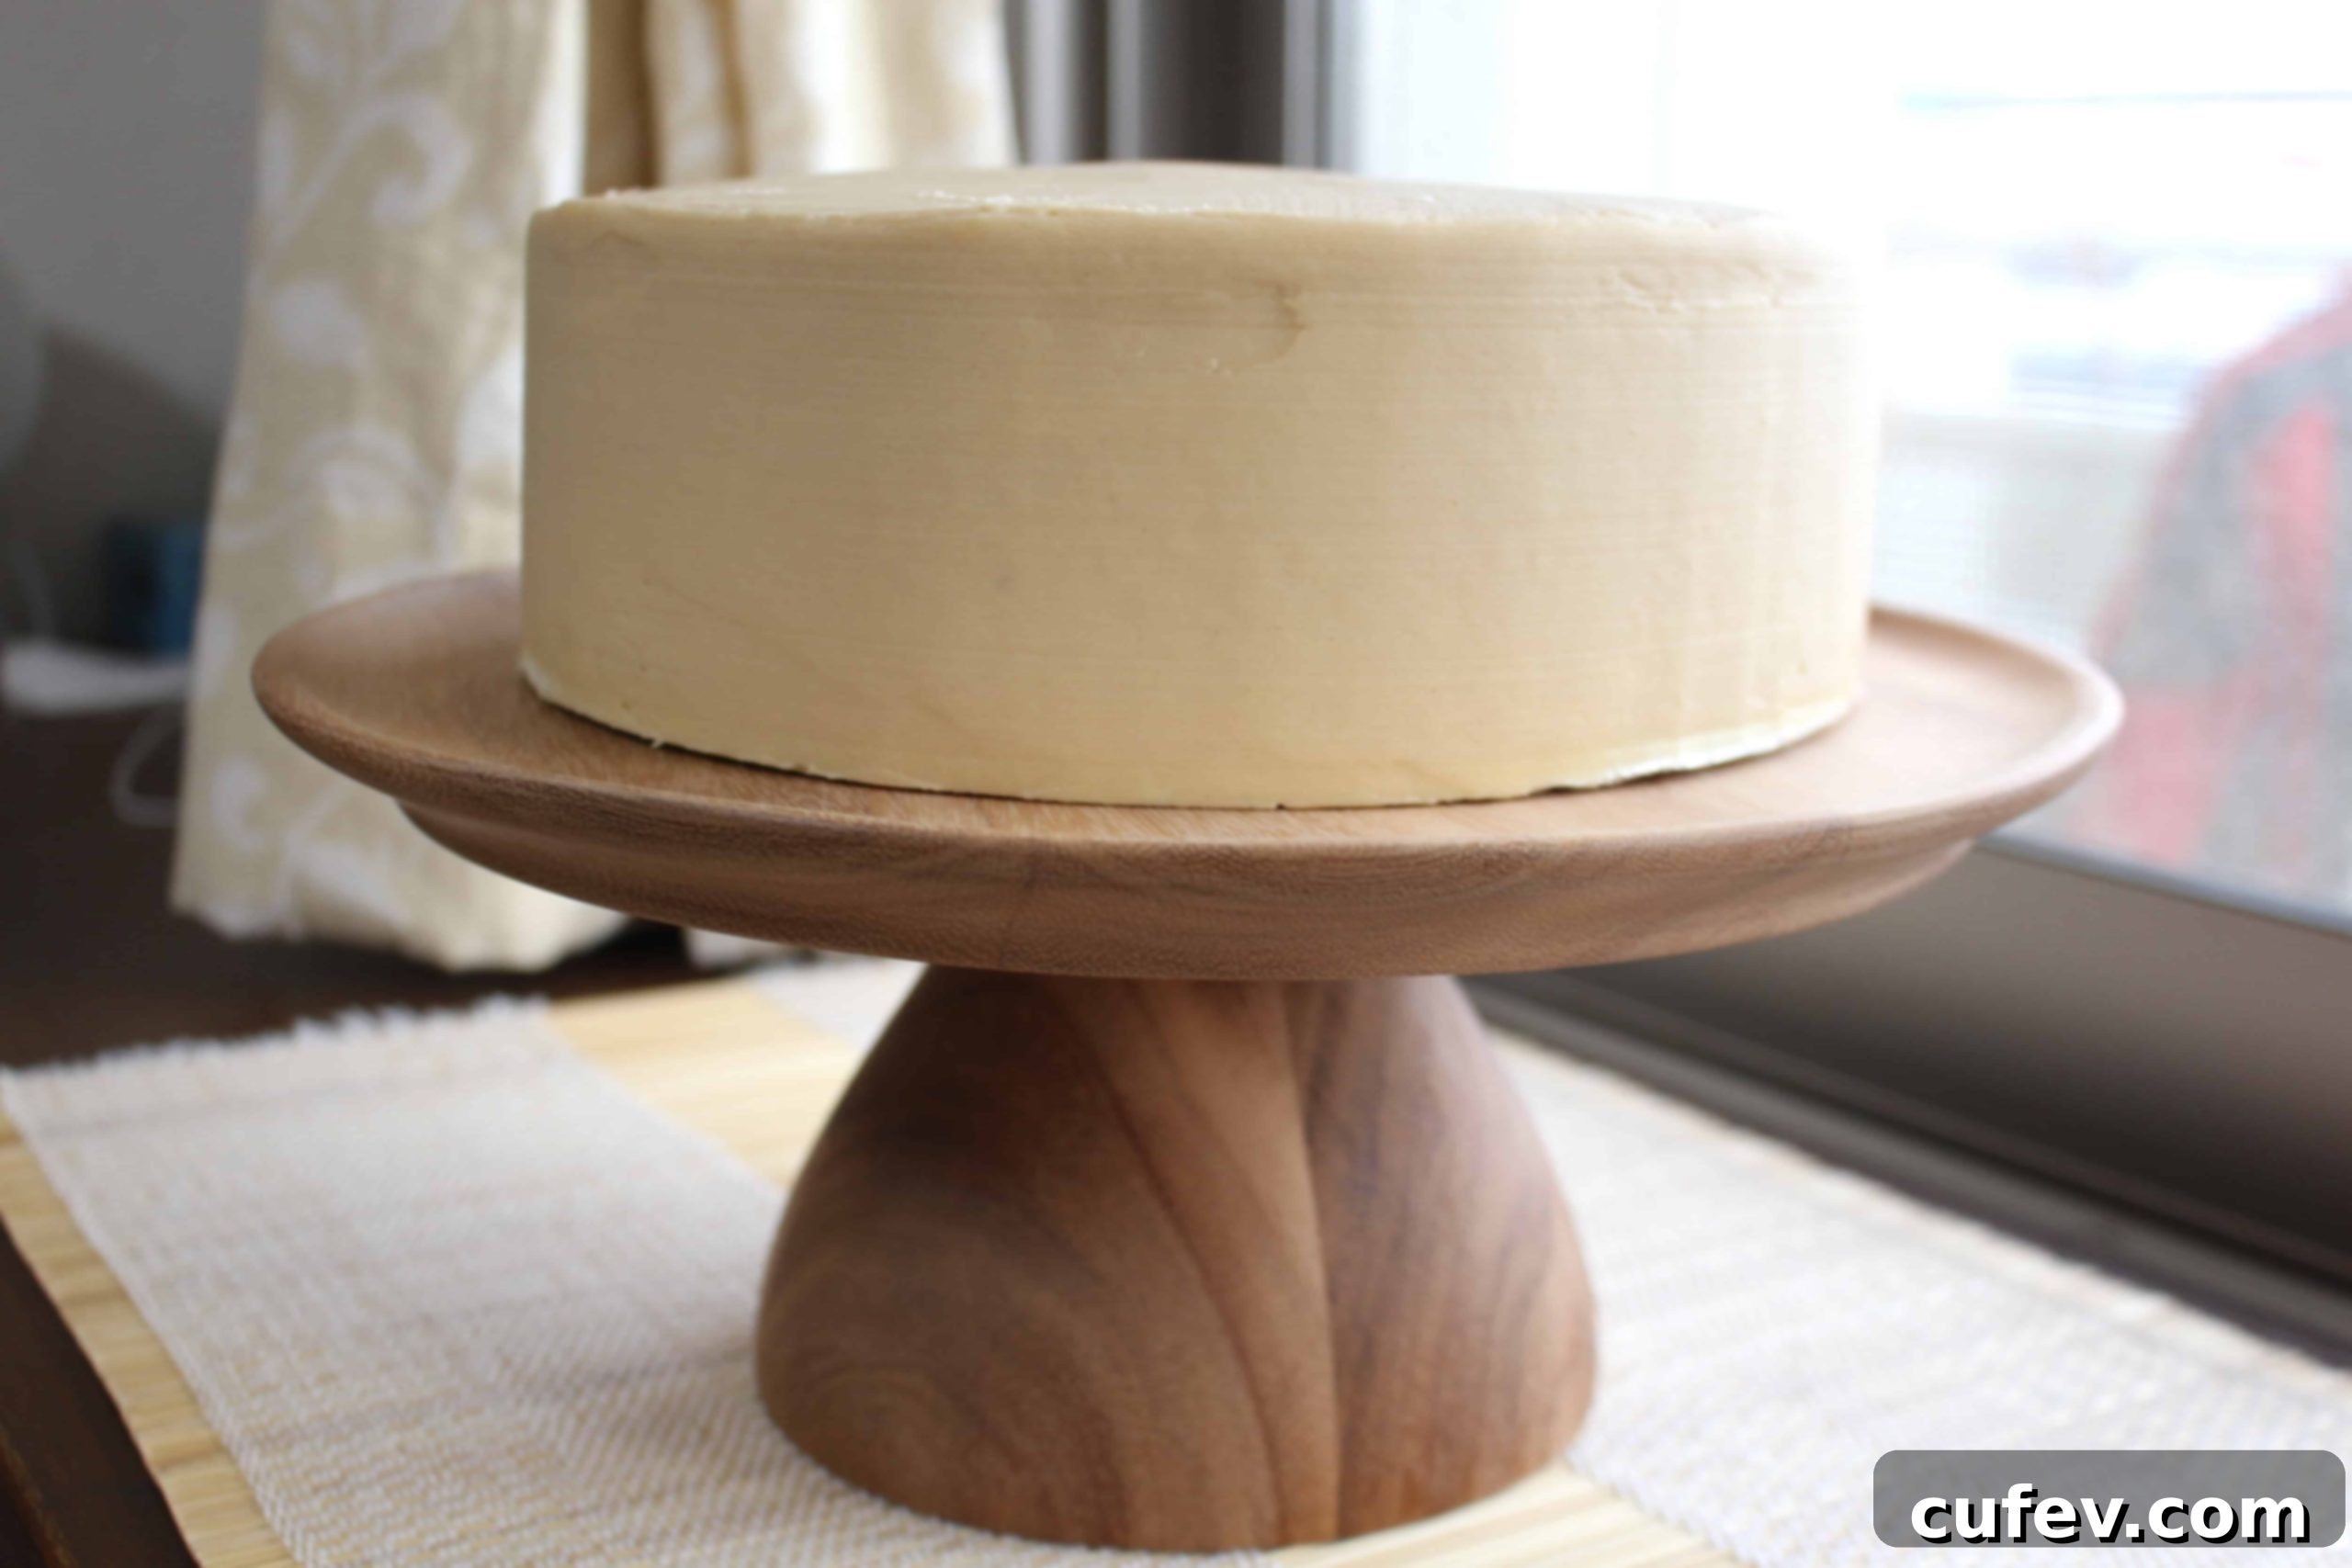
Once your cake is thoroughly chilled and the crumb coat is set, it’s time for the grand finale: the final layer of **coffee buttercream frosting**. Retrieve the cake from the fridge and, using the remaining buttercream, apply a smooth, even layer over the entire cake. Take your time to achieve your desired level of smoothness. A bench scraper can be a fantastic tool for getting perfectly smooth sides, while an offset spatula works wonders for the top. Don’t be afraid to add extra swirls or texture if that’s your aesthetic!
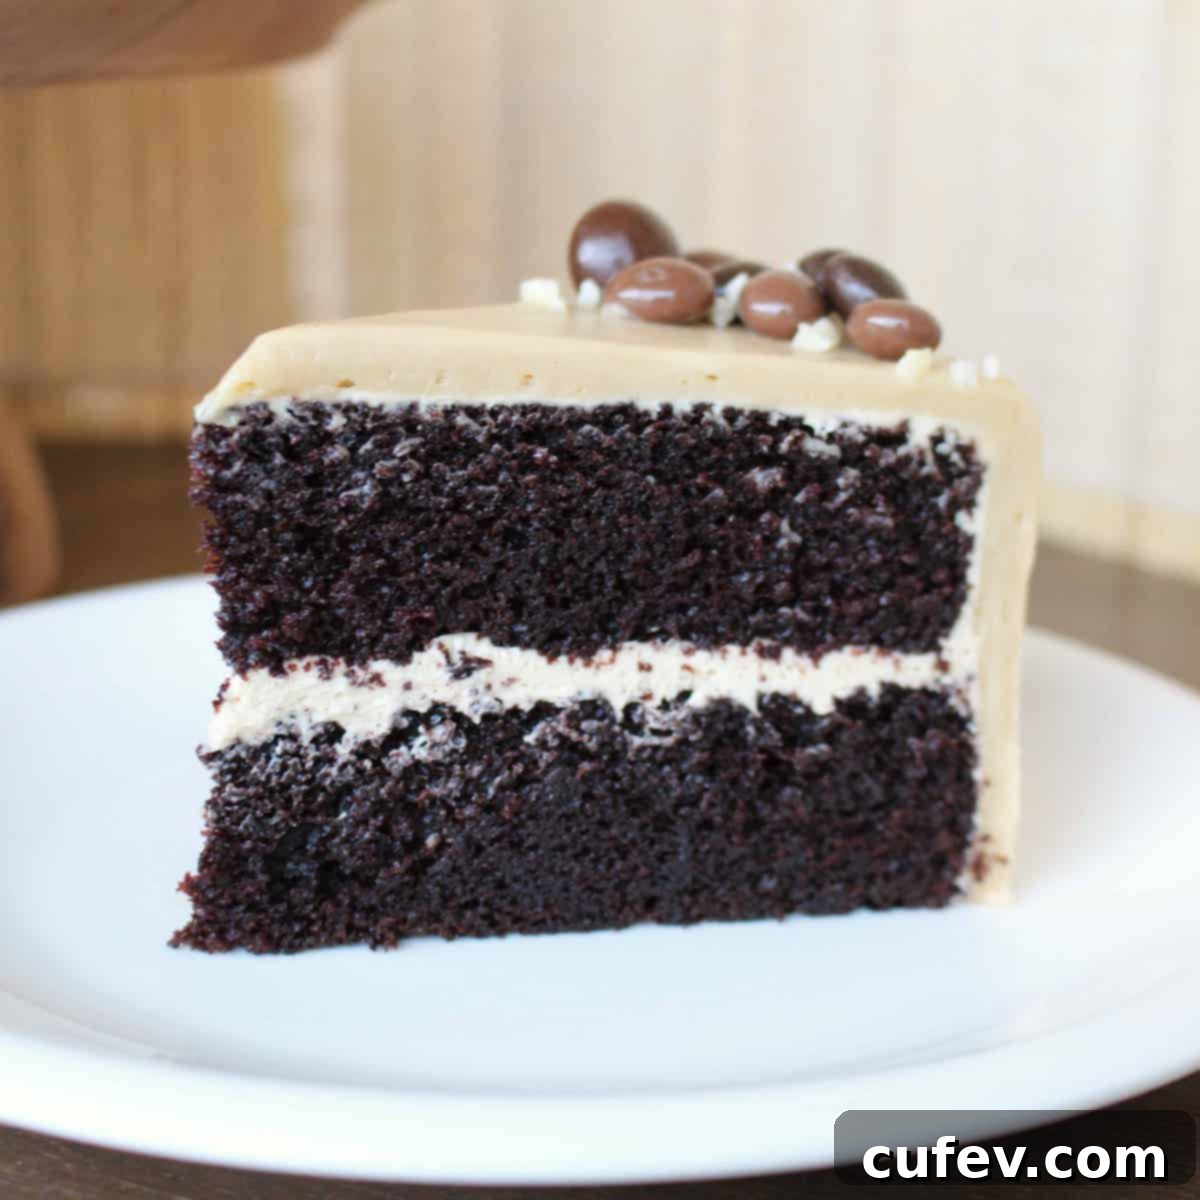
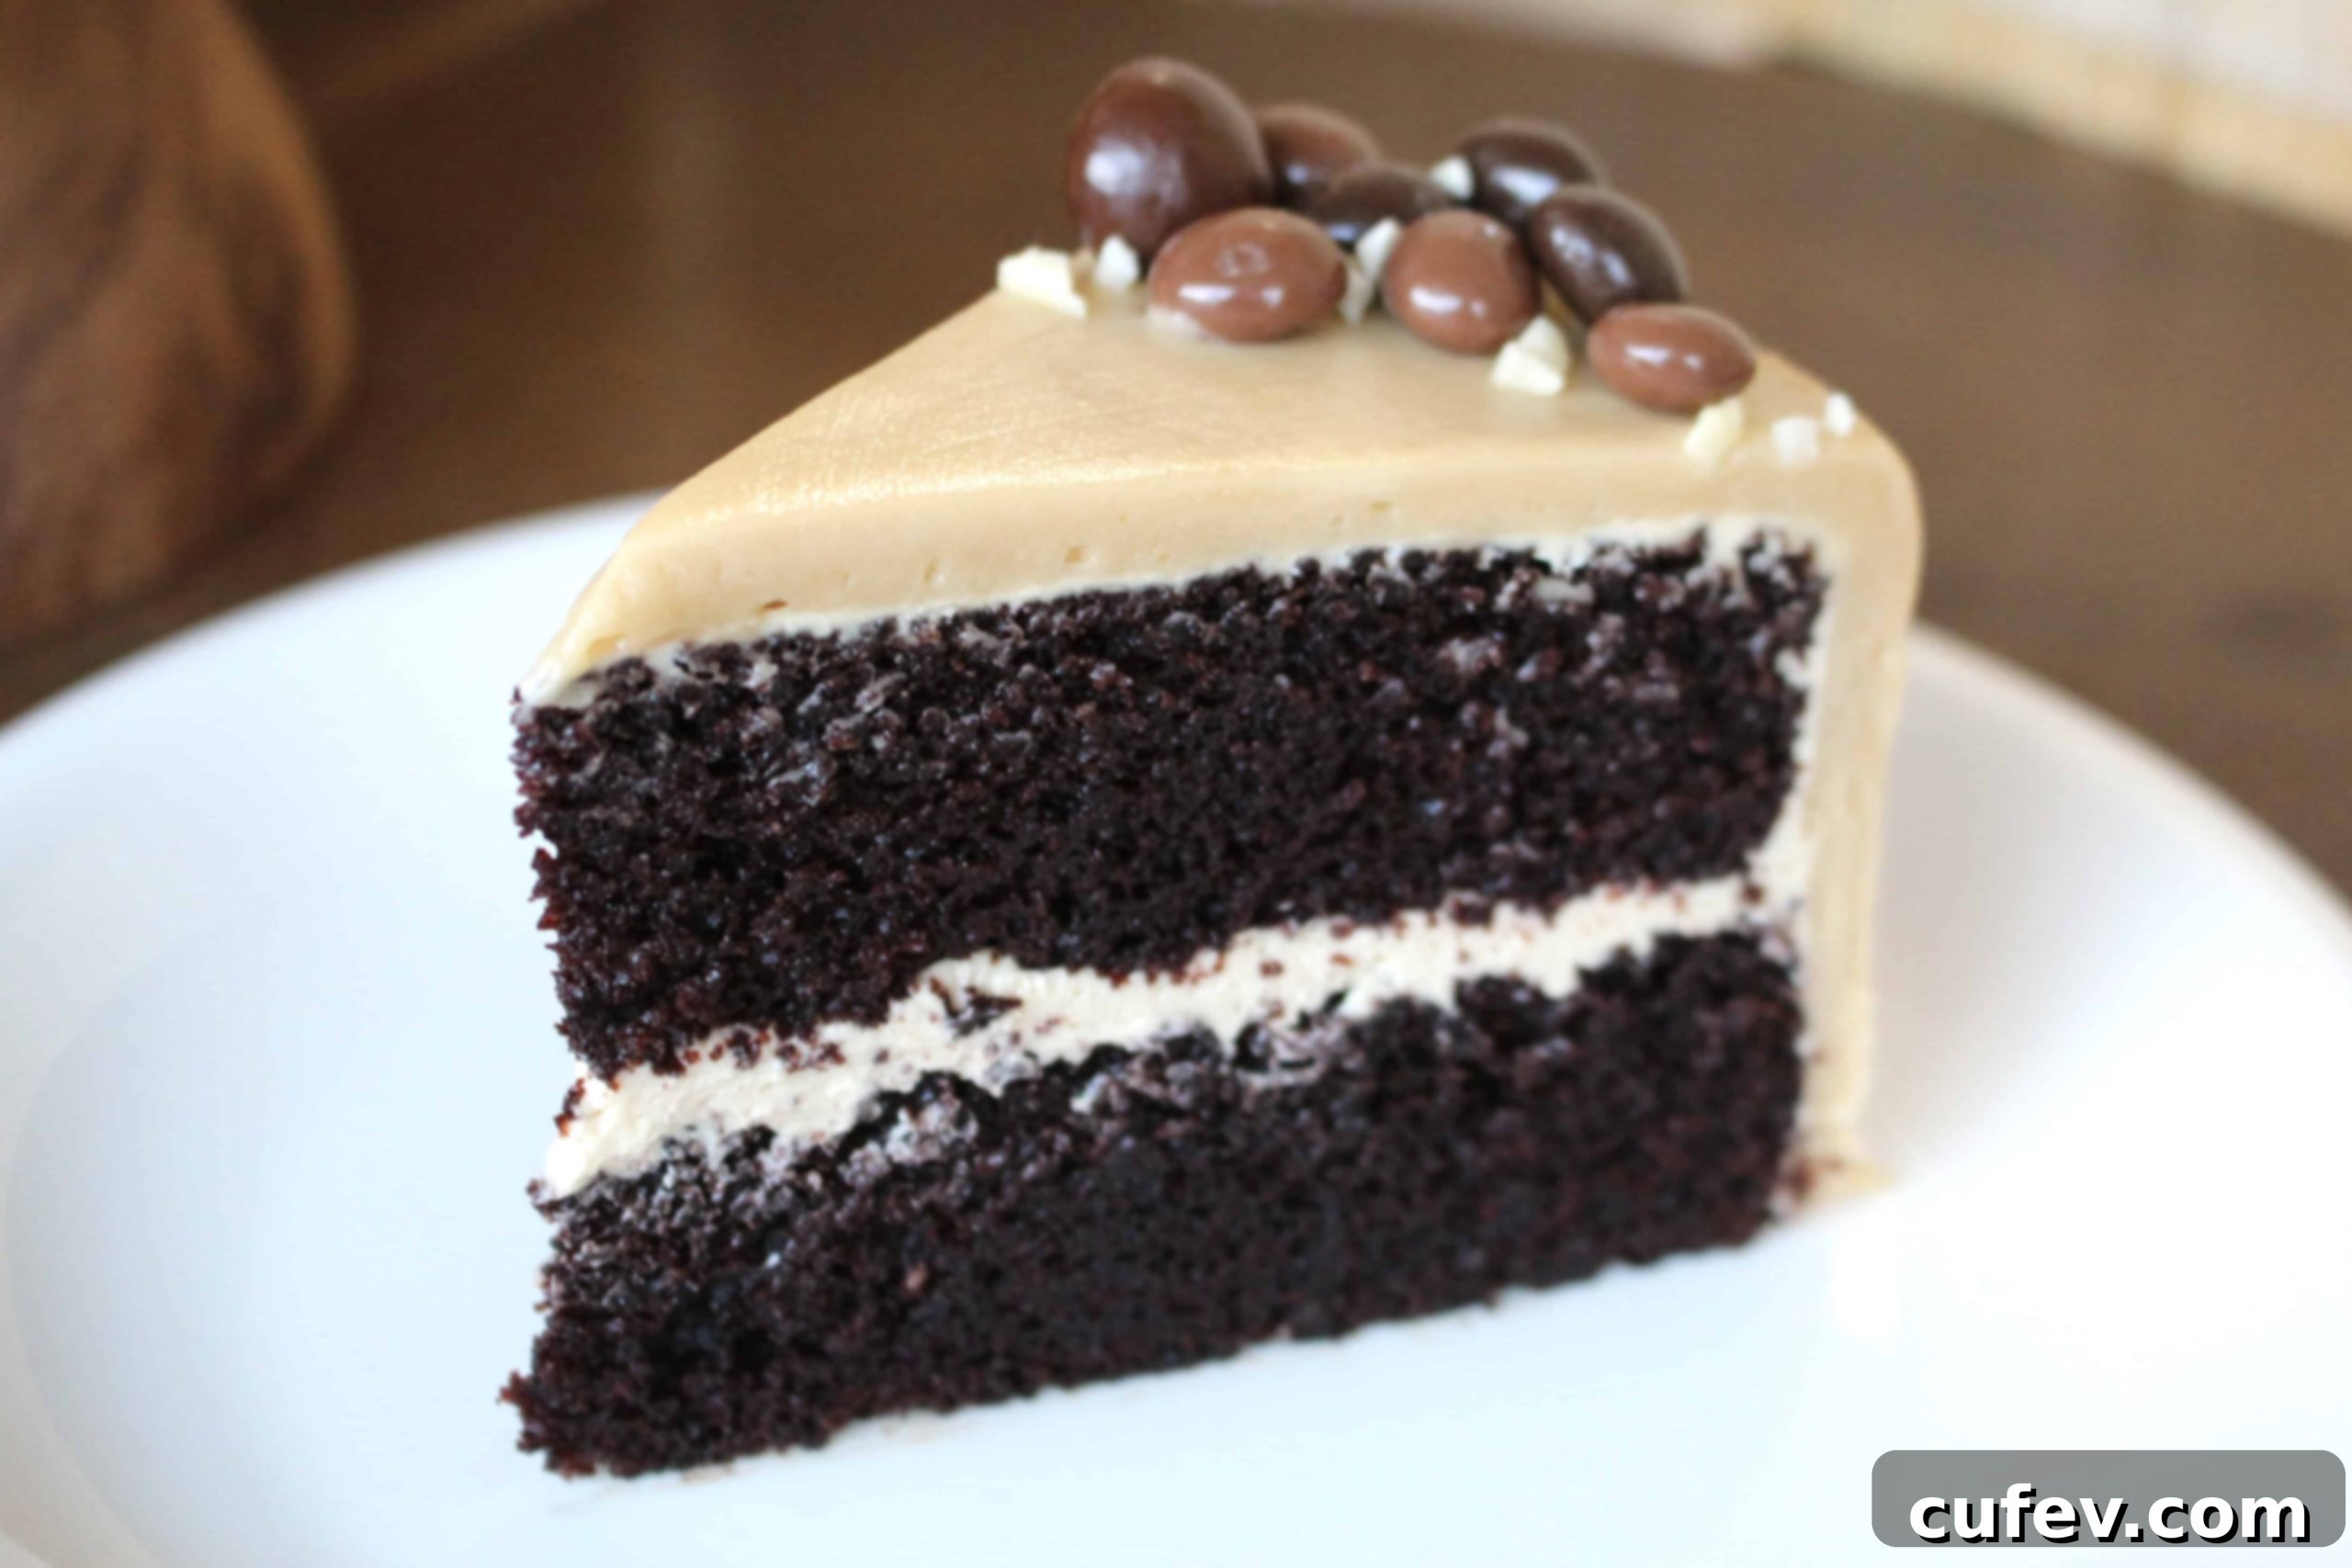
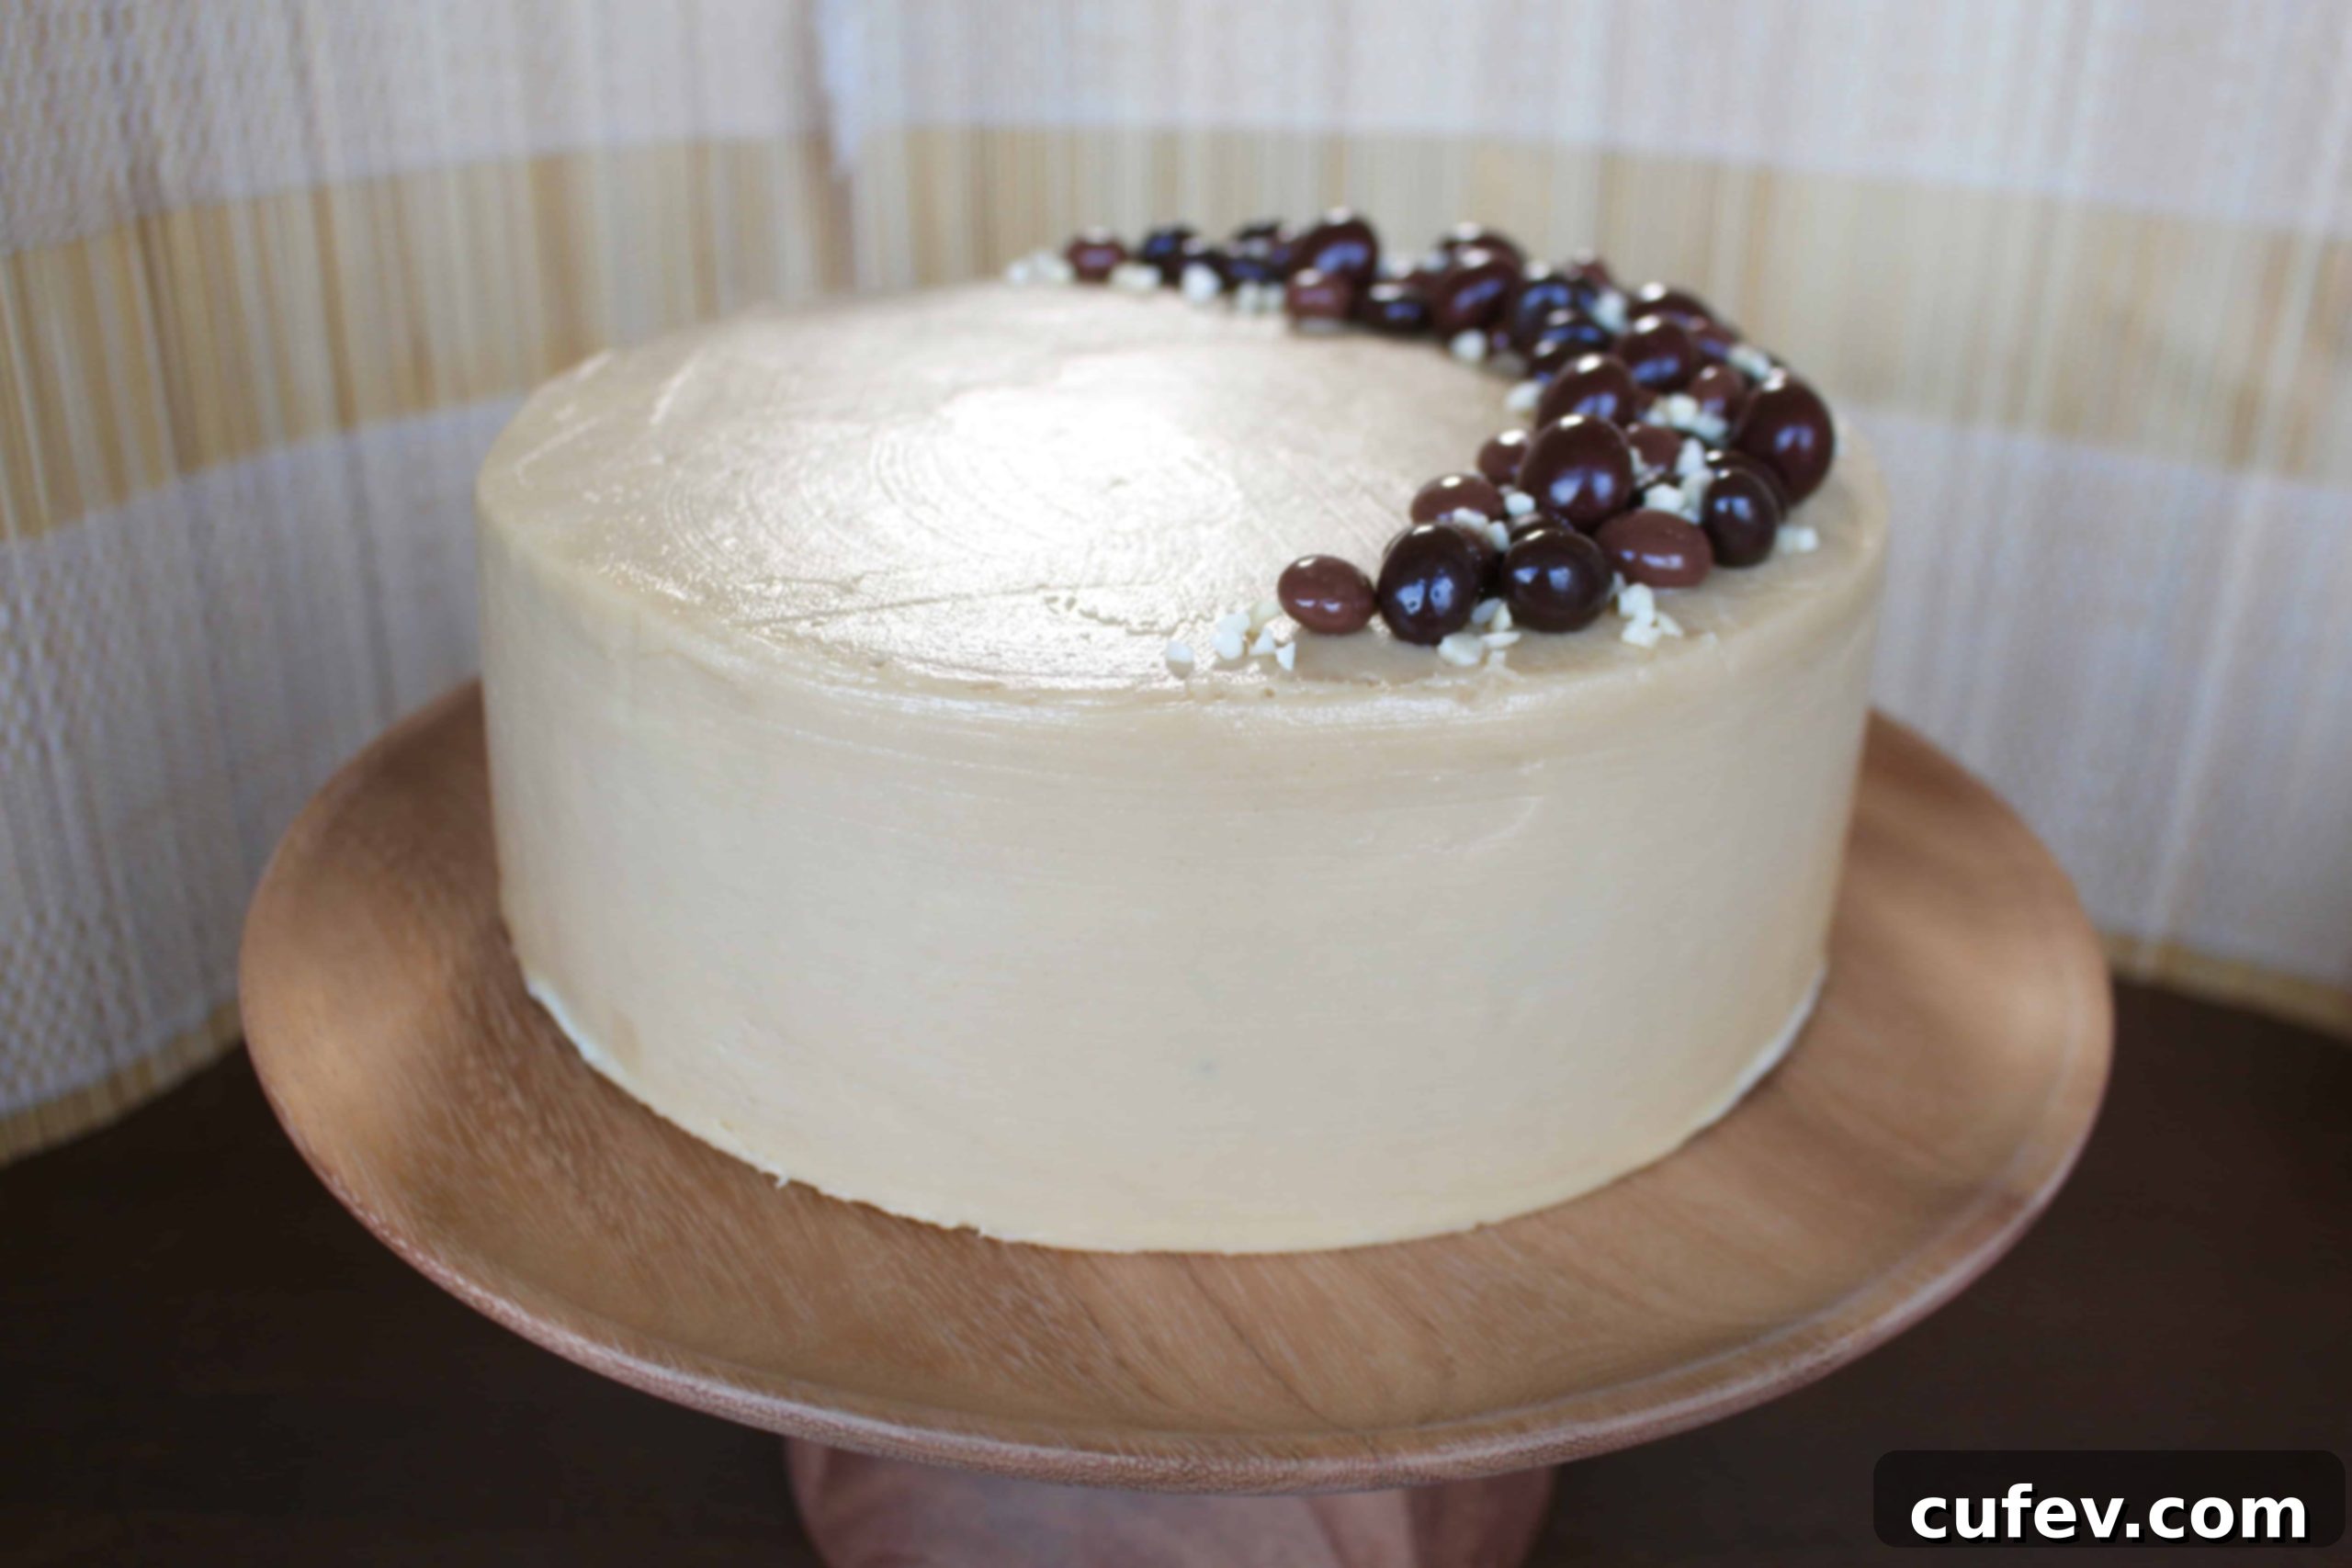
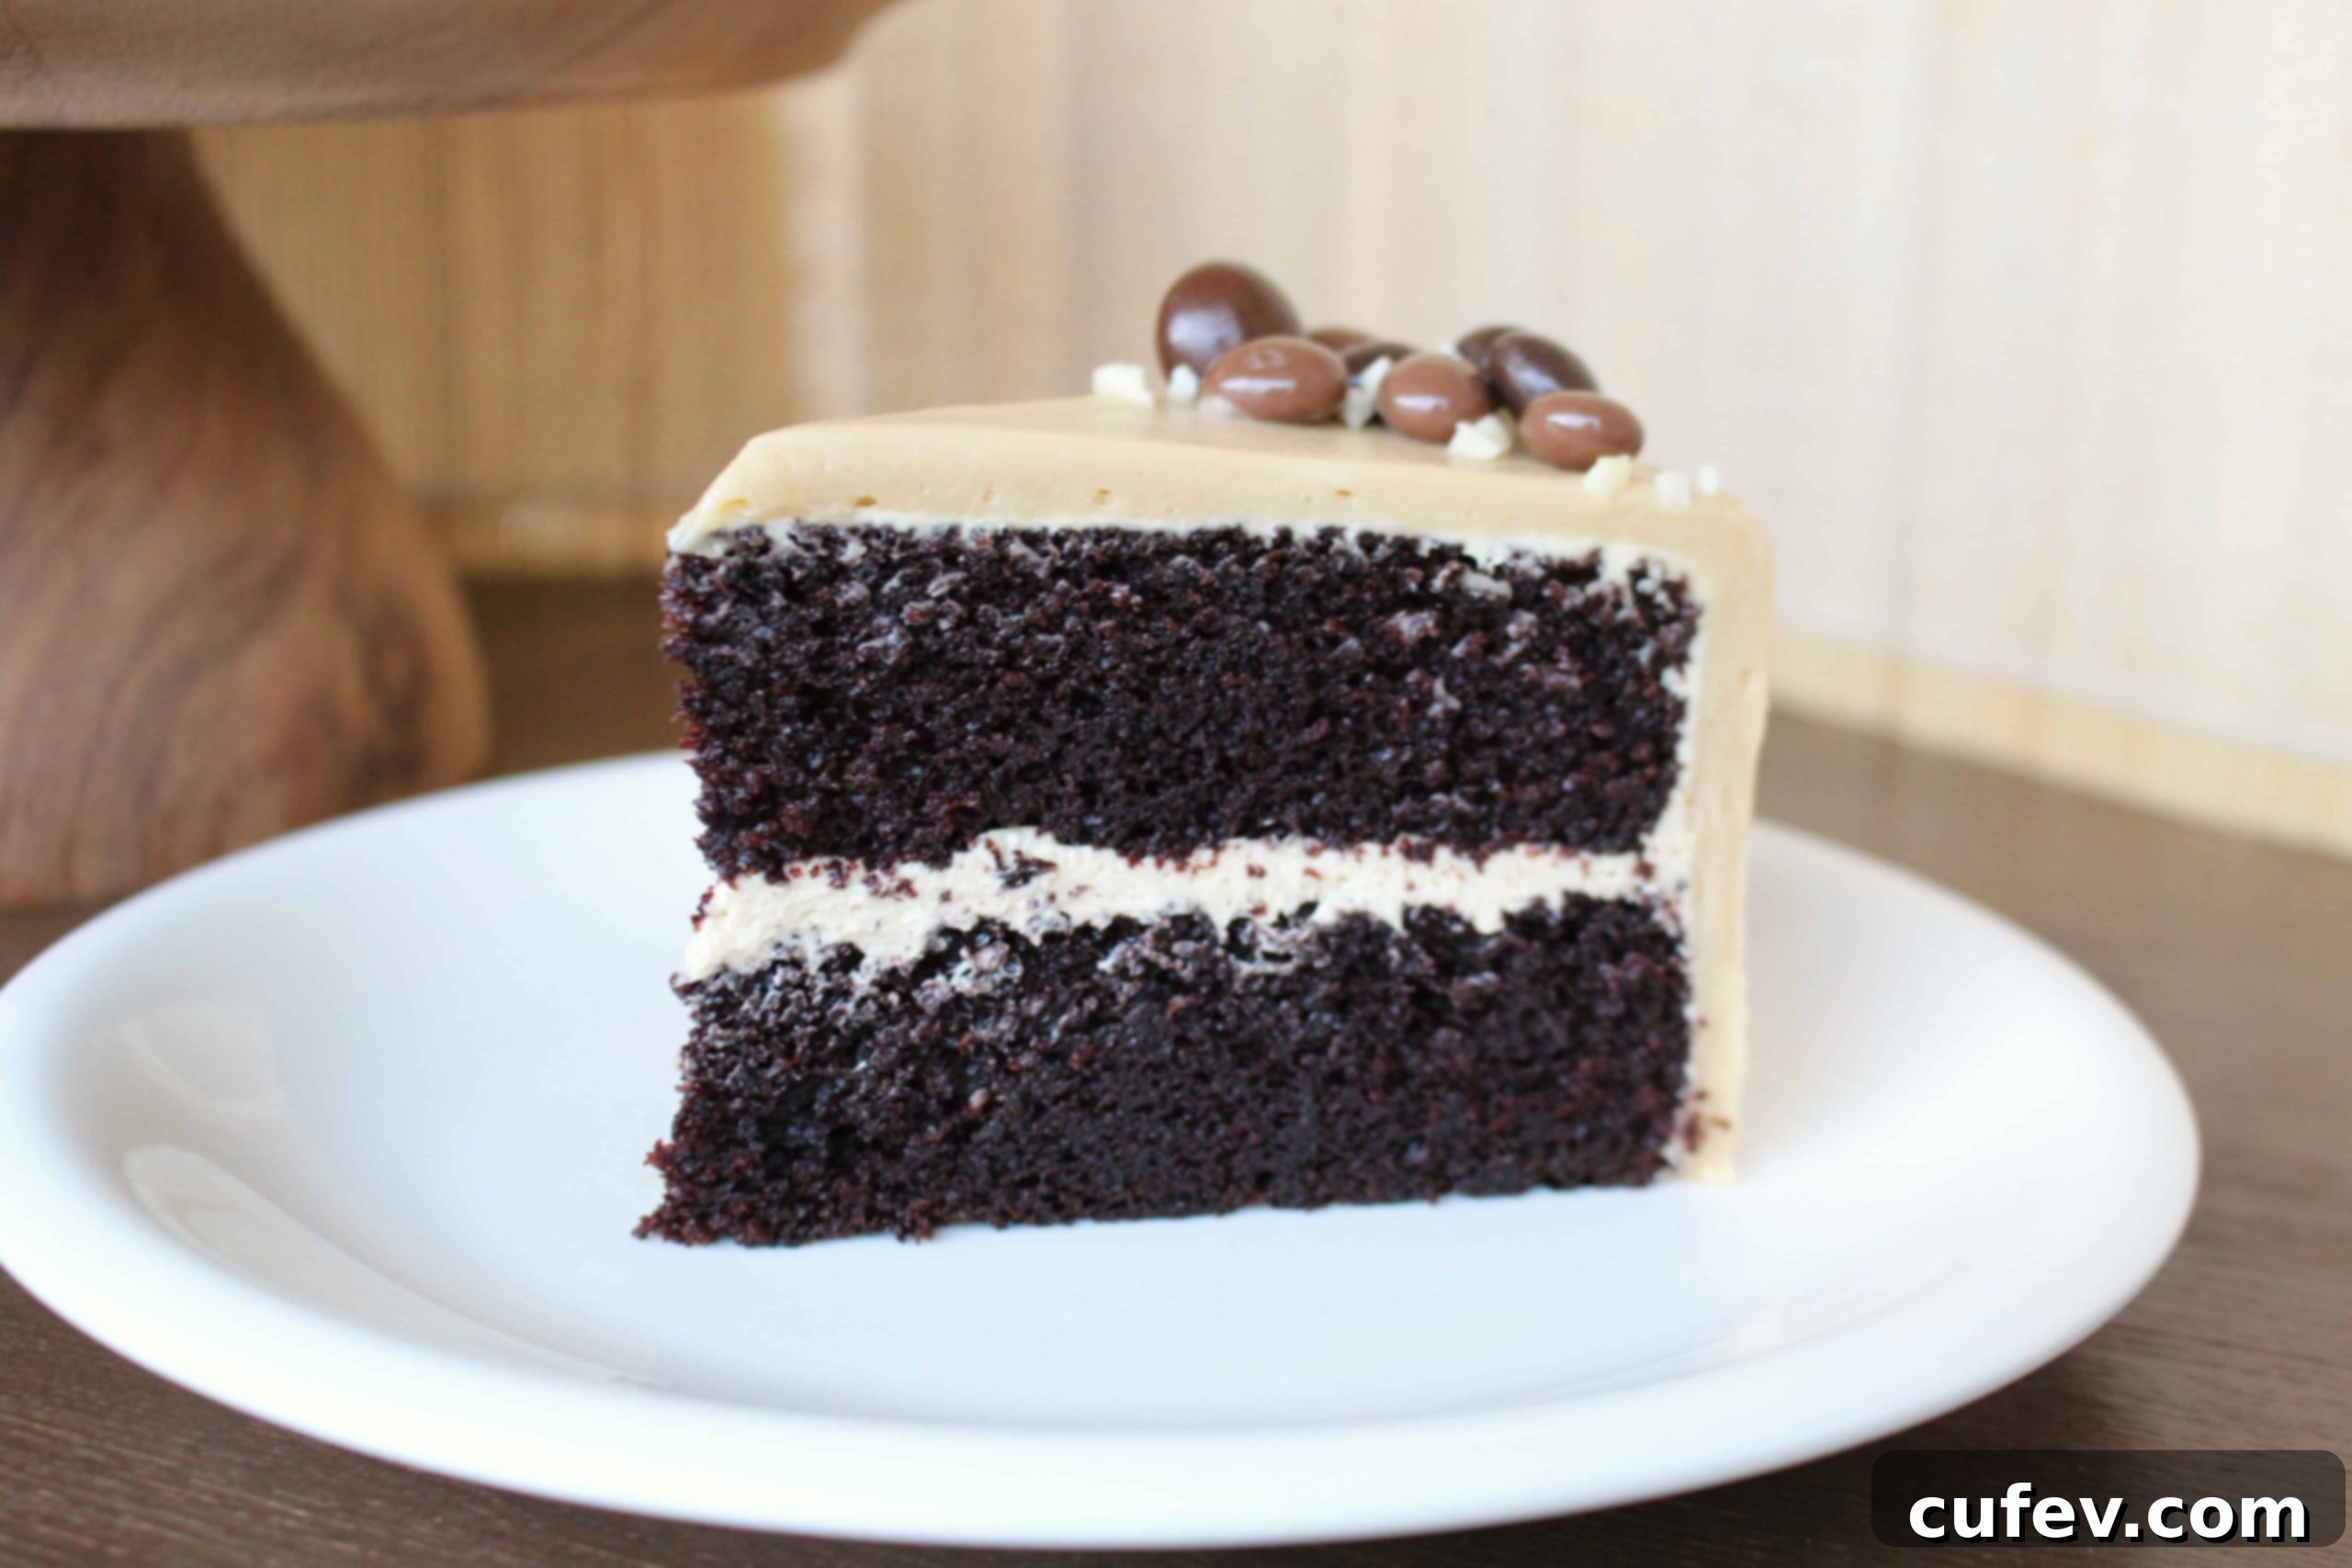
Finally, it’s time to adorn your magnificent **Chocolate Mocha Cake**. For decoration, I opted for a delightful combination of chocolate-covered coffee beans and crushed almonds. The chocolate-covered coffee beans provide a wonderful textural contrast and an extra burst of coffee flavor, while the almonds add a subtle crunch and elegance. I used a variety of chocolate-covered coffee beans: some milk chocolate, some dark, and even some dark chocolate beans with a white chocolate interior, adding visual interest and varying flavor notes. While I also purchased some wafer cubes with espresso cream and crispy cappuccino cookies, I ultimately decided the cake was perfect with just the beans and almonds, letting the core flavors shine.
The Ultimate Indulgence: A Celebration in Every Slice
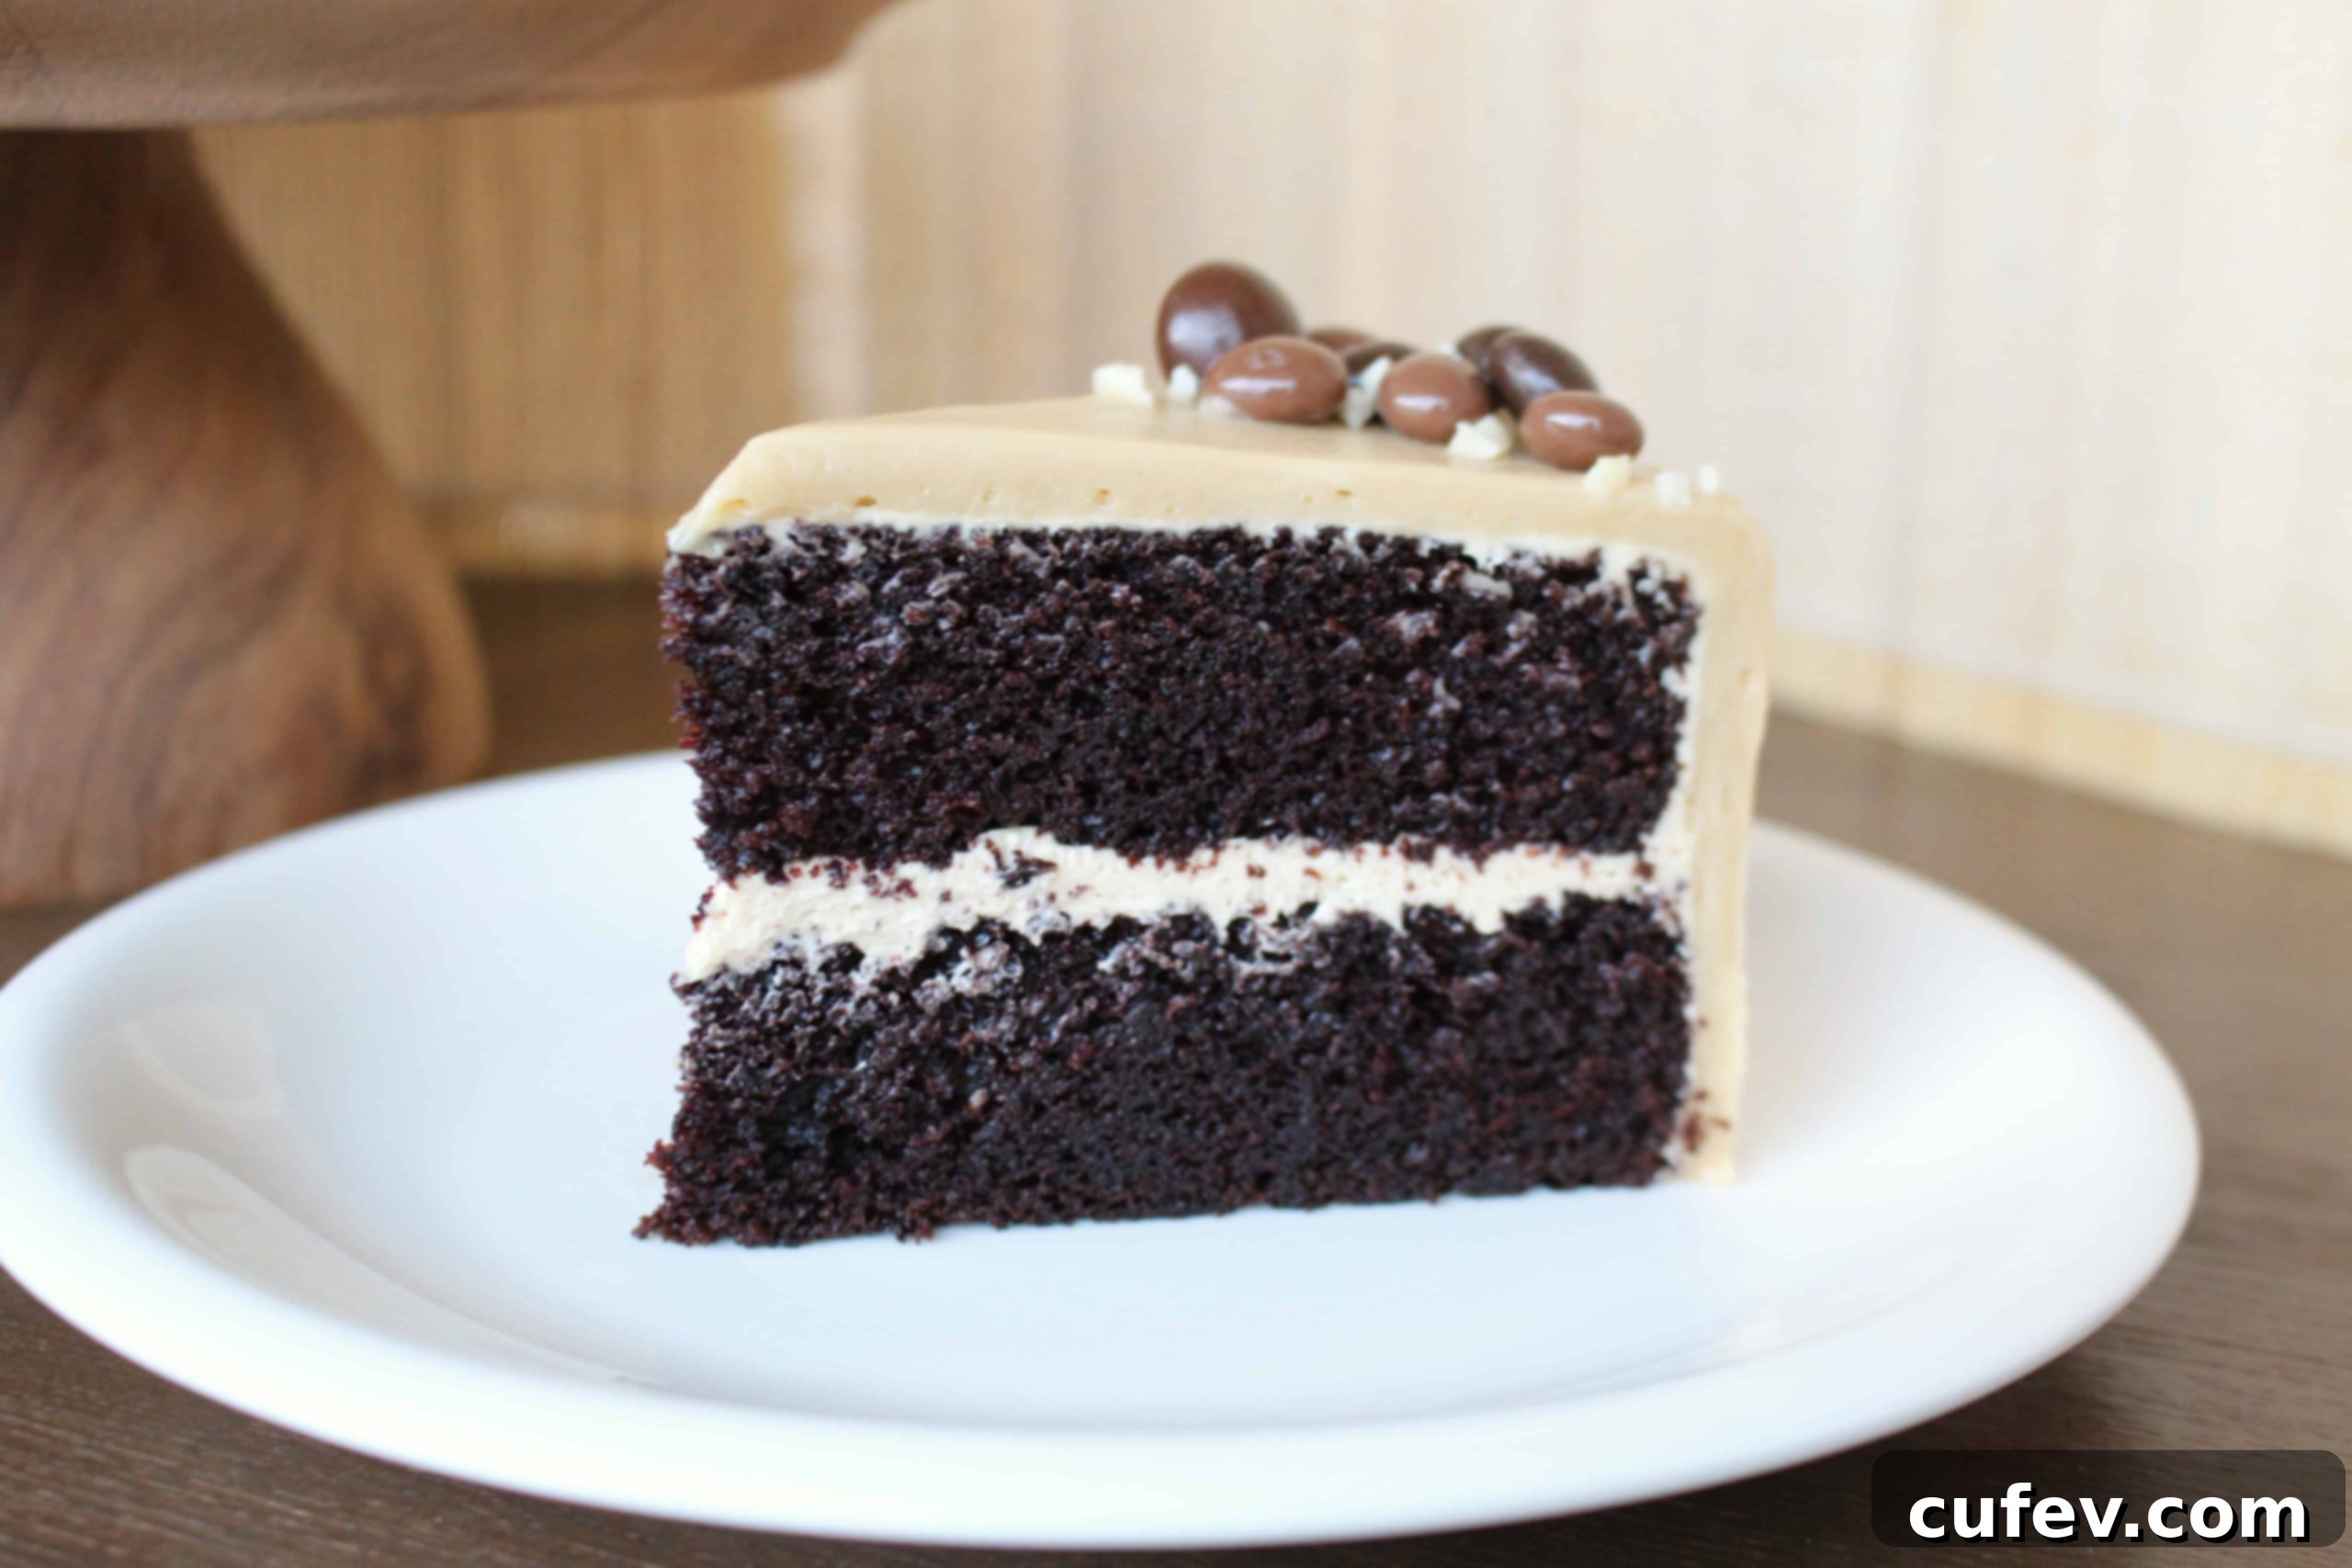
The moment you slice into this **Chocolate Mocha Cake**, you’ll understand why it’s worth every step of the baking process. Each forkful delivers a symphony of flavors and textures: the deep, rich notes of chocolate, brightened and enhanced by the invigorating essence of coffee, all perfectly balanced by the sweet, creamy **coffee buttercream**. The amaretto simple syrup ensures every bite is incredibly moist, while the carefully leveled layers create a visually stunning presentation that is sure to impress.
This cake is truly a testament to what homemade desserts can achieve. It’s not just “rich, moist, and decadent” – it’s an experience. The subtle crunch of crushed almonds and the delightful chew of chocolate-covered coffee beans (which, as mentioned, I chose in various forms like milk, dark, and even dark with white chocolate interiors for an extra dimension) add the perfect finishing touches, making this **mocha cake recipe** an absolute showstopper. While it was a generous cake for just Tristan and me, the joy of enjoying leftovers for breakfast on Tuesday and Wednesday made those busy mornings infinitely better. It truly was the perfect sweet companion to power through a hectic week.
Whether you’re celebrating a birthday, an anniversary, or simply craving an exceptional dessert, this **decadent layer cake** is guaranteed to satisfy. It combines the comforting familiarity of chocolate with the sophisticated notes of coffee, resulting in a flavor profile that is both classic and exciting. Baking this cake is a labor of love, but the smiles it brings and the sheer delight of each bite make every minute spent in the kitchen utterly worthwhile. Prepare to fall in love with your new favorite **homemade chocolate mocha cake**!
More Decadent Chocolate Desserts to Try
- How about some moist chocolate cupcakes or chocolate peanut butter cupcakes? They’re so easy to make and wonderfully fluffy.
- This gluten-free brownie recipe is top-notch! It’s incredibly fudgy and super chocolatey, a true delight for any brownie lover.
- My gluten-free chocolate cake recipe is one of my favorite cakes to make for any occasion – rich, tender, and always a crowd-pleaser!
- If you don’t want to bake anything but still crave a rich chocolatey dessert, make this icebox cake. It’s ridiculously easy to prepare and incredibly refreshing!
Mocha Cake Recipe
Print
Pin
Rate
Ingredients
Chocolate Cake
- 2 cups cake flour
- ¾ cup Dutch processed cocoa powder
- 1 teaspoon fine sea salt
- 2 teaspoons baking soda
- 1 teaspoon baking powder
- 2 large eggs
- 1 cup granulated sugar
- 1 cup light brown sugar
- ½ cup oil
- ½ cup sour cream
- ½ cup milk
- 2 teaspoons instant espresso
- 1 cup warm water
- 2 teaspoons vanilla extract
Simple syrup
- 2 tablespoons granulated sugar
- 4 tablespoons amaretto, or water
Coffee Buttercream Frosting
- 1½ cups unsalted butter
- 3 cups powdered sugar
- 1½ teaspoons vanilla extract
- 1 tablespoon instant espresso
- 1 teaspoon warm water
Instructions
Chocolate Cake
-
Preheat the oven to 338°F (170°C) and grease and line the bottoms of two 8-inch cake pans with parchment paper.
-
In a small bowl, combine the cake flour, cocoa powder, salt, baking soda, and baking powder. Set aside.
-
In a large bowl, combine the granulated sugar, light brown sugar, canola oil, sour cream, milk, coffee, and vanilla extract. Add the dry ingredients and stir until just combined.
-
Pour evenly into the two pans and bake for about 30 to 35 minutes.
-
Let them cool in the pan for about 10 minutes before taking it out or the cake pan onto a wire rack to cool completely.
Simple Syrup
-
Combine the sugar and amaretto in a small bowl. Stir until the sugar is completely dissolved.
Coffee Buttercream Frosting
-
Combine the instant espresso and warm water in a small bowl and set aside.
-
In a large bowl, cream the unsalted butter until light and fluffy.
-
Add the sifted confectioner’s sugar and continue to beat.
-
Add the vanilla extract, concentrated espresso mixture and beat until combined.
Assembly
-
Slice the domes off the cake and soak both cakes with the simple syrup using a pastry brush.
-
Put one cake on a turntable (or a plate) and spread some of the coffee buttercream. Top with the other cake and give the entire cake a very thin coating of frosting. Keep it in the fridge for about an hour, uncovered.
-
Cover the chilled cake with the remaining coffee buttercream frosting and decorate with chocolate covered coffee beans.
