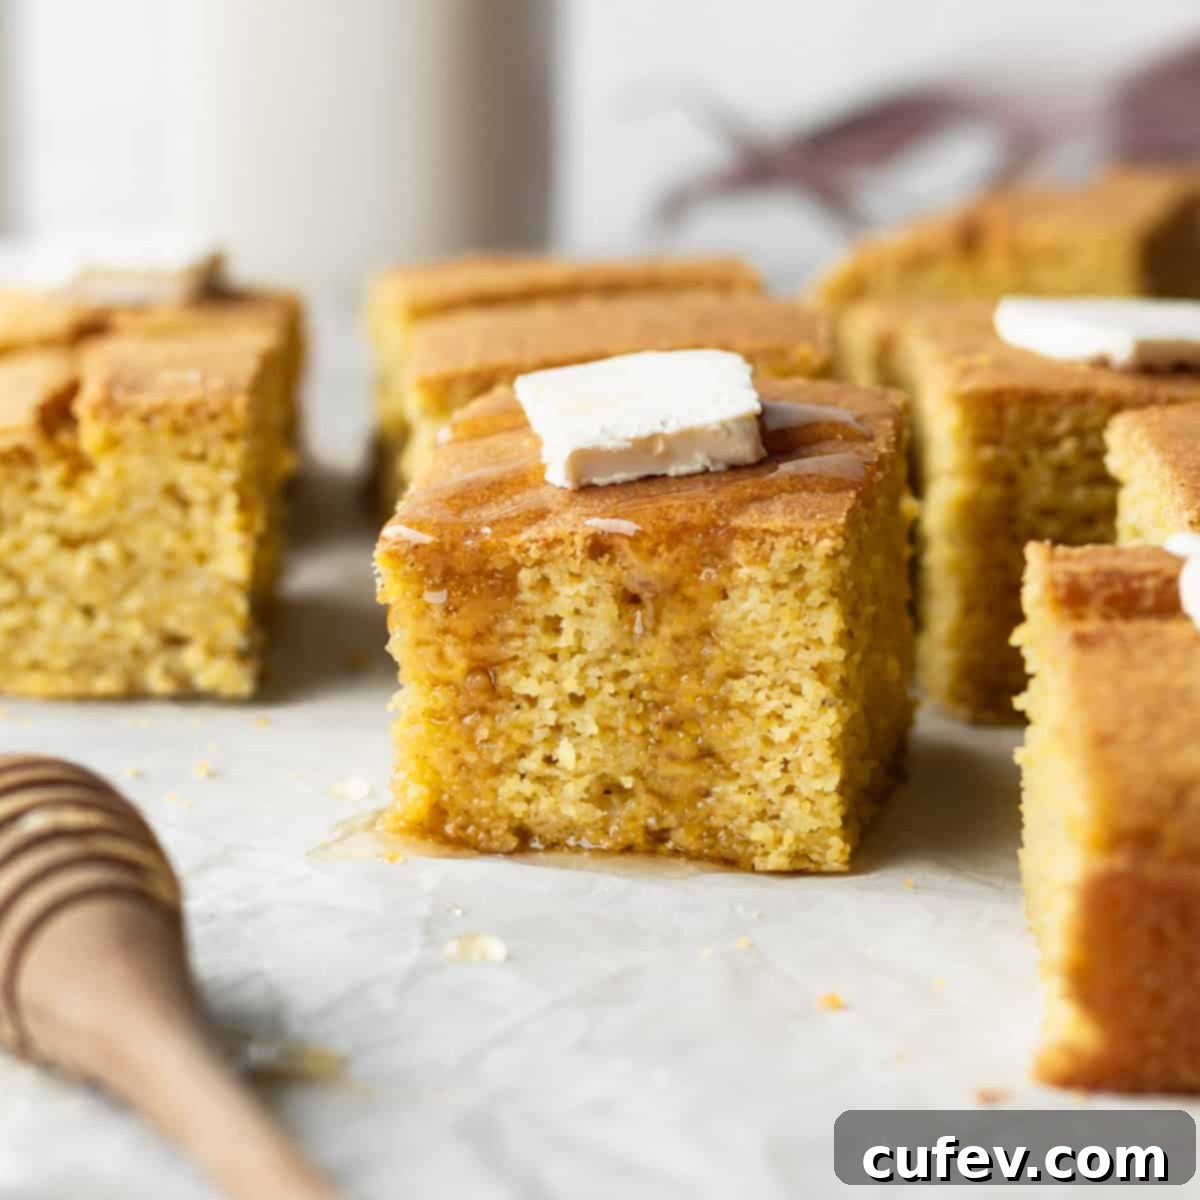
Moist and Fluffy Gluten-Free Cornbread: The Ultimate Easy Recipe
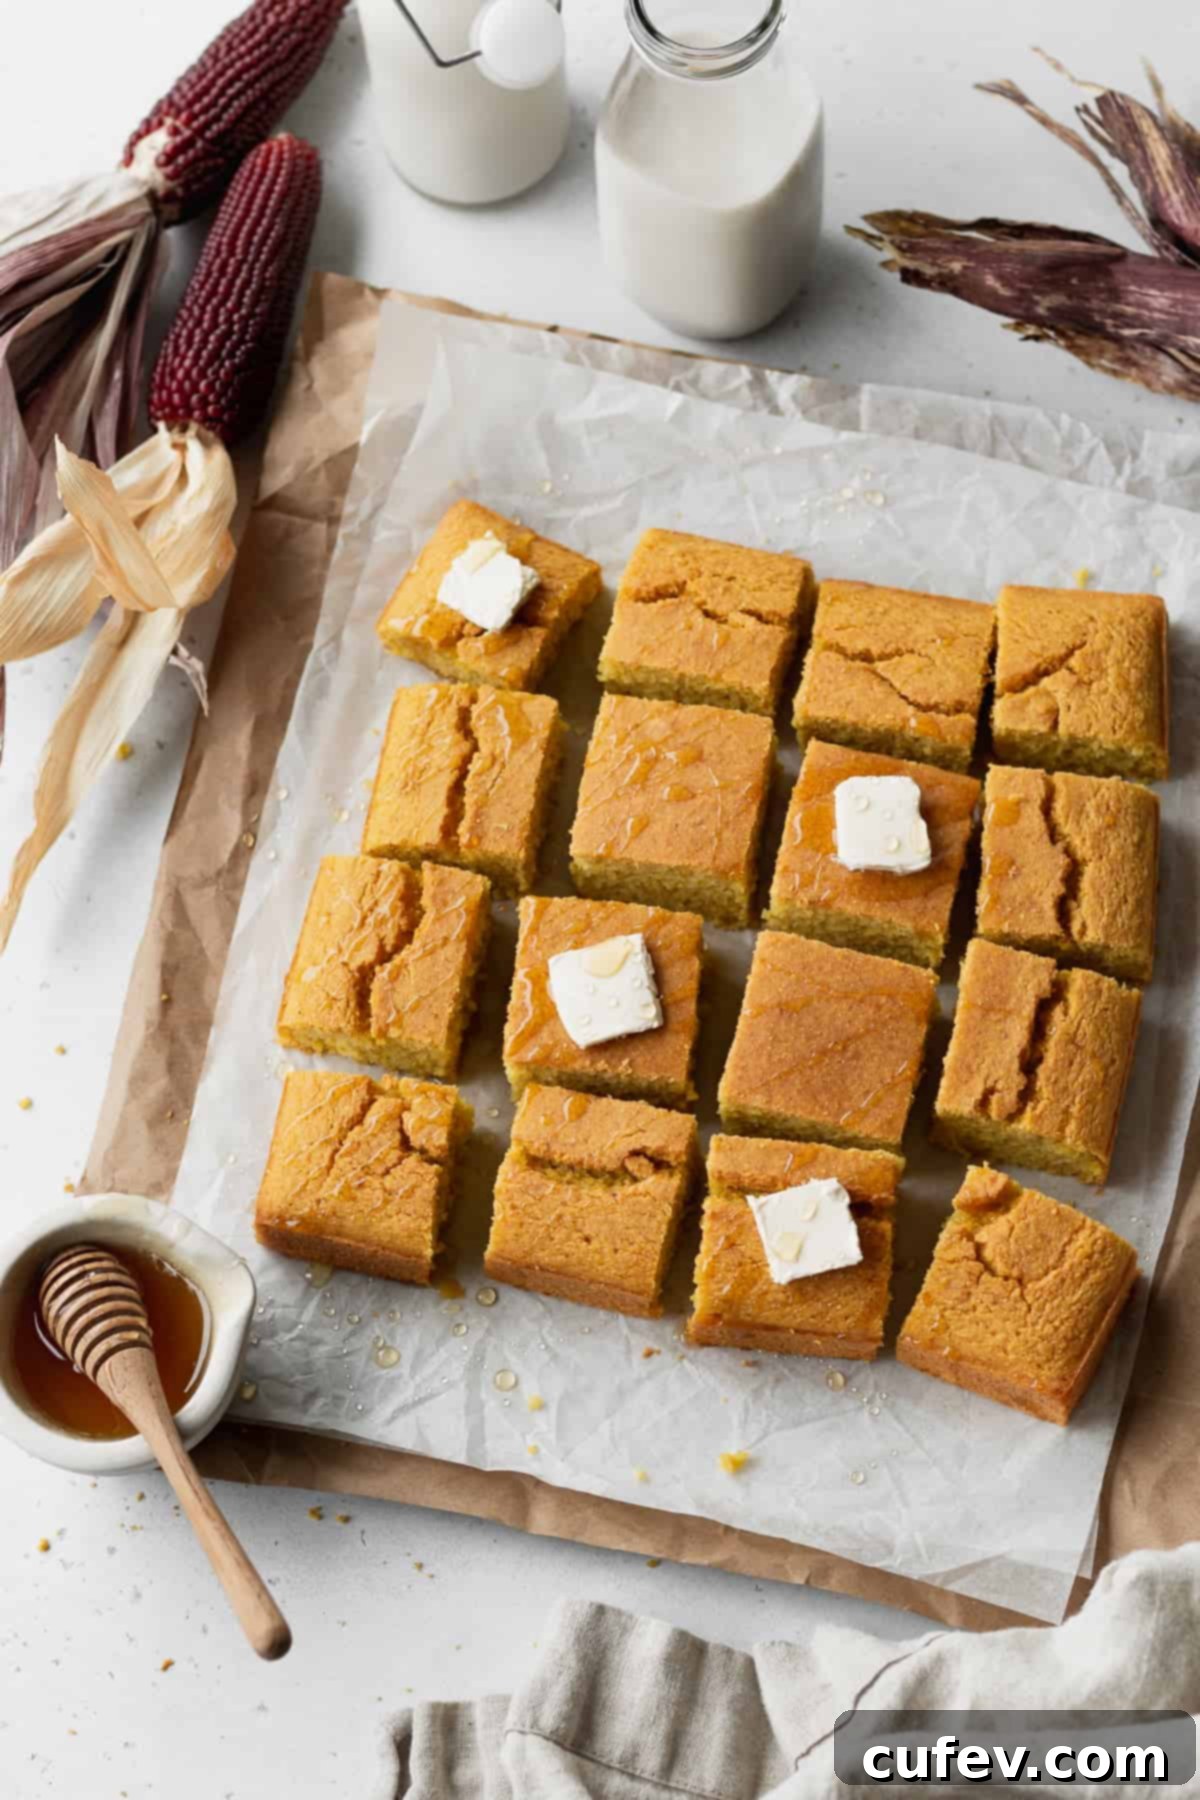
Discover the secret to the most irresistible gluten-free cornbread you’ll ever taste! This recipe yields a cornbread that is wonderfully moist, incredibly fluffy, and bursting with deep, authentic corn flavor. What makes it stand out? We purée fresh (or frozen) corn kernels directly into the batter, ensuring that rich corn taste permeates every single bite. Crafted with straightforward ingredients and requiring just about 15 minutes of active preparation time, this easy gluten-free cornbread recipe is versatile enough to grace your weeknight dinner table or become a star at your festive holiday gatherings.
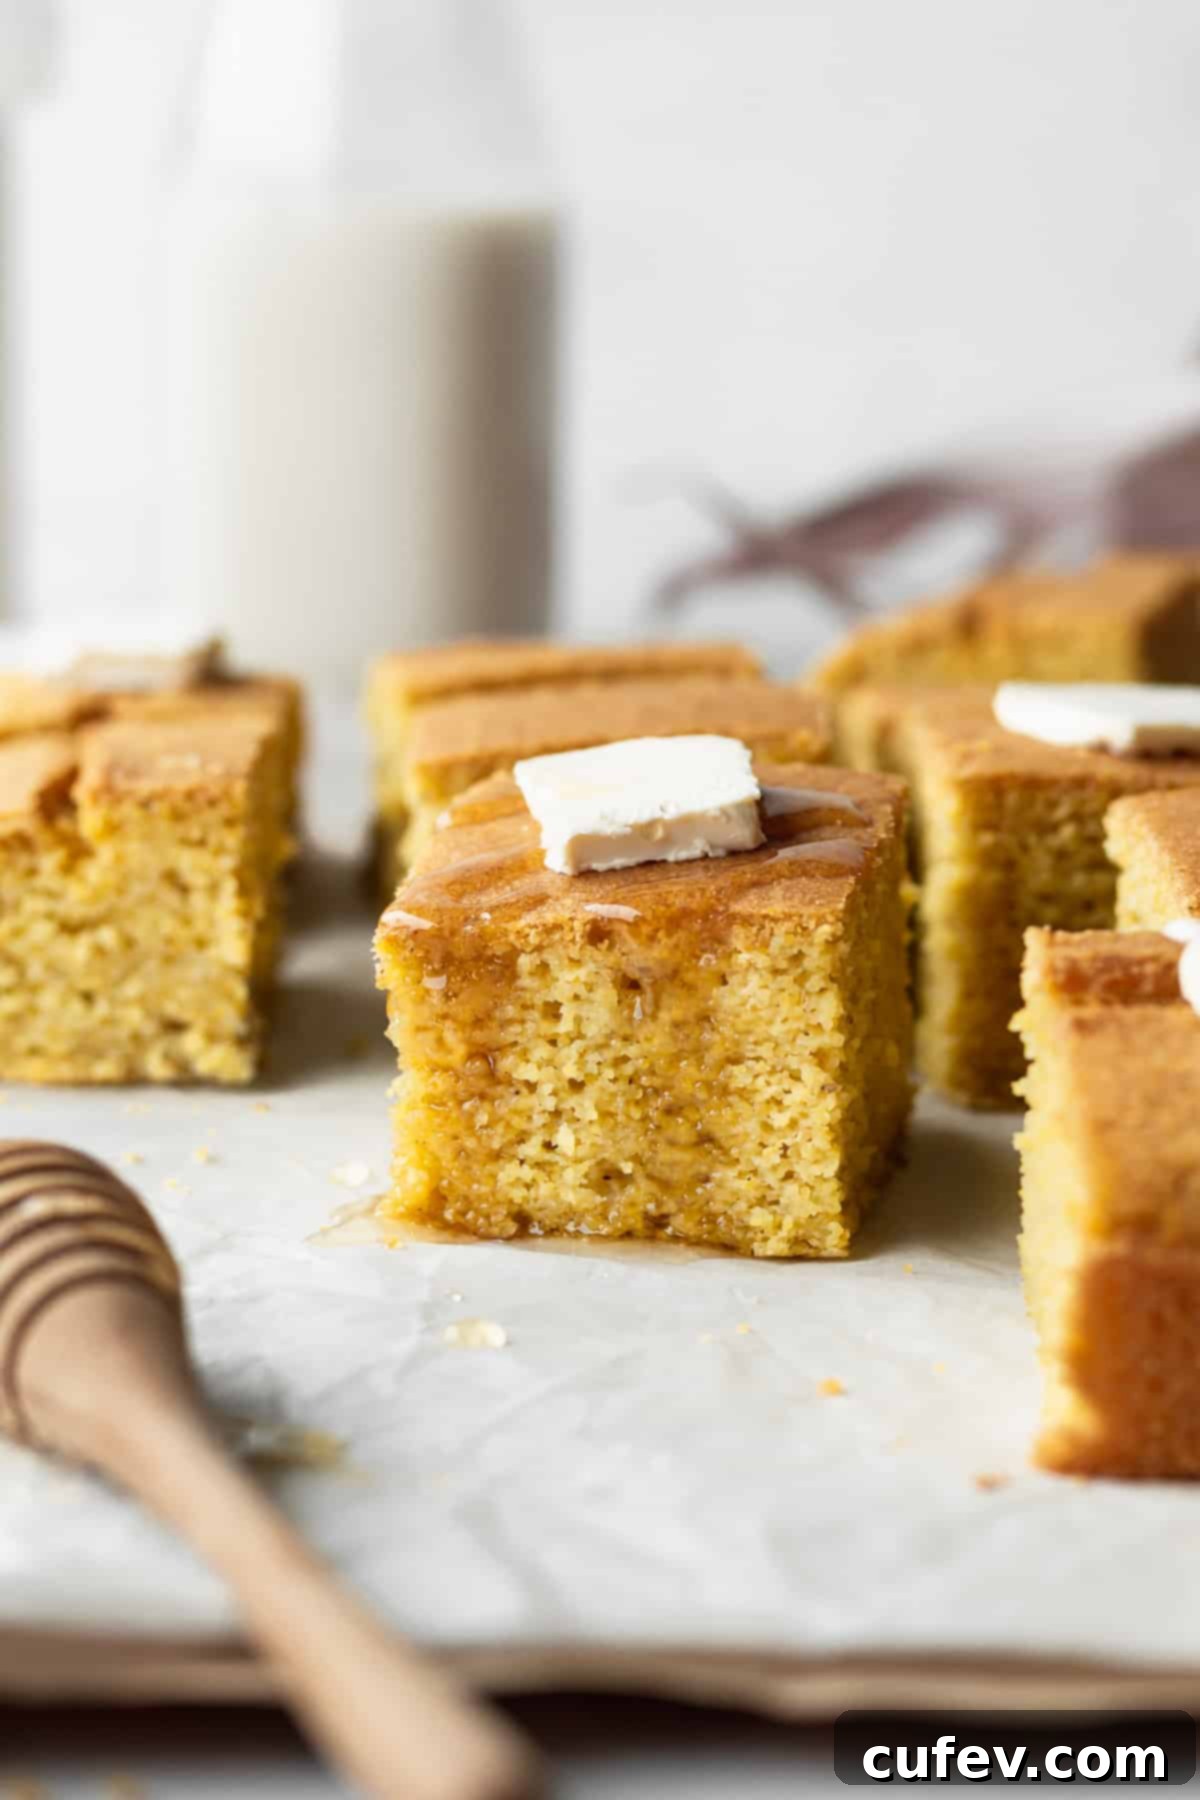
After years of meticulous testing and refinement, this cornbread recipe strikes a perfect balance between sweet and savory notes. This makes it an exceptionally versatile side dish, whether you’re pairing it with a hearty bowl of chili, enjoying it alongside your favorite barbecue, or simply savoring a warm slice slathered with sweet honey butter as a comforting snack. You’ll be amazed at how effortlessly this gluten-free version achieves the classic cornbread texture and flavor, often surpassing traditional recipes. Say goodbye to dry, crumbly gluten-free baked goods and hello to your new favorite cornbread!
Understanding Gluten-Free Cornbread: A Deeper Dive
While the primary ingredient, cornmeal, is inherently gluten-free, it’s a common misconception that all cornbread is safe for those with gluten sensitivities or celiac disease. The truth is, many commercial cornbread mixes and even some homemade recipes (especially those aiming for a lighter, cake-like texture) incorporate all-purpose wheat flour alongside the cornmeal. This addition of wheat flour is what introduces gluten into the mix, making these products unsuitable for a gluten-free diet.
Our gluten-free cornbread recipe takes a different approach, ensuring it’s 100% free of gluten without compromising on taste or texture. Instead of traditional wheat flour, we utilize a high-quality gluten-free “measure for measure” or “1-to-1” flour blend. These specialized blends are designed to behave similarly to wheat flour in baking, often containing a crucial ingredient: xanthan gum. Xanthan gum acts as a binder, mimicking the structural properties that gluten provides in baked goods. This allows our cornbread to achieve that desirable super moist and fluffy consistency every single time. The result is a cornbread so delicious and perfectly textured, no one will ever suspect it’s gluten-free!
Key Ingredients for the Best Gluten-Free Cornbread
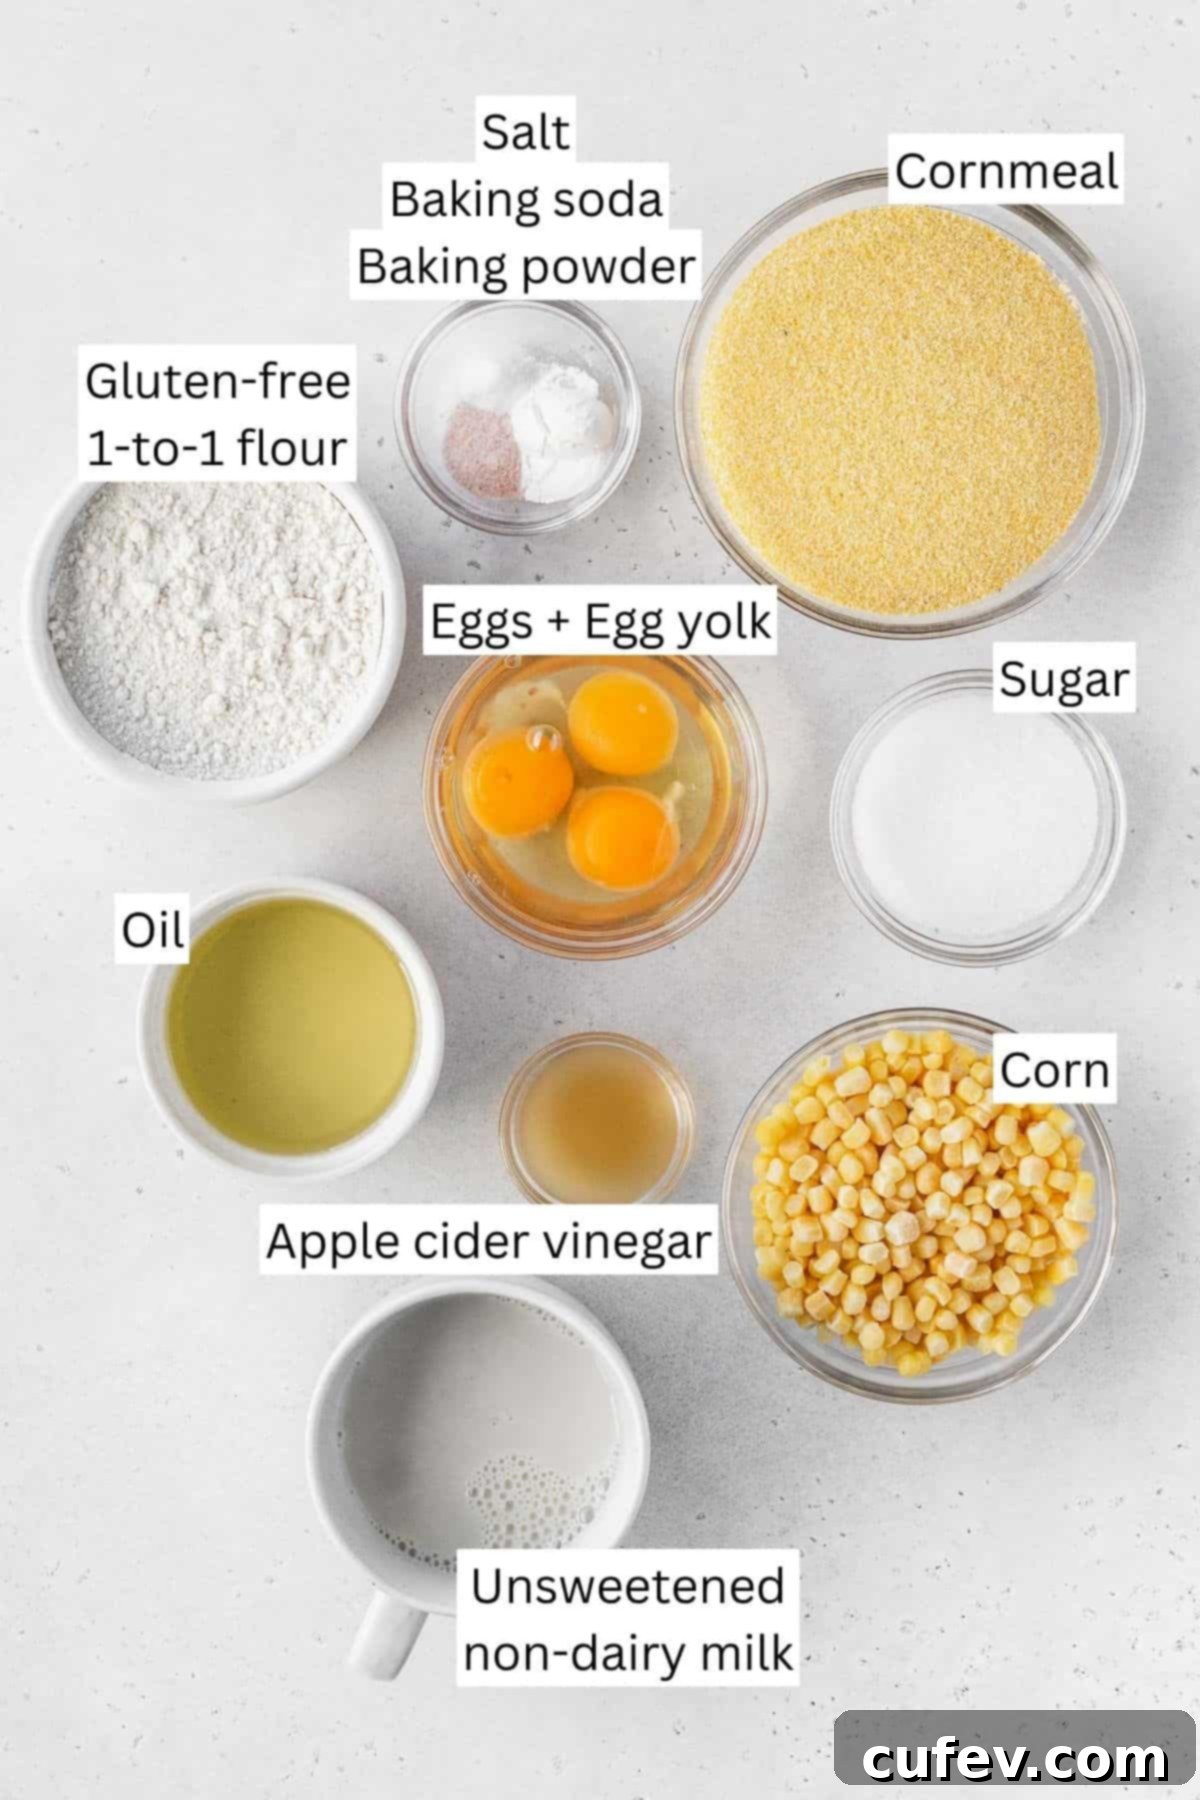
To create this incredibly moist and flavorful cornbread, you’ll need a selection of simple, high-quality ingredients. Each plays a vital role in achieving the perfect balance and texture:
- Gluten-Free 1-to-1 Flour Blend: This is the foundation of our gluten-free success. It’s absolutely essential to use a gluten-free flour blend specifically labeled “measure for measure” or “1-to-1” for baking. Crucially, ensure that the blend includes xanthan gum. Xanthan gum is a natural binder that provides the structure and elasticity typically found in gluten, preventing your cornbread from being crumbly or dense. My personal recommendation is Bob’s Red Mill Gluten-Free 1-to-1 Baking Flour, which consistently delivers excellent results. Avoid using single-ingredient gluten-free flours like plain rice flour or almond flour, as they lack the necessary structure without a blend.
- Cornmeal: The heart of any cornbread! I prefer using medium-ground cornmeal because it introduces a delightful textural bite to the cornbread, adding a rustic charm. However, feel free to adjust based on your preference:
- For a smoother, more cake-like consistency, opt for a fine-ground cornmeal.
- If you’re aiming for a truly rustic texture with a more pronounced chew, coarser polenta or grits can be used.
Always double-check that your cornmeal packaging explicitly states it’s gluten-free. Cross-contamination can occur if the cornmeal is processed in facilities that also handle wheat or other gluten-containing grains.
- Fine Sea Salt: A touch of salt is essential to enhance and balance all the flavors in the cornbread, bringing out the natural sweetness of the corn.
- Baking Soda & Baking Powder: These leavening agents are critical for achieving that light, fluffy rise. The baking soda will react with the acidity from the apple cider vinegar (which creates our homemade buttermilk), while the baking powder will provide an additional lift once the batter heats up in the oven. This dual action ensures optimal fluffiness.
- Neutral-Flavored Oil: We need a fat source that won’t overpower the delicate corn flavor. Avocado oil or light olive oil are excellent choices. You can also use melted butter (traditional or a vegan butter substitute) if you prefer, which adds a rich, dairy note. Ensure your oil is fresh for the best taste.
- Granulated Sugar: This recipe balances sweetness and savory notes. Granulated sugar (or cane sugar) provides just enough sweetness to complement the corn without making it overly dessert-like. Avoid using brown sugar or coconut sugar, as their molasses-like flavor can alter the intended profile of the cornbread.
- Eggs & Extra Egg Yolk: Eggs provide structure, moisture, and richness. The addition of an extra egg yolk takes this cornbread to the next level, contributing to an incredibly rich and tender crumb that melts in your mouth.
- Milk: Use either whole milk for a classic rich flavor or unsweetened plain non-dairy milk (such as almond, soy, or oat milk) for a dairy-free option. The fat content in whole milk contributes to moisture, while non-dairy alternatives work equally well for texture.
- Apple Cider Vinegar: This seemingly small ingredient plays a crucial role in creating homemade buttermilk when combined with regular milk. The acidity reacts with the baking soda, leading to a tender and light texture. If you have buttermilk on hand, you can skip this step and use 1 cup of buttermilk directly.
- Corn Kernels (Fresh or Frozen): This is our secret weapon for maximum corn flavor and extra moisture. Puréeing fresh or frozen corn kernels directly into the batter amplifies the corn taste significantly, resulting in a deeper, more pronounced flavor in every bite. While I have experimented with canned corn, it honestly doesn’t yield the same vibrant taste or texture. If using frozen kernels, allow them to defrost completely before blending for the smoothest results.
How to Make the Best Moist Gluten-Free Cornbread
Creating this delicious gluten-free cornbread is surprisingly simple and requires minimal effort. Follow these easy steps for a perfect loaf every time:
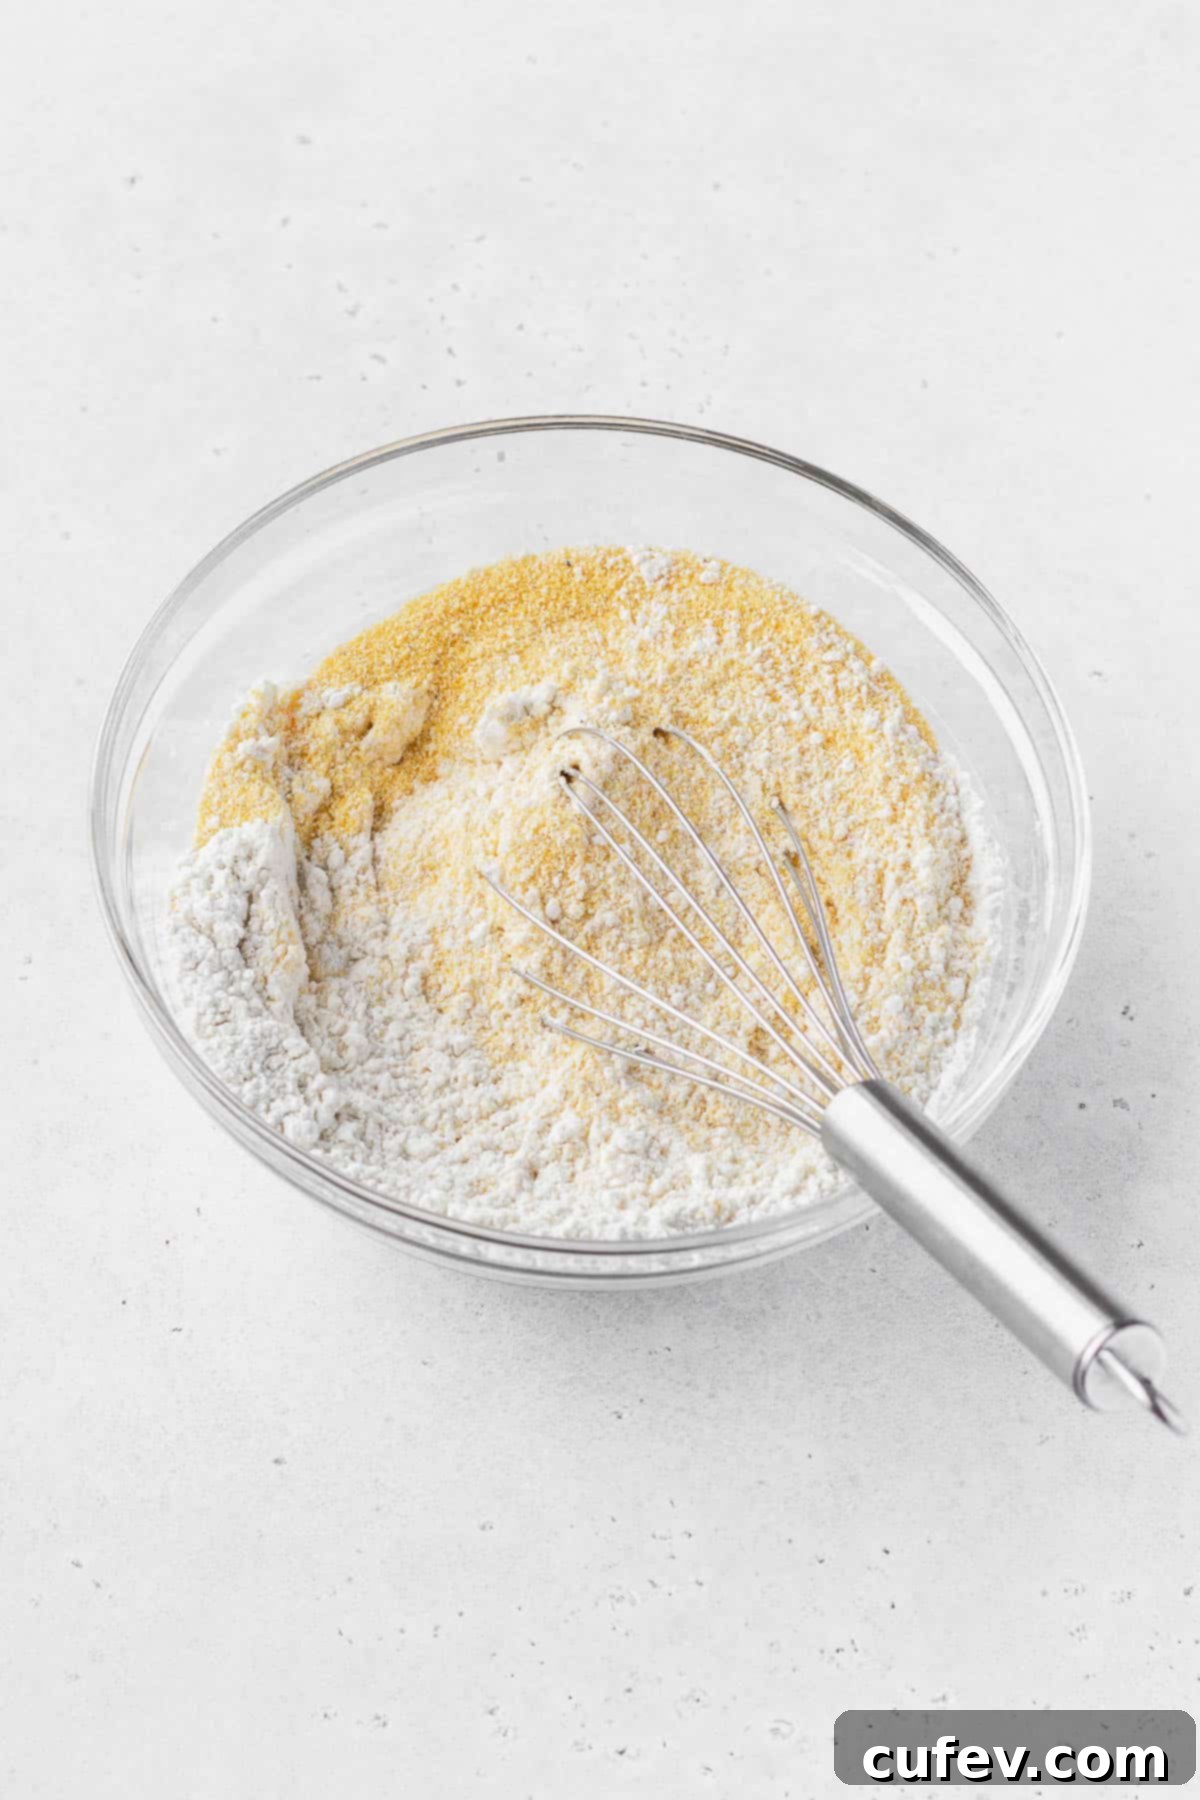
Step 1: Prepare the Dry Ingredients. In a large mixing bowl, combine your gluten-free 1-to-1 flour blend, cornmeal (ensure it’s certified gluten-free), fine sea salt, baking soda, and baking powder. Whisk these dry ingredients thoroughly to ensure they are well combined and the leavening agents are evenly distributed. Set this bowl aside while you prepare the wet ingredients.
Step 2: Combine the Wet Ingredients. Start by creating your homemade buttermilk substitute. In a measuring cup or small bowl, pour the milk (dairy or non-dairy) and add the apple cider vinegar. Stir gently and let this mixture sit undisturbed for about 5 minutes. You’ll notice the milk starting to curdle slightly, which is exactly what we want. This acidity is key for a tender crumb. (Alternatively, if you have buttermilk on hand, simply use 1 cup of buttermilk directly and skip this curdle step).
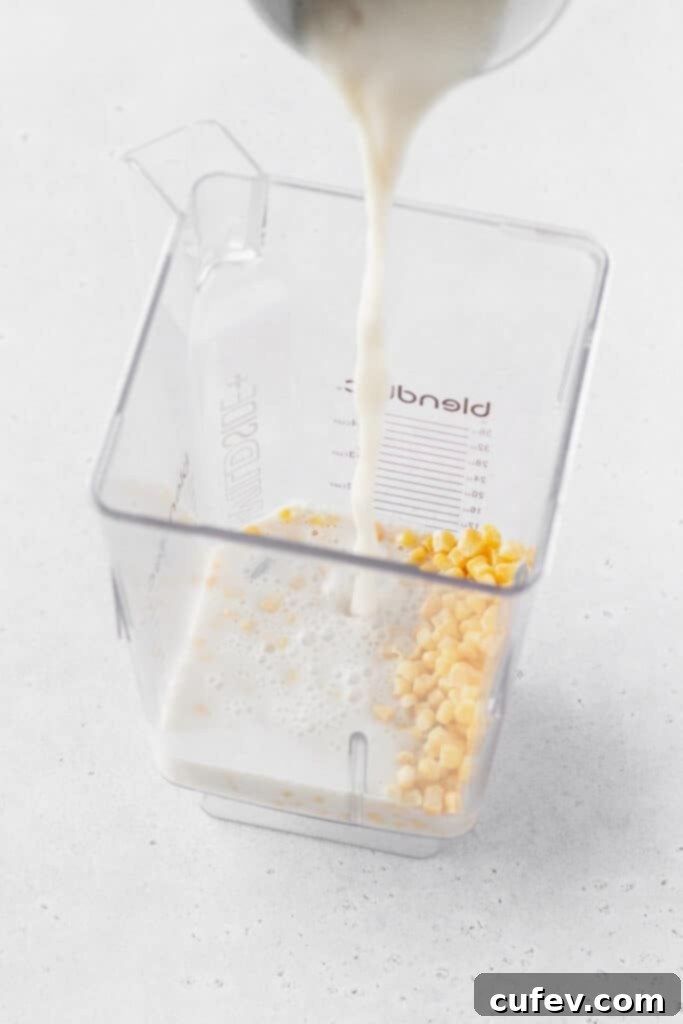
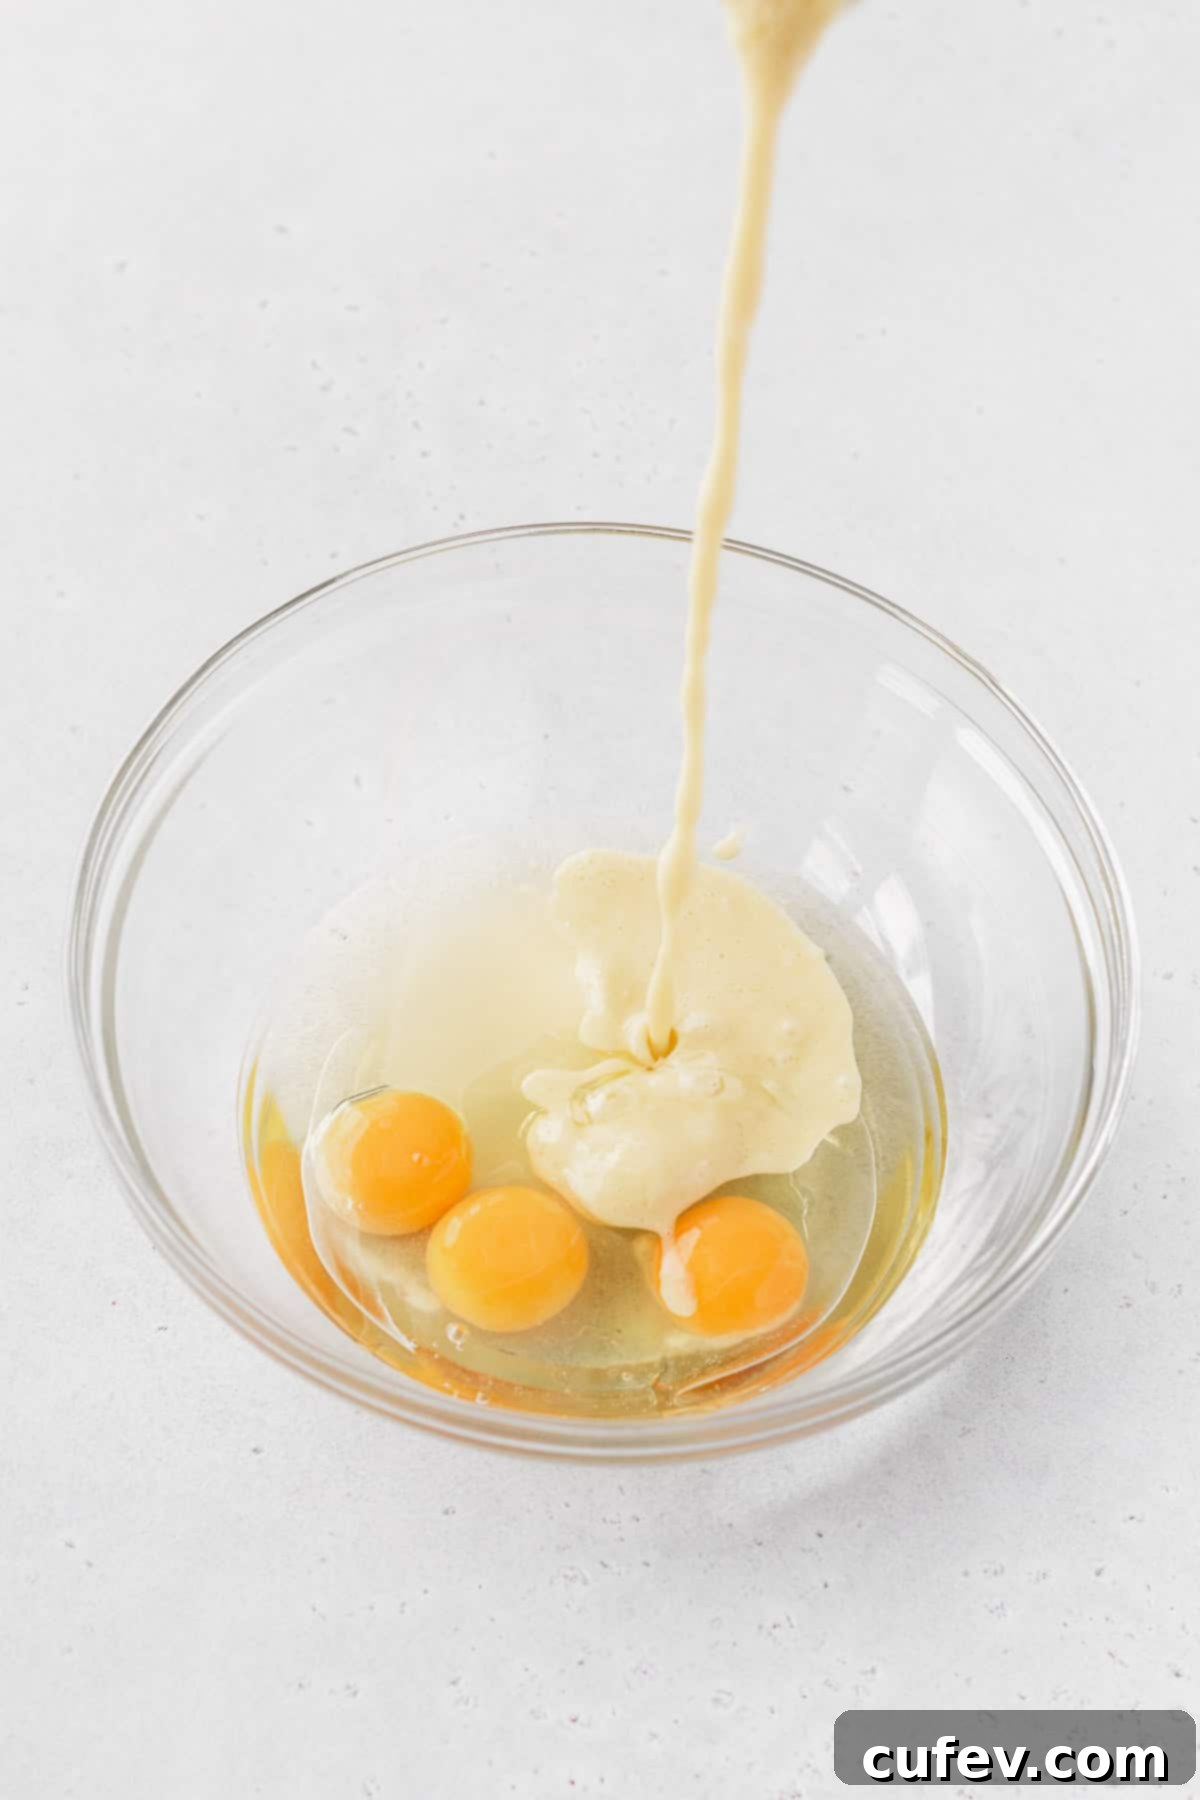
Next, transfer the defrosted corn kernels and the prepared milk mixture into a blender. Process until the mixture is completely smooth. This crucial step infuses the entire batter with an intense corn flavor and adds significant moisture, preventing dry cornbread. Once blended, pour this corn-milk mixture into a separate large bowl. Add the granulated sugar, neutral oil, two large eggs, and the extra egg yolk to this bowl. Whisk everything together until the wet ingredients are smoothly combined and homogeneous.

Pour the mixture out into a large bowl with sugar, oil, eggs, and egg yolk. Stir until smooth and combined.
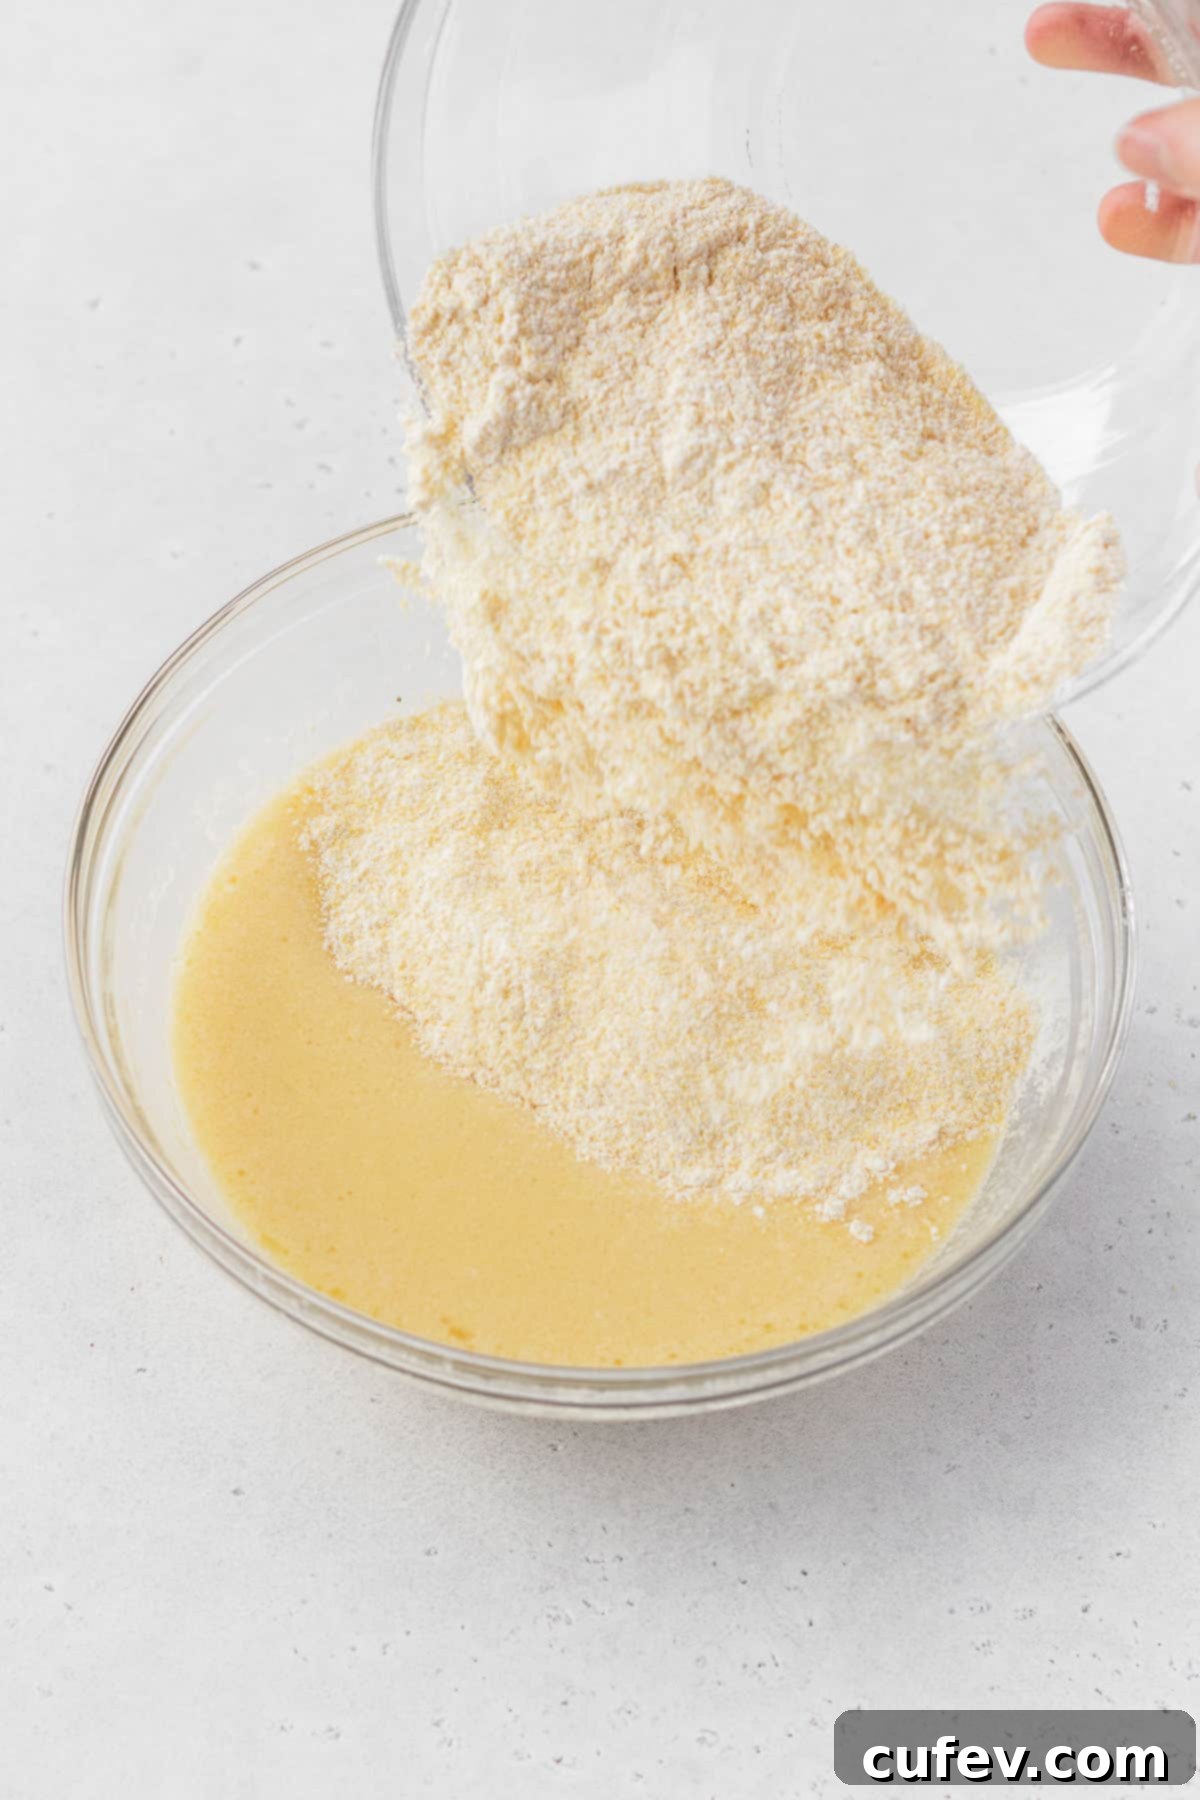
Step 3: Combine Dry and Wet Ingredients, Then Rest. Gradually add the whisked dry ingredients into the bowl containing the wet ingredients. Stir gently with a whisk or spatula until just combined and you have a smooth batter. Be careful not to overmix, as this can lead to a tougher cornbread. Once mixed, cover the bowl with plastic wrap or a clean kitchen towel and let the batter rest at room temperature for at least 30 minutes. This resting period is critical for gluten-free flours, allowing them ample time to fully hydrate and absorb the liquids. This prevents a gritty texture and ensures your cornbread comes out incredibly light and fluffy.
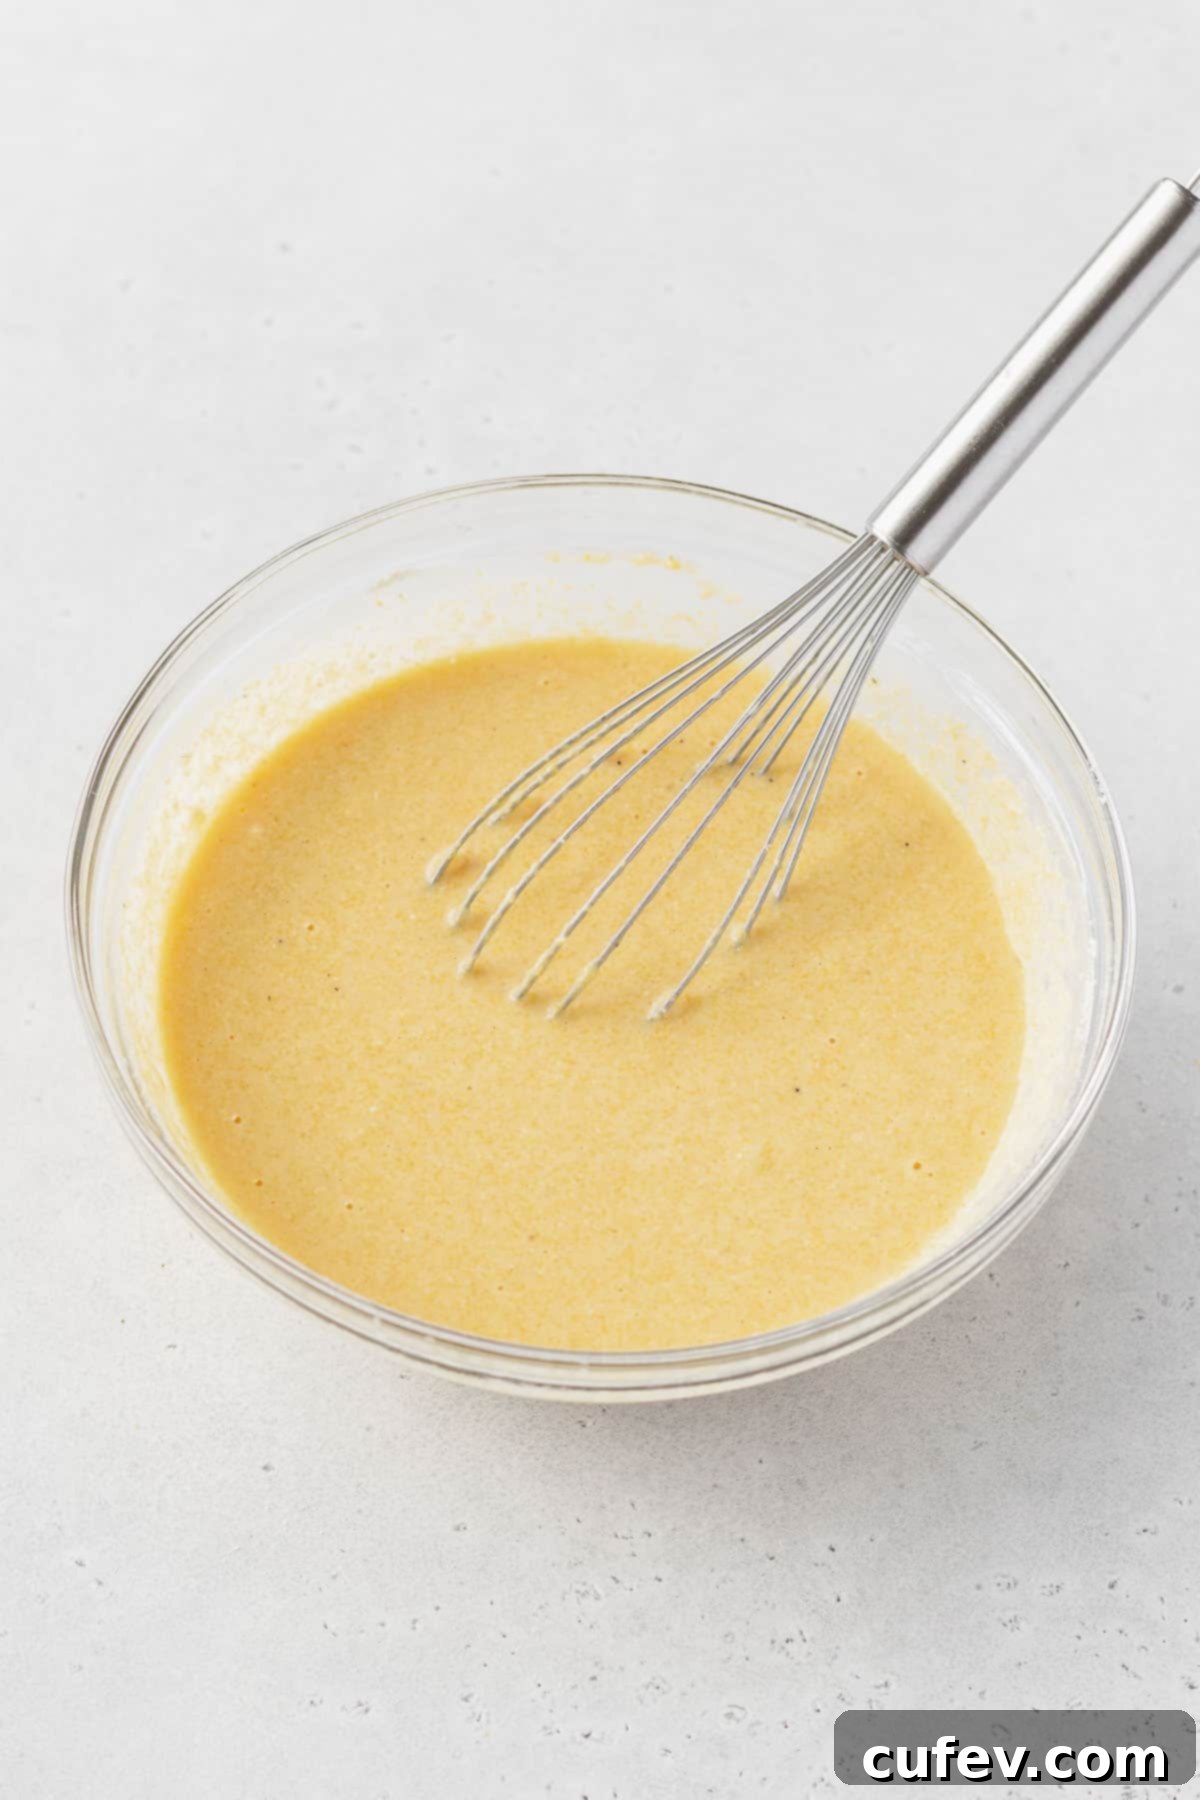
Step 4: Prepare for Baking. While your batter is resting, preheat your oven to 400°F (200°C). Prepare an 8×8-inch square baking pan by generously greasing it with your chosen oil (such as avocado oil or melted butter). This will prevent sticking and help create a beautifully golden crust.
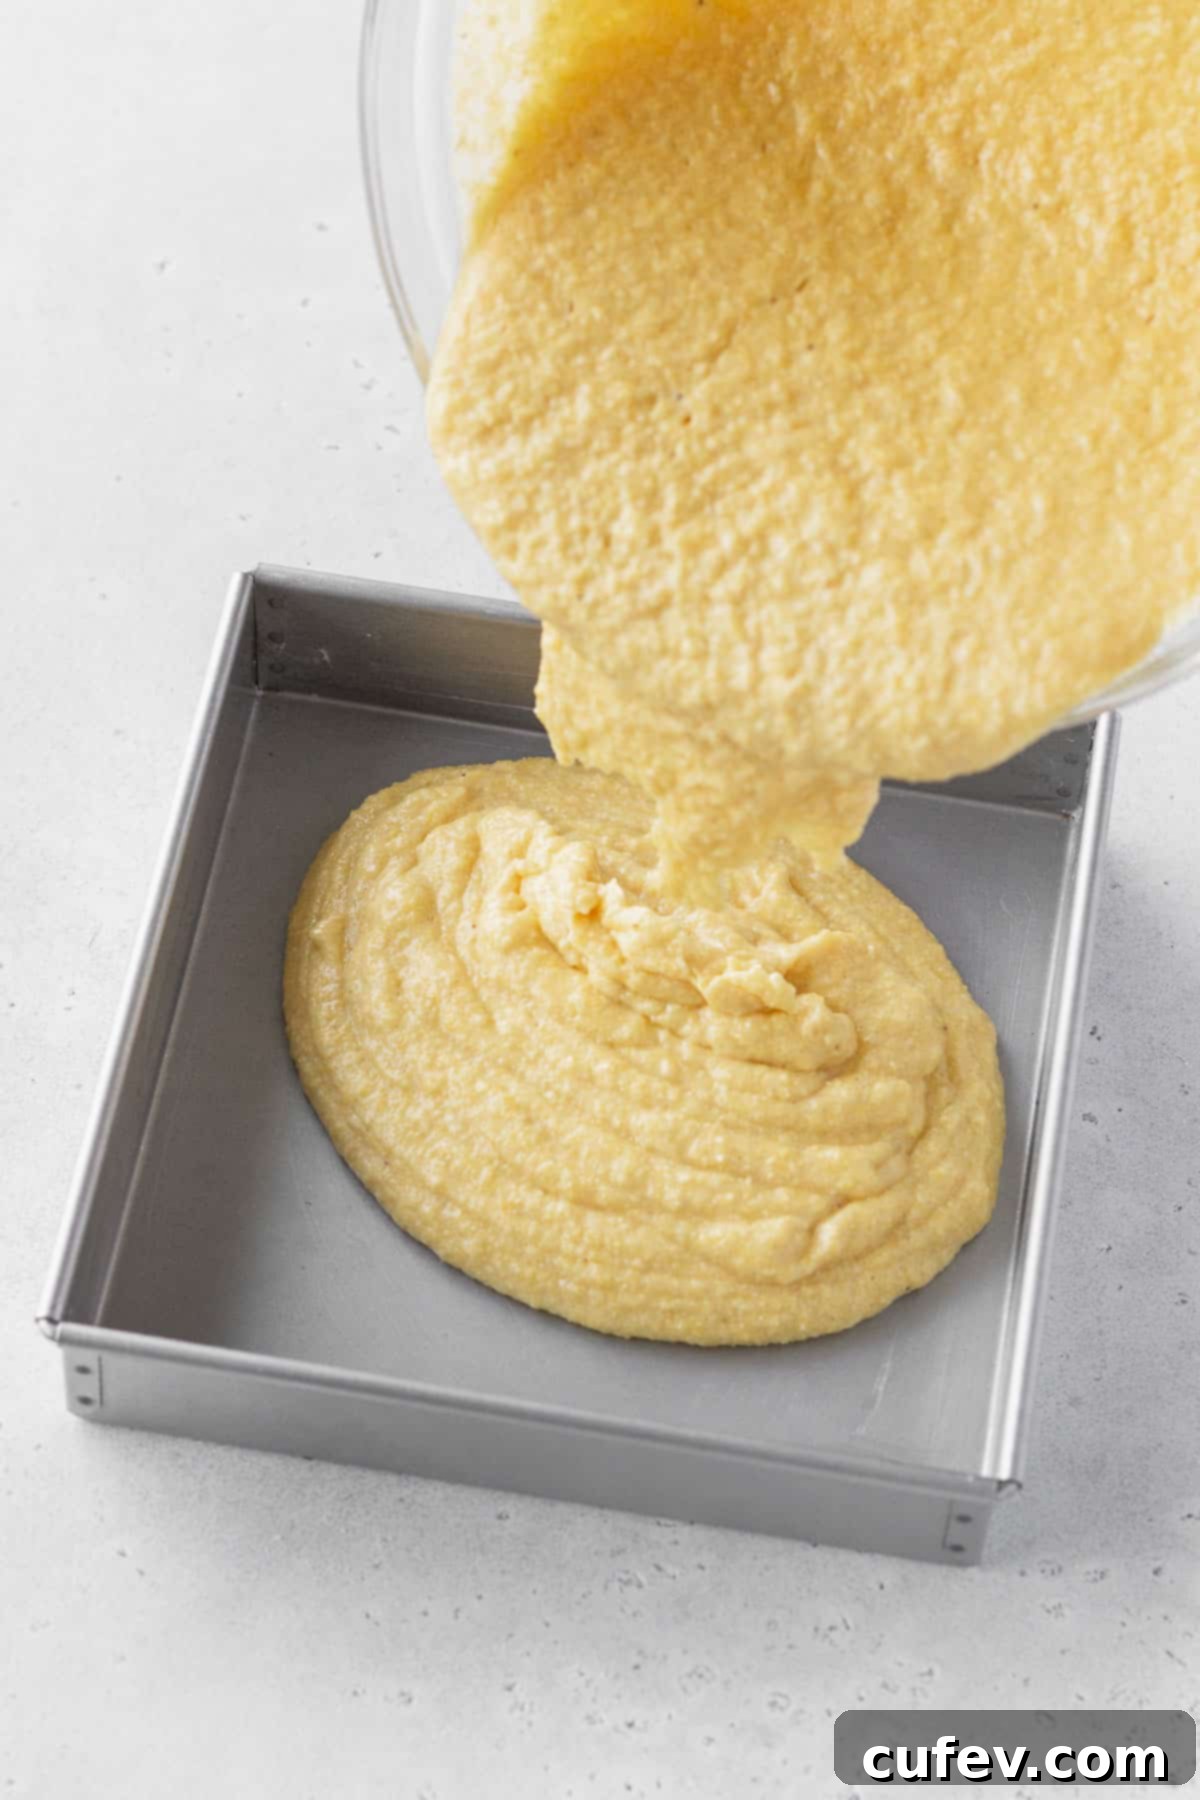
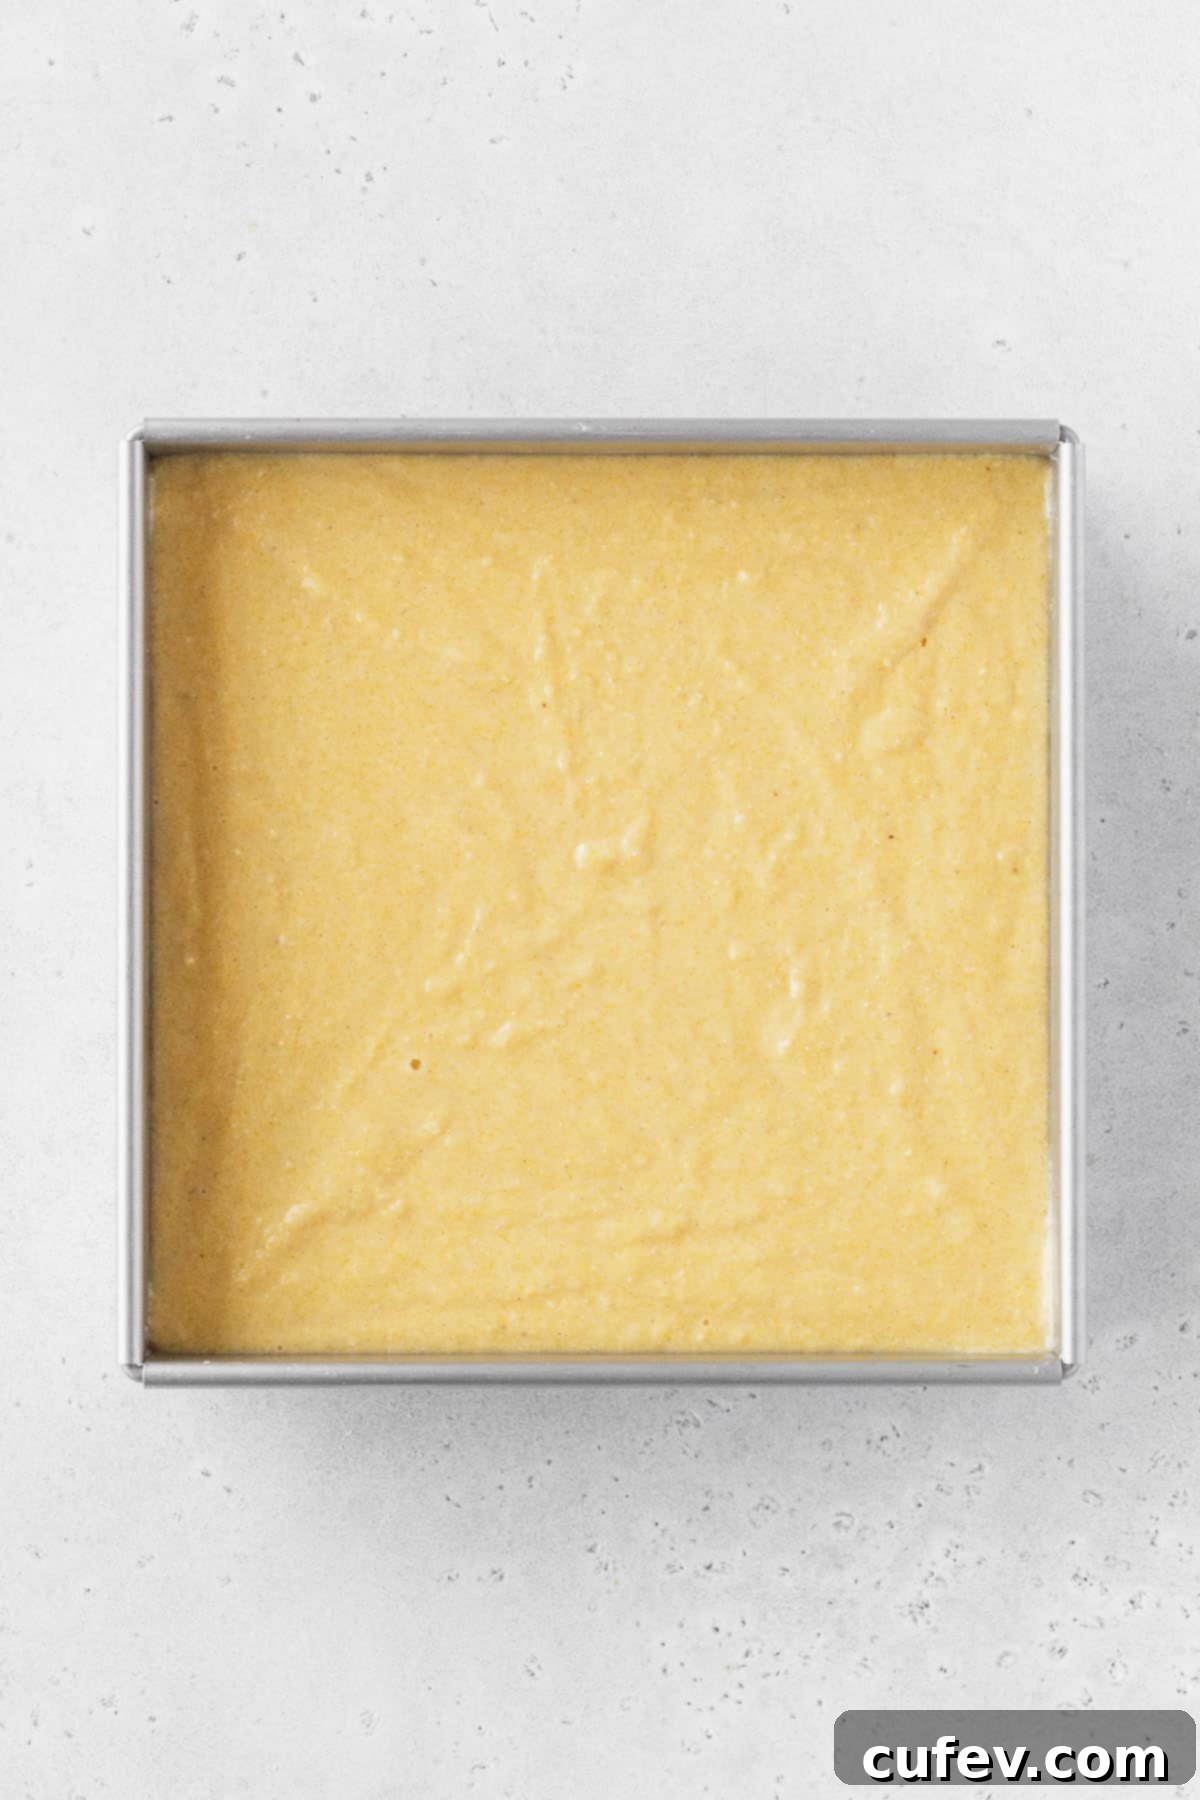
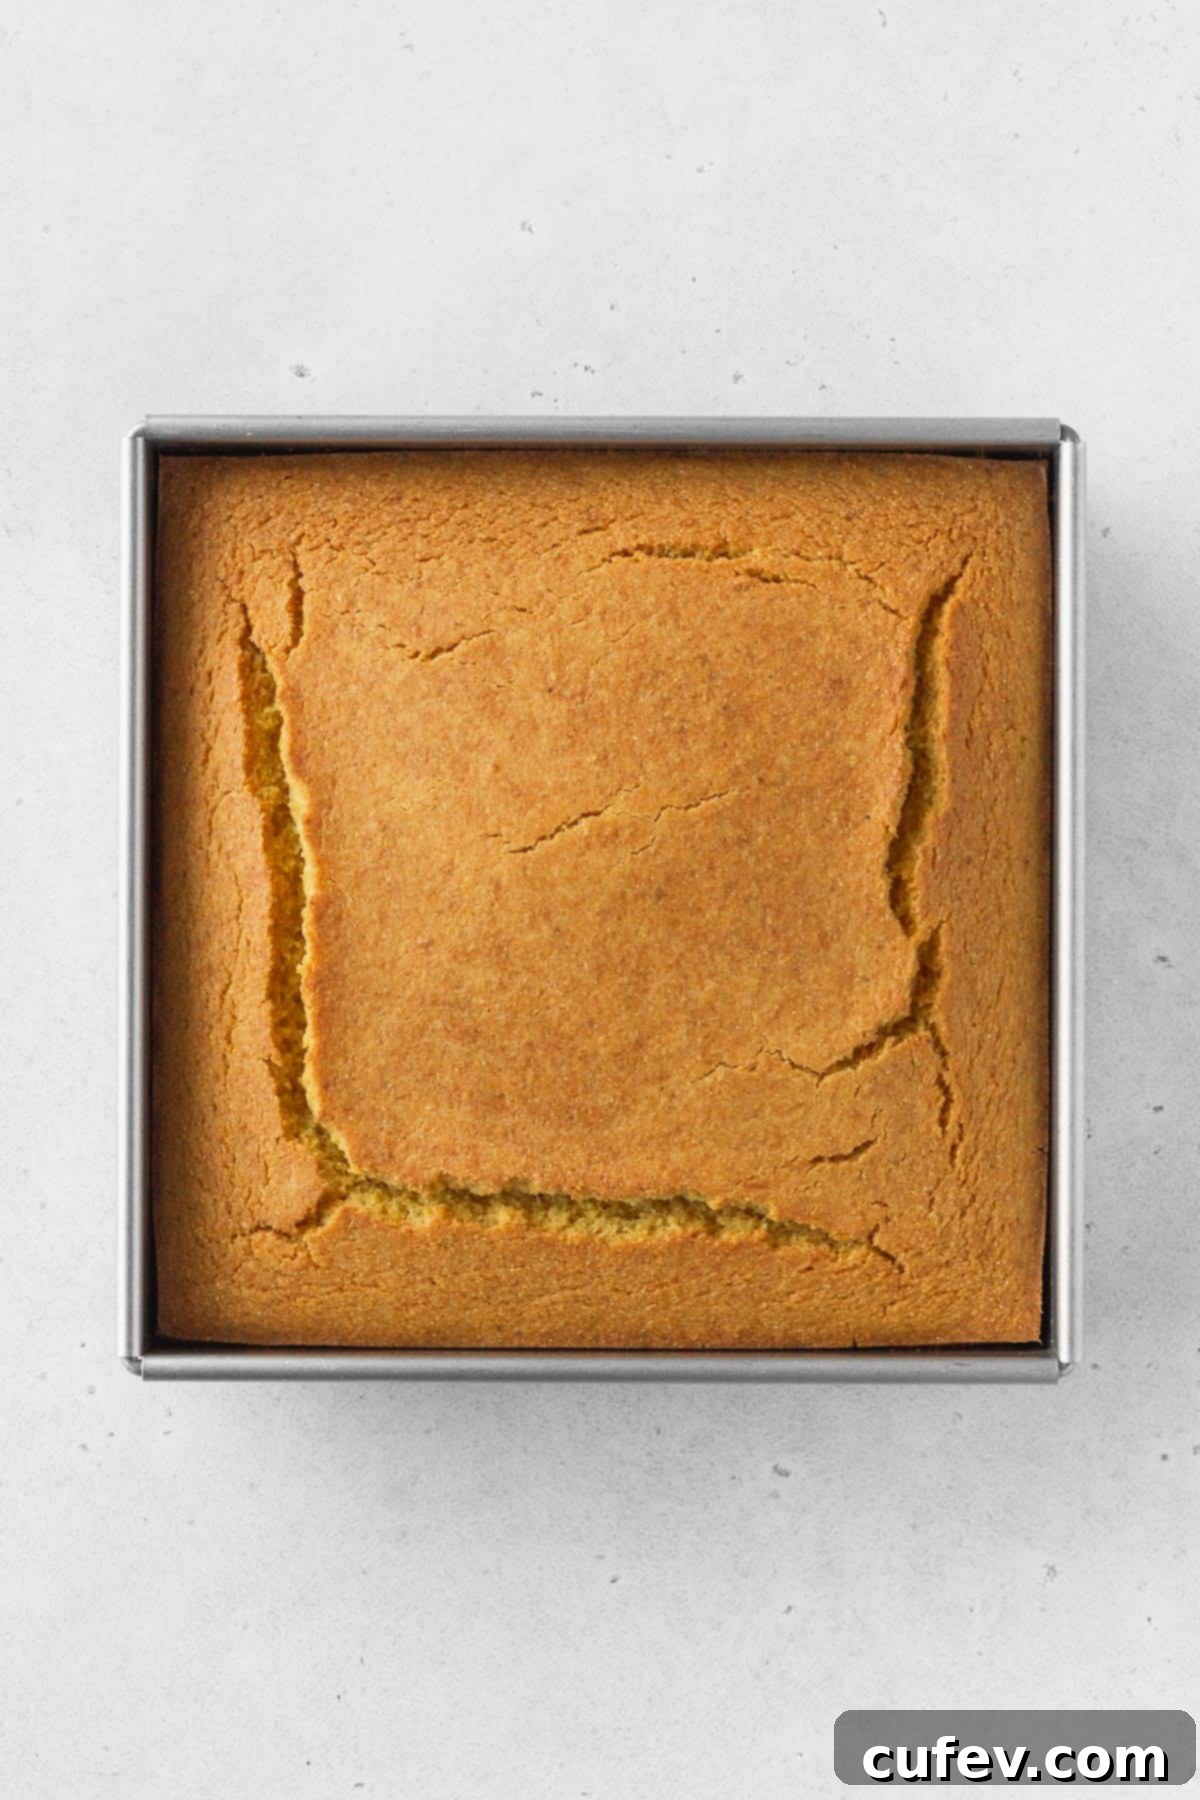
Step 5: Bake to Golden Perfection. Once the batter has rested, give it a quick, gentle stir. Pour the smooth batter evenly into your prepared 8×8-inch pan and use a spatula to smooth the top for even baking. Place the pan in the preheated oven and bake for approximately 40 to 45 minutes. The cornbread is done when a toothpick inserted into the center comes out with just a few moist crumbs attached, indicating it’s cooked through but still incredibly moist. Avoid overbaking, which can lead to a dry texture. Once baked, remove the cornbread from the oven and let it cool completely in the pan on a wire rack before attempting to cut it. This cooling process allows the internal structure to set fully, preventing it from crumbling apart when sliced.
Expert Tips for Perfect Gluten-Free Cornbread
While this cornbread recipe is designed to be straightforward, a few professional tips can elevate your baking experience and ensure truly spectacular results every time:
- Embrace the Resting Period: This is arguably the most crucial tip for gluten-free baking. Gluten-free flours are “thirstier” and require more time to fully absorb liquids compared to wheat flour. Skipping the recommended 30-minute resting period can result in a dense, gritty, and less cohesive cornbread. Allowing the batter to rest gives the flour starches and xanthan gum adequate time to hydrate, leading to an exceptionally light, fluffy, and smooth texture. Don’t rush it!
- Measure Flour Correctly: For consistent results, always “spoon and level” your gluten-free flour. Instead of scooping flour directly with your measuring cup, gently spoon the flour into the cup until it overflows, then use a straight edge (like the back of a knife) to level off the excess. This prevents compacting the flour, which can lead to a heavier, drier cornbread.
- Pan Choice Matters for Crust: A standard 8×8-inch light metal baking pan works perfectly for even baking and a good, slightly soft crust. However, if you’re a fan of super crisp, golden-brown edges, consider making this a skillet cornbread in a well-seasoned cast iron skillet. Preheat the cast iron skillet in the oven with a tablespoon of oil before pouring in the batter – this creates an incredible crunchy crust.
- Harvesting Fresh Corn Kernels with Ease: If you’re using fresh ears of corn, here’s a neat trick to keep your kitchen tidy: grab a bundt or tube pan. Place the ear of corn upright through the middle hole of the pan. As you slice the kernels off with a sharp knife, the surrounding pan will catch all (or at least most) of the kernels, saving you from chasing them across the counter!
- Don’t Overmix the Batter: Once you combine the wet and dry ingredients, mix just until no dry streaks of flour remain. Overmixing can develop any elasticity in the gluten-free binders and result in a slightly tougher cornbread.
- Cool Completely Before Slicing: It’s tempting to dive into a warm loaf, but for gluten-free cornbread, patience is key. Allowing it to cool completely (or at least to lukewarm) allows the internal structure to fully set. Cutting it too soon can cause it to crumble or fall apart, especially in the center.
Gluten-Free Cornbread Recipe
Side Dish, Snack
American
15
minutes
40
minutes
30
minutes
1
hour
25
minutes
16
pieces
170
kcal
Ai Willis
Print
Pin
Rate
Metric
Ingredients
-
1
cup
gluten-free 1-to-1 flour blend
with xanthan gum -
1¼
cups
cornmeal
-
¾
teaspoon
fine sea salt -
¼
teaspoon
baking soda
-
2
teaspoons
baking powder
-
½
cup
olive oil -
¼
cup
granulated sugar
-
2
large eggs
-
1
egg yolk -
1
cup
milk
or unsweetened non-dairy milk -
1
tablespoon
apple cider vinegar -
¾
cup
corn kernels
fresh or frozen
Instructions
-
In a large bowl, whisk together the gluten-free 1-to-1 flour blend, cornmeal, fine sea salt, baking soda, and baking powder. Set aside.
-
In a cup or small bowl, combine the milk (dairy or non-dairy) and apple cider vinegar. Let sit for 5 minutes to curdle and create homemade buttermilk. In a blender, combine the corn kernels and the curdled milk mixture; purée until completely smooth. Pour this mixture into a large bowl, then add the granulated sugar, olive oil, large eggs, and extra egg yolk. Whisk until all wet ingredients are well combined.
-
Gradually add the dry ingredient mixture to the wet ingredients. Stir gently until a smooth batter forms, being careful not to overmix. Cover the bowl and let the batter rest at room temperature for 30 minutes to allow the flours to hydrate.
-
Preheat your oven to 400°F (200°C). Generously grease an 8×8-inch square baking pan (or a cast iron skillet) with oil.
-
Pour the rested batter into the prepared pan and smooth the top with a spatula. Bake for 40 to 45 minutes, or until a wooden toothpick inserted into the center comes out with a few moist crumbs attached. Remove from oven and let the cornbread cool completely in the pan on a wire rack before cutting and serving to prevent crumbling.
Love this recipe?
Snap a photo and share tagging
@aimadeitforyou or tag
#aimadeitforyou!
Nutrition
Serving:
1
piece
|
Calories:
170
kcal
|
Carbohydrates:
20
g
|
Protein:
4
g
|
Fat:
9
g
|
Sodium:
214
mg
|
Fiber:
2
g
|
Sugar:
4
g
Delicious Serving Suggestions for Your Gluten-Free Cornbread
This versatile gluten-free cornbread is a fantastic accompaniment to a wide variety of meals, perfectly complementing both sweet and savory dishes. Here are some of our favorite ways to enjoy it:
- Hearty Soups, Stews, and Chili: The tender, moist crumb of this cornbread is ideal for soaking up the rich broths of your favorite comfort foods. It’s an unbeatable companion for a steaming bowl of chili, lentil soup, or a flavorful beef stew. For a delicious vegan option, try it with this creamy vegan pumpkin soup recipe.
- Compound Butters: Elevate your cornbread experience with a smear of compound butter.
- Savory: Mix softened butter with minced garlic, fresh chives, and a pinch of black pepper.
- Sweet: Combine softened butter with honey, cinnamon, or maple syrup for a decadent treat.
- BBQ Favorites: Cornbread is a quintessential side for any barbecue feast. Serve it alongside smoked meats, BBQ chicken, creamy mac & cheese, or classic baked beans for a truly authentic spread.
- Classic Meatloaf: The comforting flavors of meatloaf and cornbread are a match made in heaven. The cornbread provides a wonderful textural contrast and absorbs the savory juices of the meatloaf beautifully.
- Homemade Cornbread Croutons: Don’t let any leftovers go to waste! Cut the cornbread into cubes, toss with a little olive oil and your favorite seasonings, then bake or pan-fry until crispy. These cornbread croutons are fantastic on salads or as a topping for soups.
- Breakfast Treat: Enjoy a warm slice for breakfast with a drizzle of maple syrup or honey, perhaps alongside some scrambled eggs and bacon.
- Snack Time: A simple slice, perhaps with a touch of jam or butter, makes for a satisfying and wholesome snack any time of day.
Storing Your Gluten-Free Cornbread for Freshness
Proper storage is key to maintaining the delightful moisture and flavor of your homemade gluten-free cornbread. Here’s how to keep it fresh for as long as possible:
Storing at Room Temperature: Once the cornbread has cooled completely, place any leftovers in an airtight container. It will remain moist and delicious for up to 3 days at room temperature. Ensure it’s fully sealed to prevent it from drying out.
Freezing for Longer Freshness: For longer storage, freezing is an excellent option. To prevent freezer burn and maintain quality:
- Allow the cornbread to cool completely.
- Cut the cornbread into individual squares or desired portions.
- Wrap each piece tightly in plastic wrap.
- Follow with a layer of aluminum foil for extra protection.
- Place the individually wrapped pieces in a freezer-safe bag or container.
- You can store them in the freezer for up to 2 months.
To enjoy frozen cornbread:
- Defrosting: Transfer the desired number of wrapped pieces to the refrigerator and let them defrost overnight.
- Reheating: Unwrap the defrosted pieces. You can reheat them gently in the microwave for a minute or until warm, or for a crispier exterior, reheat in an oven preheated to 350°F (175°C) for about 5 to 10 minutes, or until heated through.
Frequently Asked Questions About Gluten-Free Cornbread
Using a gluten-free “measure for measure” or “1-to-1” flour blend is absolutely crucial in this recipe. These blends are specifically formulated with a mix of different gluten-free flours and often include xanthan gum, which is vital for providing structure, elasticity, and preventing a crumbly texture in baked goods where gluten is absent. Substituting with single-ingredient gluten-free flours like plain rice flour, almond flour, or coconut flour will not work correctly, as they lack the necessary binding properties and balance. Many brands offer excellent measure-for-measure flours, so feel free to experiment to find your favorite, but always ensure it contains xanthan gum for optimal results.
Making this cornbread dairy-free is very easy! Simply use any unsweetened plain non-dairy milk (almond, soy, oat, or cashew milk work well) in place of traditional whole milk. The apple cider vinegar will still react to create a lovely buttermilk substitute. For an egg-free version, it’s more challenging. Eggs provide significant structure and moisture. While you can try swapping out the eggs for a flax egg (1 tbsp ground flaxseed + 3 tbsp water per egg, let sit 5 mins) or chia egg, please be aware that the cornbread may not rise as properly and the texture might be denser or more crumbly, as the eggs contribute significantly to the overall structure and lift of the recipe. We recommend keeping the eggs if possible for the best outcome.
Yes, you absolutely can adjust the sweetness level to your preference. You can easily cut the granulated sugar by half, using only 2 tablespoons instead of ¼ cup. Please keep in mind that reducing the sugar content can slightly affect both the overall flavor balance (making it more savory) and the tenderness of the cornbread. Sugar not only adds sweetness but also contributes to moisture and browning in baked goods.
My go-to pan for consistently moist and evenly baked cornbread is an 8×8-inch square light metal baking pan. It provides excellent heat distribution. However, if you are someone who absolutely loves a crispy, golden-brown crust with deeply flavorful edges, then making a skillet cornbread in a well-seasoned cast iron skillet is truly hard to beat! For a cast iron skillet, preheat the skillet in the oven with a tablespoon of oil before pouring in the batter for the ultimate crust.
Yes, this versatile gluten-free cornbread batter is perfect for making delicious corn muffins! To convert the recipe:
- Prepare the batter as directed.
- Line a standard muffin tin with parchment paper liners or grease it very well.
- Evenly divide the batter among the muffin cups, filling each about two-thirds full.
- Bake the muffins in a preheated oven at 350°F (175°C) for approximately 25 to 30 minutes, or until a toothpick inserted into the center of a muffin comes out clean.
- Allow them to cool slightly in the tin before transferring to a wire rack.
Dry or crumbly gluten-free cornbread is often a result of a few common issues. First, ensure you’re using a “measure for measure” gluten-free flour blend that contains xanthan gum, as it provides crucial binding. Second, don’t skip the 30-minute resting period for the batter; this allows the gluten-free flours to properly hydrate, which is essential for moisture and texture. Third, avoid overbaking. Keep an eye on the cooking time and test with a toothpick. Lastly, make sure your measuring is accurate, especially for the liquid ingredients and the flour (spoon and level!).
