Crispy, Fluffy & Sweet: The Ultimate Fresh Strawberry Waffle Recipe for Perfect Mornings
There’s truly nothing quite like waking up to the aroma of freshly made waffles, especially when they’re bursting with the sweet, vibrant flavor of strawberries. This isn’t just any waffle recipe; it’s a meticulously crafted guide to creating the most delightful strawberry waffles you’ve ever tasted. Imagine a golden-brown exterior that shatters with a satisfying crispness, giving way to an incredibly soft, fluffy, and tender interior. Each bite is infused with juicy, sweet strawberries and a subtle hint of vanilla, creating a symphony of flavors and textures that will elevate any breakfast or brunch.
What makes these homemade strawberry waffles truly special is how effortlessly they come together. In just 30 minutes, from mixing bowl to waffle iron, you can transform simple ingredients into a gourmet breakfast experience, making them absolutely perfect for leisurely weekend mornings or even a quick, comforting treat during a busy week. My personal love affair with waffles is undeniable – they’re a versatile canvas for so many delicious additions, suitable for a hearty breakfast, a celebratory brunch, or even an unexpected late-night craving. After countless experiments and a generous amount of taste-testing (which, I admit, involved a delightful abundance of fresh strawberries), I’ve perfected this recipe. It consistently delivers light, airy, and fluffy waffles, generously studded with the pure, unadulterated taste of fresh strawberries, ensuring every single mouthful is a moment of pure bliss. Prepare to make these the star of your breakfast table!
Why You’ll Adore This Strawberry Waffle Recipe
- Bursting with Fresh Flavors: Unlike waffles that rely on artificial enhancers, this recipe celebrates the natural sweetness and vibrant tang of fresh strawberries. Every single bite offers an authentic fruit explosion, complemented by a subtle whisper of vanilla, ensuring a naturally delicious and wholesome taste.
- Incredibly Quick and Easy: Life is busy, but delicious breakfasts don’t have to be complicated. These delightful strawberry waffles are designed for speed and simplicity, coming together in just 30 minutes from start to finish. This makes them an ideal choice for a relaxed weekend breakfast, a special brunch, or even for prepping a quick, gourmet-style meal during a hectic weekday.
- Perfect Crispy-Fluffy Texture: The ultimate waffle experience hinges on texture, and this recipe absolutely delivers. You’ll achieve that coveted golden-brown crispness on the outside, providing a satisfying crunch, while the inside remains wonderfully light, airy, and fluffy. What’s even better is that this fantastic texture is maintained even if you choose to use gluten-free or dairy-free substitutes, ensuring everyone can enjoy these perfect strawberry waffles.
- Highly Customizable for Any Craving: While fresh strawberries are the star, this recipe is incredibly versatile. Feel free to swap out the strawberries for other seasonal berries like blueberries or raspberries, or introduce a delightful indulgence by folding in some chocolate chips. The base batter is robust enough to handle various additions, allowing you to tailor your waffles to your exact preferences.
Essential Ingredients for Perfect Strawberry Waffles
Creating these light and fluffy strawberry waffles relies on a selection of simple, readily available ingredients. You likely have most of these pantry staples on hand already, making this recipe even more accessible. Here’s a closer look at what makes each component crucial for the best possible outcome:
All-purpose Flour: This forms the foundational structure of our waffles, providing chewiness and stability. For those with dietary restrictions, you can effortlessly substitute all-purpose flour with a high-quality gluten-free measure-for-measure flour blend. I’ve personally had excellent results using Bob’s Red Mill 1-to-1 Baking Flour, which already includes xanthan gum for optimal texture, ensuring your gluten-free waffles are just as delightful.
Cornstarch: This might seem like an unusual addition to a waffle recipe, but it’s a secret weapon for achieving that coveted light and tender texture. Cornstarch works by inhibiting gluten development in the flour, resulting in a waffle that’s remarkably soft and airy on the inside, perfectly complementing the crispy exterior.
Granulated Sugar: A touch of sugar does more than just sweeten; it aids in browning the waffles, contributing to their golden, appealing color, and helps tenderize the batter.
Fine Sea Salt: A pinch of salt is essential to balance the sweetness, enhance the overall flavor of the strawberries, and bring out the richness of the other ingredients.
Baking Powder: This leavening agent is critical for giving our waffles their signature lift and fluffiness, ensuring they rise beautifully and have a light, airy crumb.
Large Eggs: Eggs play a multifaceted role: they bind the ingredients together, add richness, and contribute to both the structure and moisture of the waffles, helping them achieve their perfect texture.
Buttermilk: The acidity in buttermilk reacts with the baking powder, producing a beautifully moist and incredibly fluffy waffle. Its tanginess also adds a subtle depth of flavor. If you don’t have buttermilk on hand, don’t worry – it’s easy to make your own. Simply measure 1¾ cups of whole milk or unsweetened non-dairy milk into a glass. Remove 5 teaspoons of the milk and replace it with 5 teaspoons of apple cider vinegar (or lemon juice). Stir gently and let it sit for 5 minutes; the milk will curdle slightly, becoming a perfect substitute.
Avocado Oil: Or any neutral-flavored oil like canola or vegetable oil. Oil contributes to the crispness of the waffles and keeps them from sticking to the waffle iron, ensuring they release easily and cook evenly.
Vanilla Extract: A teaspoon of vanilla extract adds a warm, aromatic depth that beautifully complements the sweet and tart notes of the fresh strawberries, elevating the overall flavor profile of your waffles.
Fresh Strawberries: For the absolute best flavor and texture, fresh strawberries are highly recommended. Make sure to dice them into small pieces. This ensures that you get a burst of sweet strawberry flavor in every single bite, evenly distributed throughout the waffle.
Expert Tips for Flawless Strawberry Waffles
While this strawberry waffle recipe is designed to be incredibly easy and straightforward, a few key tips can make all the difference, ensuring your waffles come out perfectly golden, crispy, and fluffy every single time. Follow these guidelines for waffle perfection:
Don’t overmix the batter. This is perhaps the most crucial rule for achieving tender waffles. Overmixing develops the gluten in the flour too much, leading to tough, chewy waffles instead of light and airy ones. Stir the batter only until the wet and dry ingredients are just combined. A few small lumps are perfectly normal and actually preferred; they will disappear during cooking. Stop stirring as soon as you no longer see streaks of dry flour.
Toss the diced strawberries in a bit of dry ingredients. This seemingly small step is a game-changer! When you toss the diced strawberries in that reserved tablespoon of dry ingredients (flour, cornstarch, sugar, salt, baking powder), it coats them ever so lightly. This coating helps to absorb any excess juices from the strawberries, preventing them from sinking to the bottom of the batter and clumping together. More importantly, it ensures the strawberries are evenly distributed throughout the waffle, giving you a delicious fruit burst in every single bite and avoiding pockets of gummy, undercooked batter around the berries.
Grease the waffle iron well. Preventing stickage is paramount, especially with juicy ingredients like strawberries. The natural sugars in the fruit can caramelize and stick to the hot iron if it’s not adequately greased. Make sure your waffle iron is preheated and then apply a generous amount of oil or nonstick cooking spray before the first waffle. For subsequent waffles, remember to add a little more oil or spray in between batches, even if your waffle maker claims to be non-stick. This ensures easy release and beautifully intact waffles every time.
Preheat your waffle iron properly. A well-preheated waffle iron is essential for achieving that desirable crisp exterior. If the iron isn’t hot enough, the waffles will steam rather than crisp, resulting in a soft, soggy texture. Wait for your waffle iron’s indicator light to signal it’s ready, or if it doesn’t have one, allow it to heat for at least 5-10 minutes before adding the batter.
Don’t peek too early! Resist the temptation to lift the lid of your waffle iron too soon. Opening it before the waffle is set can cause it to tear or deflate. Most waffle irons have an indicator light that tells you when the waffle is done, or you can generally judge by the steam production – when the steam significantly lessens, your waffle is likely cooked through and beautifully golden.

Strawberry Waffle Recipe
Print
Pin
Rate
Ingredients
- 2¼ cup all-purpose flour
- 2 tablespoons cornstarch
- 2 tablespoons granulated sugar
- ½ teaspoon fine sea salt
- 1 tablespoon baking powder
- 2 large eggs
- 1¾ cup buttermilk
- ¼ cup avocado oil or any neutral flavor oil
- 1 teaspoon vanilla extract
- 1 cup diced strawberries
Instructions
-
In a medium-sized bowl, thoroughly whisk together the all-purpose flour, cornstarch, granulated sugar, fine sea salt, and baking powder. This ensures all the dry ingredients are well combined. Remember to set aside one tablespoon of this mixture; you’ll use it later for coating the strawberries.

-
In a separate, large mixing bowl, combine the wet ingredients: the large eggs, buttermilk, avocado oil (or your chosen neutral oil), and vanilla extract. Whisk these together until they are smoothly integrated.

-
Gently add the bulk of the dry ingredients (everything except the tablespoon you set aside for the strawberries) into the wet ingredients. Mix carefully with a spatula or whisk only until just combined. It’s crucial not to overmix the batter at this stage; a few small lumps are perfectly fine and contribute to the waffles’ tender texture.

-
In a small, separate bowl, take your diced fresh strawberries and toss them with the reserved tablespoon of dry ingredients. Ensure that all the strawberry pieces are lightly coated; this step helps prevent them from clumping together and ensures even distribution within the batter.

-
Carefully fold the flour-coated strawberries into the prepared waffle batter using a spatula. Mix just enough to distribute them evenly without overworking the batter.

-
Preheat your waffle iron according to the manufacturer’s instructions. Once hot, generously grease the plates with oil or nonstick cooking spray to prevent sticking, especially with the fruit. Pour approximately ⅓ cup of batter onto the hot waffle iron (adjust this amount based on the size and style of your specific waffle maker). Cook until your waffles are beautifully golden brown and crispy. For my waffle iron, this typically takes about 5 minutes, but cooking times may vary. Serve immediately for the best crispy texture.

Notes
Dairy-free Option: If you need to make this recipe dairy-free, you can easily substitute the buttermilk. Use 1¾ cup (420ml) of unsweetened non-dairy milk (such as almond or soy milk). To create a dairy-free buttermilk substitute, remove 5 teaspoons (25ml) of the non-dairy milk and replace it with 5 teaspoons of apple cider vinegar. Stir it gently and let it sit for 5 minutes until it slightly curdles before adding to the batter.
Nutrition
Frequently Asked Questions About Strawberry Waffles
Yes, you can use frozen strawberries if fresh ones aren’t available, but it’s important to note that frozen strawberries contain more moisture, which can impact the waffle’s texture. For the absolute best flavor and crispness, fresh strawberries are highly recommended. If opting for frozen berries, make sure to thaw them completely first and thoroughly drain any excess liquid to prevent a soggy batter. And absolutely do not skip the step of tossing them in a tablespoon of dry ingredients before folding them into the batter; this helps absorb remaining moisture and ensures even distribution.
To ensure all your strawberry waffles stay warm and maintain their delightful crispness until serving, preheat your oven to a low temperature, around 200°F (95°C). As each waffle finishes cooking, transfer it directly onto a wire rack placed over a baking sheet. Place the baking sheet with the waffles into the preheated oven. The wire rack allows air to circulate around the waffles, preventing them from becoming soggy, while the low oven temperature keeps them perfectly warm without overcooking.
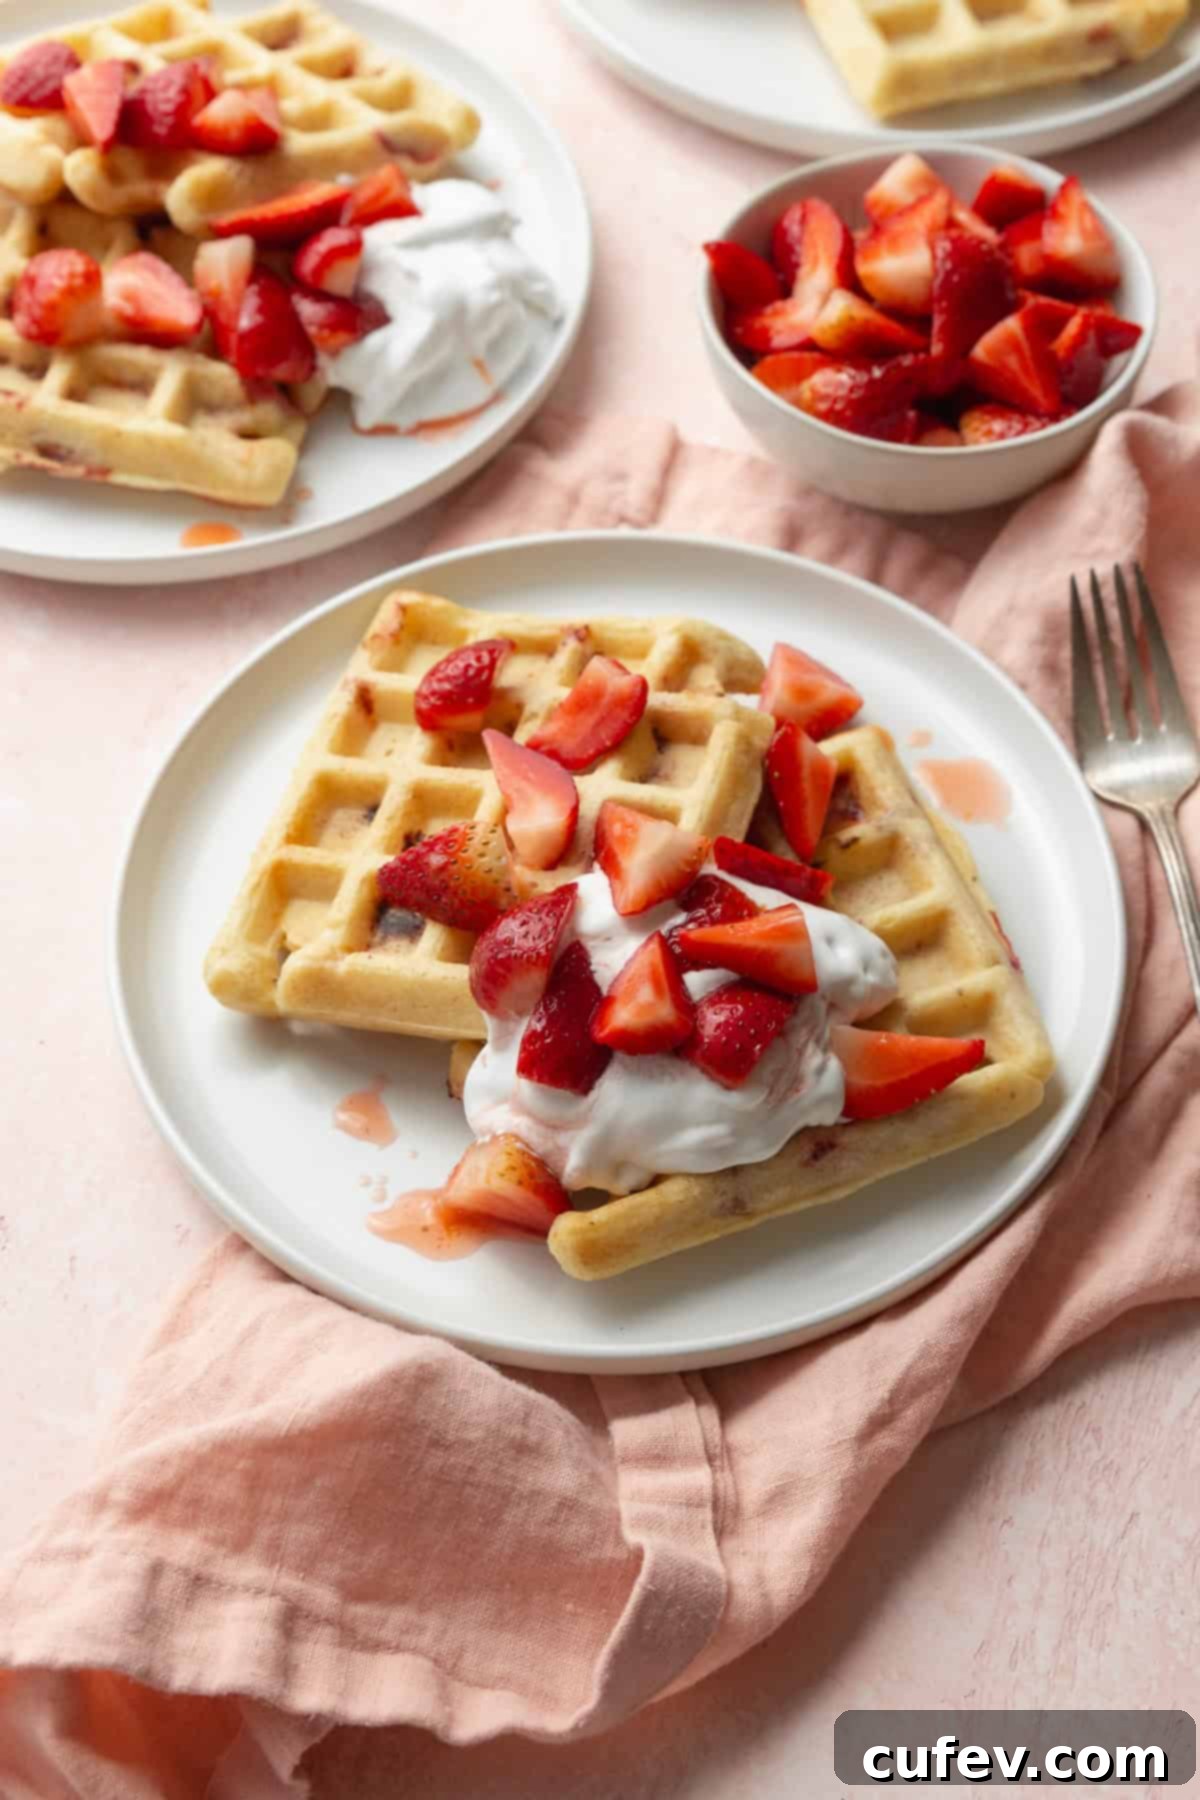
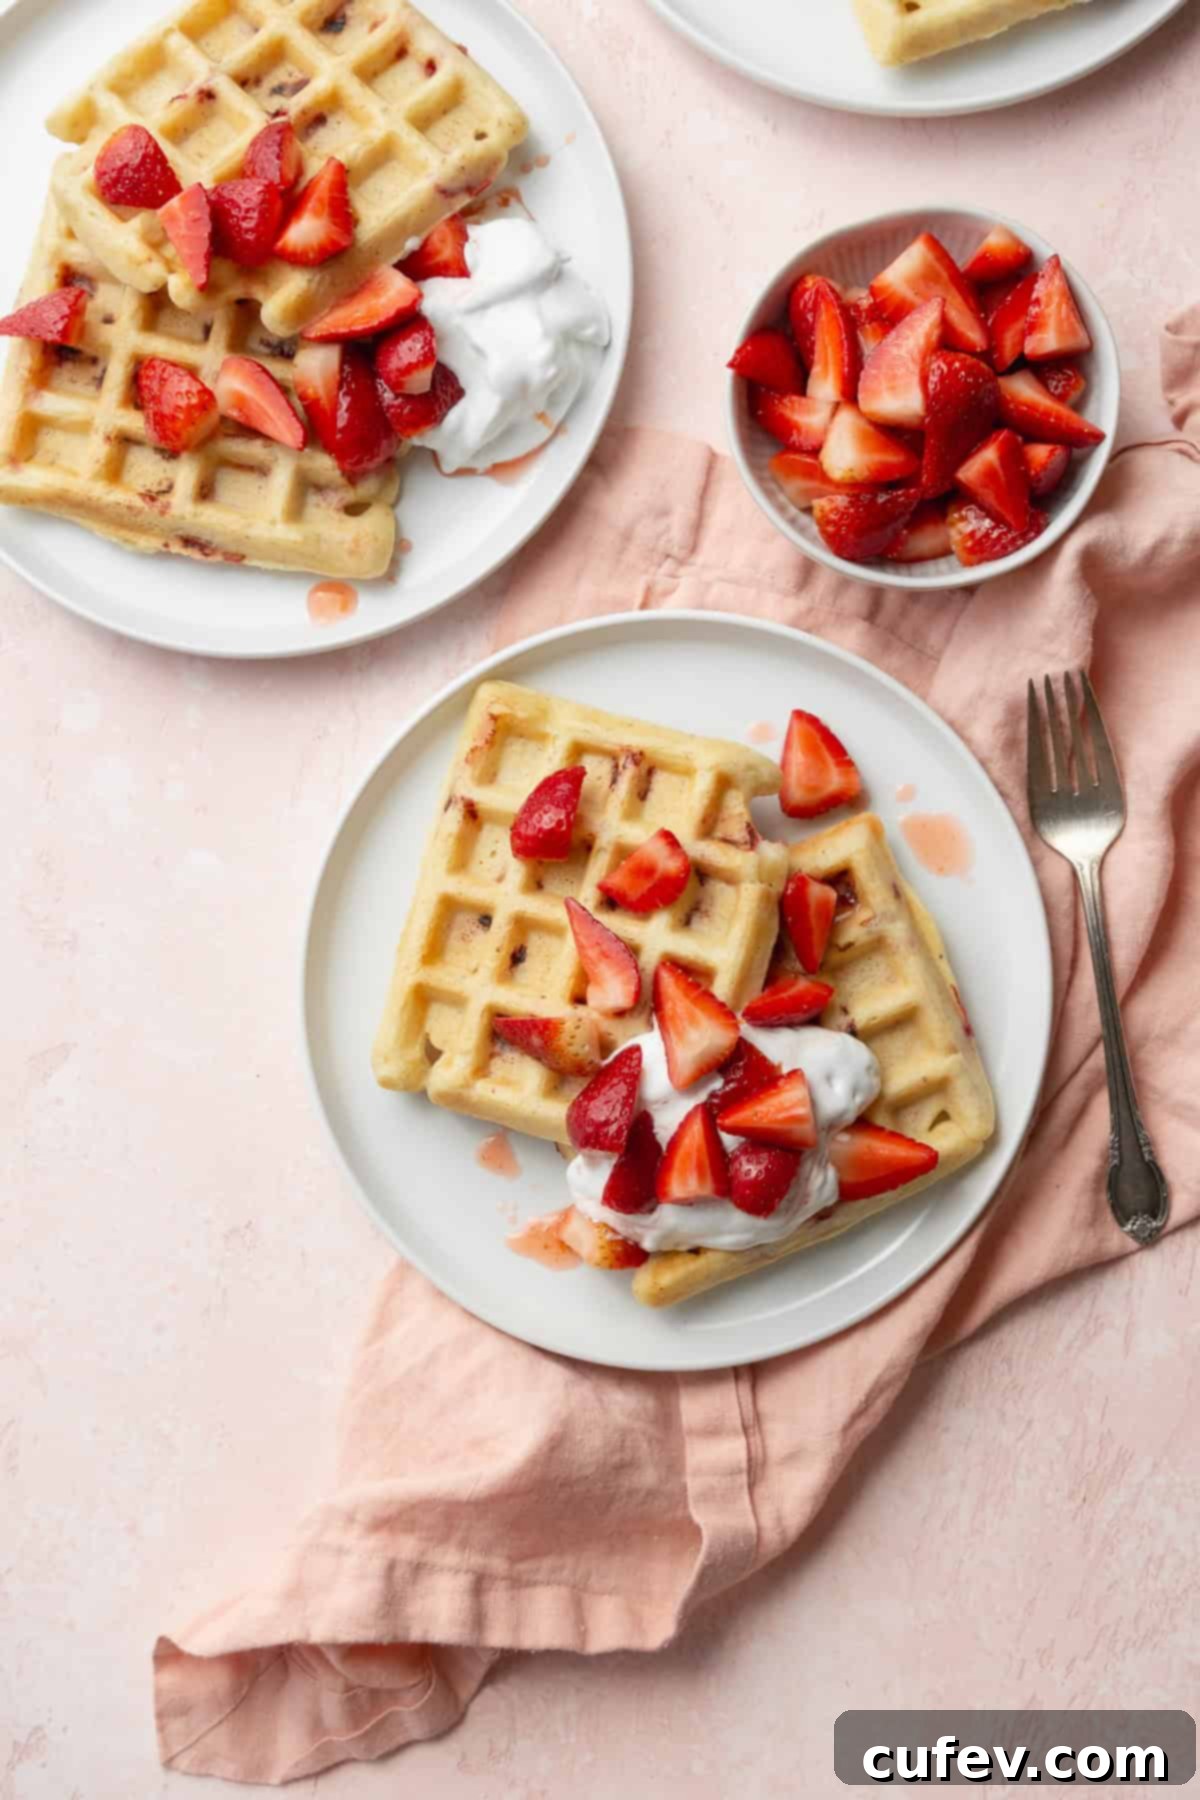
These delicious strawberry waffles are fantastic on their own, but they truly shine with the right toppings! You can keep it classic with a generous drizzle of your favorite maple syrup, a dollop of soft butter, or a dusting of powdered sugar. For an extra fruity boost, add more fresh berries. To elevate your waffle experience, I highly recommend trying them with a dollop of creamy coconut whipped cream and some macerated strawberries. To macerate strawberries, simply combine 1lb (453g) of quartered or sliced strawberries with 1 tablespoon of granulated sugar, ½ teaspoon of lemon zest, 1 teaspoon of lemon juice, and a tiny pinch of salt in a bowl. Let this mixture sit in the fridge for at least 30 minutes (or while you make the batter and cook the waffles) to allow the flavors to meld and the strawberries to release their delicious juices, creating a syrupy, flavorful topping.
Yes, you can prepare the waffle batter the night before or a few hours in advance. Mix all the ingredients as directed, but *do not* add the baking powder or strawberries until you are ready to cook. Store the base wet batter tightly covered in the refrigerator. When ready to cook, gently stir in the baking powder and the flour-coated diced strawberries, then proceed with cooking. This allows for a quicker morning preparation!
This recipe works wonderfully with various types of waffle irons, whether you have a classic standard waffle maker or a Belgian waffle iron. Belgian waffle irons tend to produce thicker, deeper-pocketed waffles, which are excellent for holding more toppings. Standard waffle irons will yield thinner, crispier waffles. The key is to follow your specific waffle maker’s instructions for preheating and cooking times, adjusting the batter amount per waffle as needed for your model.
Storing and Reheating Your Strawberry Waffles
These homemade strawberry waffles are best enjoyed fresh off the iron, but they also store and reheat remarkably well, making them excellent for meal prep or quick future breakfasts.
Refrigerate: Once completely cooled, place any leftover waffles in an airtight container. They will stay fresh and delicious in the refrigerator for up to 3 days. This is perfect for enjoying them throughout the week.
Freezing: For longer storage, flash freeze the cooled waffles in a single layer on a baking sheet until firm. Then, transfer them to a freezer-safe bag or airtight container. They will maintain their quality in the freezer for up to 2 months, offering a convenient grab-and-go breakfast option.
Reheating: To bring your refrigerated or frozen waffles back to life, simply pop them into a toaster or toaster oven until they are warm through and delightfully crispy again. Alternatively, you can reheat them in a conventional oven preheated to 350°F (175°C) for about 5-10 minutes, depending on whether they were thawed or frozen. Avoid the microwave, as it will make them soft and rubbery.

More Delicious Breakfast Recipes You’ll Love
- If you’re craving more delightful waffles and fancy something a little different, be sure to try these red velvet waffles! They boast a wonderfully chewy texture with an alluring hint of cocoa, and they are absolutely divine when generously drizzled with a decadent cream cheese icing.
- For my fellow gluten-free readers who appreciate a great waffle, you absolutely must make my gluten-free waffle recipe. I love keeping a batch of these in my freezer; they’re perfect for quick, wholesome breakfasts or a satisfying snack for my kid!
- If your heart truly belongs to pancakes more than waffles, then you have to try my oatmeal pancakes. They are ridiculously easy to make and incredibly satisfying! I offer two simple methods for preparing them, including a super-speedy blender version, and both promise a wonderfully delicious stack of pancakes.
- Do you find yourself with some perfectly overripe bananas lingering in your kitchen? Don’t let them go to waste! These hearty peanut butter banana oatmeal breakfast bars are packed full of wholesome oats, sweet bananas, and creamy peanut butter, making them a fantastic grab-and-go option.
- If you’re a cereal-for-breakfast person but prefer a homemade touch, try my incredibly versatile gluten-free granola recipe or my comforting apple pie granola recipe. Both are super easy to whip up and feature wholesome ingredients! They’re delicious served with milk, swirled into yogurt, or even sprinkled as a crunchy topping on ice cream for a delightful dessert.
- Looking for another super-simple pancake idea? These muffin mix pancakes require only 3 ingredients and are incredibly adaptable, working well with any muffin mix you have on hand, even gluten-free varieties! I also have these equally delicious gluten-free banana chocolate chip pancakes for another fantastic option.
I hope you enjoy making and savoring these amazing fresh strawberry waffles as much as I do. They’re a delightful way to start any day, bringing joy and a burst of fruity flavor to your breakfast table. Happy cooking!

