Delightfully Soft & Buttery Vegan Gluten-Free Easter Sugar Cookies with Natural Icing
Get ready to embrace the festive spirit of spring with these delightful Easter cookies! Perfectly soft, wonderfully buttery, and adorned with vibrant, naturally colored icing, these sugar cookies are an absolute joy to bake and share. Whether you’re a seasoned baker or looking for a fun kitchen activity with the kids, this recipe makes creating beautiful and delicious treats incredibly accessible. We’re using evaporated oat milk for both the cookie dough and the smooth icing, making these cookies entirely vegan and delightfully dairy-free. Plus, with a carefully selected gluten-free flour blend, everyone can enjoy these tender, melt-in-your-mouth confections. The use of natural food colorings ensures stunning visual appeal without artificial additives, making them a healthier and equally charming option for your Easter celebration.

This post is a proud collaboration with Nature’s Charm, a brand committed to providing delicious vegan products that elevate plant-based cooking and baking. All opinions shared are, of course, entirely my own and reflect my genuine love for their evaporated oat milk in this recipe. Its creamy texture and neutral flavor are absolutely perfect for achieving both the tender crumb of the cookies and the smooth, delectable icing. We truly appreciate their support in bringing this family-friendly, allergen-conscious recipe to life.
This beloved recipe was originally shared on April 10, 2022, and has since been revisited and updated on March 7, 2024, with fresh new photos, enhanced information, and even more helpful tips to ensure your baking success. We continuously strive to improve our recipes and guides, ensuring you have the best possible experience in your kitchen.
Essential Ingredients for Perfect Easter Cookies
Crafting these delectable Easter sugar cookies requires a thoughtful selection of ingredients, ensuring they are both vegan and gluten-free while maintaining a traditional cookie taste and texture. Each component plays a vital role in achieving that coveted soft, buttery bite and vibrant, naturally colored finish.
- Gluten-free flour blend: For successful gluten-free baking, it’s crucial to use a 1-to-1 or measure-for-measure gluten-free flour blend. These blends are specifically formulated to replace wheat flour cup-for-cup and typically include xanthan gum, which acts as a binder, providing structure and elasticity that gluten usually offers. Without it, your cookies might be crumbly. If you’re not following a gluten-free diet, feel free to substitute with an equal amount of regular all-purpose flour for equally delicious results.
- Almond flour: The addition of almond flour is a secret weapon in this recipe! It contributes significantly to the cookies’ wonderfully tender crumb, making them melt in your mouth. Beyond texture, it also adds a subtle nutty depth of flavor that complements the vanilla beautifully, elevating these simple sugar cookies to something truly special.
- Salt: Often underestimated, a pinch of fine salt is absolutely essential in baking. It doesn’t just make things salty; it enhances and balances the sweetness of the sugar and vanilla, preventing the cookies from tasting overly saccharine. It brings all the flavors into harmony.
- Vegan butter: For optimal results, selecting the right vegan butter is key. Opt for vegan butter sticks rather than the softer butter spreads that come in tubs. Sticks have a higher fat content and a firmer consistency, which is crucial for the structure and texture of cut-out sugar cookies. If you consume dairy, you can substitute the vegan butter mentioned in the recipe card with 1 cup (227g) of unsalted dairy butter for classic sugar cookies. This recipe is designed to work beautifully with either option.
- Granulated sugar: This is the cornerstone of any classic sugar cookie recipe. Granulated sugar provides the primary sweetness, contributes to the crisp edges and soft centers, and helps achieve that characteristic golden-brown finish.
- Vanilla extract: For a truly superior flavor, always use pure vanilla extract. Avoid imitation or artificial extracts, as they often contain synthetic compounds that can leave an undesirable aftertaste. Pure vanilla extract infuses the cookies with a warm, comforting aroma and a rich, authentic flavor that is unmistakable.
- Evaporated oat milk: This fantastic ingredient from Nature’s Charm is a star in both the cookie dough and the icing! Its creamy texture and subtle sweetness make it an ideal dairy-free alternative. In the cookies, it adds moisture and helps bind the ingredients, while in the icing, it creates a wonderfully smooth, pourable consistency that dries perfectly.
- Powdered sugar: Also known as confectioners’ sugar, this finely milled sugar is essential for creating smooth, lump-free icing. Always remember to sift it thoroughly before mixing to remove any clumps and ensure your icing is perfectly silky.
- Natural food coloring: We’re moving away from artificial dyes! For this recipe, I’ve created a beautiful spectrum of four distinct colors using readily available natural powders.
- Matcha powder: Provides a lovely, earthy green hue.
- Butterfly pea powder: Creates a stunning natural blue, which can turn purple with a touch of acidity (like lemon juice, though not used here).
- Beet powder: Delivers a vibrant, cheerful pink or reddish shade.
- Ground turmeric: Gives a warm, sunny yellow color.


Having all your ingredients measured and ready before you begin (mise en place) will make the baking process smooth and enjoyable, especially when little helpers are involved!
How to Make Delicious Gluten-Free Vegan Easter Cookies
Baking these festive Easter cookies is a rewarding process, and following these steps will ensure a perfect batch every time. The recipe is designed to be straightforward, making it an excellent activity for bakers of all ages.
- Step 1: Combine Dry Ingredients. In a medium-sized bowl, thoroughly whisk together the gluten-free flour blend, almond flour, and fine salt. This initial step ensures that all the dry ingredients are evenly distributed, which is crucial for a consistent cookie texture. Set this mixture aside for now.
- Step 2: Cream Wet Ingredients. In a large mixing bowl, using either a hand mixer or a stand mixer fitted with the paddle attachment, cream together the softened vegan butter (remember, sticks work best!) and granulated sugar. Beat on medium speed until the mixture is light, fluffy, and pale in color, typically 2-3 minutes. This aeration process is vital for creating tender cookies. Next, gently mix in the evaporated oat milk and pure vanilla extract until just combined. Be careful not to overmix at this stage.
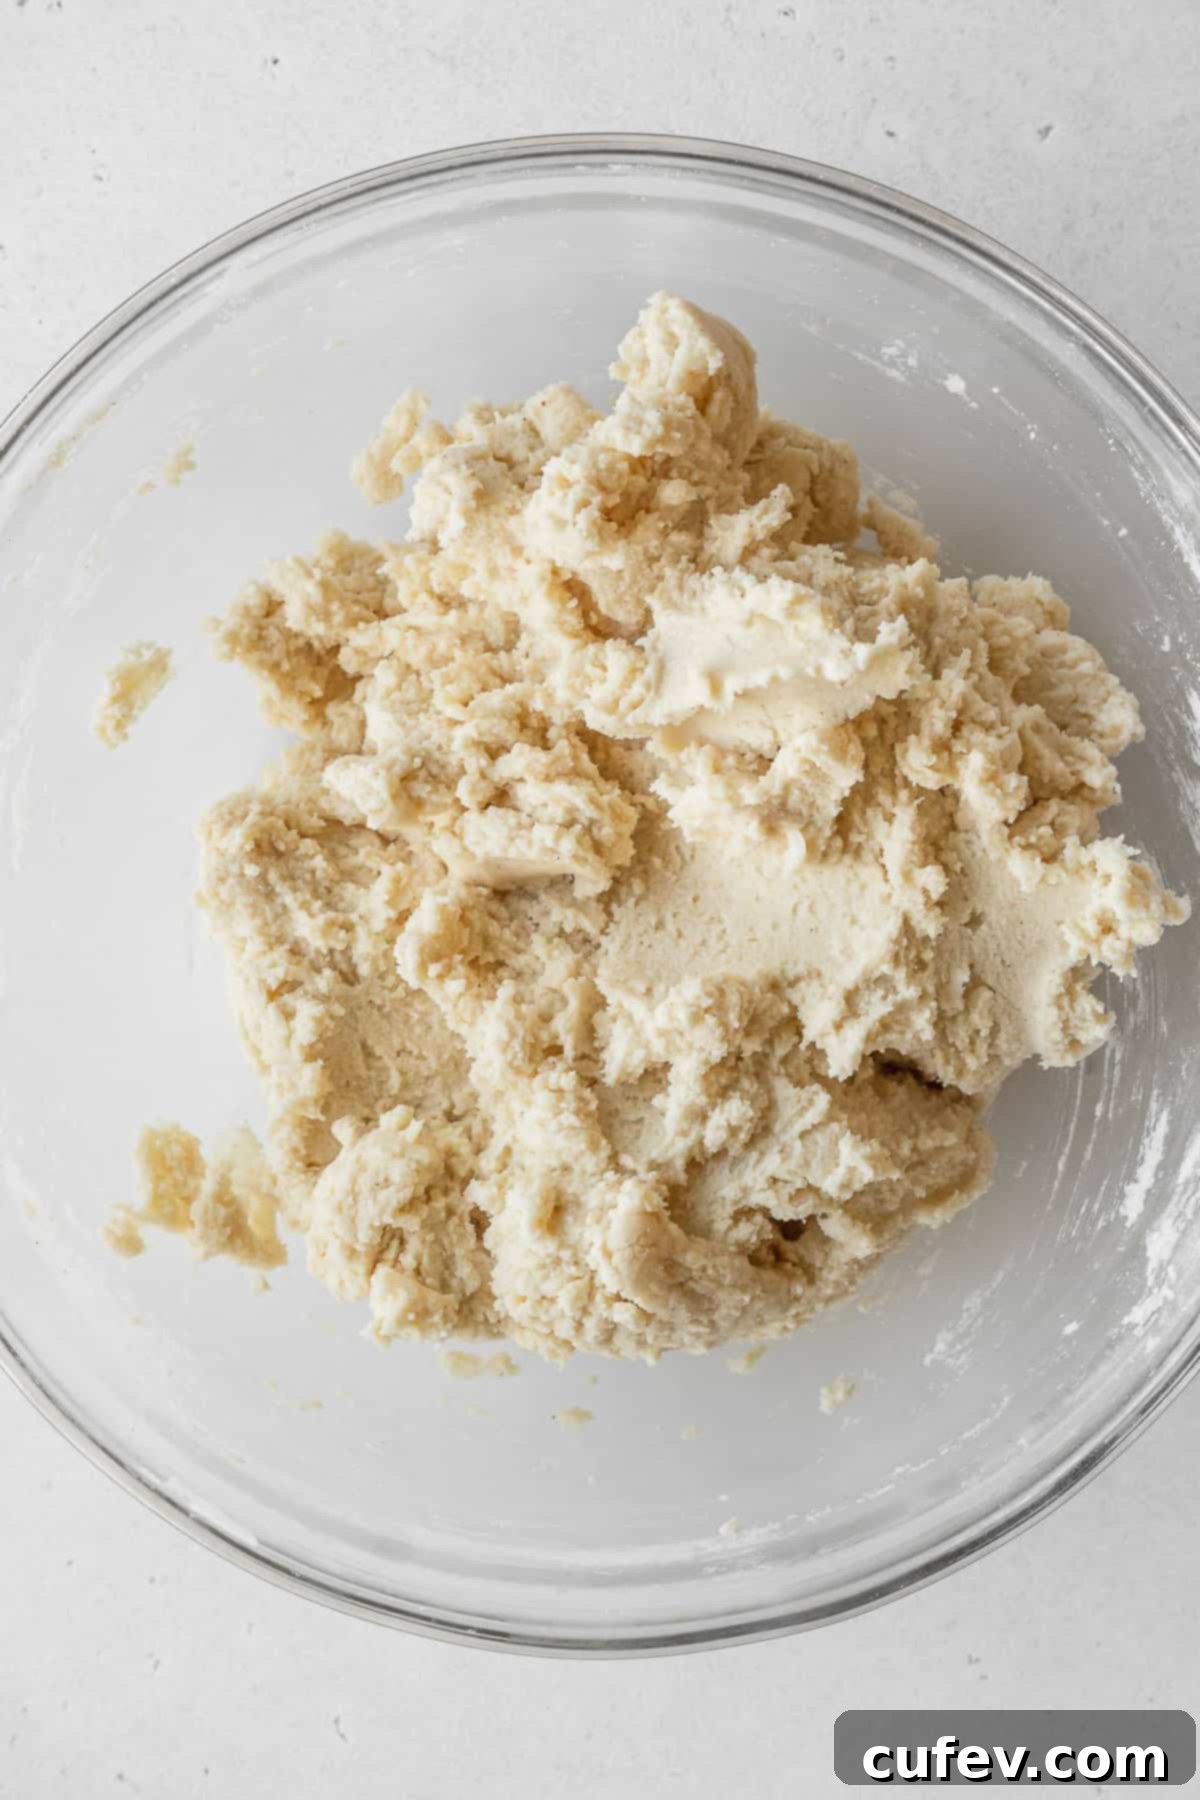
- Step 3: Form the Dough and Rest. Gradually add the dry flour mixture to the wet butter mixture. Mix on low speed until all the ingredients are just combined and you no longer see any dry pockets of flour. Overmixing can lead to tough cookies, so stop as soon as it comes together. The dough should be soft but manageable. Cover the bowl with plastic wrap or a clean kitchen towel and let it rest on the counter for 30 minutes. This resting period allows the gluten-free flours to properly hydrate, resulting in a more pliable dough and a better final texture.
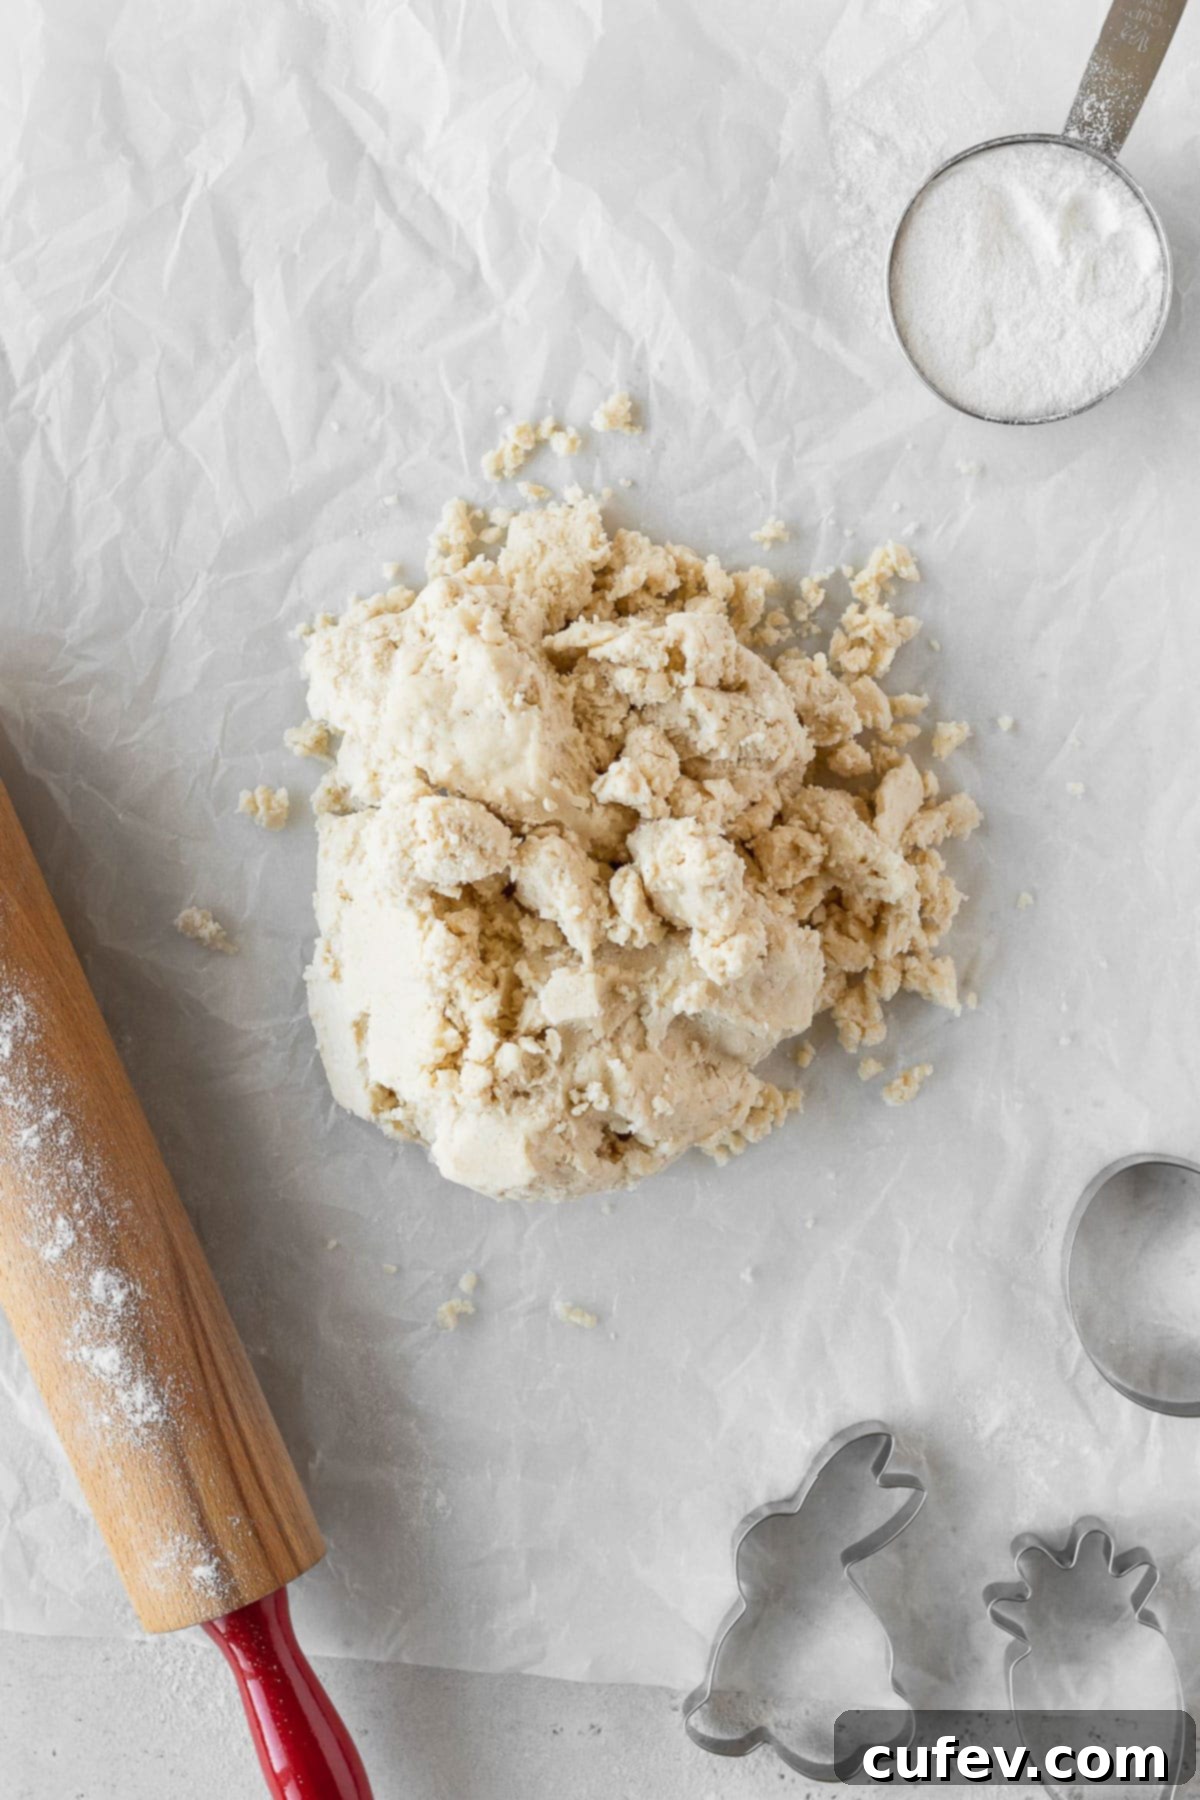
- Step 4: Roll and Chill the Dough. Transfer the rested cookie dough onto a large piece of parchment paper. Place another sheet of parchment paper on top of the dough. Using a rolling pin, roll the dough evenly to a thickness of ¼ inch (approximately ½ cm). Rolling between parchment paper prevents sticking and makes transfer easier. Once rolled, place the parchment-covered dough onto a baking sheet and refrigerate it for at least 30 minutes. Chilling is a critical step; it firms up the butter in the dough, which prevents the cookies from spreading too much in the oven and helps them retain their intricate egg shapes.
- Step 5: Preheat Oven and Prepare Baking Sheets. While your dough is chilling, preheat your oven to 375°F (190°C). Line a large baking sheet with parchment paper. Parchment paper is essential for preventing sticking and ensuring easy cleanup.
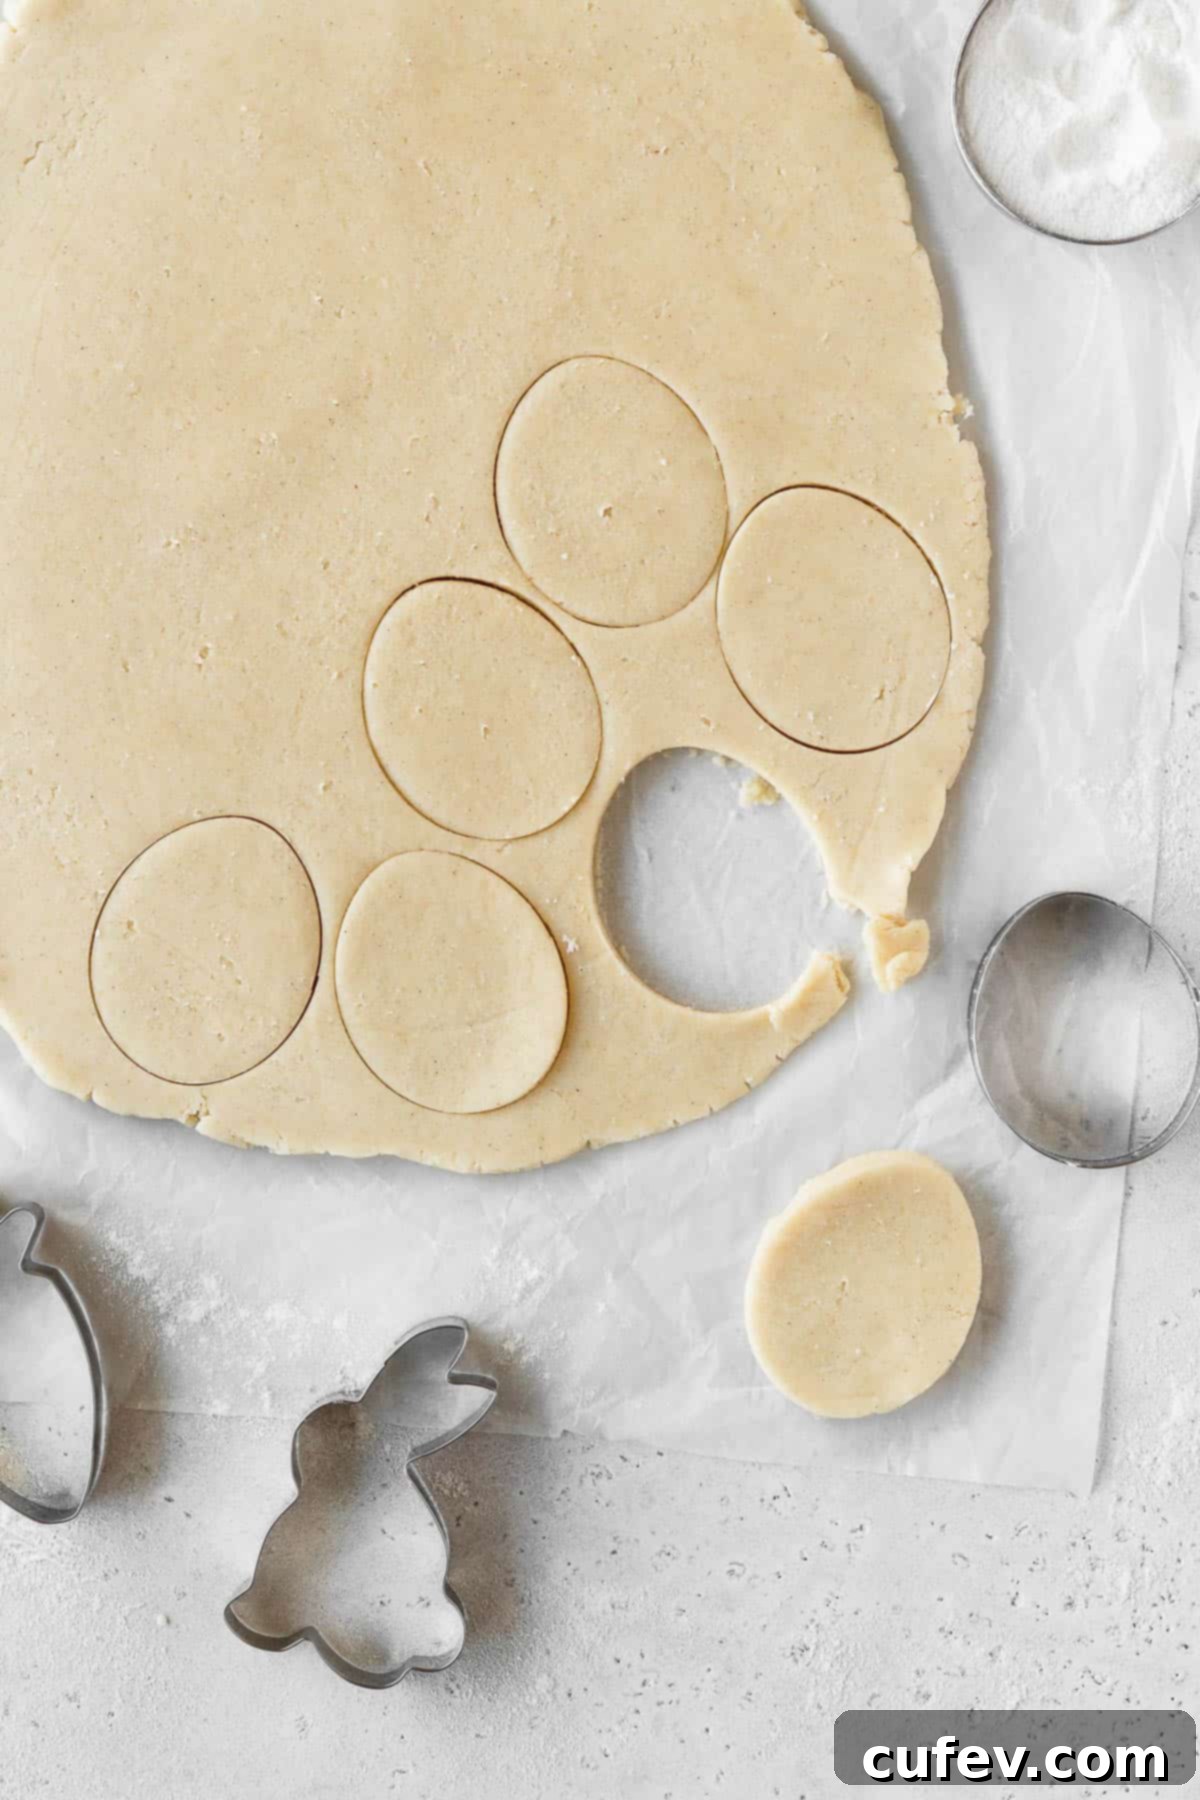
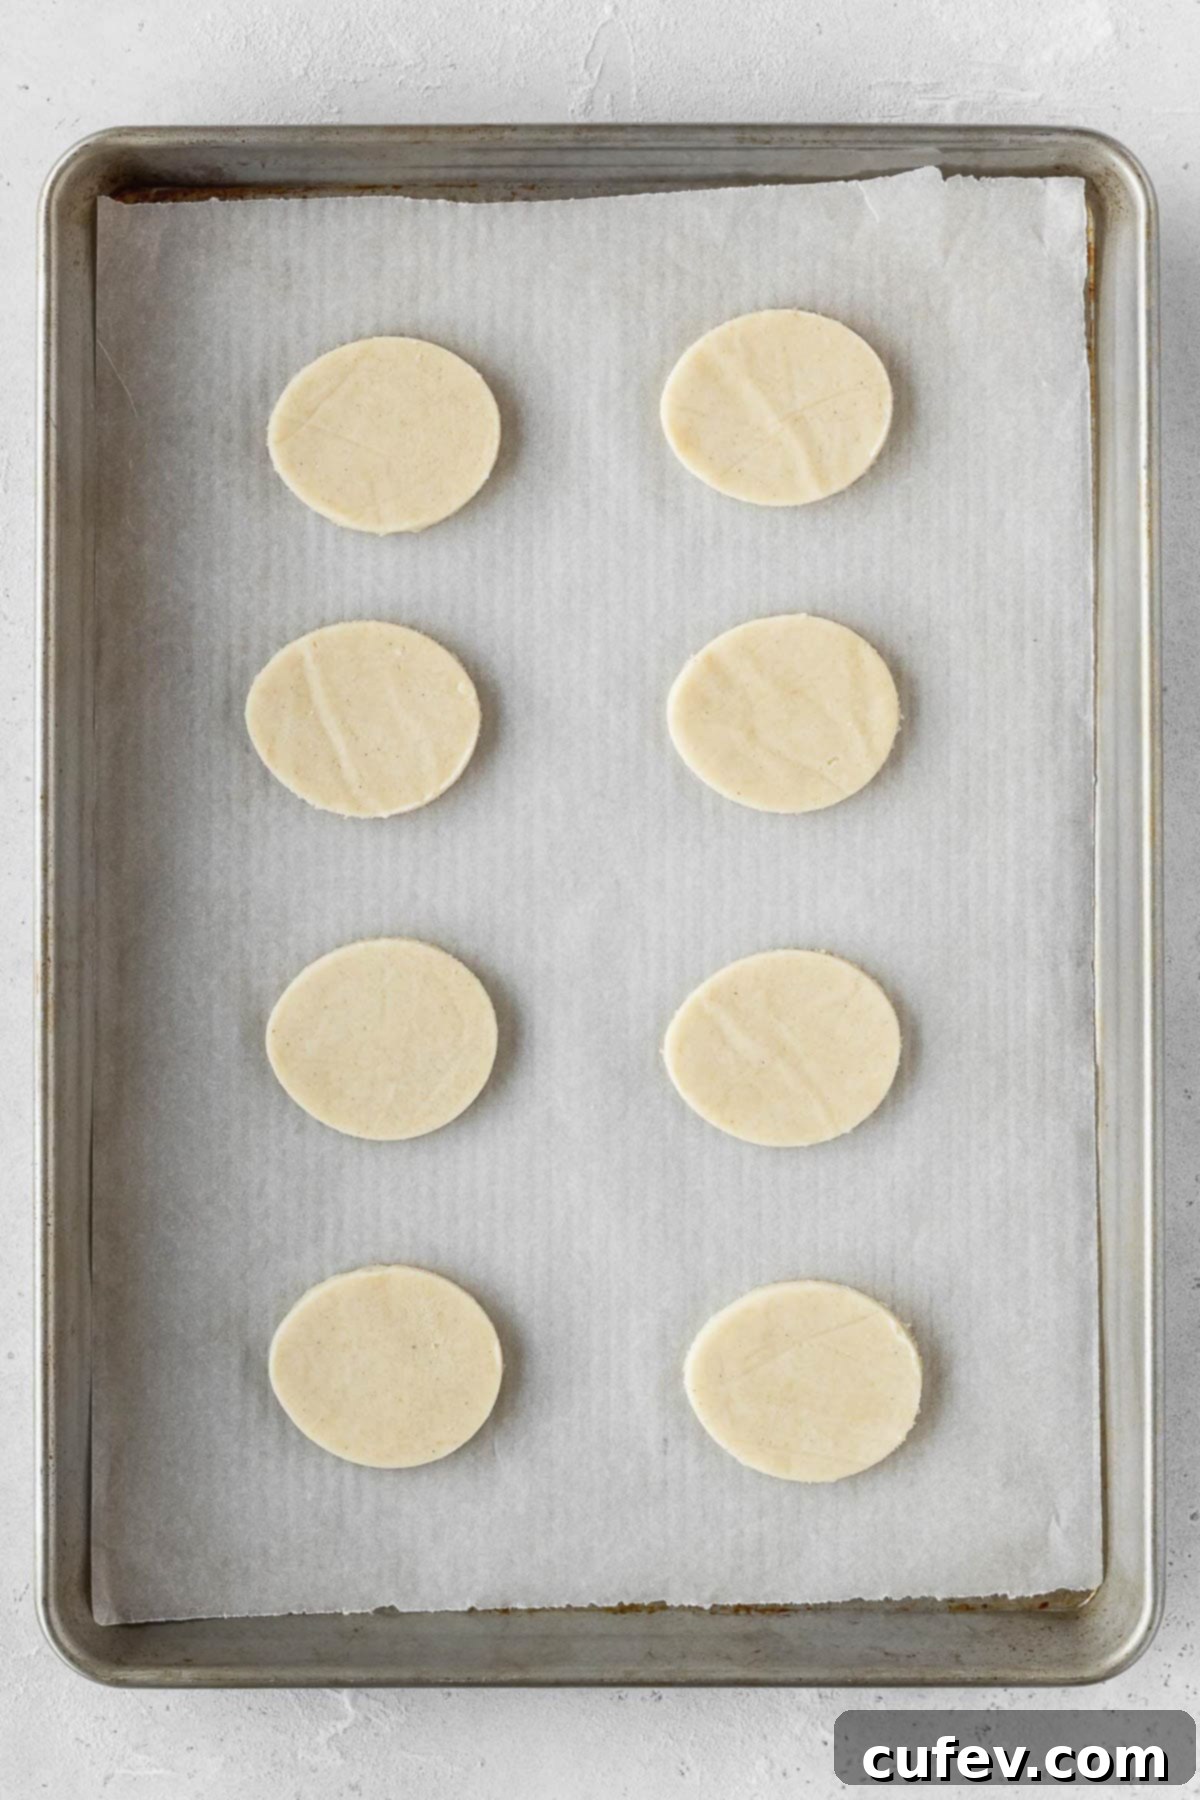
- Step 6: Cut Out Cookie Shapes. Retrieve the chilled, rolled-out cookie dough from the refrigerator. Using an egg-shaped cookie cutter (or any other festive Easter cutters you prefer, like bunnies or chicks!), cut out your desired shapes. Carefully transfer these cut-out cookies to the prepared baking sheet, leaving about an inch of space between each one to allow for even baking. Work quickly to keep the dough as cold as possible.
- Step 7: Bake the Cookies. Bake the Easter egg sugar cookies for 8-10 minutes. Baking times can vary depending on your oven and cookie thickness, so keep an eye on them. The cookies are done when the edges are lightly golden and the centers are just set. They shouldn’t be dark brown. Once the first batch is baked, gather any leftover dough scraps, gently re-roll them, chill briefly if they become too warm, and cut out more shapes. Repeat the baking process until all the dough is used.
- Step 8: Cool Completely. This step is critical for successful decorating. Allow the cookies to cool completely on the baking sheet for about 10-15 minutes before carefully transferring them to a wire rack to finish cooling. Attempting to decorate warm cookies will cause the icing to melt and run, ruining your beautiful designs. Patience here will pay off!

Once cooled, your delicious cookies are ready for their festive transformation! The smooth, flat surface of these sugar cookies makes them an ideal canvas for vibrant icing designs.
How to Decorate Easter Cookies with Natural Icing
The magic of Easter cookies truly comes alive with decoration! This simple yet effective icing recipe, using evaporated oat milk and natural food colorings, creates a beautiful finish that’s both appealing and delicious.
- Step 1: Prepare the Base Icing. In a small bowl, combine the sifted powdered sugar and evaporated oat milk. Whisk thoroughly until the mixture is completely smooth and free of lumps. You’re aiming for a consistency that is thick enough to coat the back of a spoon but still thin enough to flow smoothly when dipped. If it’s too thick, add oat milk a tiny bit at a time; if too thin, add a little more sifted powdered sugar.
- Step 2: Color the Icing Naturally. Divide the prepared white icing into several smaller bowls – one for each color you plan to use. Carefully mix in your natural food color powders (matcha, butterfly pea, beet, turmeric). Start with a small amount (like ⅛ teaspoon) and add more gradually until you achieve your desired vibrant shades. Remember that natural colors can vary in intensity, so adjust as needed.
- Step 3: Dip for the Base Color. Take each cooled cookie and gently dip its top surface into one of your colored icing bowls. Allow any excess icing to drip off briefly before carefully placing the cookie onto a wire rack. This method creates a smooth, even base coat. Ensure you have parchment paper or a tray underneath the wire rack to catch any drips for easy cleanup.
- Step 4: Add Piped Decorations. Once the base icing colors have completely set (this is crucial – see pro tips below!), transfer the remaining colored icing into individual piping bags fitted with small piping tips. Get creative! You can draw delicate lines, whimsical dots, intricate patterns, or even simple swirls. Let your imagination run wild to create unique and beautiful Easter egg designs. The finer the piping tip, the more detailed your artwork can be.
As an alternative, if you prefer a richer, creamier frosting, you can always choose to frost your Easter cookies with buttercream. For inspiration, you can check out how I frosted these delicious gluten-free sugar cookies with buttercream – a fantastic option for a different texture and flavor profile.
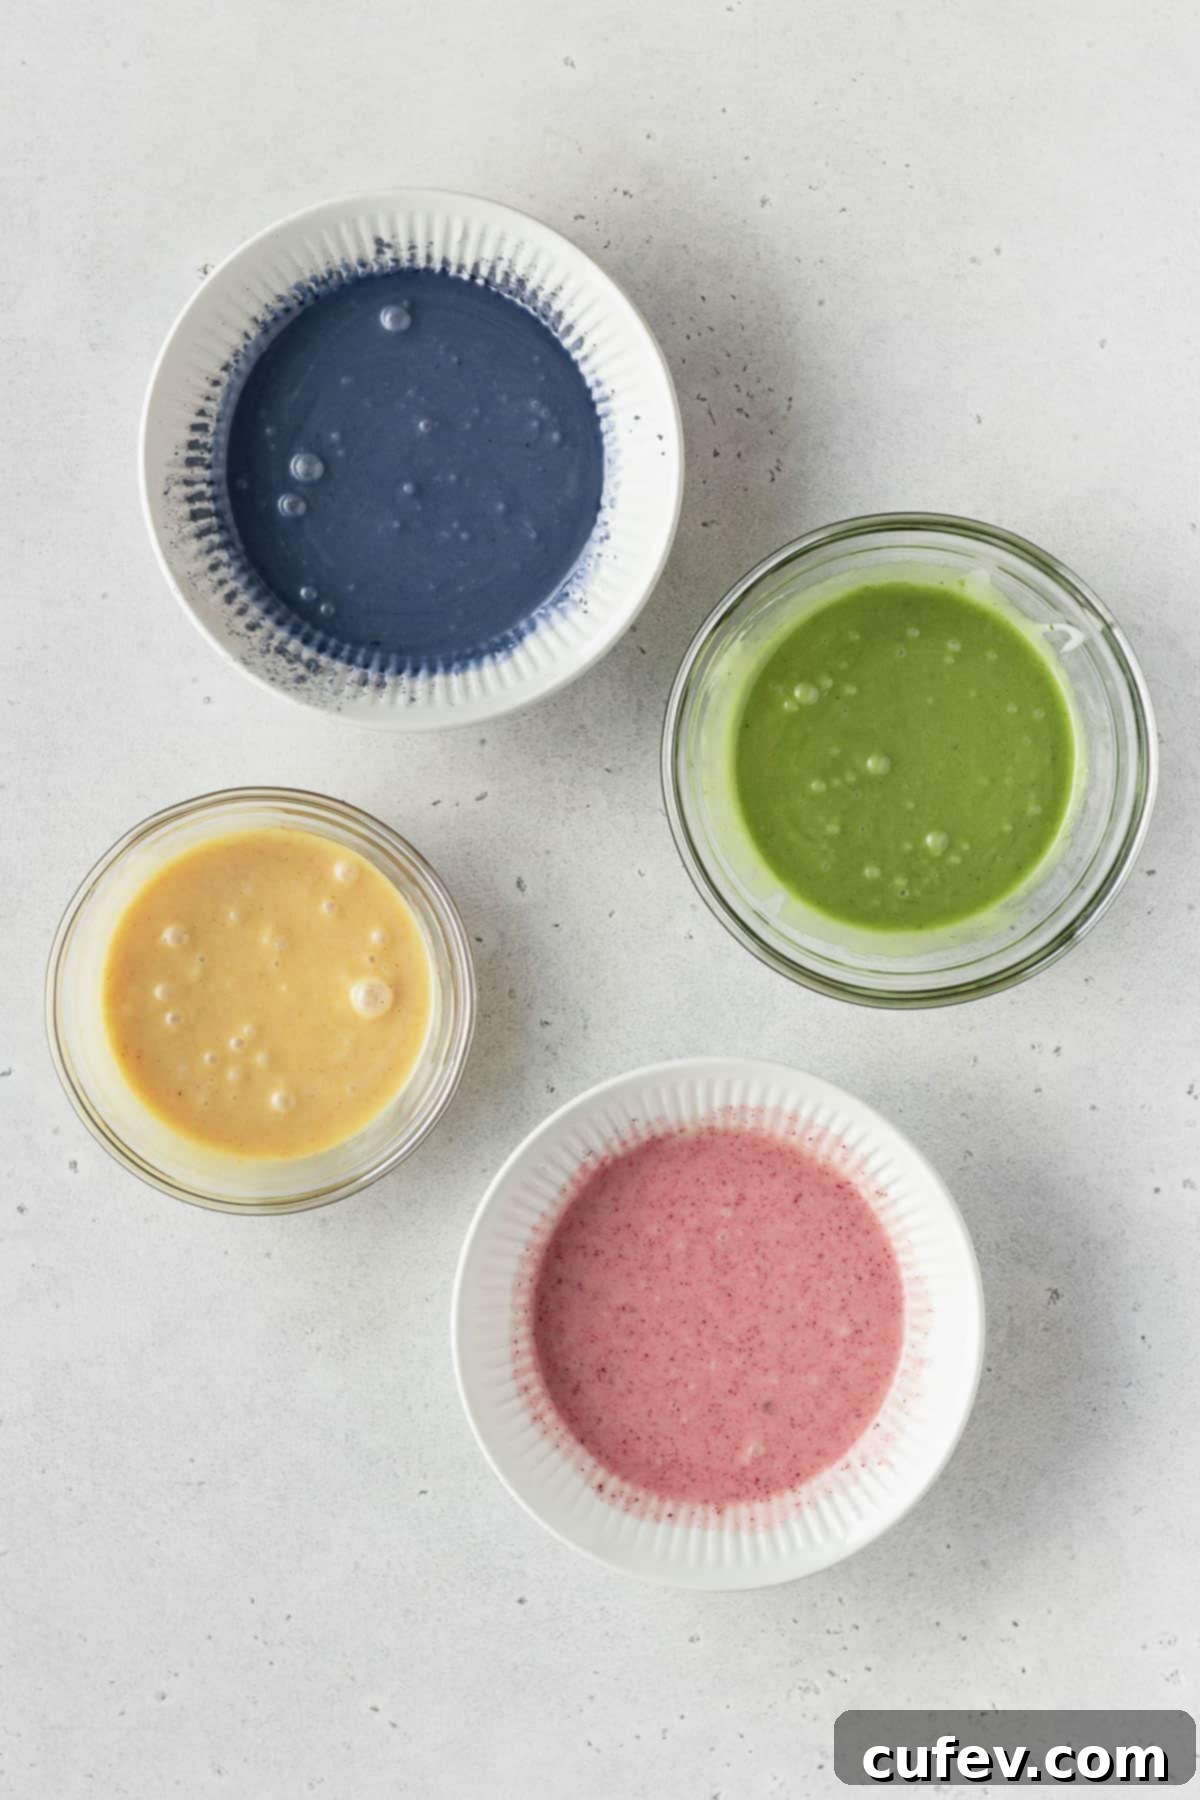
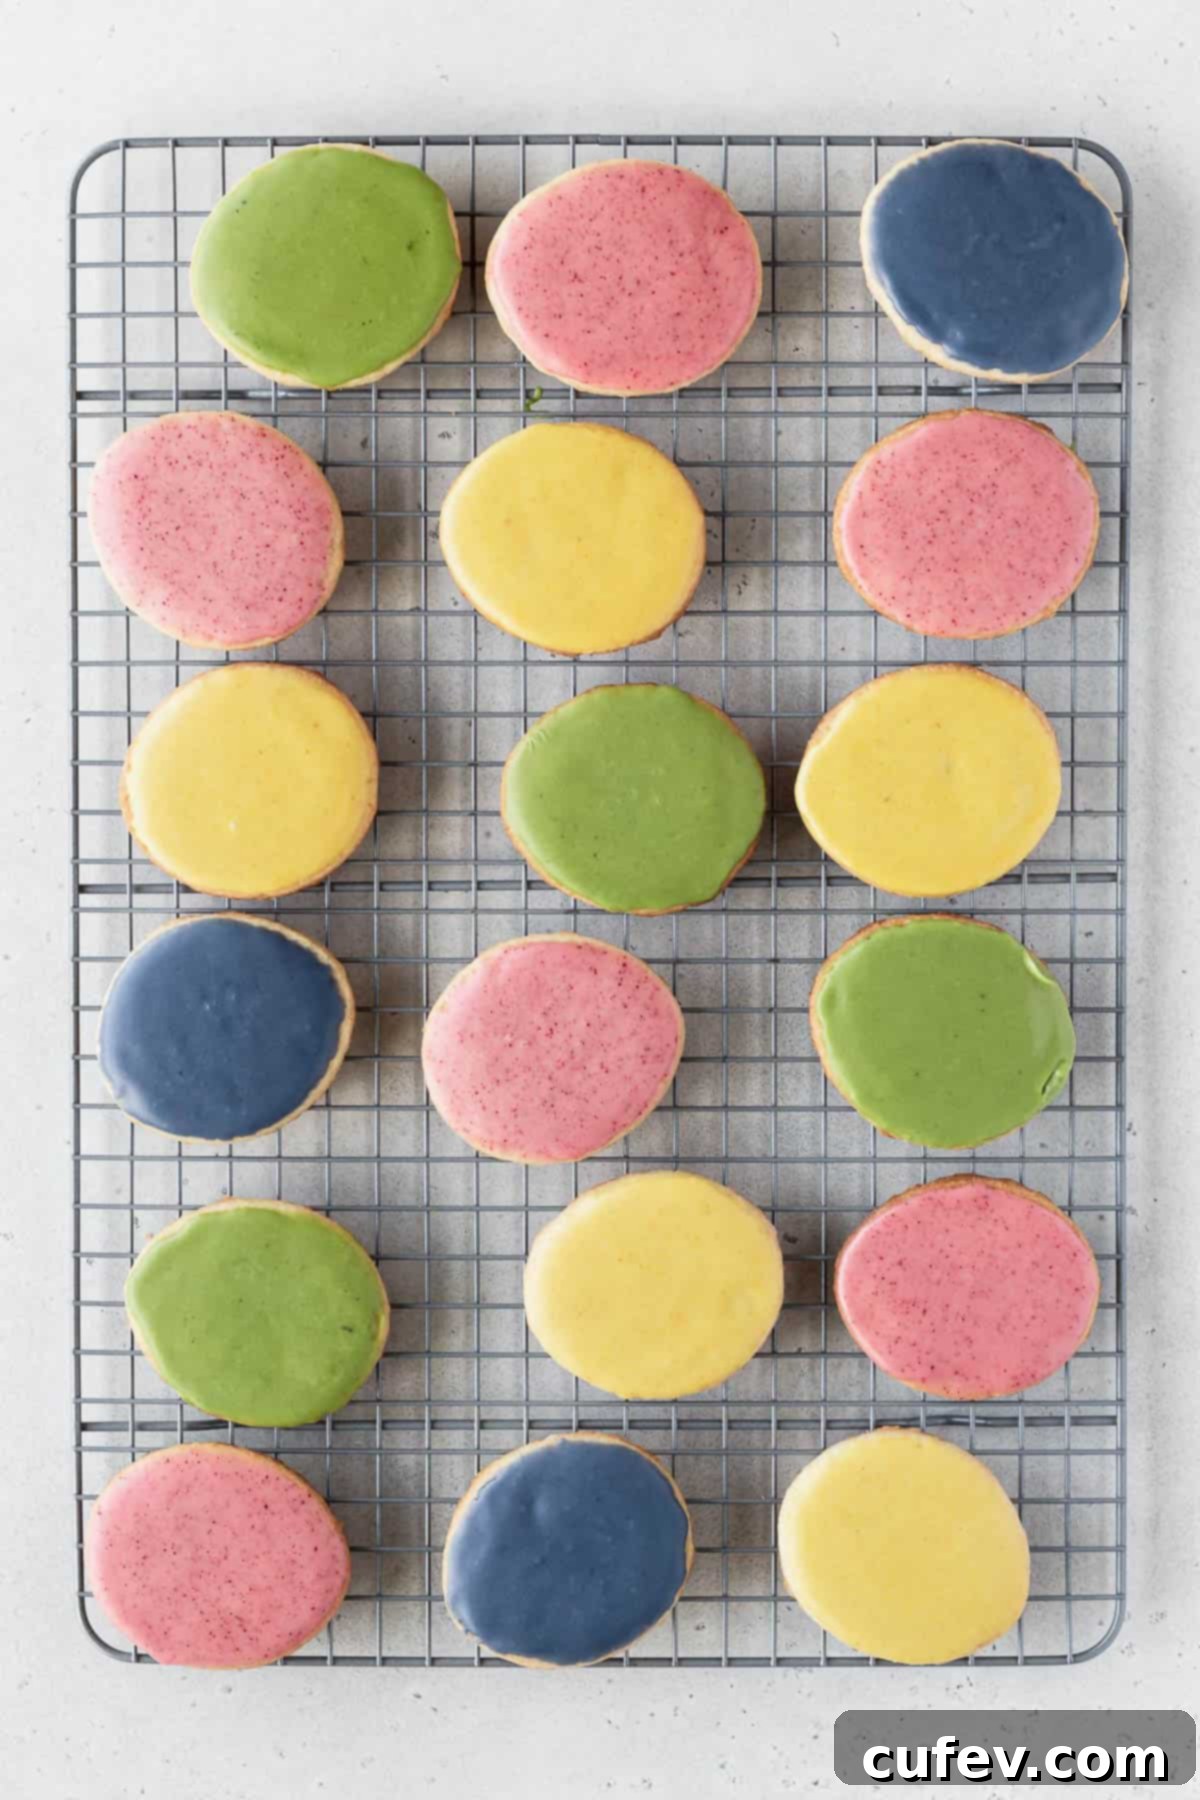
Decorating these cookies is a wonderful way to express creativity and add a personal touch to your Easter treats. Enjoy the process, and don’t worry about perfection – homemade cookies are always the most charming!
Pro-Tips for Flawless Easter Sugar Cookies
Achieving perfectly shaped and beautifully decorated Easter cookies is easier with a few expert tricks up your sleeve. These pro-tips are designed to help you avoid common pitfalls and ensure your baking project is a resounding success.
- Roll out the dough before you chill it. This is a crucial step for cut-out cookies! If you try to roll out chilled, firm dough, it will be much harder to work with and prone to cracking. Conversely, if your dough is too warm and soft, your beautiful egg shapes will distort when you try to transfer them to the baking sheet, or spread excessively in the oven. The ideal method is to roll the dough out evenly between two sheets of parchment paper while it’s still at room temperature and pliable. Then, chill the flattened dough on a baking sheet until it’s firm. This allows you to cut out clean, precise shapes that will hold their form during baking.
- Cool the cookies completely before you decorate. This tip cannot be stressed enough! Warm cookies, even slightly warm, will cause your carefully prepared icing to melt, bleed, and run off the edges, turning your artistic efforts into a sticky mess. Patience is indeed a virtue in cookie decorating. Allow your freshly baked cookies to cool fully on the baking sheet for a few minutes, then transfer them to a wire rack to cool completely at room temperature, ideally for at least an hour, or even longer if your kitchen is warm. A perfectly cooled cookie provides a stable, non-porous surface for the icing to set beautifully.
- Adjust the recipe if you’re using powdered food coloring. Natural powdered food colorings, while wonderful for vibrant hues, can sometimes absorb moisture from your icing, causing it to thicken more than desired. If you notice your icing becoming too thick after adding the powdered color, don’t panic! Simply add a tiny amount, about ¼ teaspoon, of extra evaporated oat milk at a time, mixing well after each addition, until the icing returns to its original, desired pouring or piping consistency. This careful adjustment ensures your icing remains smooth and easy to work with.
- Let the base color set before decorating. For crisp, clean decorative lines and dots, it’s essential to allow your base icing layer to dry and harden before adding any intricate details. If you pipe on top of wet base icing, the colors will bleed into each other, resulting in blurry designs. After dipping your cookies and applying the first layer of icing, let them sit undisturbed on a wire rack for approximately 15 to 20 minutes (or even longer in humid environments) until the surface is dry to the touch. Once the base is firm, you can confidently go in with your piping bags to add stripes, dots, and other embellishments, ensuring they stand out beautifully.
- Fix the icing while it’s still wet. Don’t despair if you spot a tiny air bubble or a stray drip! The beauty of this icing is that it’s quite forgiving when wet. If you see any air bubbles on the surface of your freshly dipped cookie, gently poke them with the tip of a toothpick. The icing will self-level and smooth over. Similarly, if a bit of icing drips down the side of a cookie, you can easily wipe it clean with your finger or a damp paper towel before it sets. These quick fixes can save your cookies from minor imperfections.

With these helpful tips, you’re well on your way to creating stunning and delicious vegan gluten-free Easter sugar cookies that will impress everyone!
Storage and Freezing Instructions for Your Easter Cookies
To ensure your beautifully decorated Easter cookies remain fresh and delicious for as long as possible, proper storage is key. Whether you plan to enjoy them over a few days or save some for later, these guidelines will help preserve their taste and texture.
- Storing: Once the icing has completely dried and set (this is very important to prevent sticking and smudging), arrange the Easter cookies in an airtight container. You can stack them carefully with parchment paper in between layers if needed. Store the container at room temperature, away from direct sunlight or heat, for 3 to 4 days. While they might last a bit longer, their quality is best enjoyed within this timeframe.
- Freezing: If you’ve baked a large batch or want to enjoy these festive treats beyond the Easter season, freezing is an excellent option. To freeze them, ensure the icing is entirely dry and firm. Individually wrap each decorated cookie tightly in plastic wrap, then place them in a single layer in a freezer bag or an airtight freezer-safe container. This individual wrapping helps prevent freezer burn and keeps the decorations intact. You can keep them in the freezer for up to 3 months. When you’re ready to enjoy them, transfer the wrapped cookies to the refrigerator overnight to defrost slowly. This gradual defrosting helps prevent condensation from forming on the cookies, which can otherwise make the icing sticky or cause colors to run. For the best experience, allow them to come to room temperature before serving.
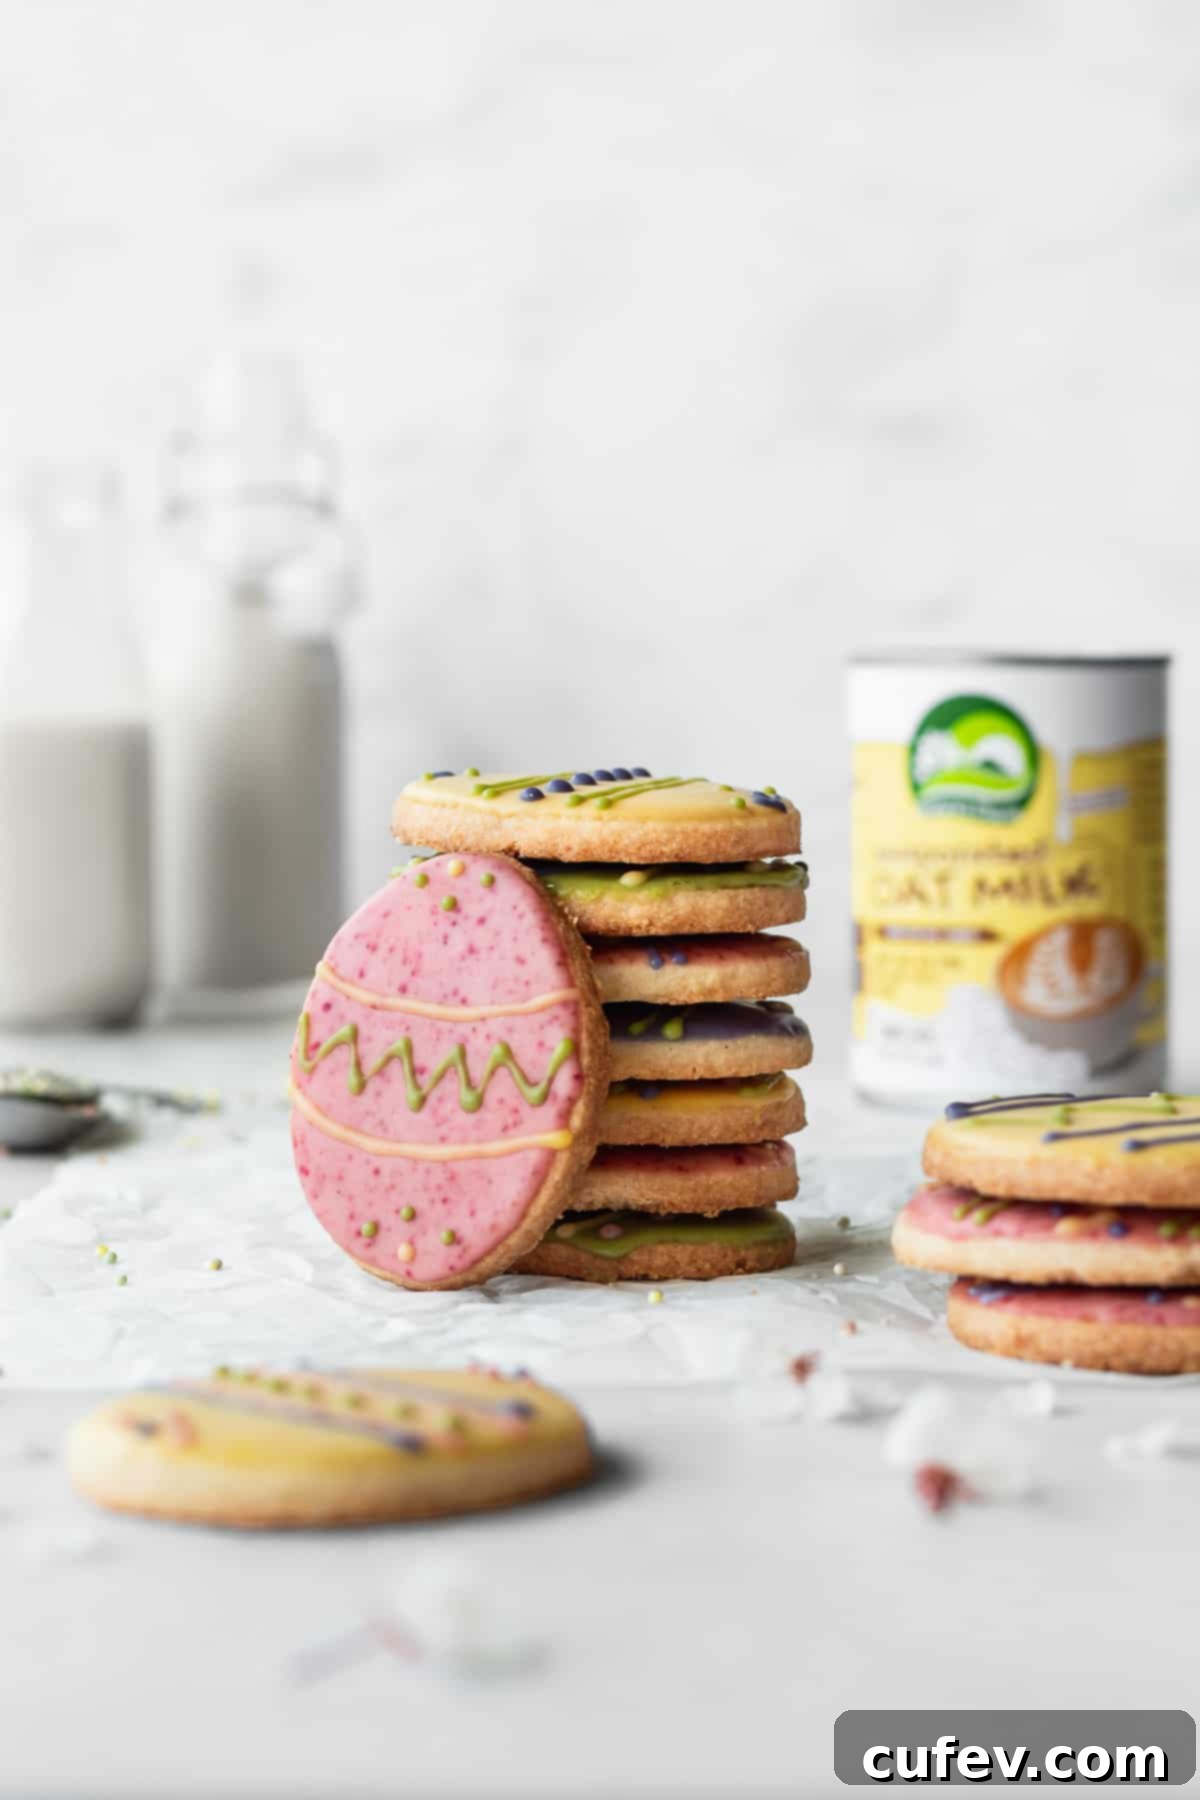
Proper storage means you can extend the joy of your homemade Easter cookies, savoring their buttery softness and vibrant decorations long after the holiday has passed.
More Delightful Easter Recipes to Explore
Easter is a wonderful time for baking, and if you’re looking for more festive treats, here are some other fantastic recipes that are perfect for your holiday celebration:
- If you’re enchanted by Easter egg-themed desserts, you simply must try my creative bird’s nest cookies. These adorable treats feature a delicious cookie base topped with a “nest” of shredded coconut and mini chocolate eggs, making them a whimsical addition to any Easter dessert table. Alternatively, for a truly unique presentation, my cupcakes baked in eggshells offer a delightful surprise and an impressive culinary feat that will surely be a conversation starter.
- Craving more delightful Easter cookie ideas beyond the sugar cookie? These vegan lemon thumbprint cookies are an excellent choice! They boast the same wonderfully buttery cookie base as our Easter sugar cookies but are generously filled with a luscious, tangy lemon curd, offering a bright and zesty flavor that perfectly suits the spring season.
- If you find yourself to be more of a cupcake enthusiast, our Easter carrot cake cupcakes are incredibly moist, spiced to perfection, and topped with a rich vegan cream cheese frosting – a timeless classic for spring. For a lighter, yet equally delicious option, these dairy-free vanilla cupcakes are fluffy, tender, and versatile enough to be decorated for any Easter theme.
- And for those seeking additional gluten-free recipes to share with friends and family this Easter, we have you covered! Whip up a batch of these chewy gluten-free oatmeal cookies, bake some incredibly fudgy gluten-free dairy-free brownies, or impress your guests with a decadent gluten-free dairy-free German chocolate cake. Each of these options promises to be a delicious and inclusive treat for your holiday gathering.
We hope these suggestions inspire even more delicious moments in your kitchen this Easter!
Thank you so much for stopping by and exploring this delightful Vegan Gluten-Free Easter Cookies Recipe. We hope you loved discovering how to make these soft, buttery, and beautifully decorated treats. Our aim is to bring you delicious, allergen-friendly dessert inspiration that makes every occasion special. For even more mouth-watering dairy-free, gluten-free, and vegan dessert ideas and culinary adventures, make sure to follow me on Pinterest, Facebook, and Instagram. Don’t miss out on any new content or exclusive tips – you can also get all of my newest recipes and guides delivered straight to your inbox by signing up for my email newsletter. I promise not to spam you, just share the sweetest inspirations!

Easter Cookies Recipe
Ingredients
Sugar cookies
- 2 cups gluten-free 1-to-1 flour
- ½ cup almond flour
- ½ teaspoon fine salt
- 1 cup vegan butter softened at room temperature
- ⅔ cup granulated sugar
- 1 tablespoon Nature’s Charm evaporated oat milk
- 1½ teaspoons vanilla extract
Icing
- 2 cups powdered sugar
- 3 tablespoons Nature’s Charm evaporated oat milk
- ⅛ teaspoon matcha powder
- ⅛ teaspoon beet powder
- ⅛ teaspoon turmeric
- ⅛ teaspoon butterfly pea powder
Instructions
Sugar cookies
- In a bowl, combine the gluten-free flour blend, almond flour, and salt.
- In a separate bowl, cream together the softened vegan butter and granulated sugar. Add the evaporated oat milk, and vanilla extract, and mix again.
- Add the flour mixture to the butter mixture and mix until you don’t see any dry bits of flour. Cover and let it rest on the counter for 30 minutes.
- Take the dough out onto a piece of parchment paper, cover that with another sheet of parchment paper, and roll it out to ¼ inch (½ cm) thickness. Put it in the refrigerator while you preheat the oven.
- Preheat the oven to 375°F (190°C) and line a baking sheet with parchment paper.
- Take the chilled rolled-out cookie dough out of the refrigerator and cut out shapes using an egg-shaped cookie cutter.
- Put them on the parchment-lined baking sheet and bake for 8-10 minutes.Re-roll any leftover cookie dough and bake more cookies, until you have no more cookie dough left.
- Let them cool completely on the baking sheet before taking them onto a wire rack.
Icing
- In a bowl, mix together sifted powdered sugar and evaporated oat milk.
- Separate the icing into smaller bowls and mix in natural food color.
- Dip in the top surface of each cookie and set on a wire rack to let it dry.
- Put the rest of the icing in individual piping bags with a small piping tip. Decorate the cookies by drawing lines and dots with the icing.
