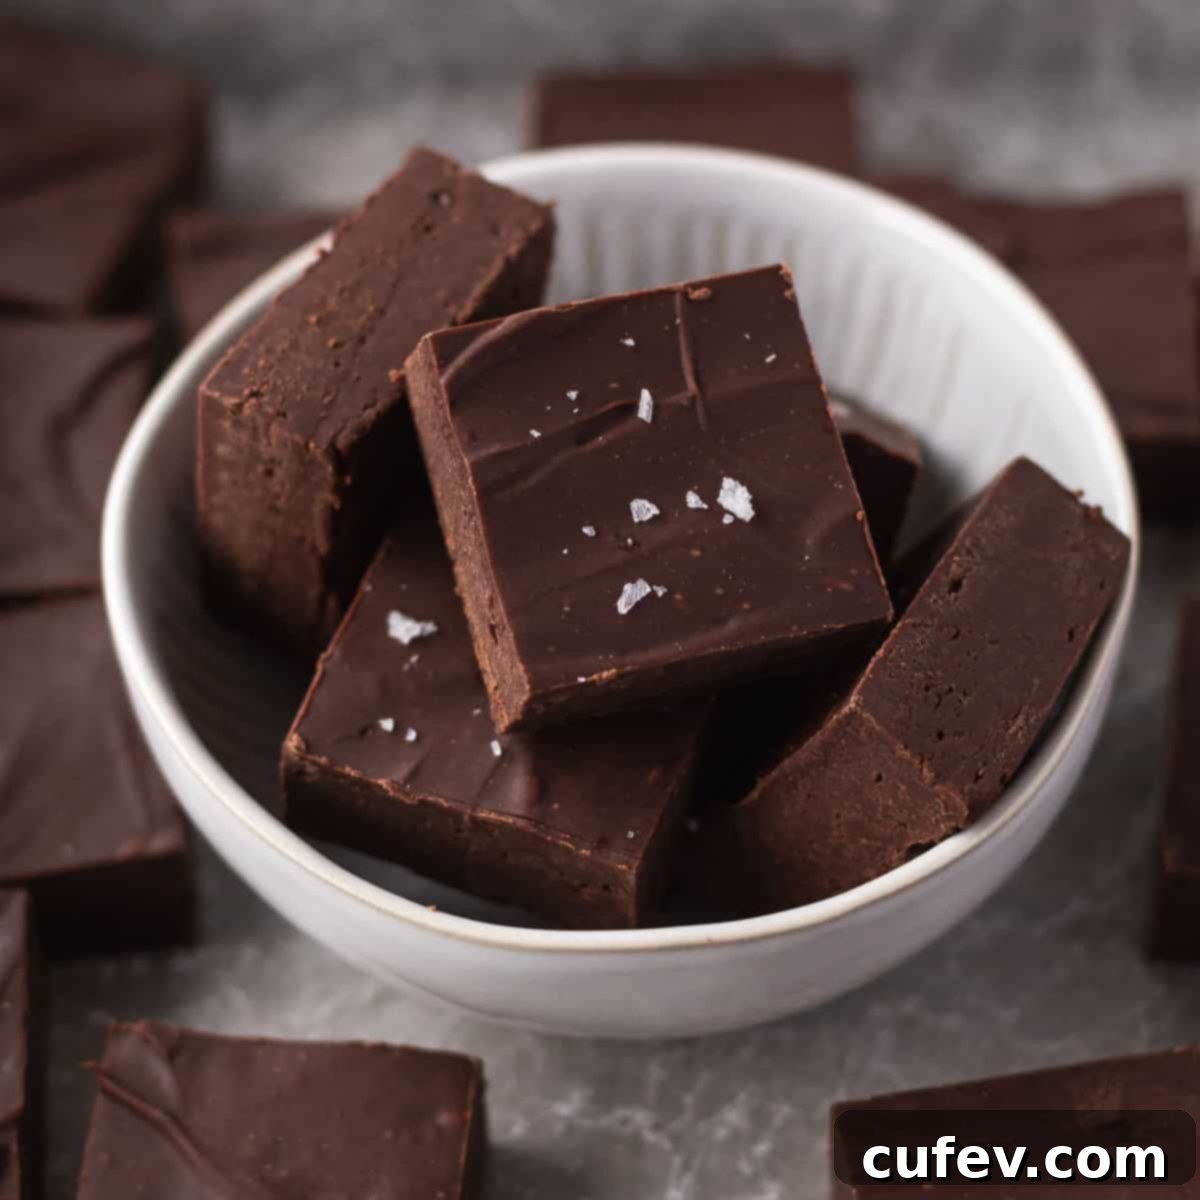
Irresistibly Creamy Dairy-Free Fudge: Your Ultimate Vegan Chocolate Treat
Prepare to be enchanted by this irresistibly creamy and profoundly chocolatey dairy-free fudge recipe. It promises all the melt-in-your-mouth decadence of traditional fudge, without a speck of dairy! Crafted with an astonishingly simple list of just 5 ingredients and requiring less than 15 minutes of active hands-on time, this vegan fudge recipe is a perennial favorite. It’s perfect for adorning your Christmas cookie plates, sharing as a thoughtful homemade gift, or simply enjoying whenever a rich chocolate craving strikes. Its smooth, velvety texture and deep cocoa flavor make it an absolute showstopper, proving that dairy-free can be just as delicious, if not more so!
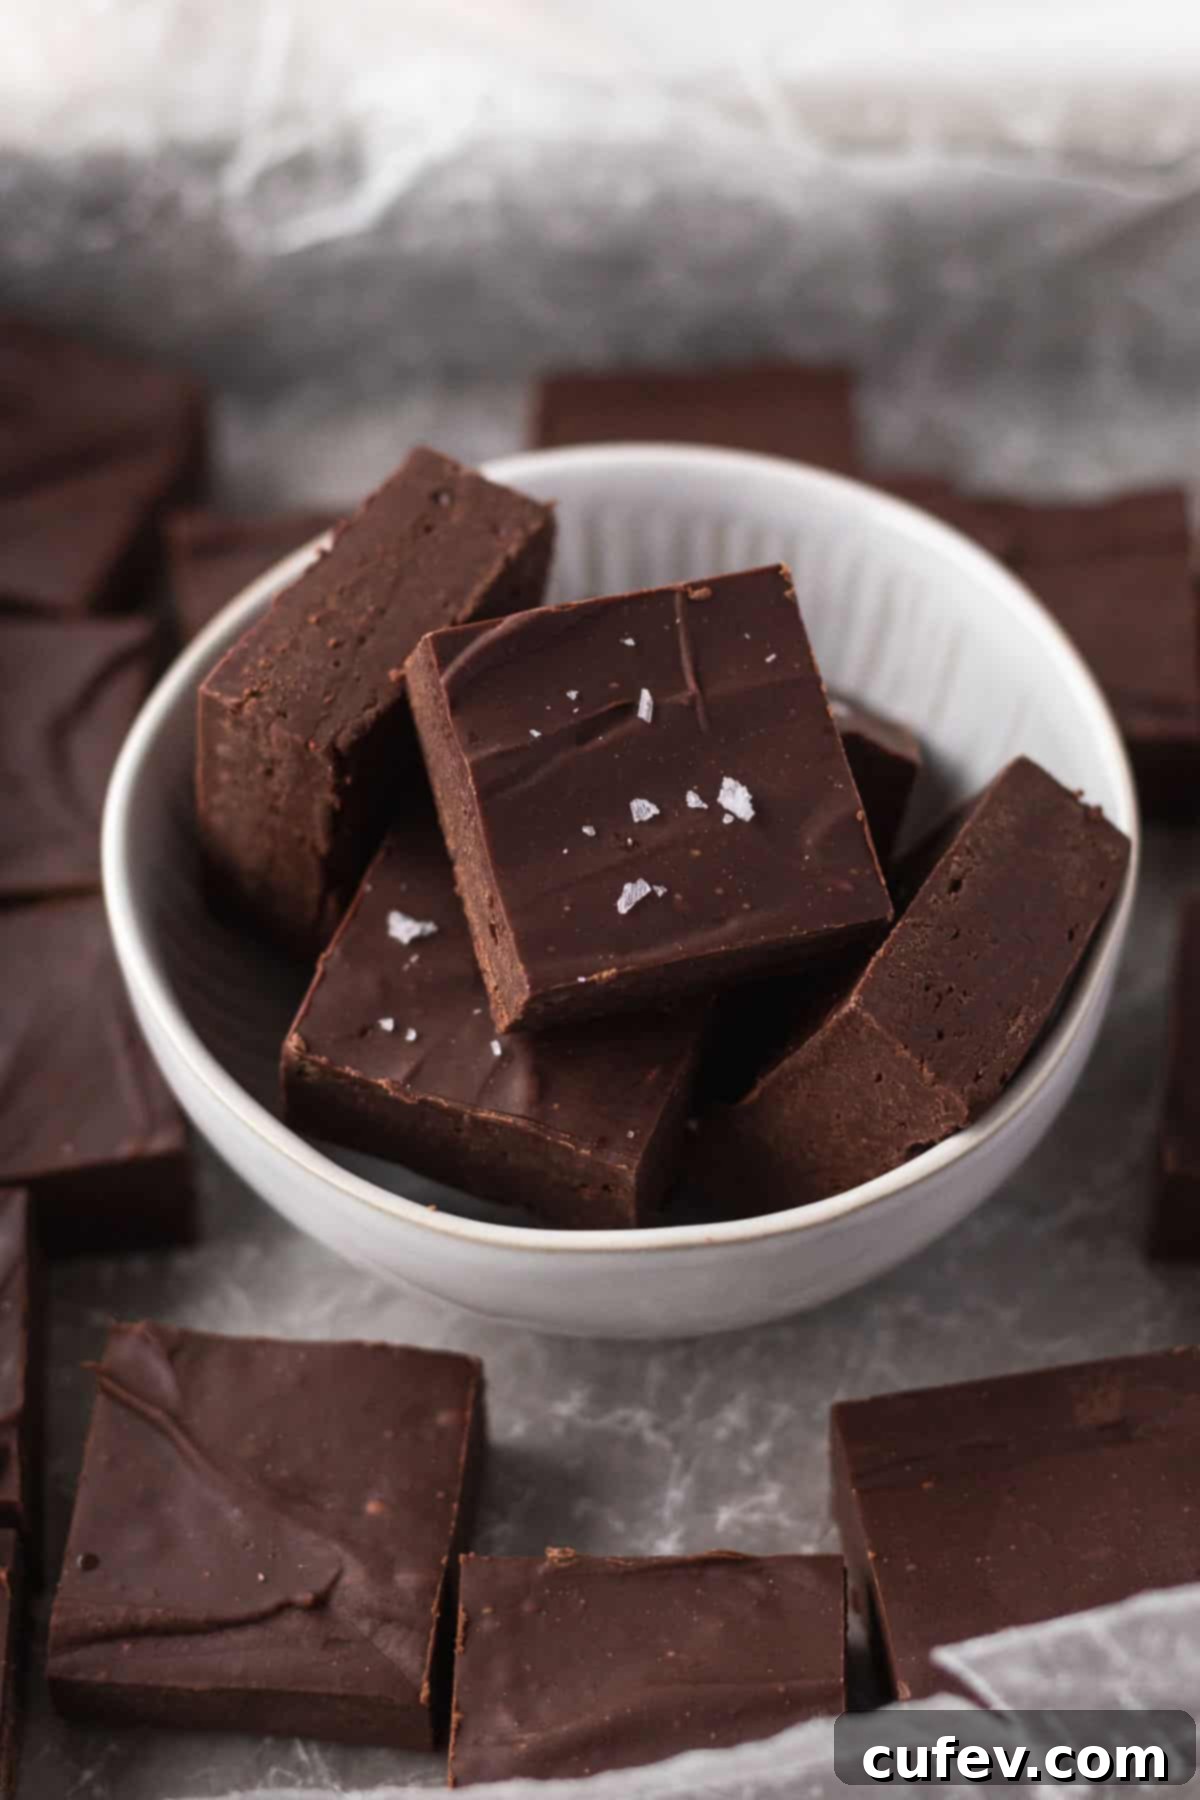
Why You’ll Love This Dairy-Free Fudge Recipe
This isn’t just another dairy-free dessert; it’s a revelation! Whether you’re navigating dietary restrictions, embracing a vegan lifestyle, or simply curious about plant-based alternatives, this homemade dairy-free fudge offers an unparalleled experience. Its rich, dense texture and intense chocolate flavor are a testament to how incredible vegan baking can be. It’s incredibly versatile, perfect for any holiday celebration, a thoughtful homemade gift, or a satisfying treat after a long day. Plus, the minimal effort involved means you can whip up a batch whenever the mood strikes!
Essential Ingredients for Your Vegan Fudge
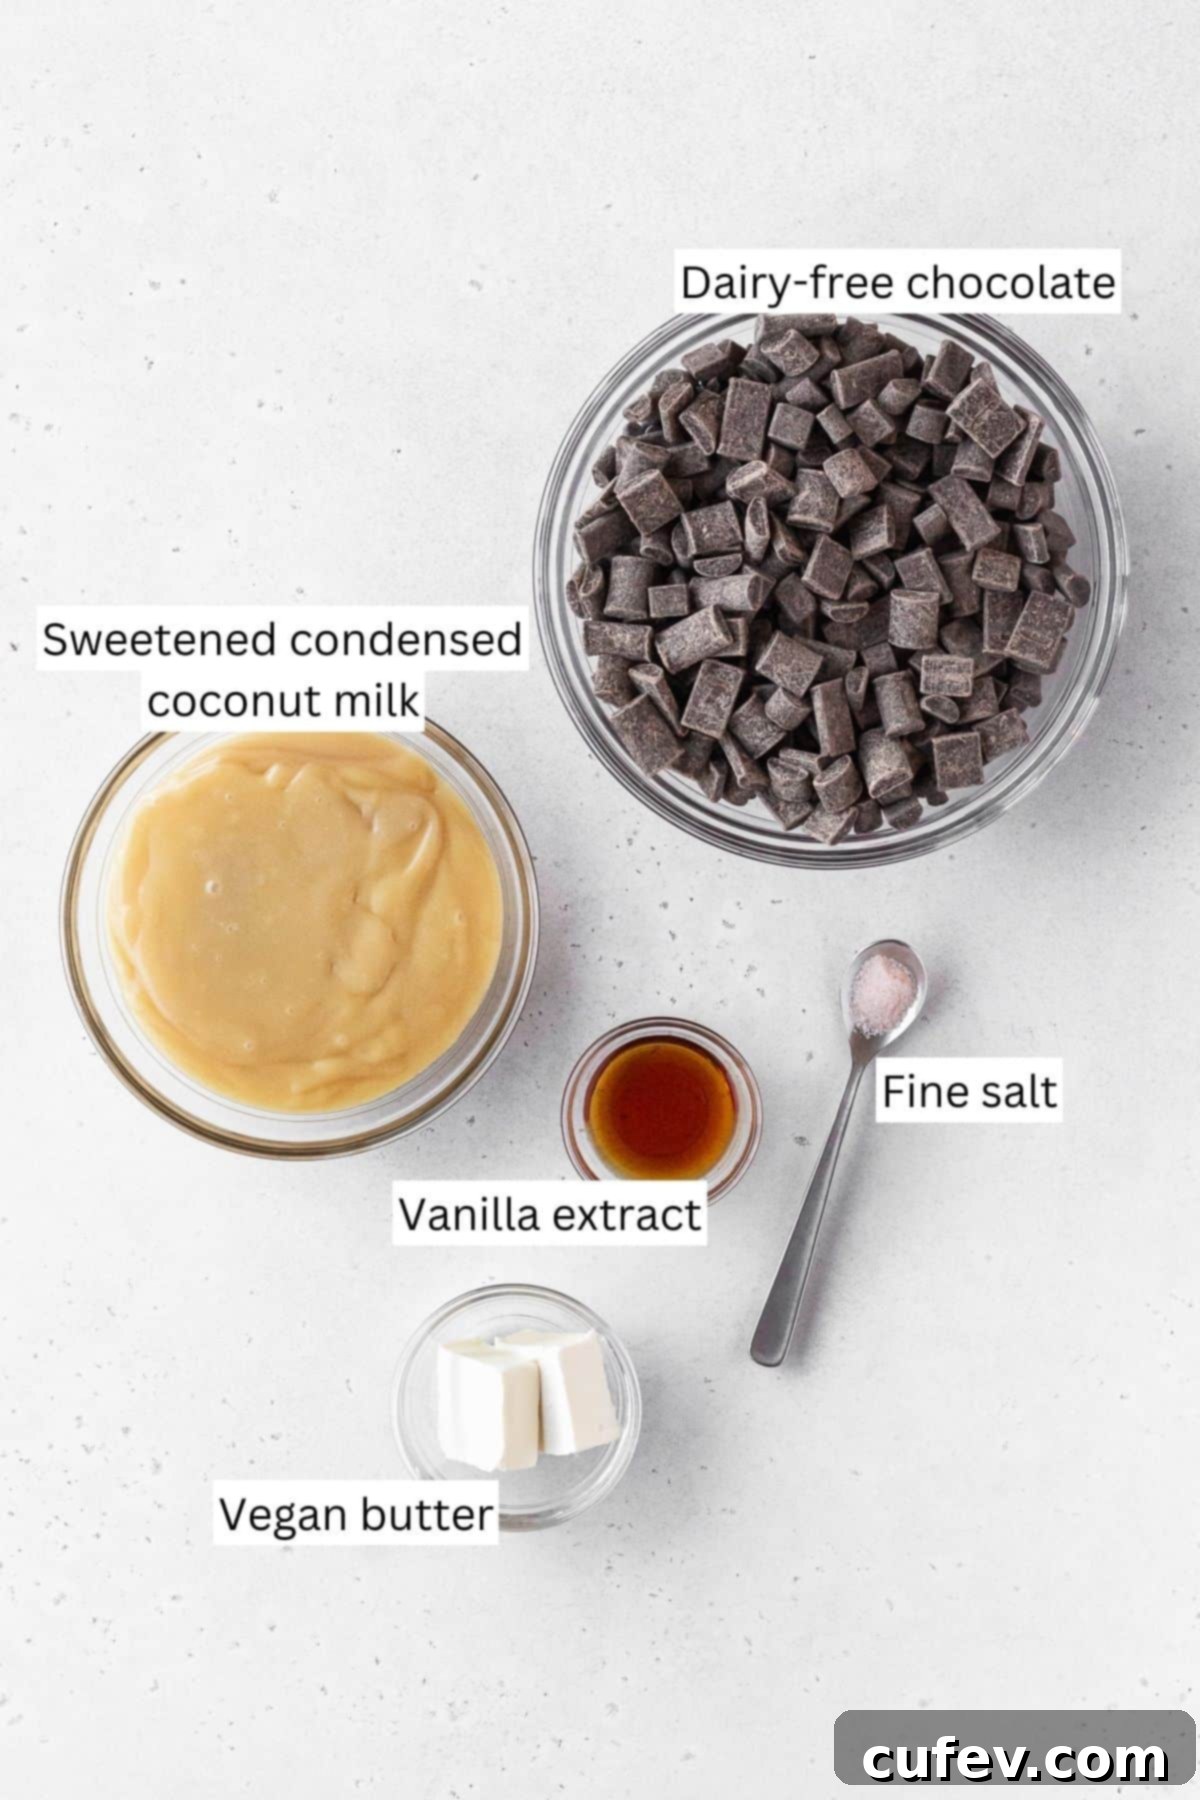
Crafting this luscious non-dairy fudge requires a select few, readily available ingredients. Each component plays a vital role in achieving that perfect, creamy consistency and rich flavor, making this recipe not only simple but also incredibly effective.
- Canned Vegan Sweetened Condensed Milk: This is the backbone of our creamy fudge. It provides the necessary sweetness and luxurious texture that condensed milk is known for. You have excellent options here:
- Coconut-based condensed milk: Offers a subtle, delightful coconut undertone that complements chocolate beautifully. It’s often thicker, contributing to a firmer fudge.
- Oat-based condensed milk: Provides a more neutral flavor profile, letting the chocolate shine through fully. It’s usually slightly thinner but still yields wonderfully creamy results.
- Other options: You might also find soy-based or rice-based sweetened condensed milks, which can work as well, depending on your preferences and availability. Always check for “sweetened” to ensure the right sugar content.
- Dairy-Free Semi-Sweet Chocolate Chips: The heart of any chocolate fudge! The “semi-sweet” designation provides a balanced chocolate flavor that isn’t overly bitter or excessively sweet. It’s paramount to ensure your chocolate chips are certified dairy-free or explicitly labeled “vegan.” If chocolate chips are hard to find, don’t worry—a good quality dairy-free chocolate bar, finely chopped, will work just as well, if not better, for a truly artisan feel. We’ll discuss how to choose the best ones below.
- Vegan Butter: This adds richness and a smooth mouthfeel, mimicking traditional butter perfectly. For the absolute best flavor, we highly recommend seeking out a brand labeled “cultured.” Cultured vegan butter is fermented with beneficial bacteria, similar to how yogurt is made, developing a more complex, deeper, and slightly tangy flavor profile that elevates the fudge from good to absolutely extraordinary. If cultured vegan butter isn’t available, any high-quality block-style vegan butter will perform admirably.
- Fine Salt: A pinch of salt is a secret weapon in nearly all sweet recipes! It doesn’t make the fudge salty, but rather enhances the perception of sweetness and balances the overall flavor, preventing it from being cloyingly sweet. Fine salt dissolves easily and distributes evenly throughout the mixture. If you’re using a different type of salt, such as coarse sea salt, remember to consult a conversion chart to ensure you’re using the correct measurement for optimal taste.
- Vanilla Extract: Vanilla is a flavor enhancer that adds warmth and depth to chocolate, creating a more rounded and sophisticated taste. Pure vanilla extract is always preferred for its superior flavor. Alternatively, you can use an equal amount of vanilla paste, which often contains vanilla bean specks for added visual appeal and an even more intense vanilla aroma.
Understanding Dairy-Free: Are Semi-Sweet Chocolate Chips Dairy-Free?
This is a crucial question for anyone needing or wanting to avoid dairy. While many dark and semi-sweet chocolate products *can* be dairy-free, it’s a common misconception that all of them are. The short answer is: **not all semi-sweet chocolate is dairy-free, so reading your labels is absolutely essential!**
Many traditional semi-sweet chocolate chips contain milk fat, milk powder, or other dairy derivatives to achieve a certain flavor or texture profile. Even if milk isn’t a primary ingredient, cross-contamination warnings like “may contain milk” are often present due to shared manufacturing facilities. For individuals with severe dairy allergies, these warnings are critical.
When selecting dairy-free chocolate chips, look for explicit labels such as “dairy-free,” “vegan,” or a certified allergen-free symbol. Brands like Enjoy Life and Everland Dark Chocolate Chips are widely recognized and often easier to find, making them reliable choices. They are specifically formulated to be free from common allergens, including dairy.
If these brands aren’t available, here’s what to look for on ingredient lists:
- Avoid: Milk, milk powder, whey, casein, lactose, milk fat, butter fat, skim milk powder, non-fat dry milk.
- Look for: Cocoa mass, cocoa butter (which is dairy-free, despite its name!), sugar, soy lecithin (as an emulsifier, though some prefer soy-free), vanilla.
Many high-quality dark chocolate bars (typically 70% cocoa or higher) are naturally dairy-free, often containing only cocoa solids, sugar, and an emulsifier. These can be an excellent alternative if you can’t find dairy-free chips. Simply chop them into small pieces to ensure even melting. For a more comprehensive guide to vegan chocolate chip brands, resources like Veg Out magazine often provide up-to-date lists.
Always remember that “vegan” implies no animal products at all, including dairy, while “dairy-free” only guarantees the absence of dairy. For this recipe, either designation works perfectly, as our focus is primarily on avoiding milk products.
How To Make Irresistible Dairy-Free Fudge
This delightfully simple oat or coconut milk fudge recipe comes together with minimal fuss, requiring just about 10 minutes of active prep time. Follow these straightforward steps to create a decadent, creamy treat that everyone will love.
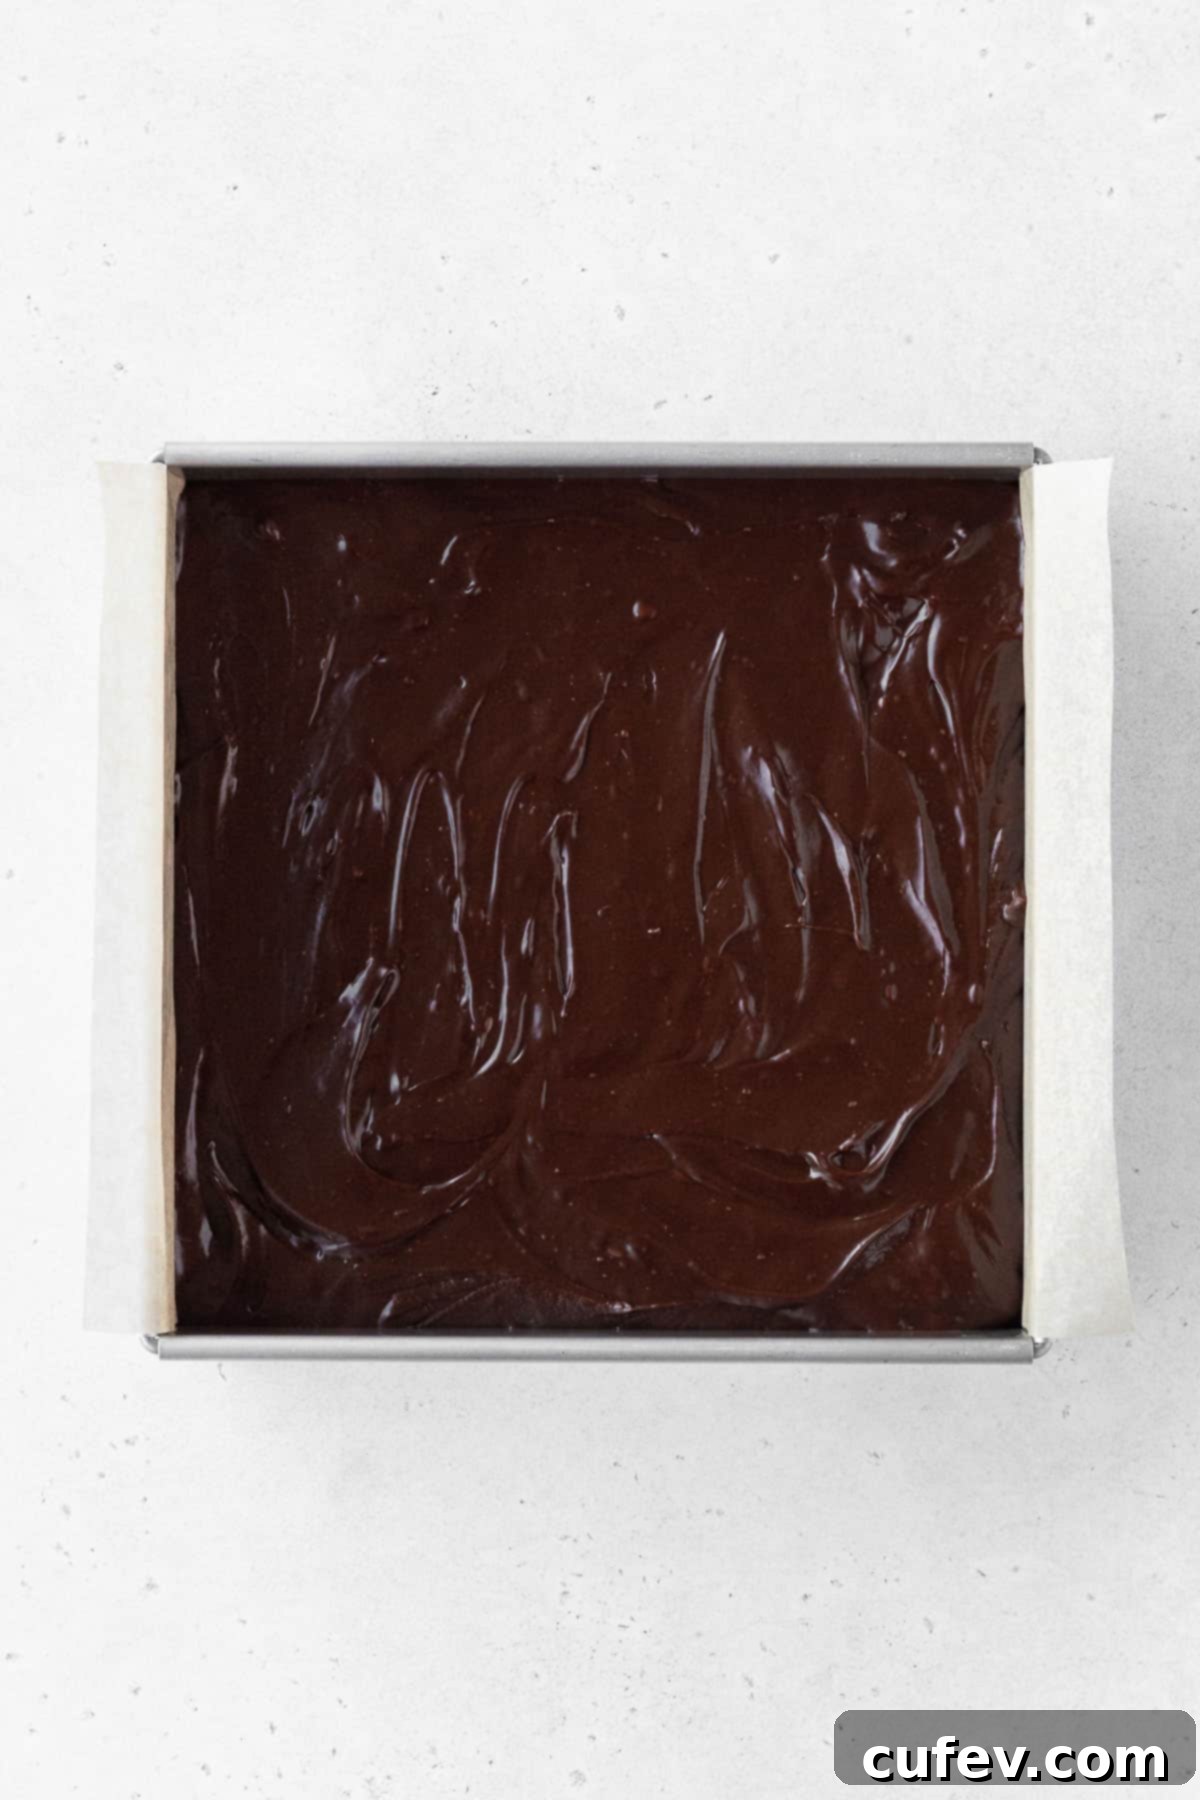
Step 1: Prepare Your Pan. Begin by lightly greasing an 8-inch or 9-inch square baking pan. This small step helps prevent any sticking. Next, line the pan with parchment paper, making sure to leave enough excess parchment paper hanging over the sides. These “handles” will be your best friend when it comes time to lift the set fudge out of the pan cleanly and easily. Ensure all four sides of the pan are covered, creating a perfect sling for removal.
Step 2: Melt to Perfection. Set up a double boiler: fill a pot with about an inch or two of water and bring it to a gentle simmer. Place a heatproof bowl (glass or metal) over the pot, ensuring the bottom of the bowl does not touch the simmering water. In this bowl, combine your canned vegan sweetened condensed milk, dairy-free semi-sweet chocolate chips, vegan butter, fine salt, and vanilla extract. The gentle, indirect heat of the double boiler is crucial here; it prevents the chocolate from burning or seizing, ensuring a smooth, glossy mixture. Stir the ingredients continuously with a spatula or whisk. Be patient; the chocolate chips will gradually melt, and the mixture will transform into a beautifully smooth, cohesive, and richly chocolatey fudge base. Continue stirring until there are no lumps and the mixture is perfectly uniform.
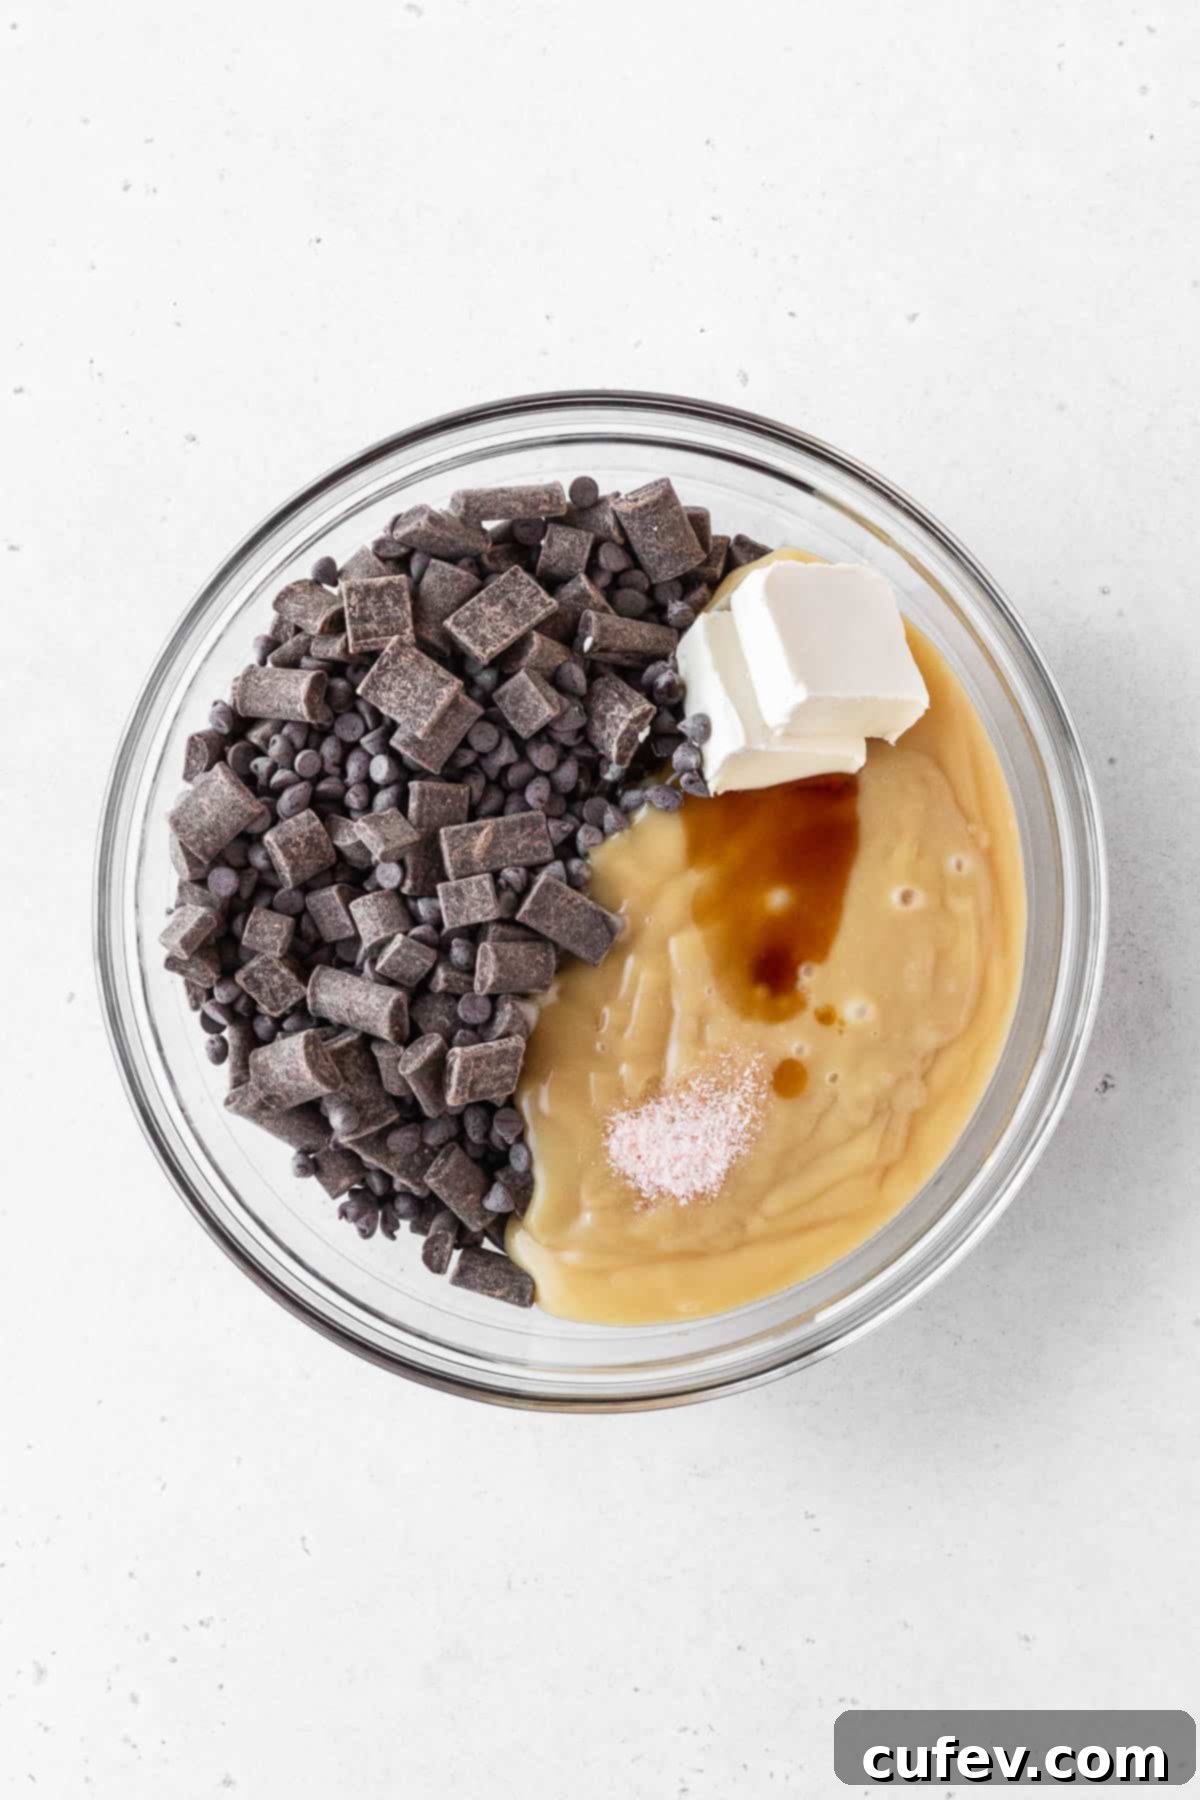
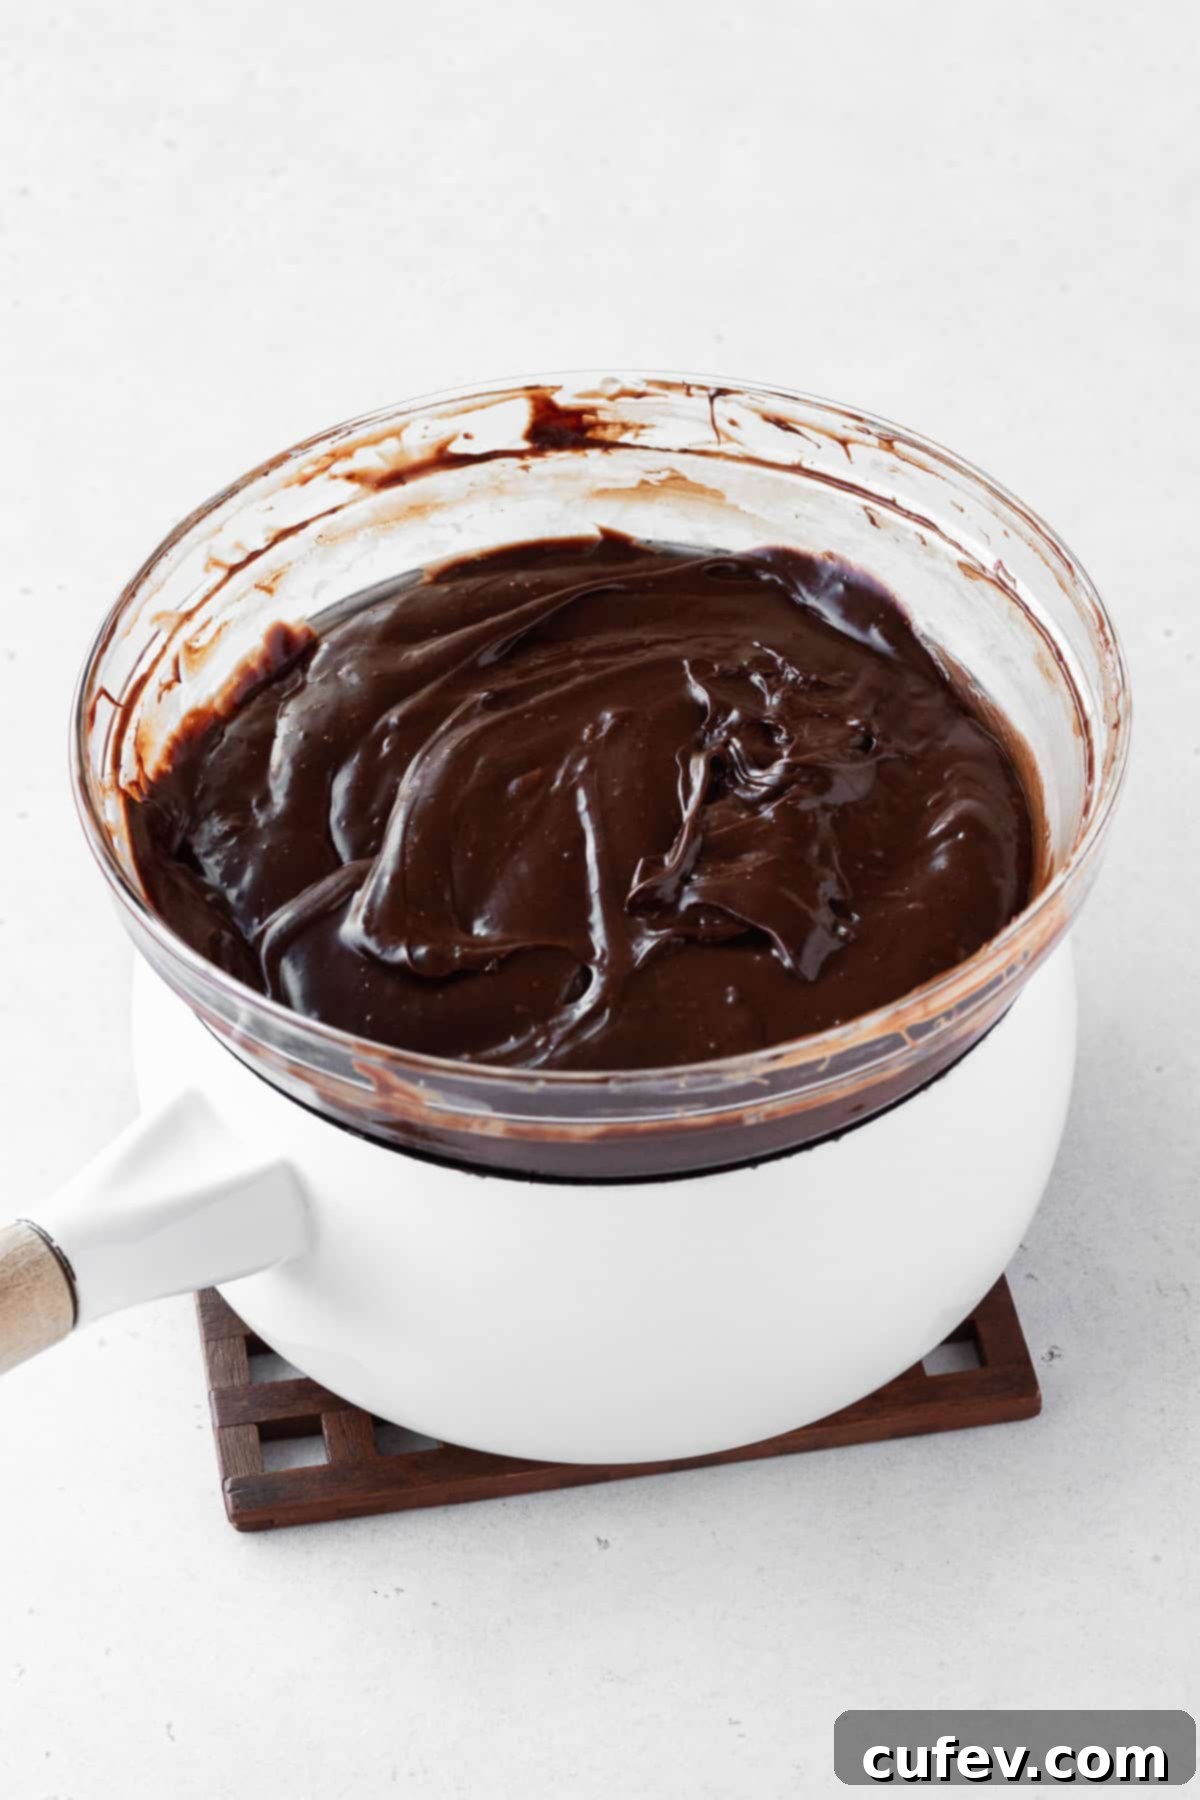
Step 3: Chill Until Set. Once the mixture is perfectly smooth, carefully pour it into your prepared pan. Use a spatula to spread the fudge evenly into all corners, ensuring a flat and uniform surface. Now, comes the hardest part: patience! Transfer the pan to the refrigerator and allow it to chill thoroughly until the fudge is completely set and firm. This typically takes a minimum of 2-4 hours, but chilling overnight is often best for the firmest, easiest-to-cut results. Don’t rush this step, as proper chilling is key to achieving that classic fudge texture.
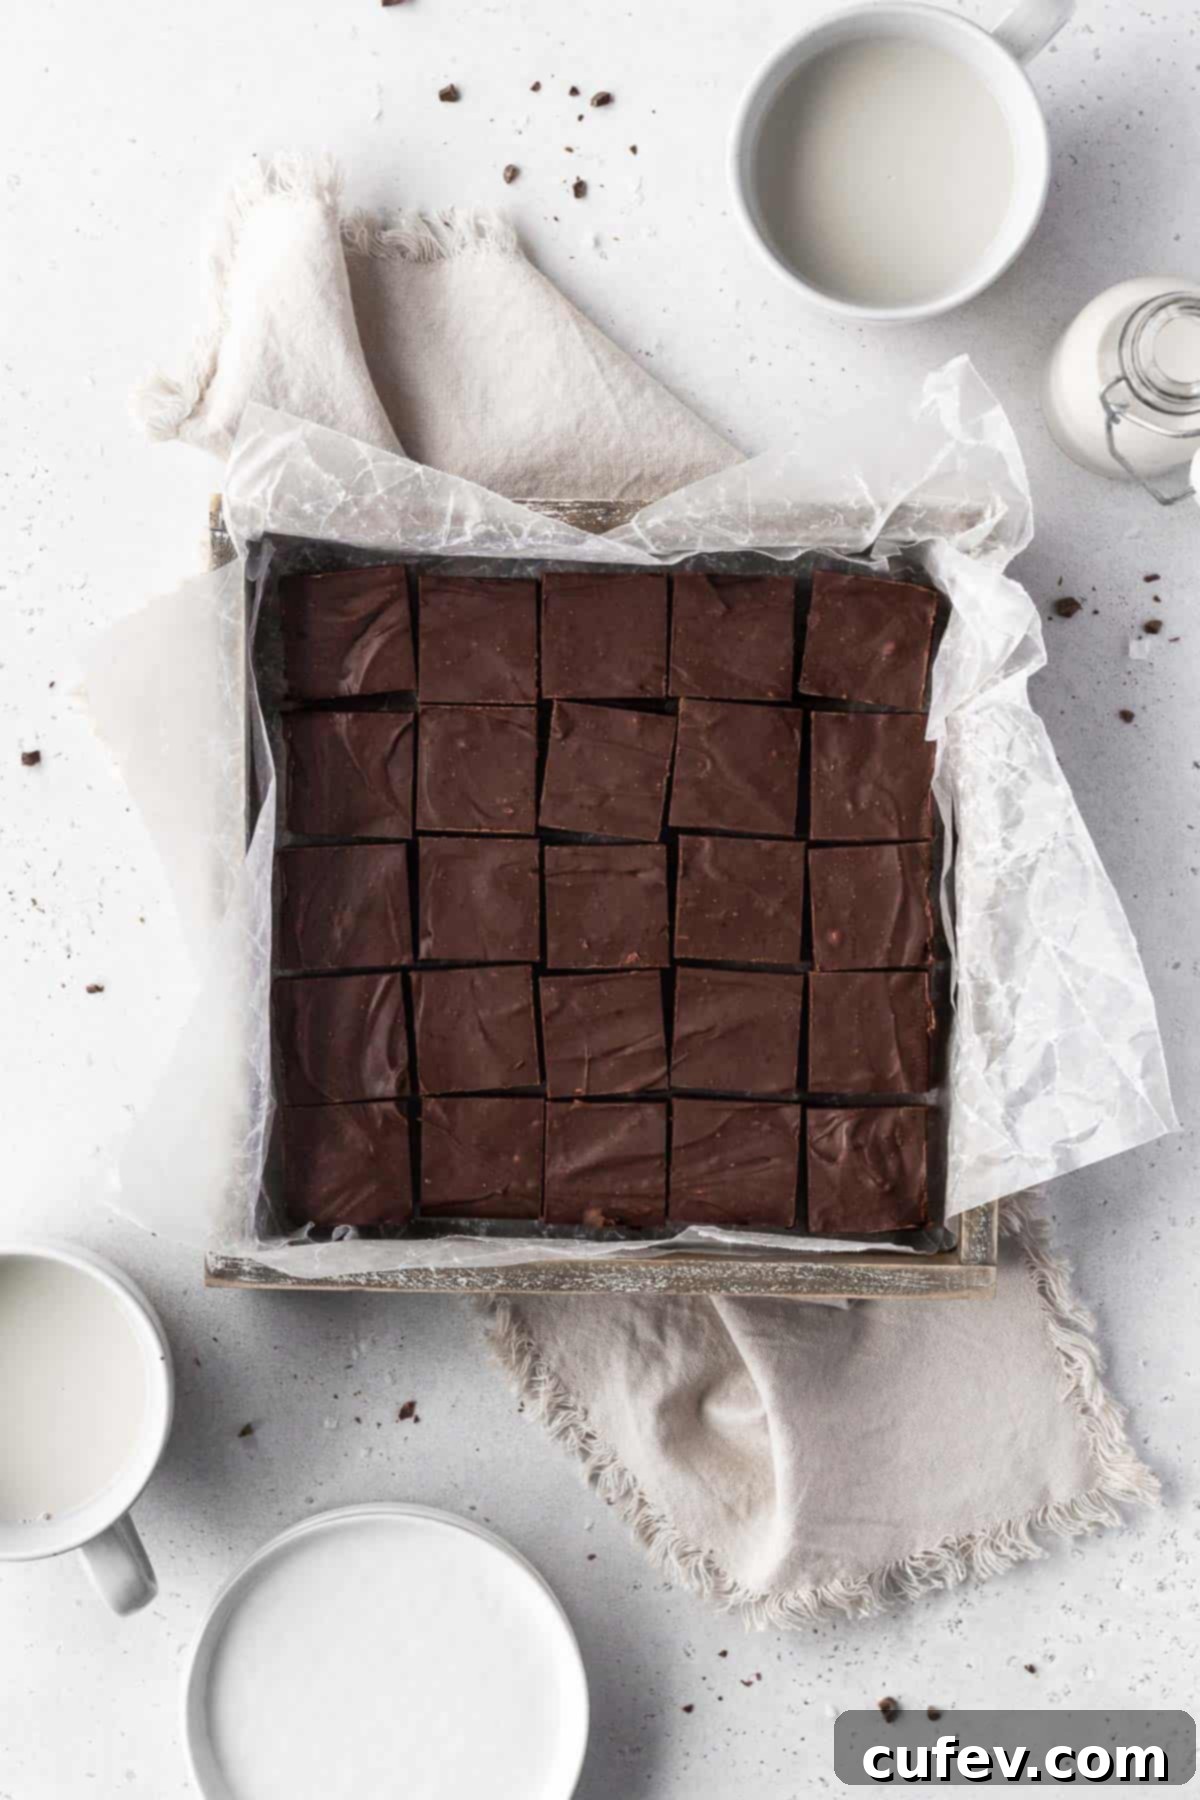
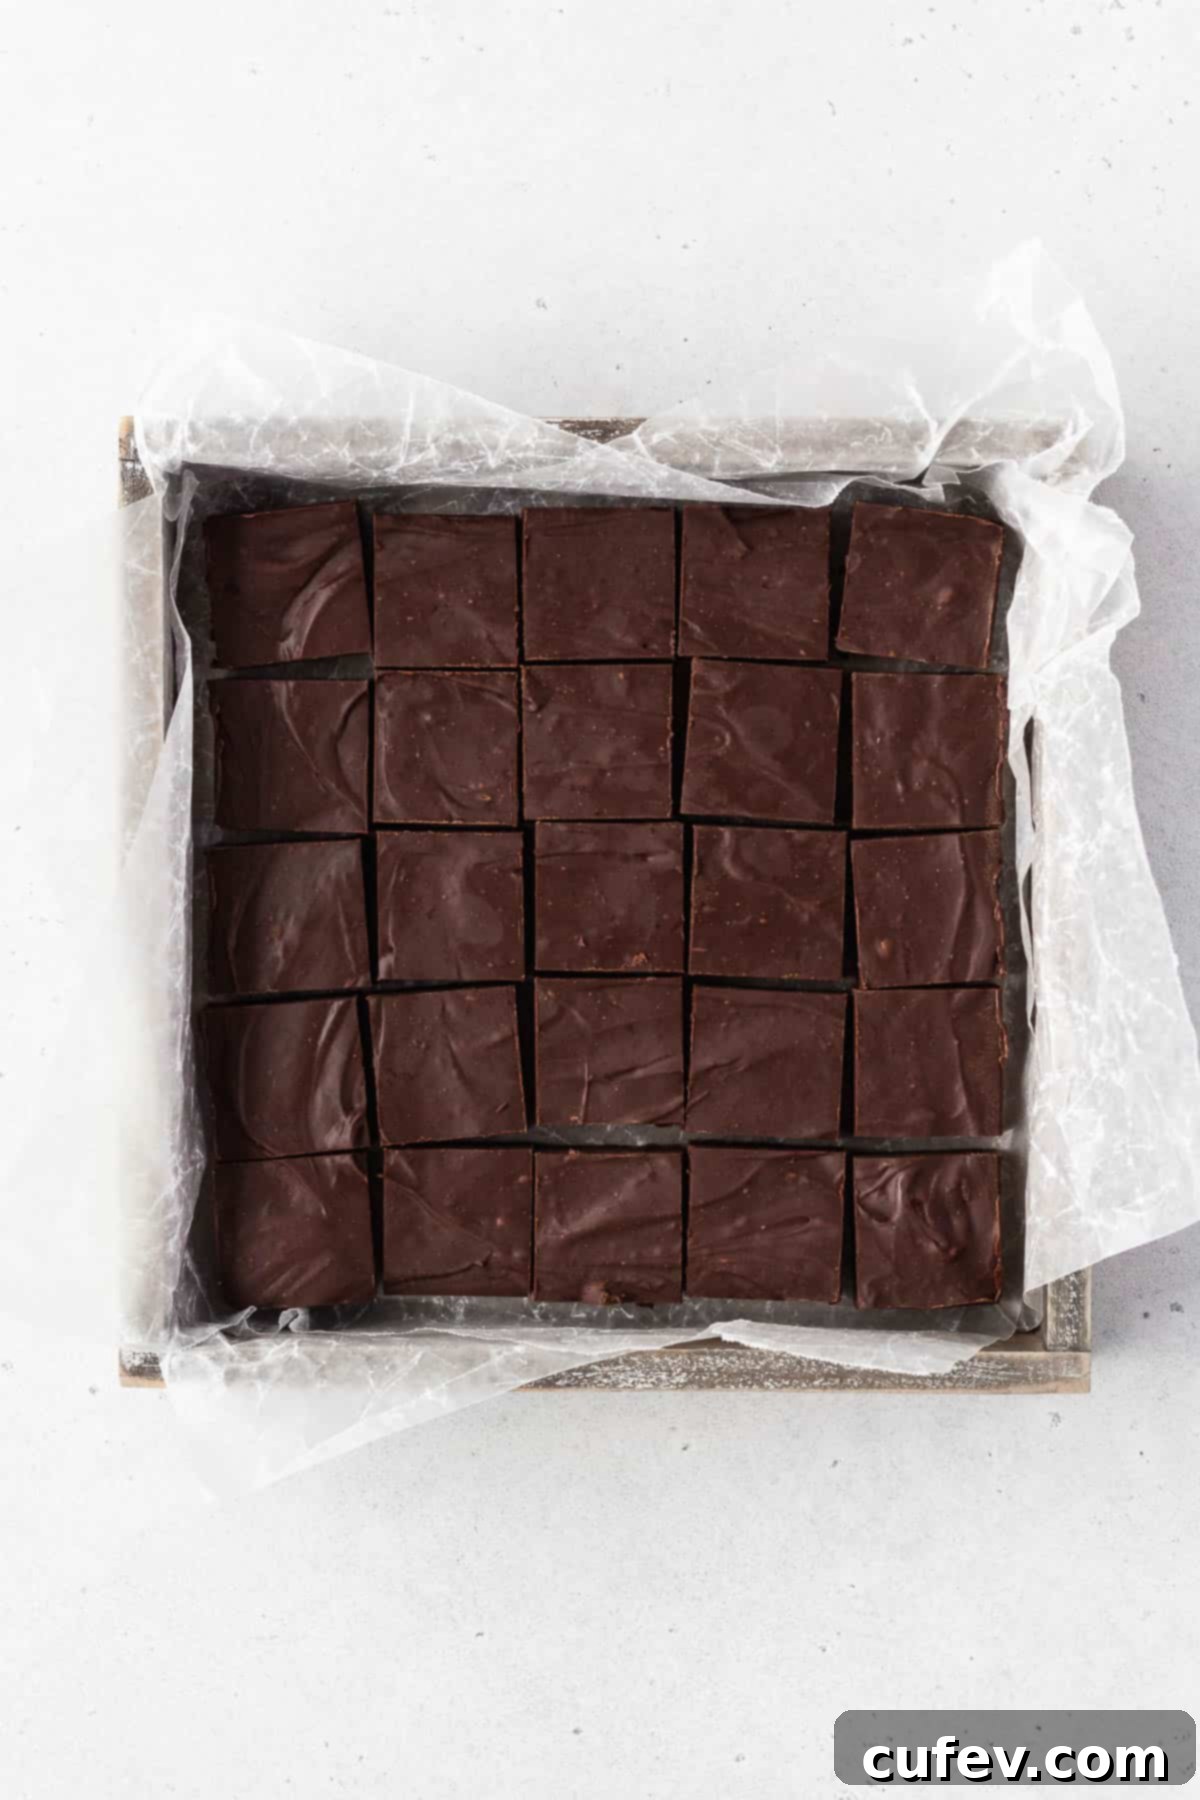
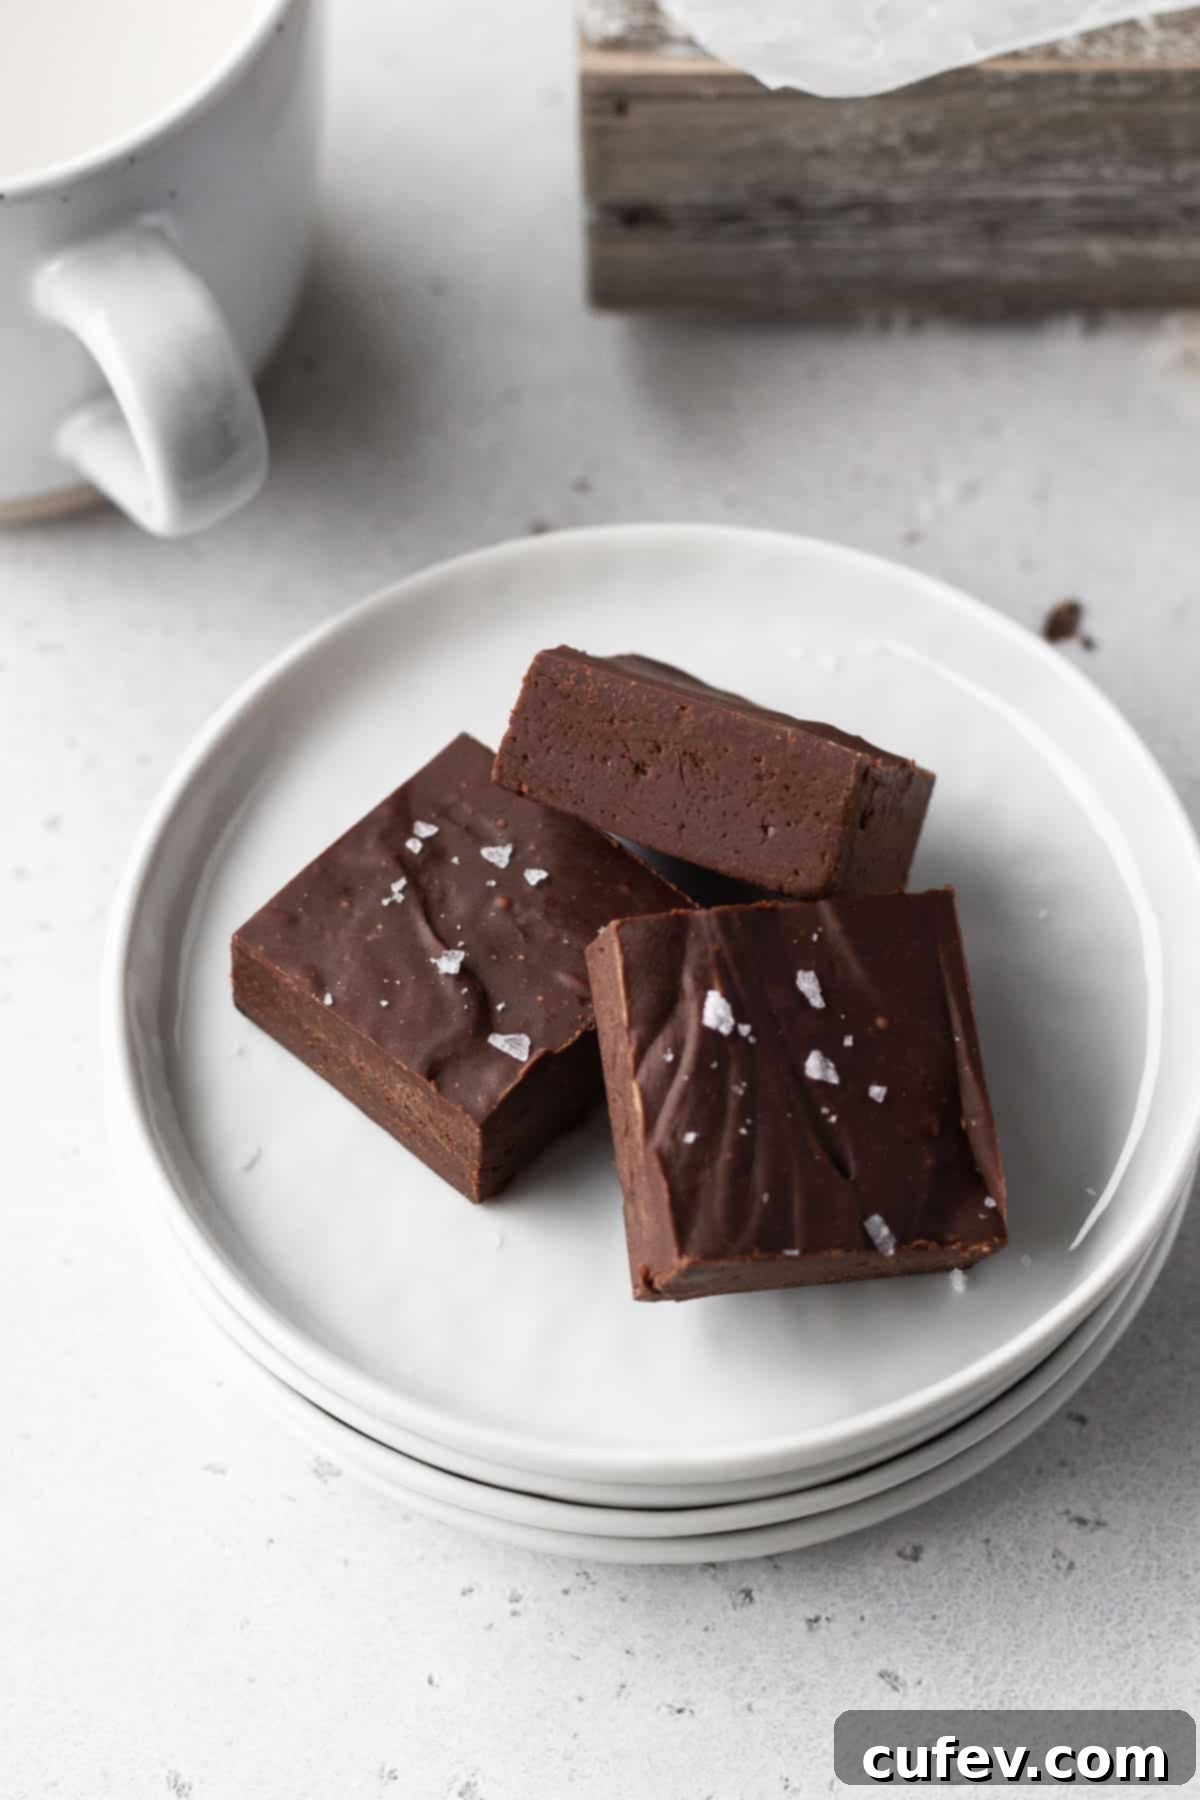
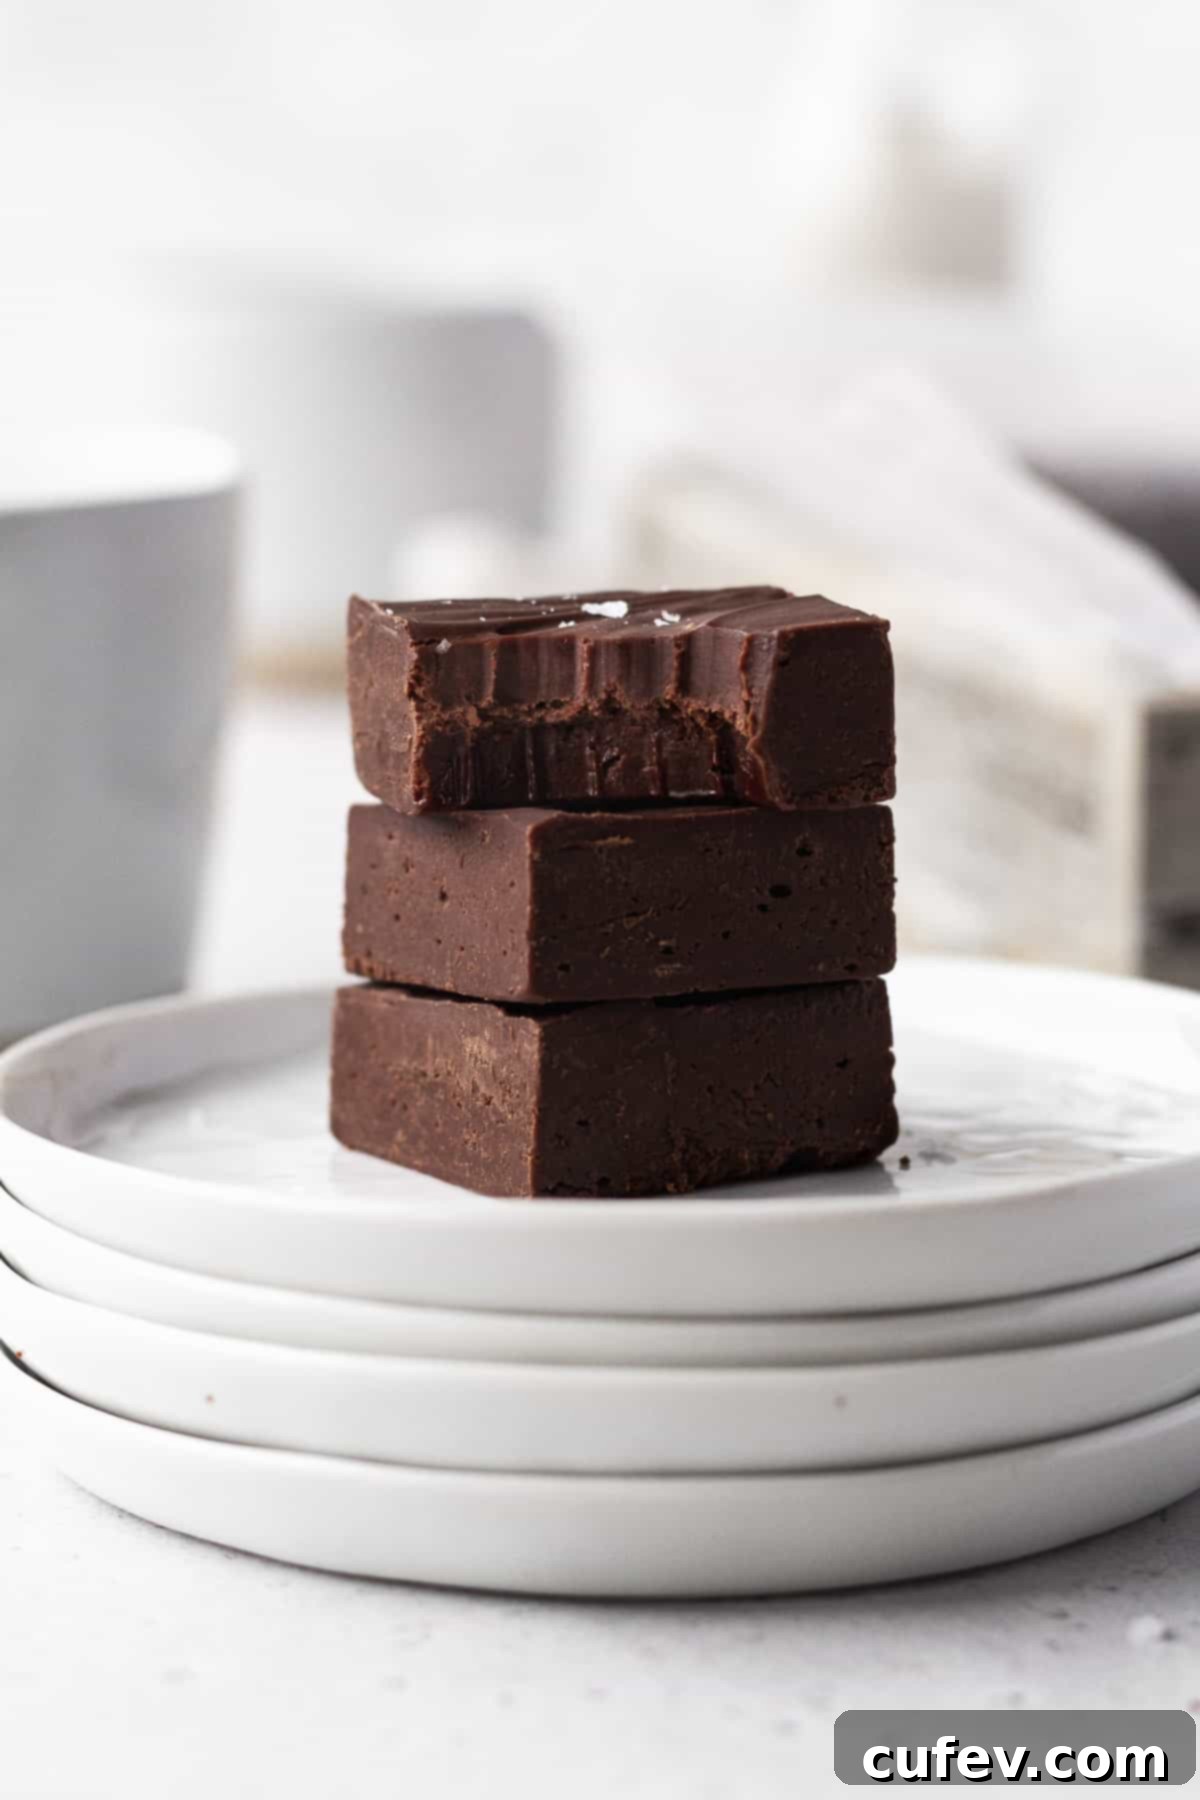
Step 4: Cut and Serve. Once the dairy-free fudge is thoroughly chilled and firm, use the parchment paper overhang to carefully lift the entire block of fudge out of the pan. Place it on a clean cutting board. For clean, neat squares, a warm knife works wonders (see expert tips below). Slice the fudge into your desired size and shape. Now it’s ready to be devoured! Arrange it on a platter, share it as gifts, or enjoy it piece by piece. The sweet reward of your minimal effort awaits.
Expert Tips for Perfect Dairy-Free Fudge Every Time
While this vegan fudge recipe is incredibly simple, these expert tips will help you achieve flawless results and truly elevate your homemade treat:
- Embrace the Parchment Paper Overhang: Do not underestimate the power of parchment paper. Ensure you have all four sides of your pan covered, leaving a generous overhang on each side. This creates a natural “sling” that allows you to effortlessly lift the entire block of set fudge out of the pan in one perfect piece. This completely eliminates sticking and makes cleanup a breeze.
- Taming Unruly Parchment Paper: If your parchment paper seems to have a mind of its own, constantly rolling back up, here’s a clever trick: crumple it up into a tight ball, then carefully flatten it back out. The added crinkles will make it more pliable and prevent it from coiling back on itself. For extra security, you can use small binder clips on the edges of the pan to hold the parchment in place while you pour in the warm fudge mixture.
- Patience is Key for Chill Time: We know the anticipation is real, but chill time is absolutely vital for your fudge to set up properly and achieve that perfect, firm, yet creamy texture. Don’t rush it! A minimum of 2-4 hours in the refrigerator is required, but for the best, cleanest cuts and ideal consistency, chilling overnight is highly recommended. Properly chilled fudge is not only easier to slice but also holds its shape beautifully.
- The Hot Knife Secret for Clean Cuts: For professional-looking, super clean edges on your fudge squares, try this simple technique: run a sharp knife under hot water for about 30 seconds, then quickly wipe it dry with a clean kitchen towel. The warmth from the blade will glide through the fudge without dragging or sticking, creating beautifully crisp lines. Reheat and wipe the knife after every few cuts for optimal results.
- Ensure Gentle Melting: Whether you’re using a double boiler or a microwave, melting your ingredients gently is crucial. Overheating chocolate can cause it to seize (become thick and grainy) or burn, which will ruin the texture and flavor of your fudge. Low and slow is the way to go, with constant stirring.
- Customize with Toppings: While delicious on its own, consider adding a sprinkle of flaky sea salt on top before chilling for a delightful sweet and salty contrast. Chopped nuts, sprinkles, or a drizzle of melted dairy-free white chocolate can also elevate your fudge.
Storage & Freezing Instructions
Proper storage is essential to keep your dairy-free fudge fresh and delicious for as long as possible:
- Refrigeration: Once cut into squares, store your dairy-free fudge in an airtight container in the refrigerator. This will maintain its firm texture and prevent it from absorbing any odors from other foods. It will stay wonderfully fresh and enjoyable for up to 1 week.
- Freezing for Longer Enjoyment: For extended storage, dairy-free fudge freezes beautifully. Arrange individual pieces of fudge in a single layer on a parchment-lined baking sheet and freeze until firm (about 1-2 hours). Once firm, transfer the pieces to a freezer-safe airtight container or a heavy-duty freezer bag, separating layers with parchment paper to prevent sticking. Properly stored, it can be kept in the freezer for up to 3 months.
- Thawing: To enjoy frozen fudge, simply remove the desired amount from the freezer and defrost it overnight in the refrigerator. You can also let it sit at room temperature for about 30 minutes to an hour for a slightly softer, chewier texture.
Frequently Asked Questions About Dairy-Free Fudge
Oh boy, does it ever! Traditional fudge recipes are typically loaded with dairy products like butter, milk, and sometimes even cream. The fudge of my youth was basically all butter and sugar! That’s why this dairy-free version is such a game-changer. It delivers all the rich, chocolatey, melt-in-your-mouth deliciousness you expect from classic fudge, but without any milk ingredients. It’s perfect for those with dairy sensitivities, allergies, or who simply prefer a plant-based diet, proving you don’t have to sacrifice flavor for dietary needs.
No, marshmallows themselves are inherently dairy-free. They typically consist of sugar, corn syrup, water, and gelatin. However, marshmallows usually contain either gelatin (derived from animal collagen) or egg whites, or both, which means most conventional marshmallows are **not** vegan. If you are looking to keep your fudge entirely vegan, you’ll need to seek out specialty vegan marshmallows, which are typically made with plant-based gelling agents like carrageenan or agar-agar instead of gelatin. If being completely vegan isn’t a concern for you, but dairy-free is, feel free to add chopped or mini marshmallows and chopped toasted nuts to make a delicious dairy-free rocky road fudge!
Yes, you can certainly find dairy-free fudge in specialty stores, health food markets, and sometimes even online. However, it can often be quite expensive, and the variety might be limited. The best part about this easy recipe is that you can make incredibly delicious, fresh, and customizable dairy-free fudge at home with common ingredients, nearly as easily as buying it! Plus, making it yourself gives you complete control over the quality of ingredients and allows you to experiment with flavors and toppings.
Absolutely! While a double boiler offers the most controlled melting environment, you can use a microwave for this dairy-free fudge. Combine all ingredients (except vanilla, add that at the end) in a microwave-safe bowl. Heat in 30-second intervals on 50% power, stirring well after each interval, until the mixture is smooth and fully melted. Be careful not to overheat, as chocolate can scorch quickly in the microwave. Once melted and smooth, stir in the vanilla extract.
This basic dairy-free fudge recipe is a fantastic canvas for various flavors! Get creative by stirring in:
- Extracts: Peppermint extract for mint chocolate fudge, almond extract for a nutty flavor, or orange extract for a citrusy twist.
- Nuts: Chopped walnuts, pecans, almonds, or peanuts stirred in or sprinkled on top.
- Dried Fruit: Dried cranberries or cherries offer a lovely tart contrast.
- Spices: A pinch of cayenne pepper for a subtle spicy kick, or cinnamon for a warm, comforting note.
- Coffee: A teaspoon of instant espresso powder can intensify the chocolate flavor without making it taste like coffee.
- Citrus Zest: Orange or lemon zest adds a bright, fresh aroma.
Add these variations after the chocolate mixture has melted and is smooth, just before pouring into the pan.
More Delightful Holiday Desserts to Enjoy
If you loved this dairy-free fudge, you’ll surely enjoy exploring other festive and inclusive dessert recipes from our kitchen. Perfect for any gathering, these treats are designed to be both delicious and accommodating to various dietary needs:
- These gluten-free Christmas cookies are soft, chewy, and incredibly easy to make, ensuring everyone can enjoy the holiday baking tradition.
- If you adore the warm spice of gingersnaps, you must try these chewy gluten-free ginger cookies with maple glaze – a perfect blend of sweetness and spice.
- My gluten-free chocolate chip cookies are hands down my favorite cookies of all time. They’re soft and chewy with crisp edges – truly the perfect cookie texture you’ve been searching for!
- These vegan coconut macaroons are unbelievably easy to make, requiring only 2 simple ingredients for a tropical, chewy treat.
- Gluten-free thumbprint cookies are a must-have on my holiday cookie platter. I love filling them with my favorite berry jam or some leftover cranberry sauce for a burst of fruity flavor.
Dairy-Free Fudge
Print
Pin
Rate
Ingredients
- 11.25 oz vegan sweetened condensed milk
- 18 oz dairy-free semi-sweet chocolate chips
- 2 tablespoons vegan butter
- ¼ teaspoon fine salt
- 1 teaspoon vanilla extract
Instructions
-
Lightly grease an 8-inch or 9-inch square pan and line it with parchment paper, allowing the excess parchment paper to hang over the sides. Make sure to have all four sides covered with parchment paper.
-
In a double boiler or a heatproof bowl over a pot of simmering water, combine the condensed milk, chocolate chips, vegan butter, salt, and vanilla extract. Stir until all the chocolate chips have melted and the mixture is smooth.
-
Pour the mixture into the prepared pan. Spread with a spatula and chill in the fridge until ready to serve.
-
Once chilled, use the parchment paper to lift the fudge out of the pan and slice it into squares.
Notes
- Make sure to have all four sides covered with parchment paper, and leave enough for an overhang. This will help you get the fudge out easily and in one piece!
- If your parchment paper isn’t behaving, crumple it up into a little ball, then flatten it back out. The extra crinkles will keep it from rolling back up on itself. Also, you can always use binder clips to keep it out of the way while you’re pouring the fudge in.
- Chill time is important, not just for mental health but also for the fudge to set up.
- Heat your knife by running it under hot water and wiping it dry to help get super clean edges.
Nutrition
