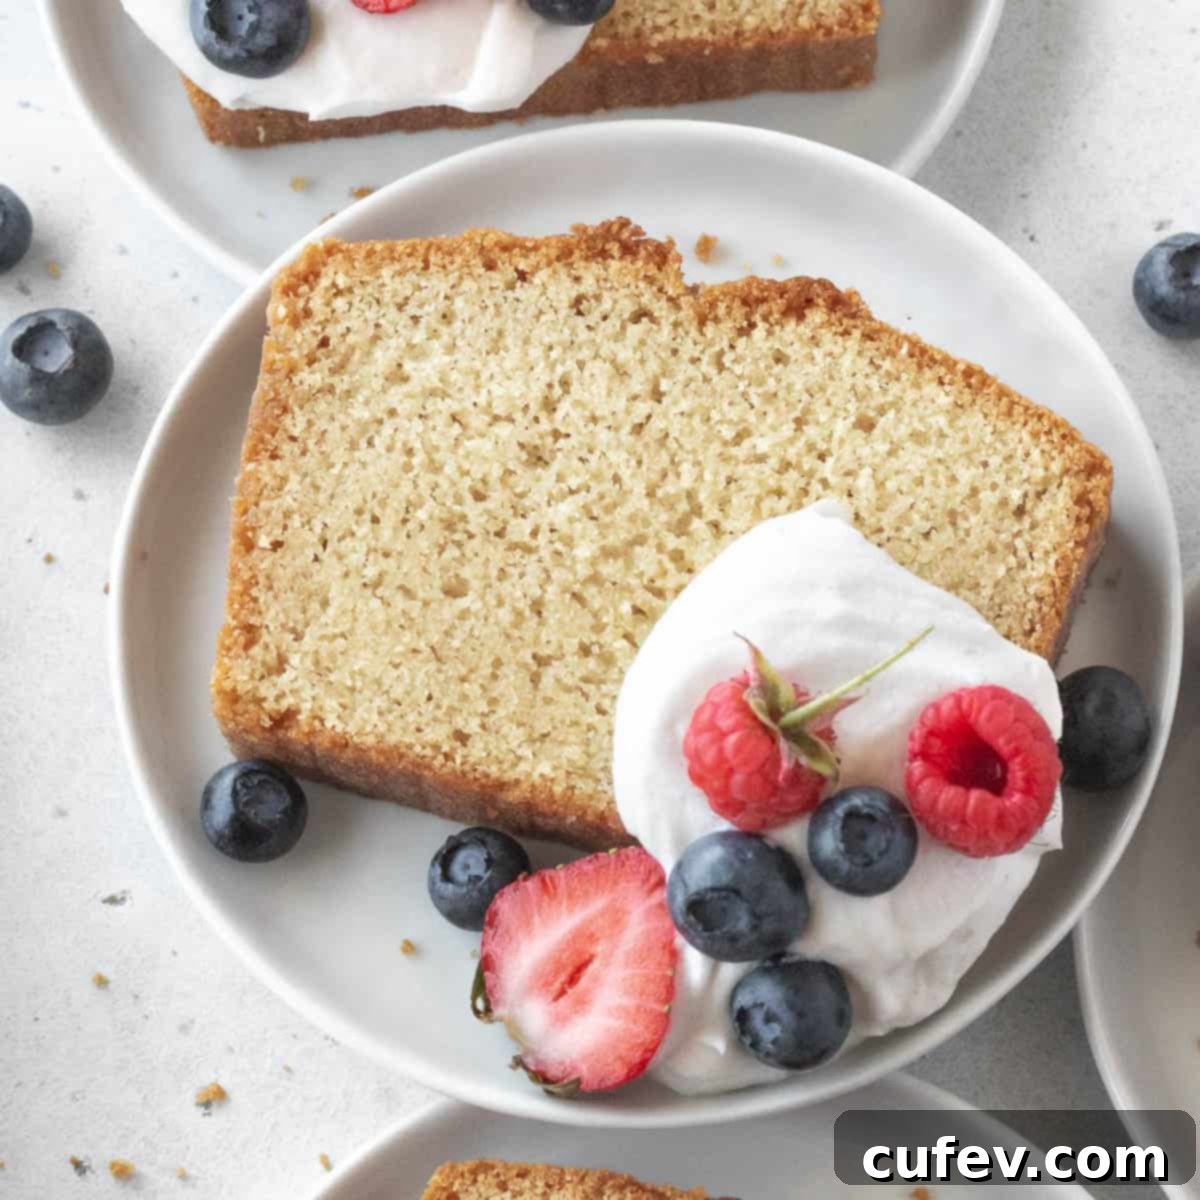
The Ultimate Guide to Baking a Perfectly Moist Gluten-Free Pound Cake
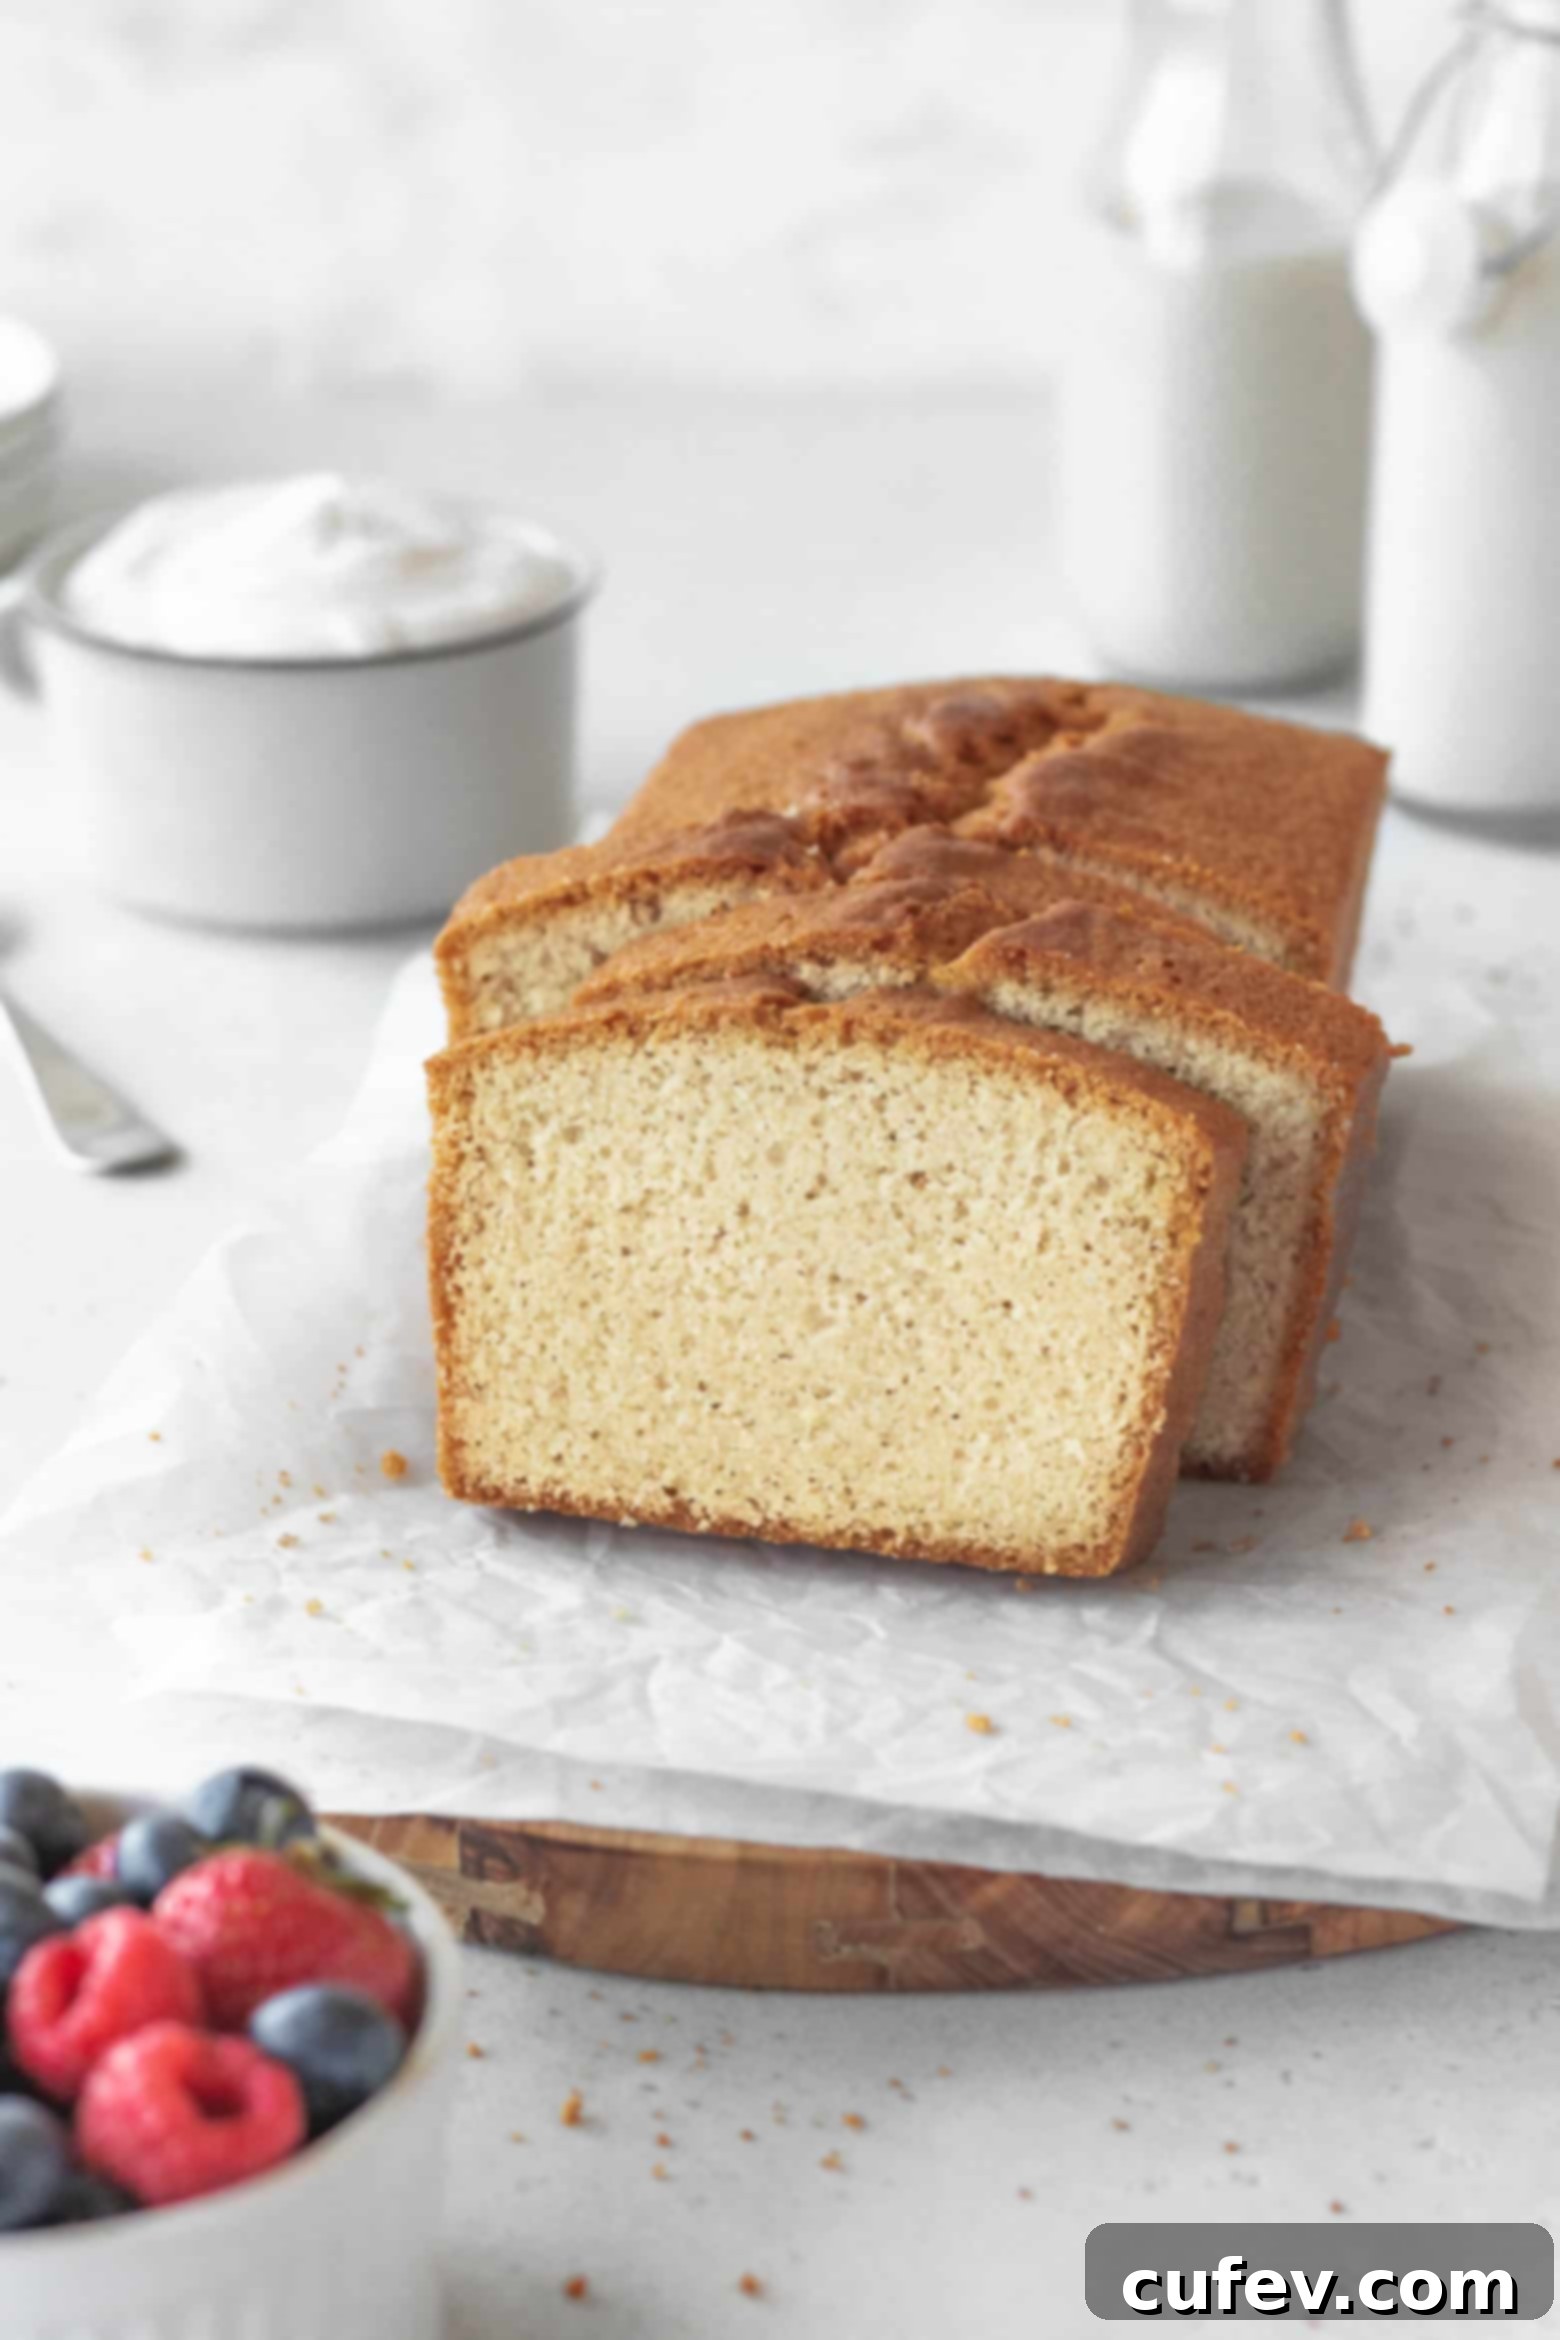
Discover the secret to a rich, buttery, and incredibly moist gluten-free pound cake that rivals any classic recipe. This delightful dessert is dense yet tender, featuring a crumb so perfect you’ll forget it’s gluten-free. Ideal for any occasion, serve it simply with a dollop of fresh whipped cream (or dairy-free coconut whipped cream) and a handful of vibrant berries for an unforgettable treat. Whether you’re navigating a gluten-free diet or simply looking for an exquisite cake, this recipe promises a sublime baking experience and a truly delicious outcome.
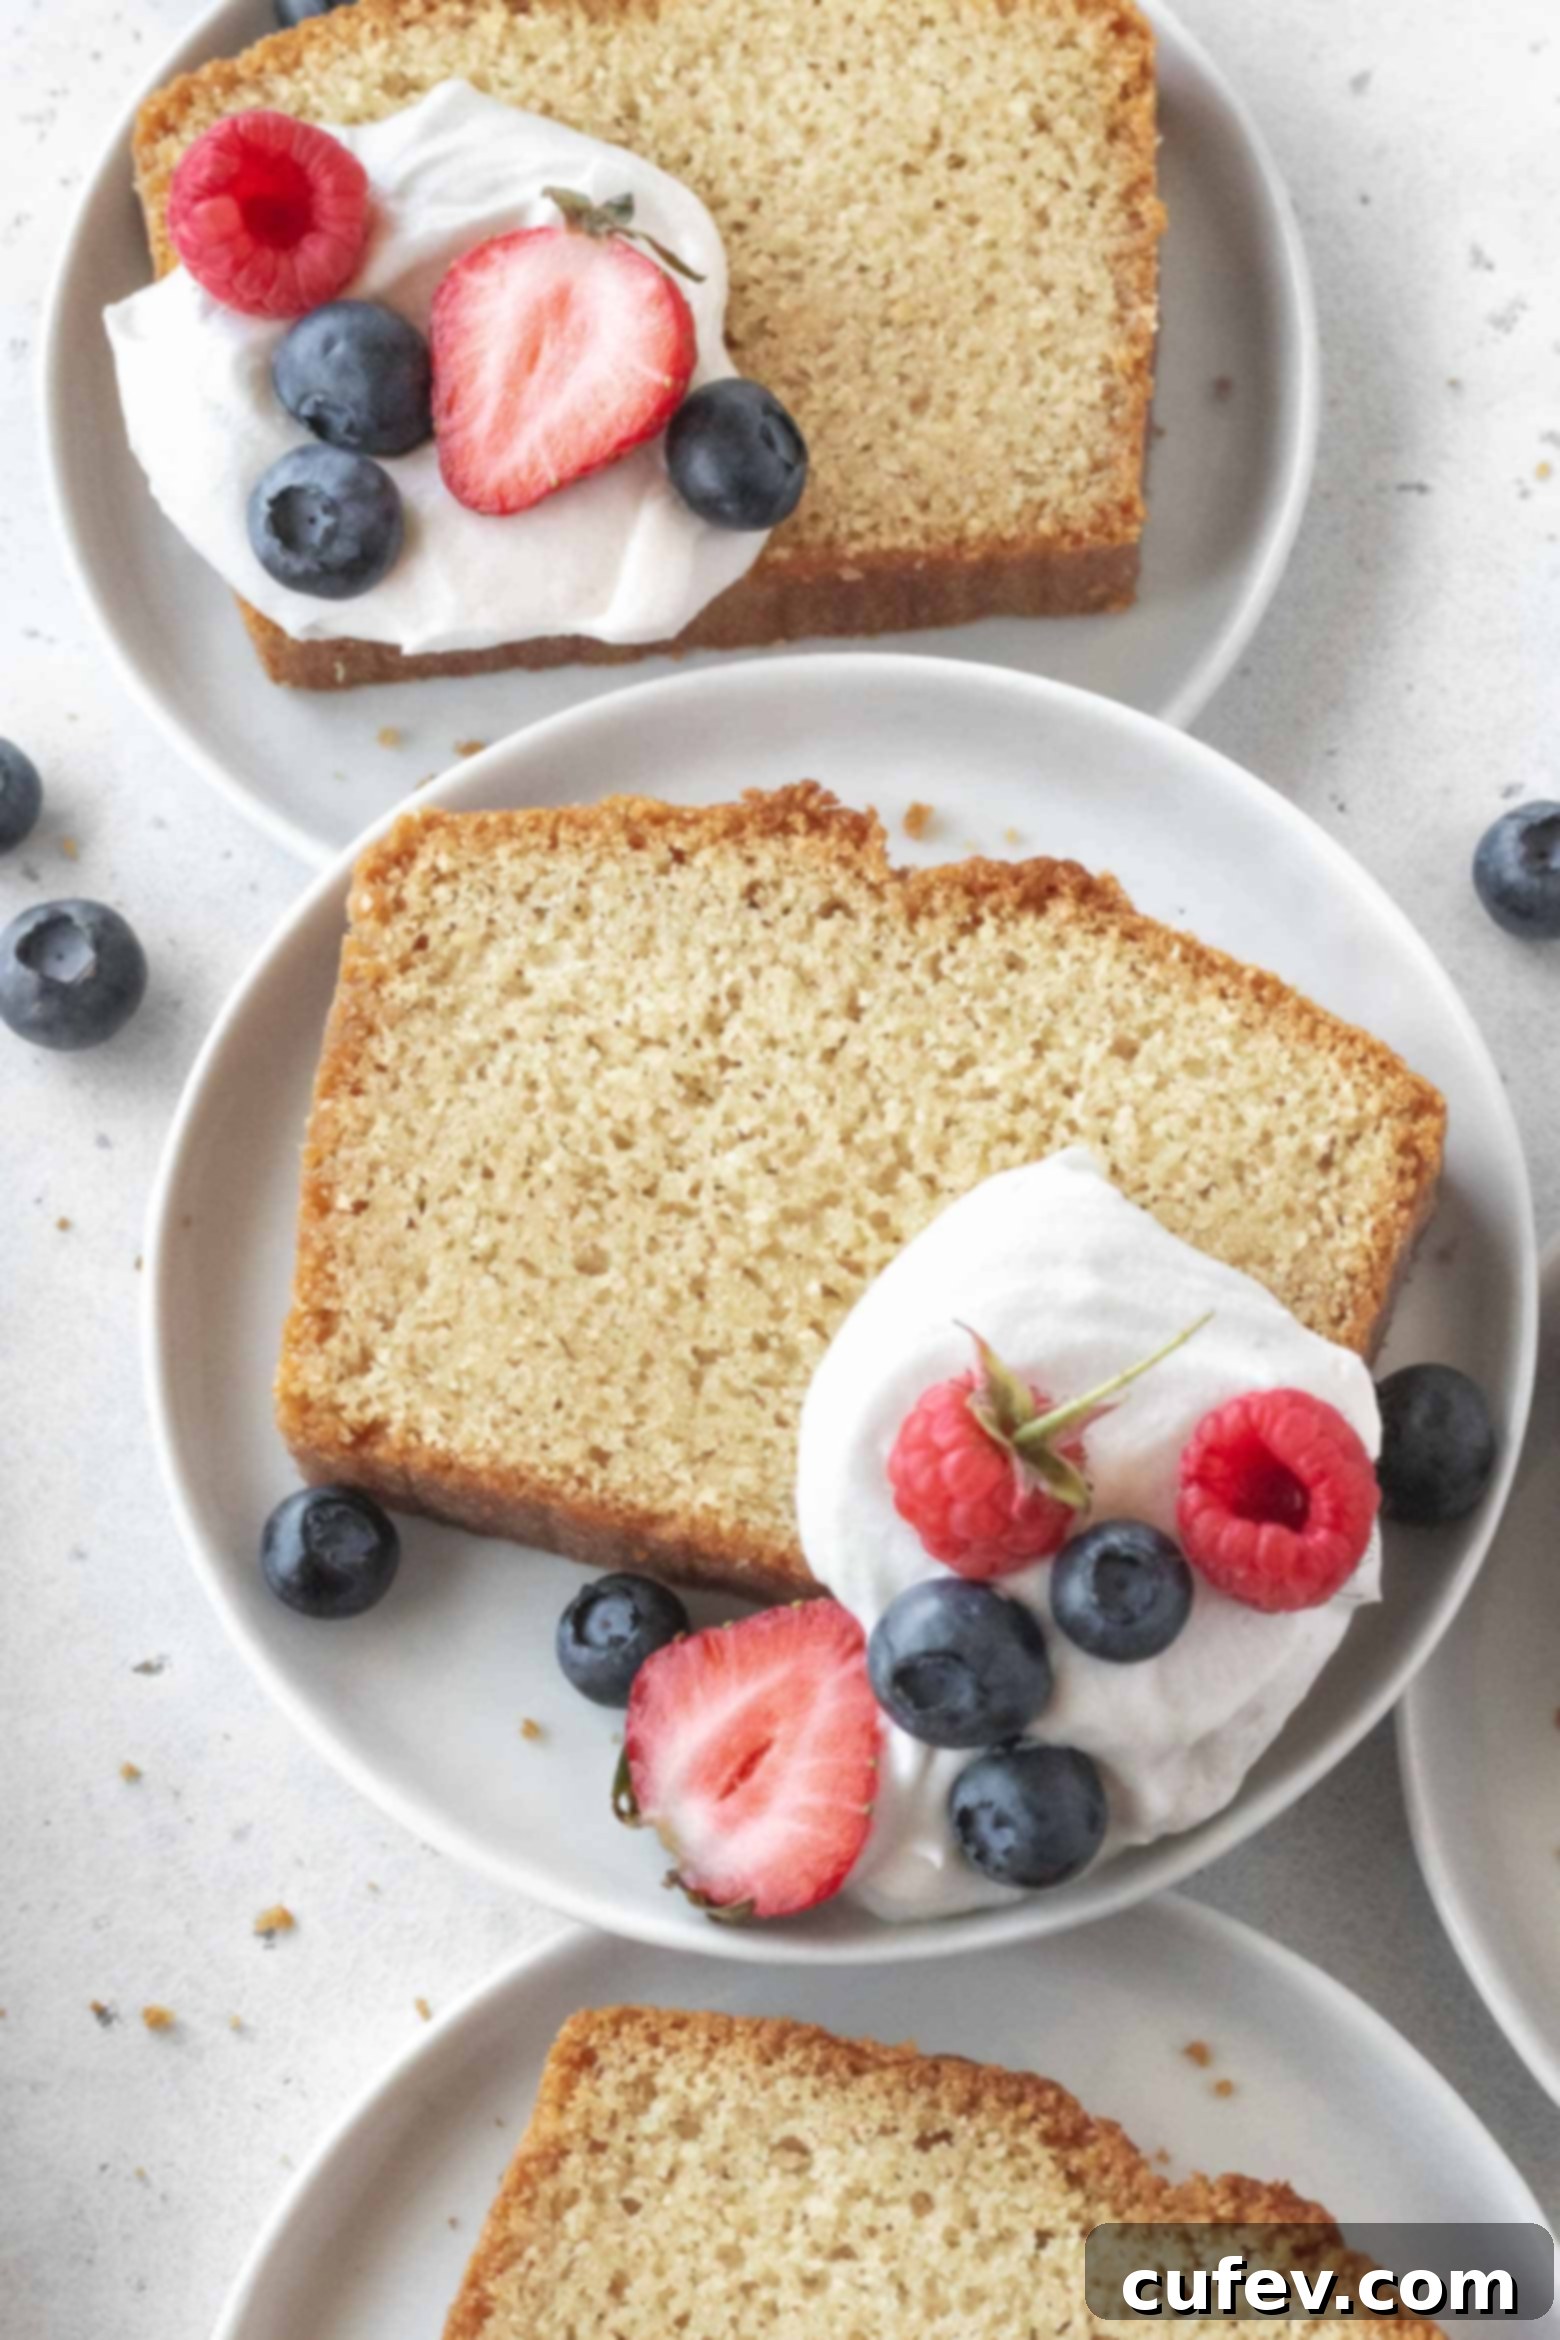
Why This Gluten-Free Pound Cake Stands Out
Creating a truly exceptional gluten-free pound cake can be a challenge. Often, gluten-free baked goods can be dry, crumbly, or lack the traditional texture and flavor of their gluten-containing counterparts. This recipe, however, is meticulously crafted to deliver a pound cake that not only meets but exceeds expectations. It achieves that signature dense, buttery richness while remaining incredibly moist, thanks to a thoughtful blend of gluten-free flours and strategic baking techniques. The result is a cake that holds its shape beautifully, slices cleanly, and offers a luxurious mouthfeel, making it a perfect dessert for any gathering or a delightful indulgence for yourself. We’ve optimized every step to ensure your gluten-free baking journey is successful and delicious.
Essential Gluten-Free Pound Cake Ingredients
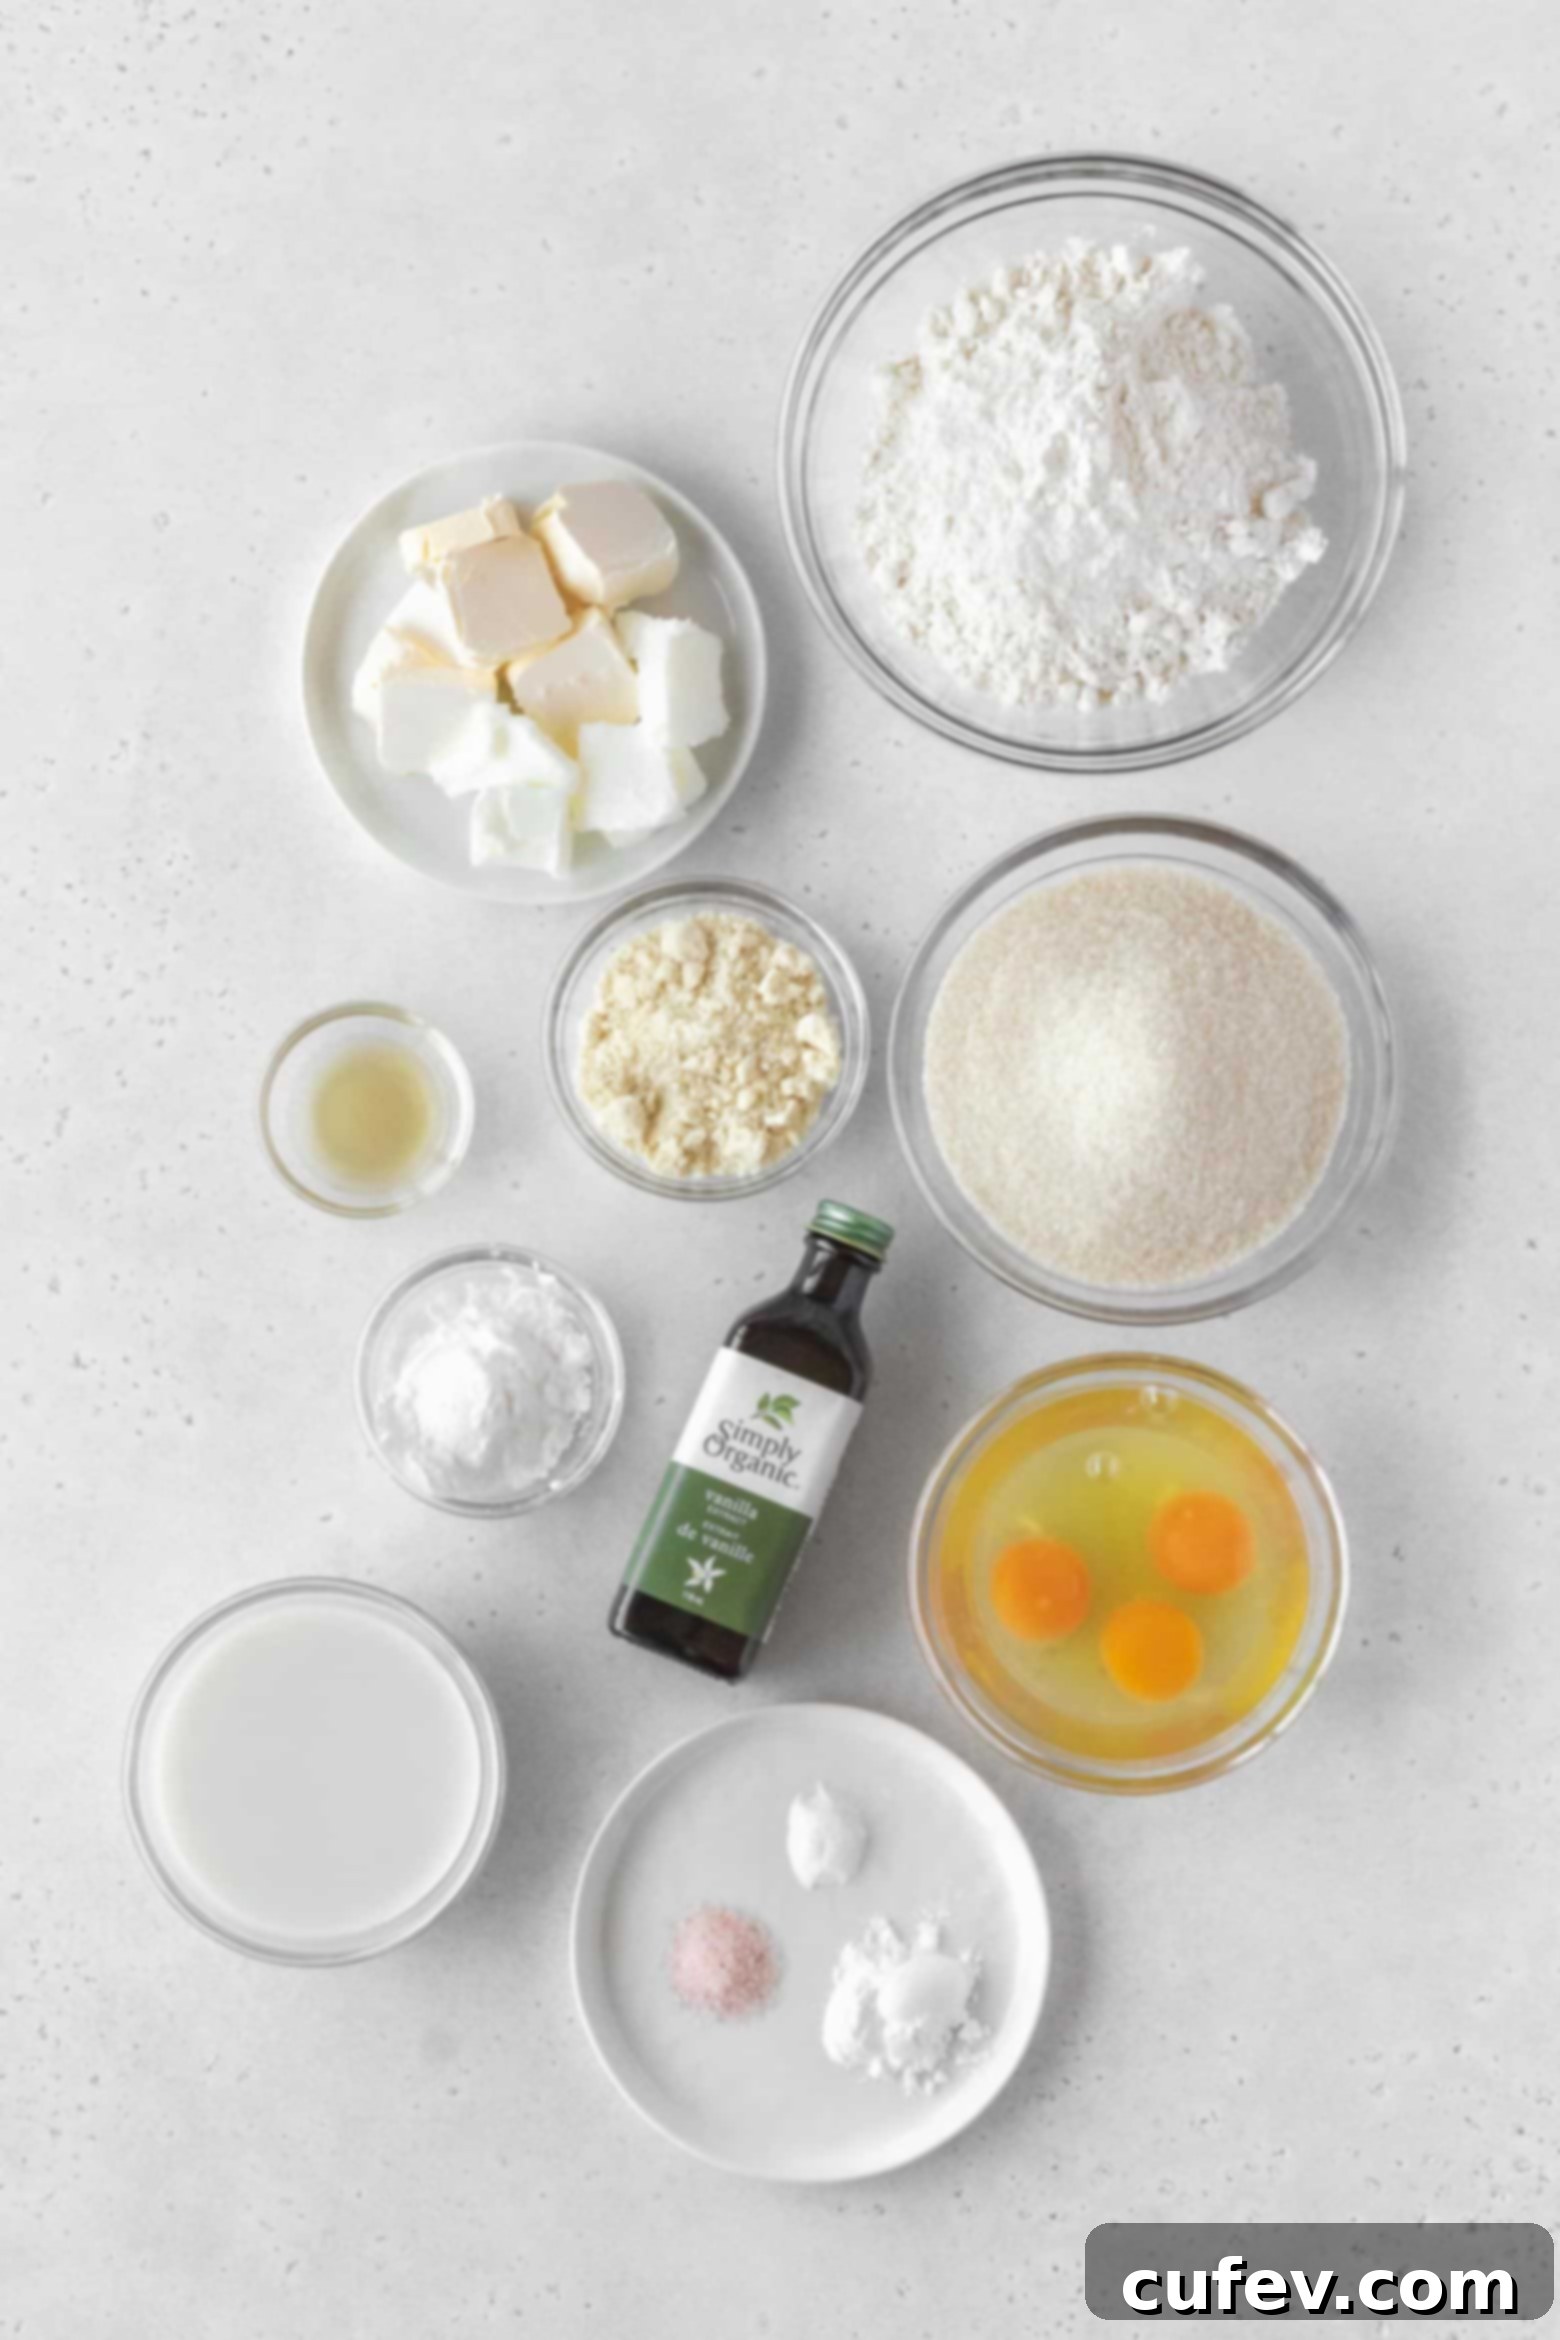
Crafting the perfect gluten-free pound cake begins with understanding the role of each ingredient. The combination below is carefully chosen to mimic the structure and moisture traditionally provided by wheat flour and other classic components, ensuring a dense, buttery, and incredibly moist cake that will impress even the most discerning palates.
- Gluten-free measure for measure flour blend. This is the foundation of our cake. I highly recommend using a high-quality “1-to-1” or “measure-for-measure” blend specifically designed for baking. Brands like Bob’s Red Mill’s 1-to-1 baking flour are excellent choices, as they often contain a balanced mix of rice flours, starches, and xanthan gum to provide structure and prevent grittiness. Using a reliable blend ensures consistent results.
- Almond flour. Beyond adding a subtle nutty depth to the flavor, super fine almond flour is crucial for achieving a wonderfully tender crumb. Its fine texture and higher fat content contribute significantly to the cake’s overall moisture and delicate structure, preventing it from becoming overly dense or dry, which is a common challenge in gluten-free baking.
- Cornstarch. Often overlooked, cornstarch plays a vital role in creating that desirable bouncy and light texture within the dense structure of a pound cake. It helps to tenderize the crumb and prevents the cake from becoming too heavy, making the gluten-free version remarkably similar to a classic dessert.
- Salt. A pinch of fine salt is essential in all baking recipes. It enhances the sweet flavors of the cake, balances the overall taste profile, and prevents it from being overly sugary, bringing out the best in every bite.
- Baking soda. This leavening agent works in conjunction with an acidic ingredient (like vinegar in this recipe) to produce carbon dioxide. This reaction helps the pound cake rise effectively, contributing to its light and airy pockets within the dense structure.
- Baking powder. Another powerful leavener, baking powder contributes to the cake’s lift and adds a pleasant fluffiness and openness to the crumb. Together with baking soda, it ensures your gluten-free pound cake isn’t overly heavy but beautifully risen.
- Butter. A “pound cake” isn’t a pound cake without its signature ingredient! High-quality unsalted butter is paramount for that rich, unmistakable buttery flavor and contributes significantly to the cake’s moistness and tender crumb. Both dairy and block-style vegan butter will work beautifully, offering flexibility for different dietary needs.
- Shortening. The inclusion of shortening alongside butter is a secret weapon for achieving a delicious, slightly crisp crust and an exceptionally soft interior. It helps to tenderize the cake and ensures a truly memorable texture contrast, adding to the classic pound cake experience.
- Granulated sugar. Granulated sugar provides the clean, pure sweetness that defines this classic cake. It also helps with the texture, contributing to a tender crumb. While organic cane sugar can be used, be aware it might slightly alter the final color of your pound cake due to its natural molasses content.
- Eggs. Large eggs are essential for structure, richness, and moisture in this recipe. They act as binders, helping to hold the cake together, and contribute to the cake’s rise and overall velvety texture. Ensure they are at room temperature for best results.
- Milk. Whether you choose whole dairy milk or an unsweetened non-dairy alternative (like almond, soy, or oat milk), milk adds necessary moisture and helps to create a smooth, pourable batter. Always use unsweetened varieties to maintain precise control over the cake’s sweetness.
- Apple cider vinegar. This acidic ingredient reacts with the baking soda to create essential lift and contributes to a finer, more tender crumb. White vinegar or freshly squeezed lemon juice can also be used as suitable substitutes if apple cider vinegar is unavailable.
- Vanilla extract. Use pure vanilla extract or vanilla bean paste for the best flavor. Vanilla is a classic complement to butter and sugar, enhancing the overall aroma and adding a warm, inviting depth to the taste of the pound cake.
Mastering Gluten-Free Flour for Perfect Baking
Working with gluten-free flour can be a learning curve, but with the right knowledge and techniques, you can achieve baking results just as delicious and satisfying as traditional gluten-containing recipes. The key to successful gluten-free baking lies in selecting the appropriate flour blend and understanding its unique properties.
When searching for a gluten-free flour, always prioritize blends explicitly labeled “measure for measure” or “1-to-1” for baking. These blends are expertly formulated to replace wheat flour in recipes at a 1:1 ratio, simplifying the conversion process and ensuring consistent results. A good quality blend typically incorporates a mix of sturdy flours like white or brown rice flour or oat flour, paired with lighter starches such as tapioca starch, potato starch, or cornstarch. Crucially, many effective blends also contain xanthan gum, a vital hydrocolloid that mimics the elasticity and structure usually provided by gluten, preventing your baked goods from becoming crumbly.
My personal favorites for reliable results in a variety of baked goods, including this pound cake, include Bob’s Red Mill 1-to-1 gluten-free baking flour, King Arthur gluten-free measure for measure flour, and Cup4Cup wholesome flour. These brands consistently deliver excellent texture and flavor. If you or anyone enjoying your cake has a dairy sensitivity, always meticulously check the ingredient list of gluten-free flour blends, as some may contain milk powder to enhance texture and richness. Opt for certified dairy-free blends if necessary.
How to Accurately Measure Gluten-Free Flour
Accurate measurement is paramount in baking, and this holds especially true when working with gluten-free flours. Using too much flour can lead to a dry, dense, and crumbly cake, while too little can affect its structure. The most precise and recommended method for measuring any type of flour, including gluten-free varieties, is by using a digital kitchen scale.
To measure with a scale: Place your mixing bowl directly onto the scale and tare it to zero (0 ounces/grams). Then, gently spoon the flour into the bowl until you reach the desired weight. This method eliminates inconsistencies caused by variations in how flour is packed and ensures you always get the exact amount specified in the recipe.
If you don’t own a kitchen scale, the “spoon and level” method is the next best alternative. First, fluff the flour in its bag or container using a spoon to loosen it. Then, lightly spoon the flour into your measuring cup until it’s overflowing. Do not scoop the flour directly with the measuring cup, as this compacts it, leading to an excess amount. Finally, use the flat edge of a knife or a straight spatula to level off the top of the measuring cup, ensuring you have just the right amount. Avoid shaking or pressing down on the flour, as this will result in too much flour and a potentially dry, crumbly pound cake.
Keeping Gluten-Free Flour Fresh and Bug-Free
Maintaining the freshness of your gluten-free flour is essential for optimal baking results. Stale flour can lead to off-flavors and diminished rising power. While most packages suggest storing flour in a cool, dry place like your pantry, my preferred and highly effective method for extending shelf life and preventing common pantry pests is to store it in the freezer.
Freezing gluten-free flour significantly extends its shelf life, keeping it fresh for much longer than typical pantry storage, which is particularly beneficial for less frequently used flours. Additionally, the cold environment effectively deters any potential pantry moths, weevils, or other insects from infesting your flour, saving you from unpleasant surprises. When opting for freezer storage, transfer the flour out of its original paper packaging (which can absorb moisture and odors) into an airtight container or a heavy-duty freezer bag. This provides maximum protection against moisture absorption and freezer burn.
When you’re ready to bake, retrieve the necessary amount of flour from the freezer. Work quickly to measure it and return the remaining flour to the freezer as soon as possible. Allowing frozen flour to sit out at room temperature for too long can cause condensation to form inside the packaging, which can lead to spoilage over time. After measuring, let the frozen flour come to room temperature along with your other ingredients before incorporating it into your recipe. This ensures proper emulsification with fats and liquids, leading to a smoother batter and better-textured cake.
Ingredient Substitutions for Your Gluten-Free Pound Cake
While this recipe is meticulously designed for optimal results with the listed ingredients, some substitutions can be made based on dietary needs or availability. Keep in mind that any substitution might slightly alter the final texture or flavor of your pound cake, so choose wisely.
- Butter. For dairy-free versions, high-quality vegan butter sticks (block style) are a fantastic and widely available alternative to regular unsalted dairy butter. Ensure your chosen vegan butter is a solid block type rather than a spread, as this performs best in baking.
- Shortening. If you prefer not to use shortening, refined (flavorless) coconut oil can be used as a substitute. Melt and cool it slightly before adding. However, be aware that this substitution may result in a slightly denser pound cake texture and a less crisp crust.
- Milk. Feel free to use your preferred milk. Both whole dairy milk and unsweetened non-dairy milk options like almond milk, soy milk, or oat milk will work well. Always opt for unsweetened varieties to maintain precise control over the cake’s sweetness profile.
How to Make the Best Gluten-Free Pound Cake
Follow these detailed steps to bake a wonderfully moist and tender gluten-free pound cake. Precision and patience are your best tools in achieving the perfect texture and flavor for this classic dessert.
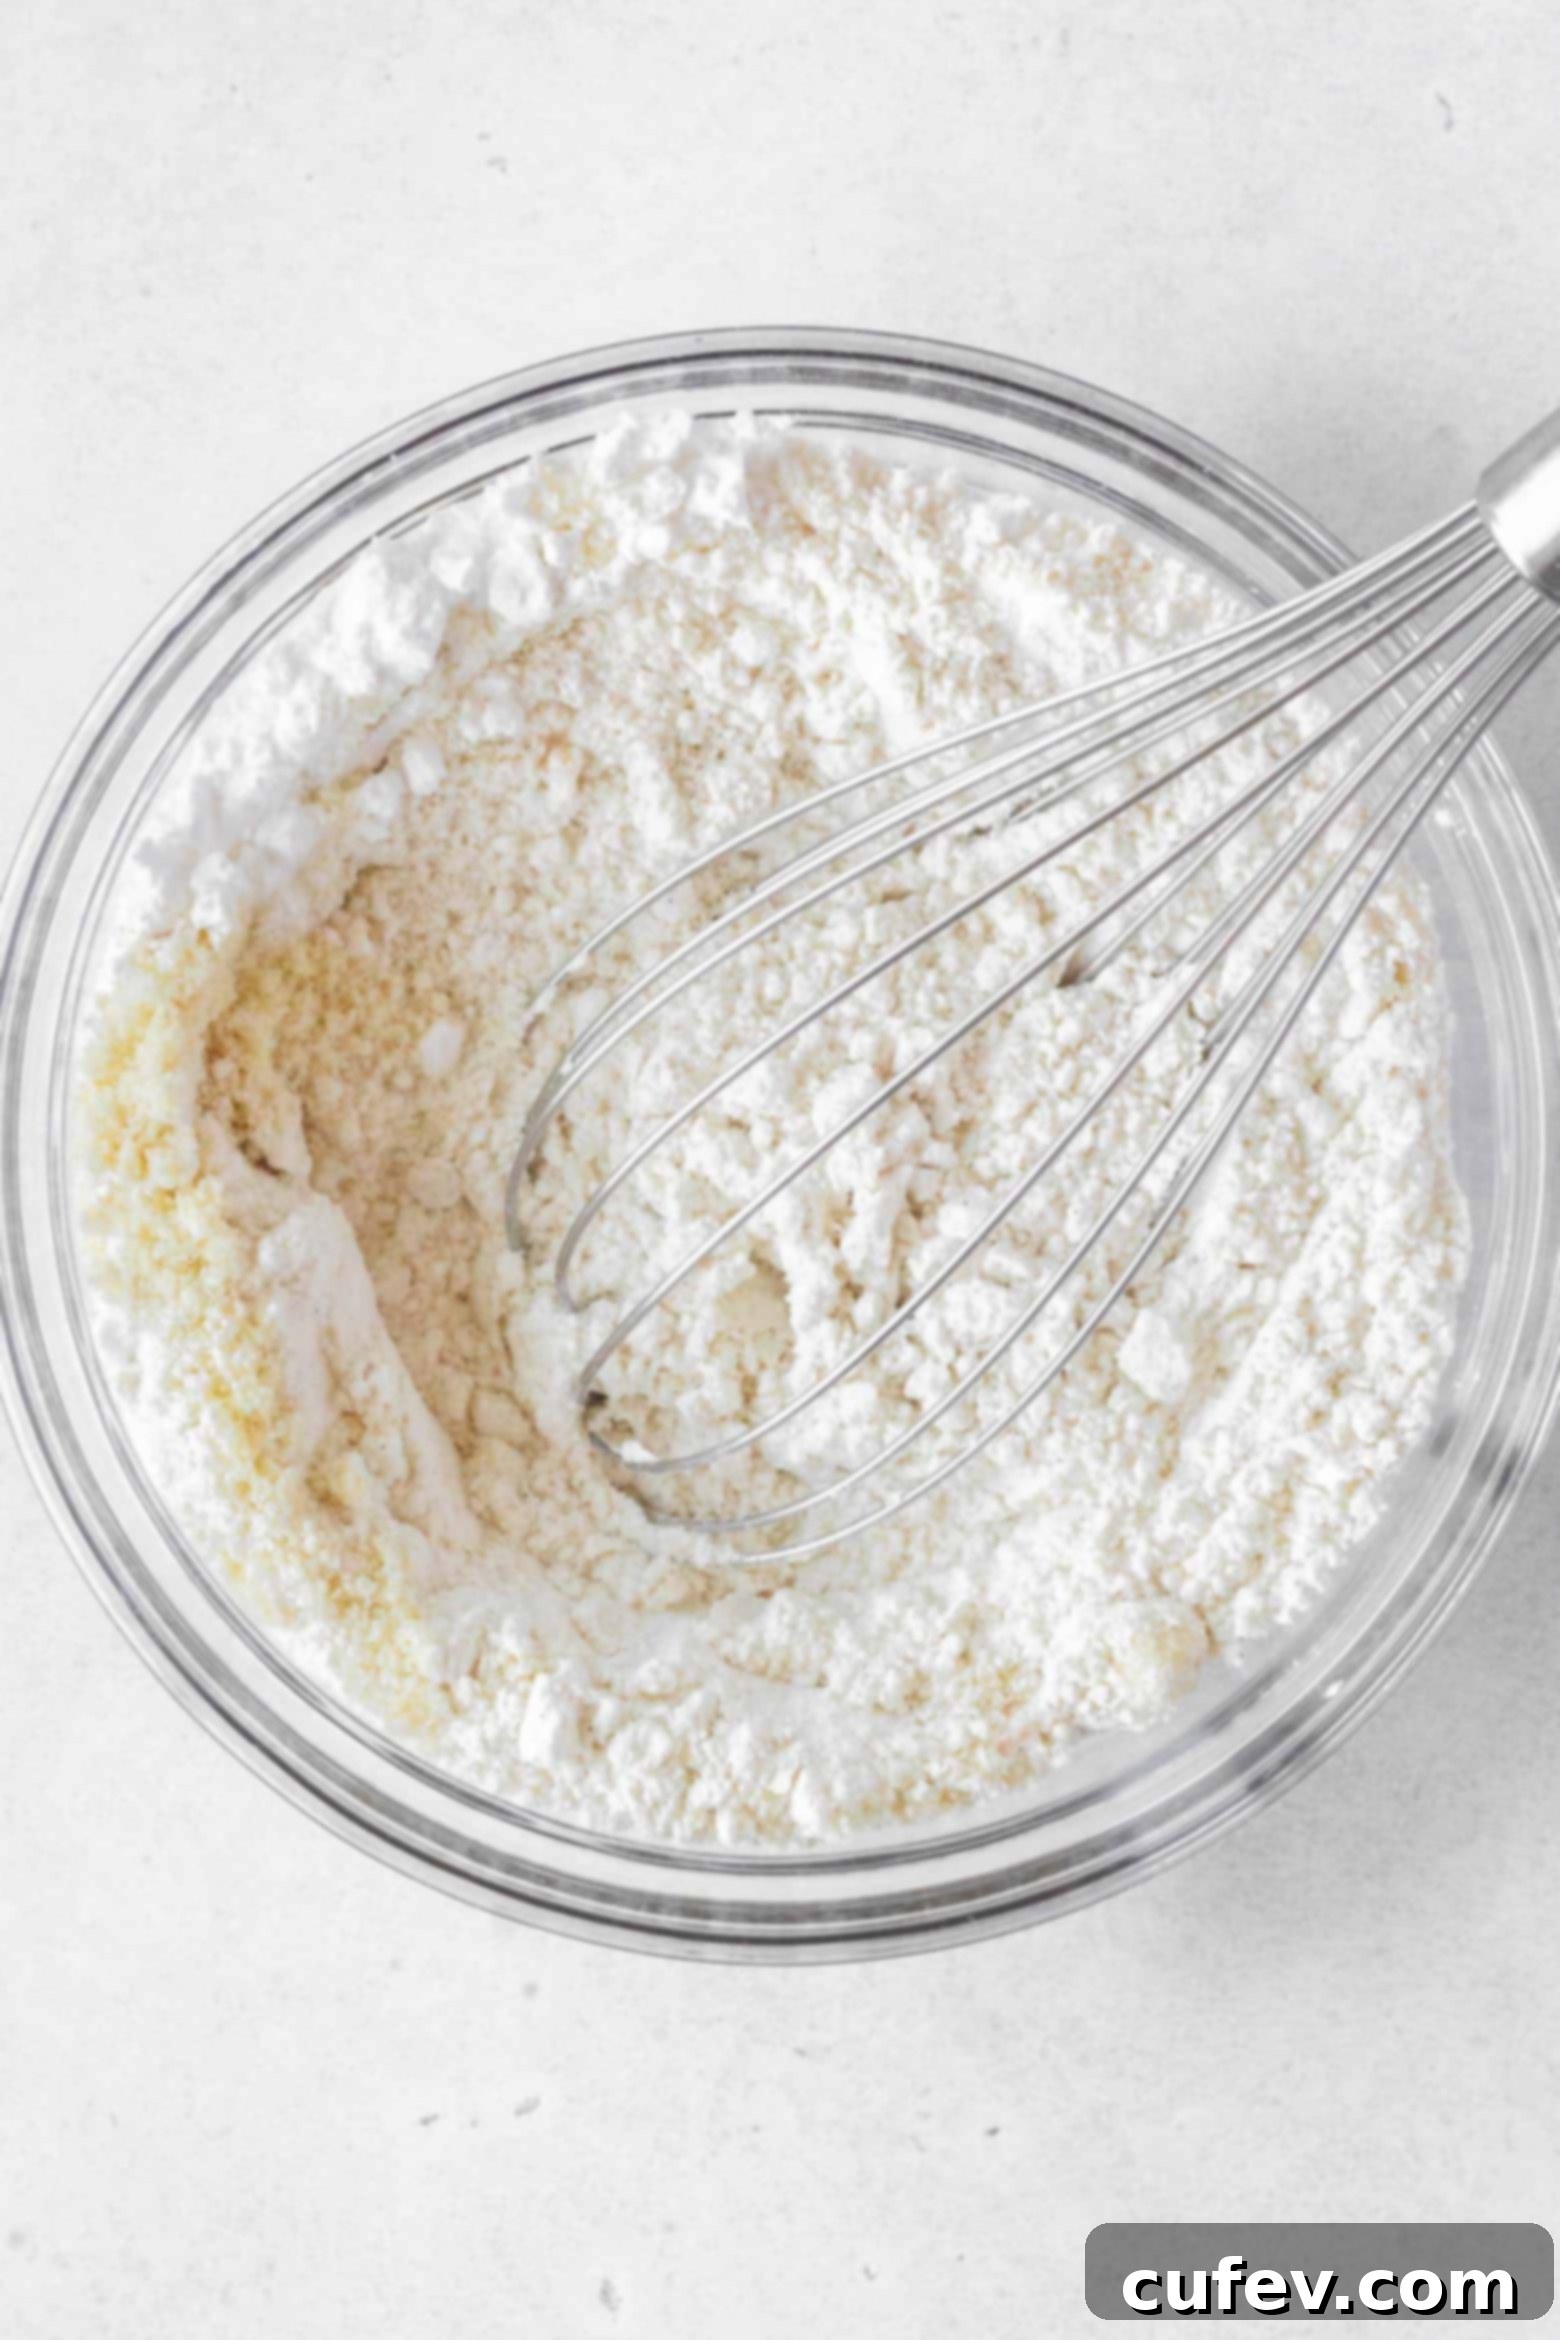
- In a large bowl, meticulously whisk together all the dry ingredients: the gluten-free measure-for-measure flour, super fine almond flour, cornstarch, salt, baking soda, and baking powder. Ensure they are thoroughly combined and no clumps remain to prevent uneven leavening in the final cake.
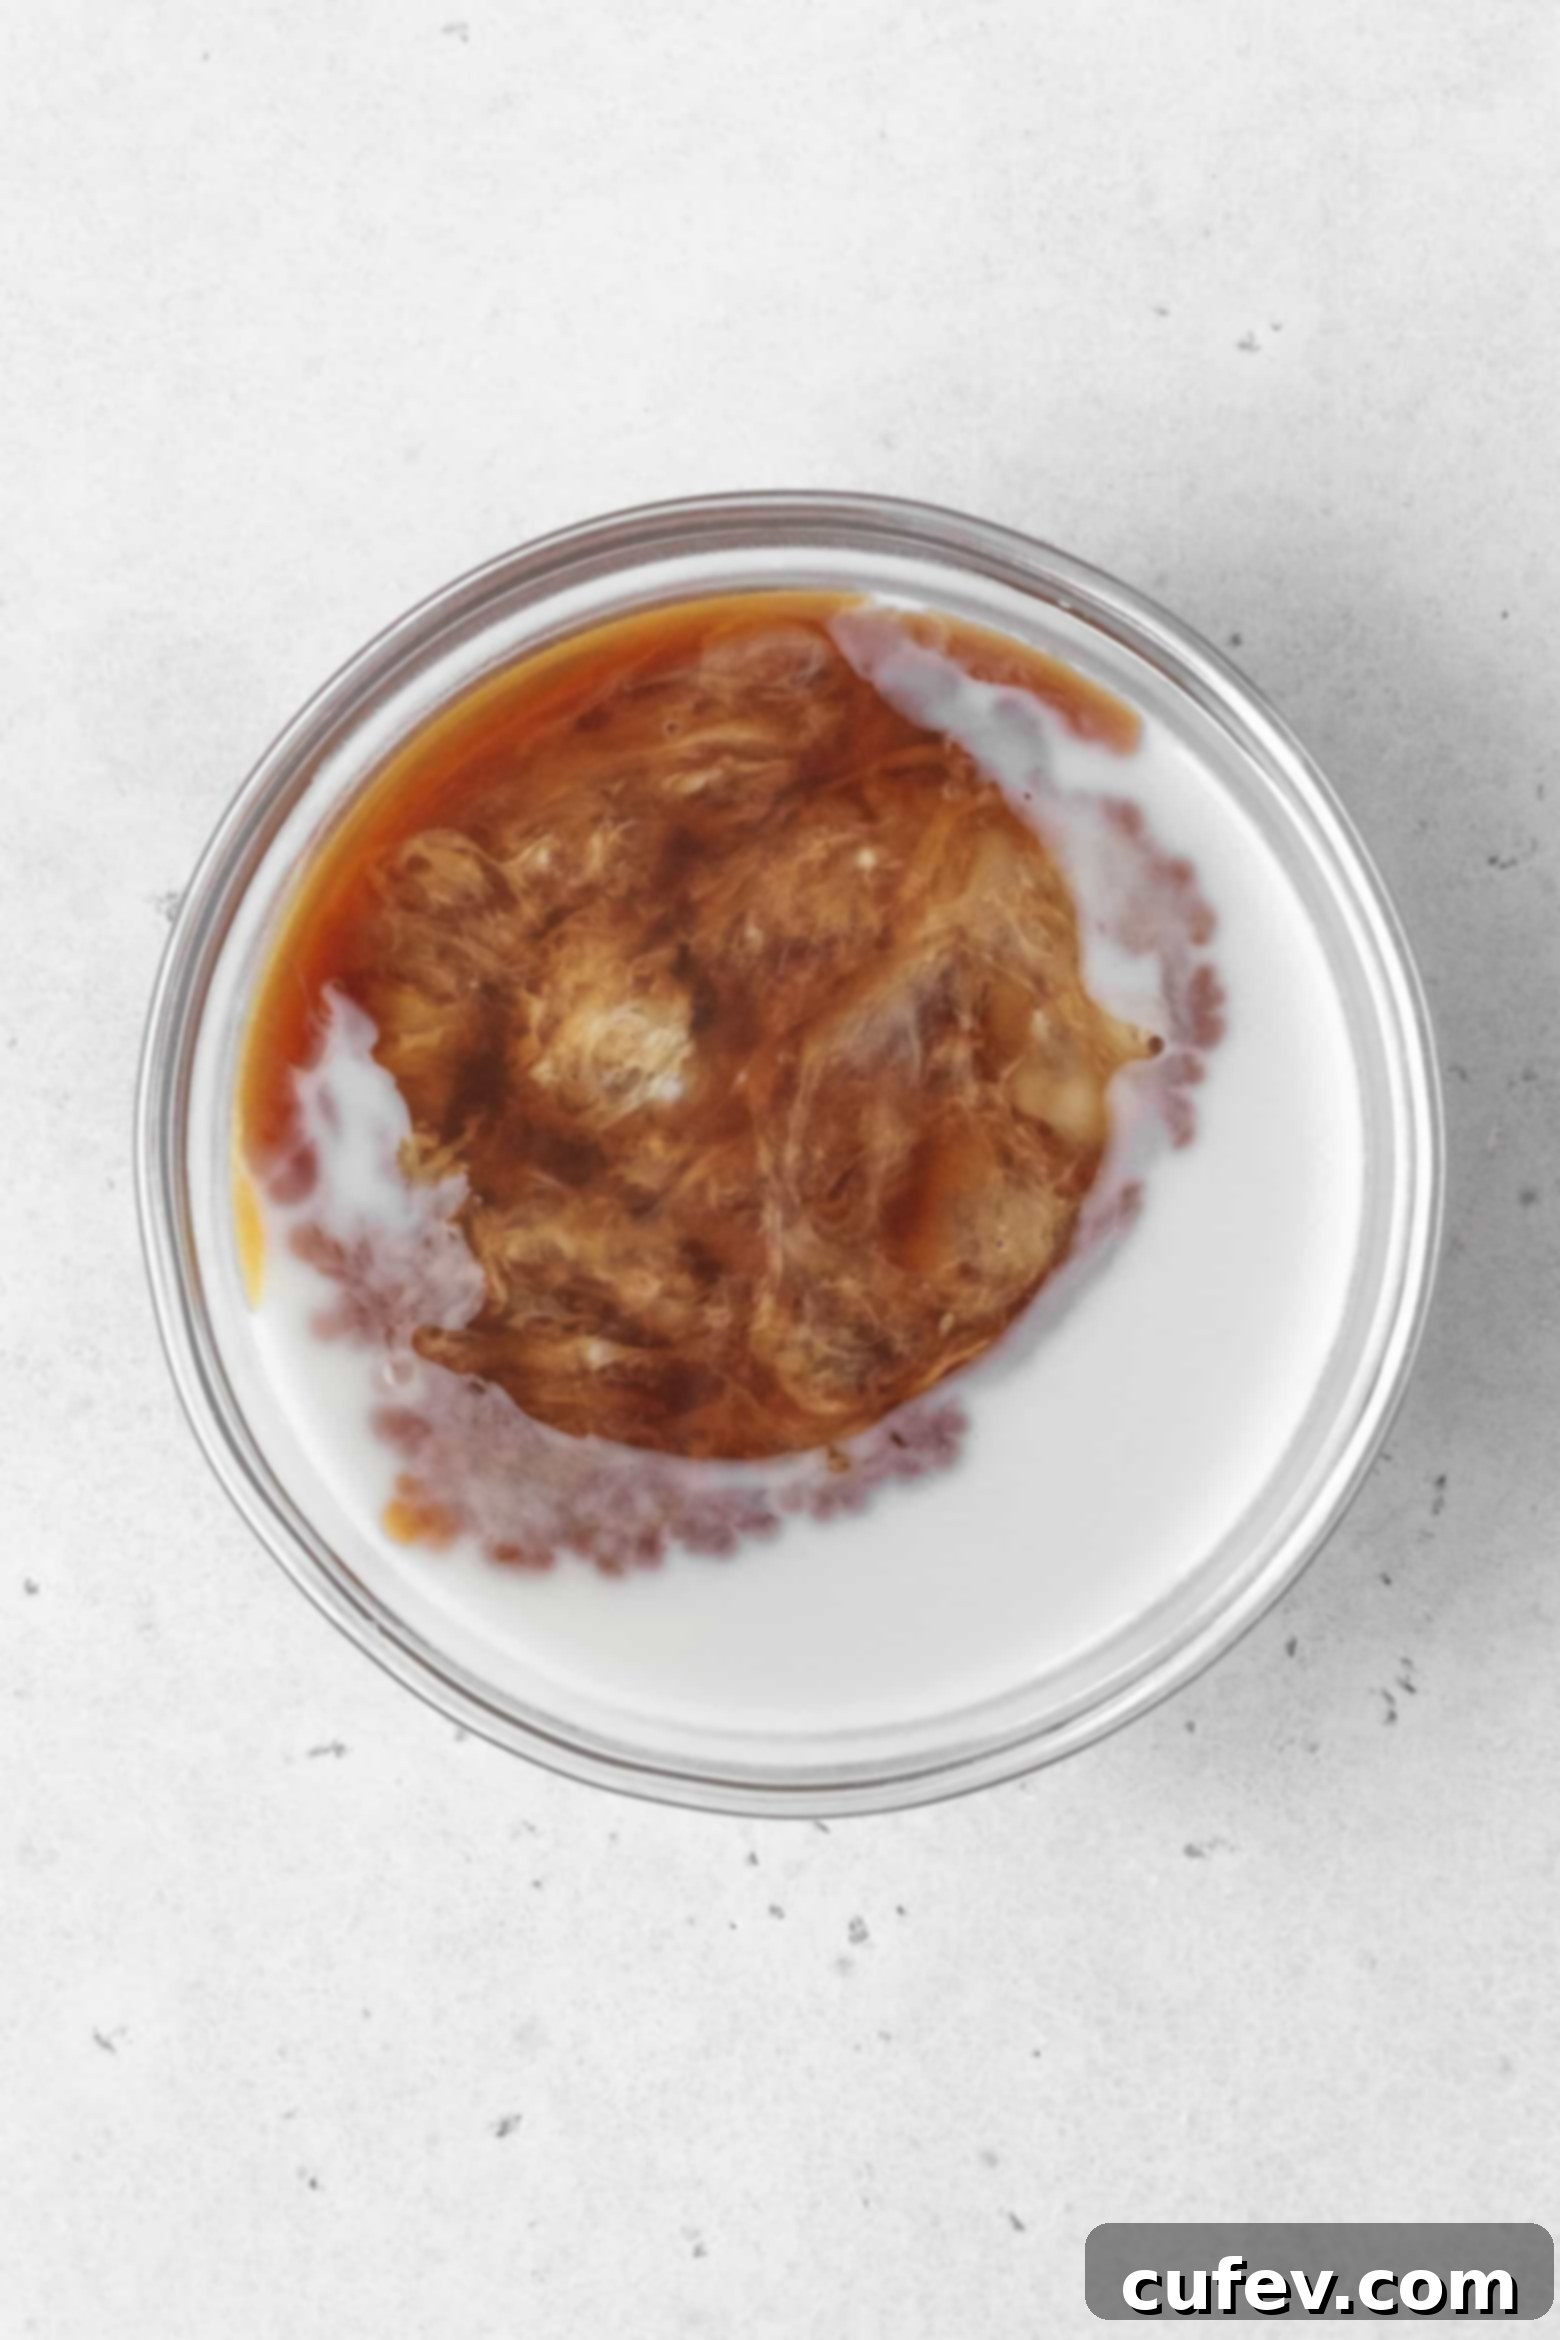
- In a separate, small bowl, combine the liquid ingredients: milk, apple cider vinegar, and vanilla extract. Stir well until homogenous and set aside. This mixture will be added in stages to the butter mixture, creating a balanced batter.
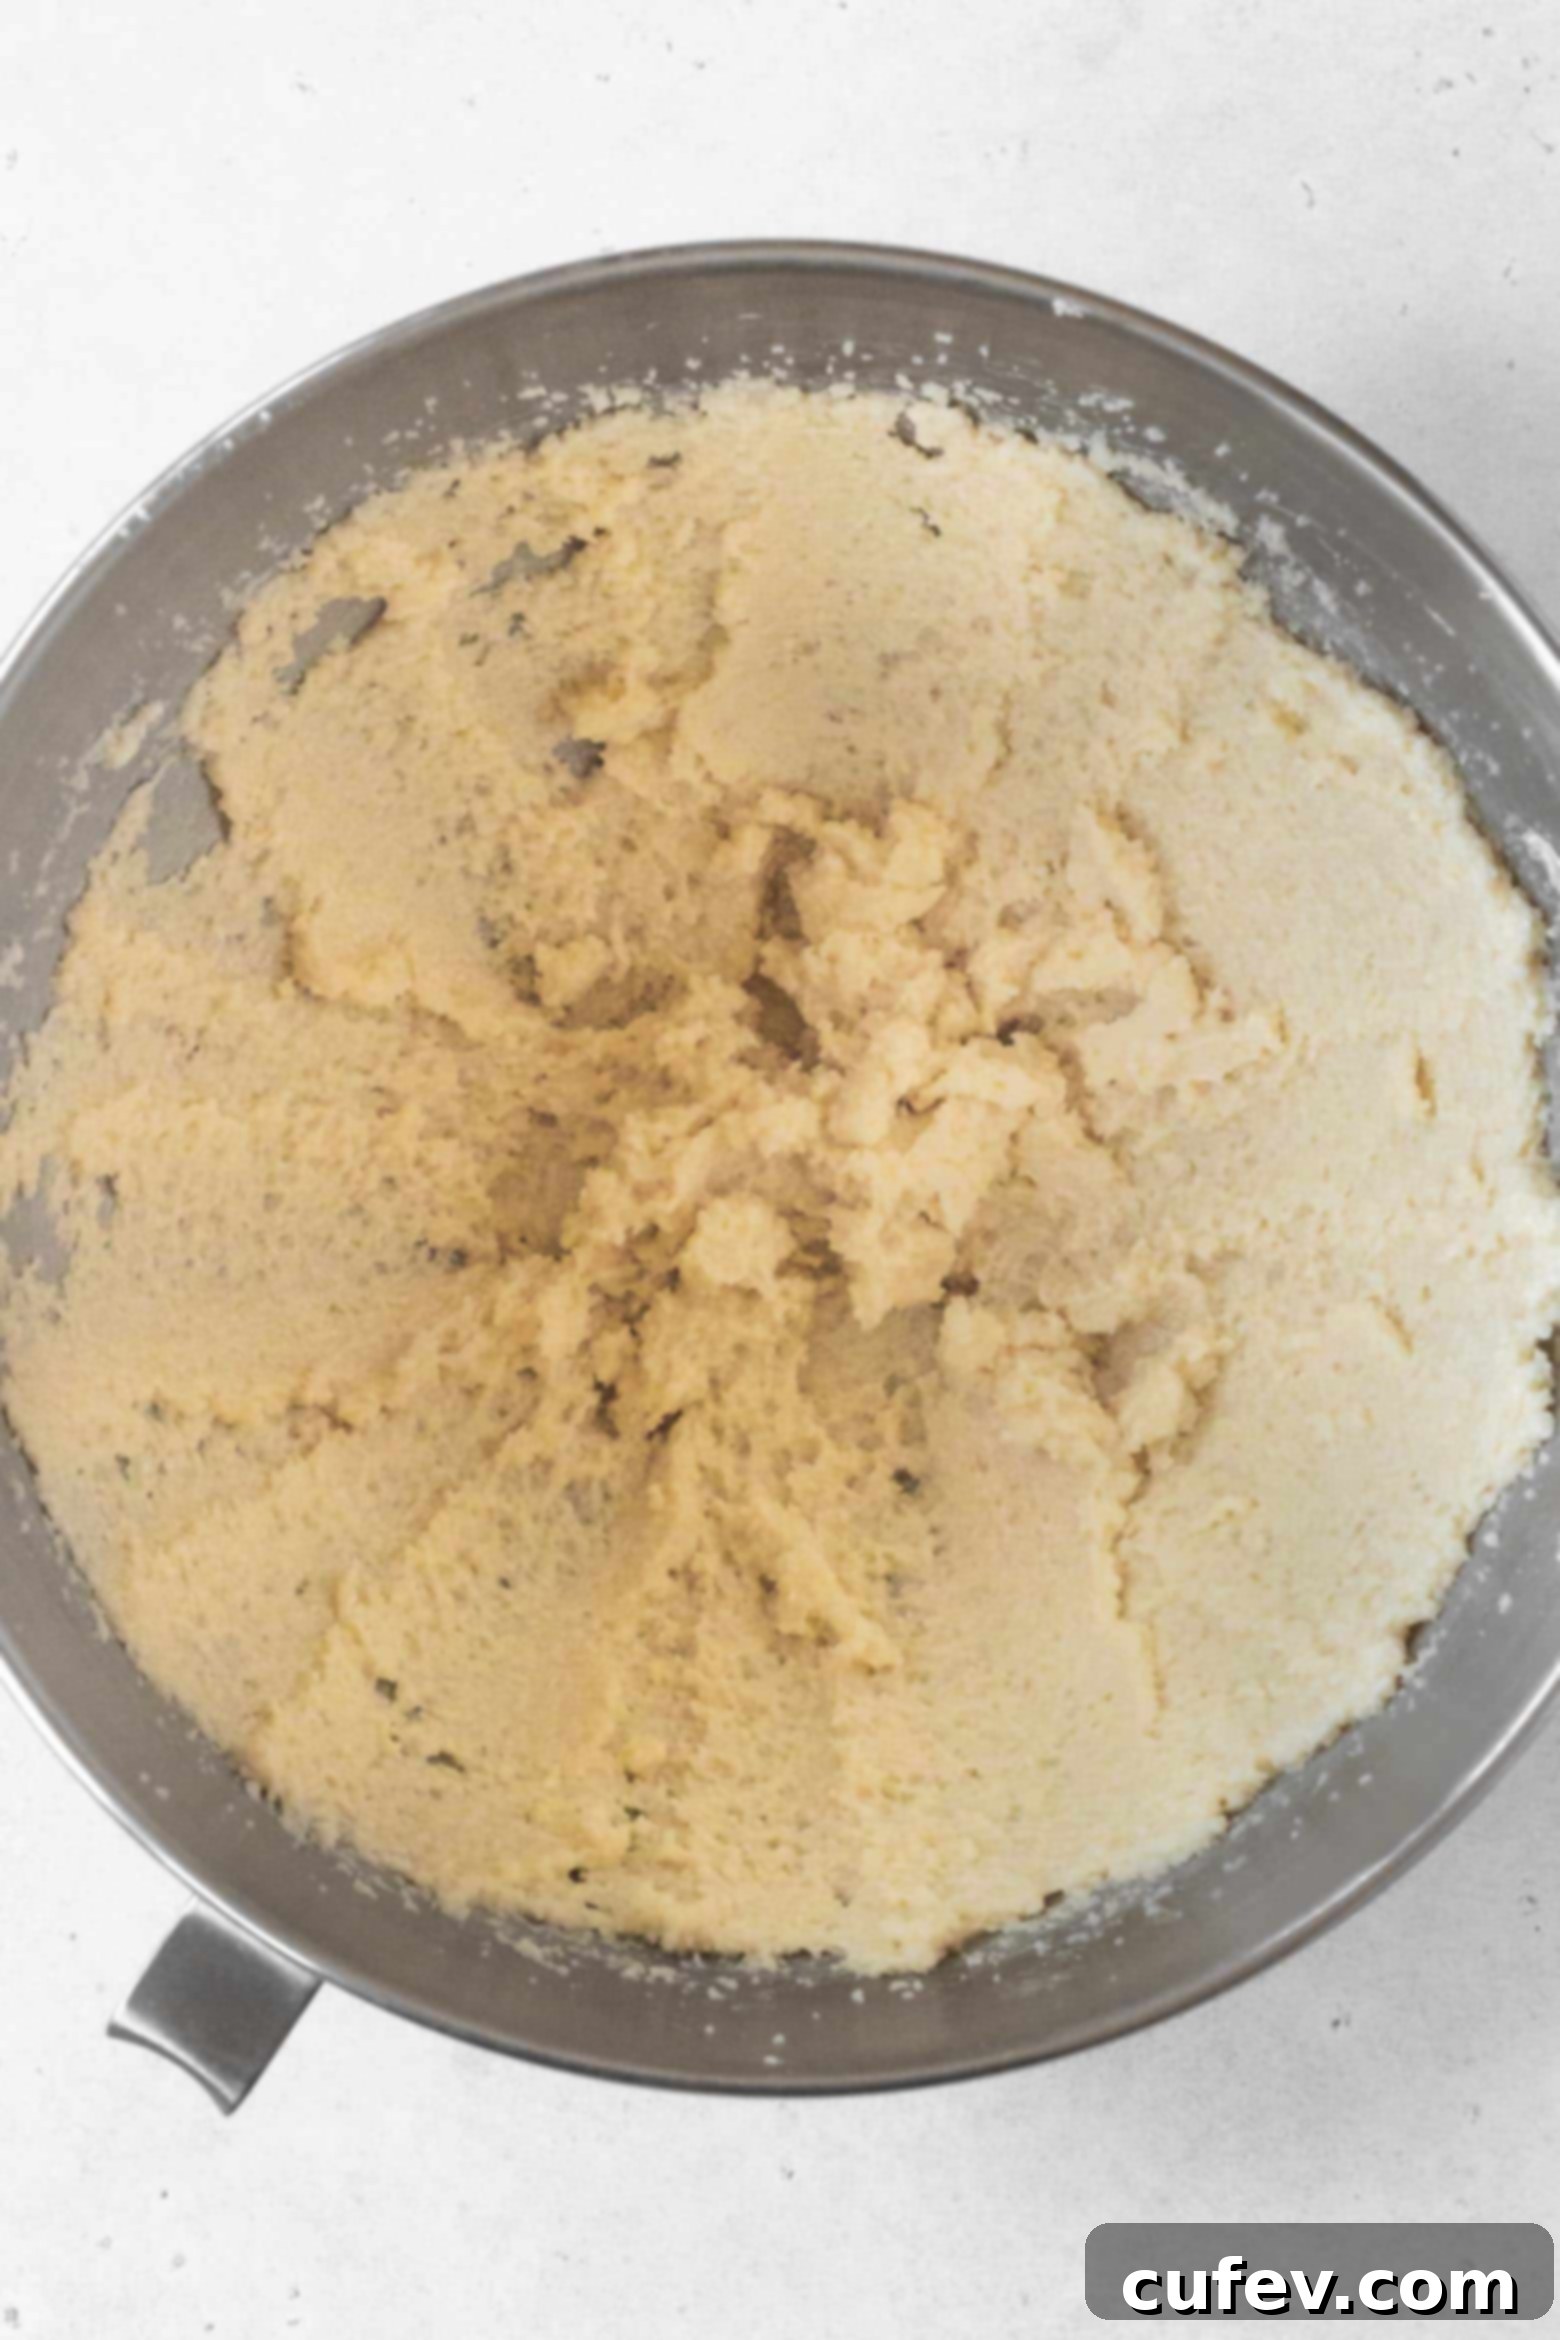
- In the bowl of a stand mixer fitted with a paddle attachment, combine the softened butter and shortening. Beat on high speed for 3 to 4 minutes until the mixture is visibly lightened in color and creamy. Gradually add the granulated sugar, a little at a time, and continue beating on high speed for another 6 minutes. This extended creaming process is vital for incorporating a significant amount of air, which acts as a leavener and contributes to the cake’s final lift and tender texture. Stop the mixer, scrape down the sides and bottom of the bowl with a spatula, and beat for one more minute to ensure everything is thoroughly combined.
- Add the large eggs one at a time, beating on medium speed after each addition until just incorporated. Avoid overmixing once the eggs are in. After each egg, remember to scrape down the sides of the bowl to ensure a homogenous batter and no unmixed ingredients are left behind.
- Begin incorporating the dry and wet mixtures alternately. Add about one-third of the whisked flour mixture to the stand mixer and beat on medium speed until just combined. Once the flour is mostly incorporated, scrape down the bowl. Then, add half of the milk mixture and beat again until smooth. Scrape the bowl once more, then repeat this process: add another third of the flour mixture, beat, scrape, add the remaining half of the milk mixture, beat, scrape, and finally, add the last third of the flour mixture and beat until just combined.
- After all ingredients are incorporated, give the bowl a final scrape with your spatula to ensure no dry flour pockets remain, particularly at the bottom. The batter should be smooth and uniform. Now, let the batter rest at room temperature for 30 minutes. This resting period is critical for gluten-free flours to properly hydrate, preventing a gritty texture and ensuring a wonderfully smooth, tender, and moist pound cake.
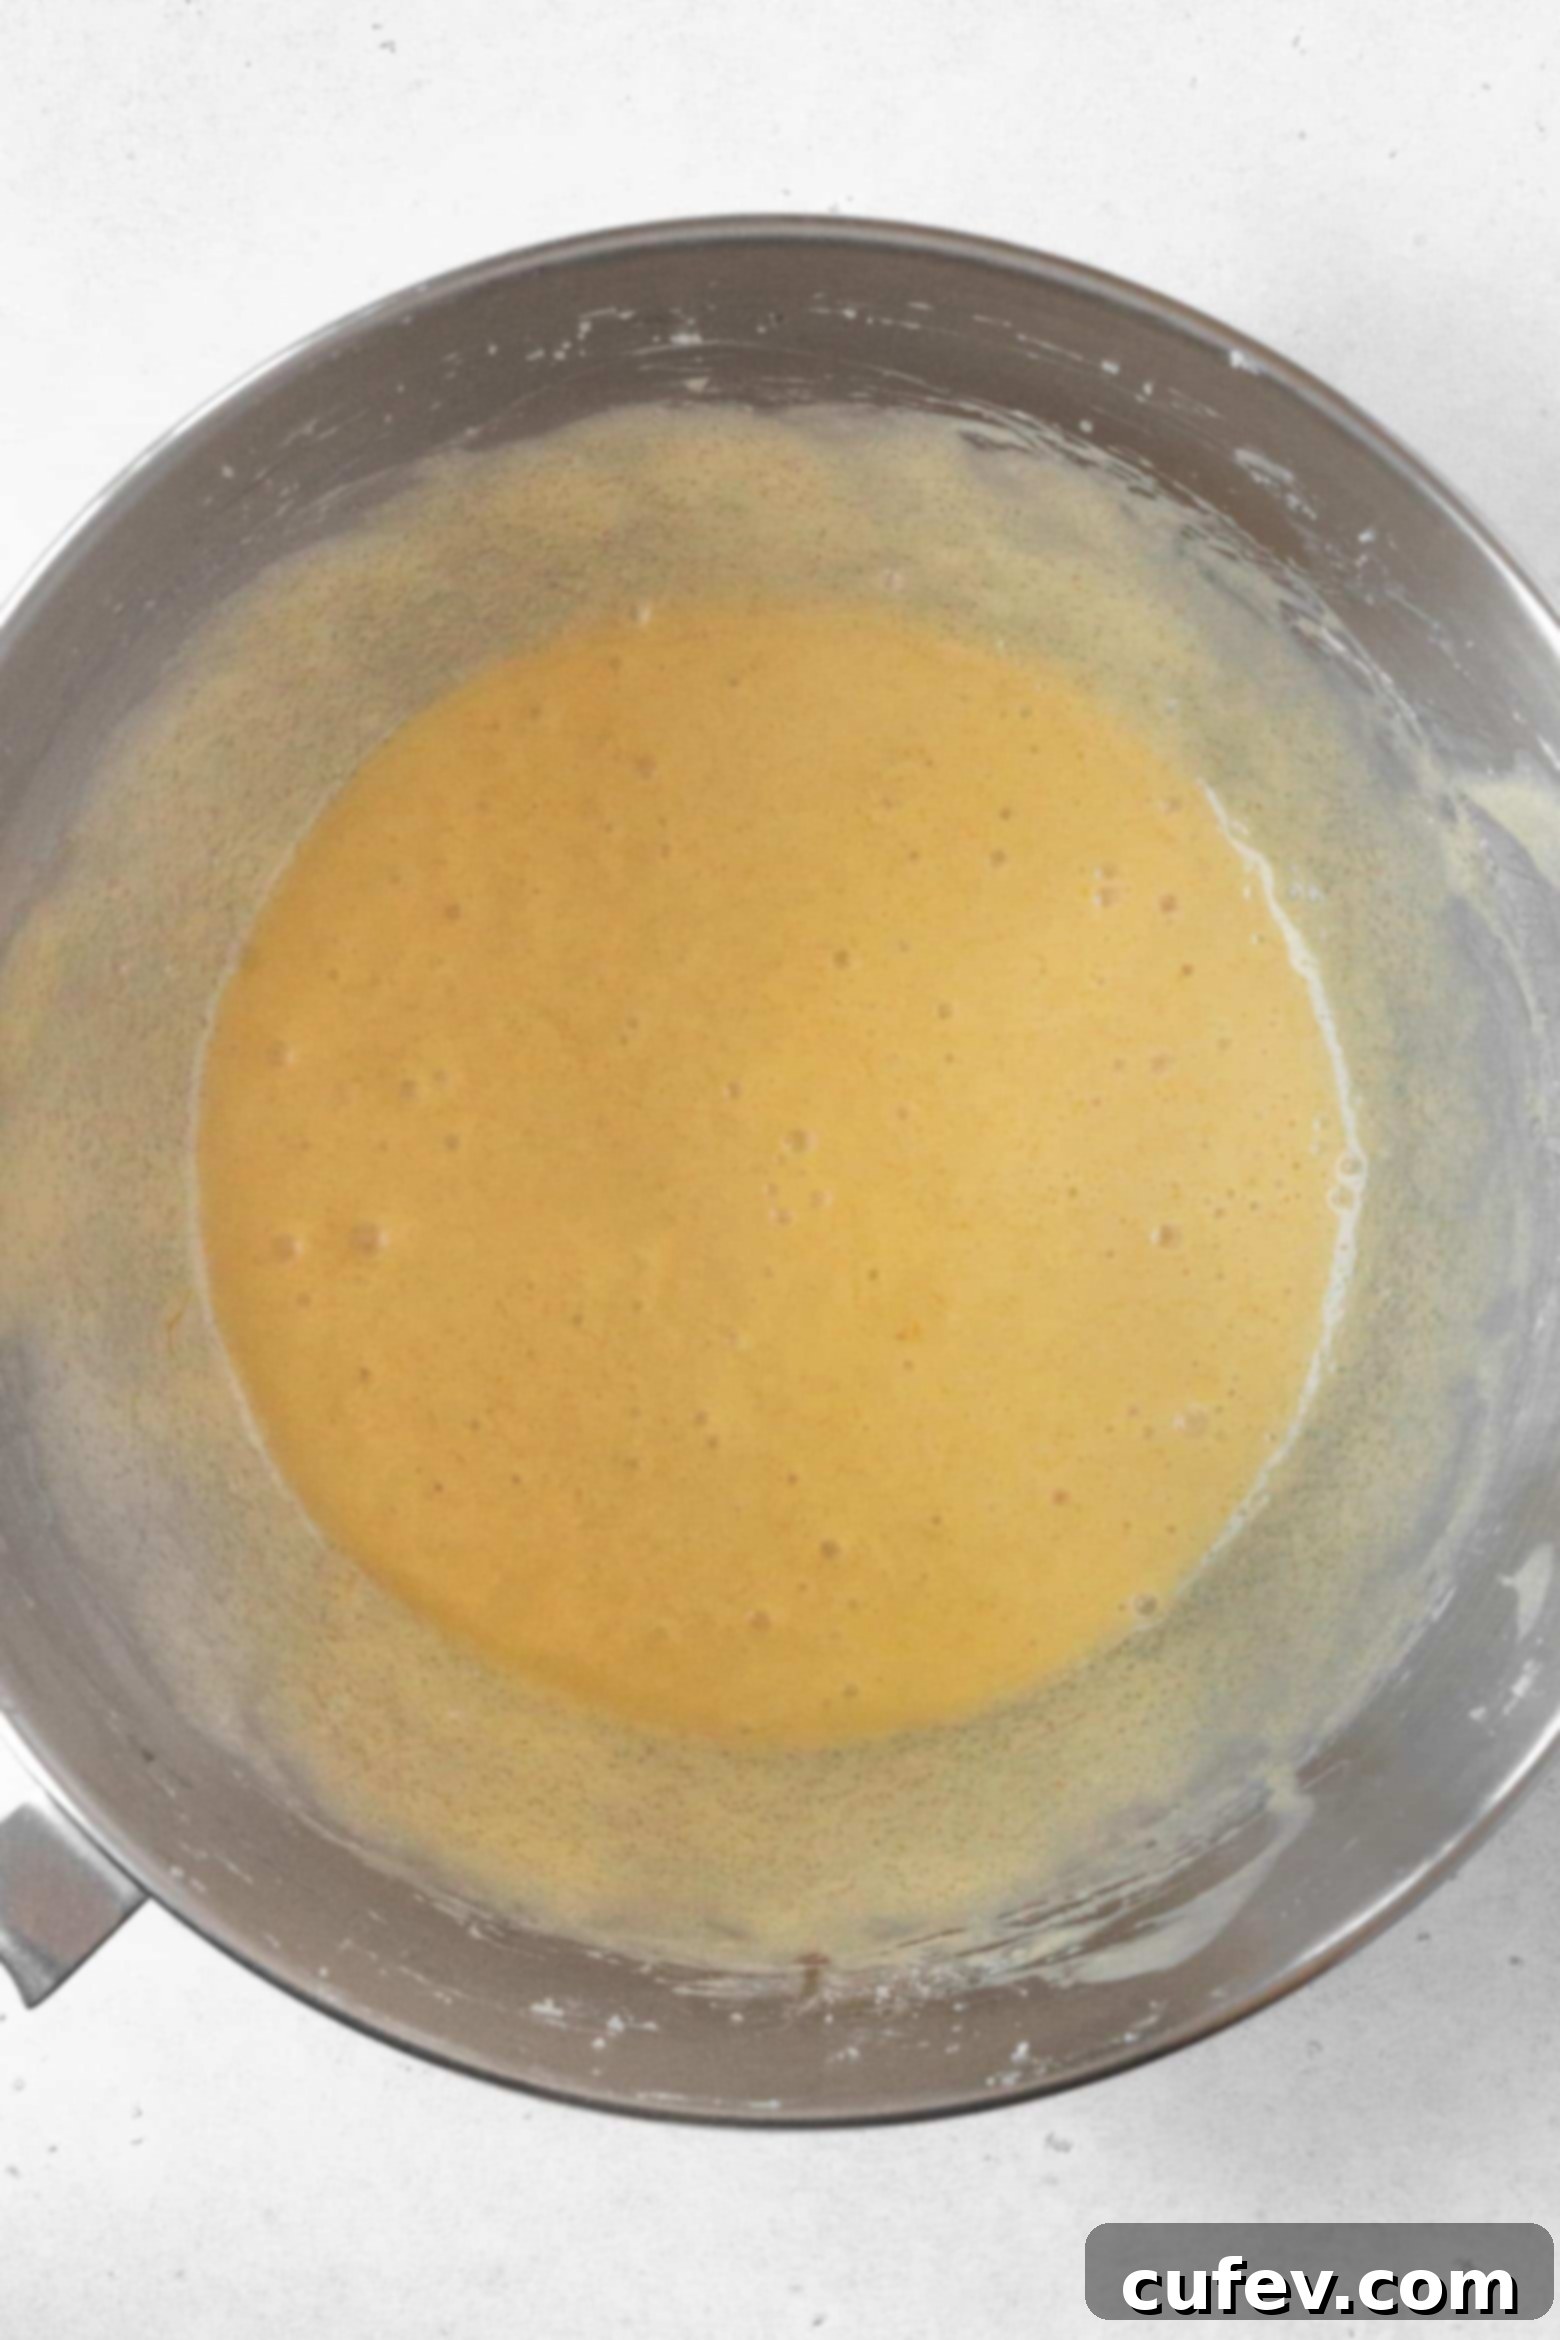
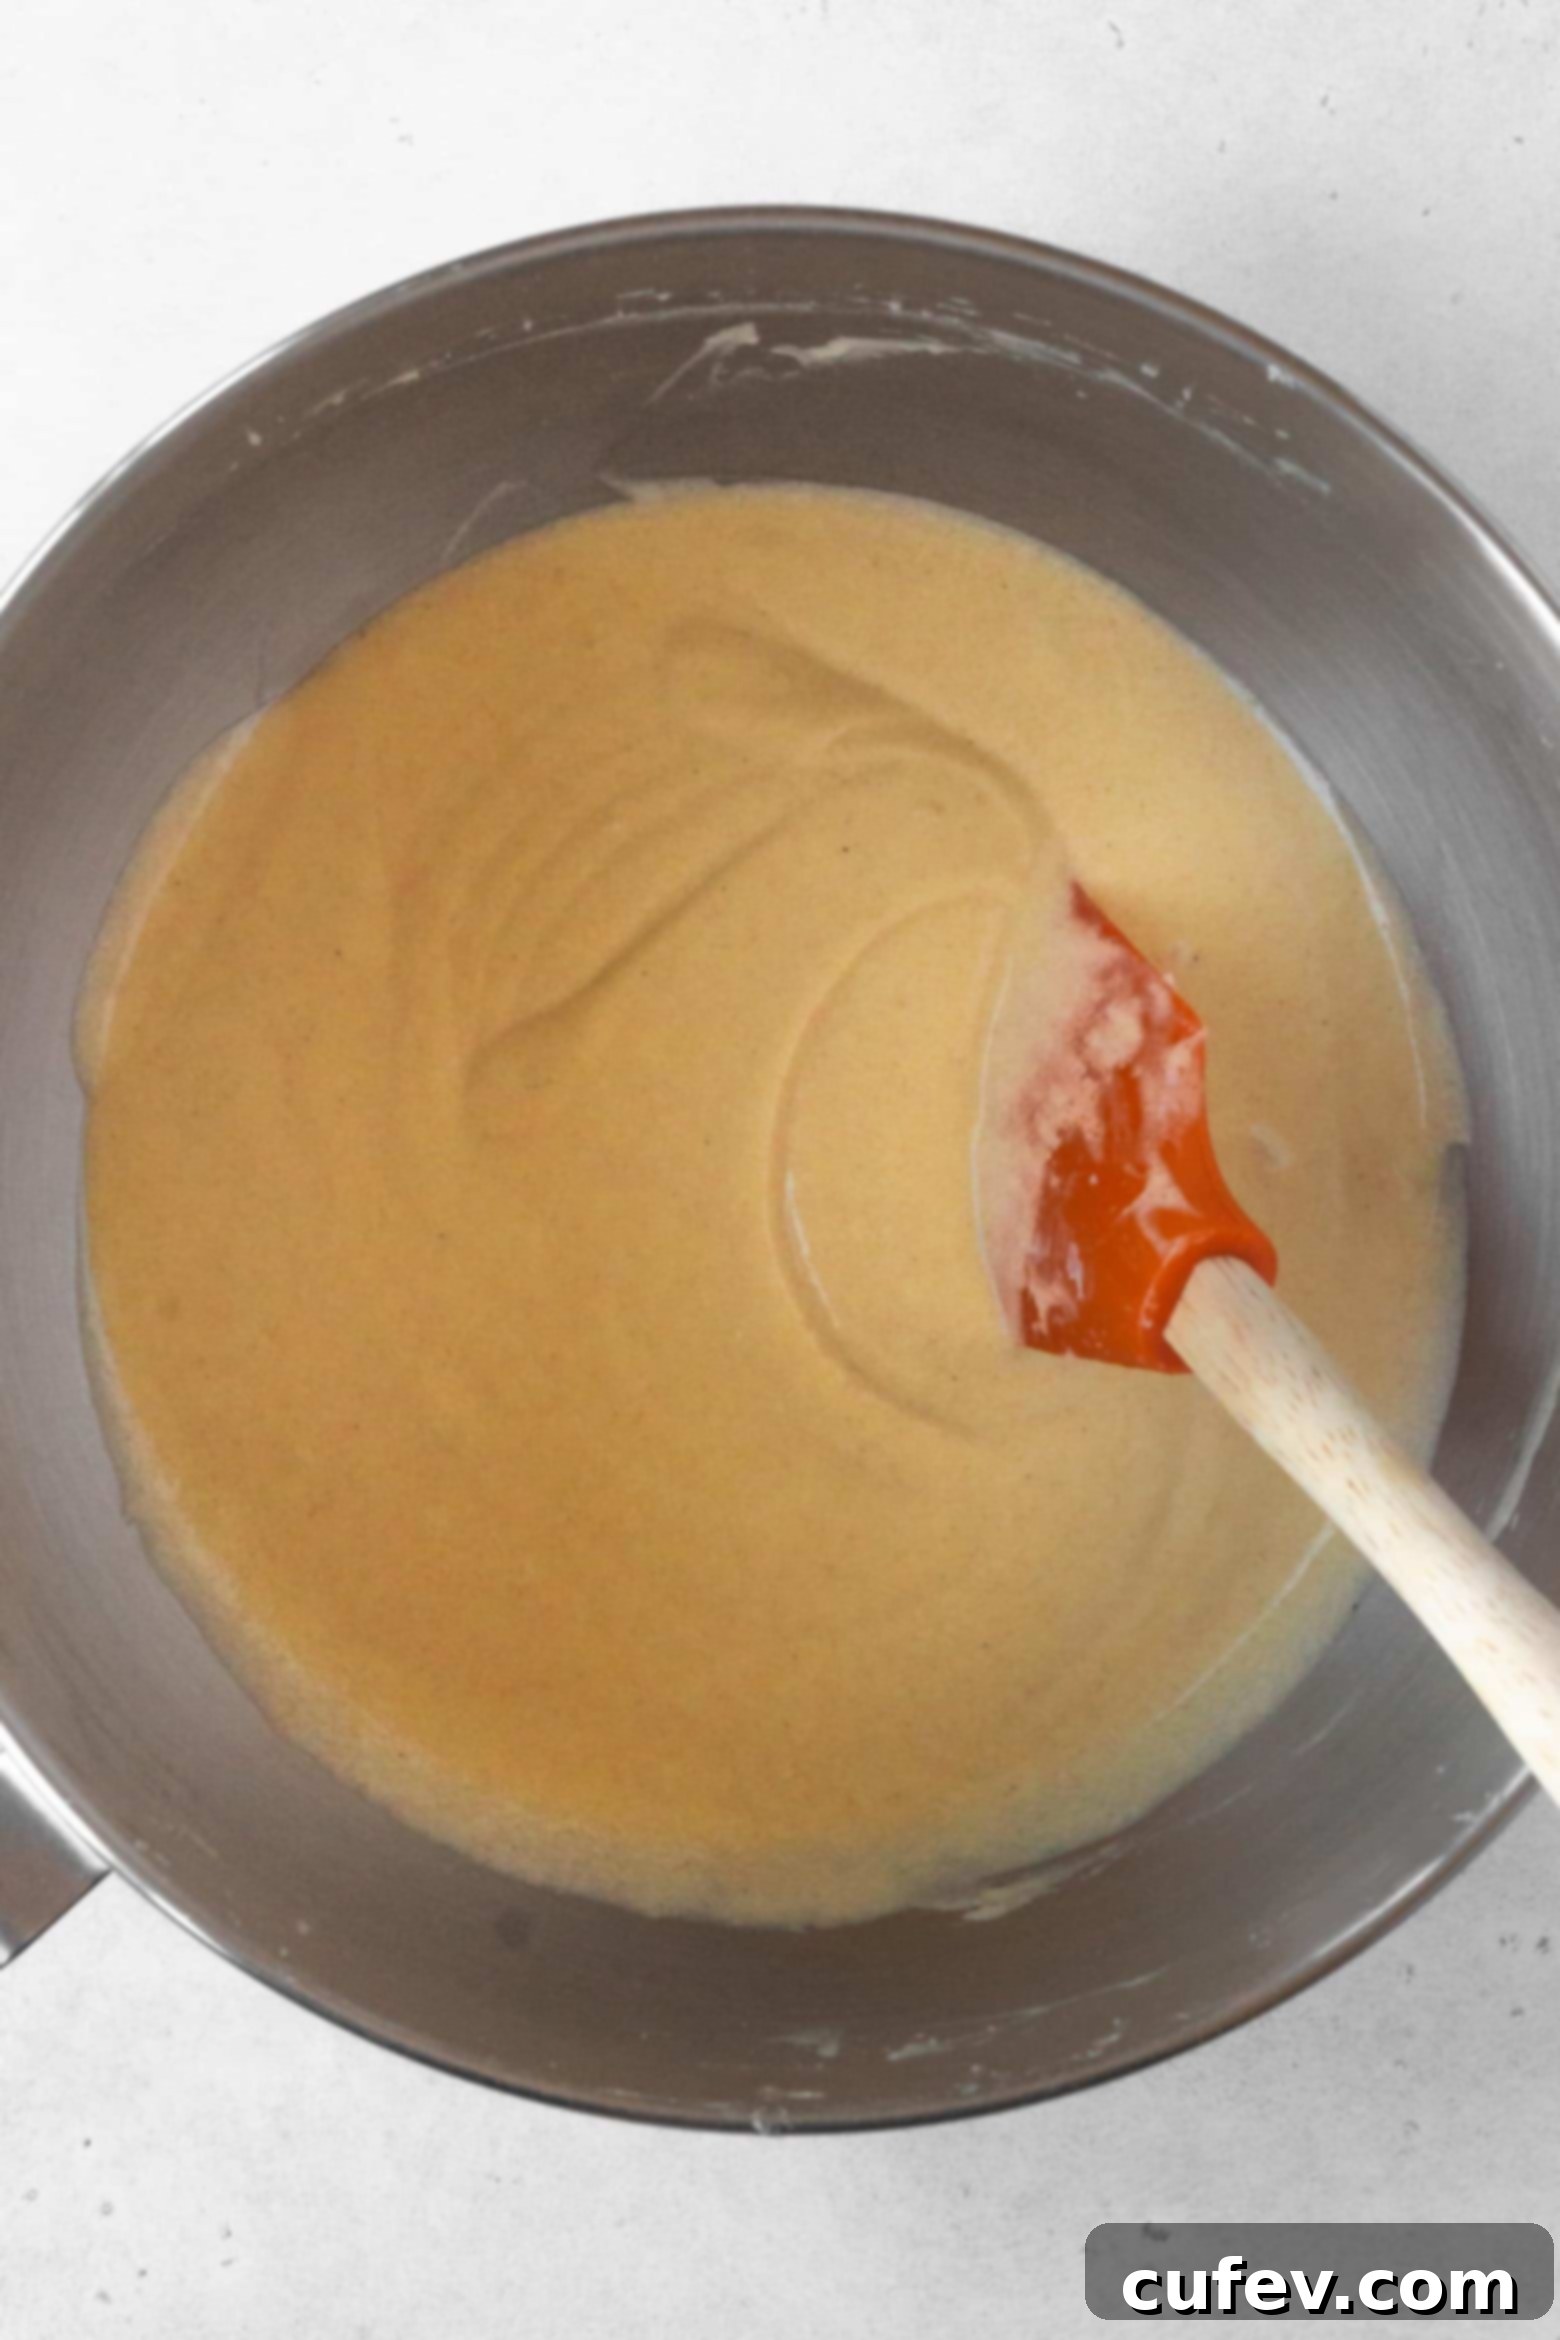
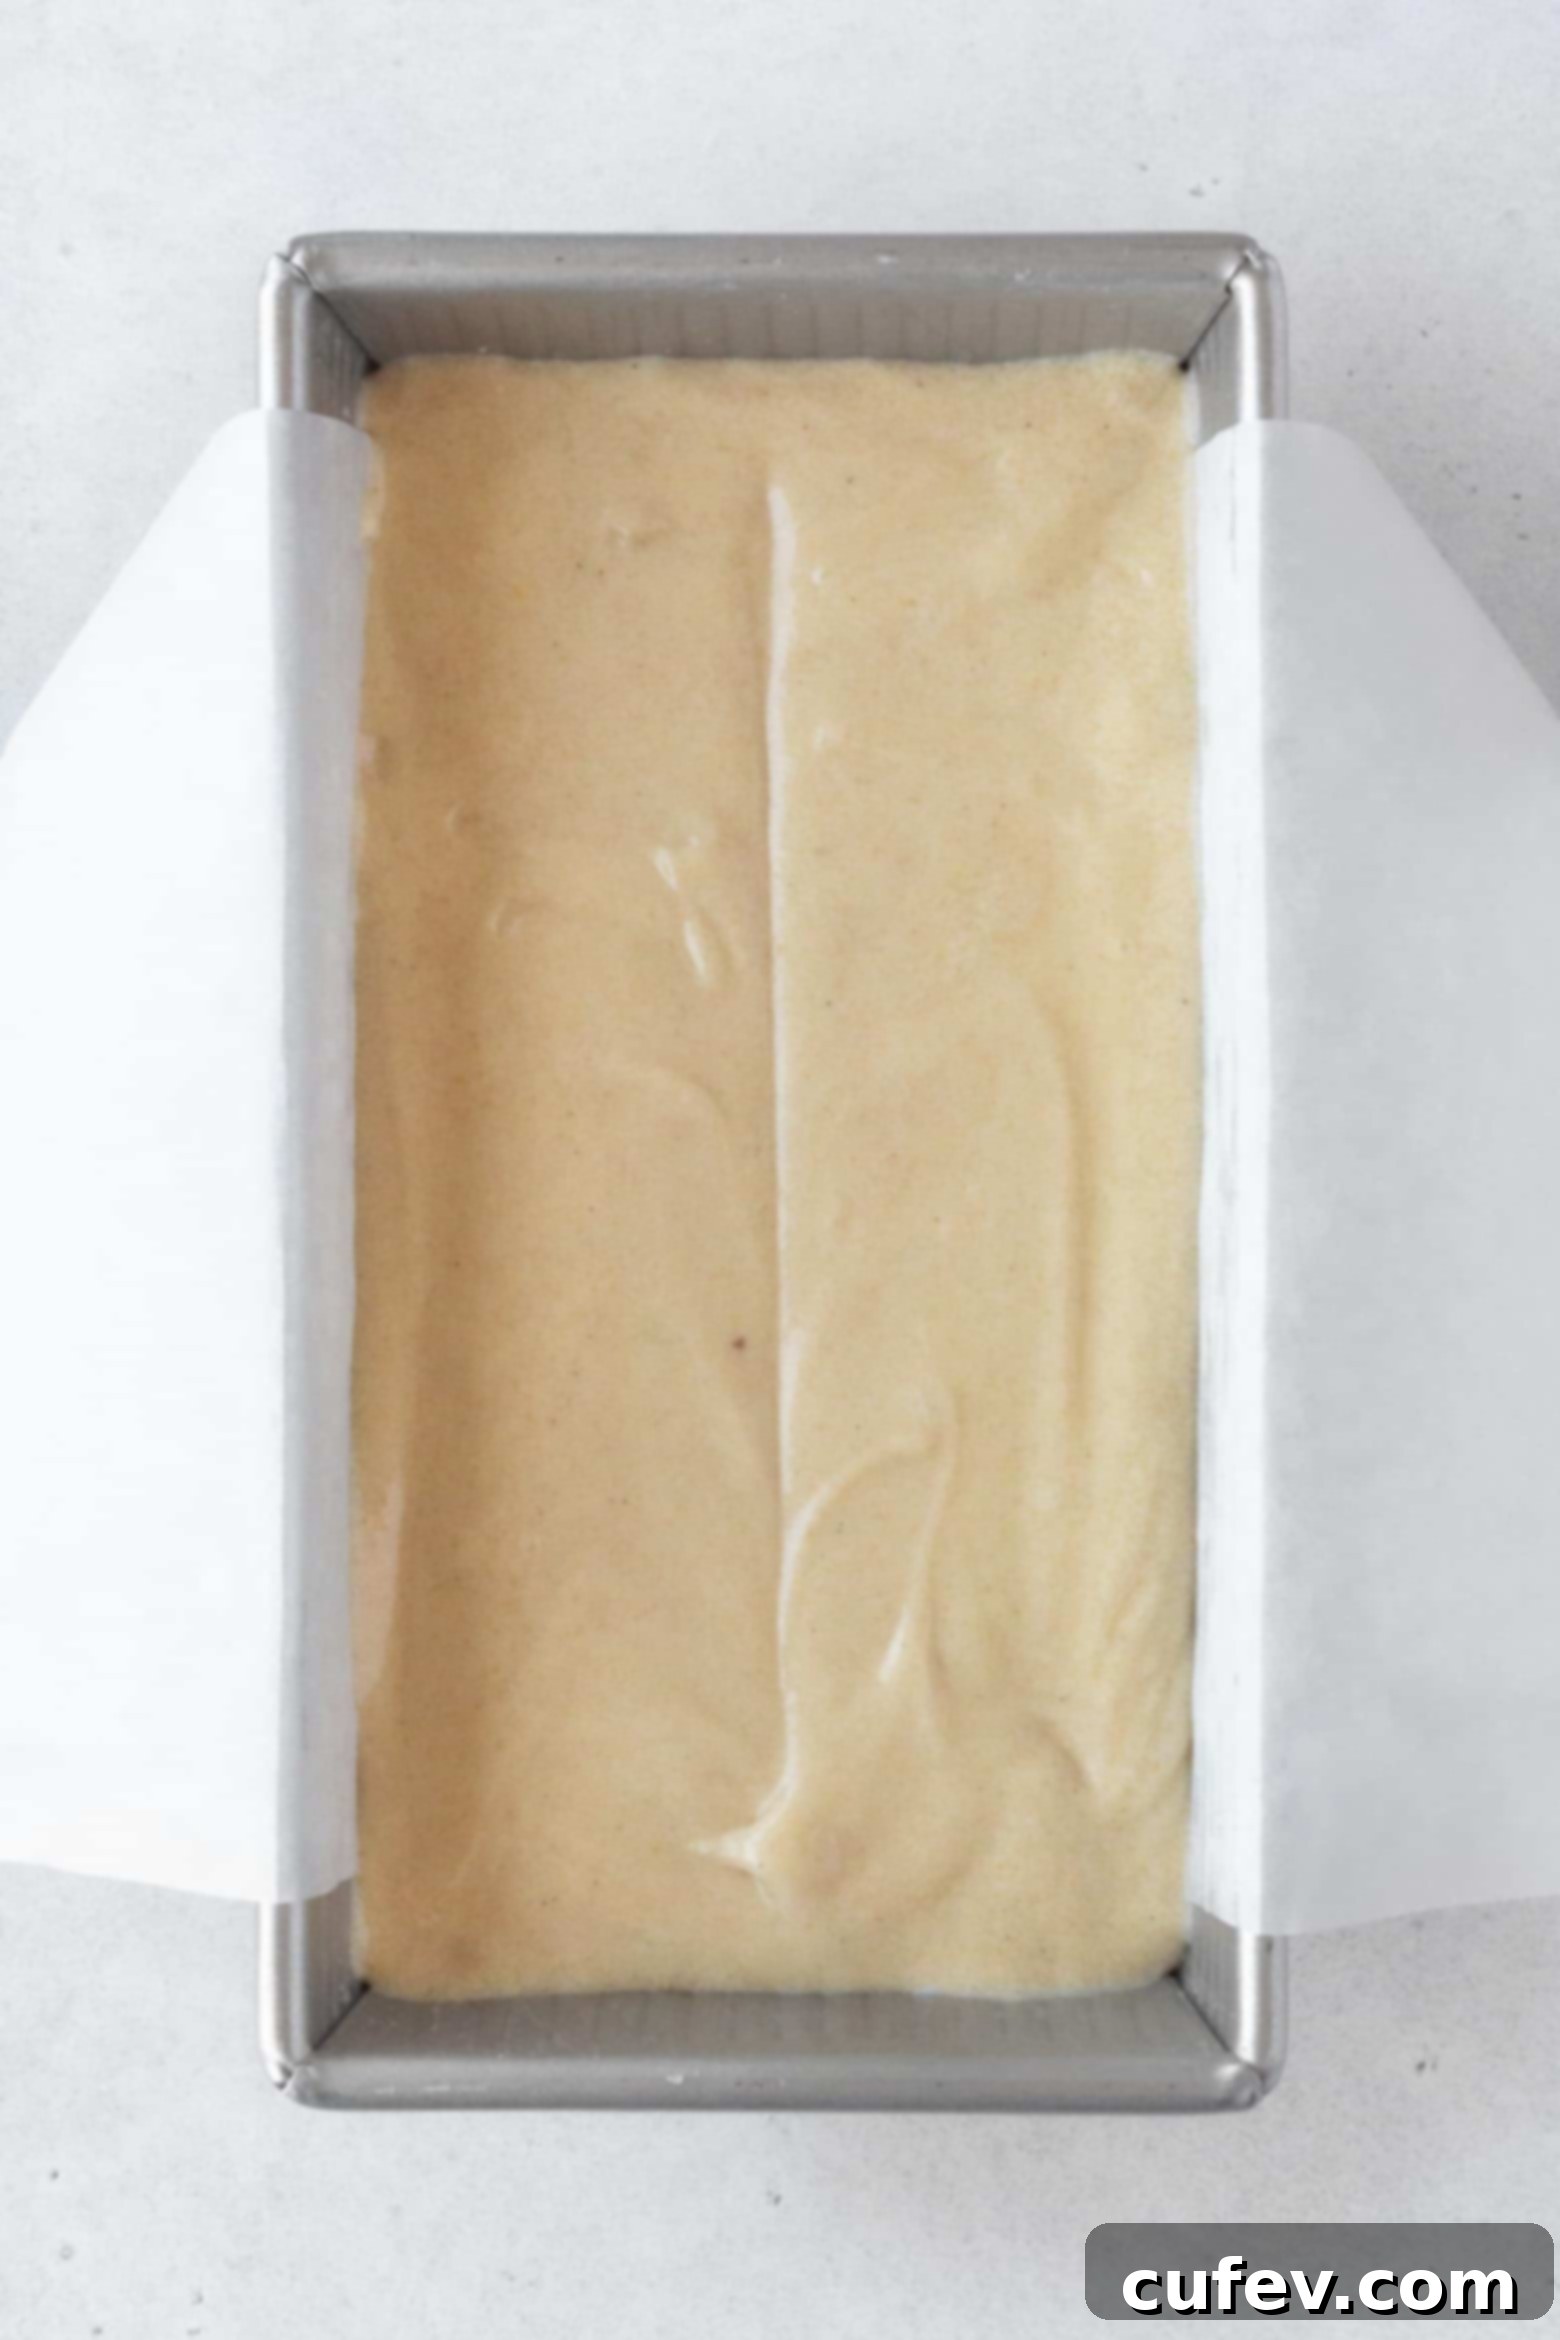
- While the batter rests, preheat your oven to 350°F (180°C). Prepare an 8.5 x 4.5 inch loaf pan by thoroughly greasing it, then lining it with parchment paper. Leave an overhang on the longer sides to easily lift the cake out later without damaging it.
- Carefully pour the rested batter into the prepared loaf pan. Use an offset spatula or the back of a spoon to gently smooth the surface evenly. Bake in the preheated oven for approximately 1 hour. Keep a close eye on the cake; if it starts to brown too quickly on top before it’s fully cooked through, loosely tent the pan with aluminum foil to prevent burning. The cake is done when a wooden skewer or toothpick inserted into the center comes out clean or with only moist crumbs attached.
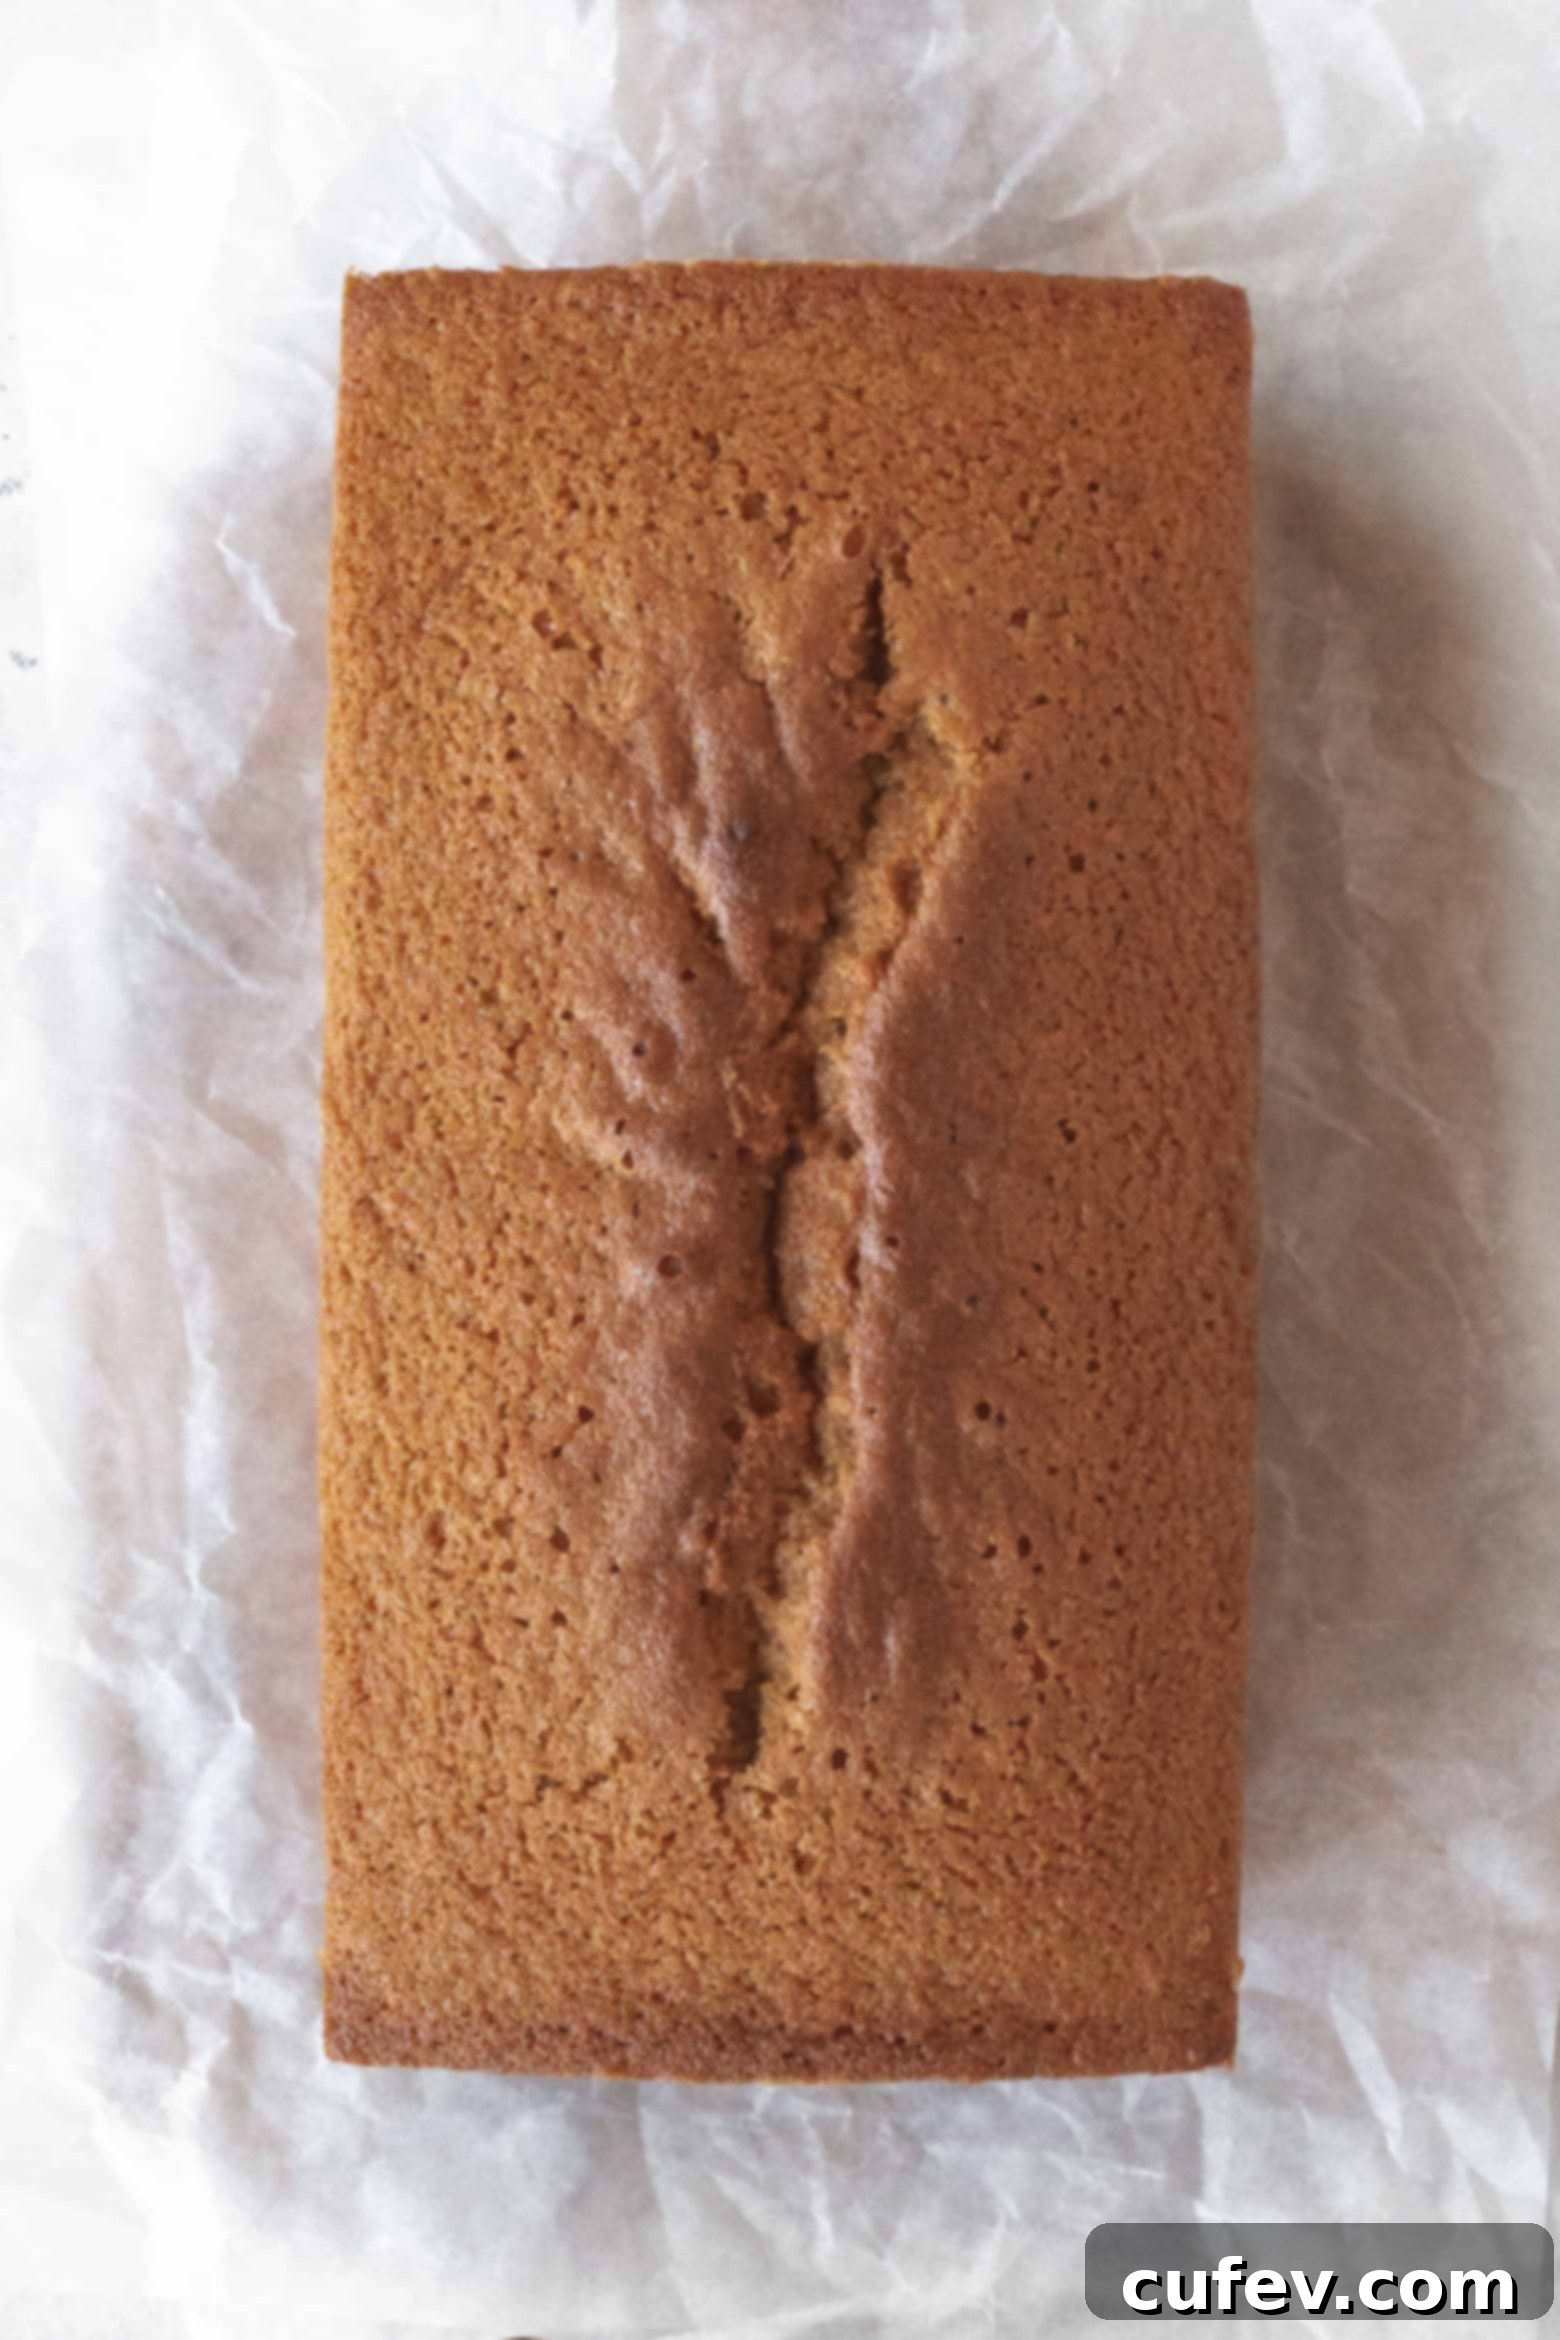
- Once baked, remove the pound cake from the oven and let it rest in the pan for 10-15 minutes on a wire rack. This allows the cake to firm up slightly and finish setting before unmolding. After resting, carefully use the parchment paper overhang to lift the cake out of the pan and transfer it directly to a wire rack to cool completely. Cooling completely is crucial for all gluten-free baked goods to achieve their final structure and prevent crumbliness or a gummy texture.
Recipe Pro-Tips for a Perfect Gluten-Free Pound Cake
Achieving a truly outstanding gluten-free pound cake requires attention to a few key details. These professional tips will help you bake a cake that’s consistently moist, tender, beautifully domed, and perfectly delicious every single time.
- Bring all ingredients to room temperature. This is perhaps one of the most crucial tips for any successful baking, especially for pound cakes where the creaming method is vital. When butter, eggs, and milk are at room temperature, they emulsify much more easily and uniformly, creating a smooth, stable batter. Cold butter won’t cream properly, leading to a dense cake, and cold eggs or milk can cause the butter mixture to curdle, hindering proper incorporation of air and leading to a less tender result. Plan ahead and take ingredients out of the fridge at least an hour (or up to two hours) before you start baking.
- Cream the butter and sugar really well. Do not rush this step! We’re beating them for a total of about 10 minutes, and this extended creaming process is essential. It incorporates a significant amount of air into the butter and sugar mixture, which contributes directly to the cake’s final lift and tender texture. This process acts as a crucial leavening step for dense cakes like pound cake, as the tiny air pockets expand in the oven. The mixture should be noticeably lighter in color, significantly fluffier, and increased in volume.
- If the batter curdles, increase the mixer speed. If your eggs or milk were slightly too cold when added, or if they were incorporated too quickly, the batter might appear visibly curdled or separated. Don’t panic, this can often be remedied! Simply increase the speed of your stand mixer to medium-high and beat for another minute or two. The increased shearing force of the mixer will help to re-emulsify the mixture, bringing the batter back to a homogenous, smooth, and cohesive consistency.
- Let the batter rest. This step is particularly important and often overlooked in gluten-free baking. Resting the batter for 30 minutes before baking allows the various gluten-free flours and starches to properly hydrate. This absorption of moisture is key to preventing a gritty or sandy texture in the final product and ensuring a wonderfully smooth, tender, and moist pound cake. It gives the flours time to fully swell and soften.
- Use a metal loaf pan. While glass loaf pans are common and convenient, they are not ideal for pound cakes. Glass heats up slowly and inconsistently, causing the batter to bake unevenly and often resulting in a shorter, less domed cake with potentially burnt edges and an undercooked center. For the best results, opt for a light-colored metal pan. Metal conducts heat more efficiently and evenly, allowing the heat to penetrate the center of the loaf faster, which encourages a beautiful, high dome and thorough, even baking.
- Score the surface of the batter. For that classic pound cake appearance with a perfect dome and a neat crack down the center, gently score the surface of your batter before baking. After pouring the batter into the pan and smoothing the top, use a knife (lightly oiled to prevent sticking) to draw a vertical line down the exact center. This encourages the cake to rise and crack elegantly along that line, giving it that professional bakery look.
- Let the pound cake cool completely. This cannot be stressed enough, especially for gluten-free baked goods. Just like traditional cakes, gluten-free pound cakes continue to cook and set as they cool. Slicing it while still warm can lead to a gummy texture, a crumbly mess, or it might simply fall apart. Patience is a virtue here; wait until the cake is completely cooled to room temperature before slicing to enjoy its optimal texture, flavor, and structural integrity.
- Add some mix-ins to switch things up. This gluten-free pound cake is a wonderfully versatile canvas, making it perfect for customization! Feel free to incorporate your favorite additions to create new flavor profiles. Fold in a cup of mini chocolate chips for a rich, comforting treat, fresh blueberries for a burst of fruitiness, or incorporate lemon zest and a hint of lemon juice to create a vibrant and tangy gluten-free lemon pound cake.
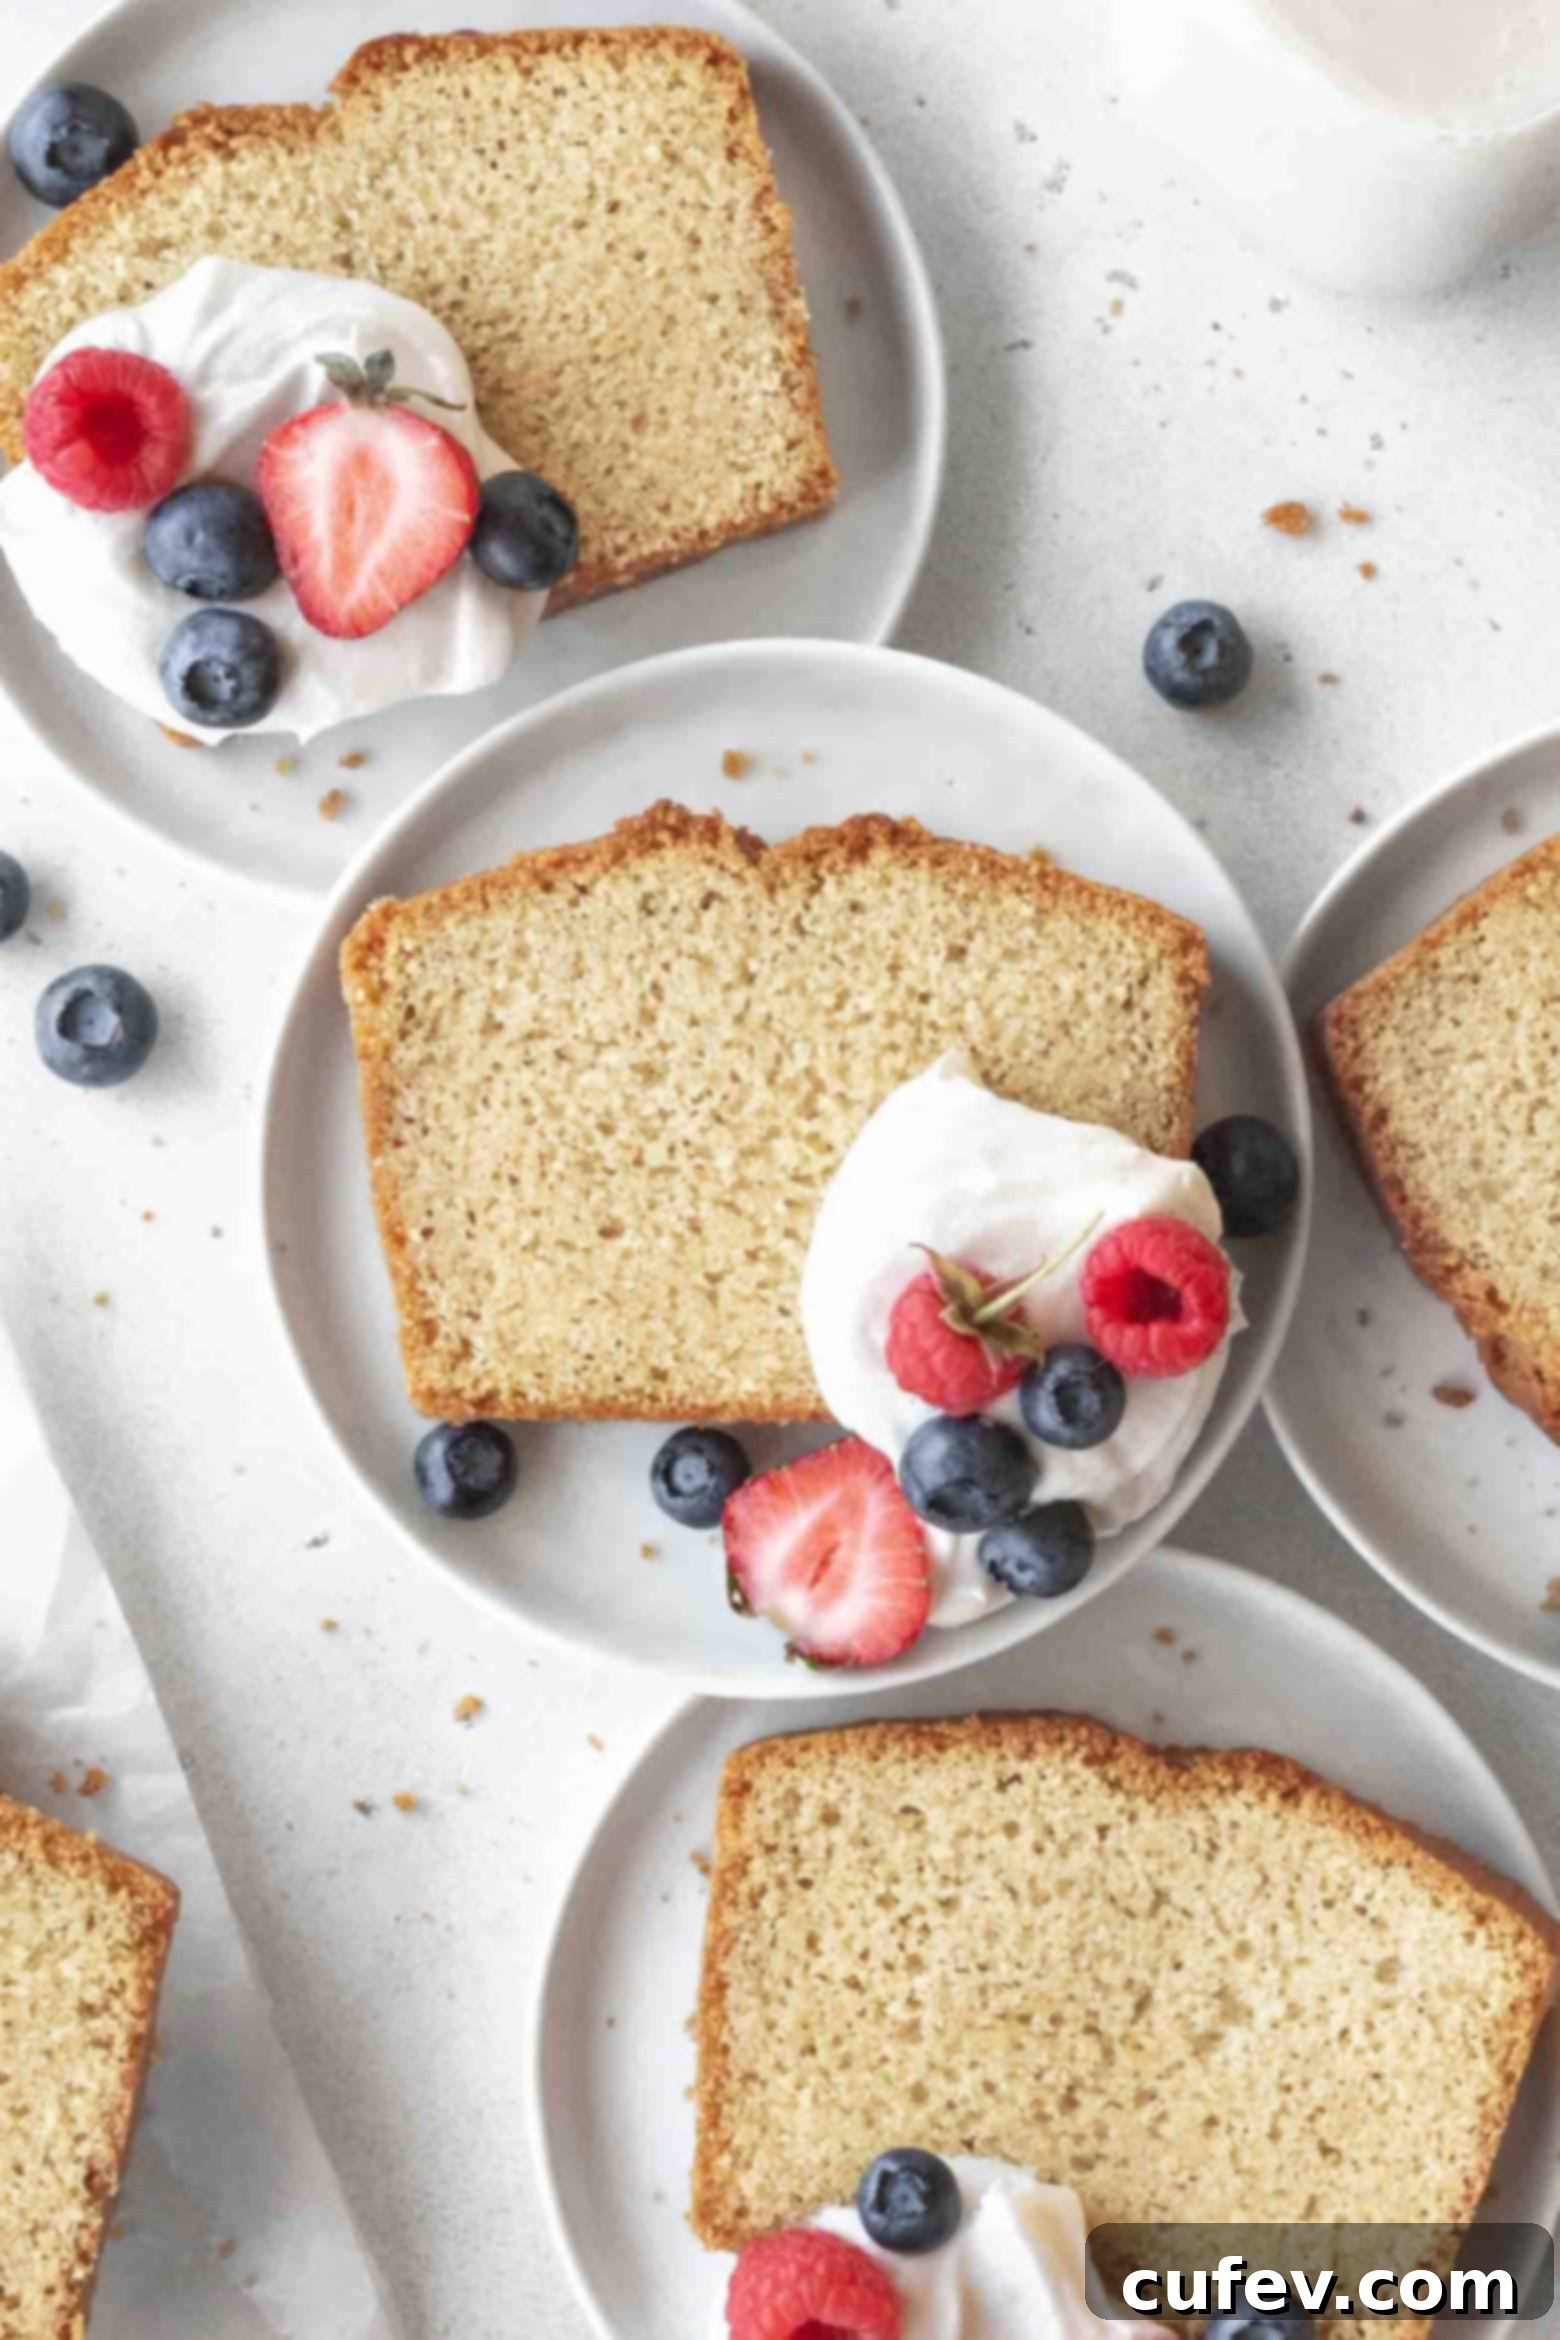
Delicious Serving Suggestions for Your Gluten-Free Pound Cake
The beauty of a classic pound cake, especially this tender gluten-free version, is its incredible versatility. It acts as a perfect blank canvas, pairing beautifully with a wide array of toppings and accompaniments. Get creative and enjoy!
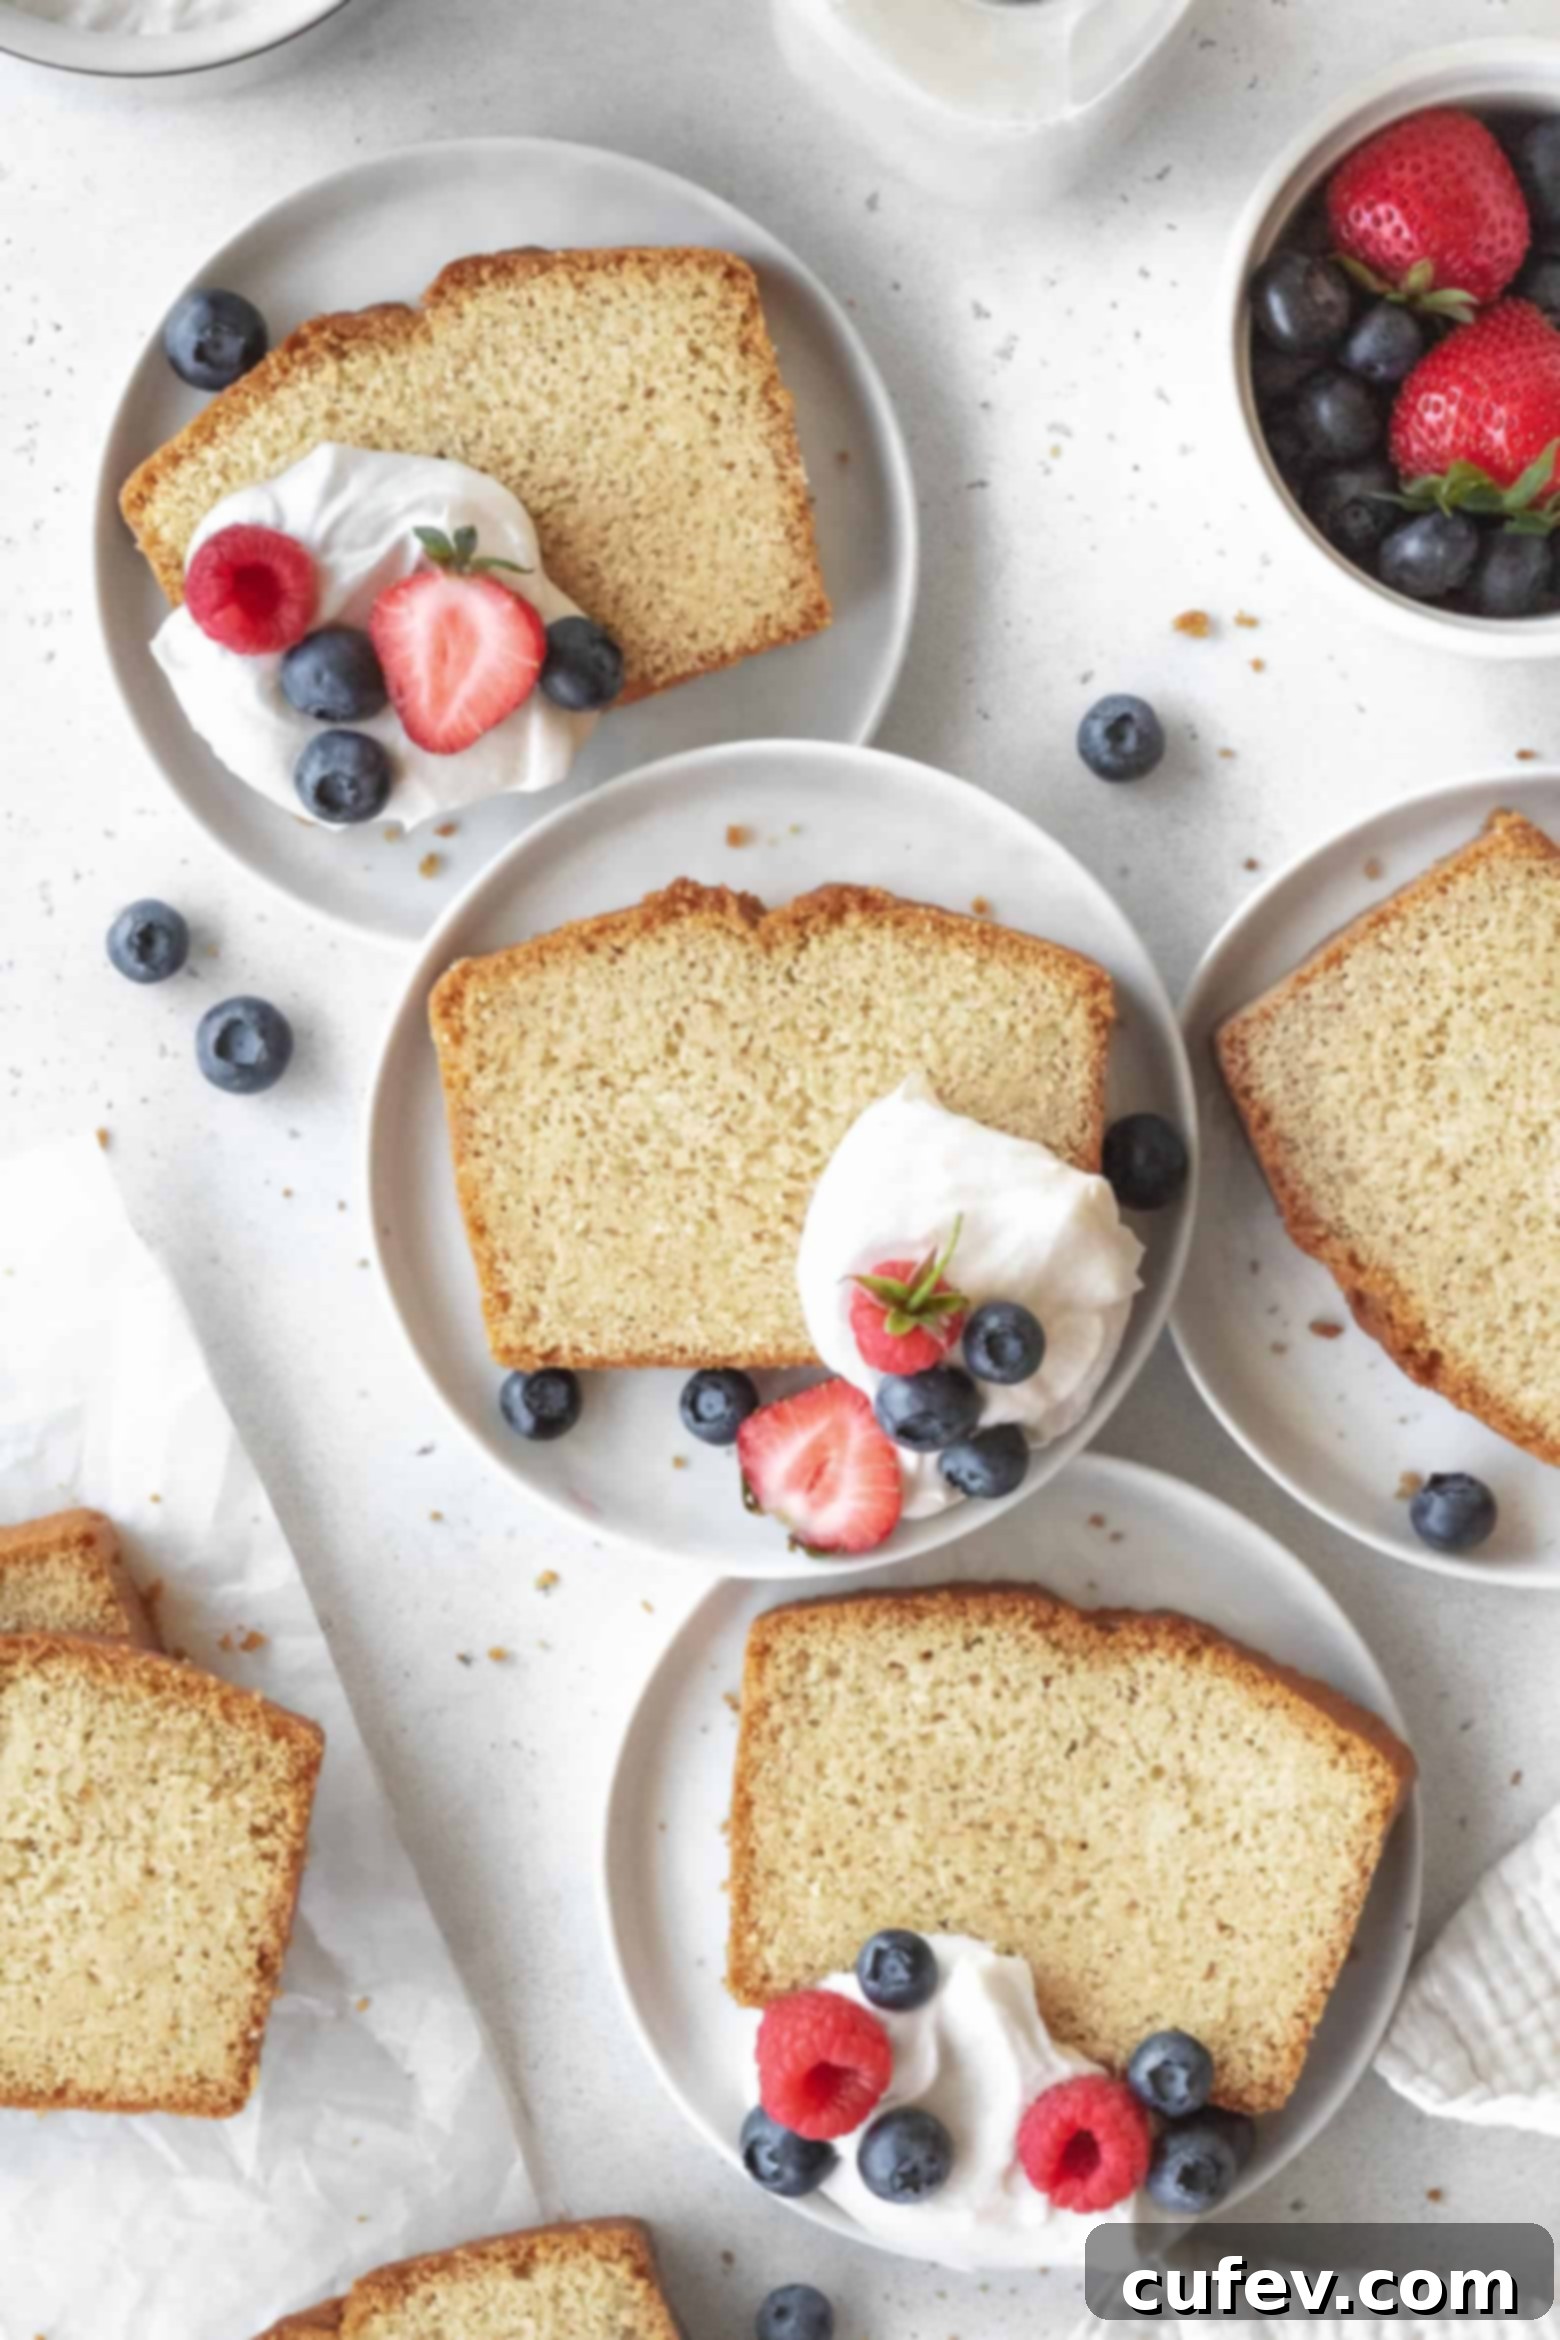
- Whipped cream – A light and airy dollop of freshly whipped cream is a timeless and elegant pairing, adding a cloud-like texture that complements the dense cake. For a dairy-free option, use rich and creamy coconut whipped cream.
- Fresh fruit – Seasonal fresh berries (such as juicy strawberries, sweet blueberries, or tart raspberries) or sliced stone fruit (like ripe peaches or plums) add a lovely contrast in flavor, color, and texture. Grilled fruit, such as caramelized peaches or pineapple, can also be an unexpected and delicious warm topping.
- Defrosted mixed berries – For an effortless and vibrant fruit sauce, simply defrost a bag of mixed berries. As they thaw, they naturally release their delicious juices, creating a quick and easy topping that’s bursting with sweet-tart flavor without any extra effort.
- Jam or fruit curd – Elevate your slice with a generous spread of your favorite fruit jam – apricot, raspberry, or strawberry work wonderfully. A zesty lemon curd also offers a delightful tang that cuts through the richness of the cake.
- Melted chocolate – A simple drizzle of melted dark, milk, or white chocolate adds a touch of rich decadence and can satisfy any chocoholic’s craving. Melted Nutella or a dairy-free chocolate hazelnut spread also makes a fantastic and easy topping.
- Caramel sauce – Indulge with a generous pour of warm homemade or high-quality store-bought caramel sauce. For an extra gourmet touch and to balance the sweetness, sprinkle with flaky sea salt.
- Glaze – Create a simple yet elegant glaze by whisking powdered sugar with a small amount of lemon juice (for tang) or milk (for a neutral flavor) until smooth and pourable. Drizzle it generously over the cooled loaf and allow it to set before slicing for a beautifully finished, sweet, and slightly crisp topping.
- Ice cream – What doesn’t go well with ice cream? A scoop of creamy vanilla bean, refreshing strawberry, or even a rich chocolate ice cream transforms your pound cake into a delightful à la mode dessert, especially when the cake is slightly warmed.
- Powdered sugar – For a minimalist yet sophisticated presentation, simply dust the entire cooled loaf with a fine, even layer of powdered sugar before slicing. This adds a delicate sweetness and a beautiful visual appeal.
Beyond simple toppings, individual slices of pound cake can be lightly grilled or toasted in a pan for a unique texture and subtle caramelization. Alternatively, cube the cake and layer it into a beautiful trifle with fresh fruit, custards, and whipped cream for an impressive and elegant dessert perfect for entertaining!
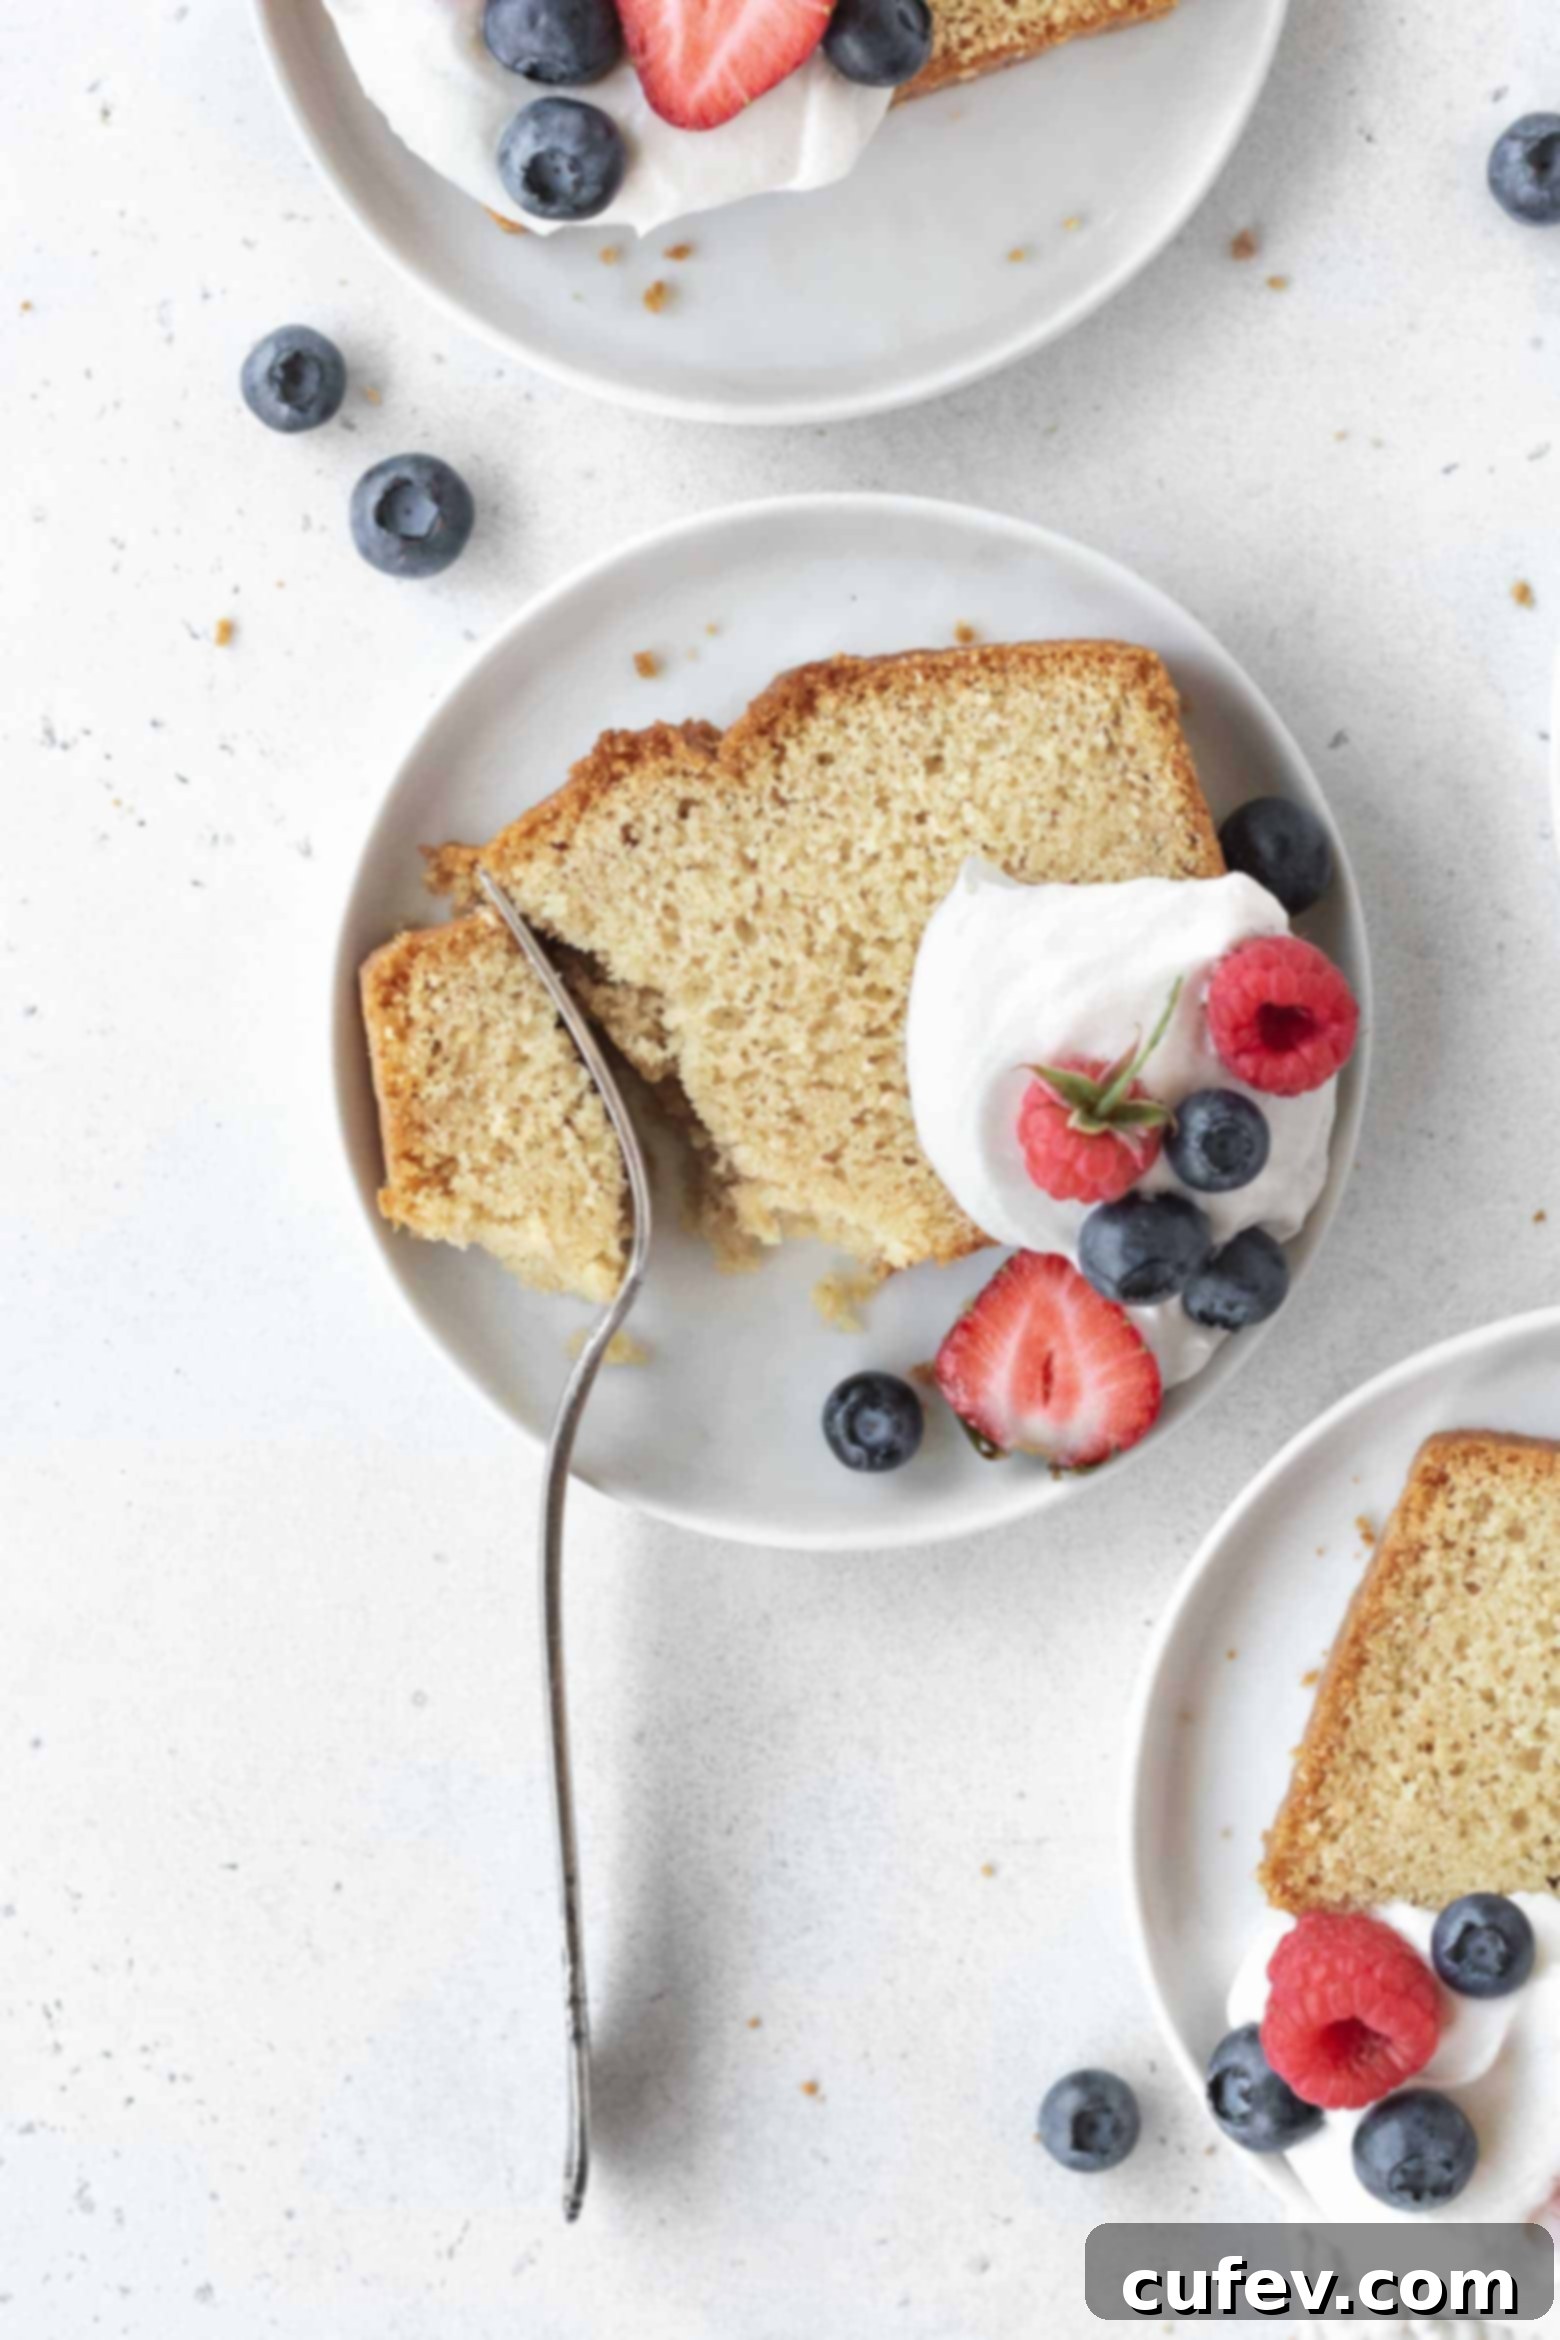
Storage Directions for Lasting Freshness
Proper storage is key to keeping your gluten-free pound cake moist and delicious for as long as possible. Given its tender nature, a little care in storage goes a long way in preserving its delightful texture and flavor.
If you anticipate enjoying the pound cake within a few days, store it at room temperature in an airtight container. This prevents it from drying out and keeps it fresh. To maximize freshness and prevent the cake from staling, try to only slice the amount you intend to serve at a given time. Pre-slicing the entire loaf exposes more surface area to air, which can cause the leftover slices to dry out more quickly. When stored correctly, this pound cake will maintain its excellent quality at room temperature for approximately 3 days.
For longer storage, or if you’ve baked a large batch and want to enjoy it over several weeks, the freezer is your best friend.
Can You Freeze Gluten-Free Pound Cake?
Absolutely, freezing is an excellent way to preserve the freshness and flavor of your gluten-free pound cake for up to 3 months without compromising its quality. To freeze, first allow the cake to cool completely to room temperature – this is crucial to prevent ice crystals from forming. Then, slice the pound cake into individual portions. Wrap each slice tightly with plastic wrap, ensuring no air gaps, followed by a layer of aluminum foil. This double wrapping provides maximum protection against freezer burn and preserves moisture. Place the wrapped slices into an airtight freezer-safe container or a heavy-duty freezer bag, expelling as much air as possible before sealing. When you’re ready to enjoy a slice, simply remove it from the freezer and let it thaw at room temperature for an hour or two, or gently warm it in the microwave or oven for a freshly baked taste.
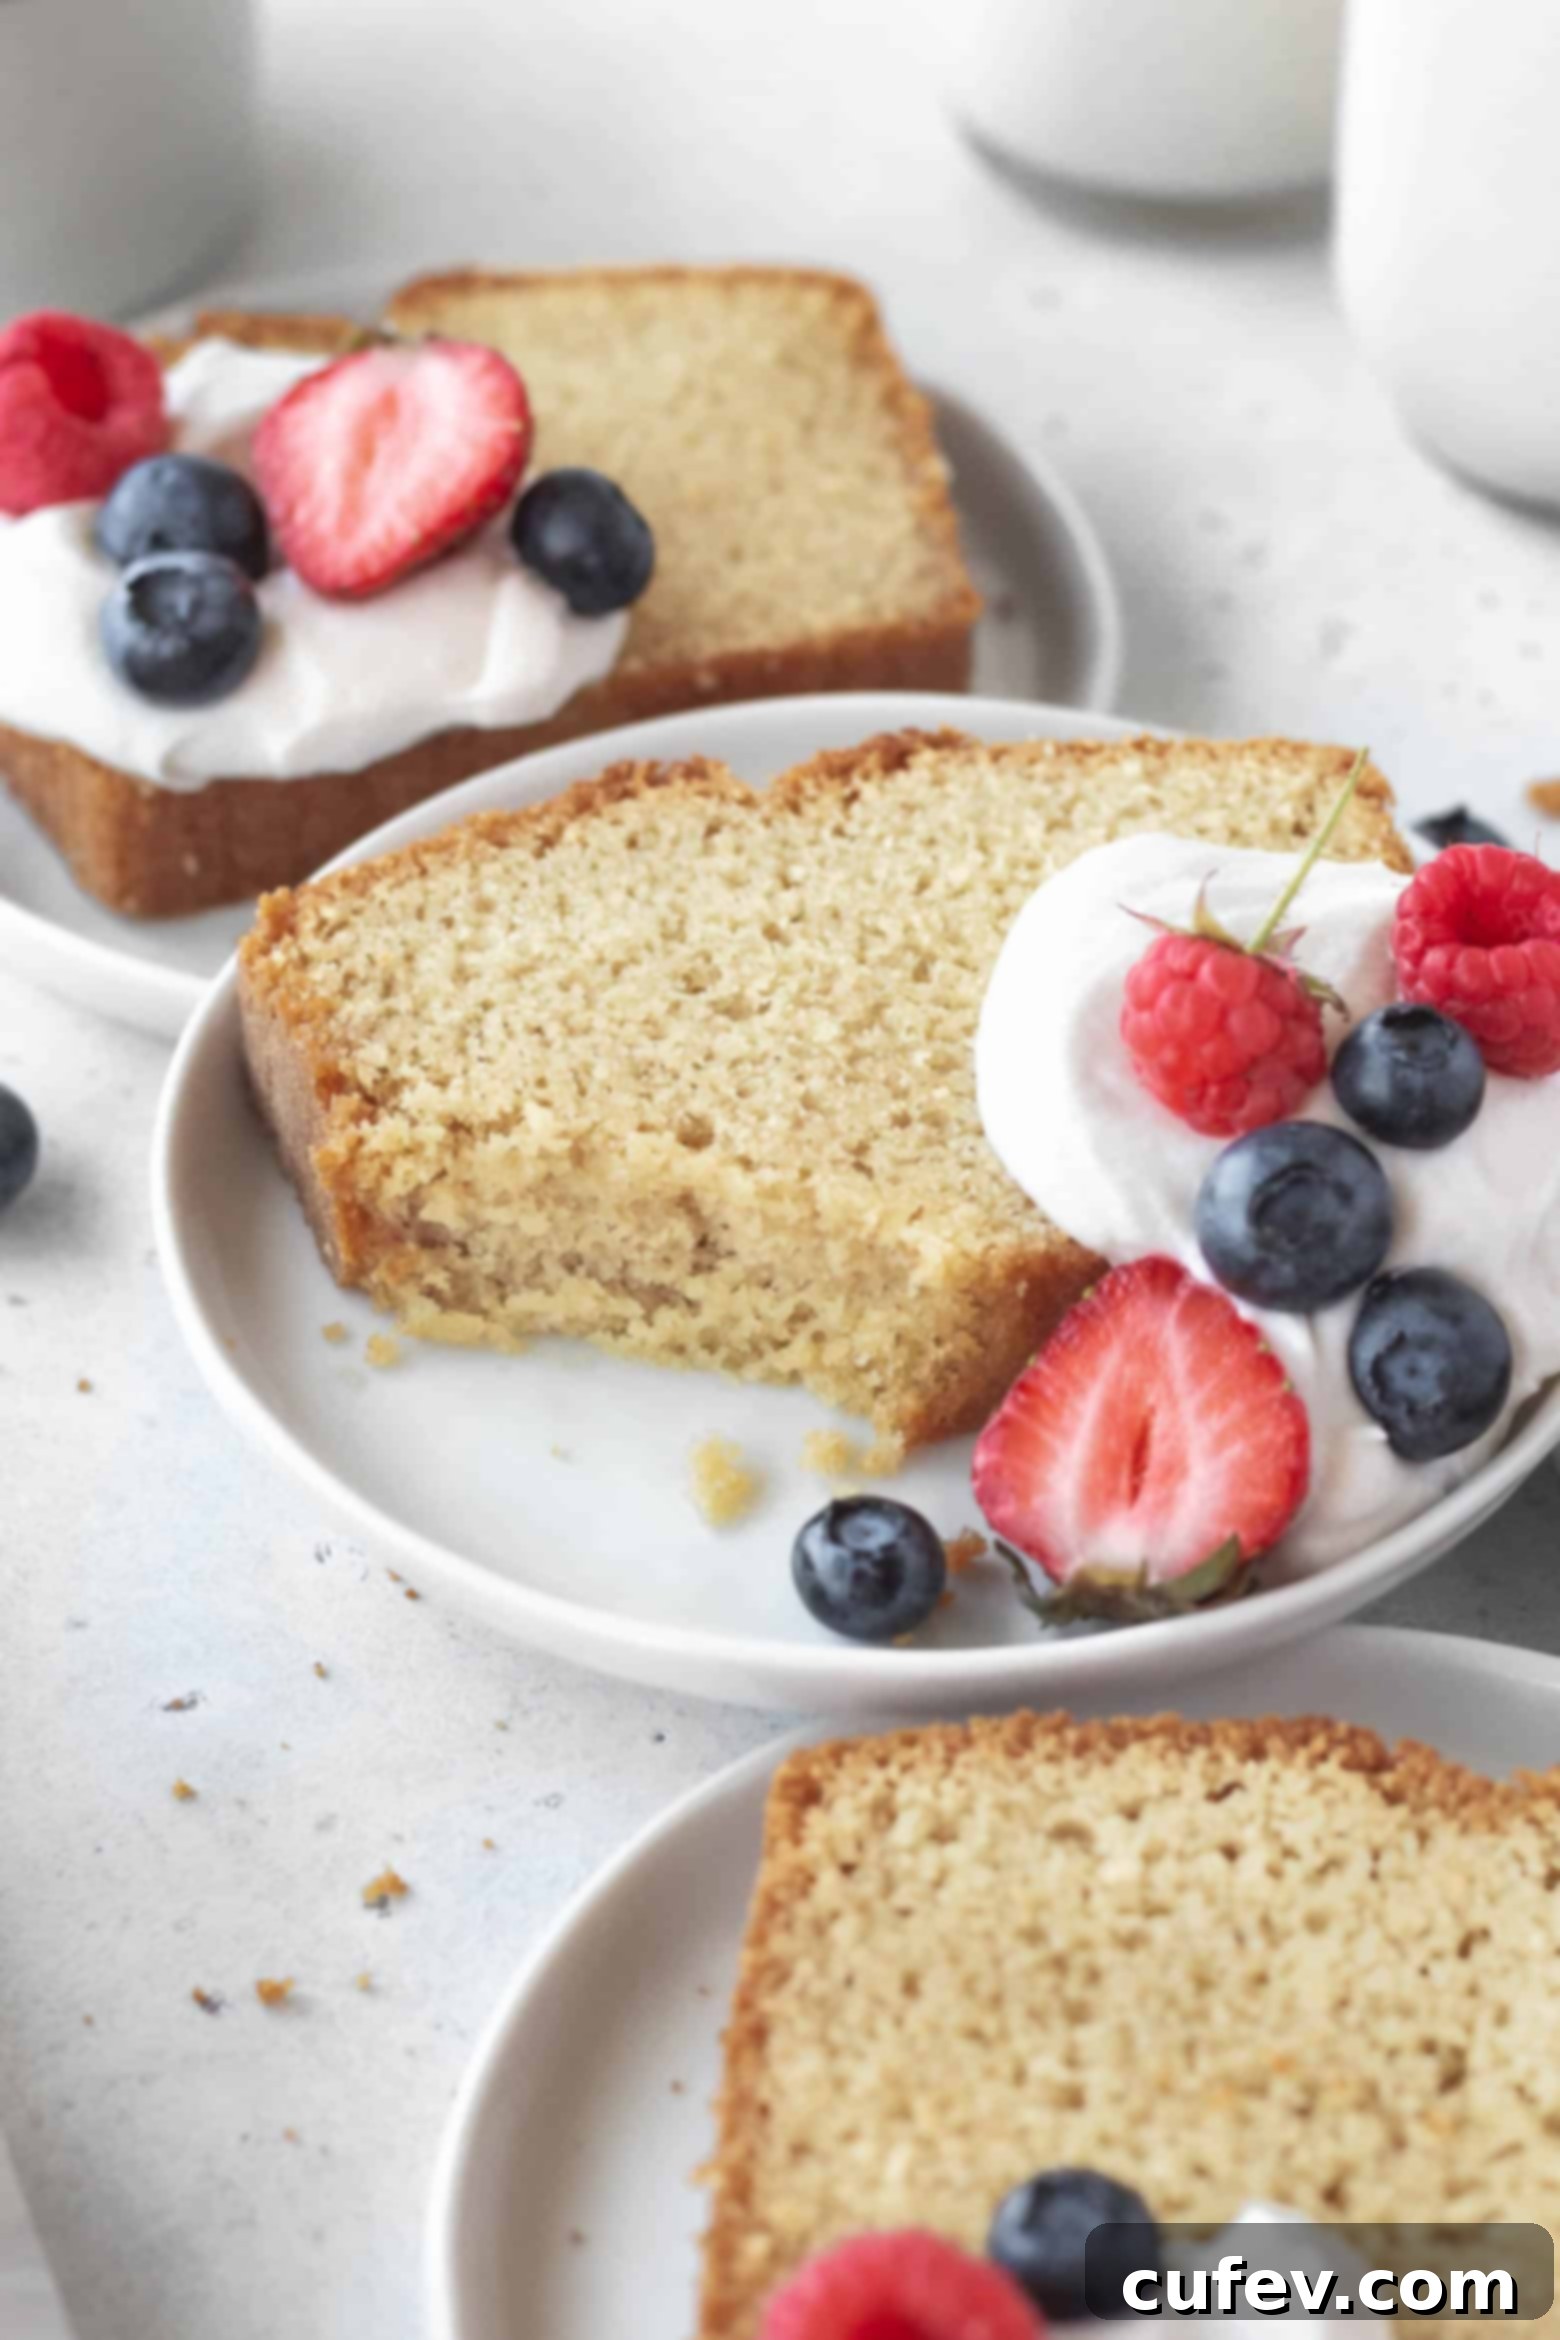
Frequently Asked Questions About Gluten-Free Pound Cake
Pound cake earned its name from its original, classic recipe, which famously called for a pound each of four main ingredients: butter, sugar, eggs, and flour. Historically, these cakes did not include chemical leavening agents like baking soda or baking powder. Their rise and light texture relied entirely on the air whipped into the butter and sugar during the creaming process. To adapt pound cake for a gluten-free diet, we need to adjust the ratios of ingredients and strategically use baking soda and baking powder to ensure a good rise and tender crumb, compensating for the lack of gluten structure while still maintaining its characteristic dense, rich profile.
Keeping gluten-free cakes moist is a common concern, but entirely achievable with a few key techniques! My top tips include: 1) Avoid overbaking at all costs; an overbaked cake is a dry cake. Always check for doneness using a wooden skewer or toothpick. 2) Only slice the portions you plan to serve immediately, as cut surfaces expose the cake’s interior to air, which dries it out faster. 3) For added moisture or to revive a slightly dry cake, you can gently poke small holes across the top with a fork and brush it with a simple syrup (equal parts sugar and water, simmered until sugar dissolves and cooled). 4) Ensuring your ingredients are at room temperature, using adequate fat (like butter and shortening), and allowing the batter to properly rest also significantly contributes to a moist final product.
The primary distinction between pound cake and what’s typically considered a “regular” or layer cake lies in their density, fat content, and flavor profile. Pound cake is renowned for its dense, rich, and intensely buttery texture, with butter being the dominant flavor. It’s often baked in a loaf or bundt pan. Regular cakes, such as sponge cakes or sheet cakes, are generally lighter, fluffier, and often have a more tender, airy crumb due to higher ratios of liquid and often more leavening. Their flavor profiles can vary widely, often featuring vanilla, chocolate, or other extracts as the main flavor, whereas pound cake’s essence is its profound butteriness and simple elegance.
Yes, this gluten-free pound cake recipe can be easily adapted to be dairy-free without significant compromise on taste or texture. Simply substitute the unsalted dairy butter with a high-quality, block-style vegan butter (e.g., Miyoko’s Kitchen or Earth Balance baking sticks are popular choices). Ensure your chosen vegan butter is suitable for baking, as some spreads contain too much water. For the milk, use any unsweetened non-dairy milk such as almond, soy, or oat milk. As an extra precaution, always double-check your chosen gluten-free flour blend, as some can contain milk powder; opt for a certified dairy-free blend if strict adherence is required.
A gritty or sandy texture in gluten-free baked goods is a common issue, often due to the gluten-free flours not being properly hydrated. Gluten-free flours, especially rice flour, have a different absorption rate and can take longer to absorb moisture compared to wheat flour. To combat this, ensure you are using a good quality measure-for-measure gluten-free flour blend that is balanced with various starches. Crucially, allow your batter to rest for the recommended 30 minutes before baking. This resting period gives the flours ample time to absorb the liquid thoroughly, resulting in a smoother, more tender, and significantly less gritty crumb in your finished pound cake.
Explore More Delicious Gluten-Free Cake Recipes
If you’ve enjoyed this delightful gluten-free pound cake, you’ll be thrilled to discover other fantastic gluten-free cake recipes perfect for any occasion. From tropical delights to comforting classics, there’s a gluten-free cake here for every craving:
- This gluten-free pineapple upside down cake is incredibly moist and fluffy! It’s an absolute treat with its caramelized pineapple topping, especially when served warm with a scoop of vanilla ice cream.
- For a comforting autumn favorite, my gluten-free pumpkin bread is a seasonal must-make, packed with warm spices and a tender crumb. And if you’re looking for an everyday loaf cake that’s always a hit, you can’t go wrong with my classic gluten-free banana bread. Let’s be honest, while they’re called “bread,” they’re definitely cake in disguise – perfect for breakfast or dessert!
- One of my all-time cherished recipes is this exquisite gluten-free lemon poppy seed cake. It’s bursting with vibrant, zesty lemon flavor and boasts an irresistibly moist and delicate texture, making it a refreshing choice for any time of year.
- Calling all chocoholics! My rich and decadent gluten-free chocolate cake recipe and impressive gluten-free German chocolate cake recipe are perfect for satisfying those intense cocoa cravings. They’re both incredibly moist, richly flavored, and surprisingly easy to decorate, making them ideal for celebrations.
- Start your day with something sweet or enjoy a delightful afternoon treat with my flavorful gluten-free coffee cake. With its tender crumb and cinnamon streusel topping, it’s a fantastic choice for brunch or a casual get-together with coffee or tea.
Gluten-Free Pound Cake
Print
Pin
Rate
Ingredients
- 1¼ cups gluten-free measure for measure flour
- 3 tablespoons super fine almond flour
- 3 tablespoons cornstarch
- ½ teaspoon fine salt
- ¼ teaspoon baking soda
- 1½ teaspoons baking powder
- ⅓ cup unsalted butter
- 2½ tablespoons shortening
- 1¼ cups granulated sugar
- 3 large eggs
- ⅓ cup milk
- 2 teaspoons apple cider vinegar
- 1 tablespoon vanilla extract
Instructions
-
In a bowl, whisk together the gluten-free flour, almond flour, cornstarch, salt, baking soda, and baking powder.
-
In a small bowl, add the milk, apple cider vinegar, and vanilla extract.
-
In the bowl of a stand mixer with a paddle attachment, add the butter and shortening, and beat it on high speed for 3 to 4 minutes. Add the granulated sugar and beat for another 6 minutes. Scrape the sides and bottom of the bowl with a spatula and beat for another minute.
-
Add one egg at a time, beating on medium speed and scraping the bowl after each addition.
-
Add a third of the flour mixture and beat it on medium speed. Once the flour is incorporated, scrape the bowl, add half of the milk mixture, and beat it again. Scrape the bowl and repeat the process, ending with the flour mixture.
-
Scrape the bowl to make sure there are no bits of flour hiding and the batter is smooth. Let the batter rest for 30 minutes.
-
While the batter is resting, preheat the oven to 350°F/180°C. Grease and line an 8.5 x 4.5 inch loaf pan with parchment paper.
-
Pour the batter into the loaf pan and smooth the surface. Bake it in the preheated oven for 1 hour. Tent the pan with foil if it’s getting too brown to avoid burning the cake.
-
Let the pound cake rest in the pan for 15 minutes and take it out onto a wire rack to cool completely.
