The Ultimate Guide to Fluffy, Crispy Gluten-Free Waffles: A One-Bowl Recipe for Perfect Breakfasts
Imagine waking up to the aroma of freshly made waffles, golden brown, with crisp edges and a wonderfully soft, fluffy interior. Now imagine all of that, completely gluten-free! These homemade gluten-free waffles are truly a game-changer. They’re incredibly easy to whip up, requiring just one bowl for mixing, making clean-up a breeze. What’s even better is that they’re perfect for meal prepping. I often prepare a larger batch and freeze the extras, ensuring a quick and delicious breakfast is always on hand for those busy mornings.
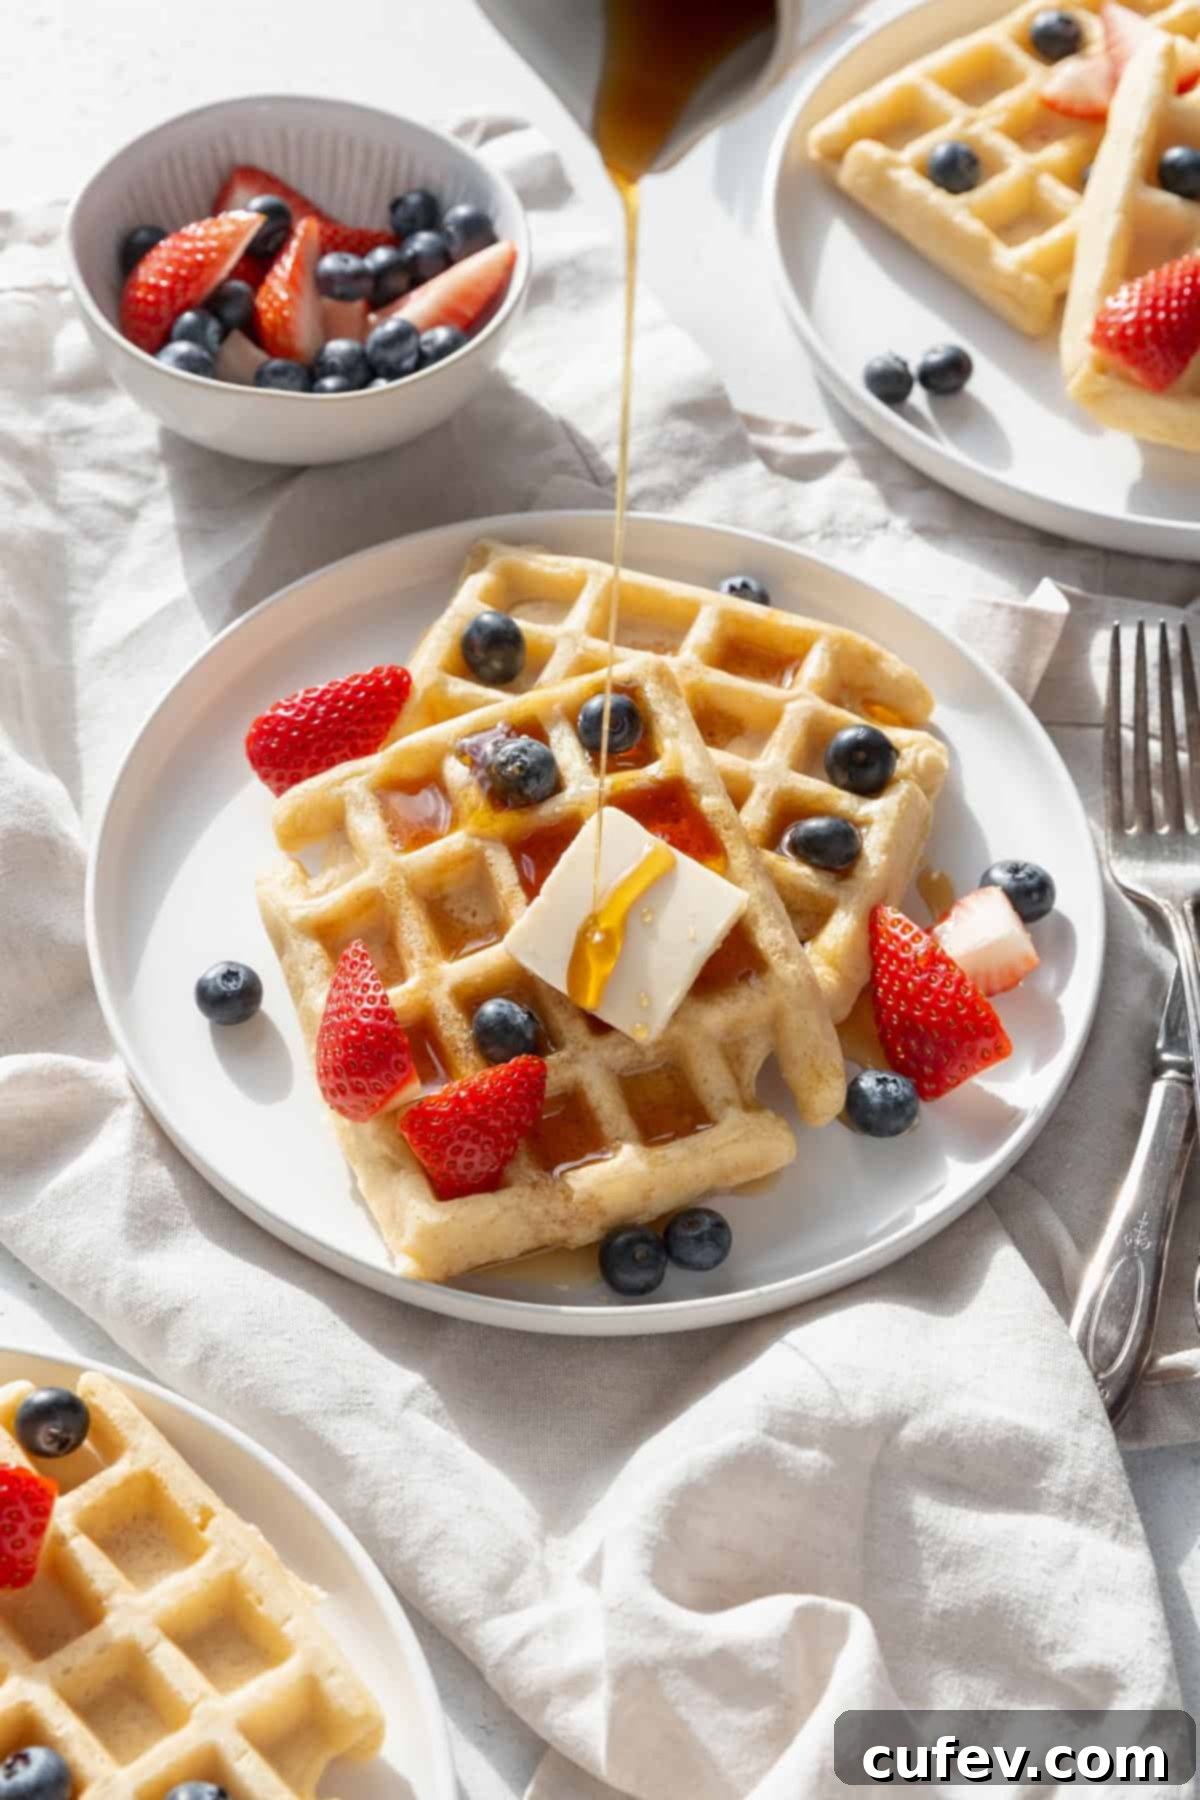
For a long time, I wasn’t a huge fan of waffles, always leaning towards pancakes or French toast for my breakfast indulgence. My previous experiences with store-bought frozen gluten-free waffles left me underwhelmed, often disappointingly bland and lacking in texture. They were either too dense, too crumbly, or simply not satisfying. This changed when I developed this recipe. These homemade gluten-free waffles are everything you dream of: wonderfully crisp on the outside, giving way to a light, fluffy, and slightly chewy center. They strike the perfect balance between indulgence and convenience, making them ideal for a quick breakfast, a delightful brunch centerpiece, or even a satisfying snack that can be stored in the freezer for future cravings.
Making your own gluten-free waffles at home not only saves you money but also allows you to control the quality of ingredients, ensuring you get the best possible flavor and texture. This recipe has been fine-tuned to ensure a consistently delicious result every time, transforming your gluten-free breakfast experience from mundane to magnificent.
Essential Ingredients for Perfect Gluten-Free Waffles
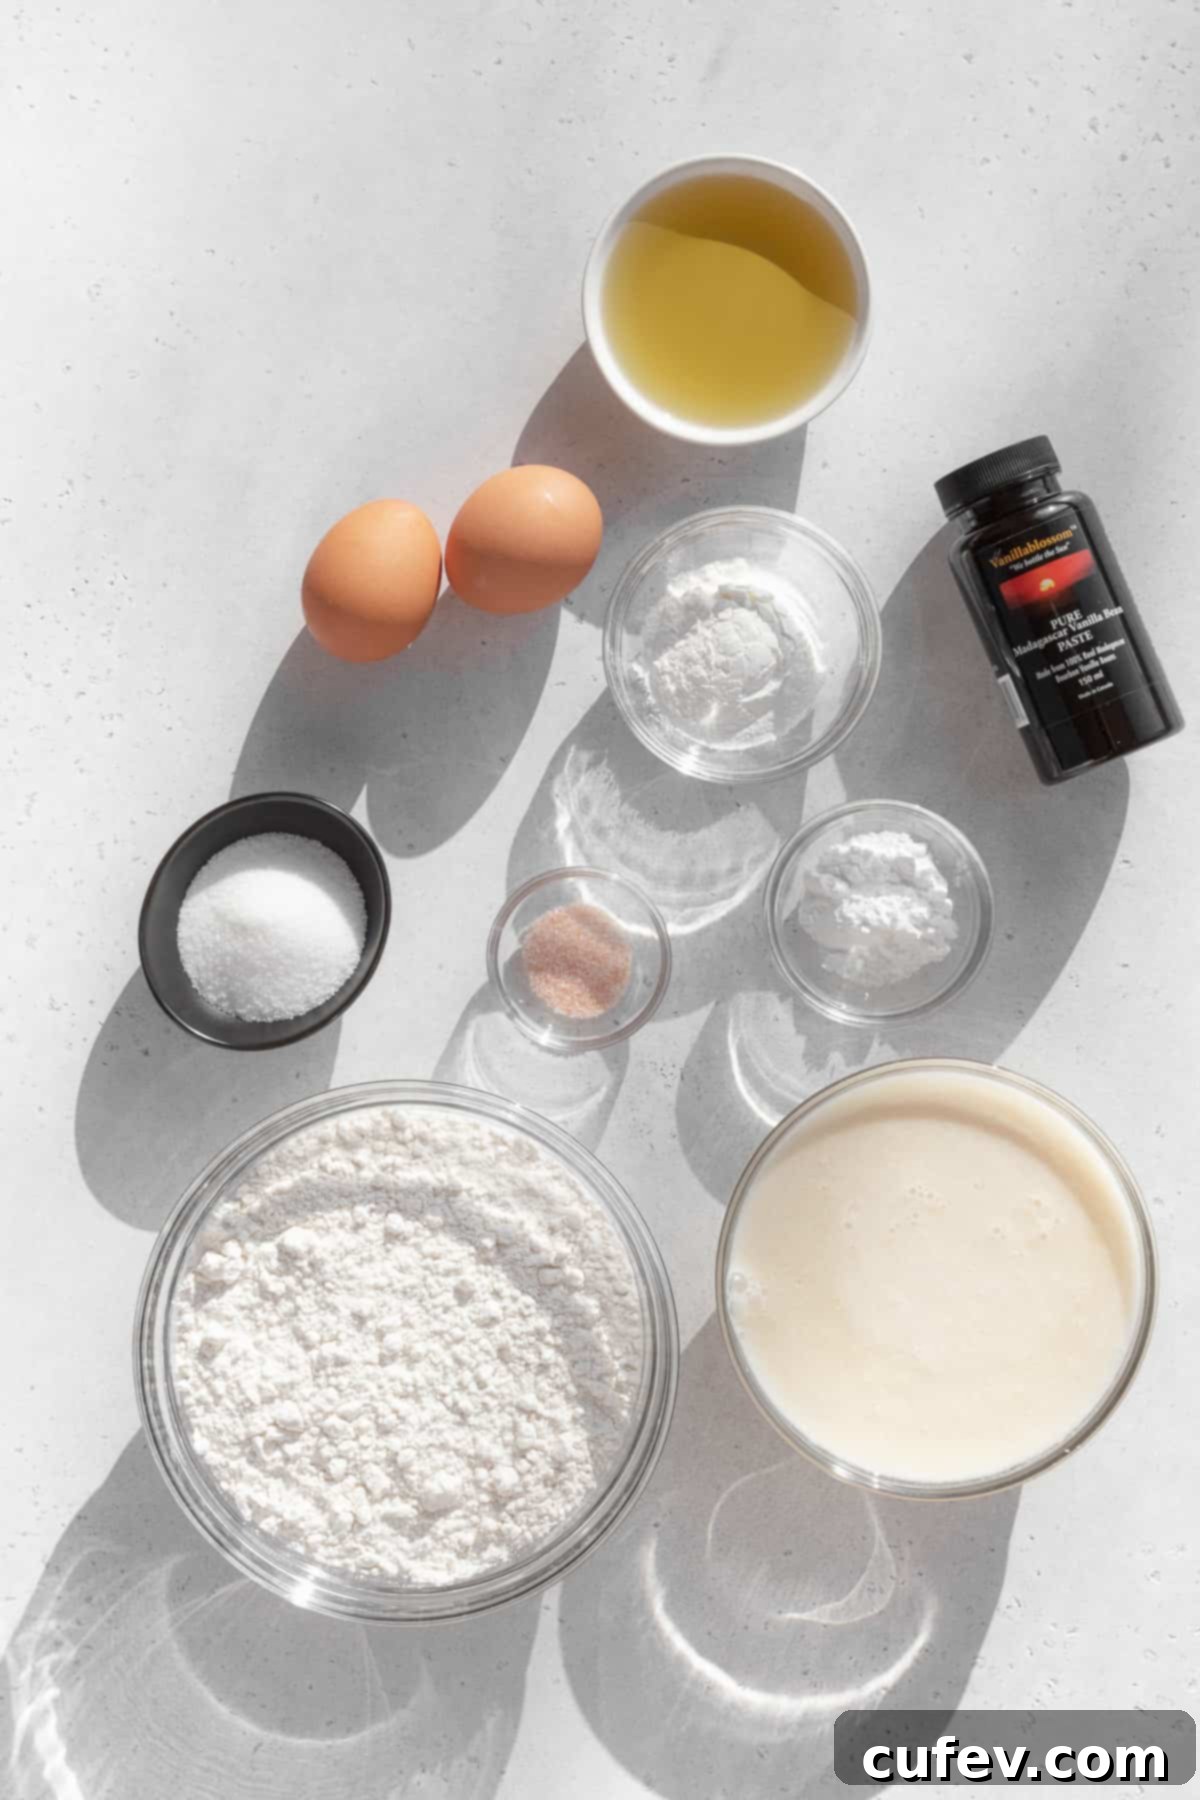
Crafting these delectable gluten-free waffles requires a thoughtful selection of ingredients, each playing a crucial role in achieving that perfect texture and flavor. Here’s a closer look at what you’ll need to create this amazing recipe:
- Gluten-free flour blend. The foundation of our waffles! It’s vital to use a high-quality “measure for measure” or “1-to-1” gluten-free flour blend that already includes xanthan gum. Xanthan gum is essential in gluten-free baking as it mimics the elasticity and structure that gluten provides, preventing your waffles from becoming crumbly. My personal favorite and go-to for consistent results is the Bob’s Red Mill 1-to-1 Baking Flour. Ensure your blend is fresh for the best performance.
- Cornstarch. This is our secret weapon for achieving that desirable tender interior and wonderfully crisp exterior. Cornstarch helps to lighten the batter and prevents the waffles from becoming too dense, contributing to their airy texture and delightful crunch.
- Granulated sugar. While not overly sweet, a small amount of granulated sugar is added for a hint of sweetness, contributing to a golden-brown crust and a softer crumb. It also aids in caramelization during cooking, enhancing the overall flavor and appearance.
- Salt. A pinch of fine salt is crucial for balancing the flavors and enhancing the sweetness of the waffles. Don’t skip it, as it truly brings out the best in the other ingredients.
- Baking powder. This leavening agent is key to making these homemade gluten-free waffles incredibly light and fluffy. A generous tablespoon ensures they rise beautifully in the waffle iron, creating those deep pockets perfect for holding syrup and toppings. Always check that your baking powder is fresh for optimal results.
- Eggs. Large eggs provide essential structure, richness, and moisture to the waffle batter. They help bind the ingredients together and contribute to the overall texture and rise. Make sure your eggs are at room temperature for better incorporation into the batter.
- Buttermilk. Buttermilk is a magic ingredient here. Its acidity reacts with the baking powder, boosting the leavening for an even fluffier waffle. It also adds a distinctive tangy flavor and rich moisture, resulting in a tender crumb. If you don’t have buttermilk, you can easily make a substitute: combine 1 cup (240ml) milk with ¾ cup (180ml) plain yogurt, or add 5 teaspoons of apple cider vinegar (or lemon juice) to regular milk in a measuring cup, let it sit for 5 minutes to curdle, then add remaining milk to make 1¾ cups.
- Oil. A neutral-flavored oil such as avocado oil, light olive oil, or grapeseed oil is perfect for adding moisture and tenderness without imparting any unwanted flavors. It also contributes to the crispness of the waffle. Melted butter can also be used for a richer flavor, but oil typically results in a crispier waffle.
- Vanilla extract. For the best and most aromatic flavor, I highly recommend using pure vanilla extract or vanilla paste. This small addition makes a significant difference, infusing your waffles with a warm, inviting essence.
Exciting Mix-In and Topping Ideas for Your Gluten-Free Waffles
While these gluten-free waffles are undeniably delicious on their own, their neutral yet satisfying base makes them the perfect canvas for a variety of flavorful mix-ins and toppings. Get creative and customize your waffle experience!
Delectable Mix-In Suggestions:
- Chocolate chips: Whether you prefer mini, regular, or dark chocolate, a handful of chocolate chips stirred into the batter adds a sweet, melty surprise.
- Fresh or frozen blueberries: Blueberries burst with flavor when cooked, adding a delightful tartness and vibrant color. Toss frozen berries in a little flour before adding to the batter to prevent them from sinking.
- Chopped walnuts or pecans: For a nutty crunch and added richness, stir in some finely chopped nuts. They toast slightly in the waffle iron, enhancing their flavor.
- Ground cinnamon or pumpkin pie spice: Elevate your waffles with a cozy warmth by adding a teaspoon of ground cinnamon or a blend of pumpkin pie spice to the dry ingredients. Perfect for a fall-inspired breakfast!
- Chopped crispy bacon: For a savory-sweet twist, fold in some crumbled, cooked bacon. The salty crunch perfectly complements the fluffy waffle.
Irresistible Topping Combinations:
Once your waffles are hot off the iron, the fun continues with toppings! Elevate your breakfast with:
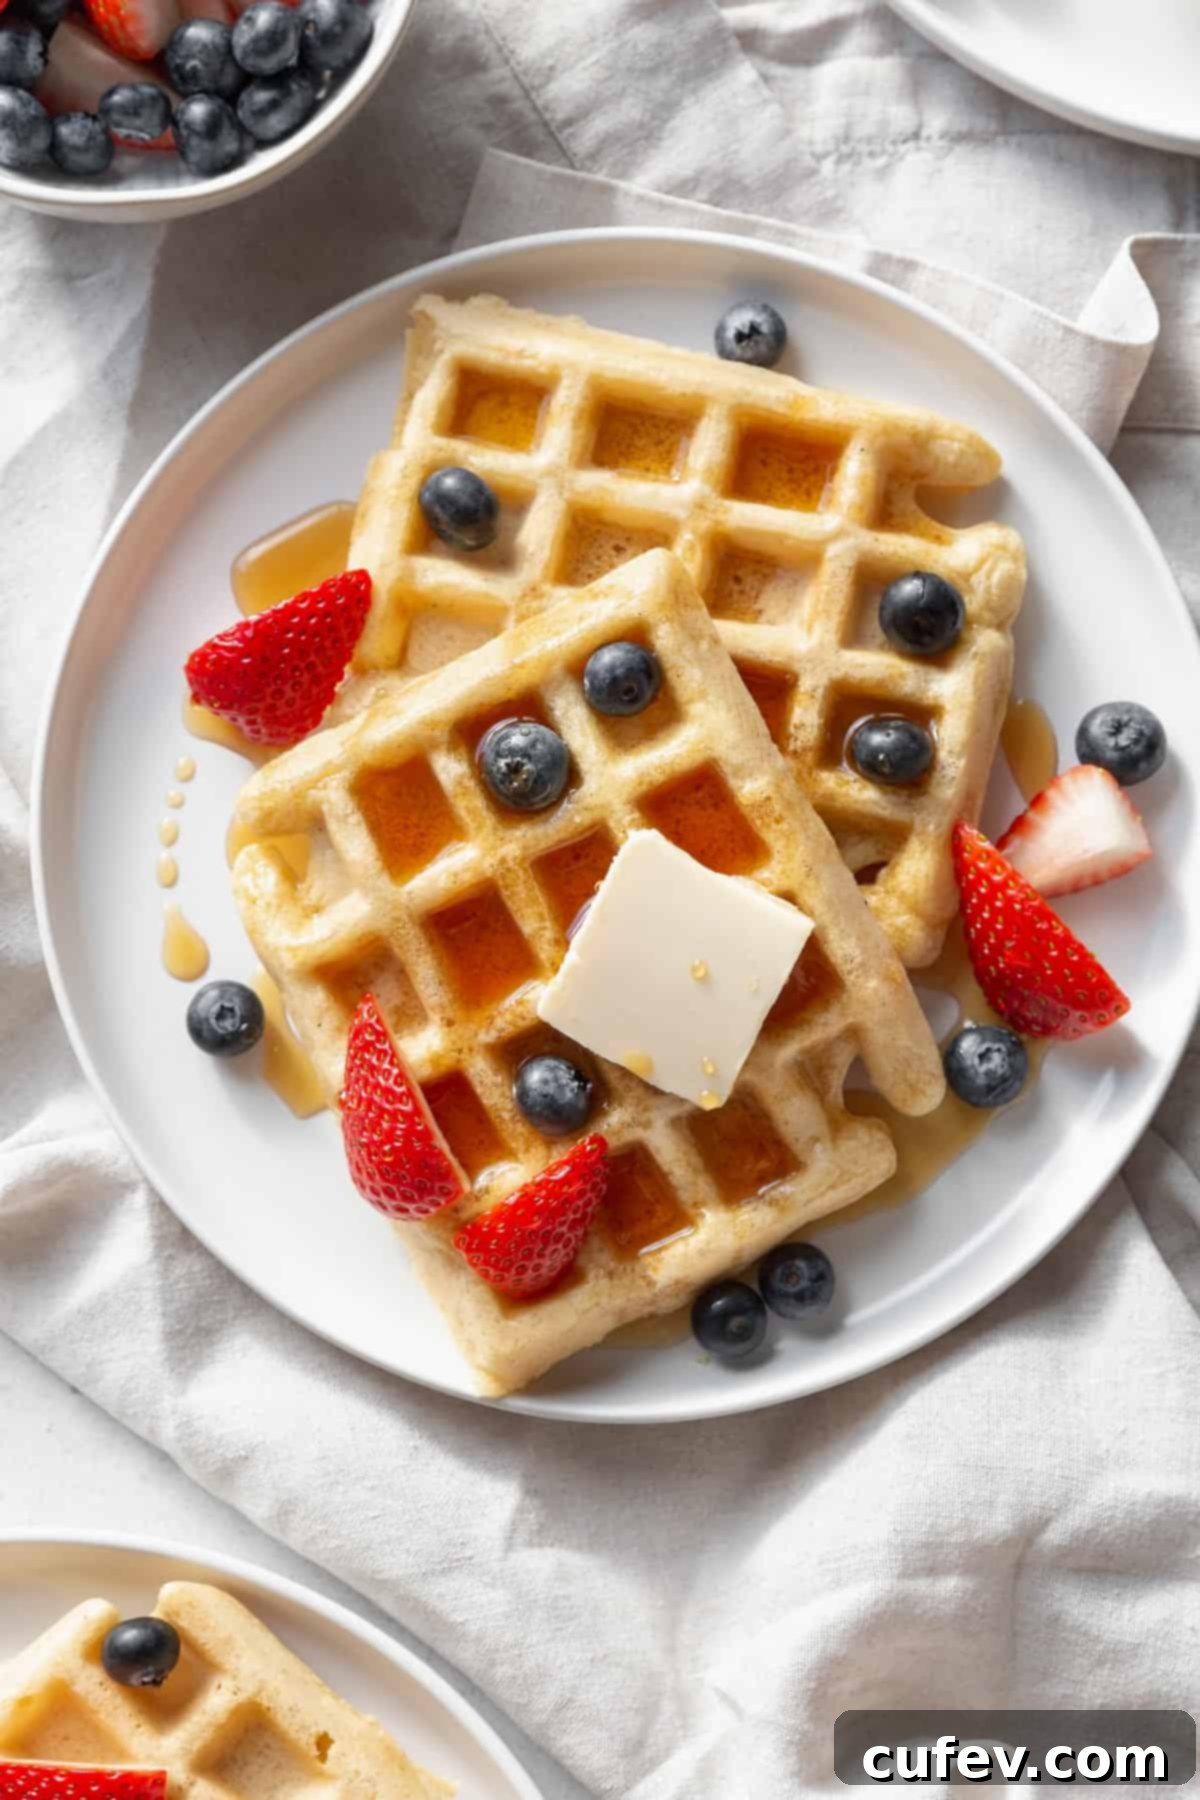
- Classic maple syrup: A generous drizzle of pure maple syrup is always a winner.
- Whipped cream: Light and airy whipped cream adds a touch of elegance and creamy texture.
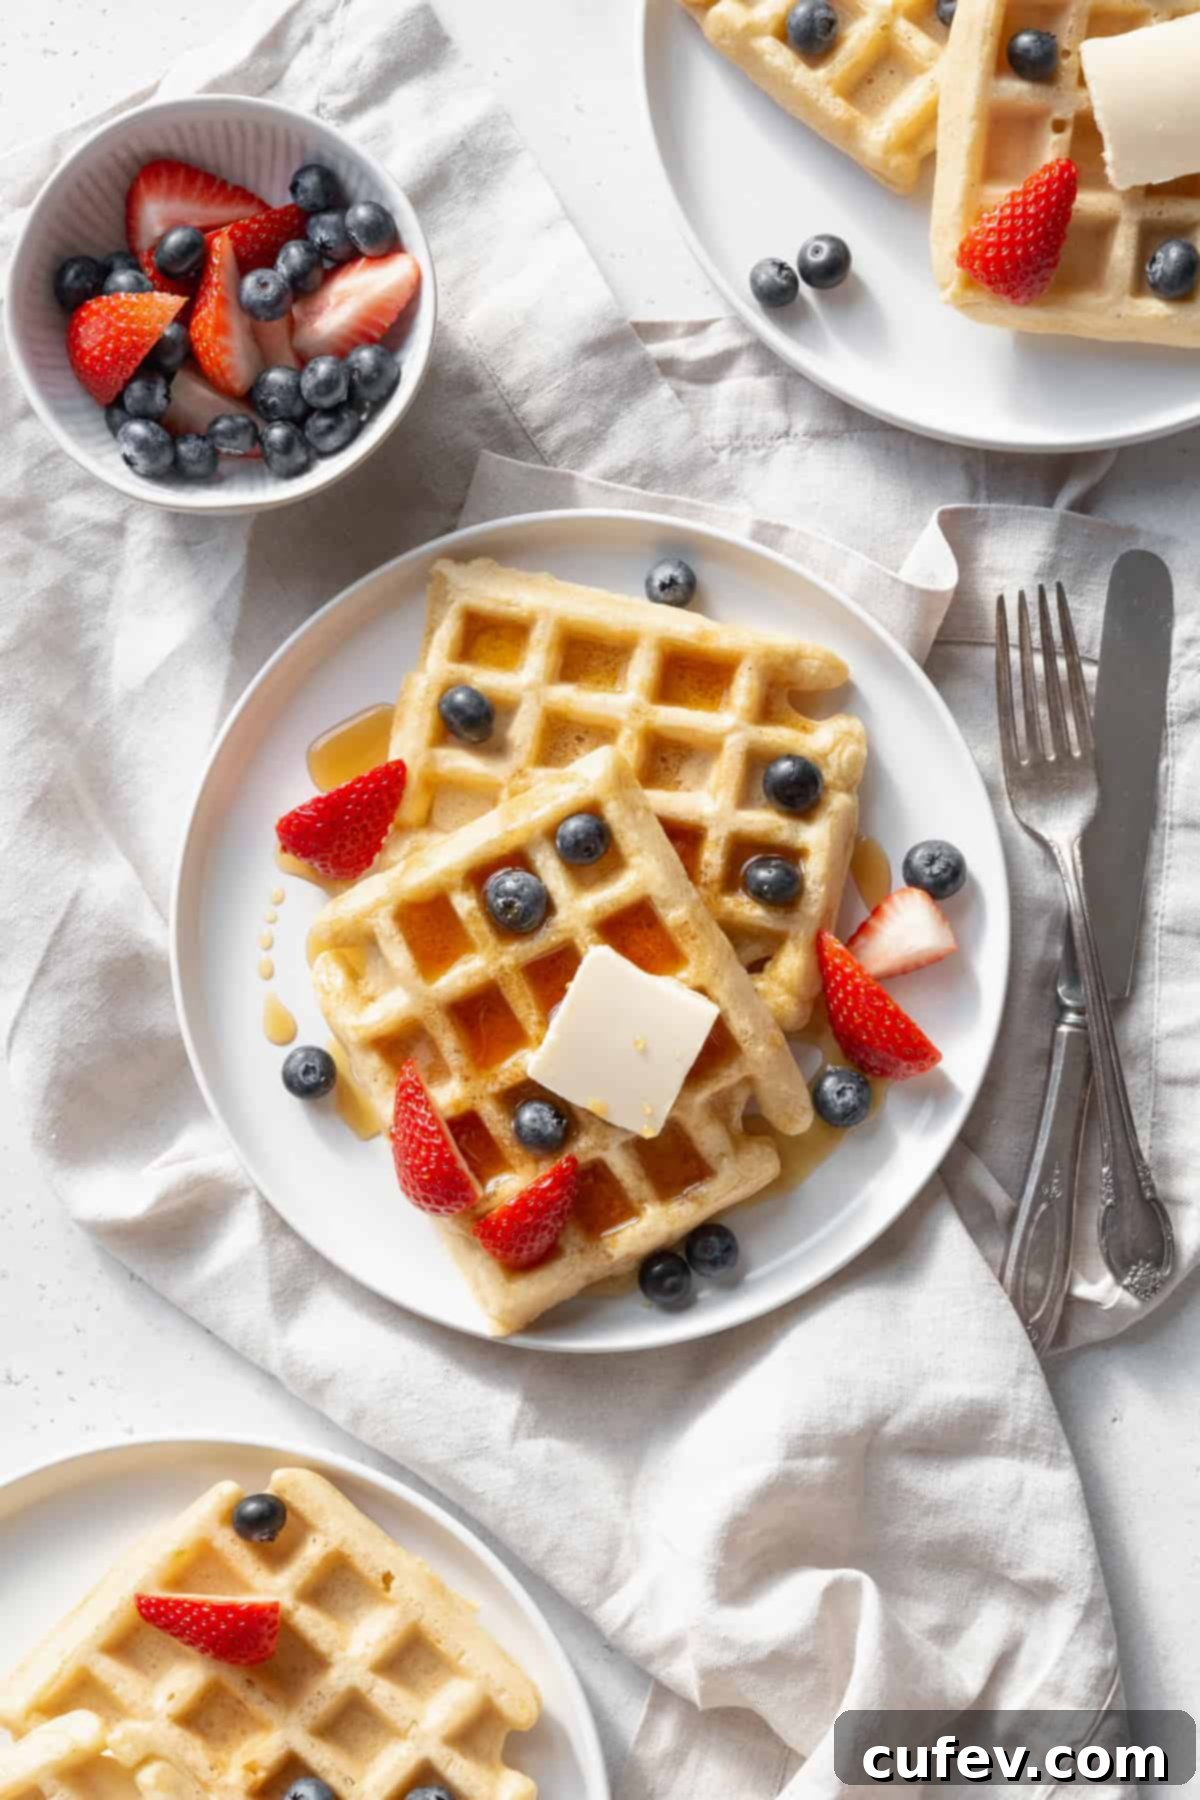
- Assorted berries: A colorful medley of fresh strawberries, raspberries, and blueberries not only looks beautiful but also adds freshness and antioxidants.
- Banana slices: Sweet, soft banana slices are a perfect complement, especially when paired with a sprinkle of cinnamon.
- Nutella: For the ultimate chocolate-hazelnut indulgence, spread a dollop of Nutella over your warm waffles.
- Fruit compotes: Homemade berry or apple compotes add a burst of cooked fruit flavor.
- Powdered sugar: A simple dusting of powdered sugar makes any waffle feel special.
- Peanut butter or almond butter: For added protein and a creamy texture, spread your favorite nut butter.
Don’t be afraid to mix and match! A dollop of whipped cream with fresh berries and a hint of maple syrup creates a classic delight, while Nutella and banana slices offer a more decadent treat.
Step-by-Step Guide: How to Make Fluffy Gluten-Free Waffles
Creating these perfect gluten-free waffles is a straightforward process that yields incredibly rewarding results. Follow these simple steps for a delightful breakfast:
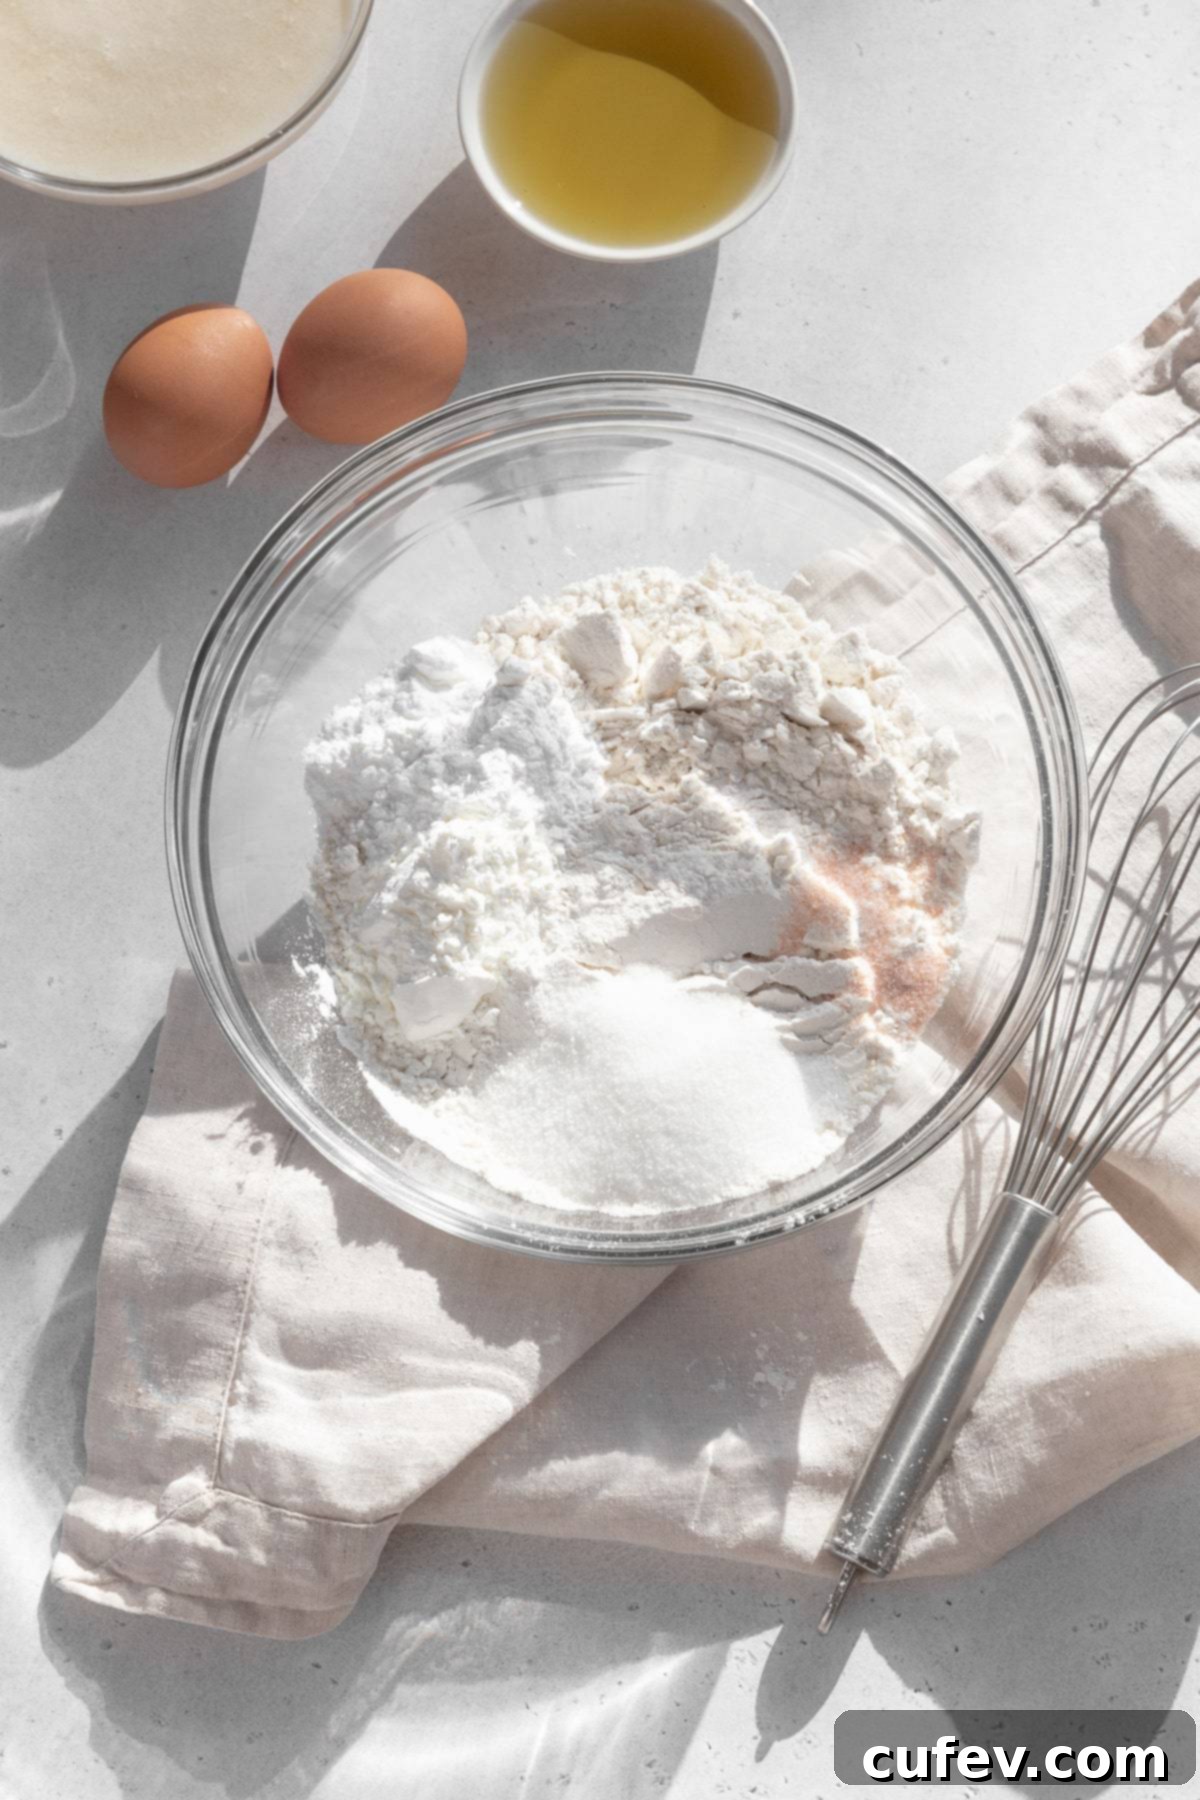
Step 1: Combine Dry Ingredients. In a large mixing bowl, measure out your gluten-free flour blend, cornstarch, granulated sugar, fine salt, and baking powder. Using a whisk, thoroughly combine these dry ingredients. This step is crucial for ensuring that the leavening agents and flavorings are evenly distributed throughout the batter, preventing pockets of unmixed ingredients and promoting a uniform rise.
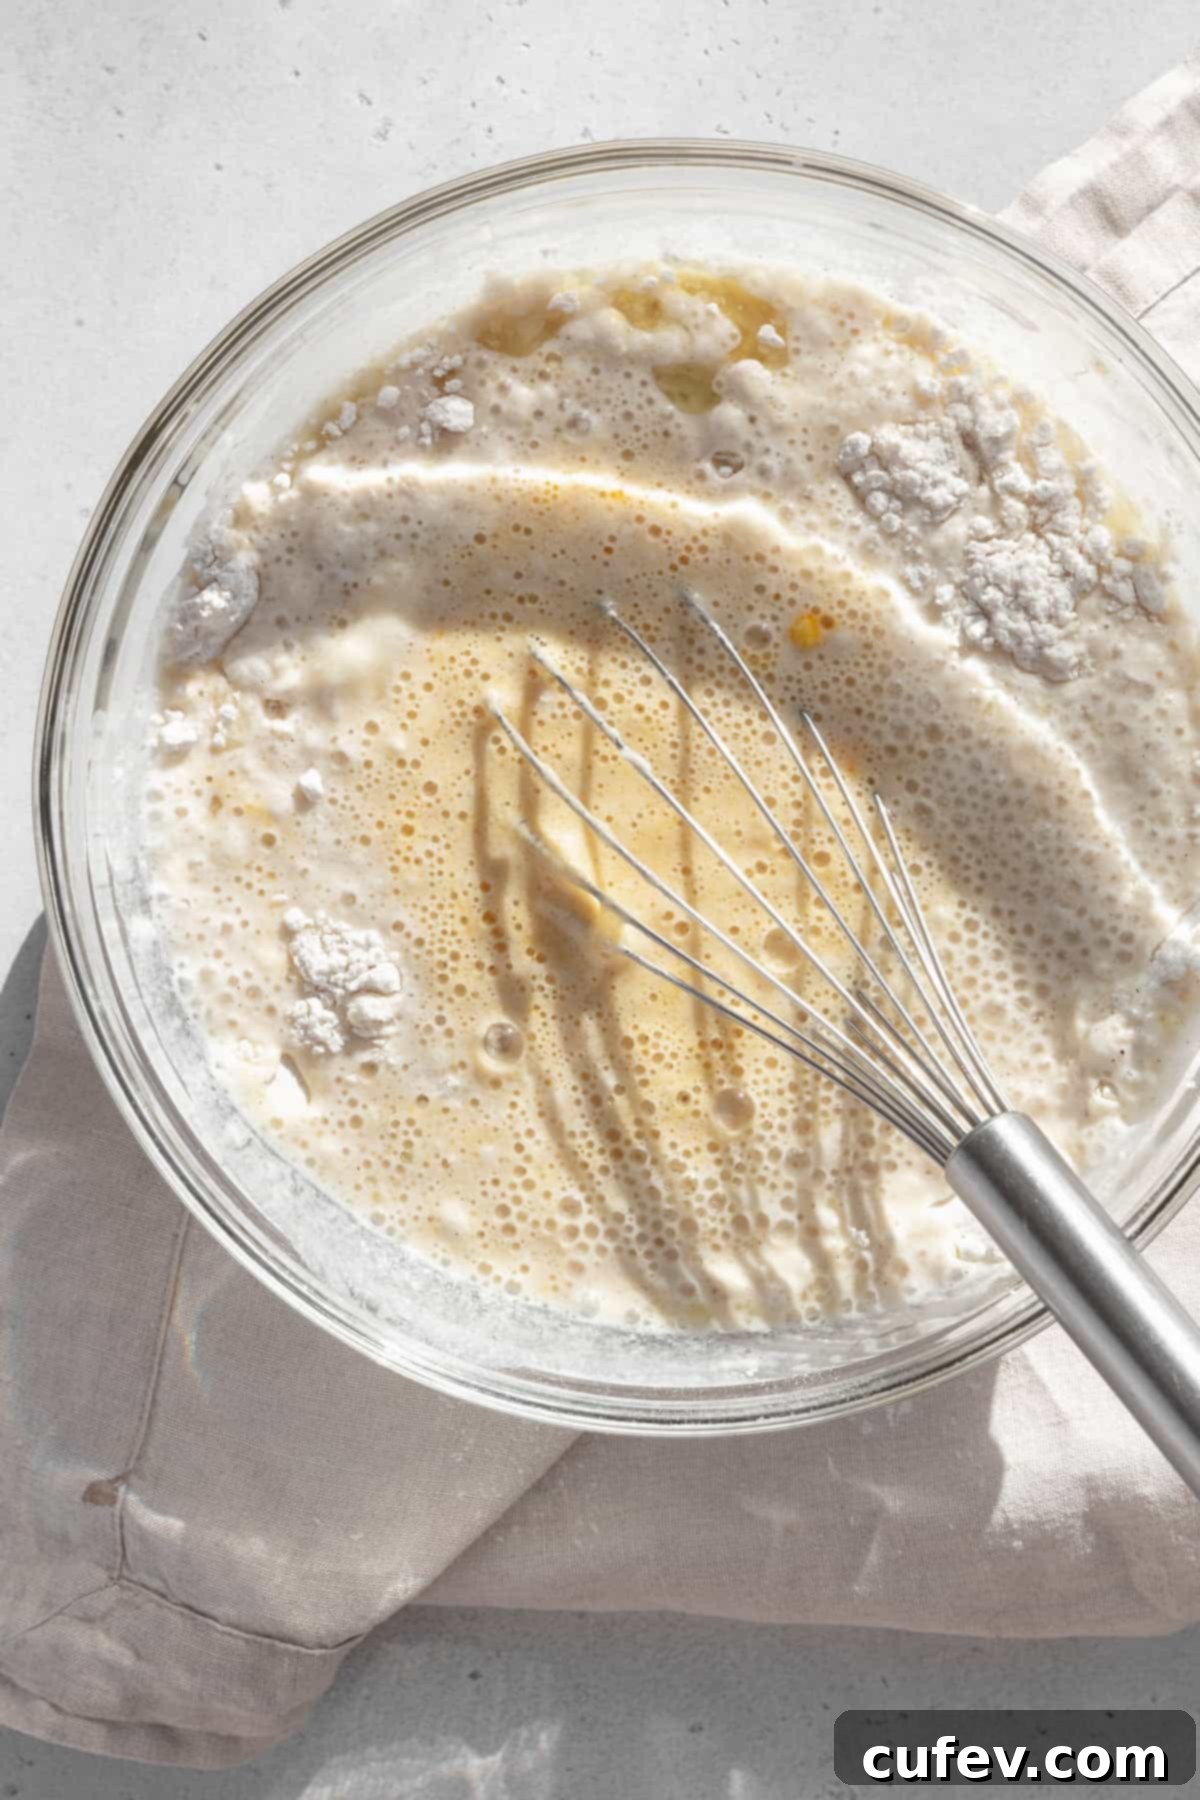
Step 2: Incorporate Wet Ingredients. To the bowl of dry ingredients, add the buttermilk, eggs, neutral-flavored oil, and vanilla extract. Mix gently with the whisk until the ingredients are just combined. It’s important not to overmix the batter; a slightly lumpy consistency is perfectly fine and often preferred. Overmixing can develop the starches in gluten-free flour, leading to a tougher waffle.
Step 3: Allow Batter to Rest. This step is often overlooked but is absolutely critical for gluten-free baking. Let the prepared batter rest at room temperature for a minimum of 30 minutes. This resting period allows the gluten-free flour to properly hydrate, absorbing the liquids and becoming fully plump. This hydration process results in a much smoother, more cohesive batter, which in turn leads to a fluffier, more tender waffle with no grittiness.
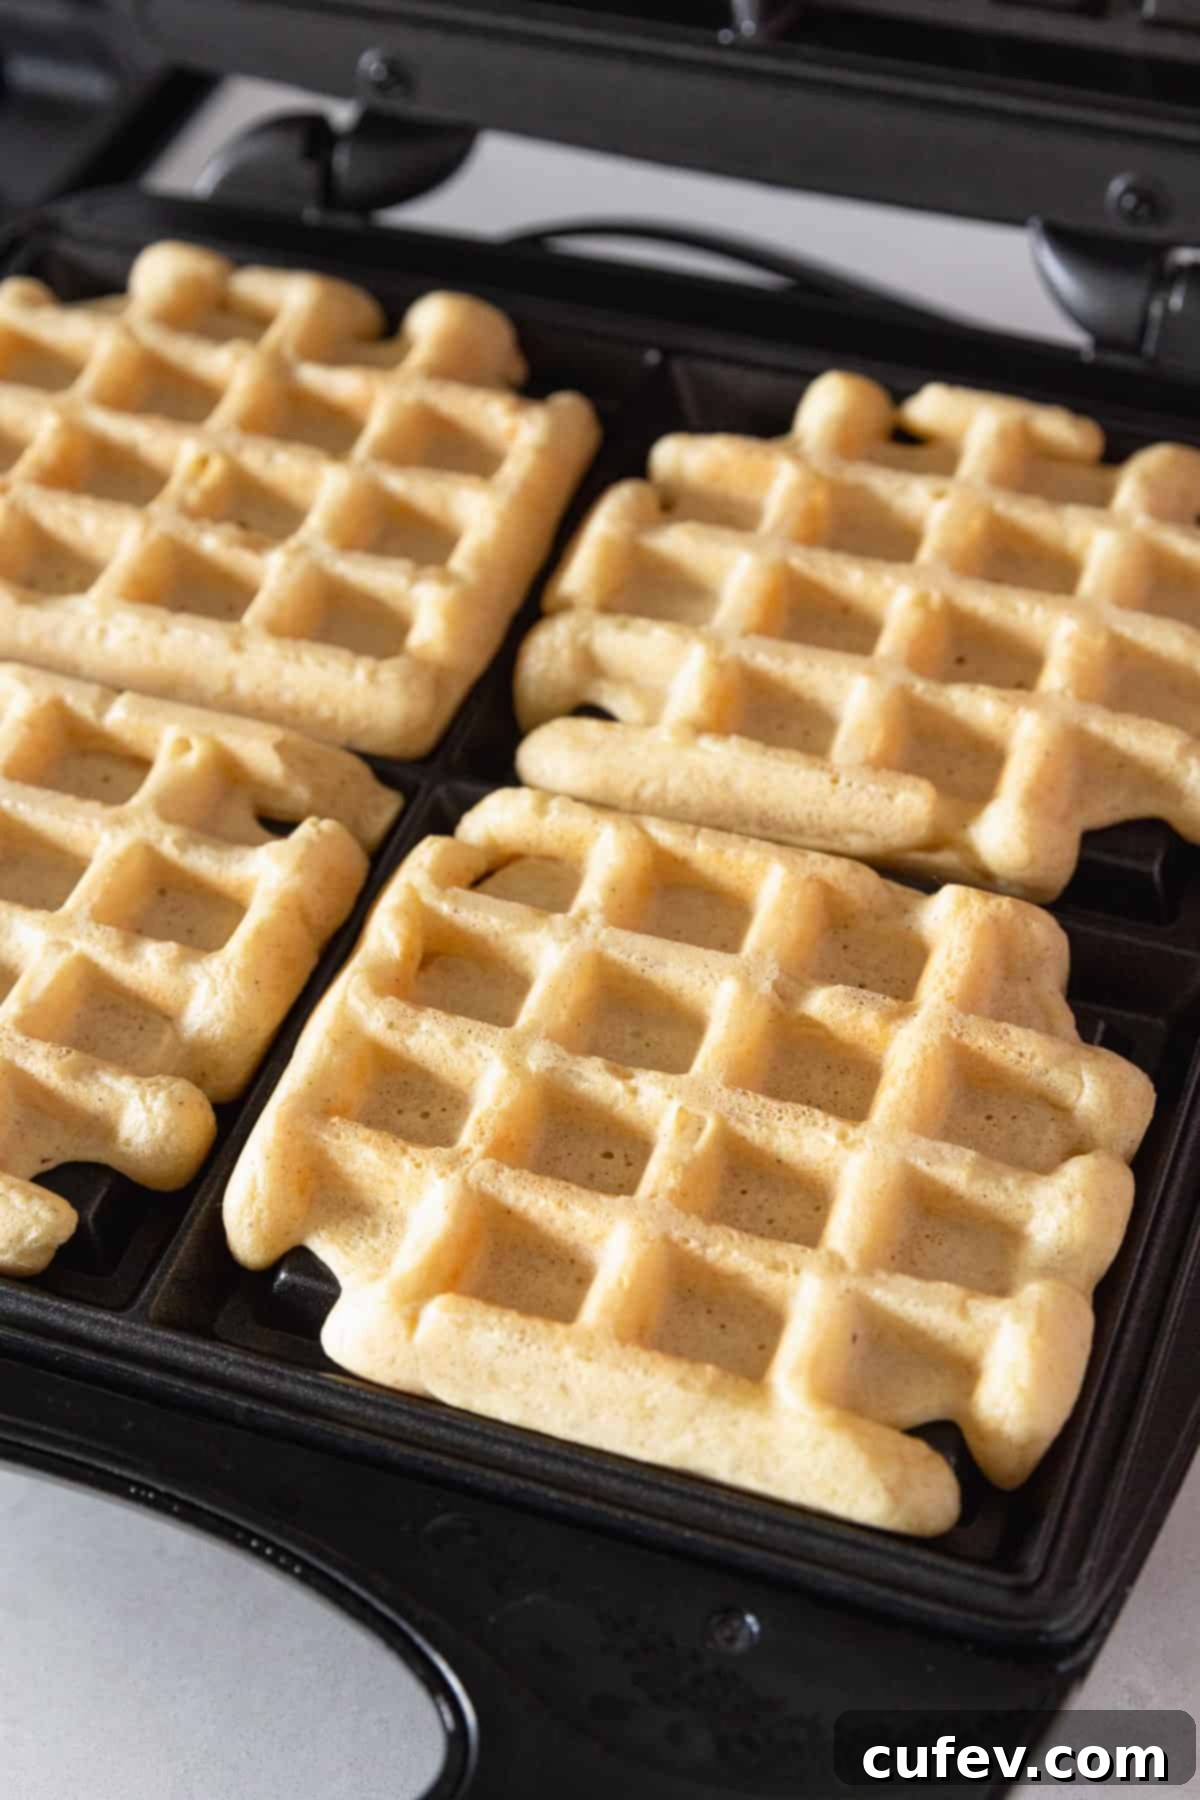
Step 4: Cook the Waffles. While your batter is resting, preheat your waffle iron. Once hot, lightly grease the cooking plates with oil or nonstick cooking spray to prevent sticking. Pour approximately ⅓ cup of batter onto the hot waffle iron for each waffle, adjusting the amount based on the specific size and depth of your appliance. Close the lid and cook until the waffles are beautifully golden brown and steam is no longer visibly escaping from the sides, typically taking about 5 to 6 minutes. Many waffle irons have indicator lights that signal when they are ready.
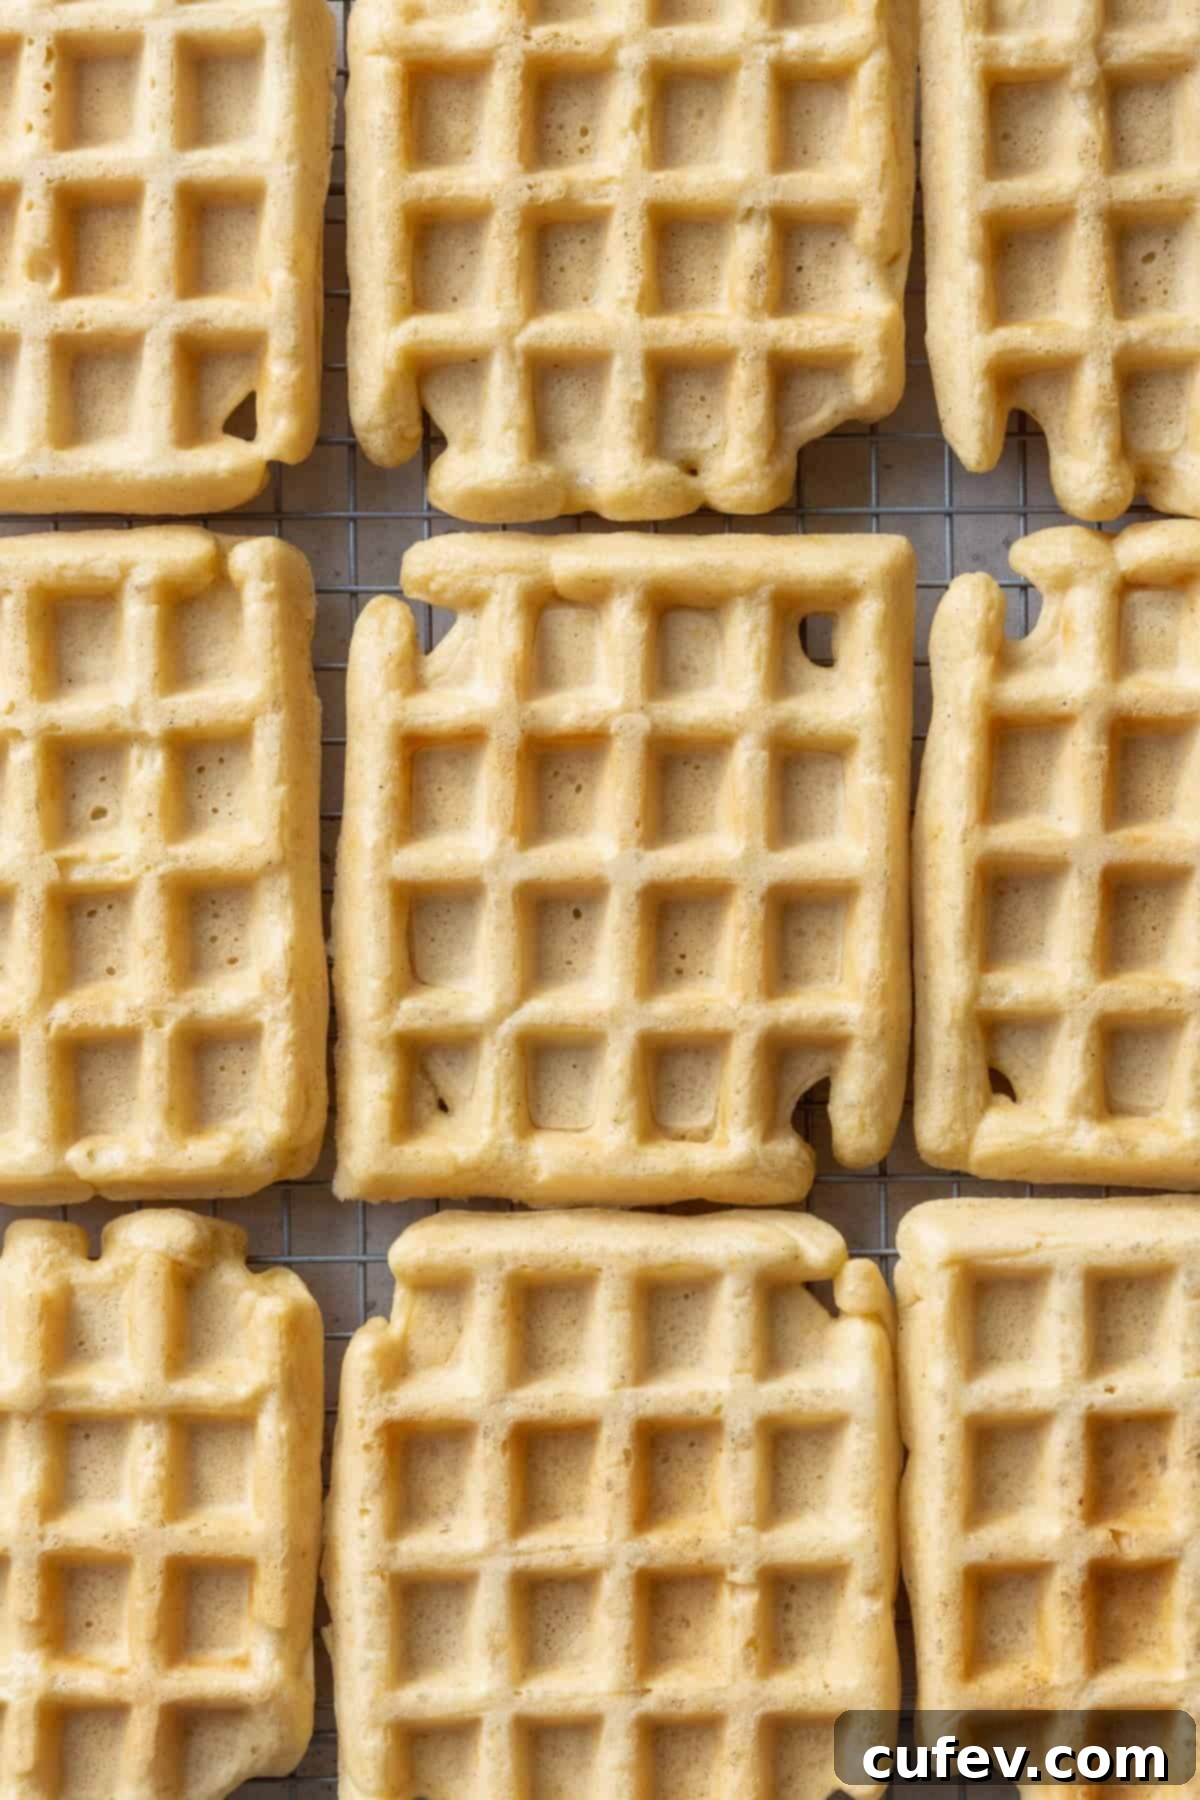
Step 5: Cool on a Wire Rack. As each waffle finishes cooking, carefully remove it from the iron and immediately transfer it to a wire cooling rack. This is a vital step for maintaining crispness. Placing waffles directly on a flat plate can trap steam underneath, causing them to become soggy and limp. By allowing air to circulate around the entire waffle, you ensure they remain perfectly crisp until serving.
Expert Tips for the Best Gluten-Free Waffles Every Time
Achieving consistently perfect gluten-free waffles requires attention to a few key details. Follow these tried-and-true tips to ensure your waffles are always fluffy, tender, and deliciously crispy:
- Don’t skip the batter rest. This is perhaps the most crucial tip for gluten-free baking. Allowing your waffle batter to rest for at least 30 minutes (or even up to an hour) gives the gluten-free flours ample time to fully hydrate. This prevents a gritty texture, ensures the starches absorb the liquids properly, and results in a lighter, moister, and more uniformly cooked waffle. It also allows the leavening agents to fully activate.
- Always preheat and grease your waffle iron. Proper preparation of your waffle iron is non-negotiable for success. Ensure your waffle iron is fully preheated to its optimal temperature before adding any batter. Most irons have an indicator light for this. Additionally, grease the cooking plates thoroughly with oil or nonstick cooking spray before each waffle, or at least every few waffles. This step is vital to prevent sticking, ensuring your beautiful, golden waffles release easily and maintain their perfect shape without tearing.
- Cool waffles on a wire rack. As soon as a waffle comes off the iron, transfer it immediately to a wire cooling rack. Resist the urge to stack them on a flat plate. Stacking or placing them on a solid surface will trap steam, causing them to lose their crispness and become soggy. A wire rack allows air to circulate around all sides, preserving that delightful exterior crunch.
- Keep cooked waffles warm in the oven. If you’re cooking for a crowd or want to serve all your waffles simultaneously, keep them warm in the oven. Preheat your oven to a low temperature, around 200°F (95°C). Place the cooked waffles in a single layer on a baking sheet lined with parchment paper. This method gently keeps them warm and crispy without overcooking while you finish preparing the entire batch.
- Don’t overmix the batter. While whisking dry ingredients well is important, once you add the wet ingredients, mix only until just combined. A few small lumps are perfectly acceptable. Overmixing can develop the starches in gluten-free flours, leading to a denser, tougher waffle.
- Use room temperature ingredients. Eggs and buttermilk at room temperature emulsify more easily with the other ingredients, creating a smoother, more uniform batter and a better rise.

Gluten-Free Waffle Recipe
Print
Pin
Rate
Ingredients
- 2¼ cup gluten-free 1-to-1 flour blend
- 2 tablespoons cornstarch
- 2 tablespoons granulated sugar
- ½ teaspoon fine salt
- 1 tablespoon baking powder
- 2 large eggs
- 1¾ cups buttermilk (check Notes for dairy-free instructions)
- ¼ cup oil
- 1 teaspoon vanilla extract
Instructions
-
In a large bowl, add the gluten-free flour blend, cornstarch, salt, baking powder, and granulated sugar. Whisk together until combined.
-
Add the buttermilk, eggs, oil, and vanilla extract and mix until just combined and the batter is slightly lumpy.
-
Let the batter rest for 30 minutes to allow the flour to properly hydrate.
-
Preheat a waffle iron and grease it with oil or nonstick cooking spray. Pour about ⅓ cup of batter for each waffle. This will depend on the size of your waffle iron. Cook until golden, about 5 to 6 minutes.
-
Take the cooked waffles off the iron and place them on a wire rack to keep them crisp.
Notes
Storing: You can keep leftover waffles in an airtight container in the refrigerator for up to 3 days. For best results, allow them to cool completely before storing to prevent condensation and sogginess.
Freezing: The freezer is the ideal place to store these delicious gluten-free waffles for longer enjoyment. Once your waffles are fully cooled, wrap each individual waffle tightly in plastic wrap, then place them in a freezer-safe bag or airtight container. They will maintain their quality for up to 2 months. To reheat, simply pop them directly into a toaster or toaster oven until heated through and crispy. This method brings them back to their fresh-out-of-the-iron glory!
Dairy-Free: To easily adapt this recipe for a dairy-free diet, you’ll need to create a dairy-free buttermilk substitute. In a measuring cup, pour 1¾ cups of unsweetened and unflavored non-dairy milk (almond, soy, or oat milk work well). Remove 5 teaspoons of this milk and replace it with 5 teaspoons of apple cider vinegar. Stir gently and let it sit for about 5 minutes. The milk will begin to curdle slightly, mimicking the texture and acidity of traditional buttermilk, ensuring your dairy-free waffles are just as fluffy and flavorful.
Nutrition
Storage and Freezing Directions for Gluten-Free Waffles
One of the many benefits of making a batch of these delicious gluten-free waffles is how well they store, making them perfect for future breakfasts or quick snacks!
Storing in the Refrigerator: If you have leftover waffles that you plan to enjoy within a few days, you can store them in an airtight container in the refrigerator for up to 3 days. To maintain their best texture, ensure the waffles are completely cooled before placing them in the container. This prevents condensation from forming and making them soggy. When ready to eat, simply reheat them in a toaster, toaster oven, or even a microwave for a few seconds if you don’t mind a softer texture.
Freezing for Long-Term Enjoyment: My absolute favorite and highly recommended method for storing these gluten-free waffles is in the freezer. This allows you to have a ready-to-eat breakfast on demand for weeks to come! Once your waffles have cooled completely (this is crucial to avoid ice crystals and sogginess), wrap each individual waffle tightly in plastic wrap. Then, place the wrapped waffles into a large freezer-safe bag or an airtight freezer container. They will keep beautifully in the freezer for up to 2 months. The best part is reheating: simply pop a frozen waffle directly into your toaster or toaster oven. This method not only warms them through but also brings back their fantastic crispy exterior, making them taste as fresh as the day they were made.
Frequently Asked Questions About Gluten-Free Waffles
Absolutely! There are a couple of excellent ways to prepare these gluten-free waffles in advance. You can prepare the batter a day ahead of time and store it in an airtight container in the refrigerator. Just give it a gentle stir before cooking, as the flour might settle. Alternatively, you can cook all the waffles and then store them in the freezer. This is an excellent meal prep strategy, allowing you to simply reheat them whenever a craving strikes.
Yes, you can! This is a fantastic time-saving trick for busy mornings. To prepare a dry mix, simply combine all the dry ingredients – the gluten-free flour blend, cornstarch, baking powder, and salt – in an airtight container. Store this mix in your pantry until you are ready to make your waffles. When it’s time to cook, just add the wet ingredients (eggs, buttermilk, oil, vanilla extract), give it a good mix, allow it to rest, and then proceed with cooking. This makes the “one-bowl” method even faster on the day you want fresh waffles.
While you technically *can* cook this gluten-free waffle batter on a griddle to make pancakes, it’s important to note that the resulting pancakes won’t be exactly like traditional fluffy pancakes. Waffle batter is typically designed to produce a chewier, slightly denser texture than pancake batter, which often aims for a lighter, softer crumb. So, while edible, don’t expect the same super fluffy pancakes you might get from a dedicated pancake recipe.
Absolutely! This delicious gluten-free waffle recipe is incredibly versatile and can easily be adapted to be dairy-free without sacrificing flavor or texture. The key is to swap out the regular buttermilk for a homemade dairy-free buttermilk substitute. Here’s how: In a measuring cup, pour 1¾ cups of unsweetened and unflavored non-dairy milk (such as almond milk, soy milk, or oat milk). Then, remove 5 teaspoons of the non-dairy milk and replace it with 5 teaspoons of apple cider vinegar (or lemon juice). Stir the mixture gently and let it sit for about 5 to 10 minutes until it slightly curdles. This reaction mimics the acidity of traditional buttermilk, ensuring your dairy-free waffles remain wonderfully fluffy and tender.
Discover More Delicious Gluten-Free Breakfast Recipes
If you love these gluten-free waffles, you’re in for a treat! Explore more of my favorite gluten-free breakfast and brunch recipes that are sure to satisfy your cravings and simplify your morning routine:
- This gluten-free granola recipe is so easy to make and utterly addictive. Once you try this homemade version, with its perfect cluster and customizable ingredients, you’ll find it impossible to go back to store-bought varieties. It’s fantastic with yogurt, milk, or just by the handful!
- Love starting your day with bananas? You’ll adore my range of banana-infused delights. Try my incredibly moist and flavorful gluten-free chocolate chip banana bread recipe, perfect for sharing (or not!). For a grab-and-go option, these gluten-free banana muffins recipe are soft, sweet, and satisfying. And for a wholesome, energizing bite, don’t miss these chewy peanut butter banana oat bars.
- Pair your morning coffee with a delightful muffin! These tender gluten-free blueberry muffins and seasonal gluten-free pumpkin muffins are incredibly hard to beat. Both are moist, fluffy, and crowned with a crunchy streusel topping that elevates them to top-notch status – the perfect complement to your favorite hot beverage.
- For those busy mornings when you need something prepped the night before, these blueberry overnight oats are a lifesaver. Using certified gluten-free oats, you can prepare them in mason jars for a convenient, healthy, and delicious breakfast that you can truly take on the go.
- Simplify your pancake game with this oatmeal pancake recipe. It’s super easy, especially if you utilize the blender method for a smooth batter. These pancakes are simple yet wholesome and satisfying – just remember to use certified gluten-free oats to keep them safe for those with sensitivities.
- For a truly impressive and sweet breakfast or brunch centerpiece, you must make this gluten-free coffee cake recipe! It’s famously soft and moist, generously topped with a delectable crumb topping that adds an irresistible texture and flavor. Perfect for entertaining or a special weekend treat.
- Looking for more sweet inspirations? Dive into this extensive list of 20+ gluten-free dairy-free desserts! Whether you’re craving cookies, brownies, cakes, or something else entirely, you’ll find a delightful treat to suit your taste.
