Delightful Matcha Cake Recipe: Fluffy Layers with Creamy Vanilla & Matcha Buttercream
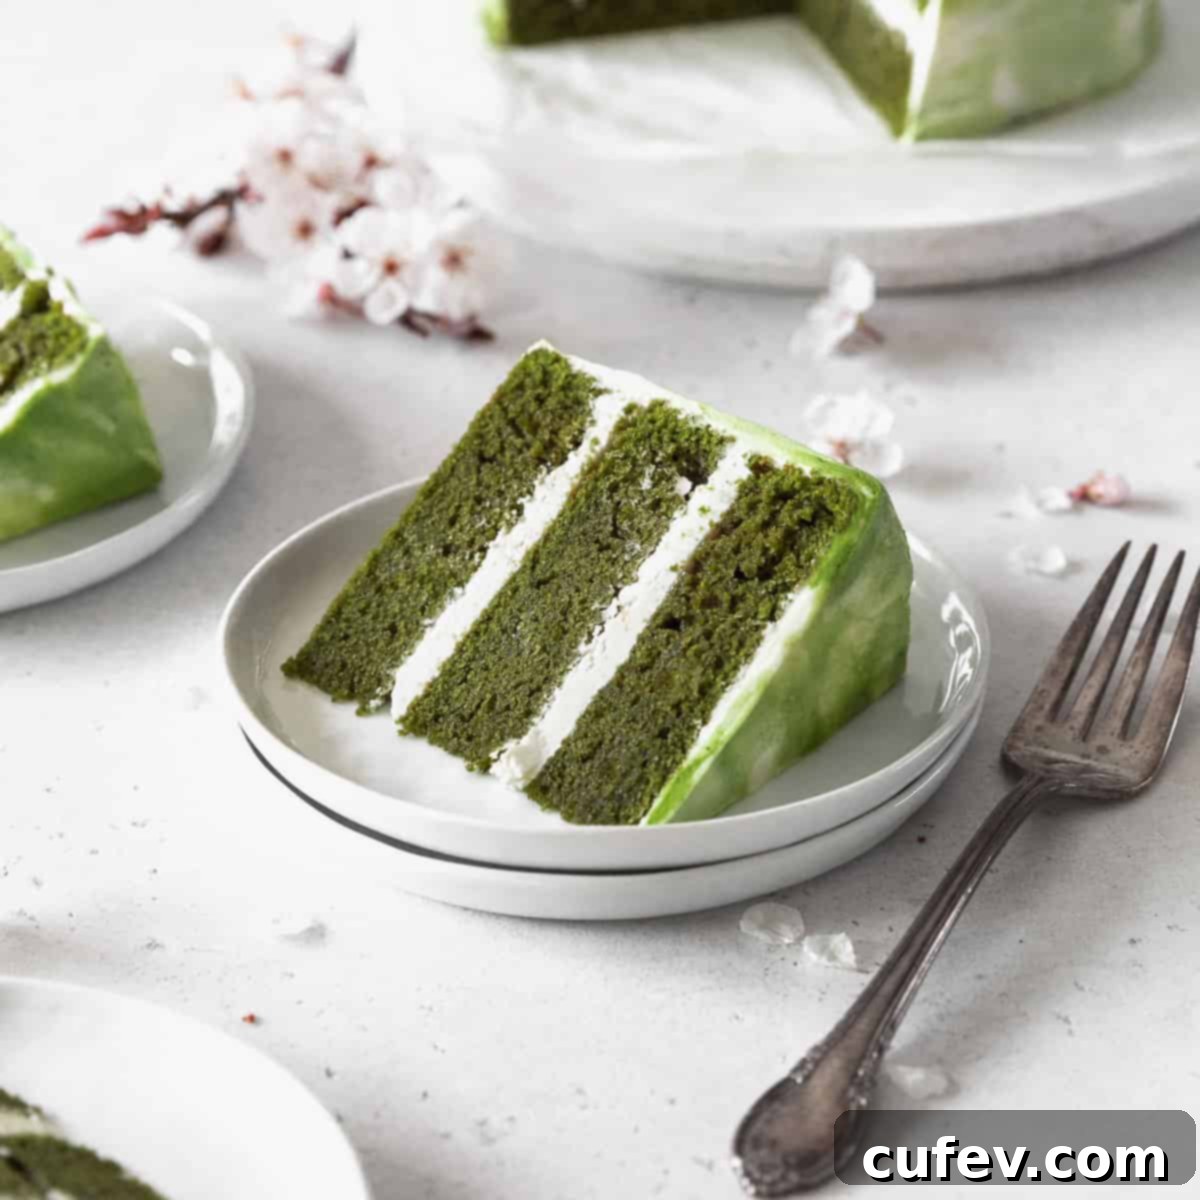
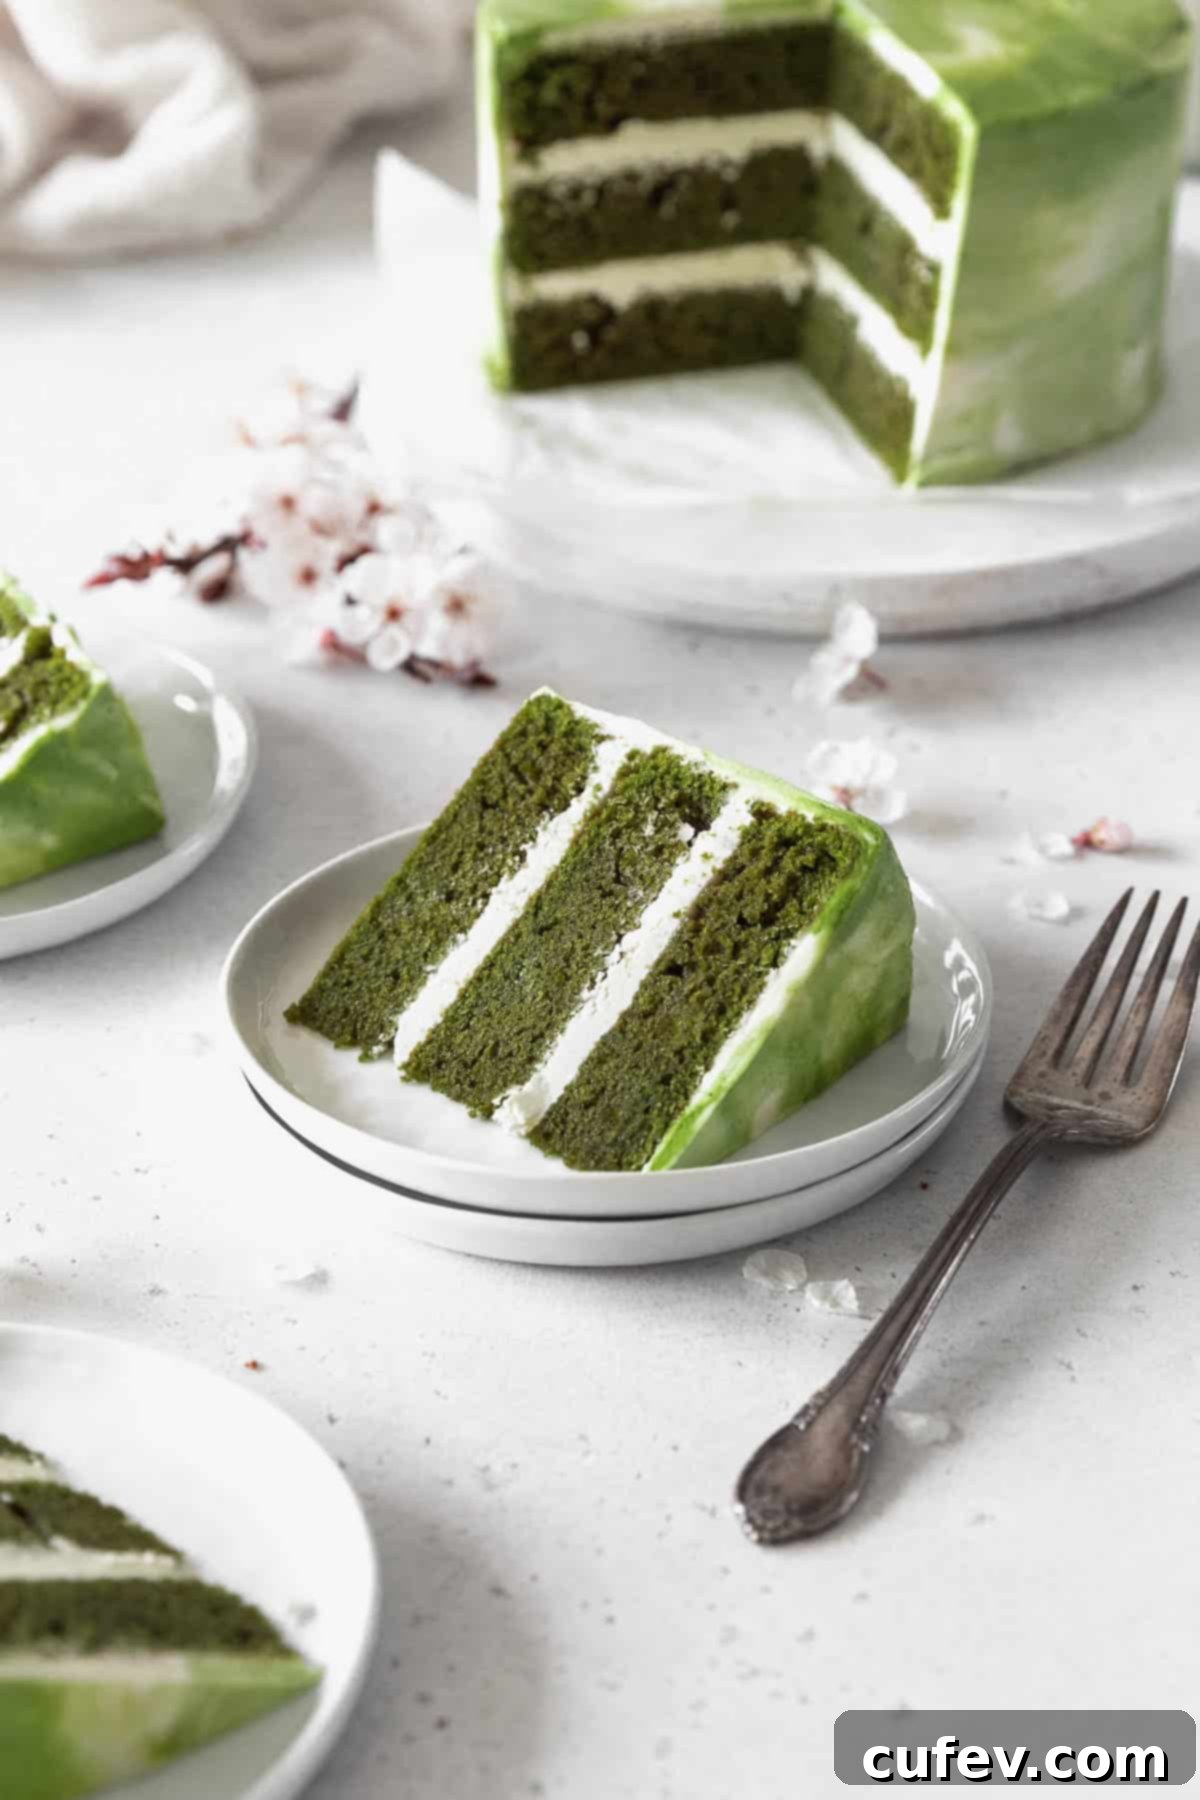
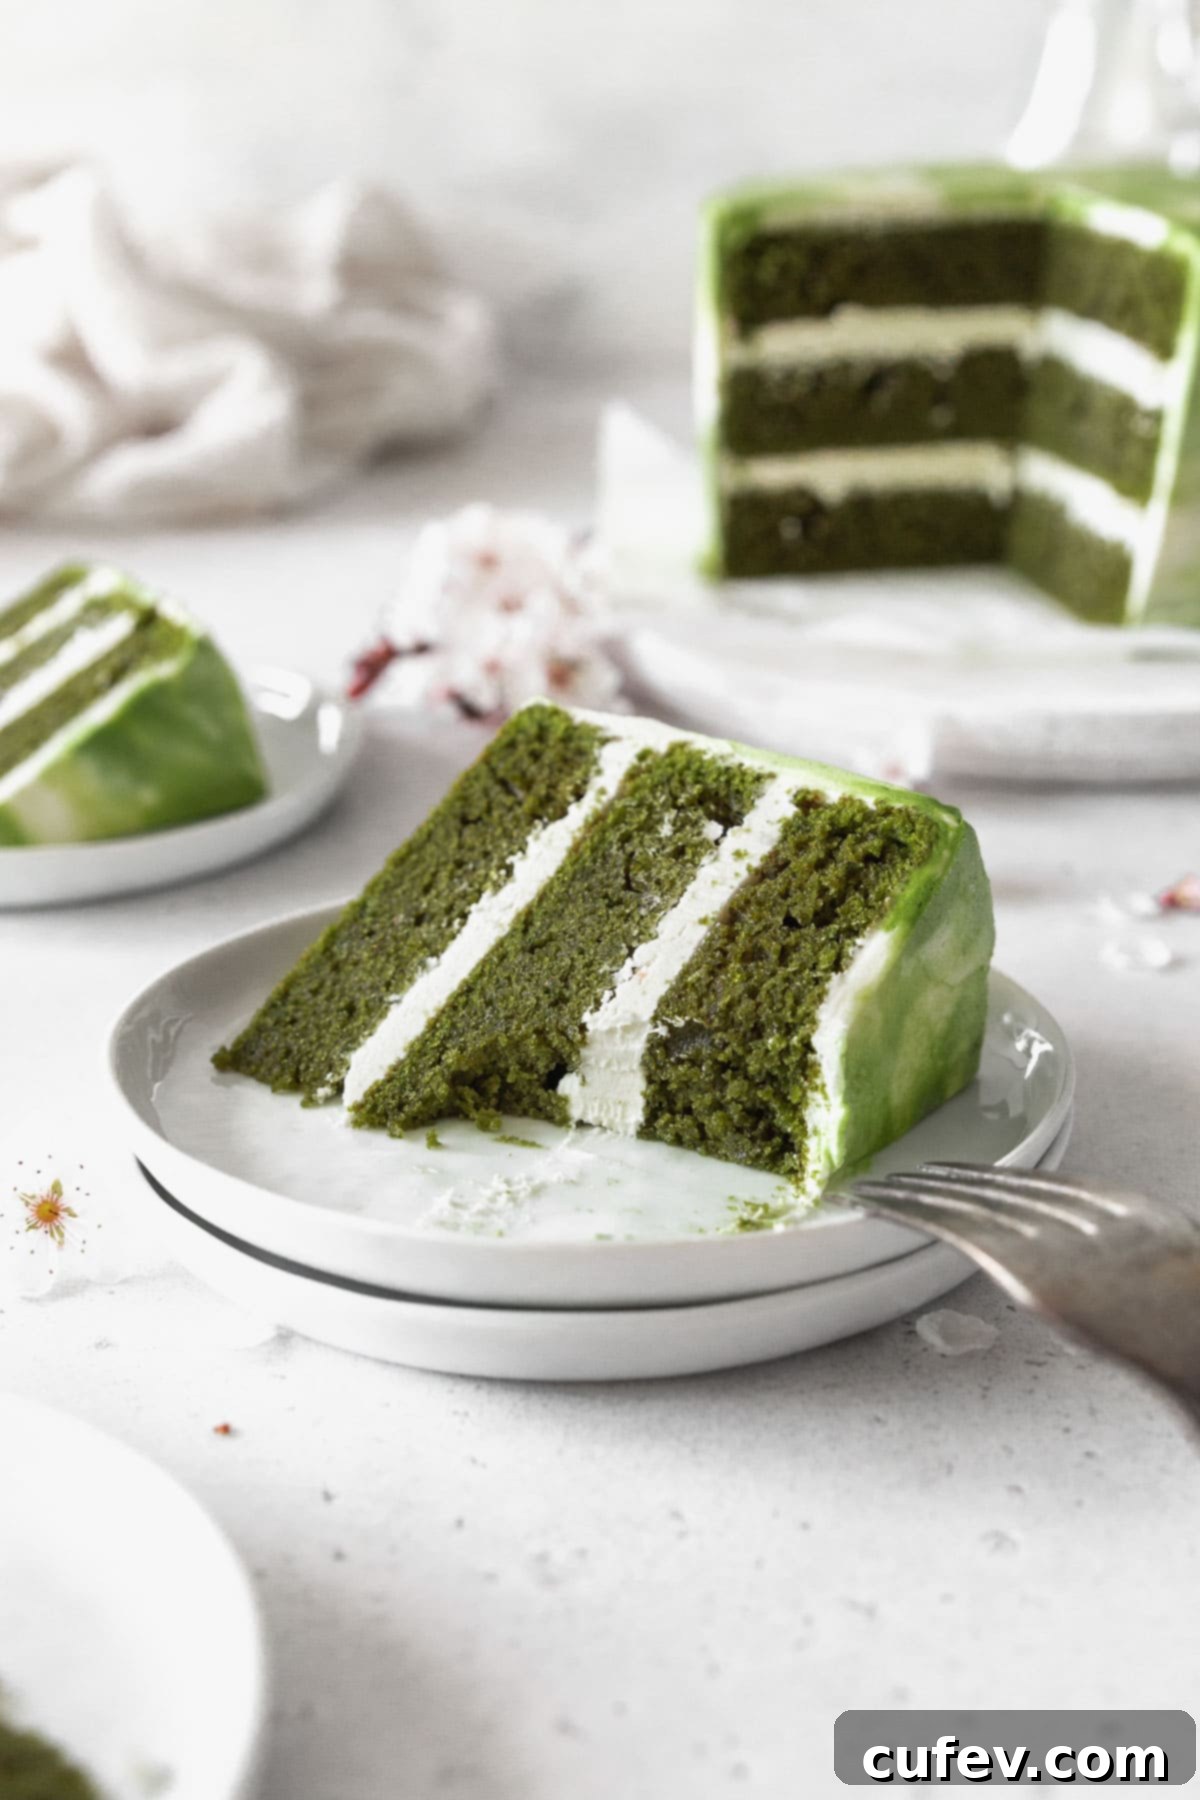
Indulge in the exquisite taste of this incredible matcha cake, featuring layers of exceptionally soft, fluffy matcha sponge embraced by a rich and creamy two-toned buttercream frosting. The vibrant green tea, a cornerstone of Japanese culinary tradition, infuses the cake with its signature earthy and slightly bitter notes, perfectly balancing the sweetness of the frosting. This beautiful cake is artfully decorated using a captivating watercolor frosting technique, making it as visually stunning as it is delicious.
Having grown up immersed in Japanese culture, I’ve cherished matcha treats for as long as I can remember, even participating in traditional tea ceremony classes during my high school years. My deep appreciation for this unique ingredient has instilled in me a very high standard for matcha-infused creations. When I, a devoted matcha lover, confidently declare this cake to be truly exceptional, you can be assured it has undergone rigorous testing and has been crafted with an abundance of passion and care. This recipe isn’t just about baking a cake; it’s about bringing a piece of authentic Japanese flavor and artisanal beauty into your kitchen.
Recipe Highlights: Why You’ll Love This Matcha Cake
Before you dive into baking, here are some key aspects that make this matcha cake recipe a standout, ensuring a delightful and rewarding baking experience:
- Incredibly Soft & Fluffy Texture: The secret to our cake’s tender crumb lies in a thoughtful combination of cake flour, Greek yogurt, and a touch of oil. Cake flour, with its lower protein content, creates a delicate structure, while Greek yogurt adds moisture and a subtle tang, complementing the matcha. The oil further enhances the cake’s moistness and ensures a truly airy, melt-in-your-mouth texture that is simply irresistible.
- Rich in Authentic Matcha Flavor: This recipe is designed for true green tea enthusiasts. We don’t just add a hint of matcha; it’s generously incorporated into both the cake batter and the buttercream frosting. This dual infusion guarantees a robust and authentic matcha flavor that shines through every bite, making it a dream come true for anyone who loves the distinct taste of green tea.
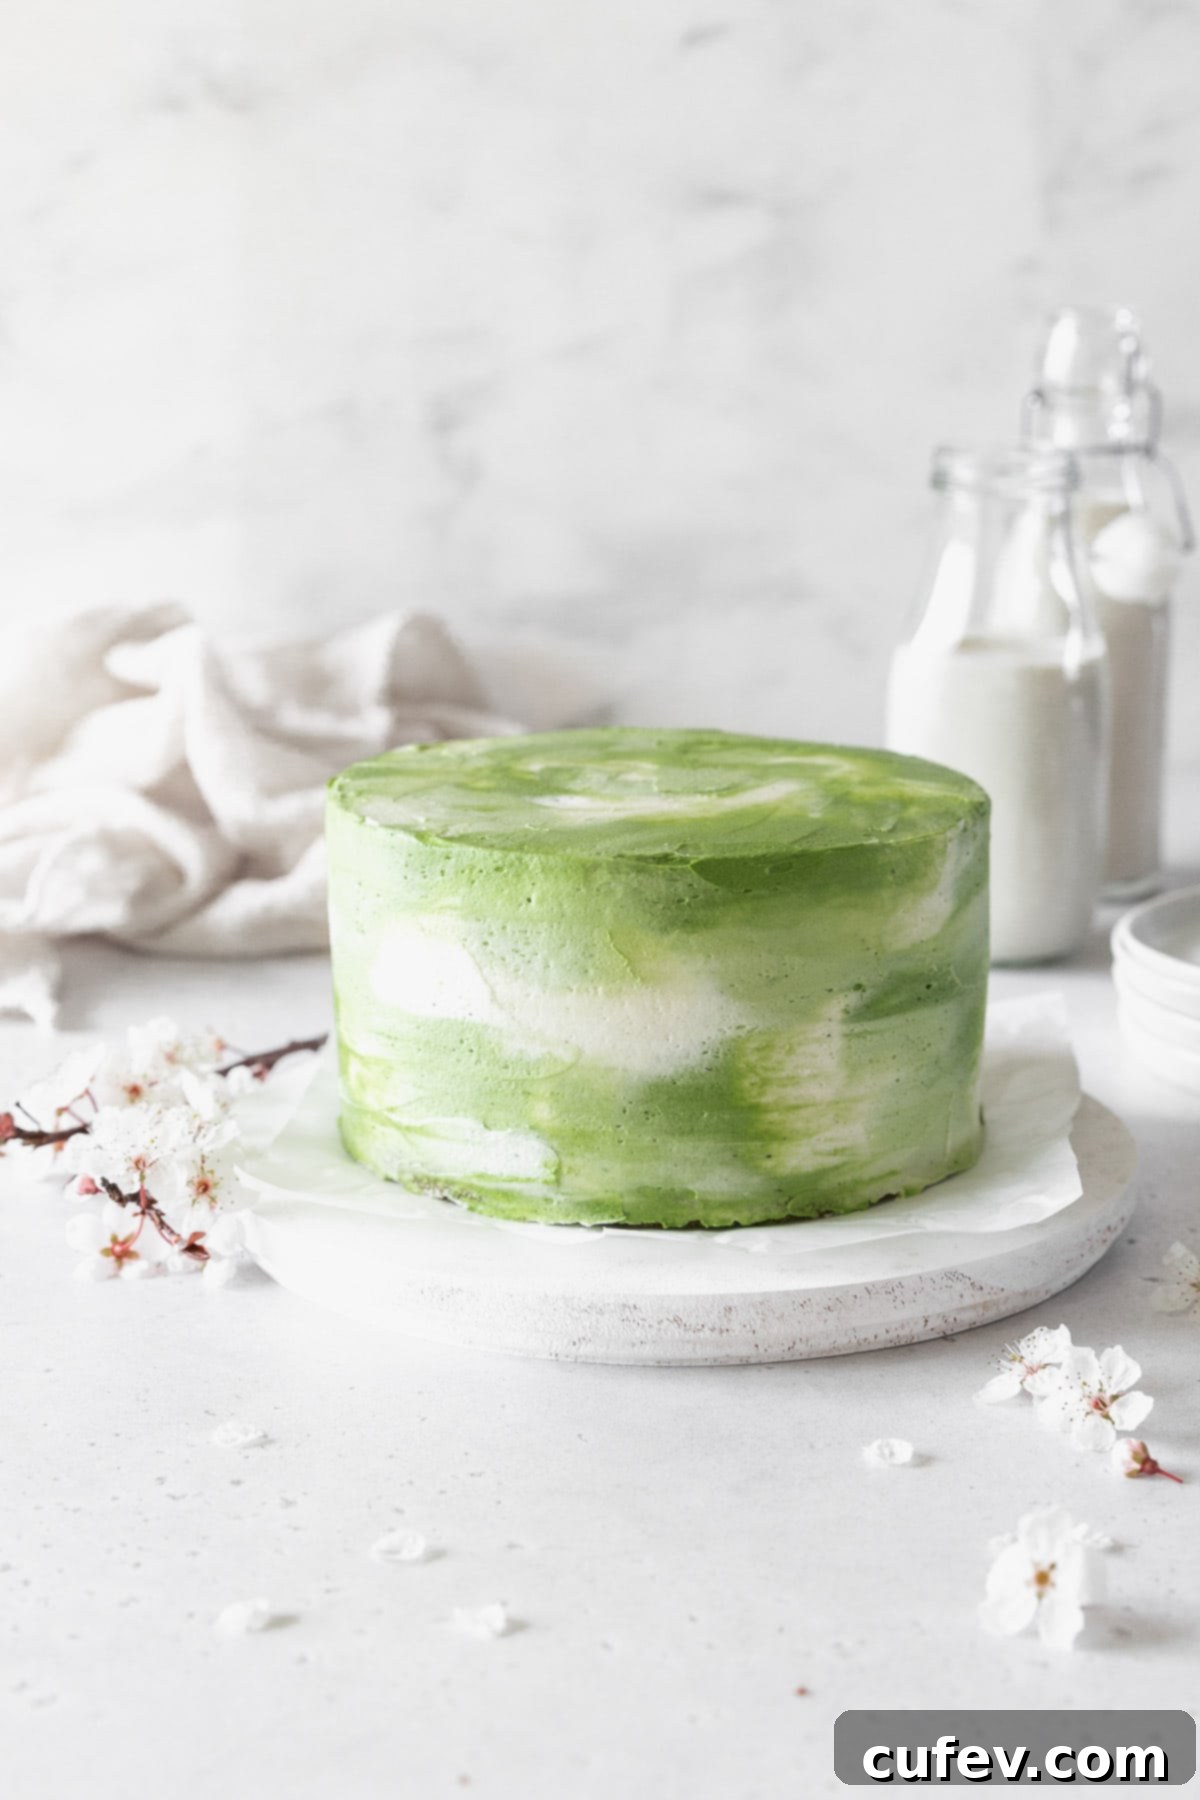
- Stunning Watercolor Frosting Technique: Beyond its incredible taste, this matcha cake is a feast for the eyes. The watercolor frosting technique, which might look intricate, is surprisingly simple to achieve. All you need are your vanilla and matcha frostings, a trusty spatula, and a rotating turntable cake stand. This method allows you to create a beautiful, artistic finish that will impress guests and elevate your baking skills effortlessly.
- Easily Adaptable for Dietary Needs: We believe everyone should enjoy delicious cake! If you or your loved ones have specific dietary restrictions, this recipe offers fantastic flexibility. It can be effortlessly adjusted to be both gluten-free and dairy-free without compromising on its delightful flavor or its signature moist and tender texture. We provide clear instructions to ensure successful substitutions, making this a versatile recipe for all.
A Deep Dive Into Matcha: Choosing the Best Green Tea Powder
For an unparalleled flavor profile and the most vibrant green color in your matcha cake, I strongly advocate for using ceremonial grade matcha. While culinary grade matcha is more readily available and often cheaper, the difference in quality, taste, and appearance is significant and truly worth the investment for baking this special cake.
Let’s distinguish between the two: Culinary grade matcha, as its name suggests, is primarily intended for cooking and baking where its flavor might be masked by other strong ingredients. It typically presents a yellowish-brownish-green hue, often has a slightly gritty texture, and can carry a noticeable bitterness. This bitterness can become overpowering in delicate desserts if not carefully balanced.
Ceremonial grade matcha, on the other hand, is the highest quality matcha, traditionally reserved for the revered Japanese tea ceremony. It boasts a stunning, vibrant emerald green color, indicative of its freshness and careful processing. The powder is incredibly fine, almost like a silky dust, which contributes to a smoother finish in your baked goods. Flavor-wise, ceremonial matcha offers a naturally sweet, grassy, and umami-rich taste, with very little to no bitterness. This complex flavor is what truly elevates the taste of your matcha cake, providing a harmonious balance with the sweetness of the frosting.
While ceremonial matcha is undoubtedly more expensive, its superior qualities translate directly into a far more delicious and visually appealing cake. The intensity of its color and the nuanced depth of its flavor cannot be replicated with lower grades. For an exceptional experience, I highly recommend AKA Tea. They specialize in small-batch, spray-free ceremonial grade matcha, ensuring you get the freshest and finest quality for your baking.
Essential Ingredients & Key Notes for the Perfect Matcha Cake
Understanding the role of each ingredient is crucial for baking a magnificent cake. Below, you’ll find details on some key components of this recipe. The complete list of ingredients, including precise measurements, is available further down in the recipe card.
Cake Flour: This is a star ingredient for achieving that signature soft and tender texture. Cake flour contains a lower protein content (around 7-9%) compared to all-purpose flour (10-12%), which means less gluten development during mixing. Reduced gluten leads to a more delicate, airy, and tender sponge cake that practically melts in your mouth. If cake flour isn’t available, you can create a decent substitute by mixing 1¼ cups of all-purpose flour with ¼ cup of cornstarch. While not an exact replica, this mixture helps to reduce the overall protein content, mimicking some of cake flour’s desirable properties in a pinch.
Butter & Oil: My recipe strategically uses both unsalted butter and a neutral-flavored oil to achieve a perfect balance of richness and moisture. Butter contributes a depth of flavor and a lovely richness that oil alone cannot provide. Meanwhile, oil ensures a consistently moist crumb and adds tenderness, preventing the cake from drying out over time. If you only have salted butter, remember to adjust the other salt quantities: reduce the salt in the cake by ¼ teaspoon and omit the salt entirely from the buttercream. For the oil, always opt for a neutral-flavored variety such as avocado oil or light olive oil. Strongly flavored oils like extra virgin olive oil or coconut oil (which can also harden when refrigerated) will impart unwanted tastes that detract from the delicate matcha flavor.
Making it Gluten-Free: Transforming this matcha cake into a gluten-free delight is straightforward. Combine 1¼ cups (185g) of a high-quality Bob’s Red Mill 1-to-1 flour blend with ¼ cup of cornstarch. It’s essential to allow the batter to rest for 20 to 30 minutes before baking. This resting period gives the gluten-free flour sufficient time to properly hydrate, which is key to preventing a gritty texture and ensuring your cake layers remain moist and smooth.
Making it Dairy-Free: To create a delicious dairy-free matcha cake, substitute the unsalted butter with an equal amount of good quality vegan butter sticks. For the Greek yogurt, you might be surprised by this, but an equal amount of mayonnaise works wonderfully! Despite how unconventional it may sound, you absolutely won’t taste it in the final cake. Mayonnaise is primarily an emulsion of eggs, oil, and vinegar, making it a fantastic source of moisture and fat without any “funky” flavors. Don’t knock it until you try it! For the whole milk, simply use any plain, unsweetened non-dairy milk alternative such as almond, soy, or oat milk.
Tips and Tricks: How to Make the Perfect Matcha Cake Every Time
Achieving a bakery-quality matcha cake at home is entirely possible with a few essential tips. Follow these guidelines to ensure your cake turns out moist, fluffy, and beautifully presented:
- Accurately Weigh Your Flour for Best Results: Precision is paramount in baking, especially when it comes to flour. Scooping or spooning flour directly from the bag into a measuring cup and then leveling it is often inaccurate and can lead to too much flour being added. Excess flour is a common culprit for dense and dry cakes. To ensure consistent moisture and a tender crumb, always weigh your flour using a digital kitchen scale. This simple step guarantees you use the exact amount needed for the perfect cake structure.
- Allow the Cake Layers to Cool Completely: Patience is a virtue when baking! It’s absolutely crucial to let your baked cake layers cool down entirely before you even think about applying frosting. Attempting to frost a warm cake will inevitably lead to melted, sliding frosting and a messy result. Cooling thoroughly not only preserves the integrity of your buttercream but also makes the entire cake assembly process significantly smoother and easier, ensuring a beautifully finished cake.
- Avoid Overmixing the Batter: This is a golden rule for tender cakes. Once you’ve added the wet ingredients to the dry, stir the batter only until just combined – meaning, stop as soon as you no longer see streaks of dry flour. Overmixing develops the gluten in the flour excessively, resulting in a cake that is tough, chewy, or rubbery. The only exception to this rule is when you are using gluten-free flour, which does not develop gluten and can be mixed a bit more freely without adverse effects.
- Level Your Cake Layers for a Professional Finish: For a cake that looks professionally made and slices cleanly, leveling your cake layers is a must. Most cakes will bake with a slight dome on top. By carefully measuring and slicing these domes off with a serrated knife, you create flat, even surfaces. This not only ensures a clean, aesthetically pleasing appearance once the cake is sliced but also prevents your finished cake from being lopsided or unstable.
- Ensure Ingredients are at Room Temperature: For butter, eggs, and dairy products like Greek yogurt and milk, room temperature is key. This allows all the ingredients to emulsify properly, creating a smooth, cohesive batter that traps air efficiently, resulting in a lighter and fluffier cake.
- Sift Dry Ingredients: Sifting your dry ingredients (flour, matcha, salt, baking soda, baking powder) together before adding them to the wet ingredients ensures they are well combined and lump-free. This also aerates the mixture, contributing to a lighter texture and making it easier to mix into the wet ingredients without overworking the batter.
Matcha Cake Recipe
Print
Pin
Rate
Ingredients
Matcha Cake Layers
- 1¾ cups cake flour (for a truly tender crumb)
- ½ teaspoon fine salt (enhances all flavors)
- ½ teaspoon baking soda
- 1½ teaspoons baking powder
- 2 tablespoons ceremonial grade matcha powder (for vibrant color and deep flavor)
- 1 cup granulated sugar
- ¼ cup unsalted butter softened at room temperature (for richness)
- 2 large eggs (at room temperature)
- ⅓ cup Greek yogurt (adds moisture and tenderness)
- ¼ cup neutral oil like avocado or light olive oil (for ultimate moistness)
- ⅔ cup whole milk (at room temperature)
Creamy Buttercream Frosting
- 1 cup unsalted butter softened at room temperature
- ⅓ cup vegetable shortening softened at room temperature (for stability and smooth texture)
- 3 cups powdered sugar (sifted for no lumps)
- ¼ teaspoon fine salt
- 1 teaspoon pure vanilla extract (for classic sweetness)
- 1 tablespoon matcha powder (for the green tea frosting accent)
Instructions
Preparing the Matcha Cake Layers
-
Begin by preheating your oven to 340°F (170°C). Prepare your cake pans by lightly greasing and flouring them, then lining the bottoms with parchment paper. You can use either three 6-inch round pans for taller layers or two 8-inch round pans for wider layers. This preparation ensures easy release and prevents sticking.
-
In a large mixing bowl, thoroughly whisk together all the dry ingredients for the cake: cake flour, fine salt, baking soda, baking powder, vibrant matcha powder, and granulated sugar. Once these are well combined, add the softened unsalted butter. Using your fingertips or a pastry blender, work the butter into the dry mixture until it resembles a fine, sandy texture. This method helps to coat the flour particles, contributing to a tender cake.

-
In a separate medium bowl, whisk together the wet ingredients until smooth: large eggs, Greek yogurt, and neutral-flavored oil. Pour this wet mixture into the dry ingredients. Stir gently until they are just combined, and no dry streaks of flour remain. Next, pour in the whole milk and continue to stir just until a smooth, uniform batter forms. It’s crucial not to overmix at this stage, as overworking the batter can lead to a tough cake.

-
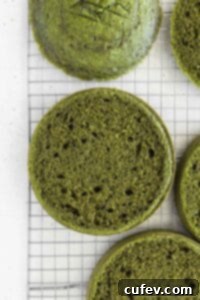
Divide the batter evenly among your prepared cake pans. Bake in the preheated oven for 23-25 minutes. To check for doneness, insert a toothpick into the center of a cake layer; if it comes out clean, the cakes are ready. Allow the cakes to cool in their pans for about 5 minutes before carefully inverting them onto a wire rack. Let them cool completely to room temperature before moving on to frosting.

-
Optional, but highly recommended for a polished look: Once the cake layers have cooled completely, use a long serrated knife or a cake leveler to carefully slice off any domed tops. This creates flat, even cake layers, which are essential for a stable and beautiful tiered cake.

Crafting the Creamy Buttercream Frosting
-
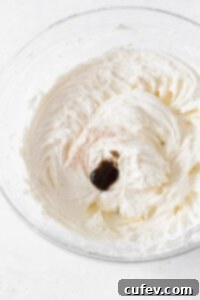
In the bowl of a stand mixer fitted with the paddle attachment, or using a large bowl and an electric hand mixer, beat the softened unsalted butter and vegetable shortening together. Continue beating on medium-high speed for about 3 minutes until the mixture is light, airy, and fluffy. Gradually add the sifted powdered sugar, about ½ cup at a time, beating well after each addition until fully incorporated and smooth. Finally, beat in the fine salt and pure vanilla extract. Taste the frosting and, if you prefer a sweeter result, add a little more powdered sugar, a tablespoon at a time, until it reaches your desired sweetness.

-
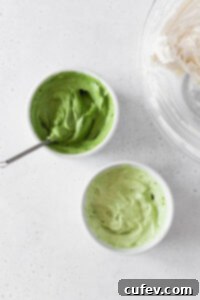
To create the beautiful watercolor effect, divide the vanilla buttercream. Transfer ¼ of the vanilla buttercream into each of two separate small bowls. To one of these bowls, add ½ teaspoon of matcha powder and stir thoroughly until the frosting transforms into a lovely pastel green color. To the other small bowl, add the remaining 2½ teaspoons of matcha powder and stir until you achieve a deeper, richer green frosting. You now have three shades of frosting: plain vanilla, light matcha, and dark matcha.

Cake Assembly and Watercolor Decoration
-
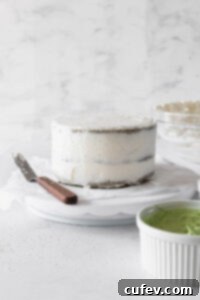
Position one of your cooled, leveled matcha cake layers on a cake turntable or serving plate. Spoon a generous amount of vanilla buttercream (approximately ½ cup) onto the center of the cake layer. Using an offset spatula or a butter knife, spread the frosting evenly across the top, reaching close to the edges. Carefully place the second cake layer on top, aligning it perfectly, and then repeat the process with another layer of vanilla buttercream. Finally, place your last cake layer on top. Now, apply a thin “crumb coat” of vanilla buttercream all over the entire cake, smoothing out the sides and top as best you can. This thin layer traps any loose crumbs, ensuring a clean final finish. Refrigerate the cake for 15-20 minutes to set the crumb coat.

-
Once the crumb coat is firm, take your remaining vanilla, light matcha, and dark matcha frostings. Using a knife or a small spatula, randomly add dollops of each color of buttercream all around the sides and top of the cake. Don’t worry about being too precise; the beauty of the watercolor effect lies in its organic, artistic appearance. Distribute the dollops evenly for a balanced color distribution.

-
Now for the magic! With a clean cake scraper or a long, flat offset spatula held perpendicular to the cake, gently press against the sides of the cake. While maintaining steady pressure, slowly rotate the cake turntable. As you turn, the scraper will smooth out the dollops, blending the different colored frostings into a beautiful, seamless watercolor design. For the top, you can use the same scraper or spatula to gently smooth the surface, dragging excess frosting towards the center. Serve and enjoy your masterpiece!

Nutrition
Storage Directions: Keeping Your Matcha Cake Fresh
Proper storage is essential to maintain the delicious flavor and moist texture of your homemade matcha cake. Here’s how to ensure it stays fresh for as long as possible:
Storing at Room Temperature: If you plan to enjoy your cake within a few days, it can be kept at room temperature. Simply place the entire cake or individual slices in an airtight container. This will protect it from drying out and absorbing other odors. Stored this way, your matcha cake will remain wonderfully fresh for up to 3 days, perfect for immediate enjoyment.
Refrigeration for Extended Freshness: For longer storage, the refrigerator is your best friend. Covered tightly in an airtight container, the cake can maintain its quality in the fridge for up to 5 days. Be sure to use an airtight container to prevent the cake from drying out or absorbing any ambient refrigerator smells. When you’re ready to serve, allow the cake slices to come to room temperature for about 15-30 minutes before enjoying, as this will enhance their flavor and texture.
Freezing for Long-Term Enjoyment: This matcha cake also freezes beautifully, allowing you to savor it weeks later. For optimal results, wrap each individual slice (or even whole cake layers before frosting) with a couple of layers of plastic wrap, ensuring it’s completely sealed off from air. Then, place the well-wrapped slices into a freezer bag or an airtight freezer-safe container. You can safely keep them frozen for up to 2 months. To defrost, simply transfer the frozen cake slices to the refrigerator overnight. Once thawed, let them sit at room temperature for a short while before serving to bring back their ideal texture and flavor.
Frequently Asked Questions About Matcha Cake
In baked goods, high-quality matcha contributes a unique and complex flavor profile. It delivers a slightly earthy, grassy, and sometimes subtly vegetal taste, often accompanied by delicate notes of sweetness and a pleasant mild bitterness. When thoughtfully paired with complementary sweeter flavors, such as vanilla, white chocolate, or citrus, matcha creates a wonderfully balanced and profoundly flavorful dessert. It avoids the harsh bitterness often associated with lower-grade green teas, providing an elegant and sophisticated touch.
There are a few common reasons why your matcha cake might lose its vibrant green color and turn brownish. The most frequent culprits are either overbaking the cake, which can cause the delicate chlorophyll in the matcha to degrade and brown, or using low-quality/old matcha powder. To guarantee a beautifully green cake, always ensure you’re using fresh ceremonial grade matcha, which has a naturally vivid color. Furthermore, keep a very close eye on your oven and baking time; remove the cake as soon as a toothpick comes out clean to prevent overbaking.
A deflated cake is a common baking frustration, often caused by a few key factors. One major reason could be expired baking powder or baking soda; leavening agents lose their potency over time. Always check their freshness by adding a spoonful to a small bowl and splashing some hot water on it – if it bubbles vigorously, it’s still good to use! Another primary reason for deflation is opening the oven door too early while the cake is still baking. The sudden drop in temperature can cause the delicate structure of the rising cake to collapse. Resist the urge to peek and keep the oven door closed for at least 23 minutes (or until the cake looks set) before opening it to test for doneness with a toothpick.
Absolutely! While the vanilla and matcha buttercream combination is fantastic, this versatile matcha cake pairs beautifully with a variety of frostings. A classic cream cheese frosting would add a delightful tangy counterpoint to the matcha. Alternatively, a light and airy whipped cream would provide a refreshing contrast, especially if you prefer a less sweet option. Feel free to experiment with your favorite frosting to customize this delicious green tea cake to your preference.
This particular matcha cake recipe calls for a total of 3 tablespoons of matcha powder. High-quality matcha typically contains around 70-80 milligrams of caffeine per teaspoon. Therefore, 3 tablespoons (which is 9 teaspoons) would contain roughly 630-720 milligrams of caffeine in the entire cake. When divided among the 10 slices, each individual slice of this matcha cake contains approximately 63-72 milligrams of caffeine. To put this into perspective, this is roughly equivalent to the amount of caffeine found in about half a cup of standard brewed coffee.
To fully appreciate the nuanced flavors of matcha cake, consider pairing it with beverages that complement its earthy and sweet notes. A simple, unsweetened hot or iced green tea (like sencha or genmaicha) can highlight the matcha. For coffee lovers, a light roast coffee or a creamy latte works well. Alternatively, a glass of cold milk or a delicate sparkling water with a hint of citrus can provide a refreshing contrast.
More Delicious Cake Recipes to Explore
If you’re a fan of delicate and flavorful matcha desserts, you simply must try these matcha cupcakes. They are incredibly fluffy and topped with a luxurious white chocolate buttercream frosting, offering another delightful green tea experience.
For those days when you’re not in the mood to turn on your oven, this easy icebox cake is the perfect no-bake dessert. It’s wonderfully creamy and utterly delicious, proving that you don’t always need heat for a fantastic treat!
Are you following a gluten-free diet? Don’t miss out on decadent desserts! Make this rich and moist gluten-free chocolate cake or indulge in the irresistible gluten-free German chocolate cake. Both recipes promise a moist and utterly decadent experience, catering to your dietary needs without sacrificing flavor.
This vibrant lemon curd cake offers the perfect balance between sweet and zesty flavors. The layers of silky smooth lemon curd are incredibly delicious, making it a refreshing and bright dessert option.
And for anyone with an abundance of overripe bananas, this comforting banana upside down cake is the ideal solution. It transforms simple ingredients into a wonderfully moist and flavorful cake, perfect for using up those ripe bananas in your kitchen.
